Hey friends! It’s release day for Pixi Dust Designs and I’m excited to be sharing a fabulous camping themed box card using one of the new stamp and die sets that’s available!
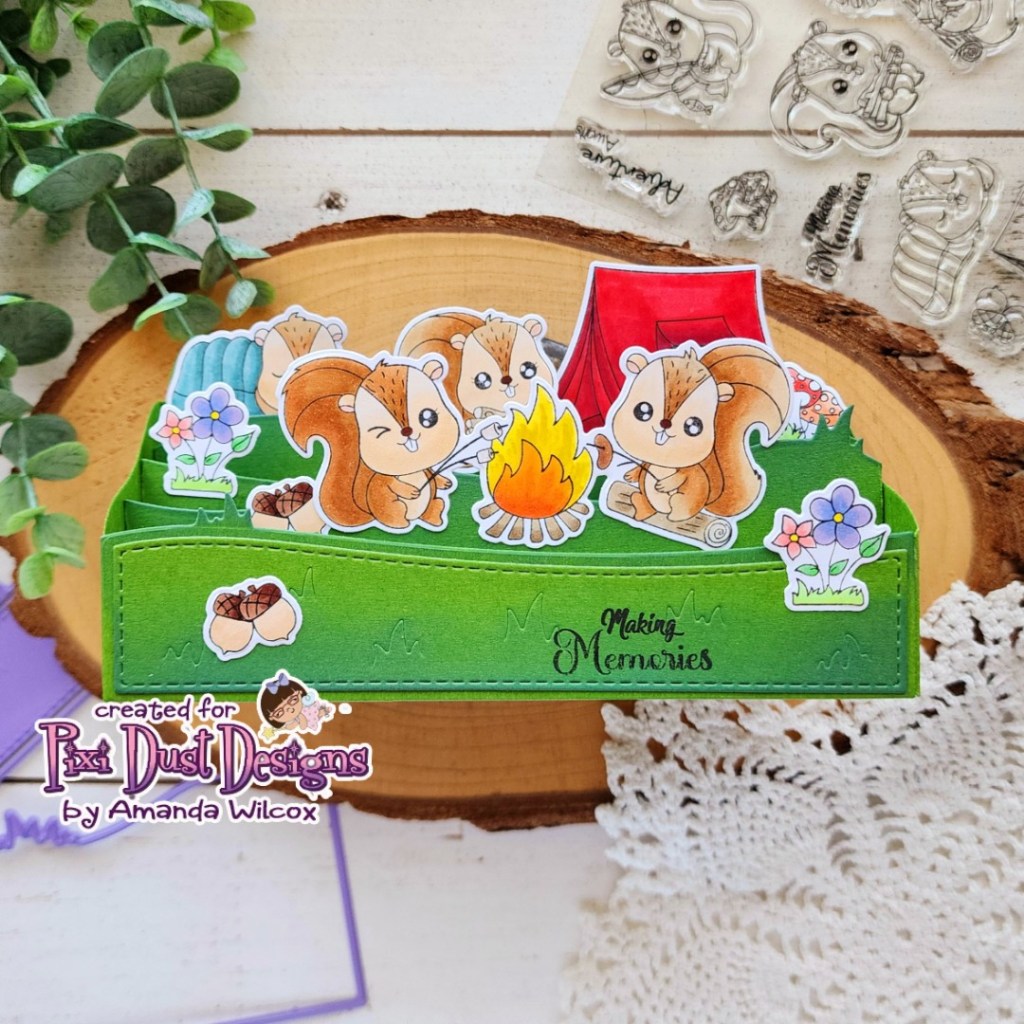
Here’s a look at the finished card, then we’ll take a simple step-by-step how to put this box card together and decorate it with your favorite cuties, whether it be these new adorable camping squirrels or something else from your stash.
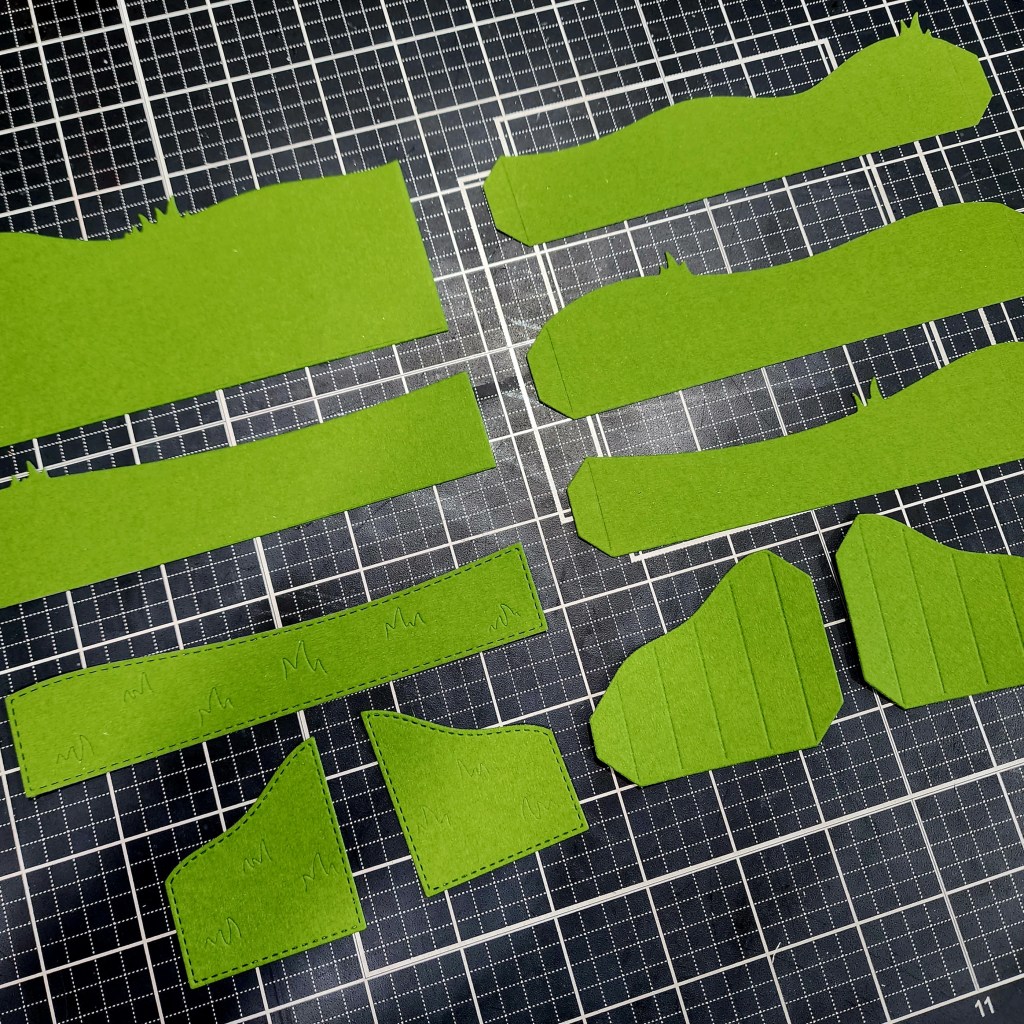
Start by die cutting all of the pieces from the Fall Box Card die set – parts A and B. I decided to cut them from the same color because I will be ink blending them to help parts stand out.
One think I didn’t photograph but is good to mention now, is that I cut a second back panel (the largest piece) from white cardstock and glued the two together. This gives me a nice big white space to write a message to the recipient but totally optional. It also covered the tabs.
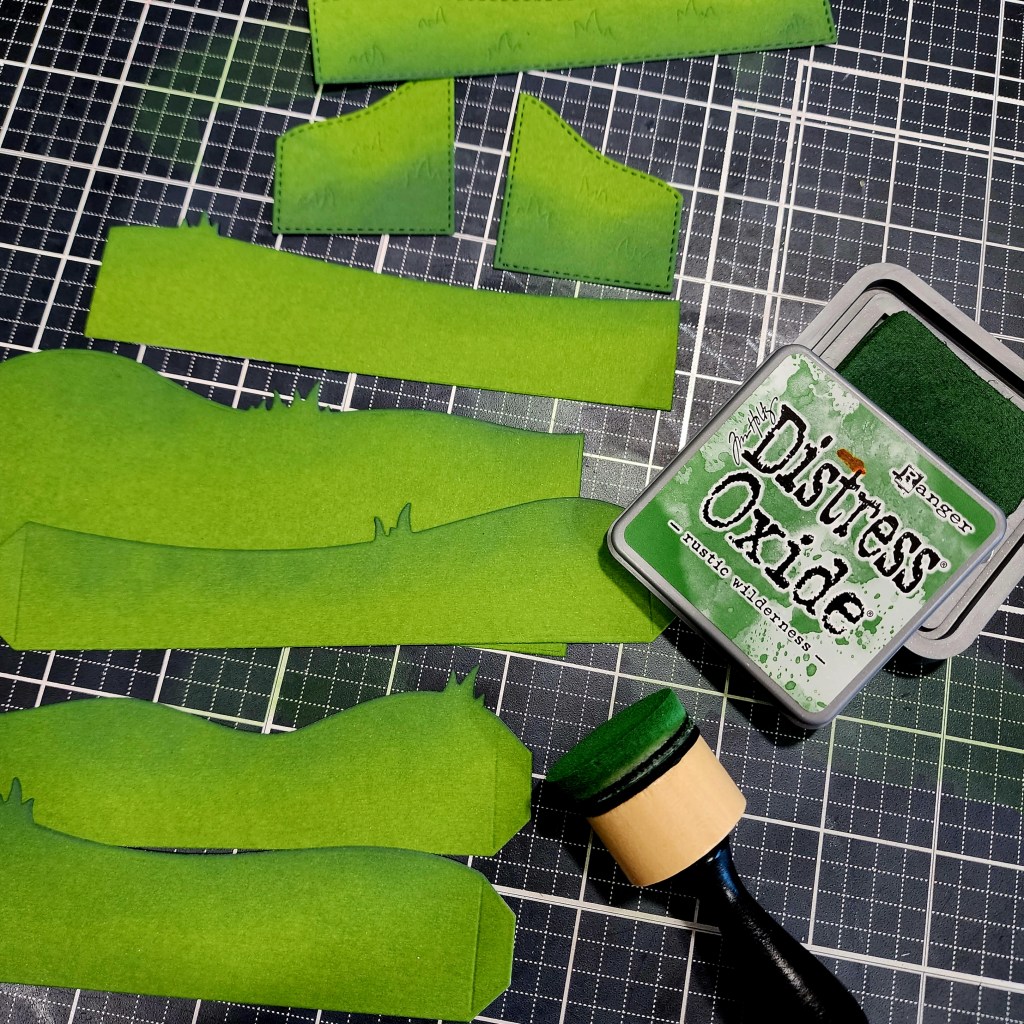
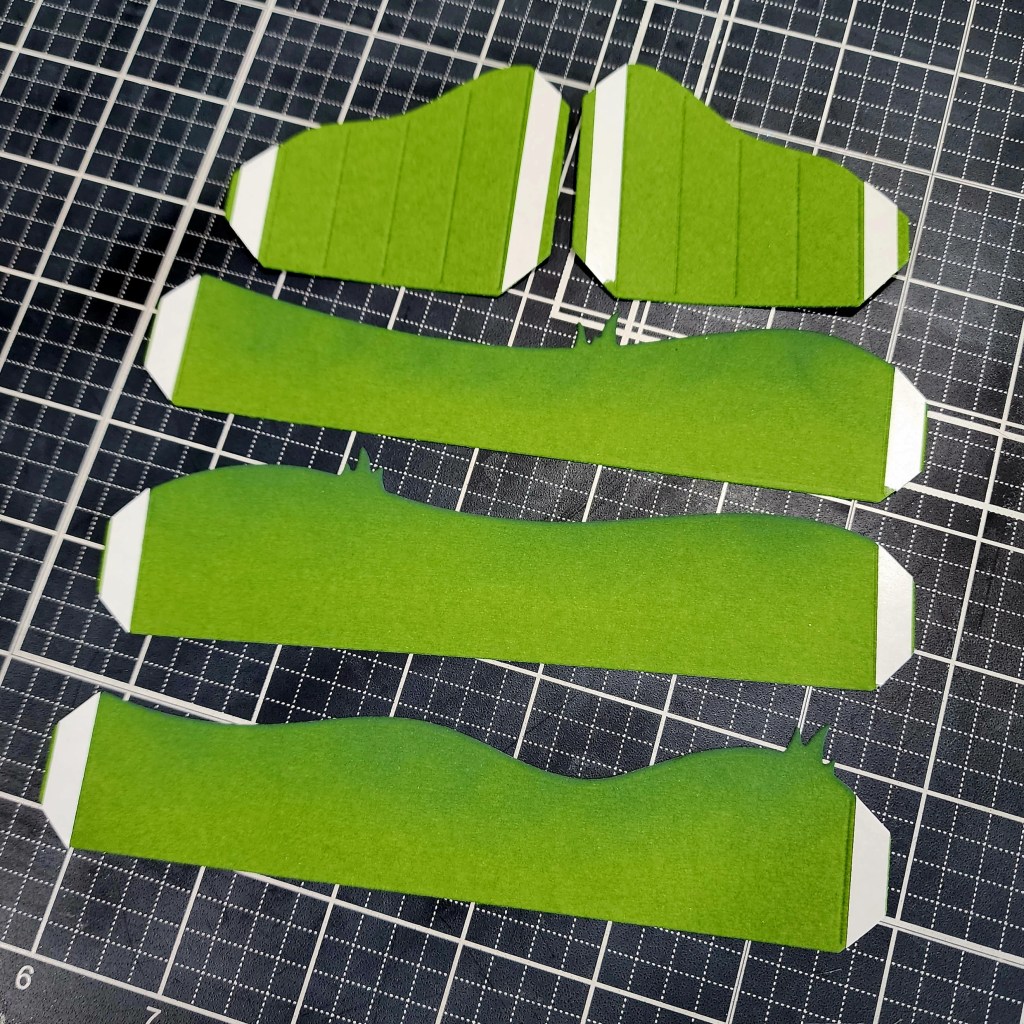
I used rustic wilderness distress oxide ink to add depth and interest to each piece that has little grass tufts on it. The pieces that are left plain will have inked pieces glued to them.
Next, we add tear tape to all of the tabs. When I’m adding tape to something like a box card that will get wear and tear, I like to add pieces larger than the tab and trim off the excess so I know the entire tab has adhesive on it.
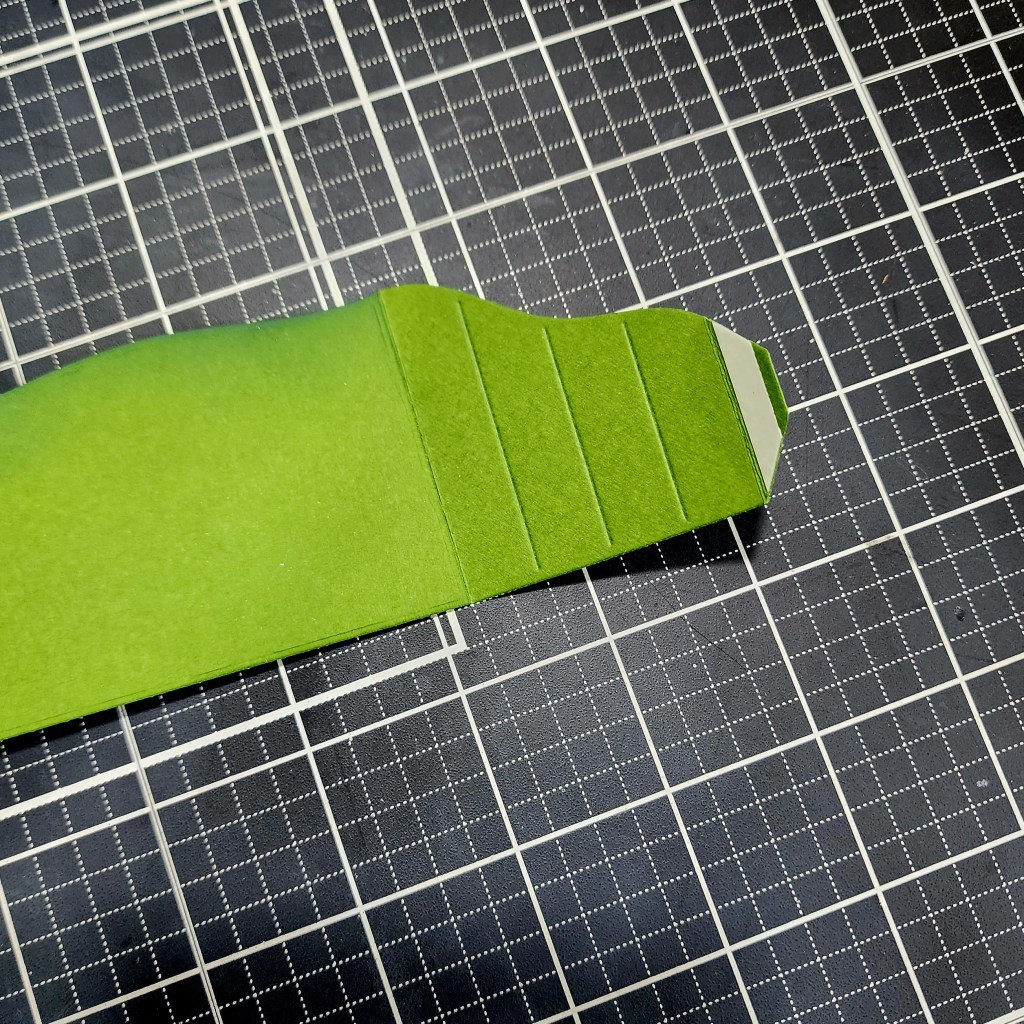
***Pro-tip so you don’t make the same mistake I did*** On this piece with the embossed lines, add tear tape to one tab and turn it over, adding tear tape to the opposite side for the second tab.
After adding the large tab to the back panel, I had to remove this adhesive and add a new piece to the opposite side. This was I can hide my tabs and they won’t be seen. It just keeps your final card cleaner.
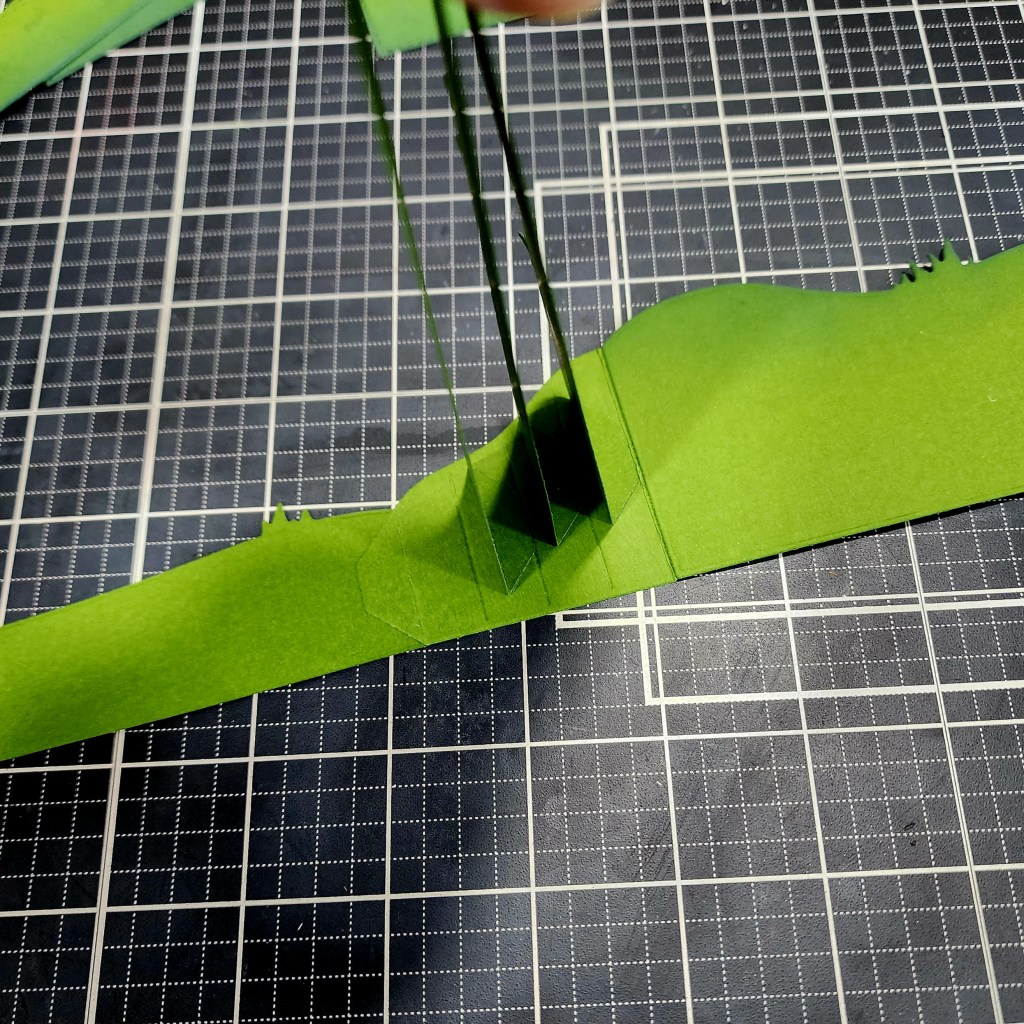
After adding the sides to the back, I added a middle section to each emboss line. I chose to line the flap with the back of the embossing line but you could use the front. Then I added the front panel to the far left as you can see here as well.
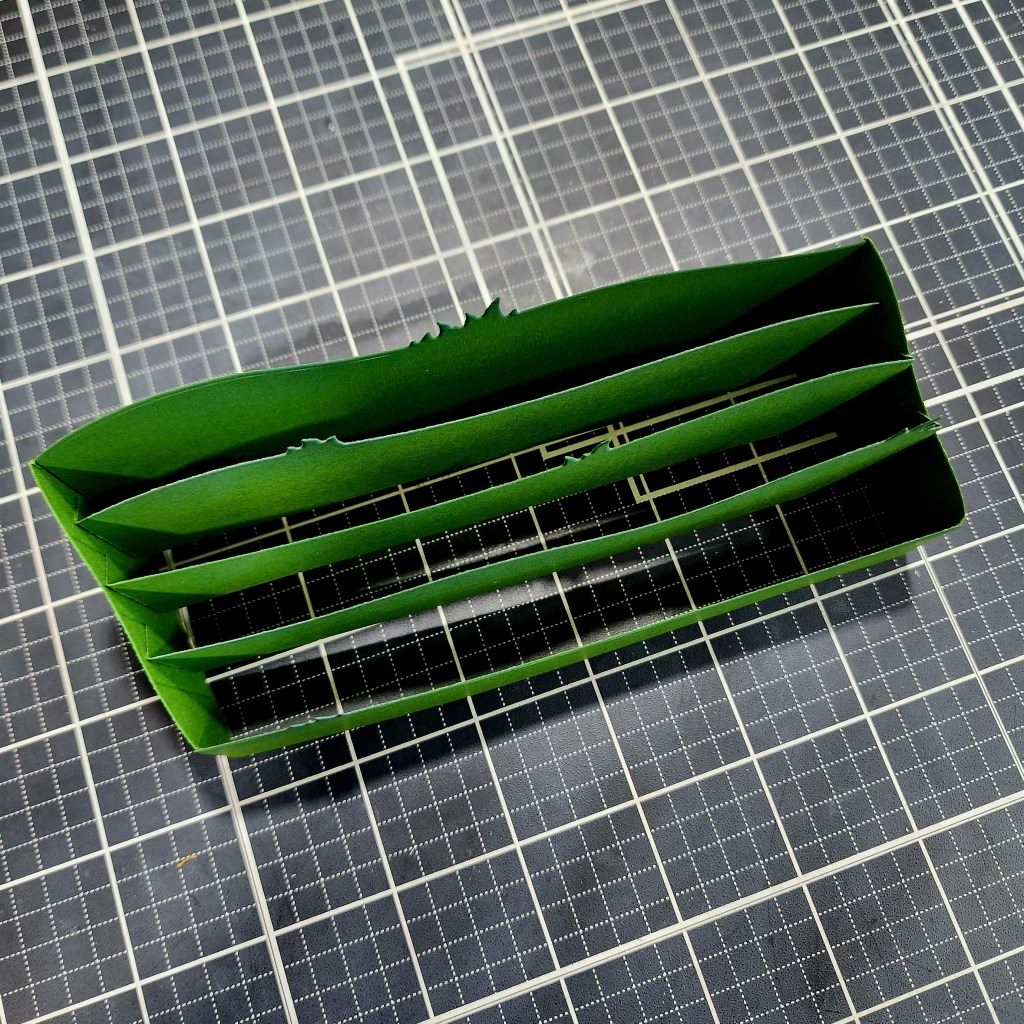
Next, fold everything flat, remove all of the release paper from the remaining tabs and secure the other side. After that fold your box card back and forth a bit to reinforce those fold lines and make sure everything lines up.
Now, it’s time to decorate!
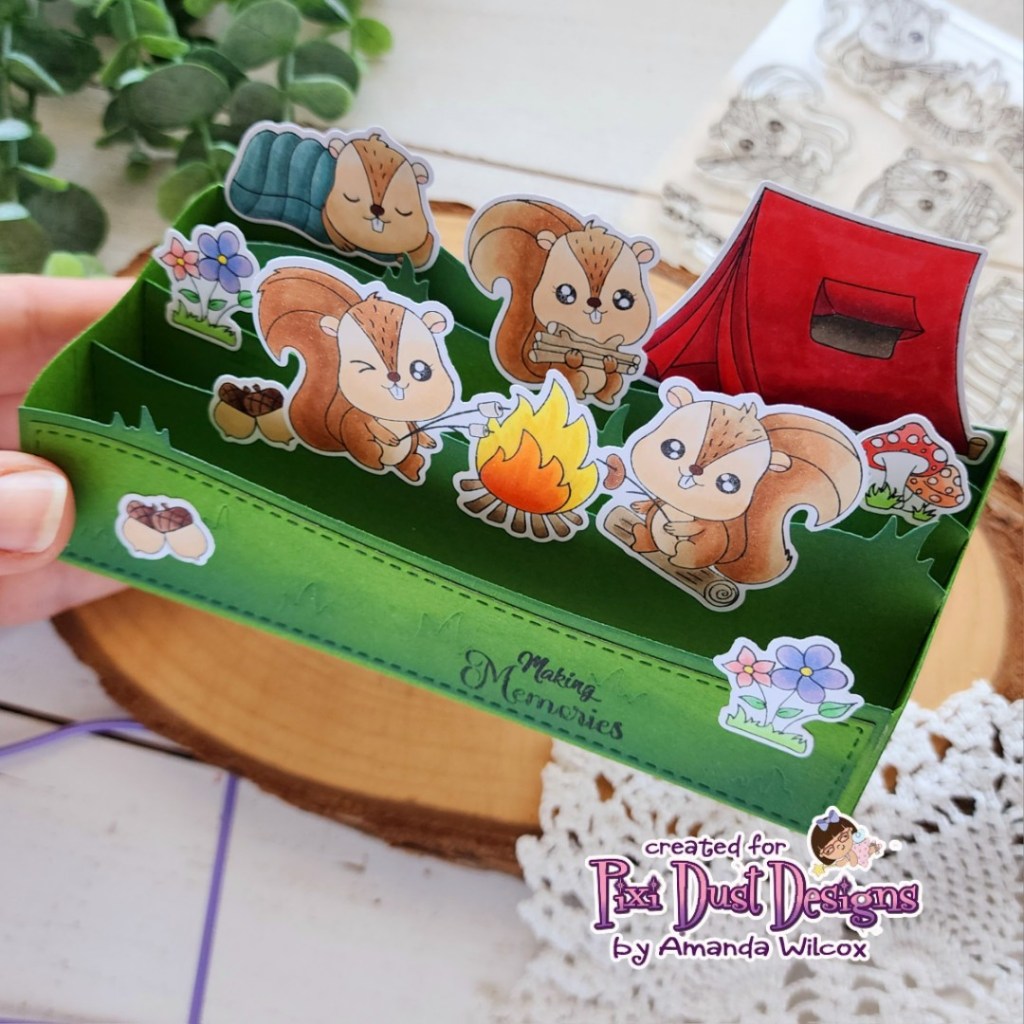
I added 1/8 inch tear tape to the bottom of each of my images and added them to all of the sections, filling in the whole box card. We leave for camping tomorrow so this card was extra fun for me to create because I’m really in the mood.
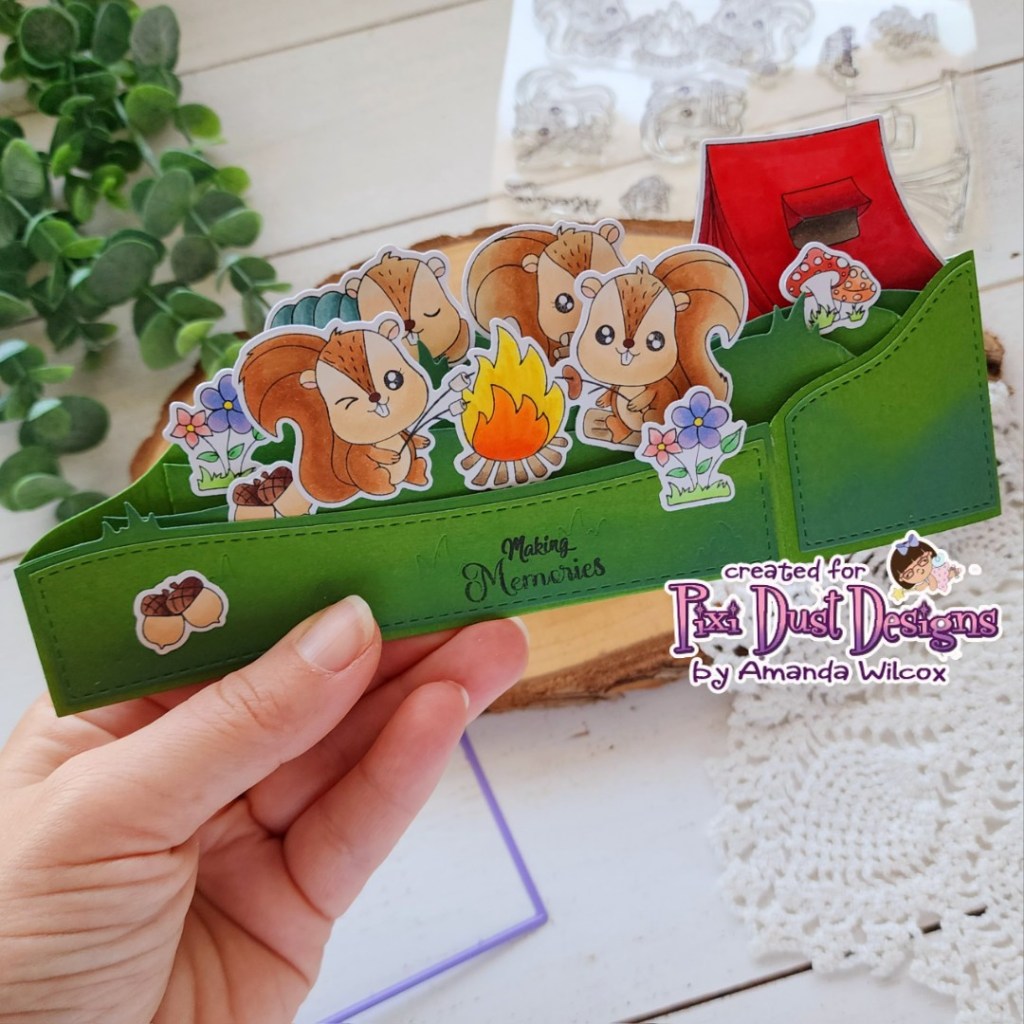
Here’s a look at it folded flat and ready for an envelope. How exciting and fun will this be for someone to pull out of an envelope!?!
Products used:
Fall Box Card dies
Happy Camper stamps and dies
Rustic Wilderness Distress Oxide Ink
Tear tape – 1/4″ and 1/8″
I appreciate you sharing your time with me. Have a fabulous day!
