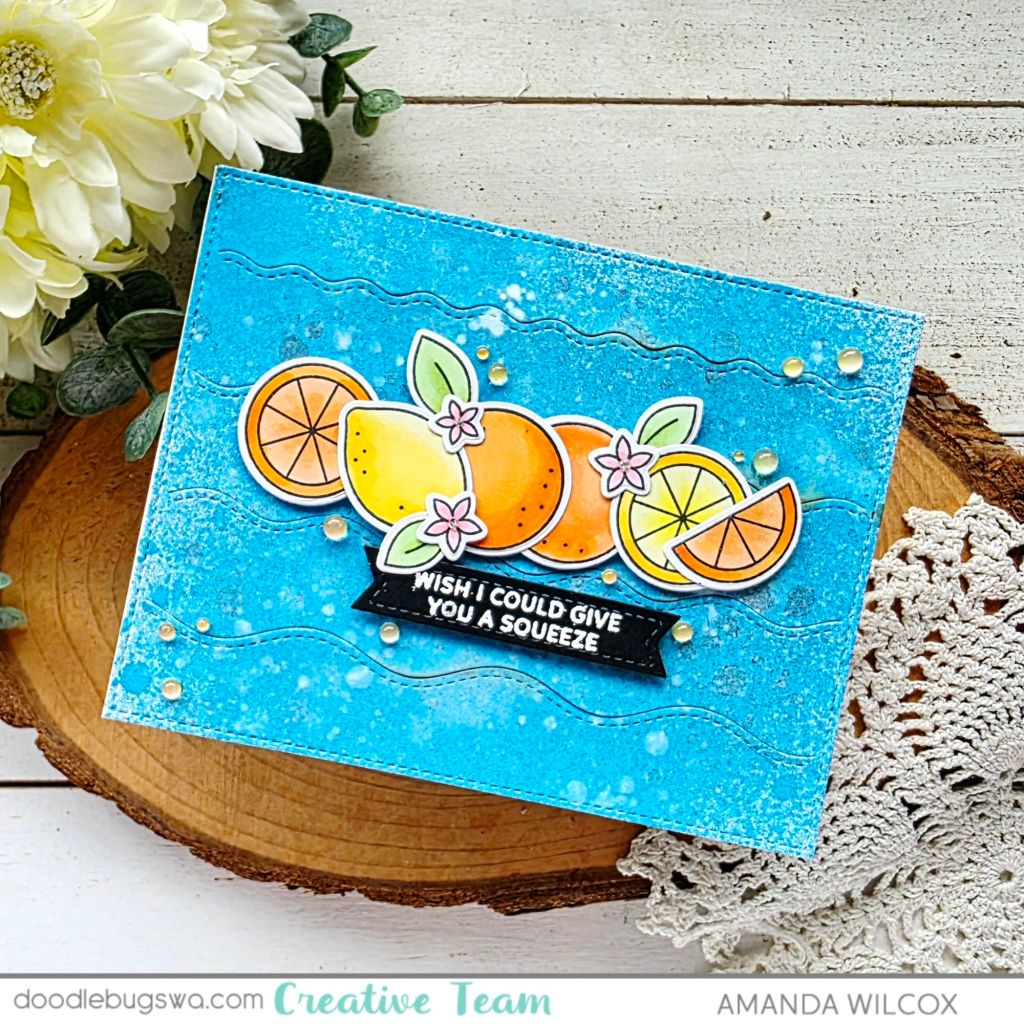
Hi friends! It’s Amanda from Twiddler’s Nook joining you today with a spring-themed card. I created a fabulous stenciled background and used one of the adorable Spring Heights images and sentiments to bring it all together.
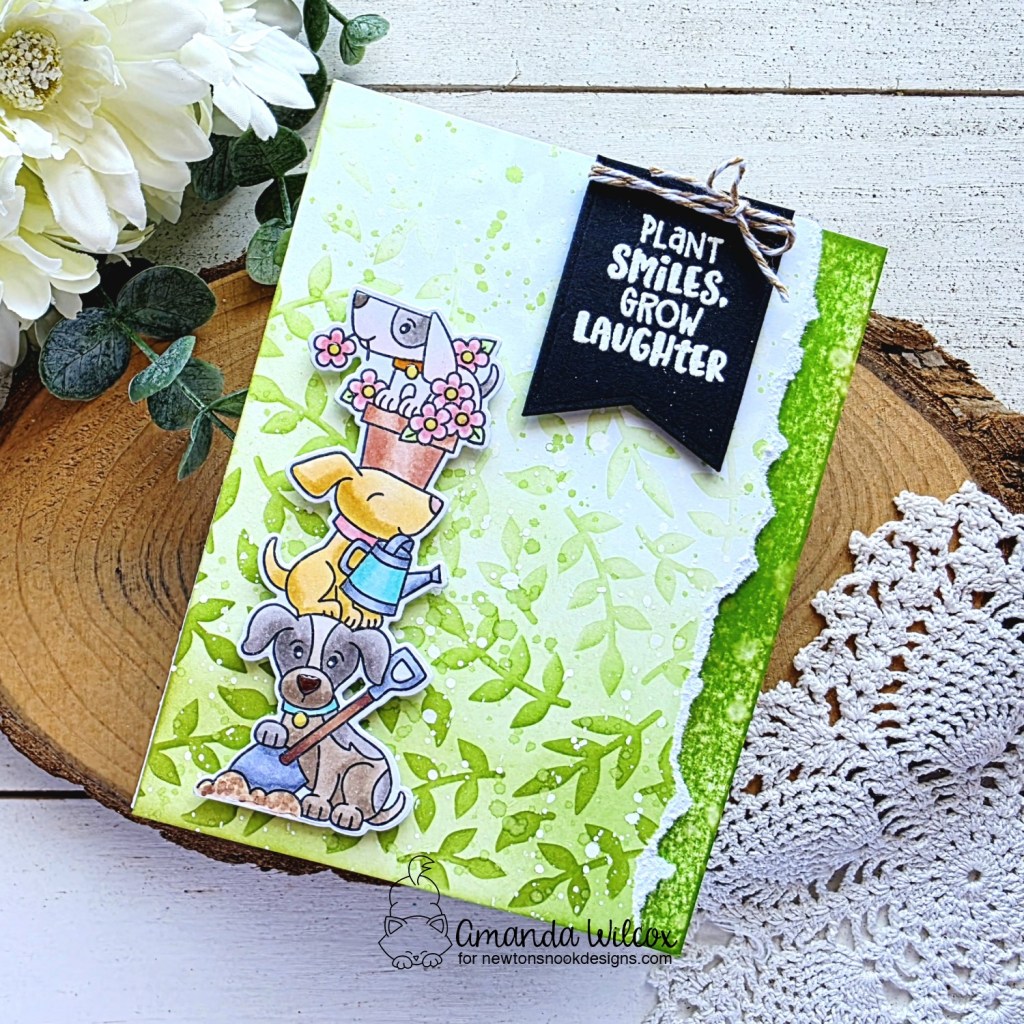
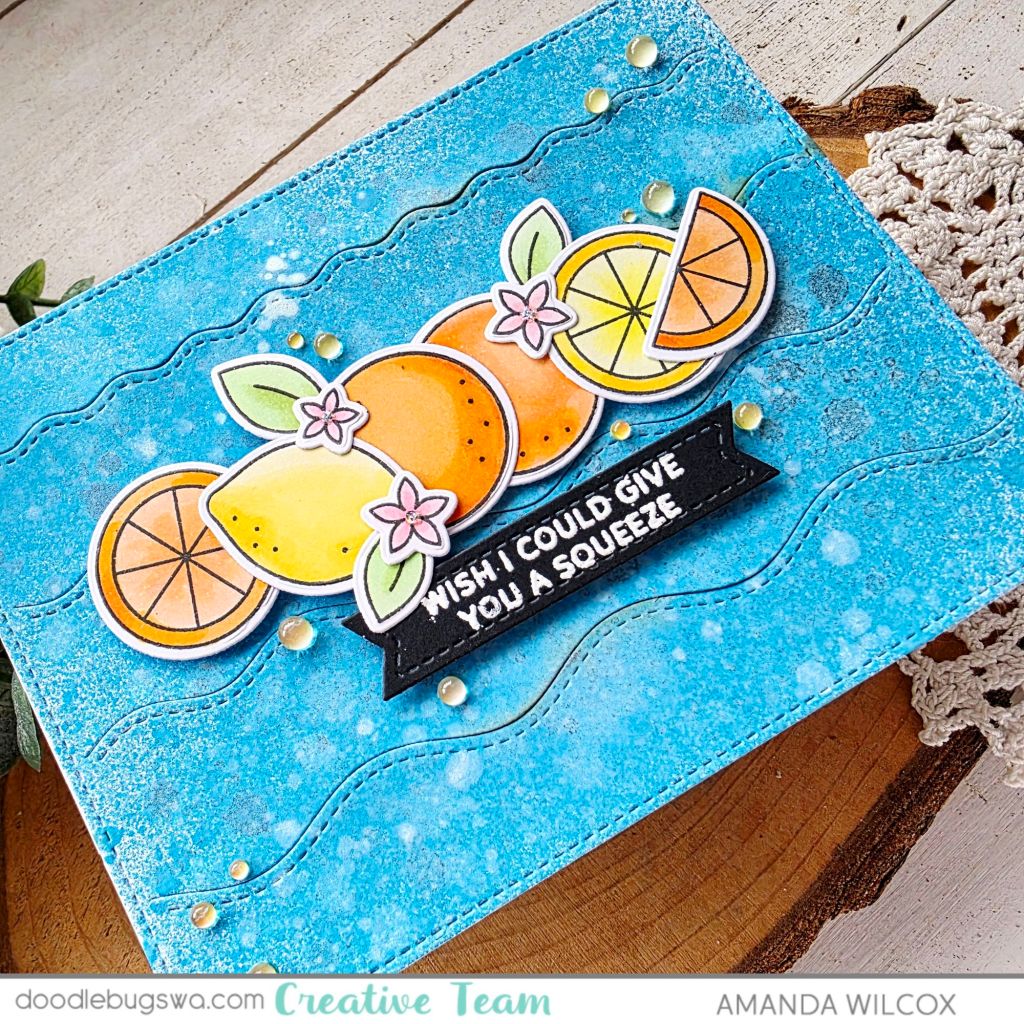
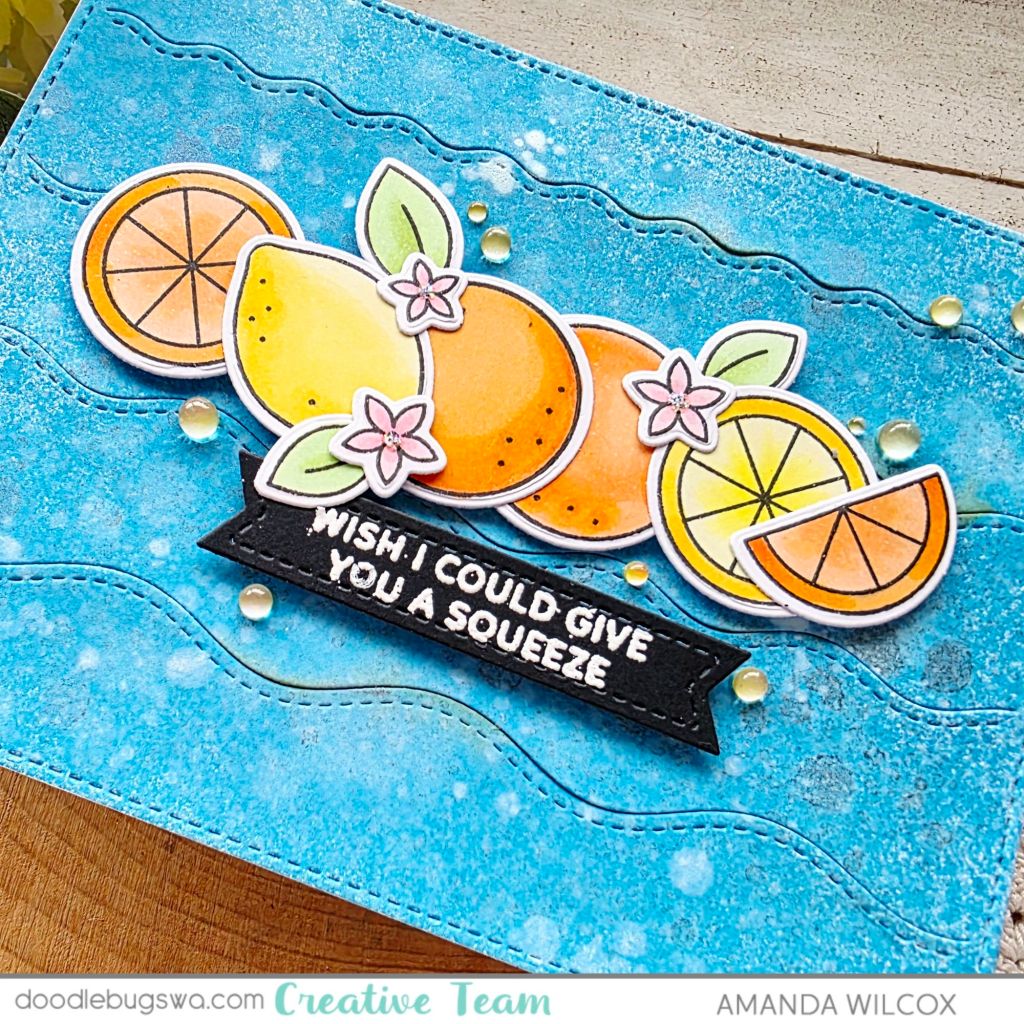
First, I stenciled the Trailing Leaves stencil on a piece of white cardstock with two tones of green ink – one darker and one brighter. This gives visual variation in the stenciling. I also faded the inking, darkest in the bottom left corner and lightest in the upper right corner of the panel. After that, I removed the stencil and used the same ink to go over the whole panel in the same fashion. Next, I smooshed ink on an acrylic block, spritzed it with water and flicked it across the panel. Then, I repeated that with white acrylic paint. This is my favorite way to add non-dimensional texture to a panel. It’s beautiflul!
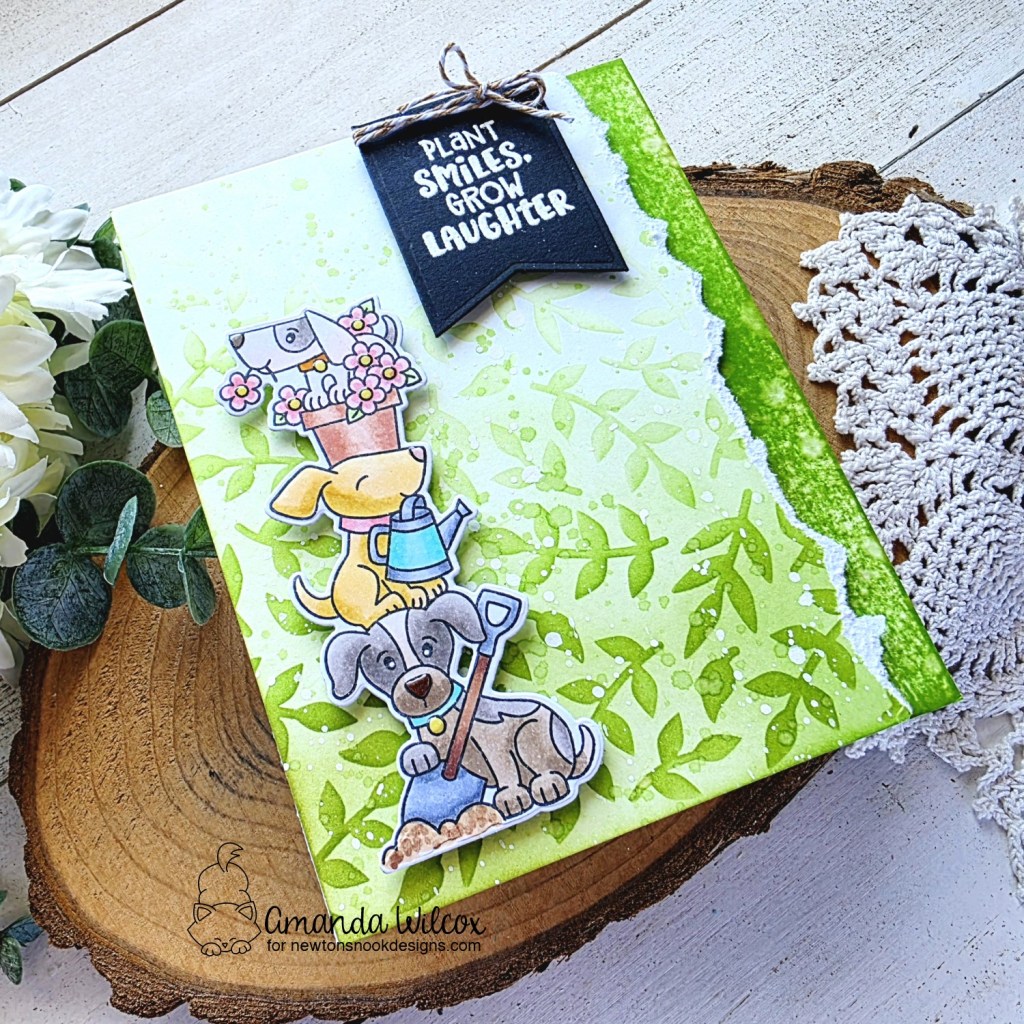
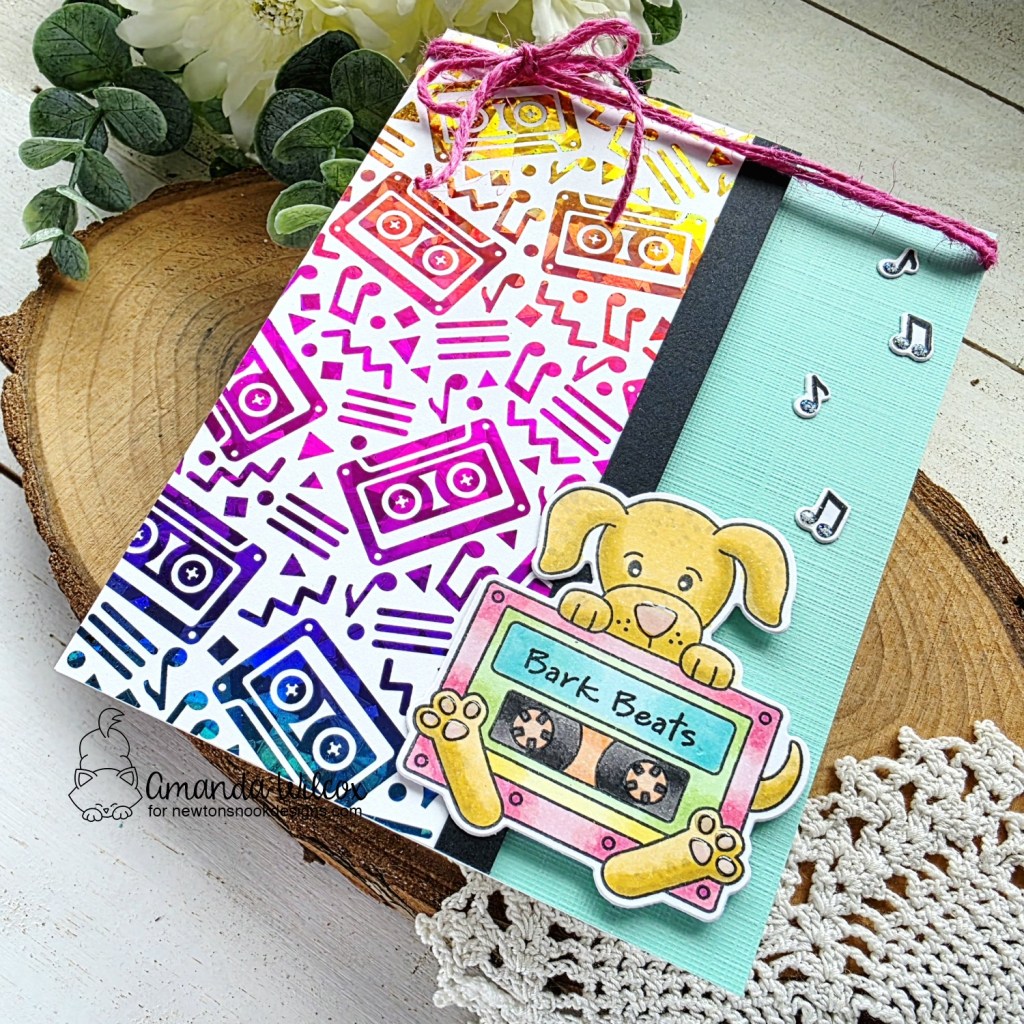
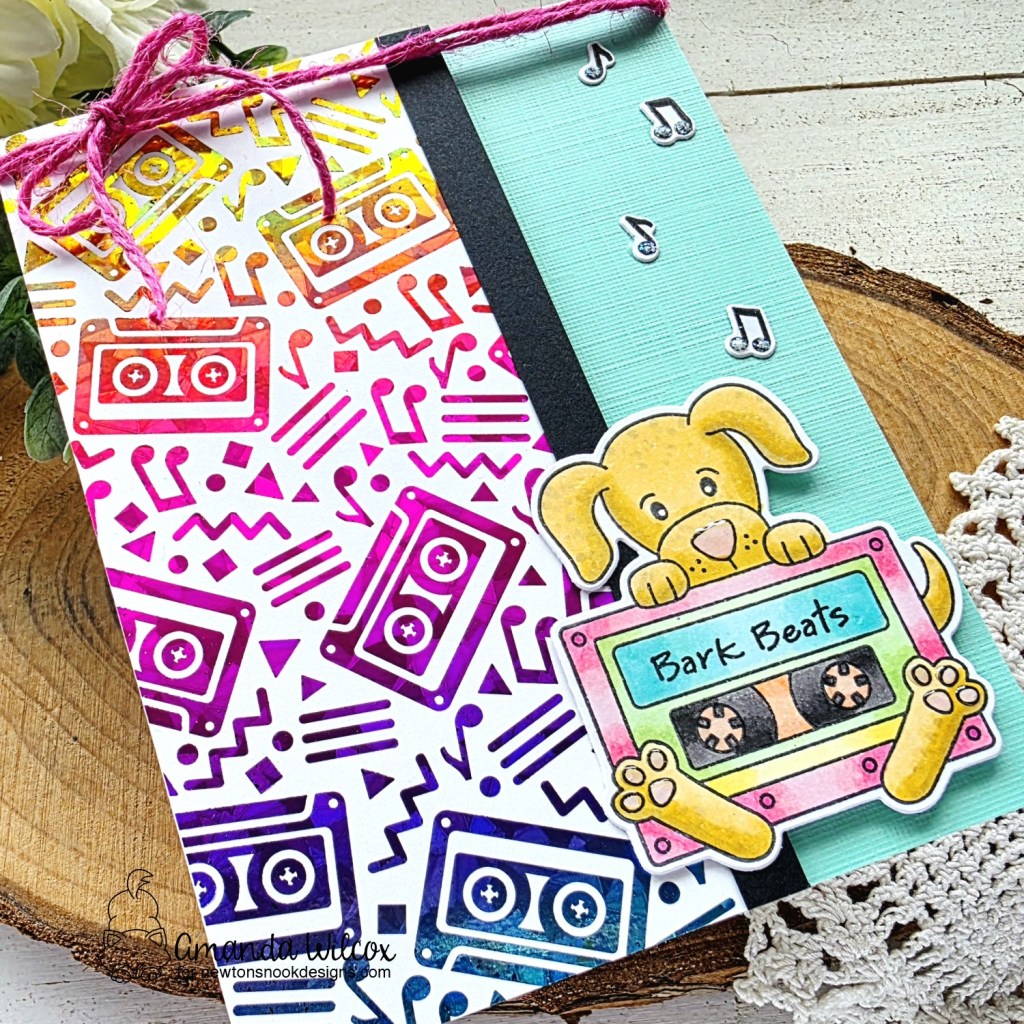
Now, it’s time for coloring! I stamped and colored my Spring Heights puppy image with copic markers. After that, I used the coordinating die to cut it out. I also chose a sentiment from this set to stamp and heat emboss on a die cut banner from the Frames & Flags die set.
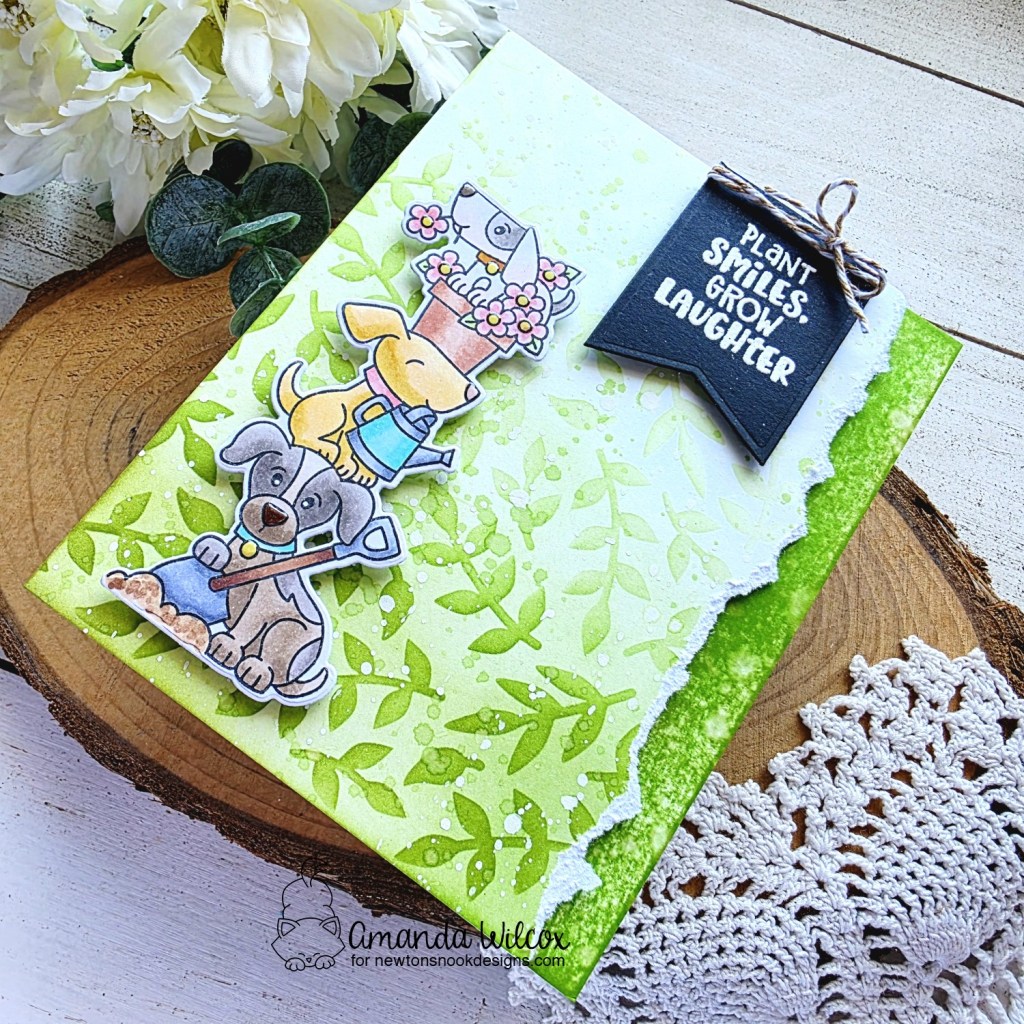
Once the background panel was dry, I ripped one edge off for a more raw look. Before adding this panel to my card base, I took the green ink pads direct-to-paper by dragging them across the edge of the card base. This is a quick and awesome way to add textured color to your paper; especially if your ink pads have a felt base vs foam.
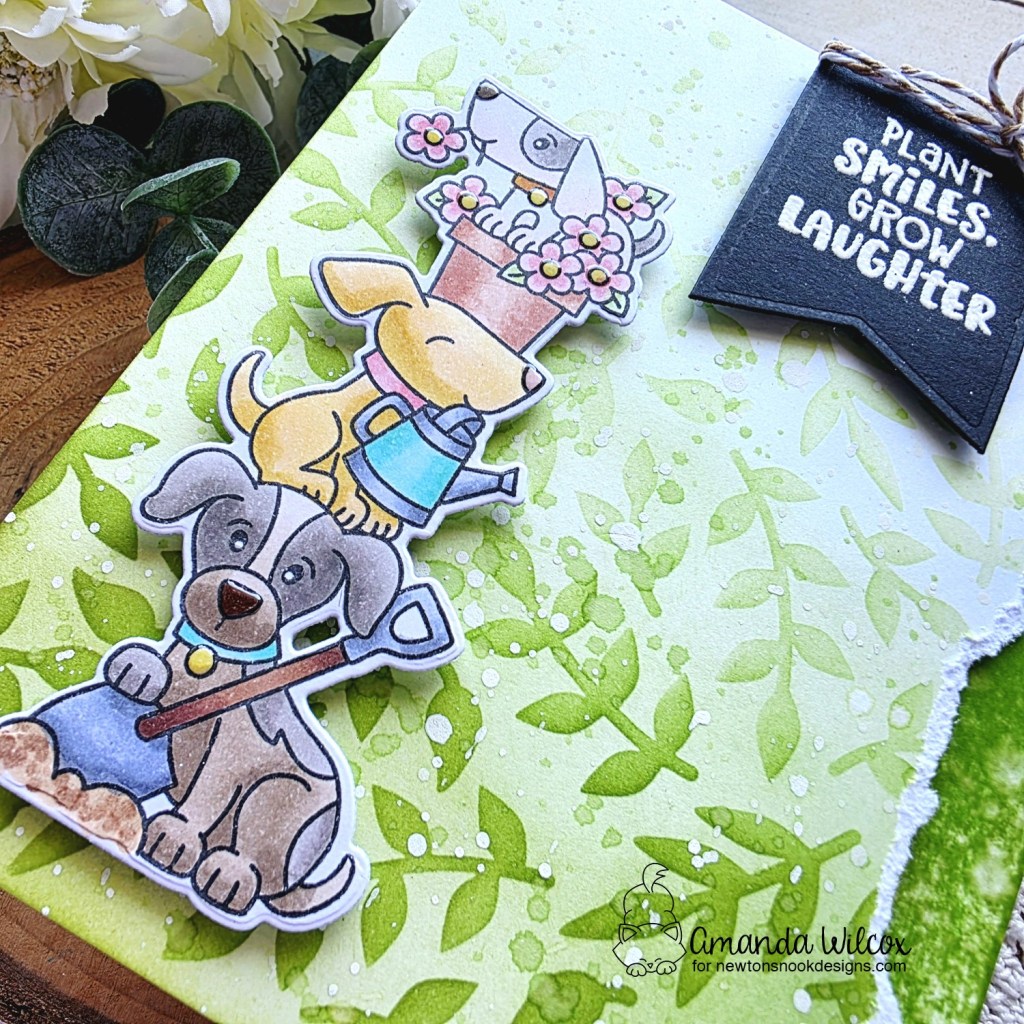
For assembly now, I popped the stenciled panel up with foam tape on the inked card base. Then I wrapped twine around the sentiment banner and added that to the upper right with foam squares. Last, I added my image with foam tape and finished the design off with glossy accents on puppy noses and flower centers.
I appreciate you sharing your time with me. Have a fabulous day!