Coffee Loving Cardmakers – Kitty in a Cup

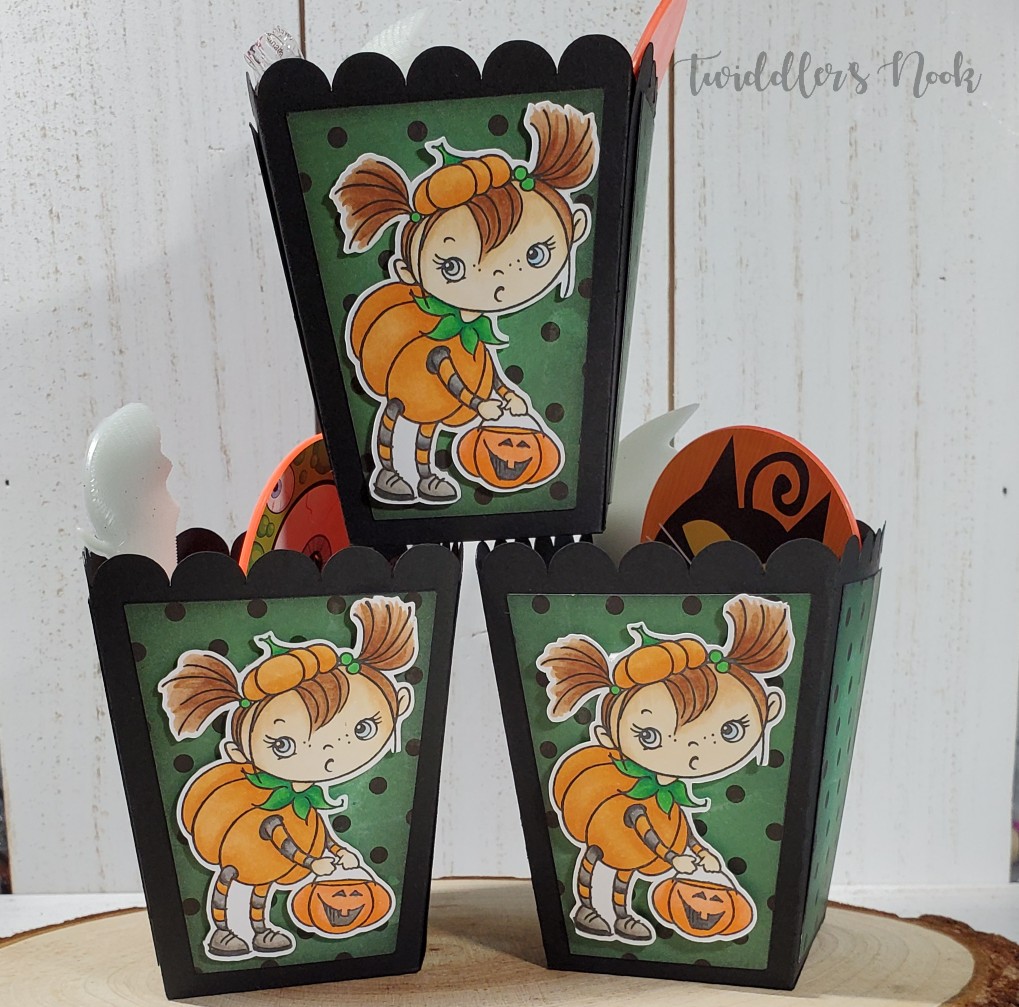
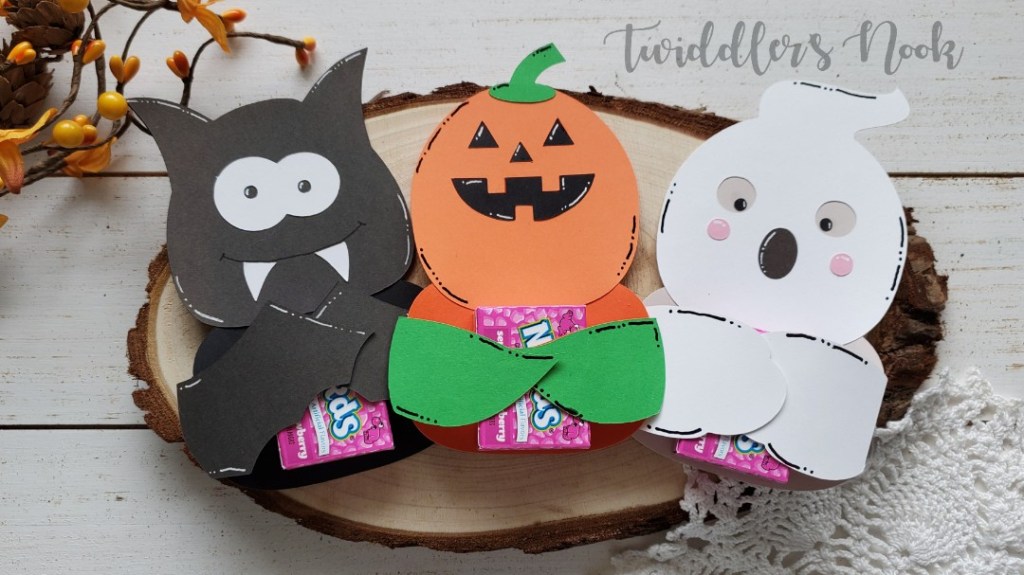
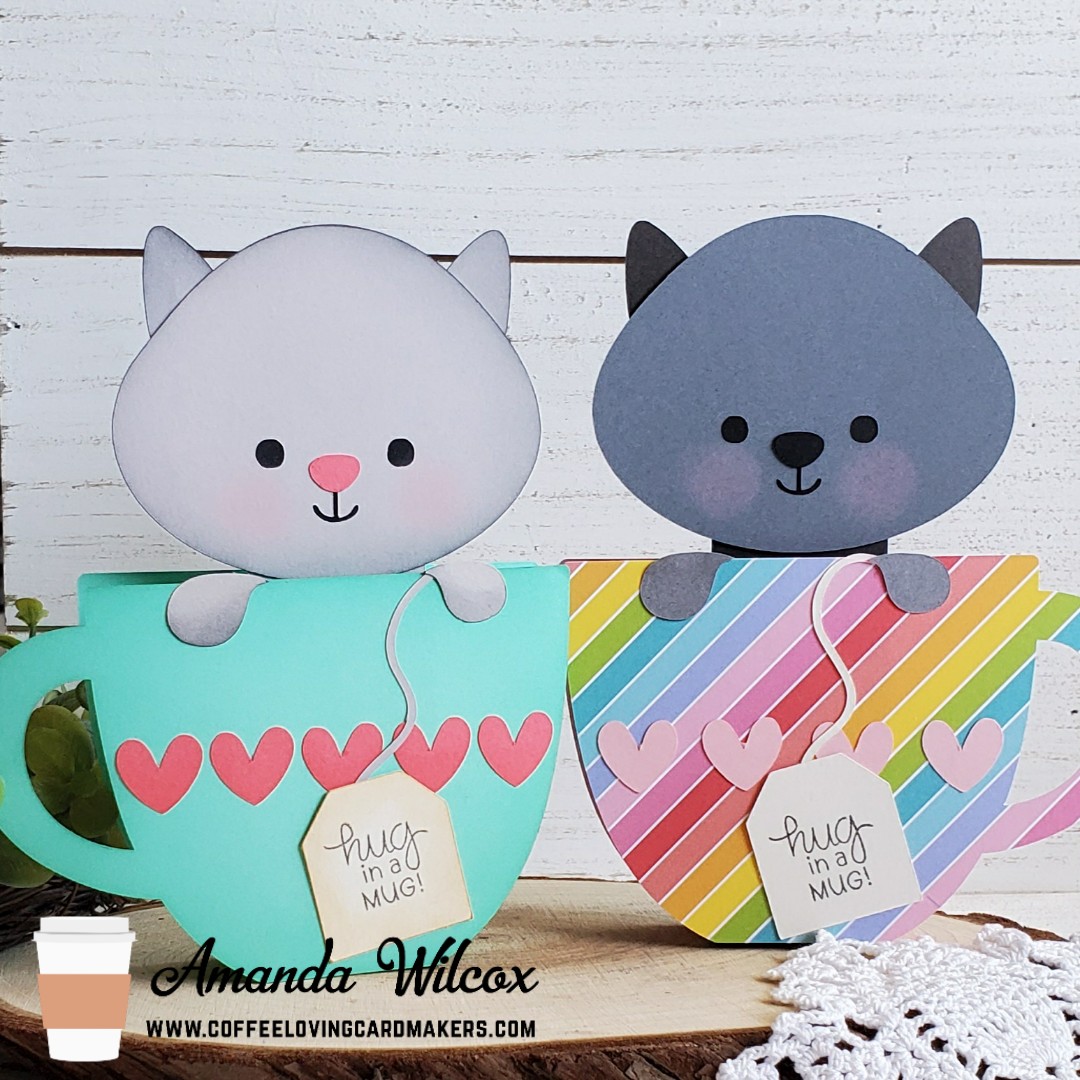
I’m up on the Coffee Loving Cardmakers Blog today featuring these sweet kitty in a cup box cards from Doodlebug Designs on the Lori Whitlock shop. I just love their artwork and couldn’t resist buying the cut files for my Cricut when I saw them available.

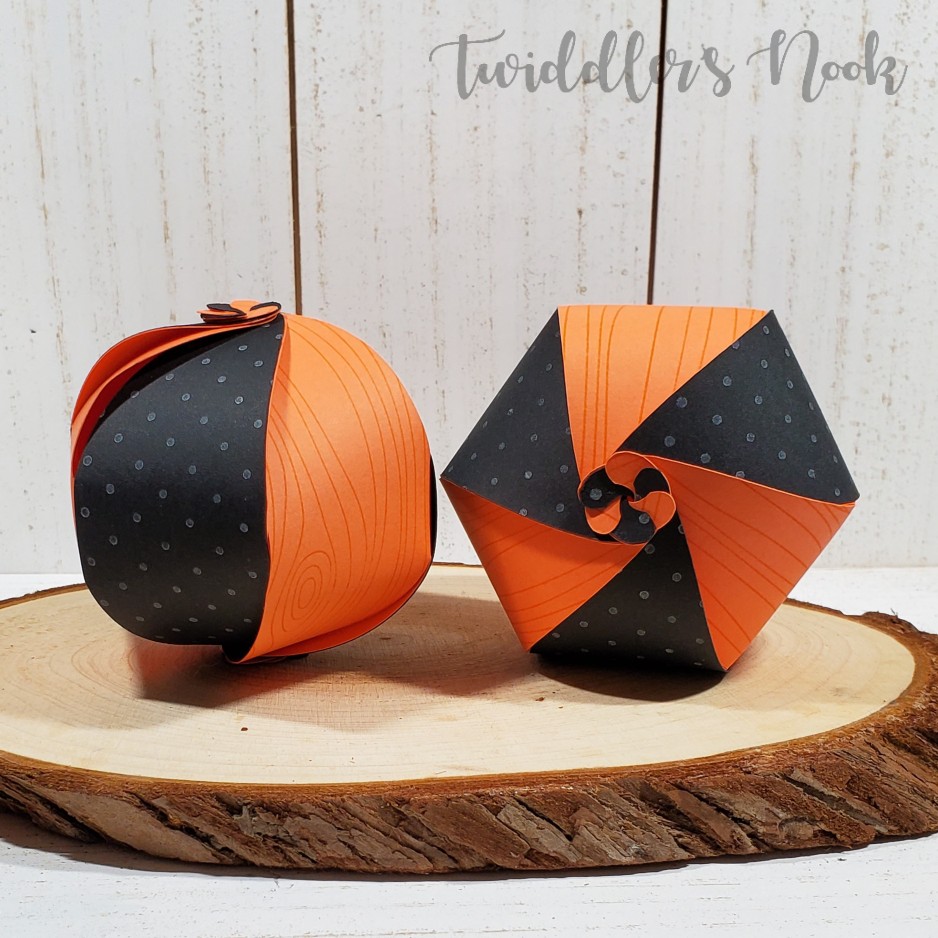
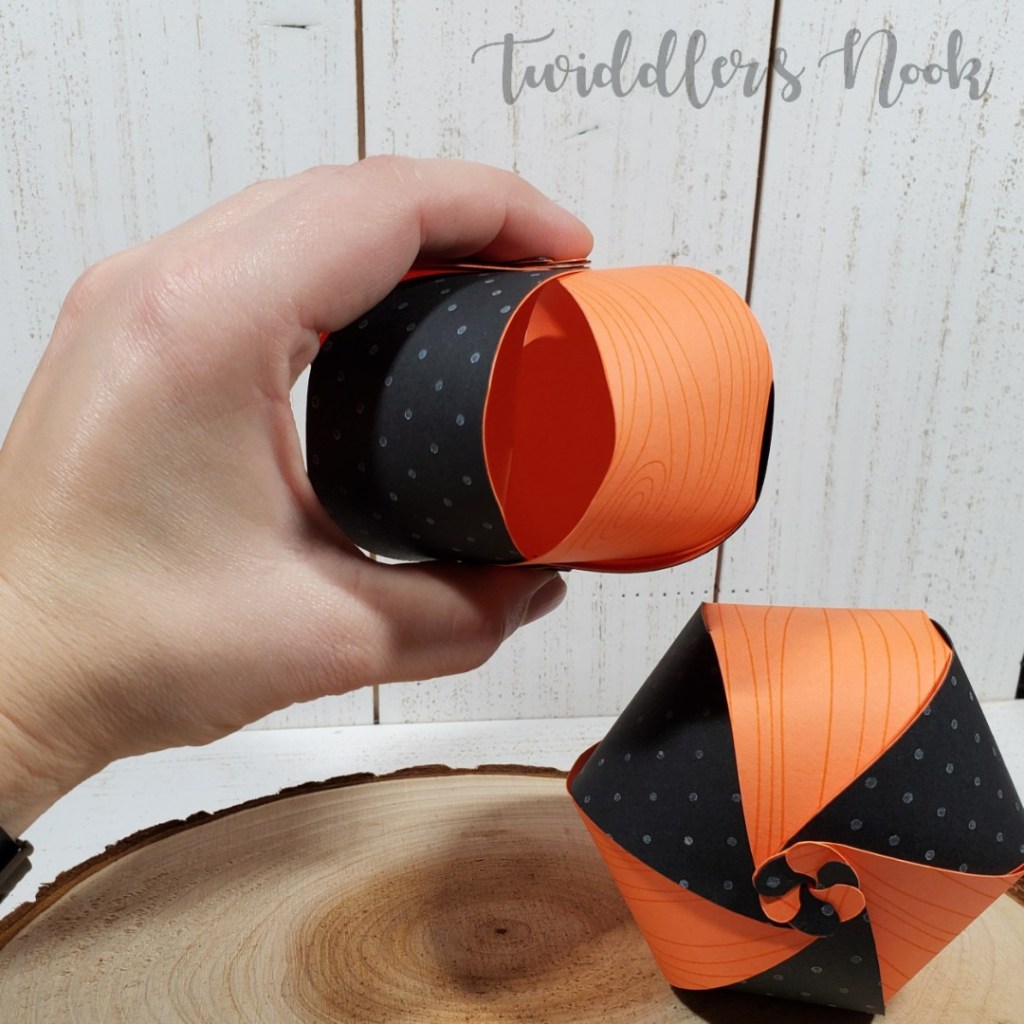
These fun cards fold up flat and fit in an envelope to be mailed. Isn’t that awesome!?!

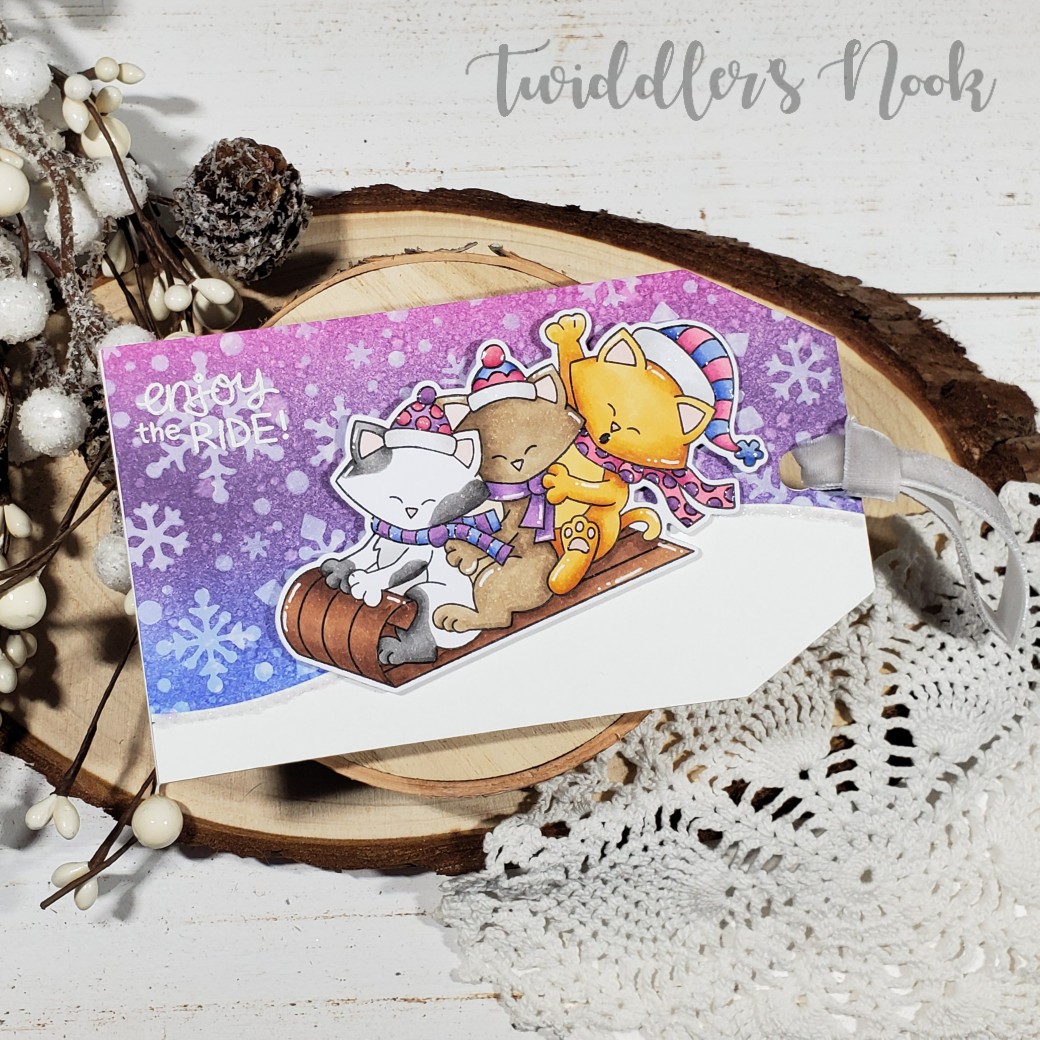
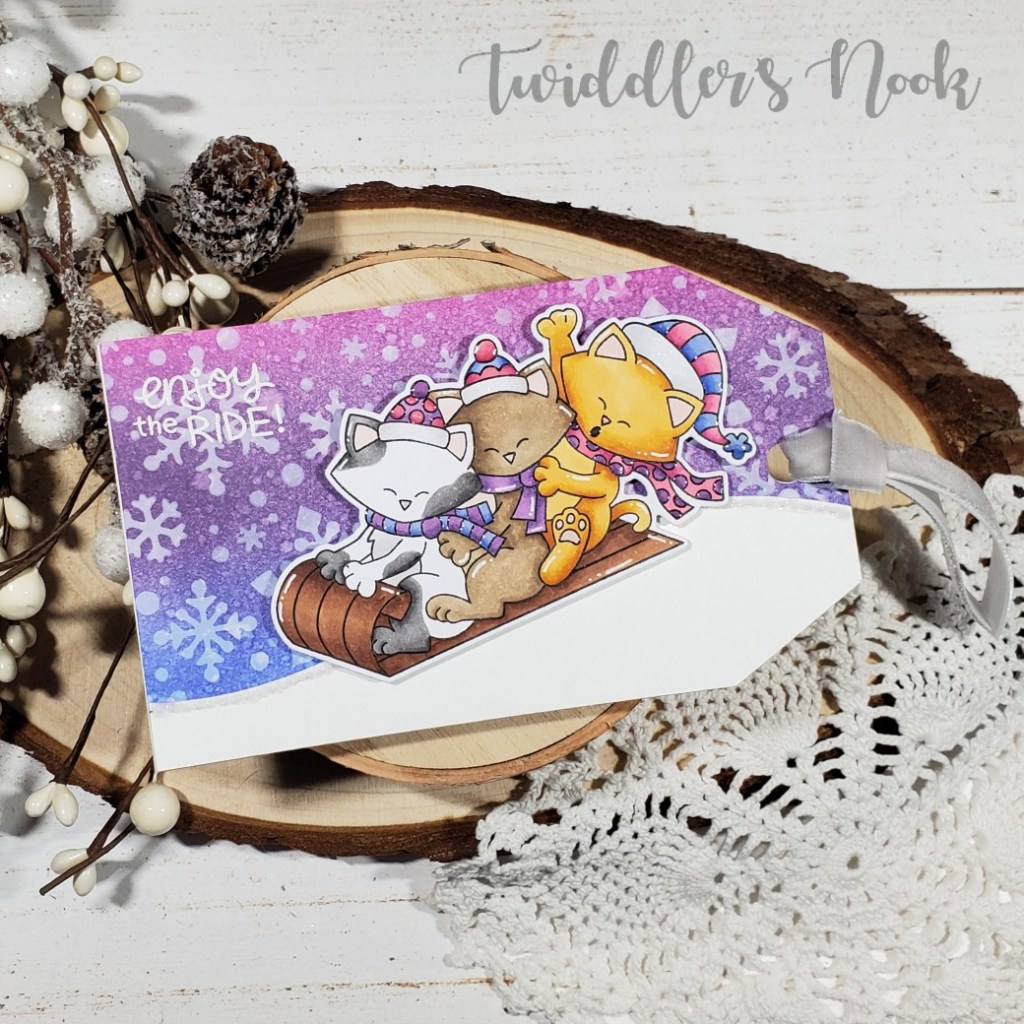
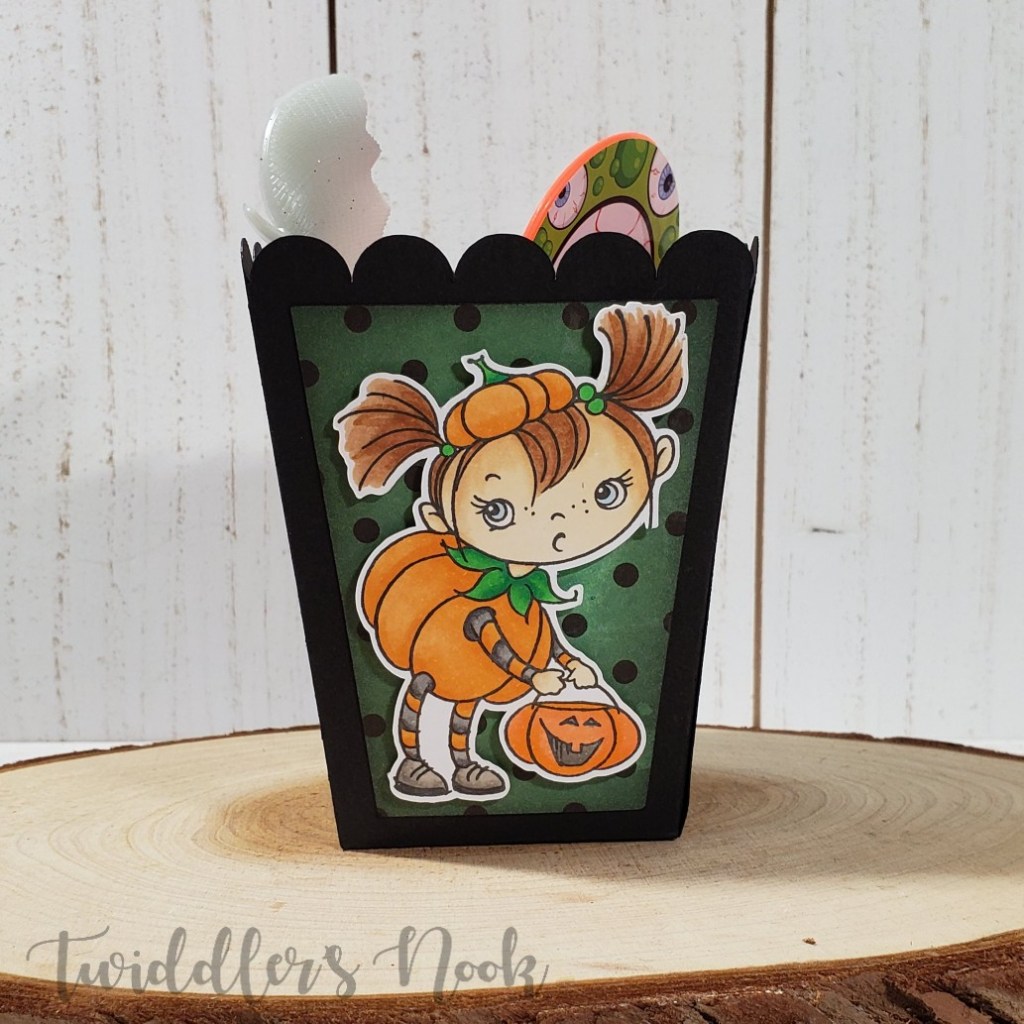
I simply used my Cricut to cut out all the pieces in different colors and assembled them with a combination of liquid glue and tape runner. I stamped the sentiment on the tea bad from the Newton’s Nook Cup of Cocoa stamp set. I thought it was just too perfect of a sentiment and it fit great too!

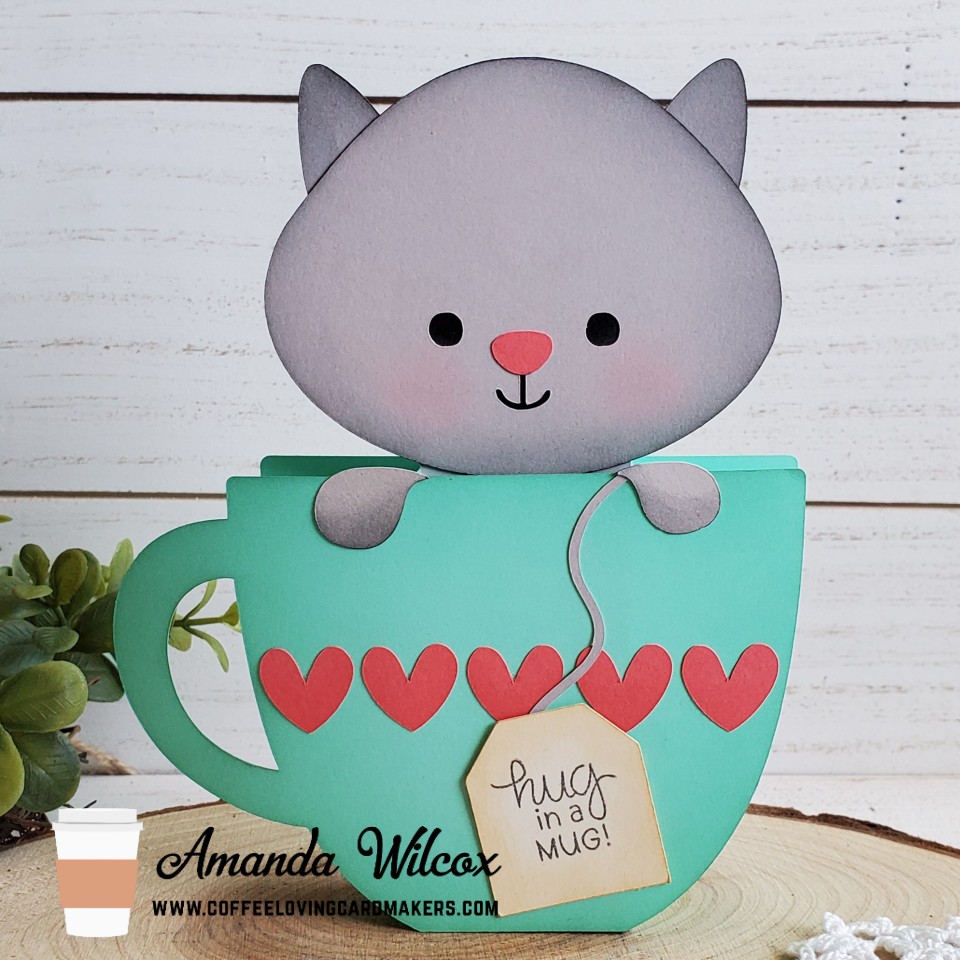
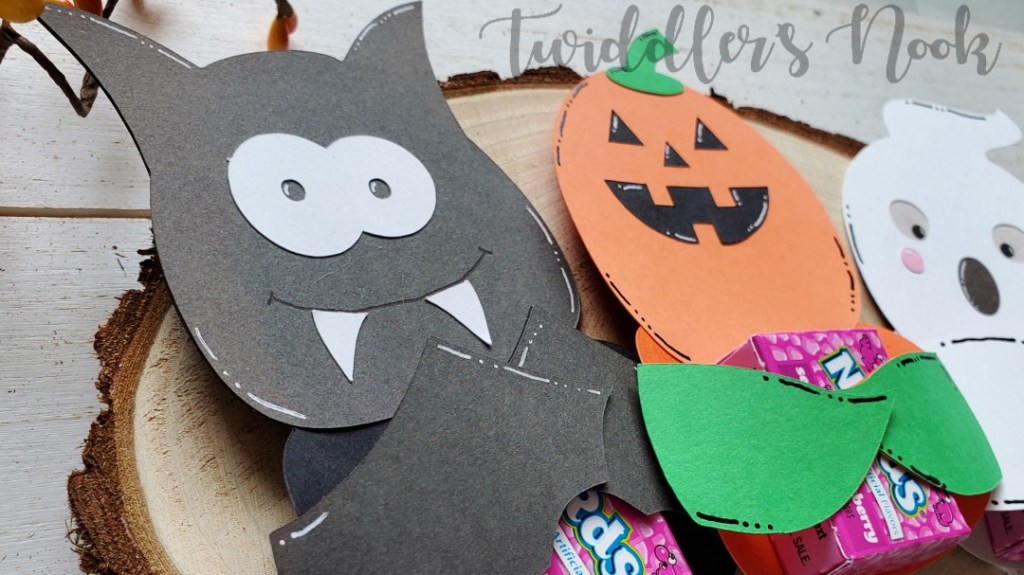
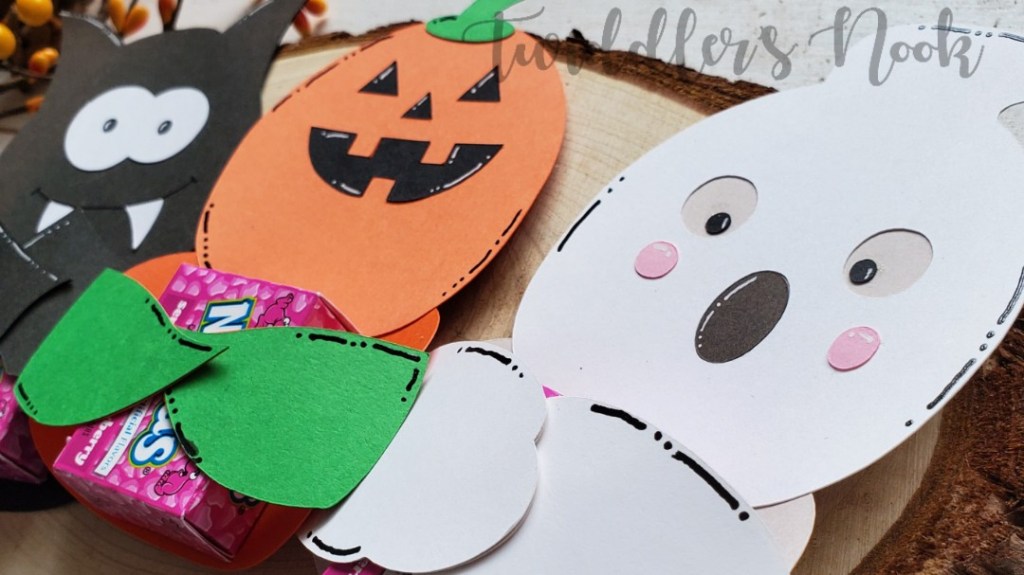
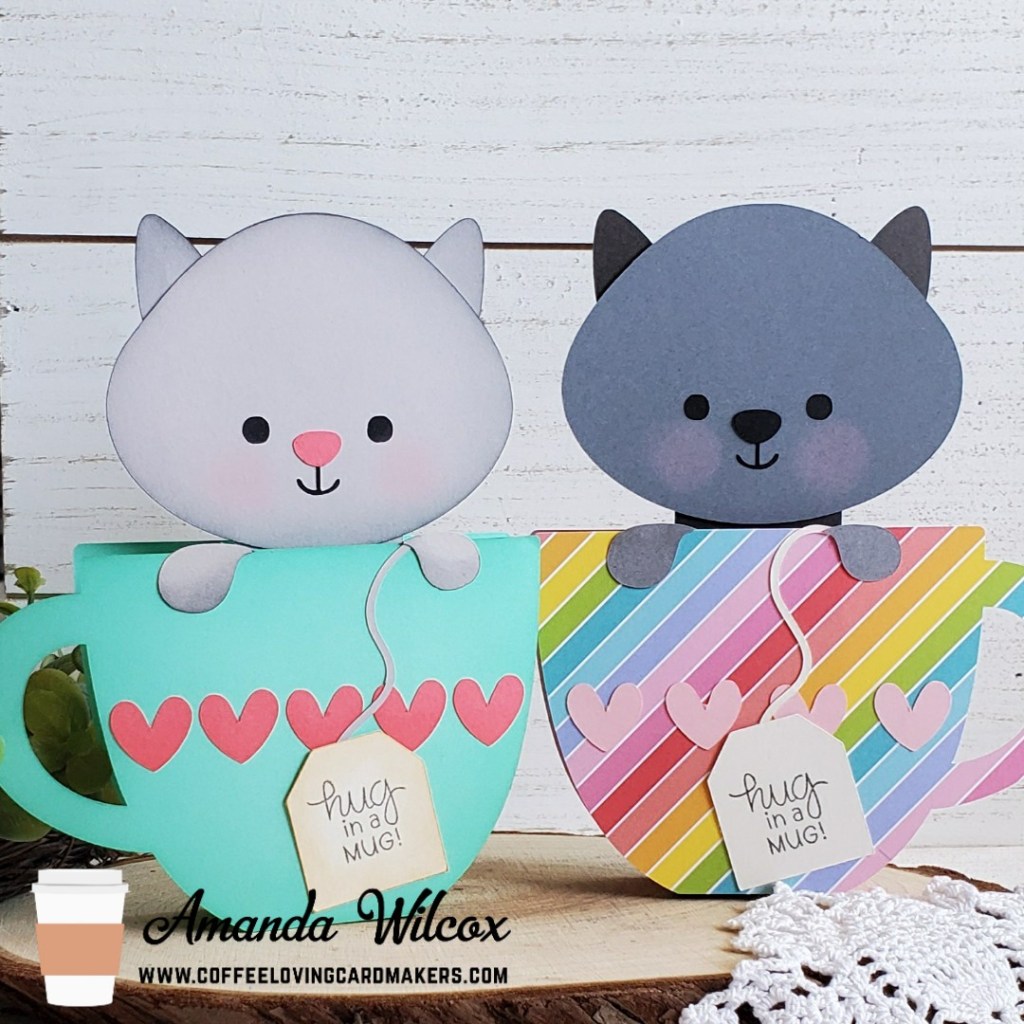
I made this first card to look like our cat Hercules with my favorite teal and melon color combo for the mug. I did some distress ink blending on the edges of the pieces for added dimension and a little pink chalk for his cheeks.

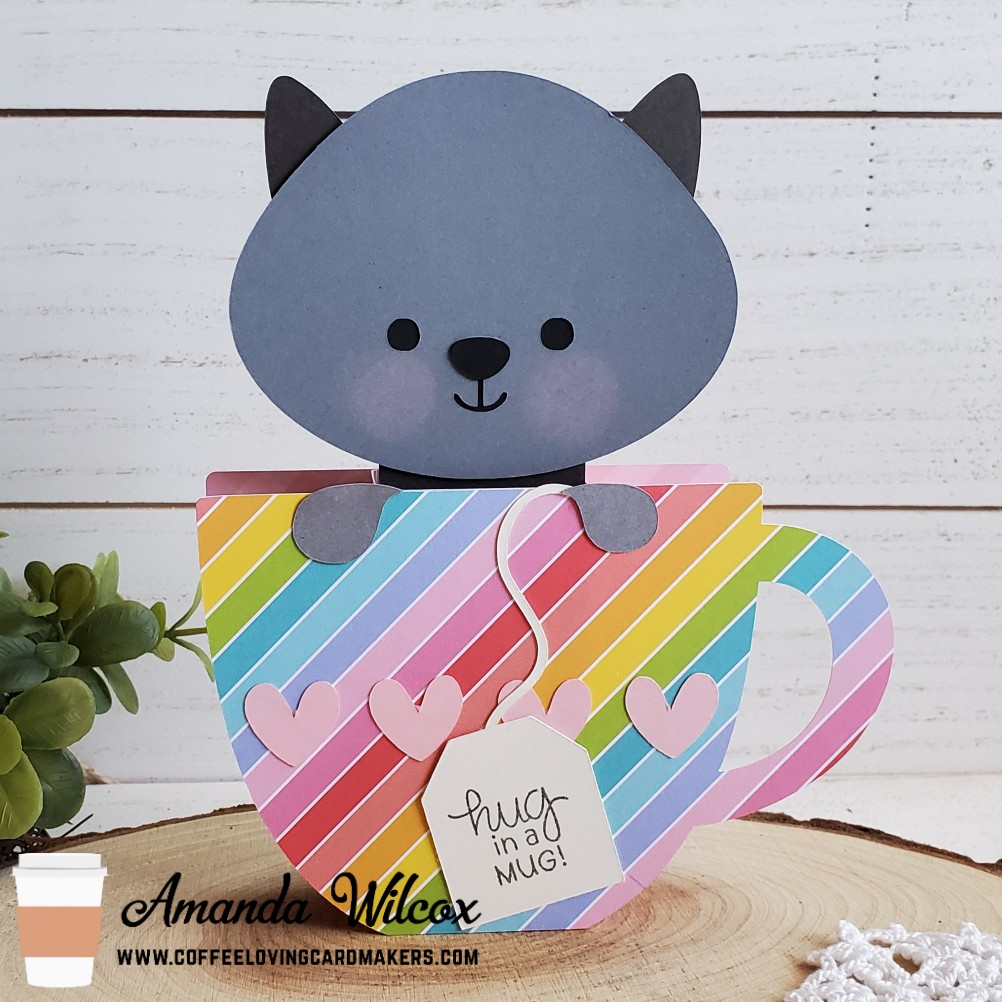
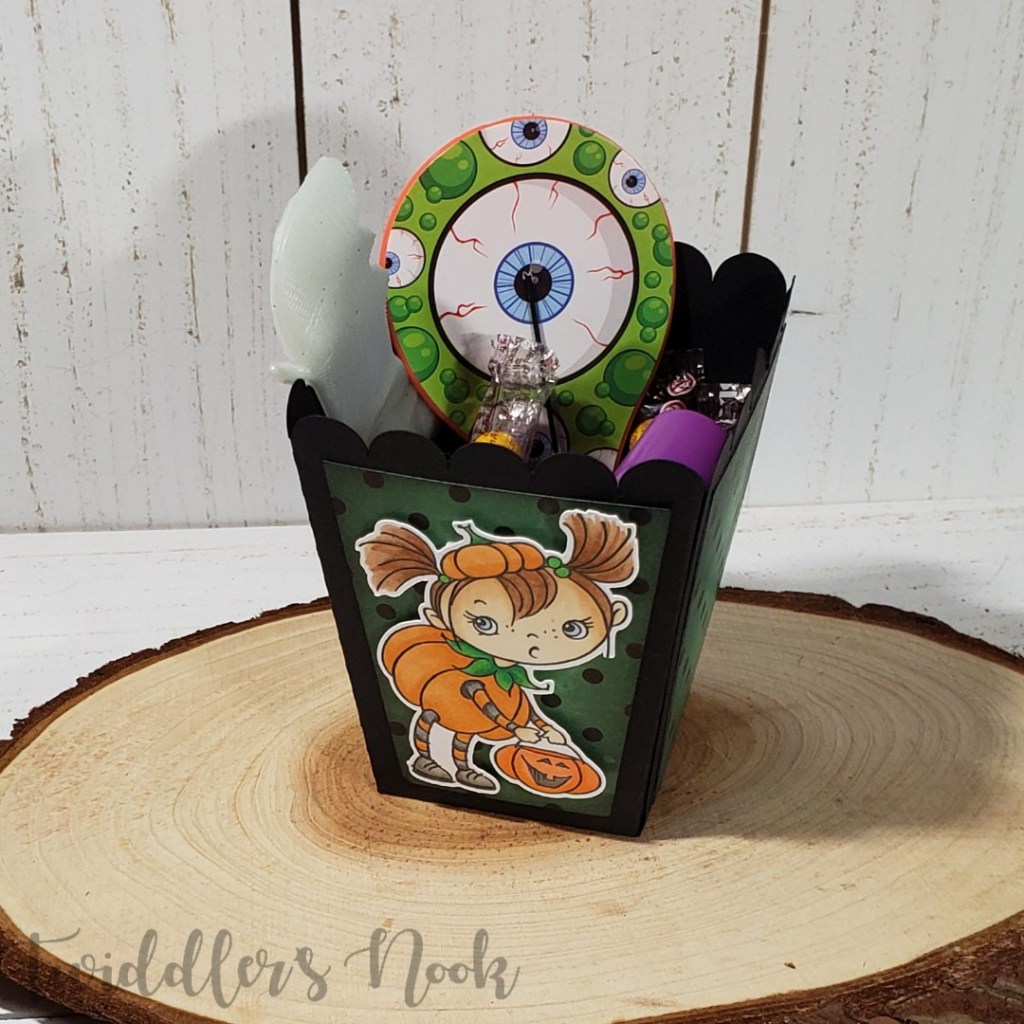
For this second one, I really wanted to try fun patterned paper for the mug and decided on a dark gray/black kitty to give good contrast. One of my hearts got demolished by the Cricut so it’s only got 4 but I like it.

I plan to pop these fun cards in the mail with a tea bag or two for some of my tea loving friends. This project inspired me to try some other things so stay tuned for variations of this project in the future.

I appreciate you sharing your time with me. Have a fabulous day!

12 Days of Christmas Tags – Day 9

Oh my goodness, we’re already three quarters of the way through our series! This has been so fun and has stretched my creative thinking in new ways. I love it! I hope you’re enjoying it too!

Today I’m sharing a different take on Christmas tags…the opposite of mass production. ❤

I really wanted to make a special tag for a special gift we’re giving this Christmas so I treated it like a smaller card front. I used the Newton’s Nook – Newton’s Tobbogan stamps and dies paired with the snowfall stencil for this one.

I blended distress ink on a panel and went over it with white and my stencil. Then I used my Cricut to cut it into a tag, plus 2 white tags of the same size. Then I used a stitched hills die to cut a snow hill and adhered it. I took my image and popped it up with foam squares and then stamped and heat embossed my sentiment. Finally I added this really fun velvet ribbon to the tag whole and moved on to finishing touches.

For those, I added white gel pen accents throughout and wink of stella glitter brush pen to the hats. Then I took glossy accents and put them on kitty noses, mouth and toe beans; plus the scarves and hats all have shiny accents too.

The very last thing I did was die cut the recipient’s name from the same pink, blue and purple colors as the tag’s color palette and glued it to the back. That part is a secret though. 🙂

Don’t forget there are prizes to be won. Comment each day on here, on my Instagram post for the day and then head to Caffeinated Craftiness and do the same for her. Four comments per day gives you a shot at any one of four prizes!

I appreciate you sharing your time with me. Have a fabulous day!

13 Days of Tricks and Treats – Day 6

Thanks for stopping by today. I’m excited to share this project because my husband and I created it together. I found a pattern on Pinterest for this cool ball-type treat holder but it was going to require a lot of tracing and hand cutting…not my favorite. So, together we (he did most of the work) created a cut file for my Cricut so I could let the machine do all the work! It’s fantastic!

These cool ball treat holders require no adhesive to keep them together and are easy to put together and take apart as many times as you want. If you created them for decorations you could take them apart and store them flat too!

I cut the main file out of orange cardstock and then cut one of the sections apart and used 3 of those per ball out of black. Then I used a couple of background stamps I had and stamped texture to them. The black has white polka dots and the orange has orange woodgrain. I glued the black to the orange panels and just going in order hooked the ends around each other until they are all hooked and it’s closed. That’s that!

See when you gently squeeze the top and bottom, the open side shows itself which makes a great place to slide in tricks or treats. 😉 And also for the recipient to get them out without needing to open the whole ball.

These were fun to make and while I was at it I cut out a bundle of red, green and white ones for Christmas too! Stay tuned for those to be finished. I’m thinking some glitter stenciling for those.

I appreciate you sharing your time with me. Have a fabulous day!

13 Days of Tricks and Treats – Day 3

Welcome back to day 3. Today’s boxes are super fun and extremely versatile! They are a cut file from Lori Whitlock called popcorn favor box. I bought the dog and lion versions because the animals were too cute to pass up! They do have just the popcorn box available as well though.

To create these fun boxes, I used the file to cut out the box from black cardstock. Then I altered the file with the Cricut Design studio to create the panels for the sides and cut them from some Halloween patterned paper in my stash. I inked the edged of the patterned paper with black soot distress ink to tone down the brightness of the green a bit. Then I used scrappy tape and tape runner to put them all together.

Finally, I stamped, colored and colored this cute image from Stampendous called pumpkin kiddo. It’s an older stamp I found when digging deep in my forgotten about stamps and thought it would fit great on these boxes. She is popped up with foam squares on each box.

Then my daughter and I took our Dollar Tree haul and filled them up with fun goodies like glow-in-the-dark bats, a paddle ball, rubber stamps, slime and candy. I think the kids will have a blast and be excited to receive these cuties!

I want to try making these with the dog that comes with the cut file but add a Santa hat for Christmas. Won’t they be so cute?!? I think so. Maybe roll up a pair of socks to fill them. What would you put in these?

I appreciate you sharing your time with me. Remember to come back tomorrow to see what tricks or treats I have in store to share. Have a fabulous day!

13 Days of Tricks and Treats – Day 2

Welcome back! I’m so glad you stopped by! Today’s treat holder was a cut file I used on my Cricut from SVG Cutting Files. These were super fun to make and would be easy enough for mass production if you needed a lot to give out.

The file you purchase comes with all three of these Halloween cuties! They are designed to hold Hershey’s Nuggets but I decided to change it up a bit and put mini Nerds boxes instead.

After adhering all of the pieces together I took a white gel pen and black glaze pen to all each of them and added some highlights for interest. It’s amazing what dimension that adds to the whole thing.

Once that was dry, I used 1/2 inch glue dots and glued the Nerds to the belly of the creature and then one more glue dot to keep the arms closed around the box.

Aren’t they super cute? I think the bat is my favorite but I’ve always been partial to bats.

As always, I appreciate you sharing your time with me. Have a fabulous day!