Happy Tuesday everyone! I hope your week is off to a splendid start so far. We went to a wedding a couple weekends ago and I realized that I forgot to share the card that I created for them! I pulled colors from their invitation and went to town having so much fun!
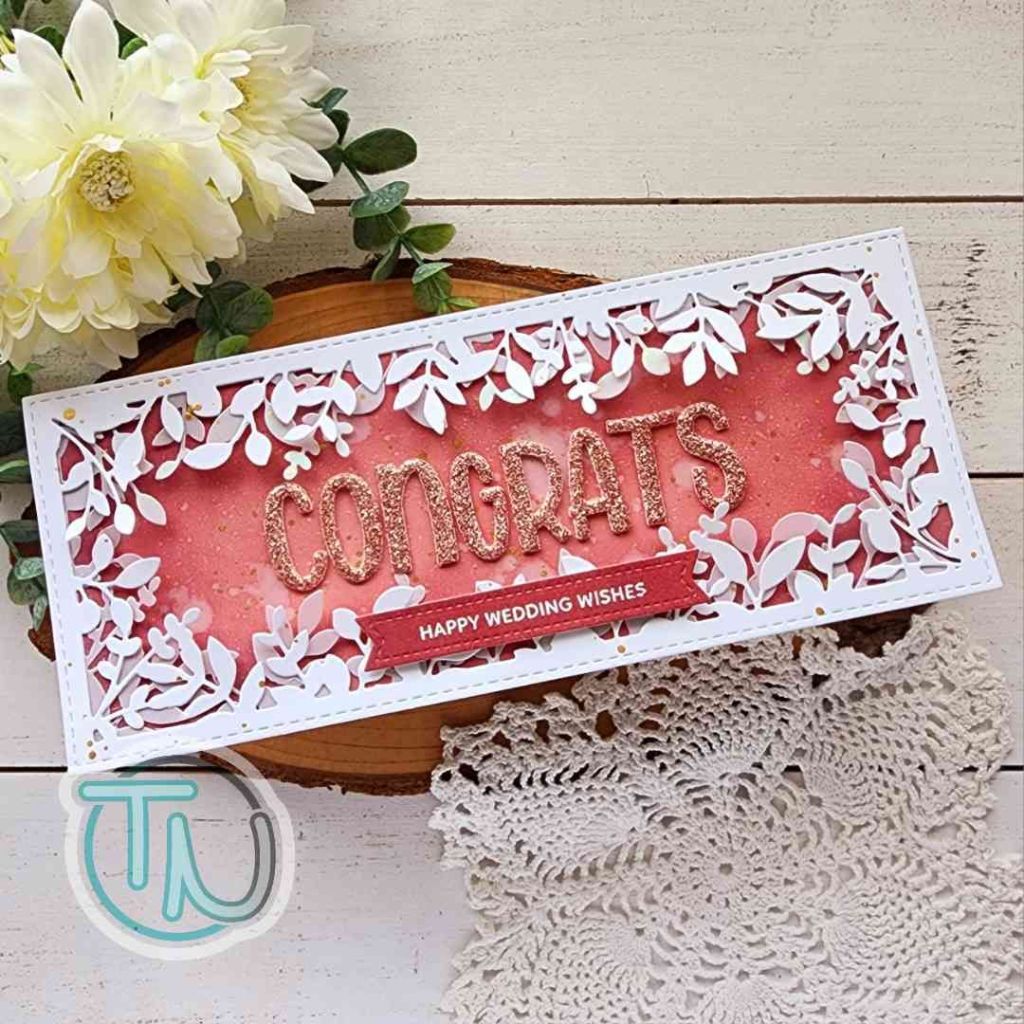
I started with the Trinity Stamps Foliage Frame Slimline die set. I just cut the frame twice – once from white cardstock and another from vellum. I layered the vellum behind and adhered the layers together. Then I ink blended another panel with Distress Oxide Ink in aged mahogany fading it as I went in to the center.
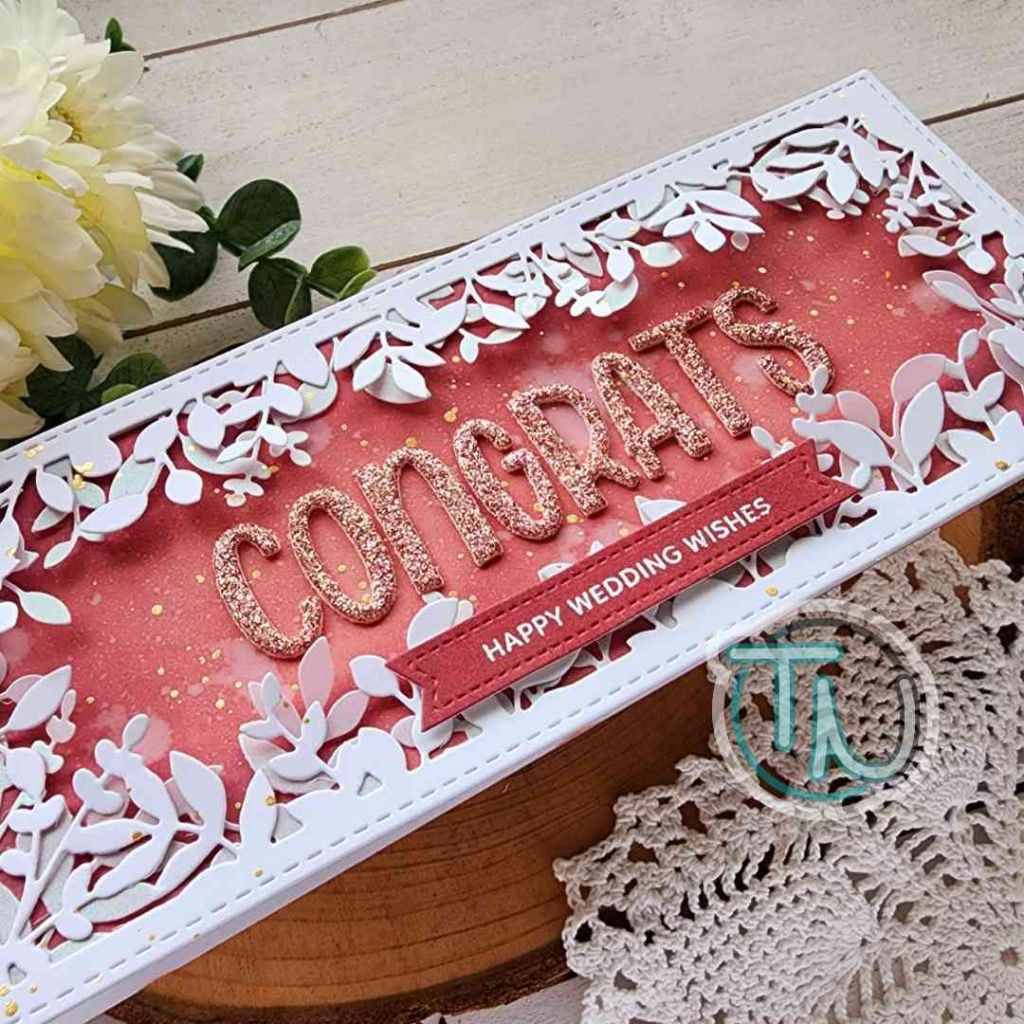
I spritzed the panel with water and blotted it dry before adhering the foliage frame to it with liquid glue. Once they were adhered together I splattered the whole thing with gold watercolor. Then I went into my stash for an alphabet set that fit inside and ended up loving the Lawn Fawn Henry’s ABCs font so I cut “CONGRATS” from Spellbinders die cutting sparkle foam in rose gold.
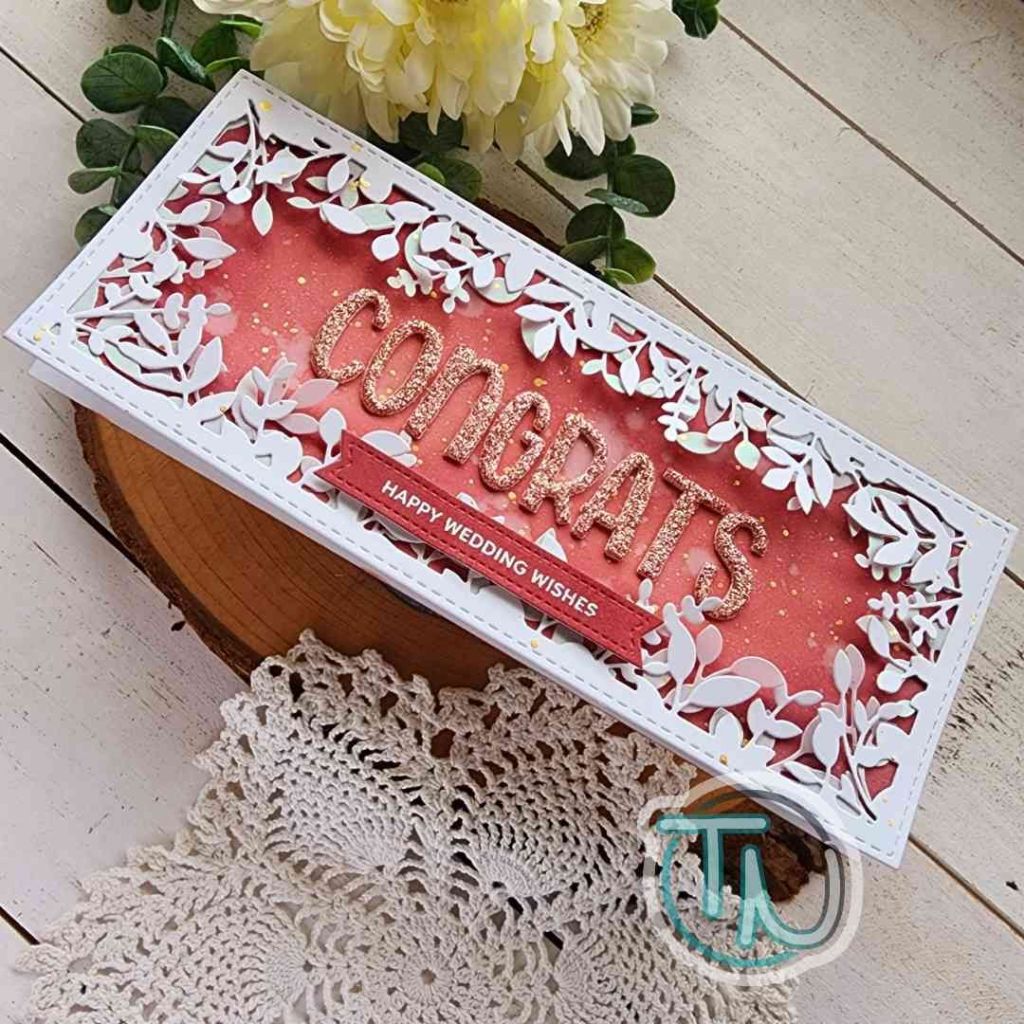
After gluing those to the center I went back and ink blended more aged mahogany on a piece of white cardstock and used a Pretty Pink Posh sentiment banner to cut it out. I stamped and heat embossed a sentiment from the Pretty Pink Posh Sentiment Strips | Occasions stamp set and popped it up below the sparkly letters with a foam strip.
I love how whimsical and pretty this card turned out and was very happy to celebrate the happy couple too!
Products used:
Trinity Stamps Foliage Frame Slimline dies
Lawn Fawn Henry’s ABCs dies
Pretty Pink Posh Sentiment Strips dies
Pretty Pink Posh Sentiment Strips | Occasions stamps
Liquid glue
Foam strips
Distress Oxide Ink – aged mahogany
Embossing powder – frosting
Anti-static brush
Embossing & Watermark ink
LH Colors gold watercolor
I appreciate you sharing your time with me. Have a fabulous day!