
Yippee!!! It’s release day for Newton’s Nook’s 13 year mini celebration. We’re over on Instagram having an inspiration hop – head there to comment as you hop along for a chance to win. But for now, details on my card today.

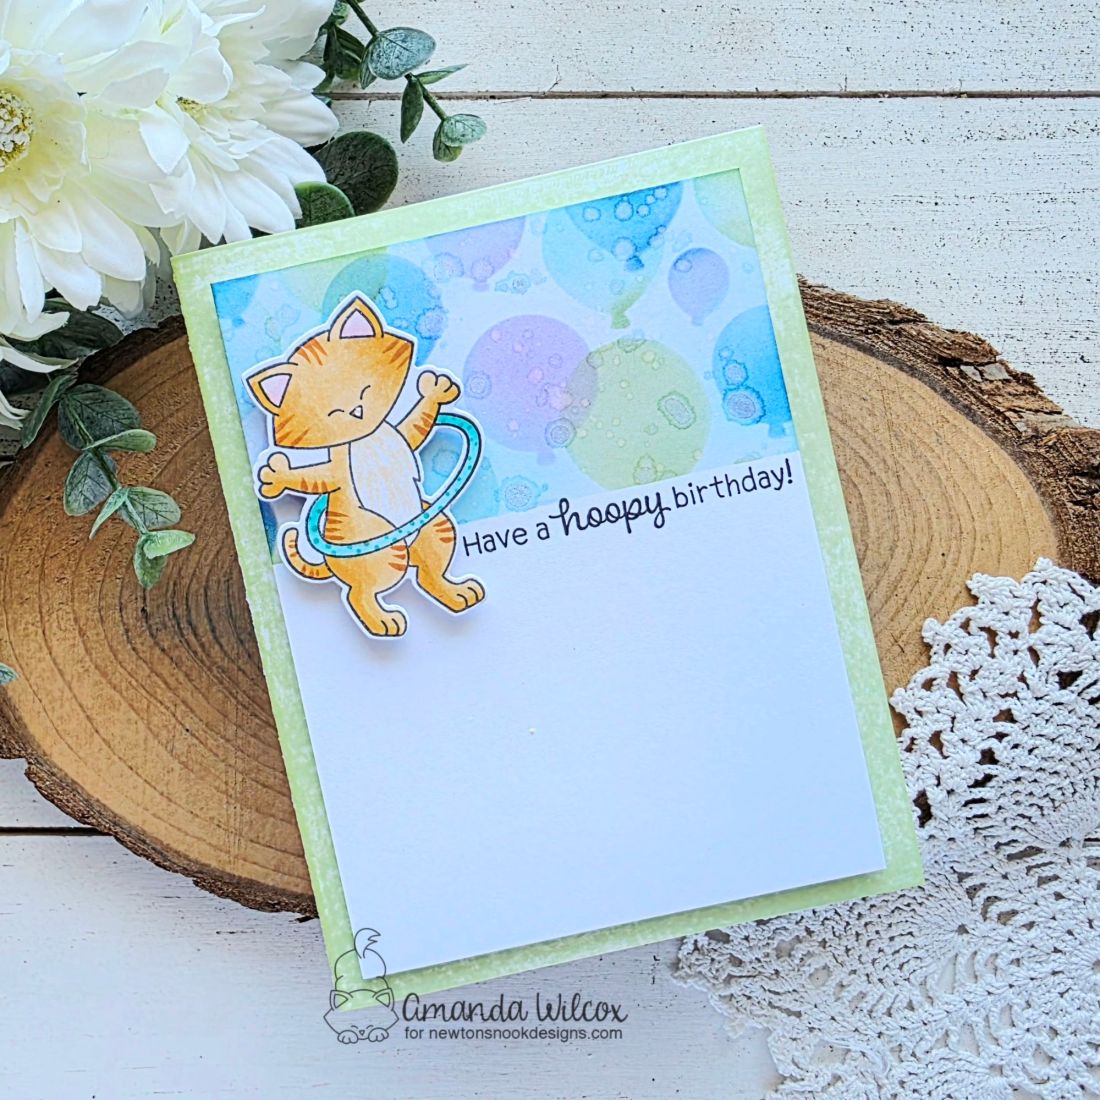
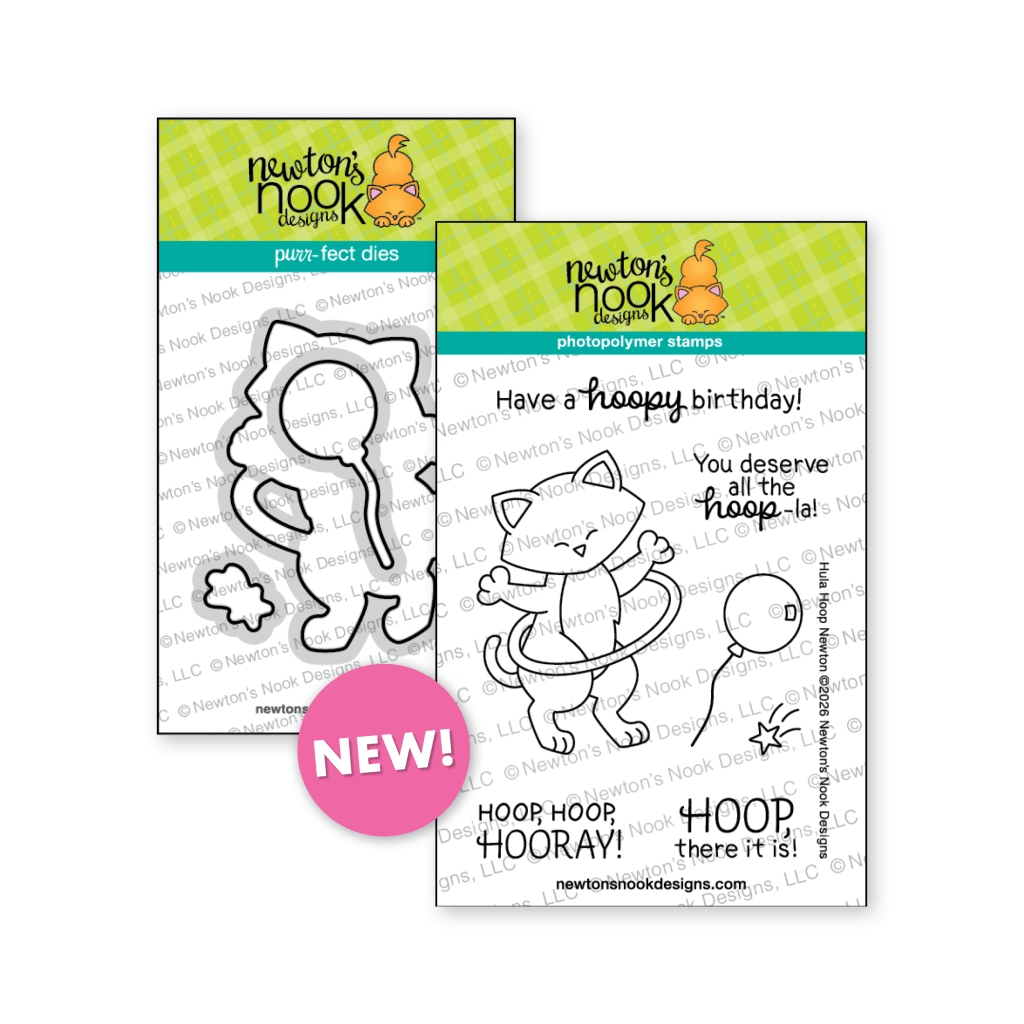
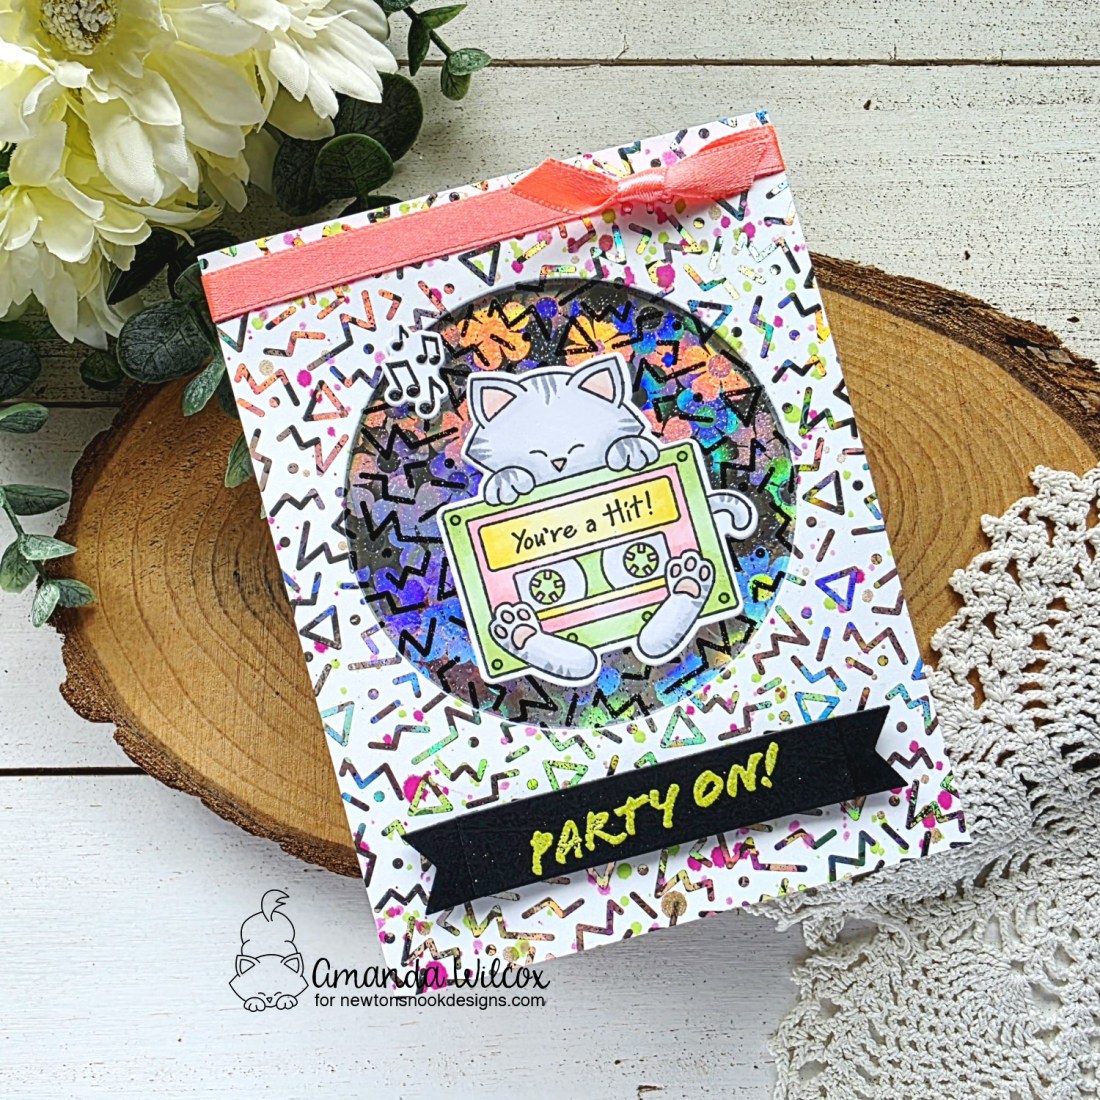
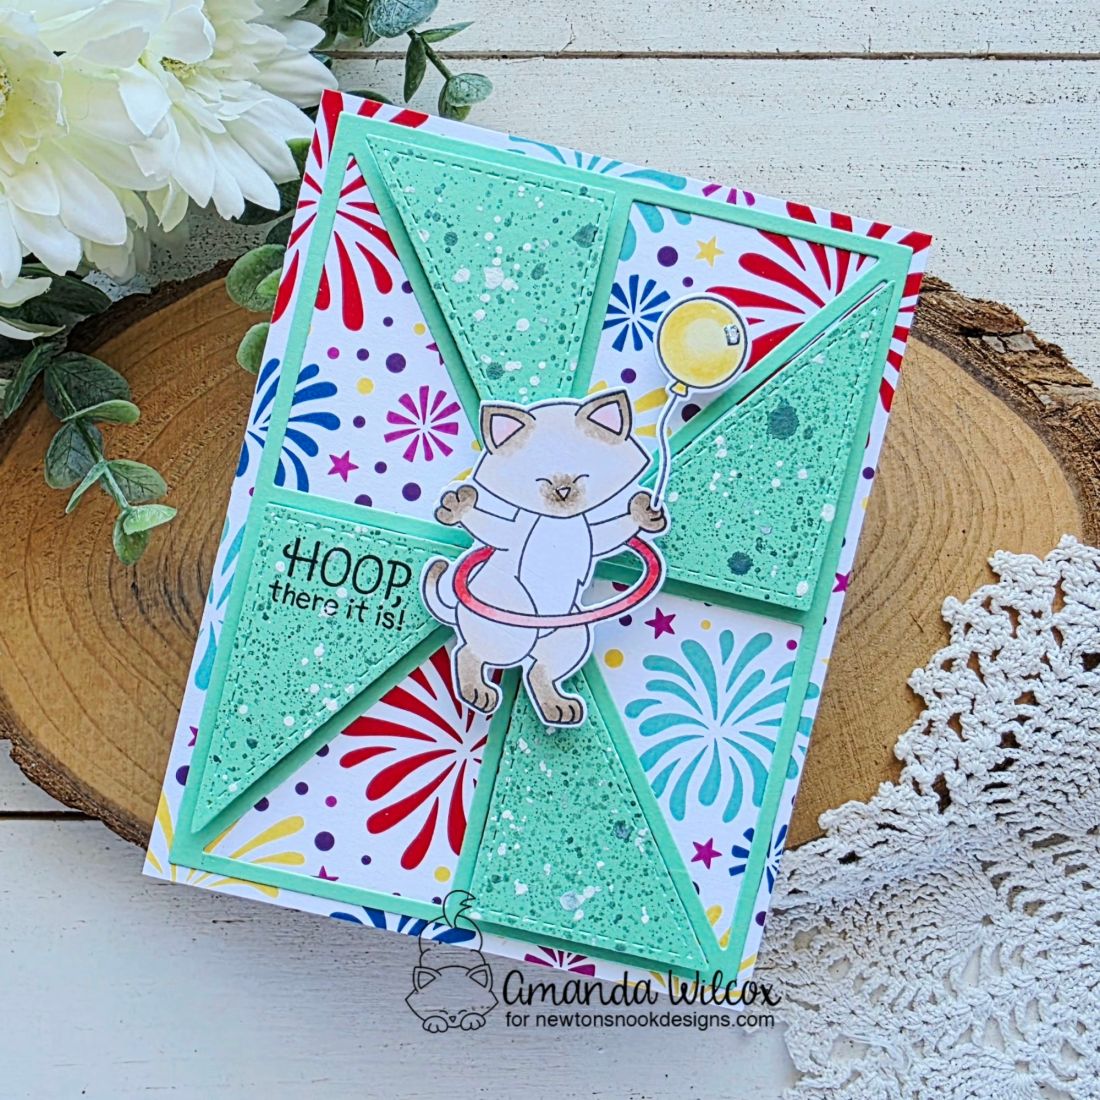
Once again, I stamped and colored Newton and used the coordinating die to cut him out. I also went for the cute balloon in the set this time. I glued that to his hand and set it aside to dry.
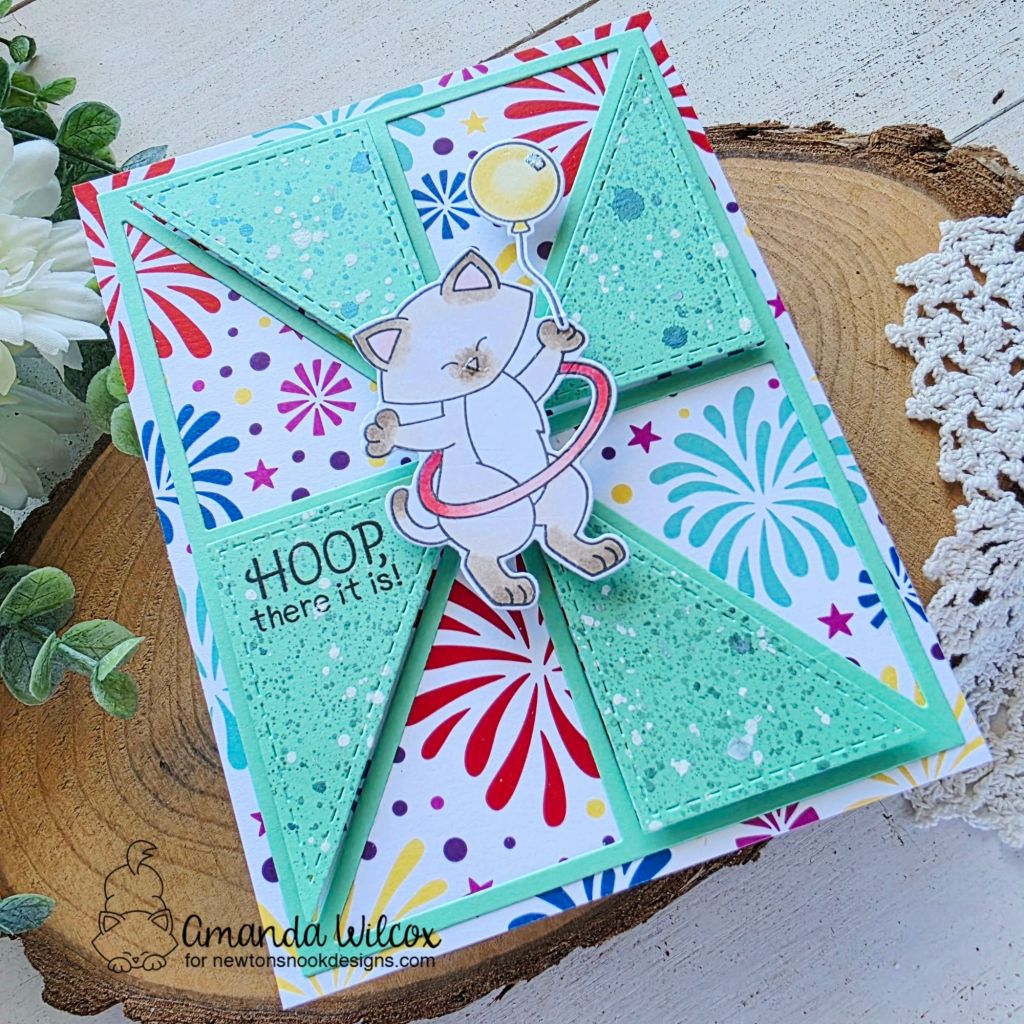
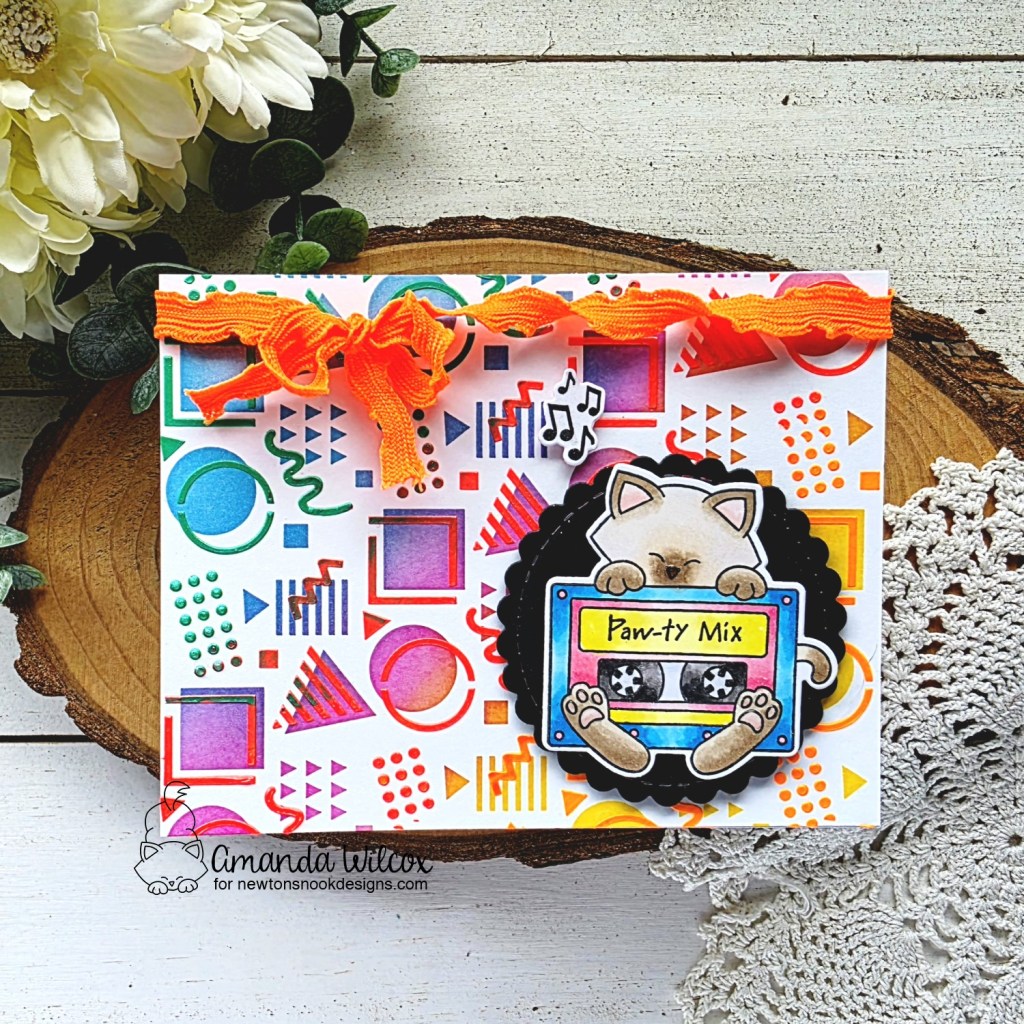
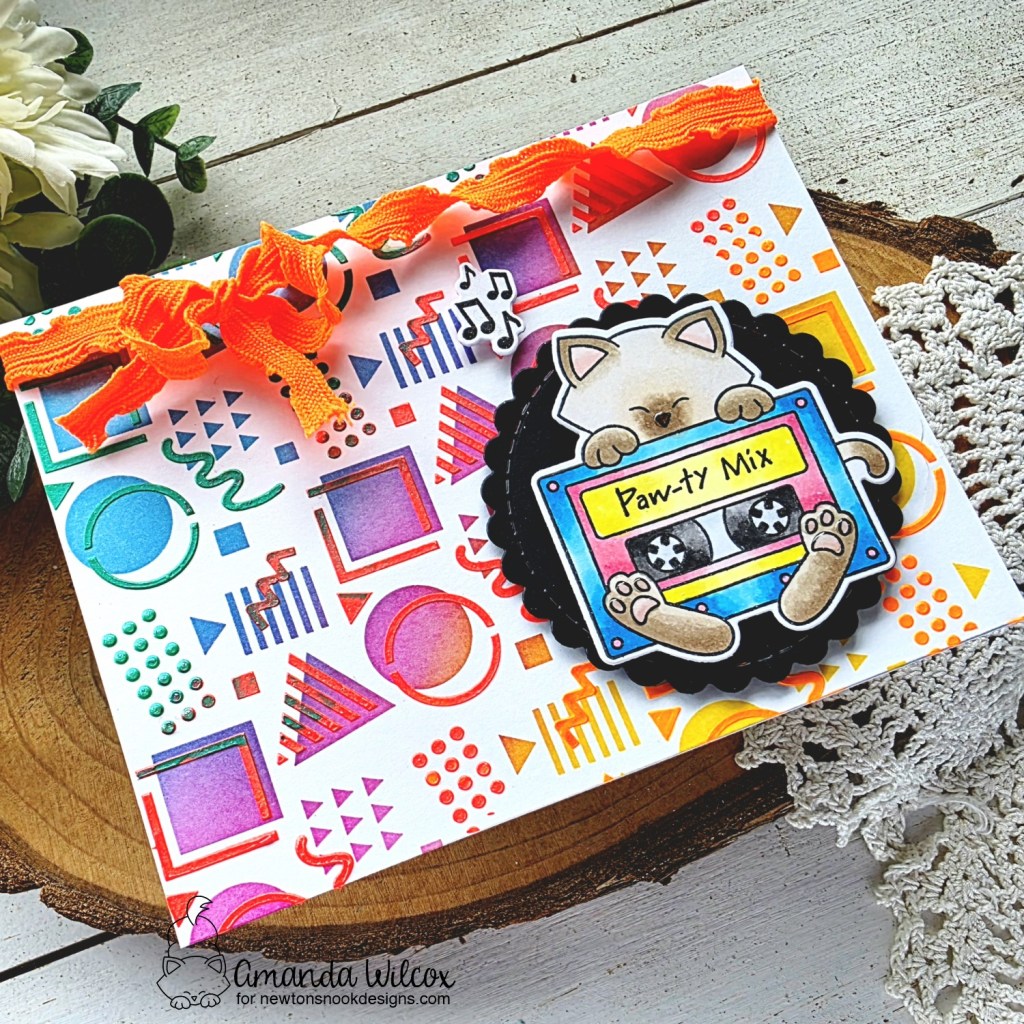
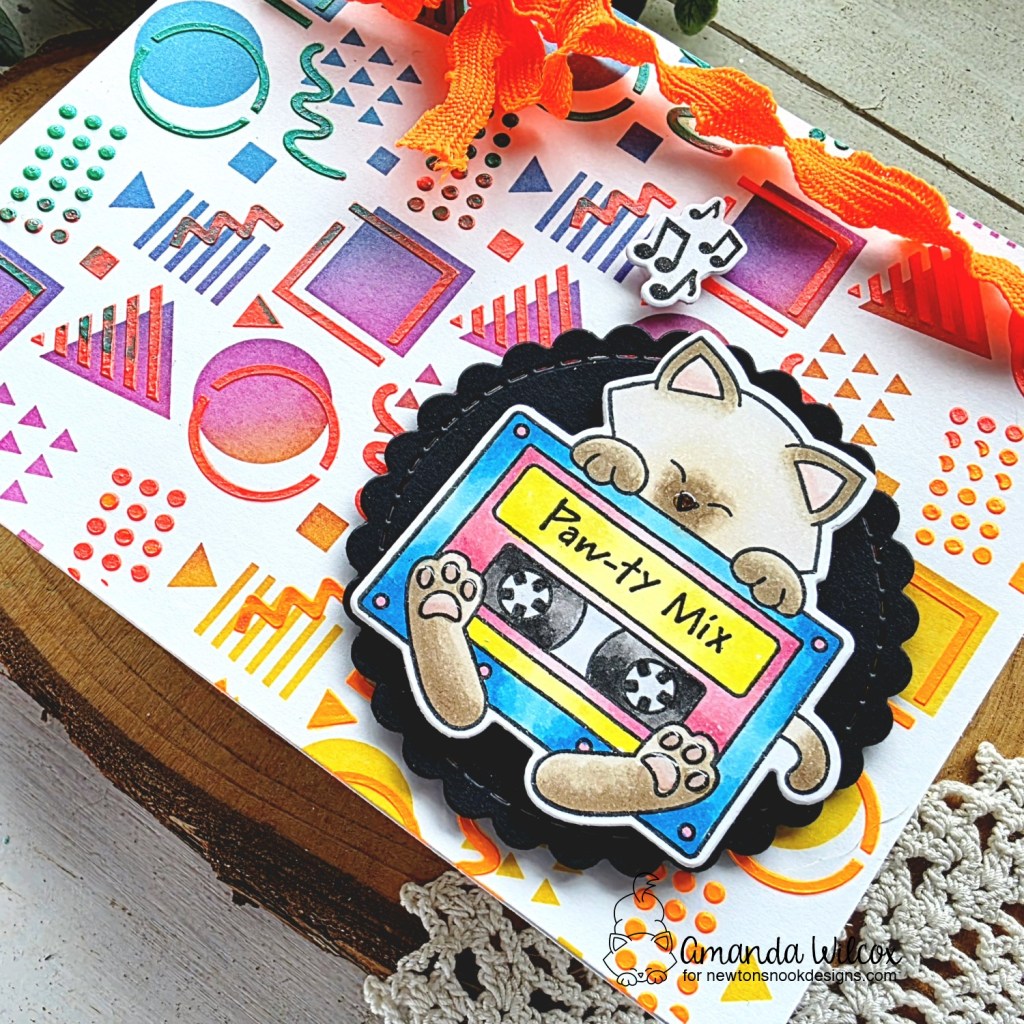
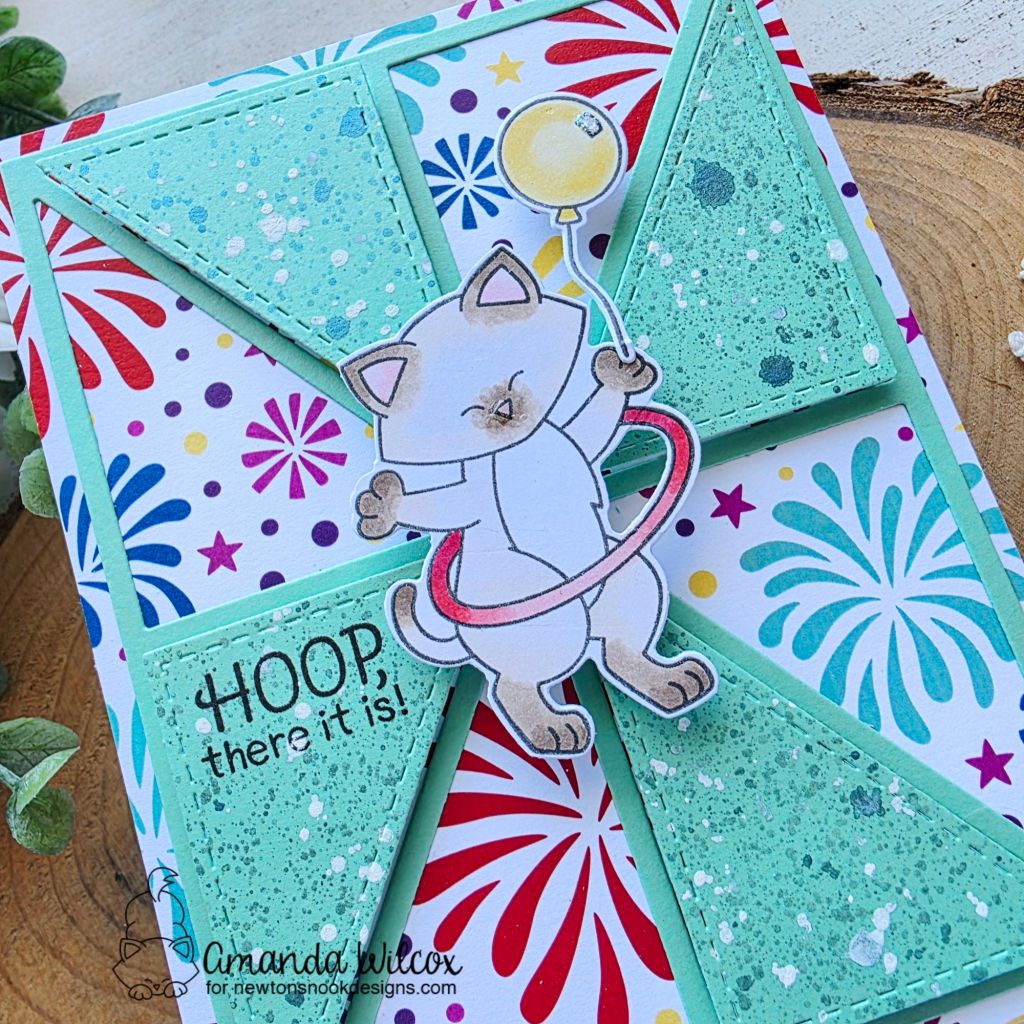
For the background, I pulled a piece of patterned paper from the Fireworks pad and trimmed it to A2 size and glued it to a white card base. Then I die cut the Card Layout 5 die from teal cardstock. I glued the frame to the card front and took half of the inserts to splatter with paint and distress spritz sprays.
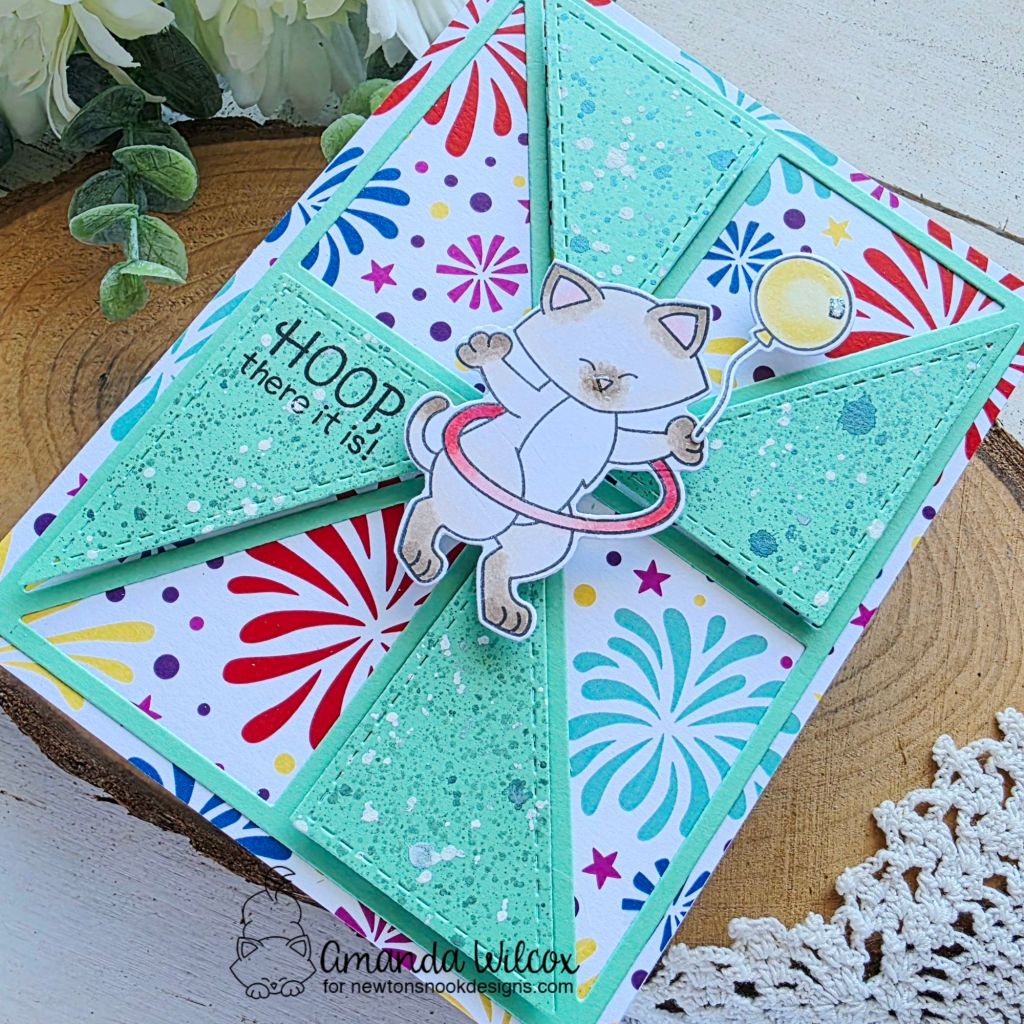
Once those were dry, I stamped my sentiment on one panel and popped them all up within the frame using foam tape. Last, I added Newton with foam squares, doubled up in some places so he laid flat among the popped up background pieces.
For finishing touches today, I just added another dab of glossy accents to Newton’s nose and then stardust Stickles to the highlight on the balloon.
Please be sure to head to Instagram and hop along with us! You’ll see fun inspiration and have a chance to win while you’re at it!
I appreciate you sharing your time with me. Have a fabulous day!