

I absolutely LOVE this technique and thought it would be fun to share how it’s achieved for those who haven’t discovered it yet. I’m also sharing a few tips and tricks to keep in mind to help you be more successful.
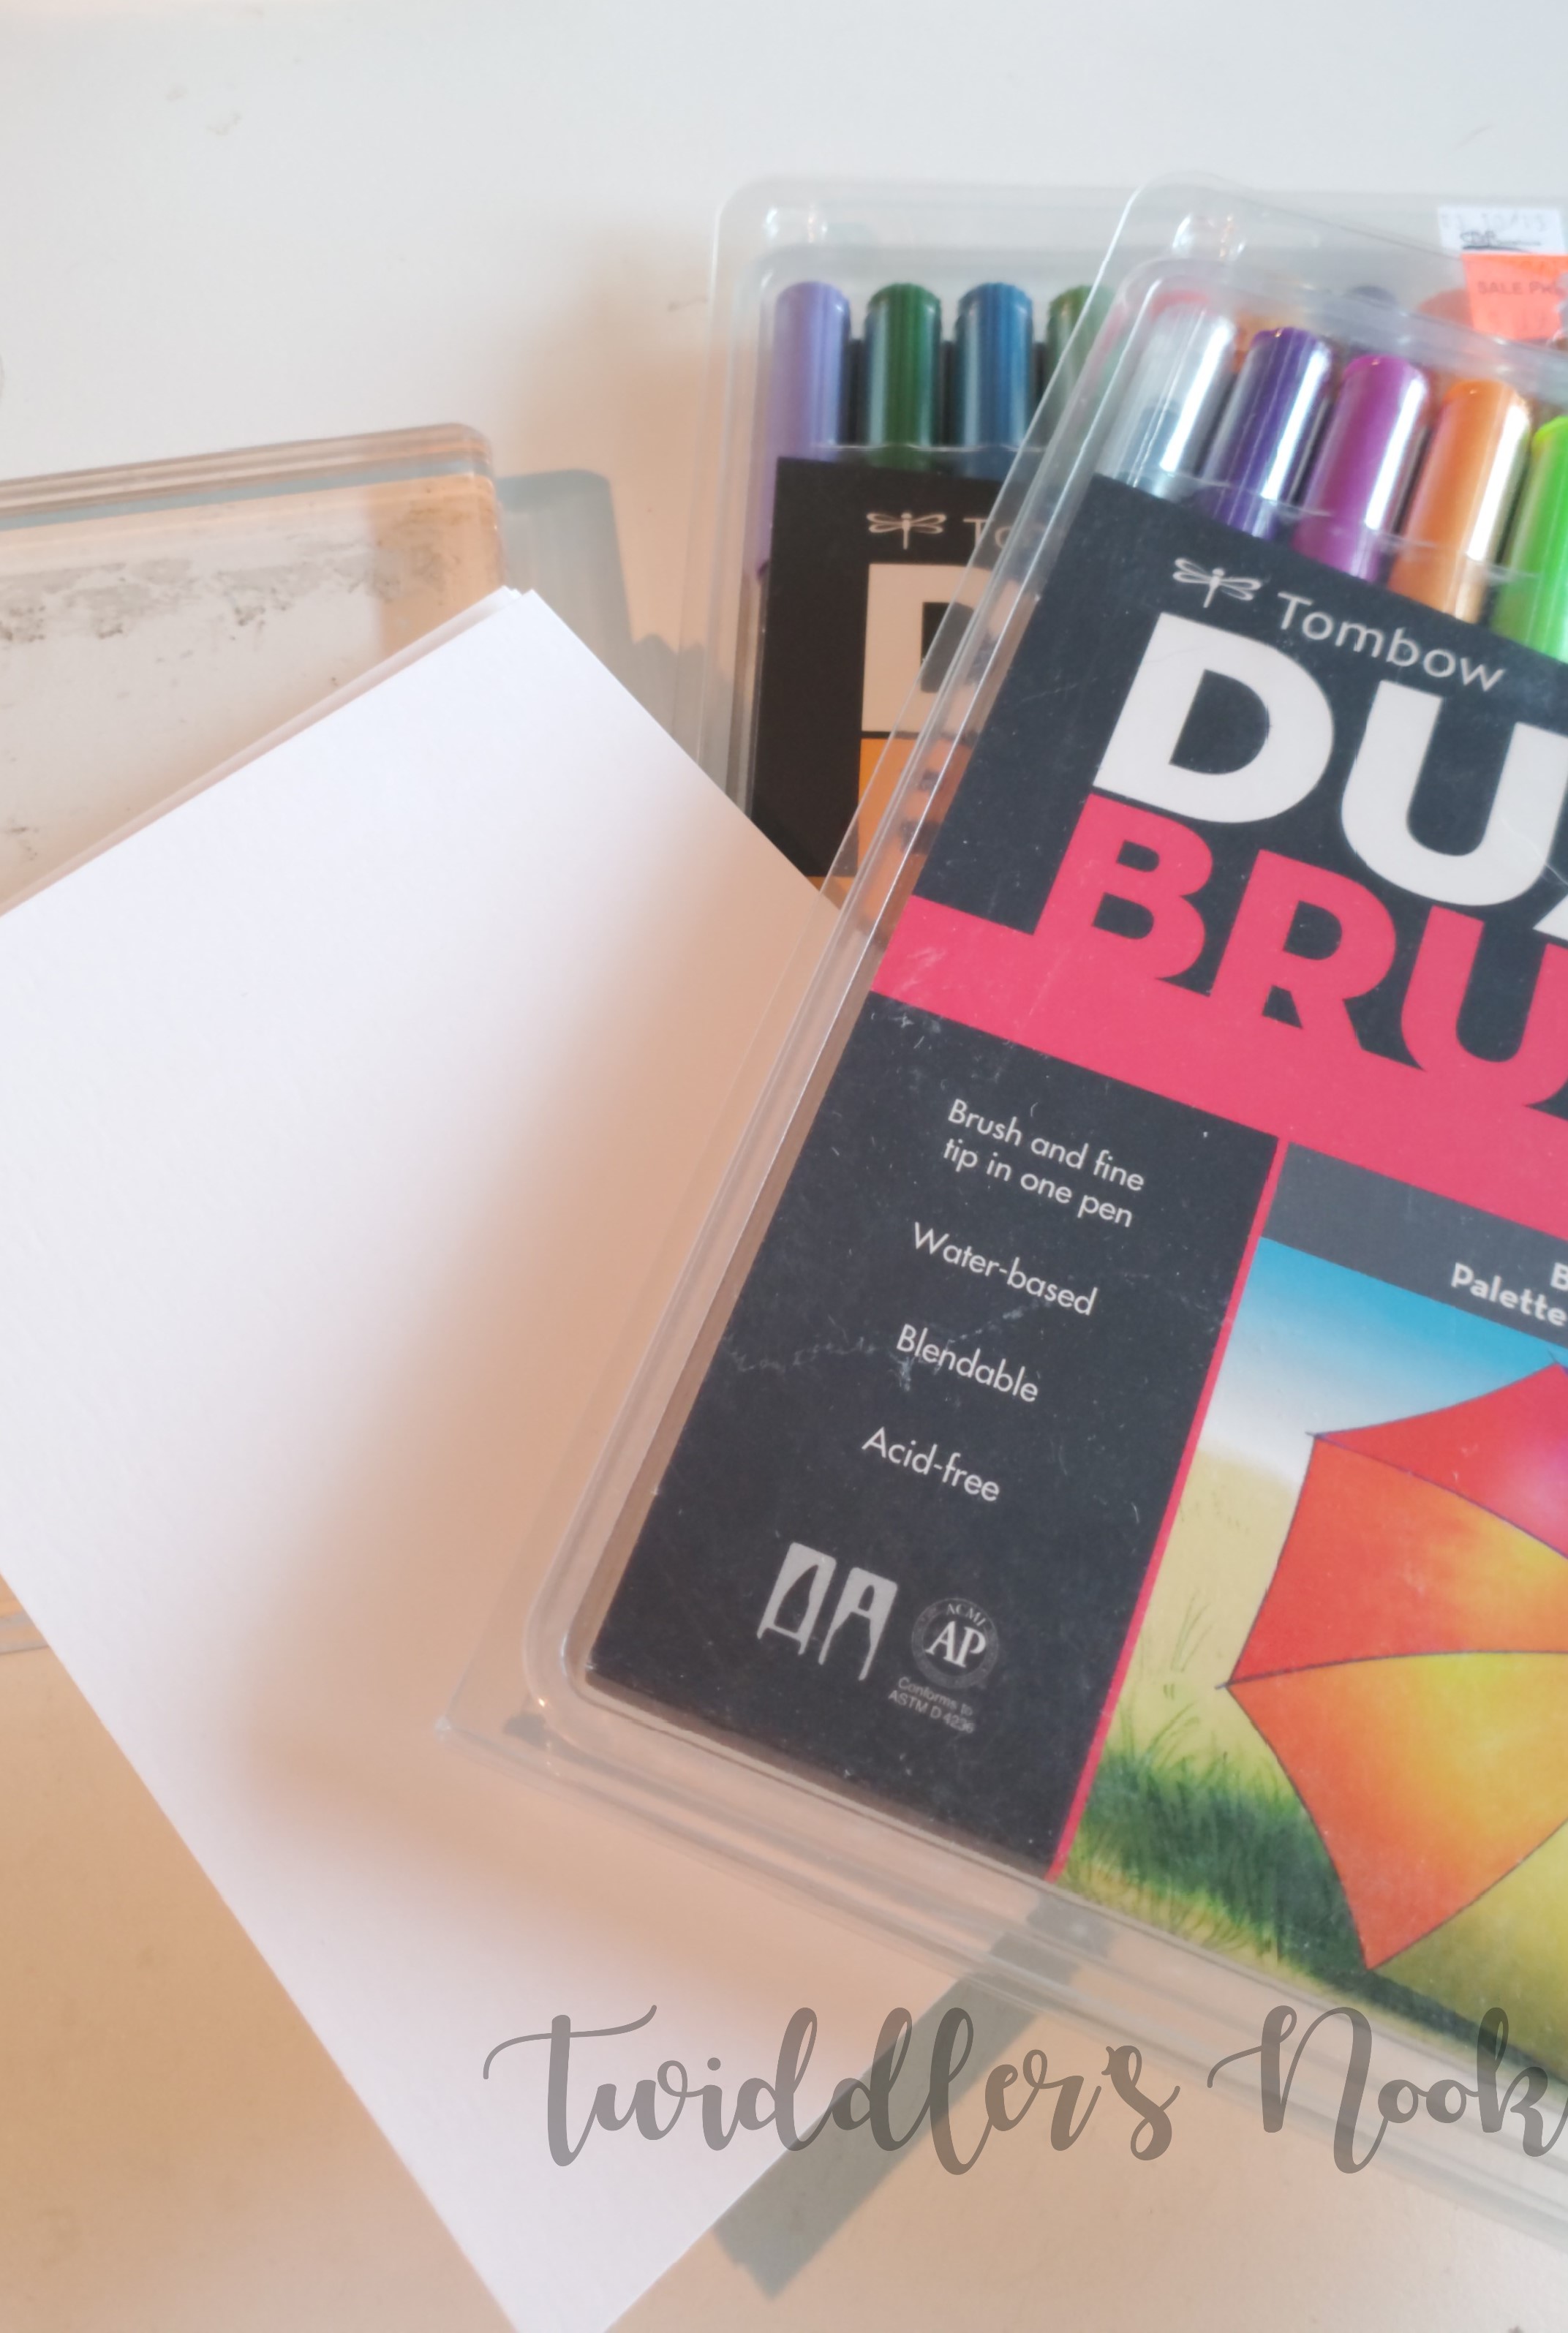
First, you want to start with good quality paper. Something that can withstand the water you’re going to put on it like an actual watercolor paper or, if you want smooth paper, I suggest Strathmore Bristol Smooth cardstock. I used to try using cheap paper for everything and, trust me, all paper is not created equal. Next you’ll need Tombow Dual Brush Markers in whatever color palette suits you. I try to use no more than four colors. It can end up a muddy mess if you get too much going on. Last, you’ll need a smooth surface like a craft mat or extra large clear block and a spray bottle.
Let’s get started!
Cut your paper down to a manageable size. I usually buy 9×12 Bristol Smooth paper pads so I trim it to 4.5×6 which gives me room on all sides to trim for the final product. Choose the markers you’re going to use and get your clear block out.
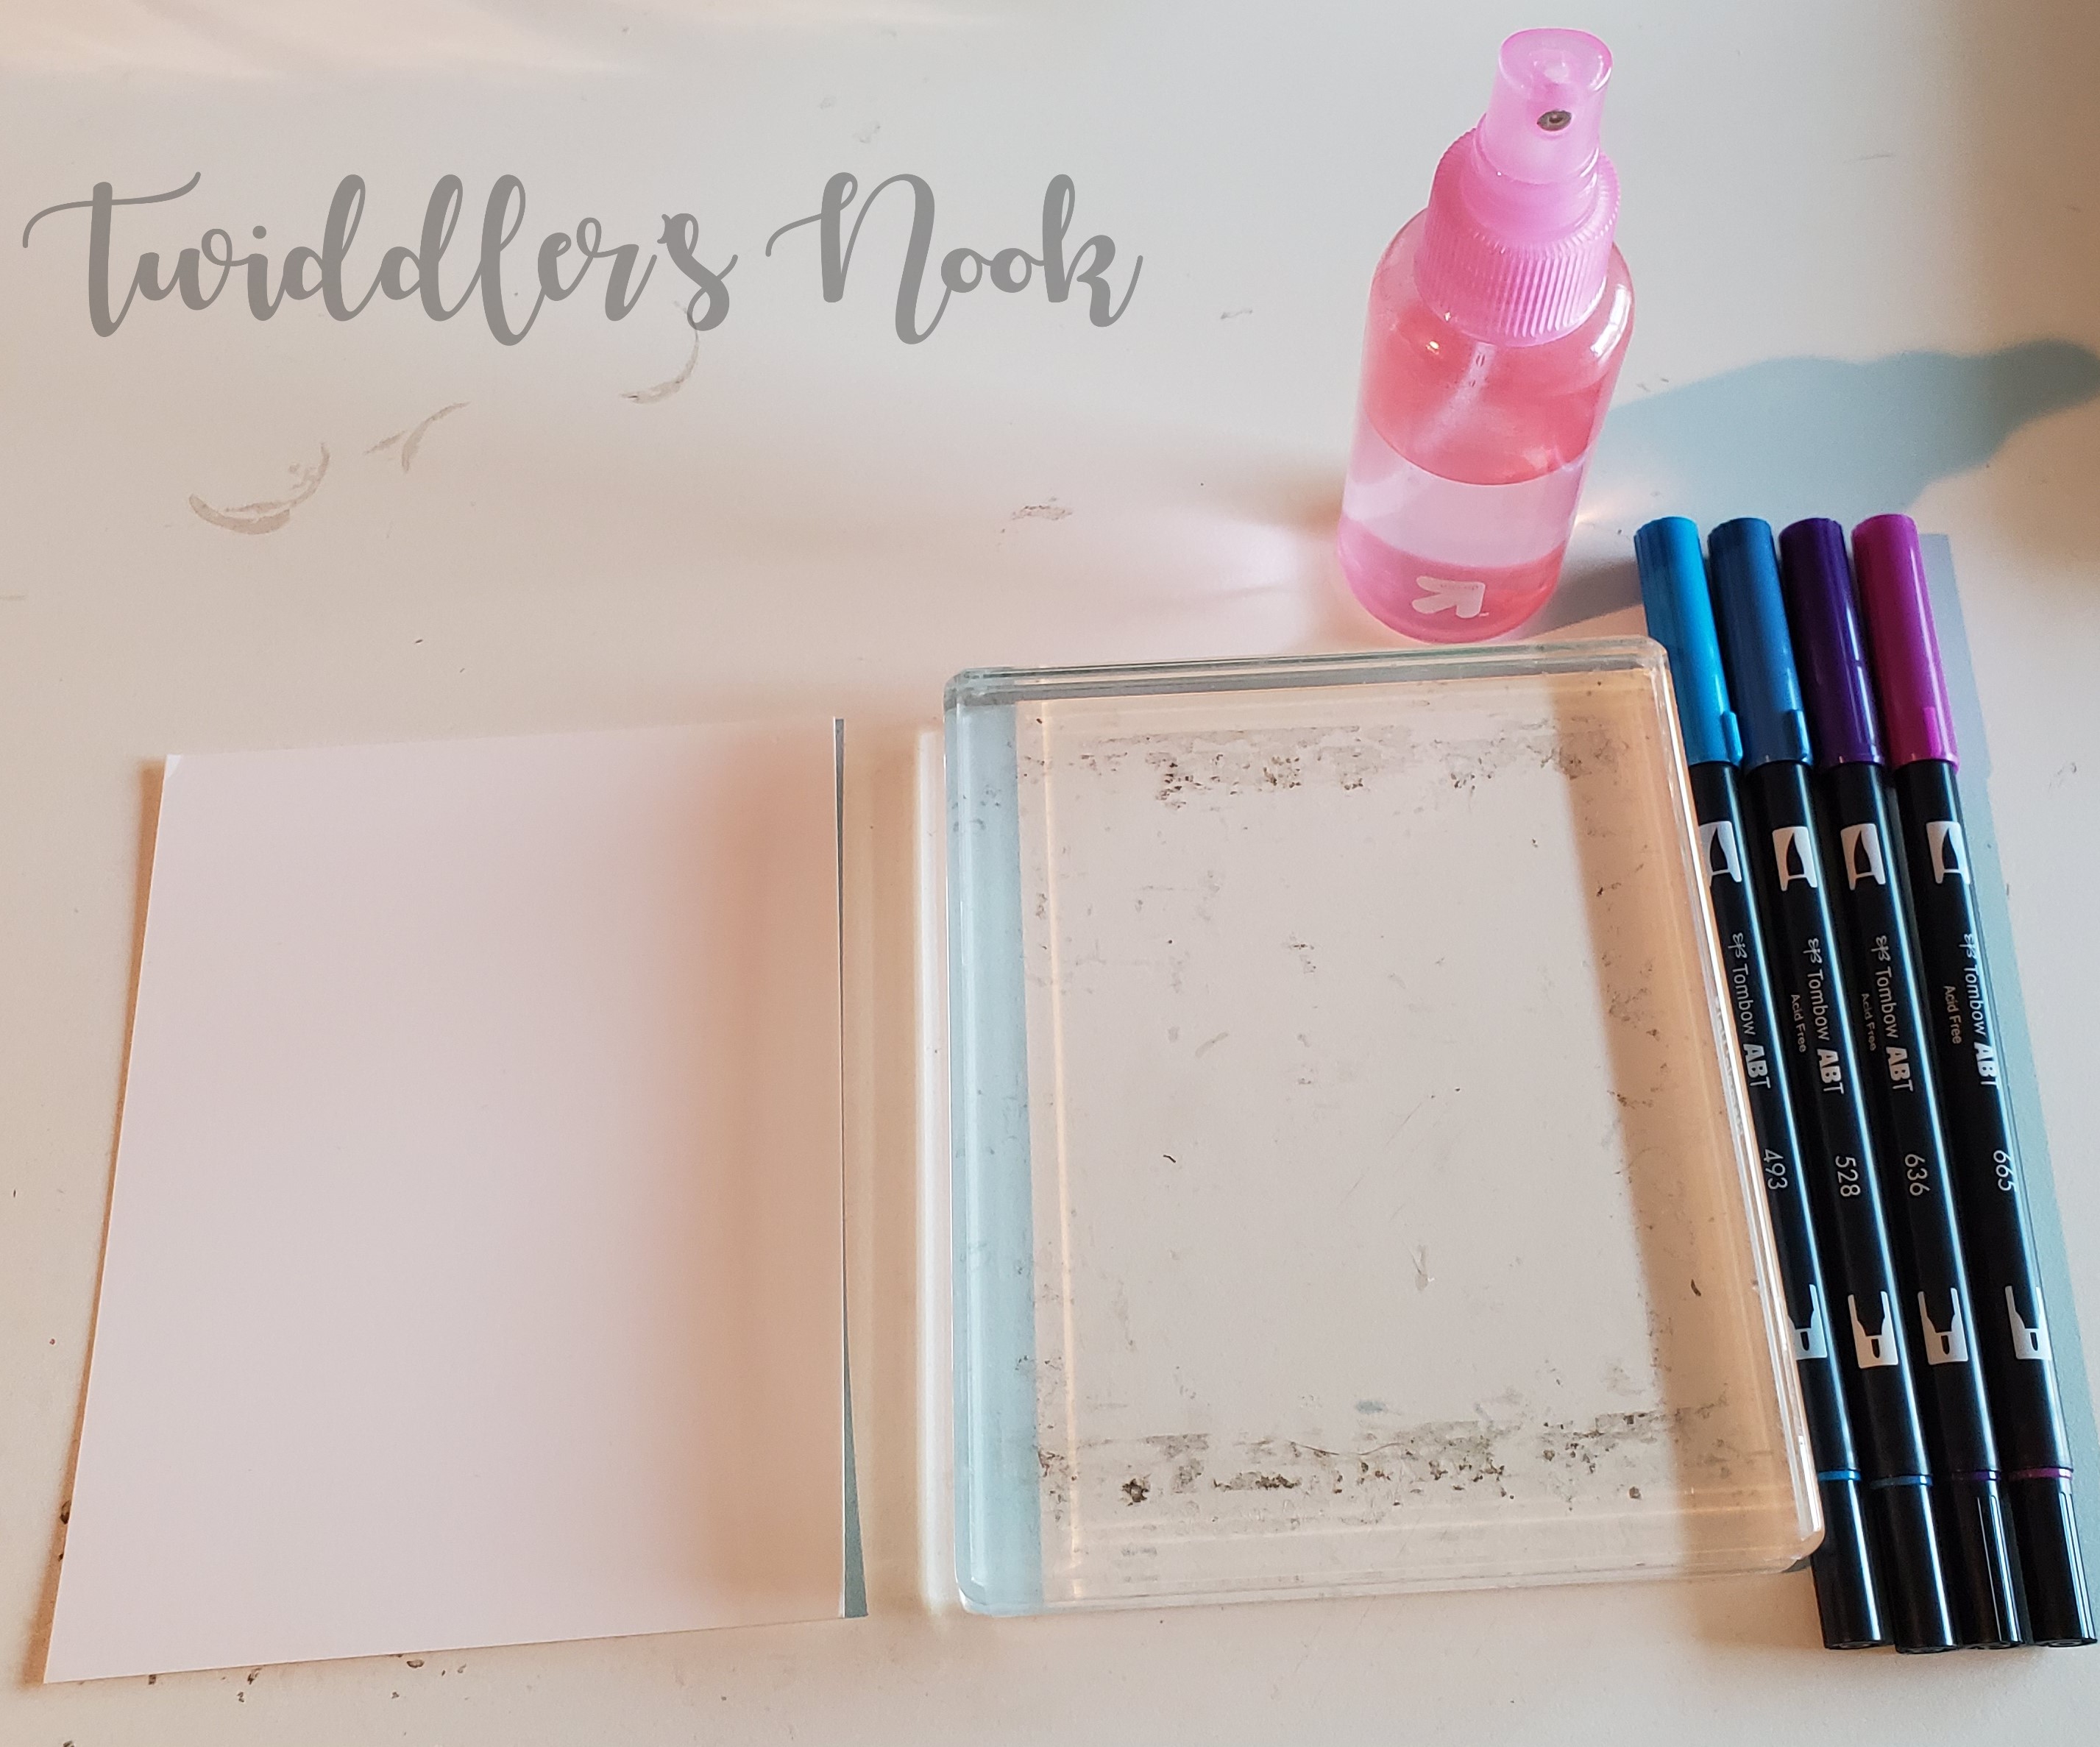
At this point you literally just scribble on your clear block with the markers in whatever order or pattern you like. Sometimes I do stripes and other times I do blotches of color all over. Today I’m going to show wide stripes.

See, it’s nothing special and my color isn’t even touching…although it’s okay if yours does.
Next spray it with the spray bottle a few times over the whole block.
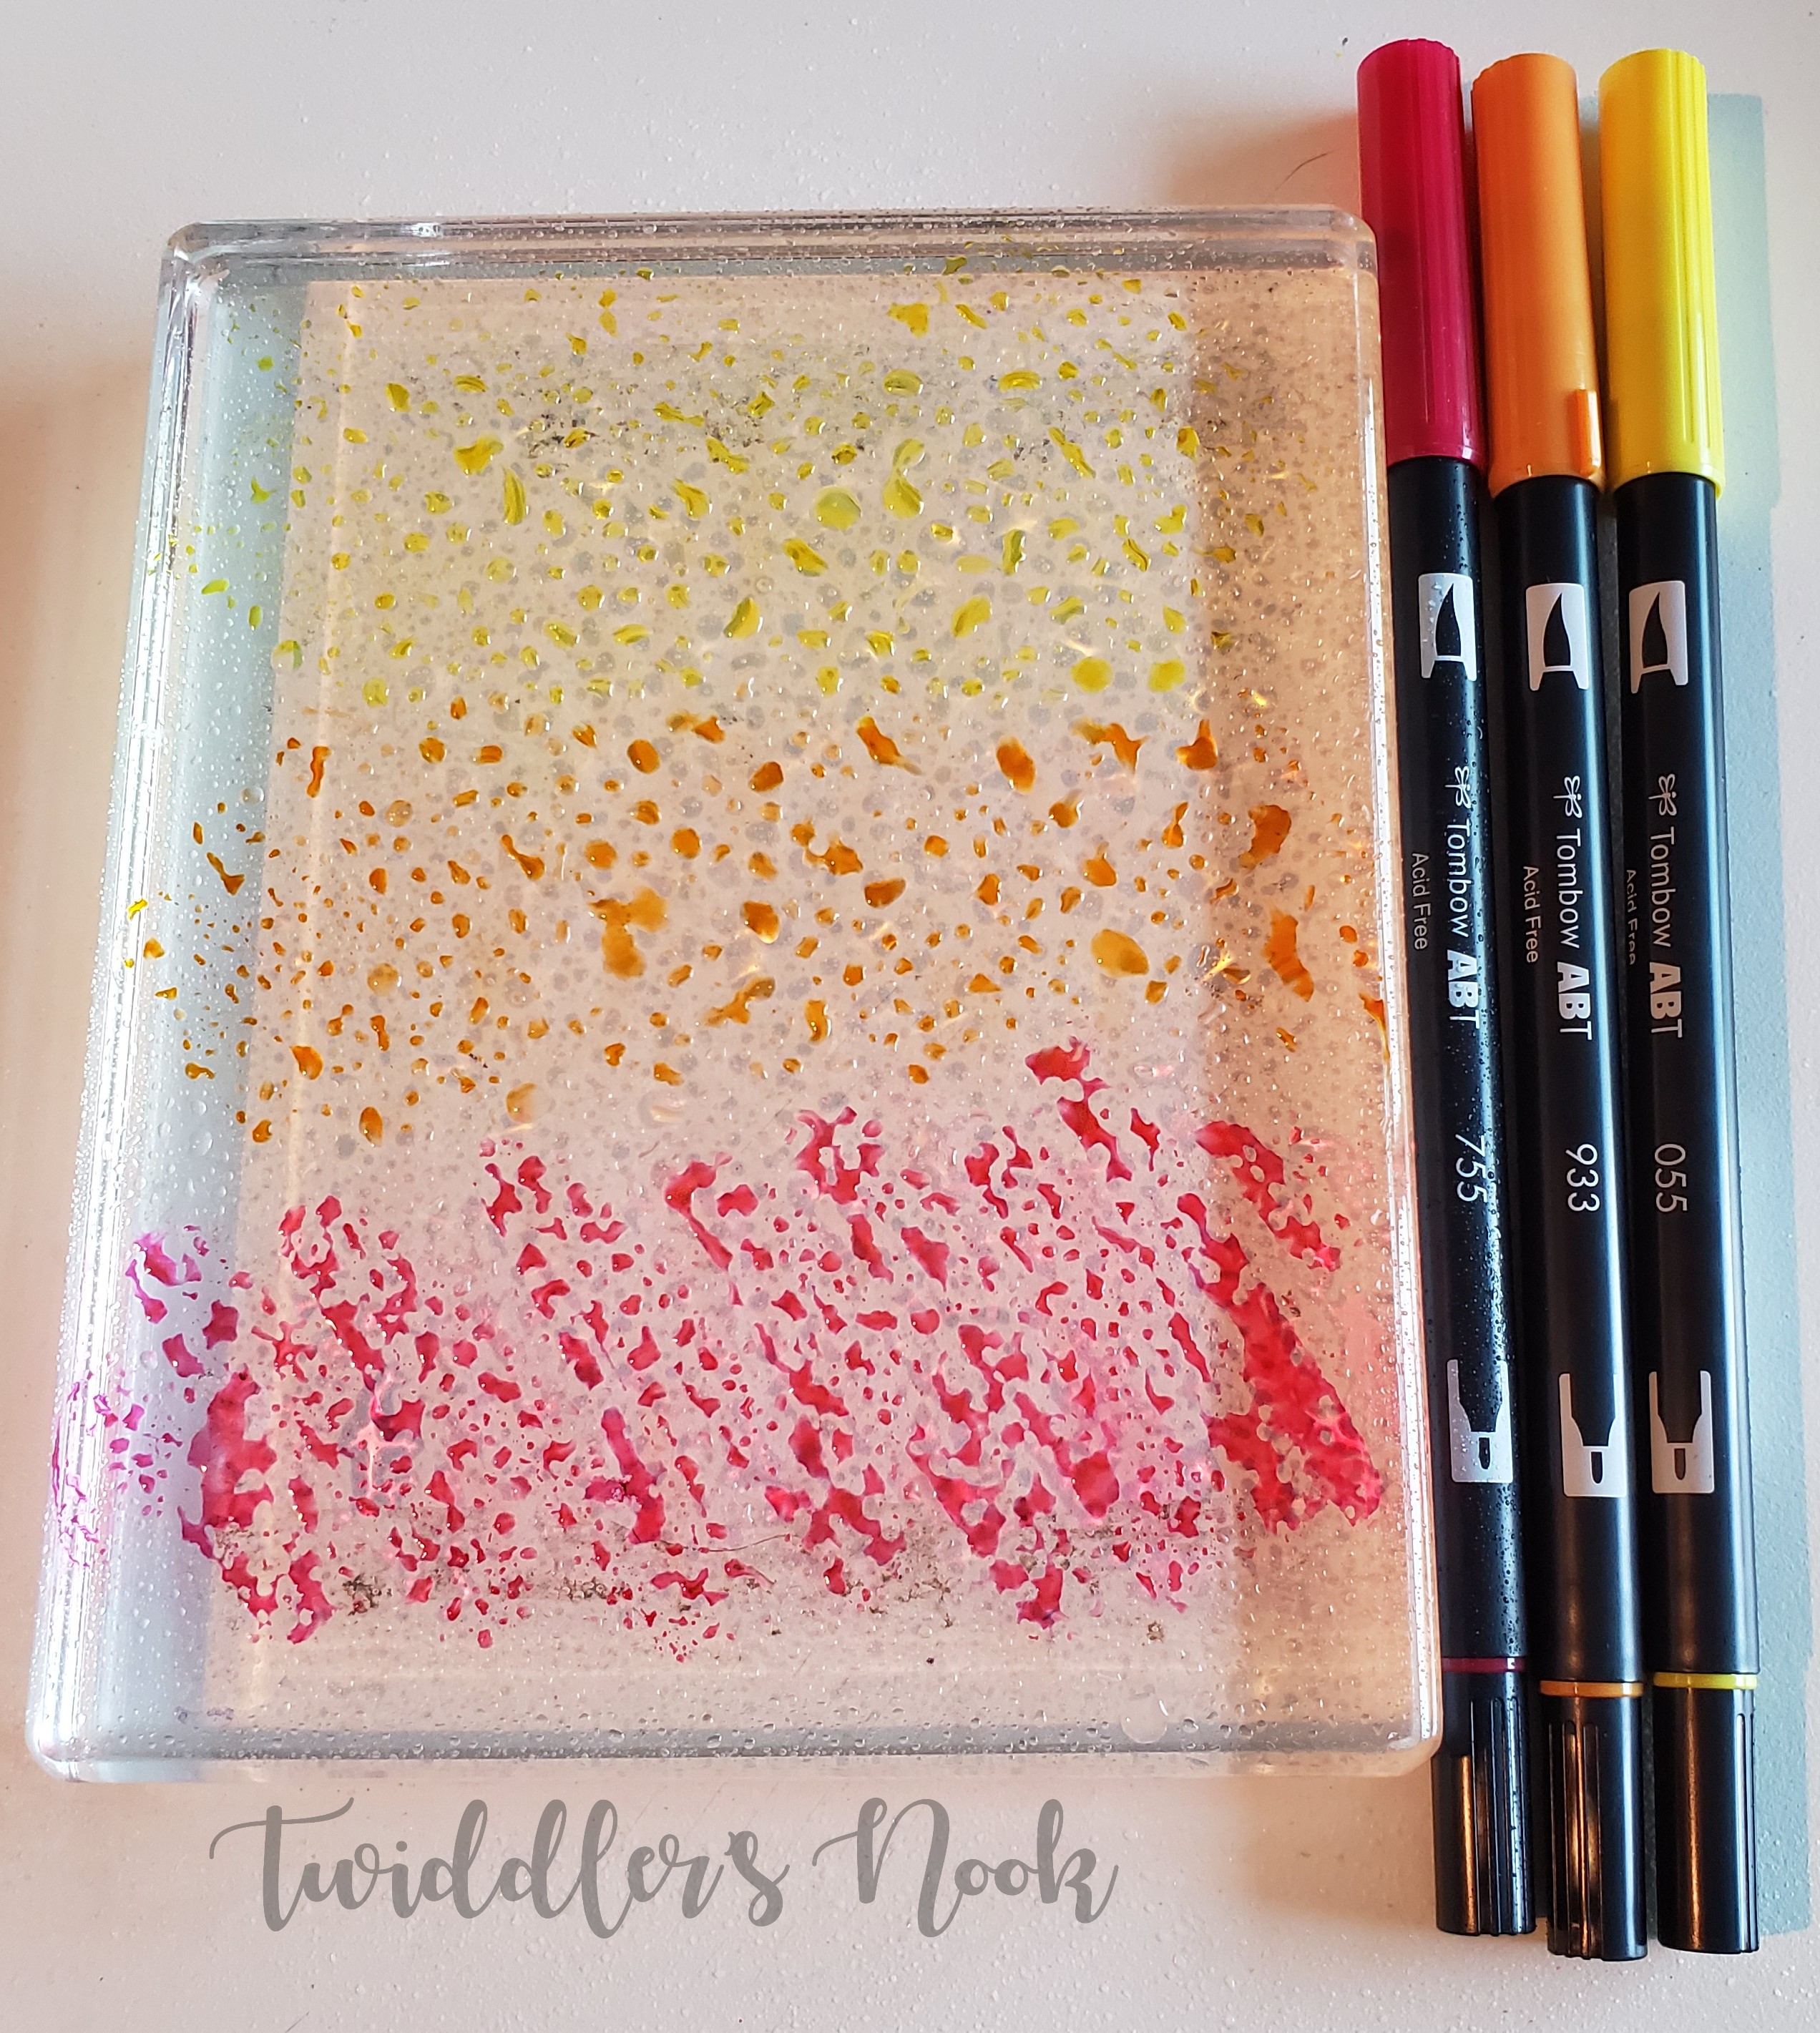
Then you lay your paper, face down, on the ink and smoosh it around with your fingers. Once you think it’s covered sufficiently, pick it up. There will be ink/water that will move around. Feel free to tilt your paper around or, better yet, use a heat tool to push it around for cool texture on your awesome custom background. Here is a background at the point of being smooshed and dried with a heat tool one time.
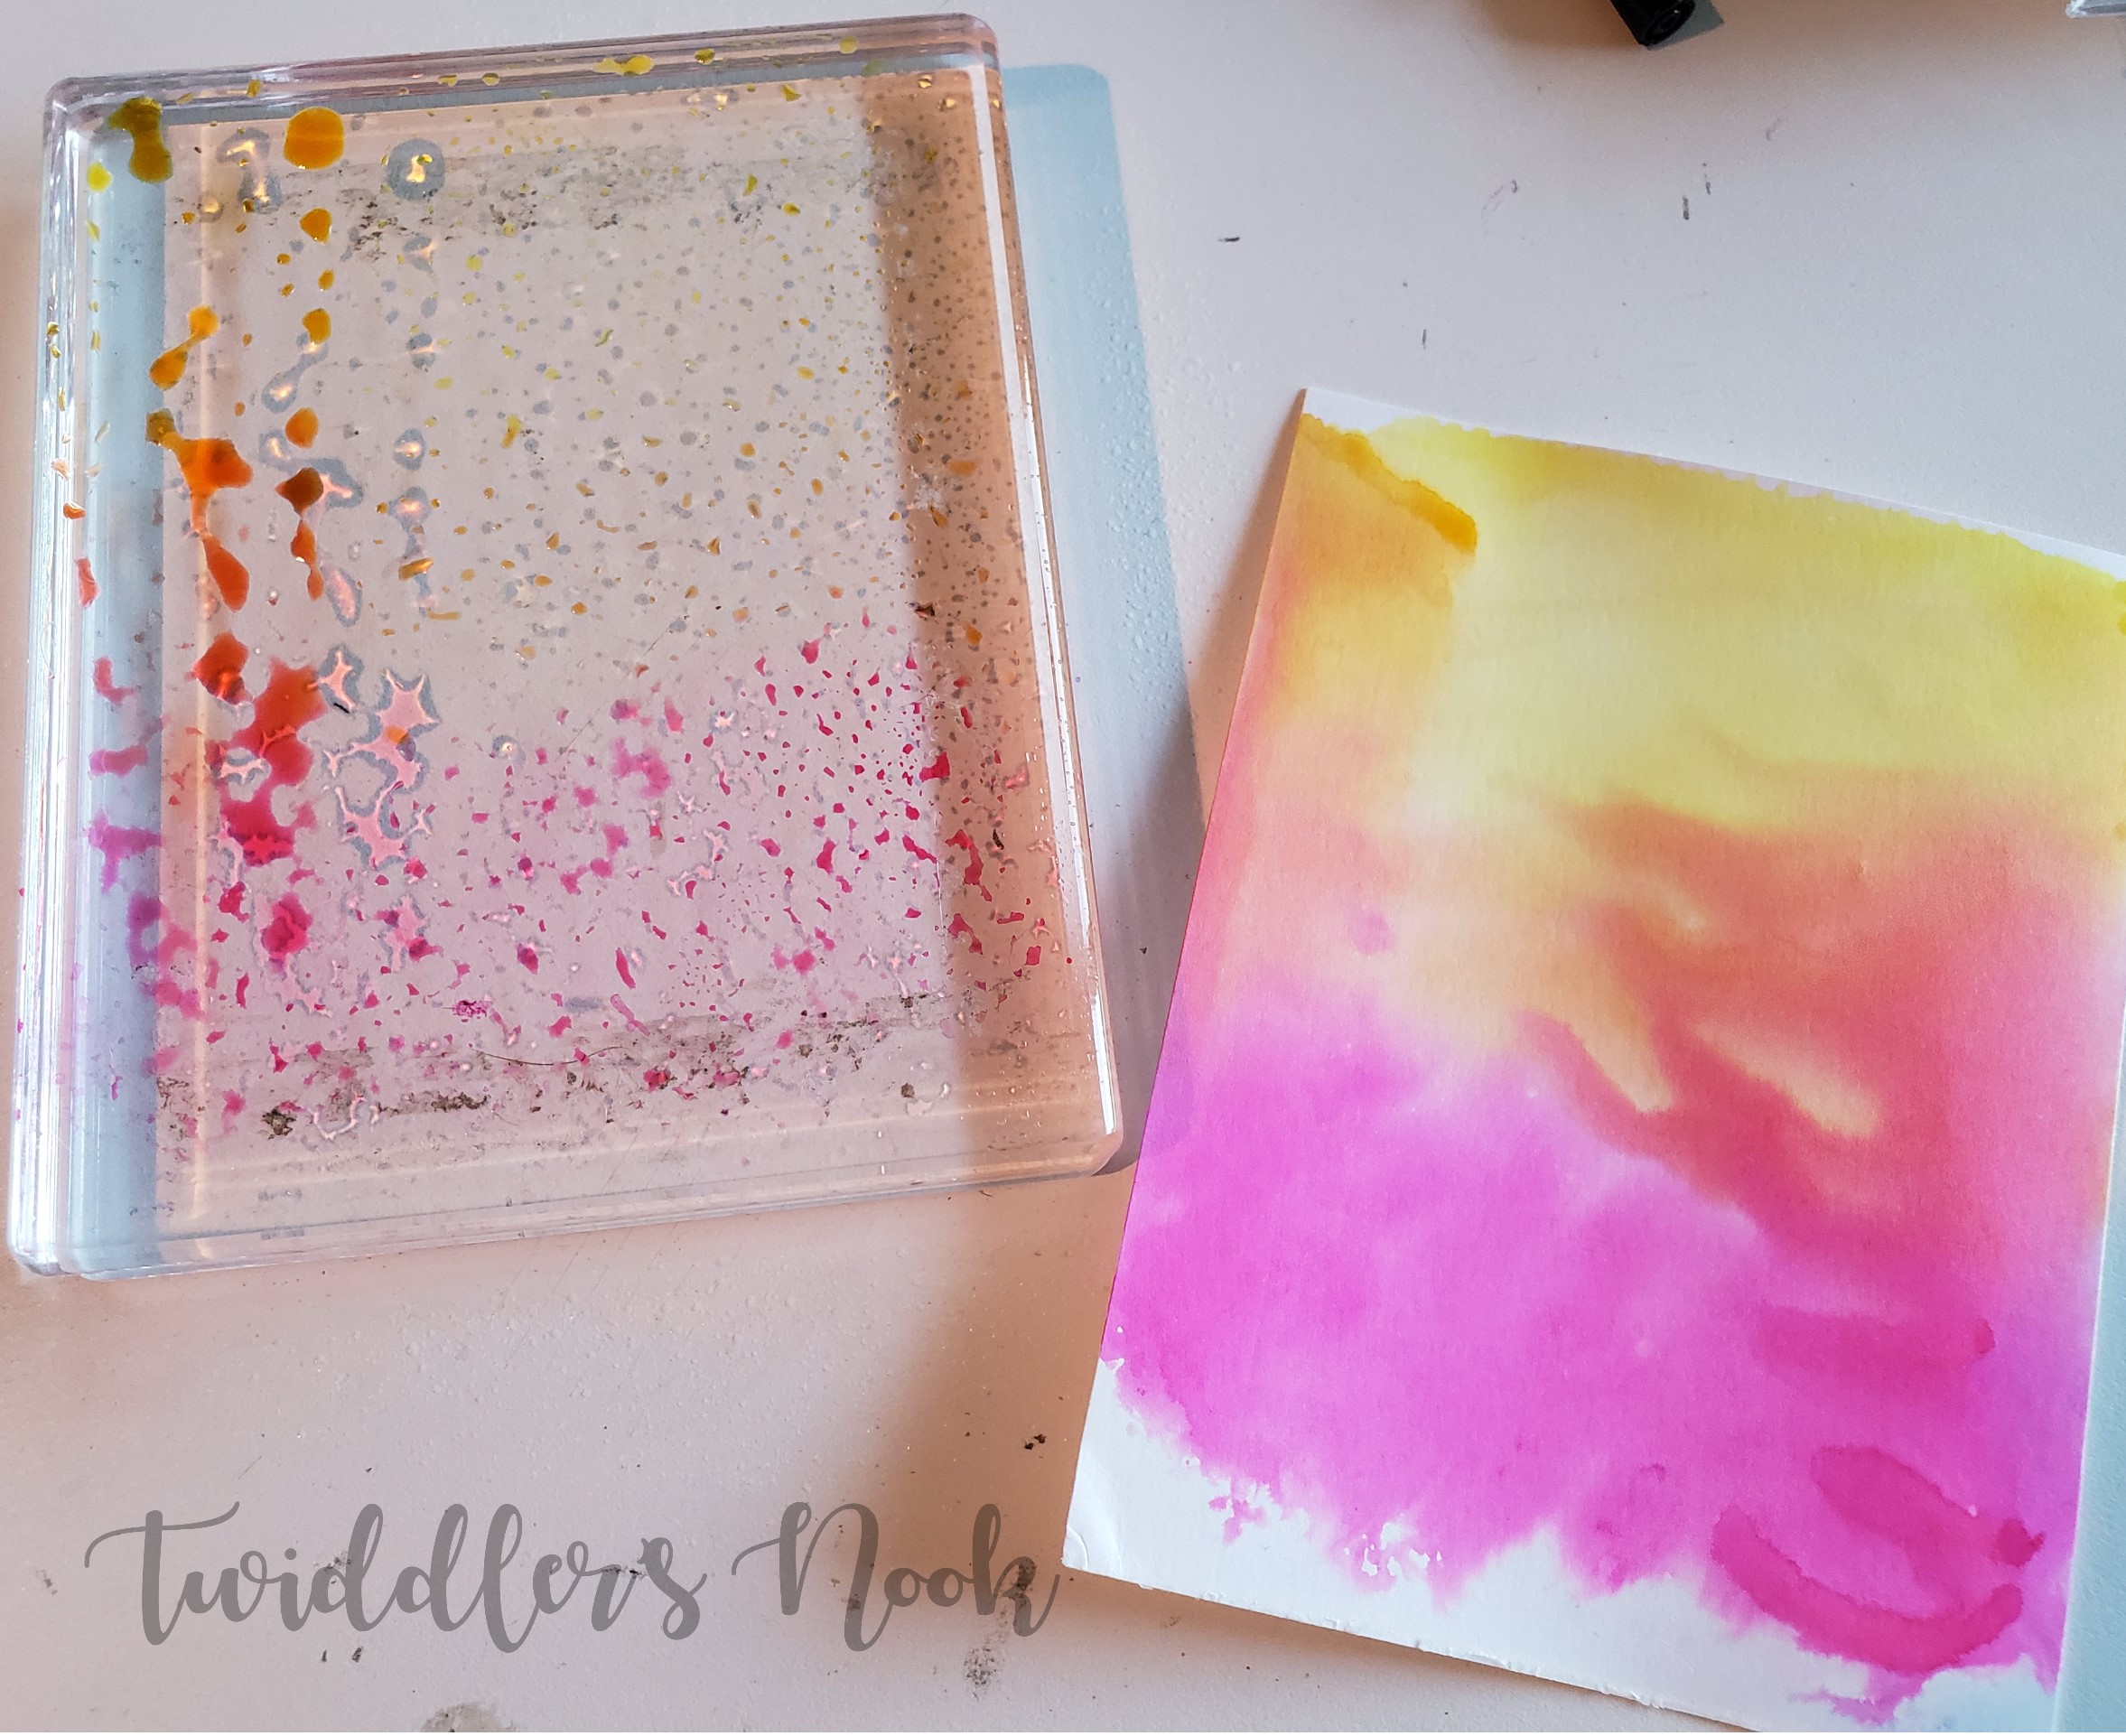
See how there is still inky water on the color block? Now that my paper is dry, I’m going to smoosh it back on the block a second time to layer another set of color and texture on top. After I do that, I’ll heat dry it again. You can do this multiple times until your background looks how you want it to.
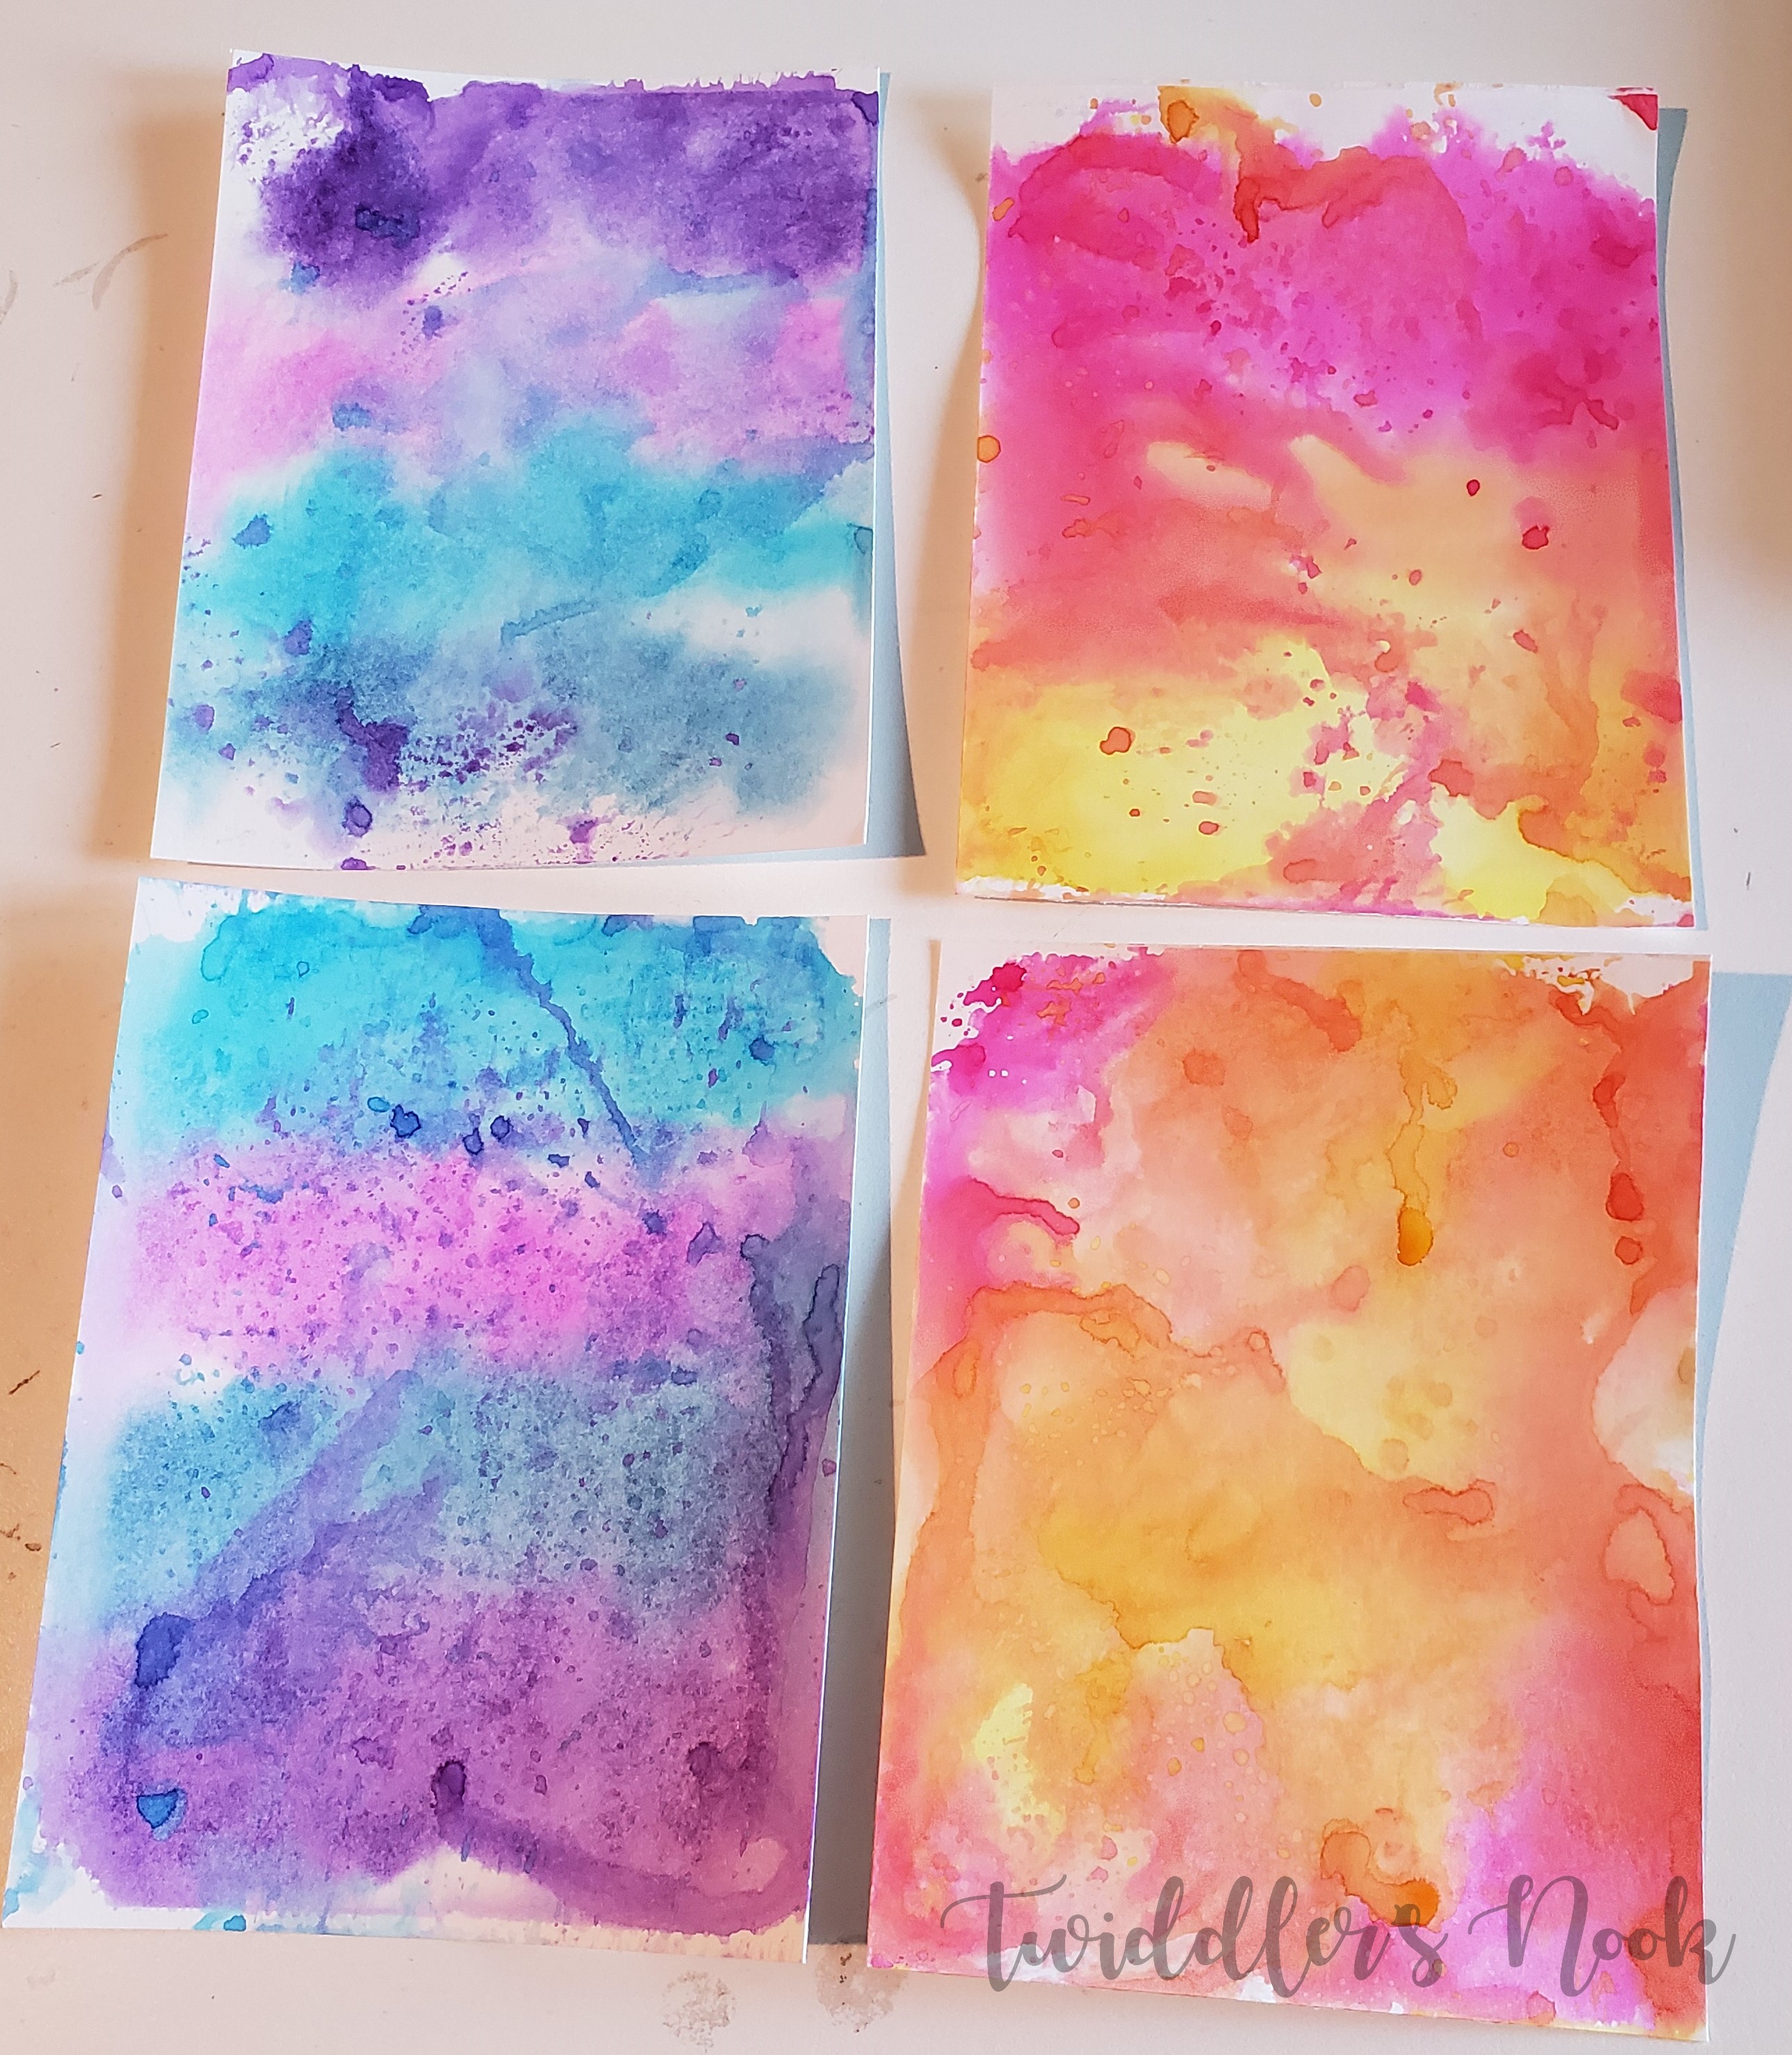
Another thing to keep in mind is that these are addicting to make! I always plan to make at least 4 at a time because I get ideas to try as I’m playing around. It’s fun and then I have backgrounds ready to go when I feel like making a card. Sometimes I use them immediately and other times they sit there for weeks before inspiration strikes me. In the end they have almost always been my favorite cards once they are finished.
Here are the four backgrounds I created during this session.
I made these one evening and then turned two of them into cards the next night. I’ll be sharing those with you tomorrow. So for now, I hope you take time to play and give this technique a try. I had so much fun making these and I know you will too.
I appreciate you sharing your time with me. Have a fabulous day!
