Coffee Loving Cardmakers – Paper Smooches, Coffeelings

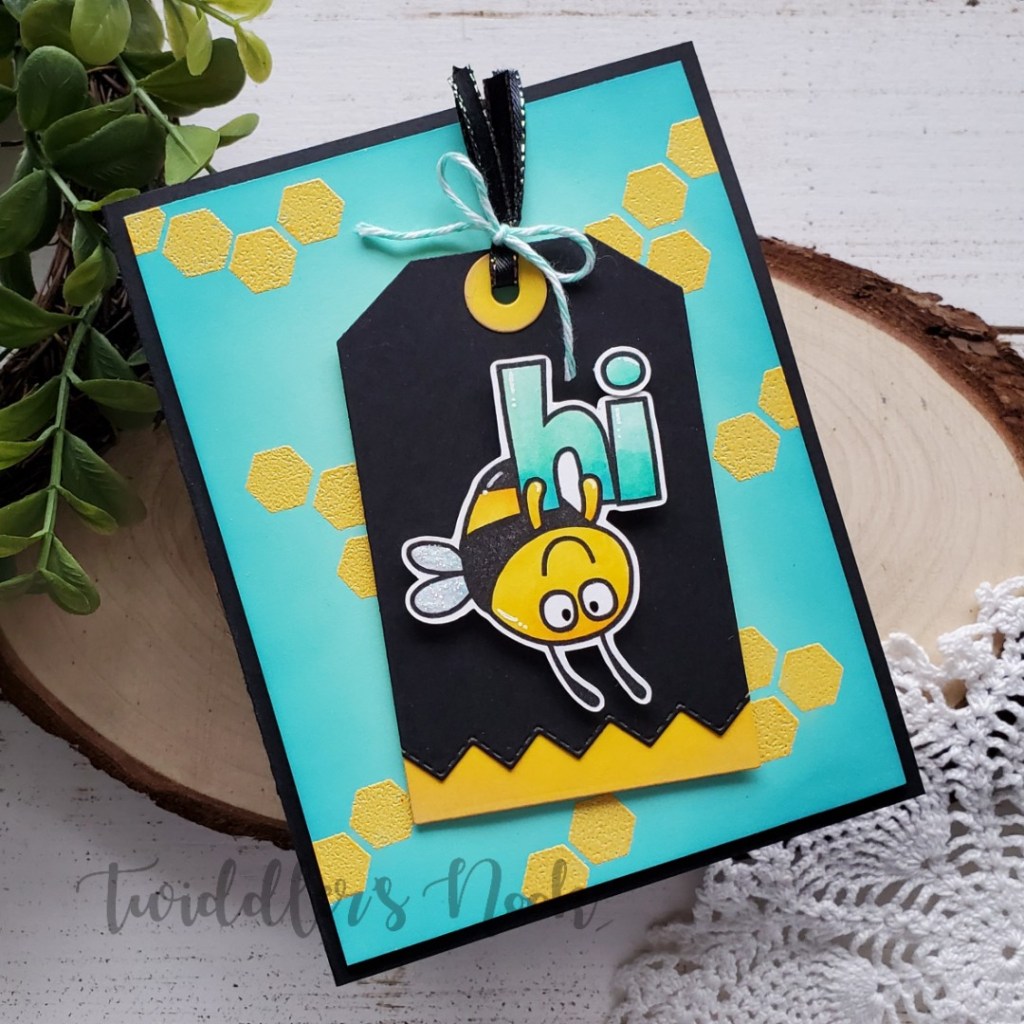
Hey there! Paper Smooches is a super fun stamp company that’s been around for quite a while. The owner, Kim, is the sweetest and has decided that it’s time to retire. Sad face for us but so happy for her. So…Today Lisa is over on the Coffee Loving Cardmakers blog playing with Paper Smooches and some of us wanted to play along too! I whipped up this fun card with a couple of my favorite Paper Smooches stamp sets.

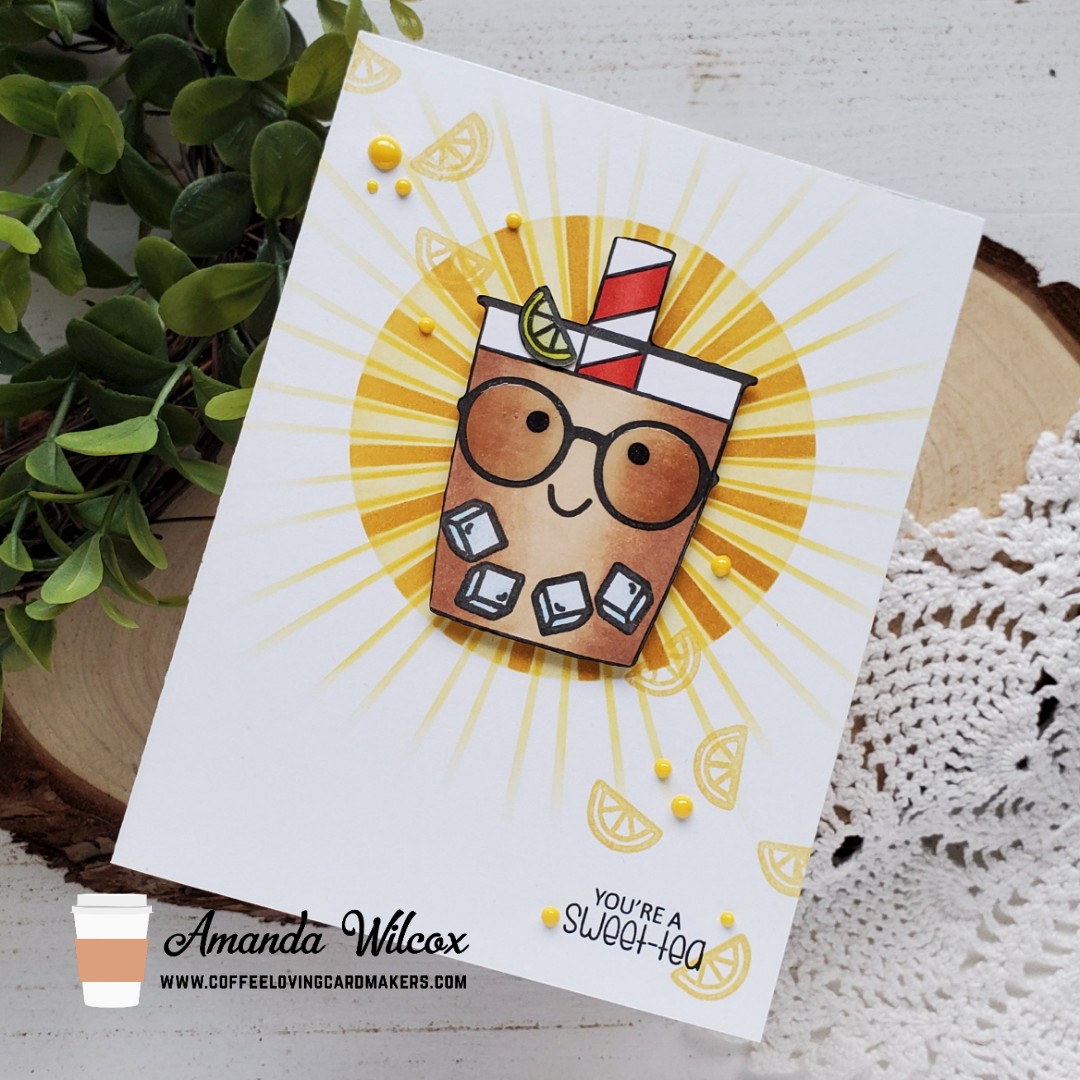
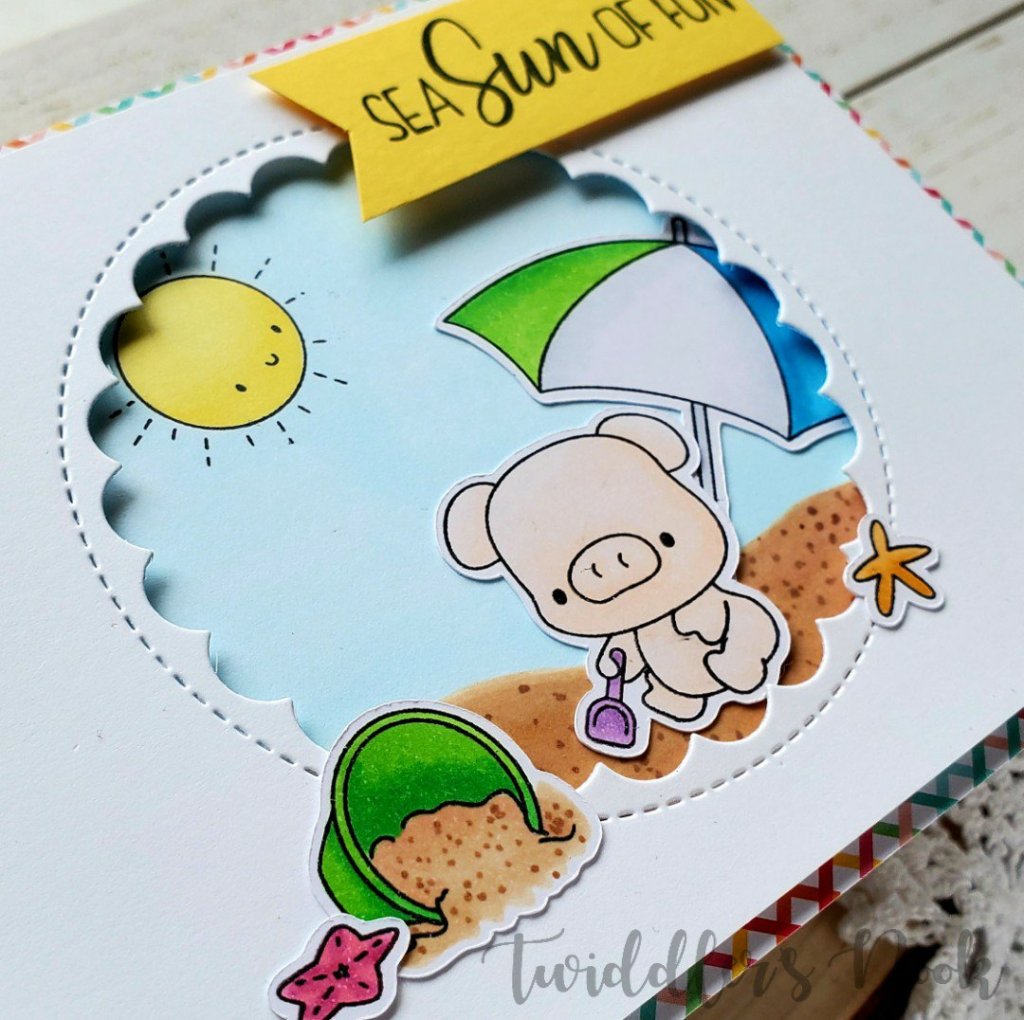
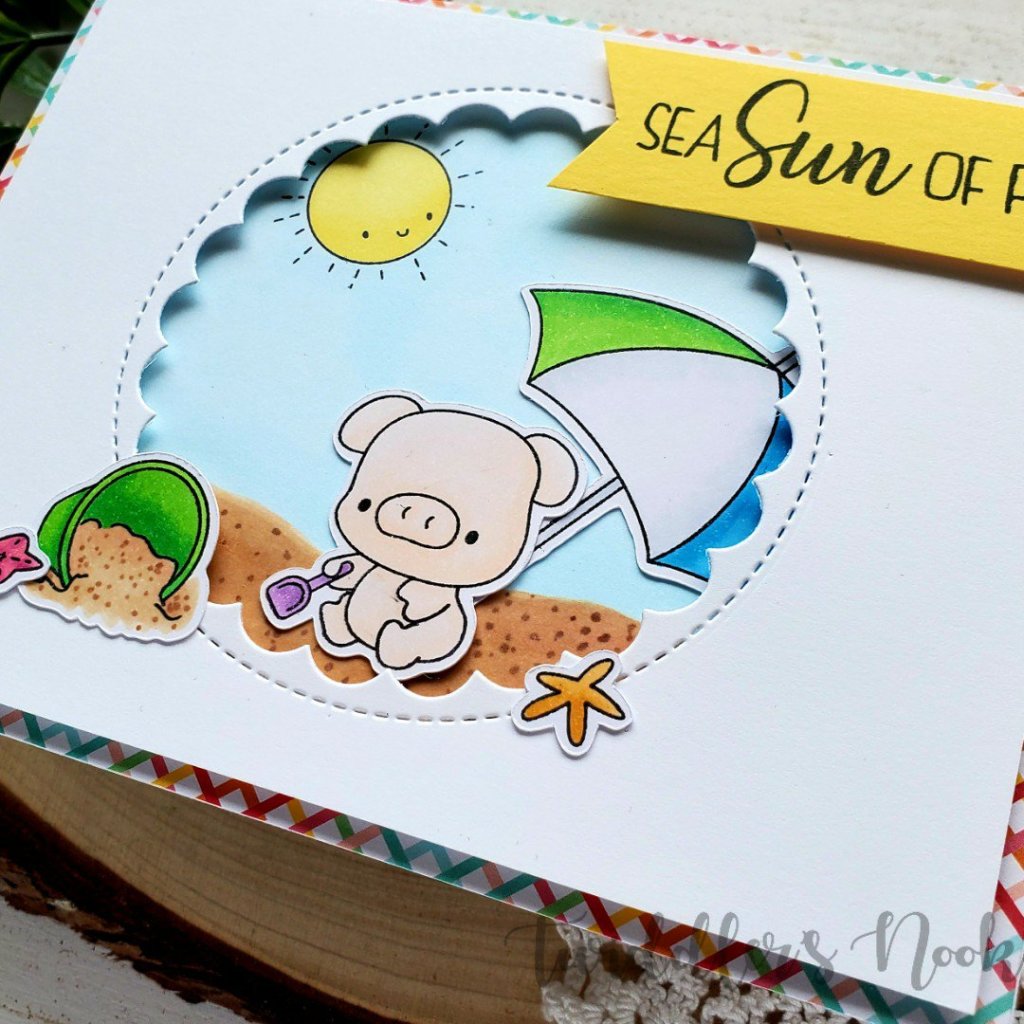
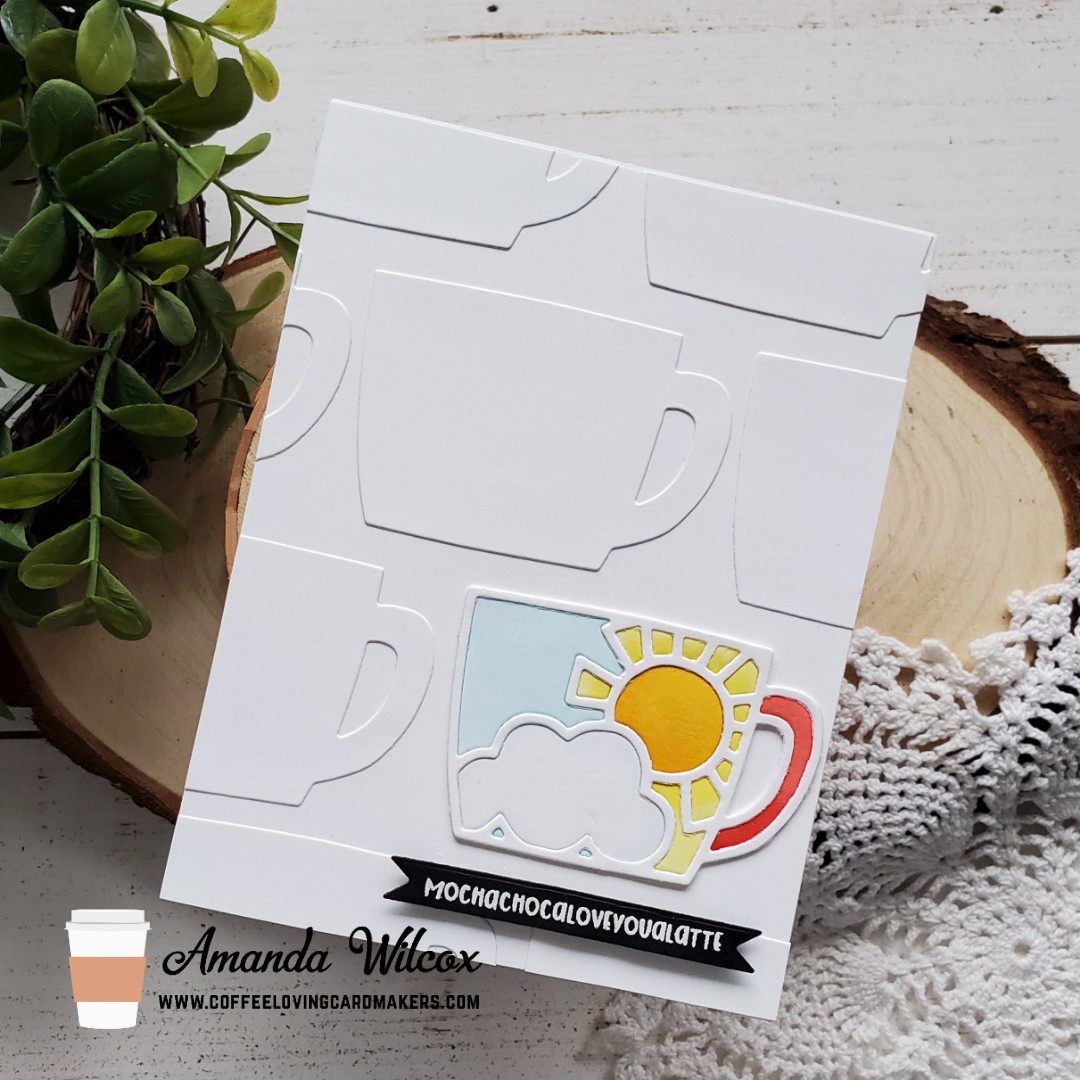
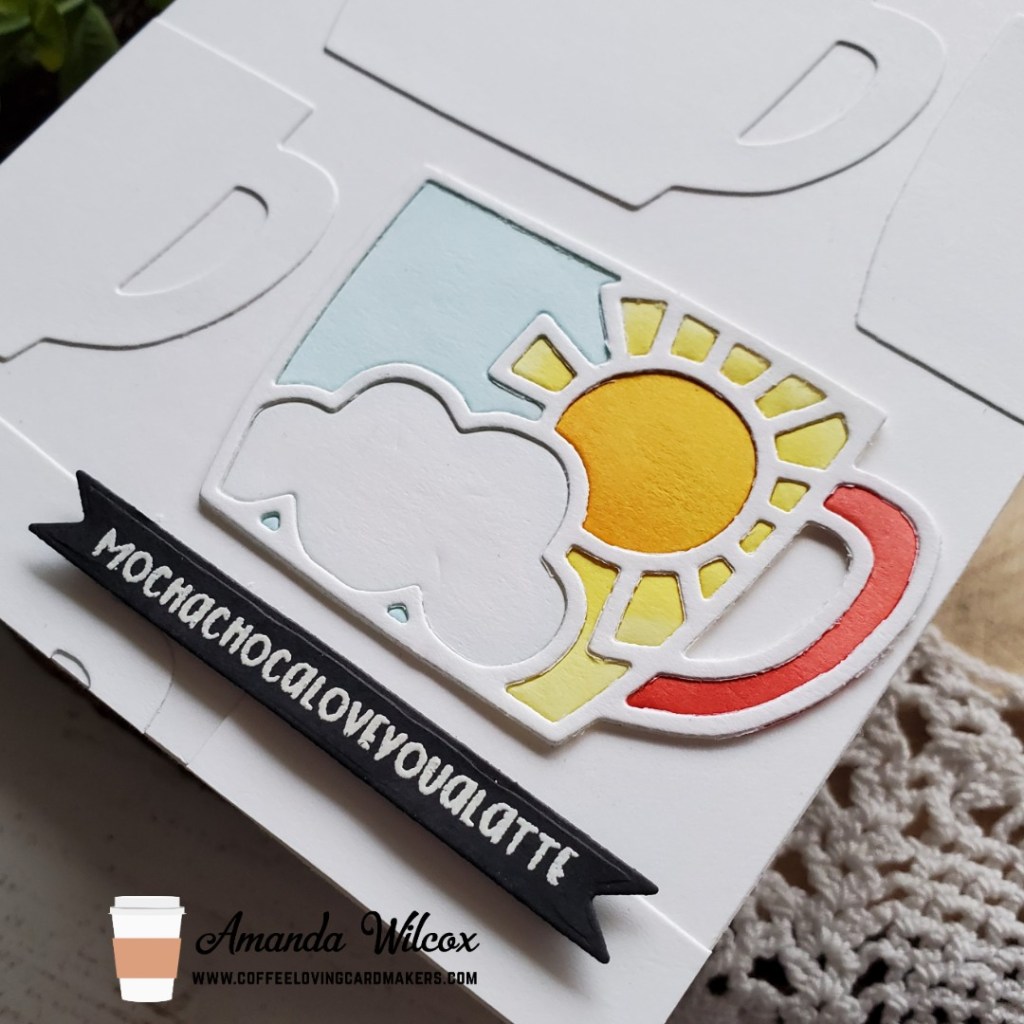
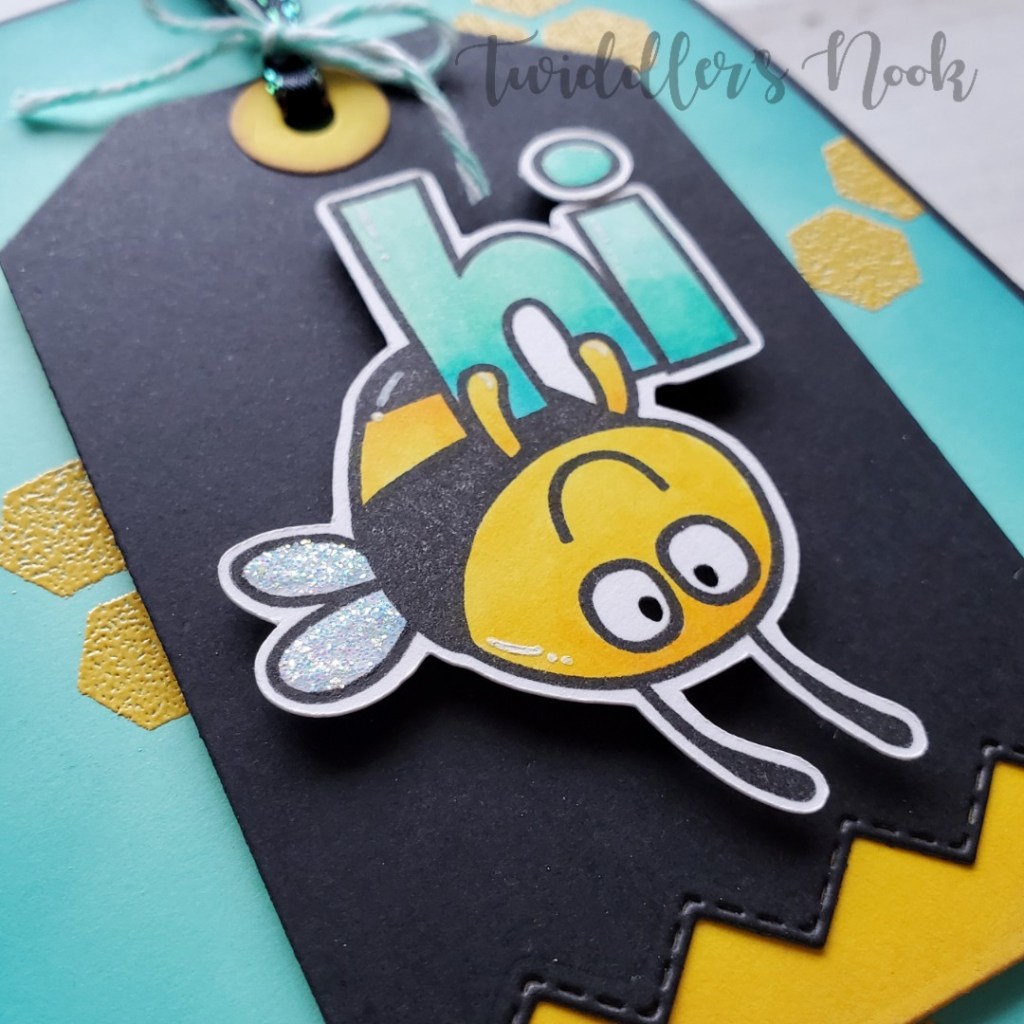
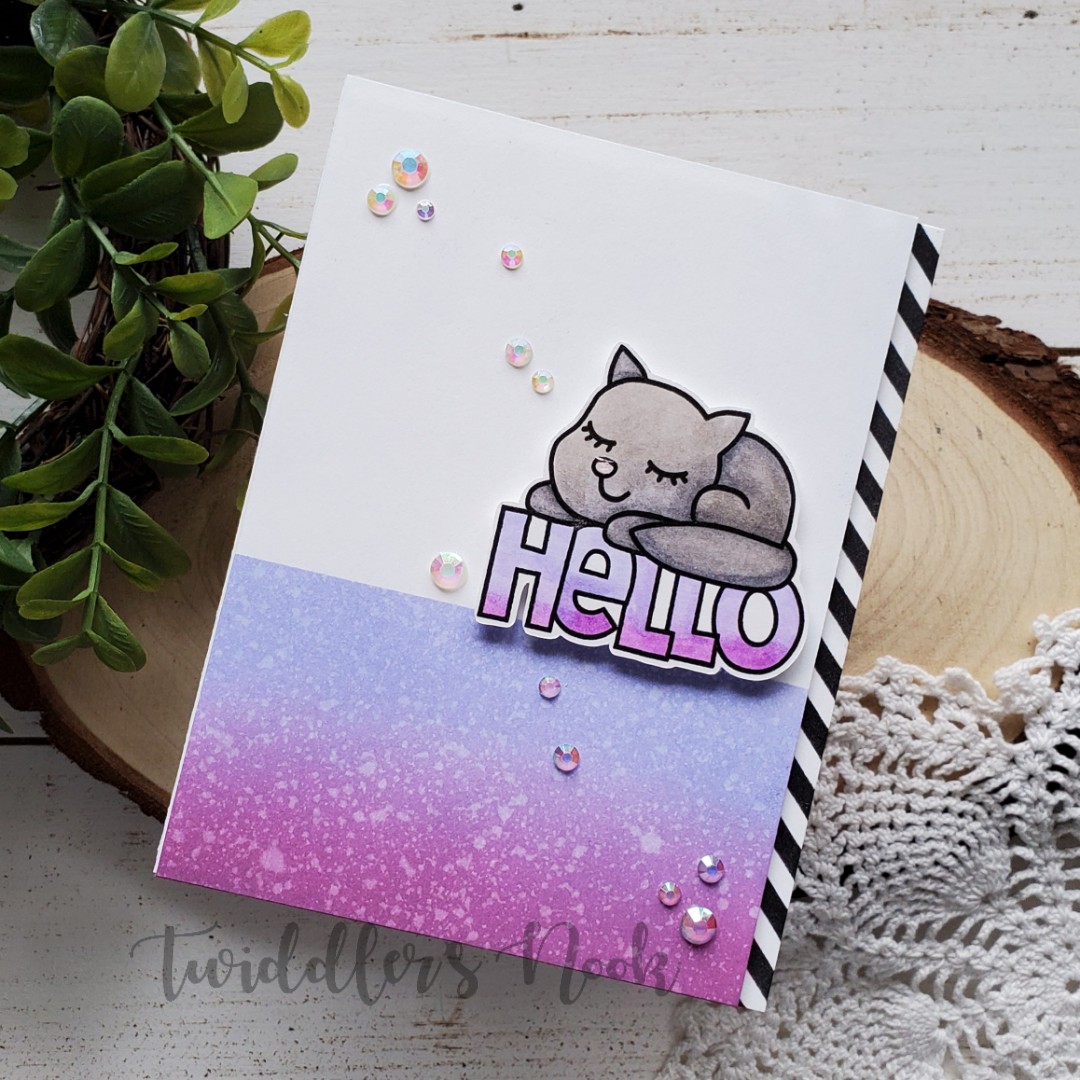
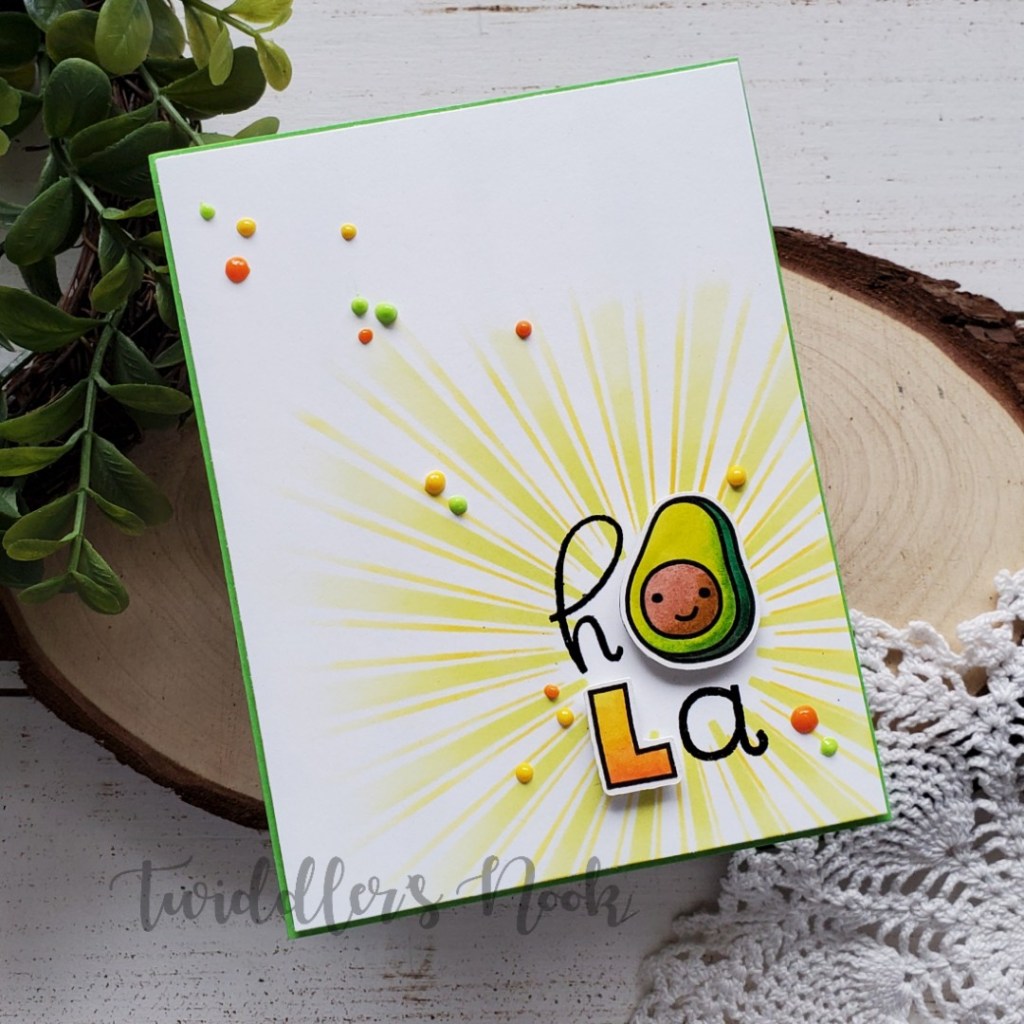
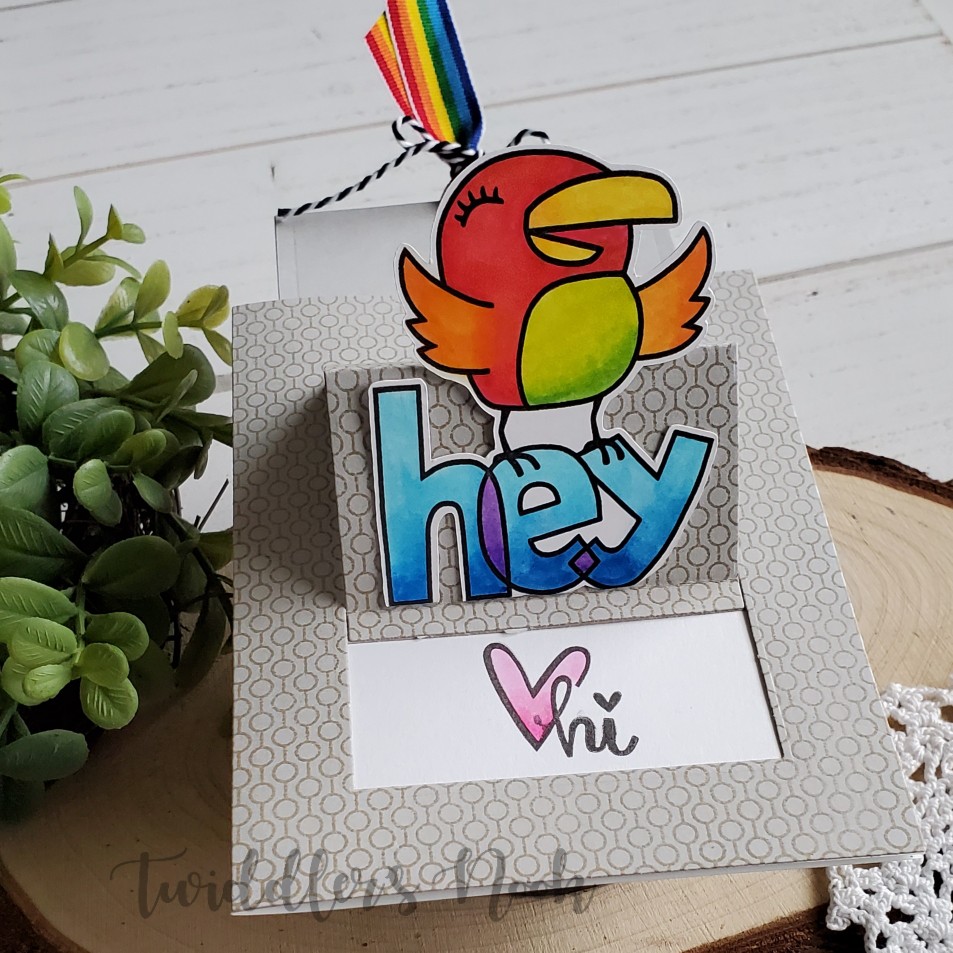
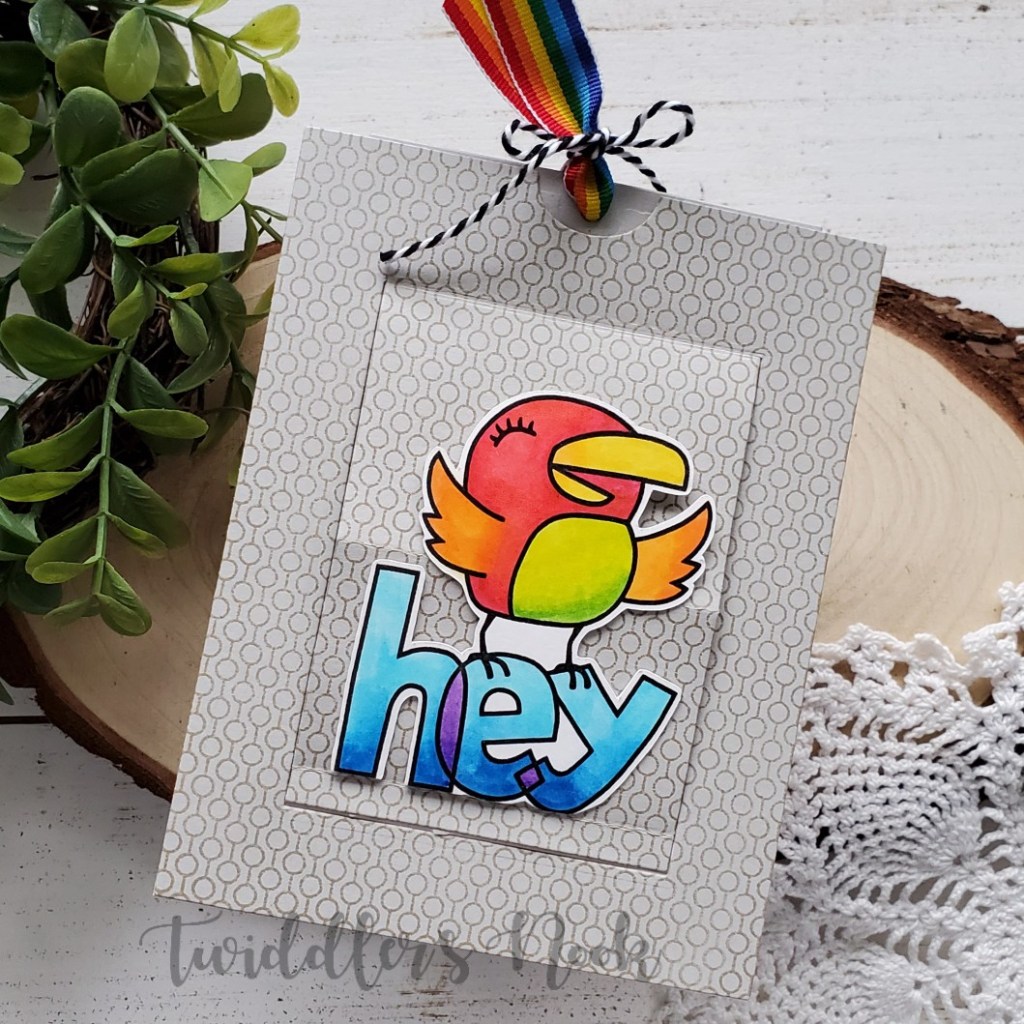
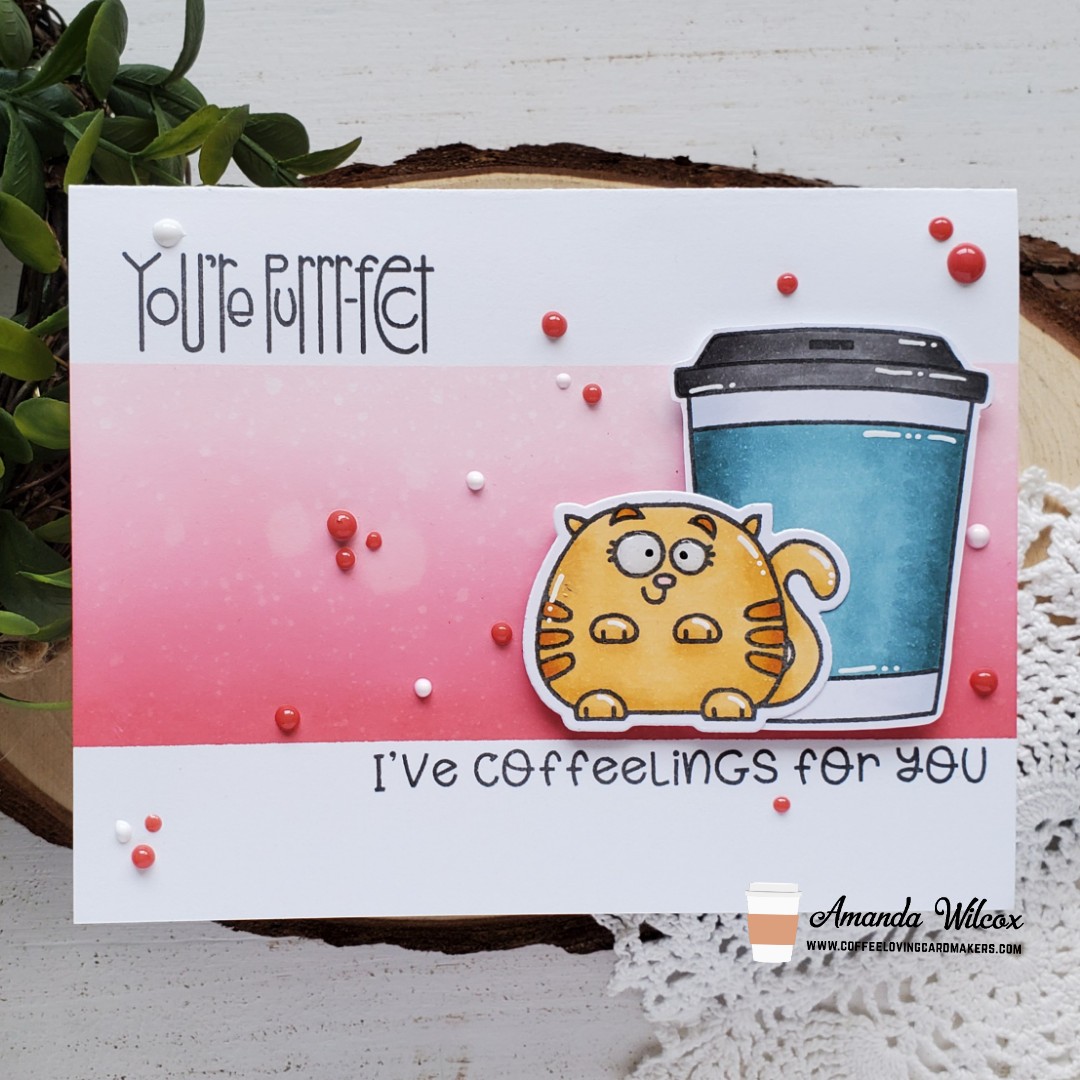
I started by stamping and coloring my images from Paper Smooches Caffeinated and Chubby Chums with my copics. Then I cut them out and set them aside. I took a white card base and masked off the top and bottom with post it tape and blended distress oxides in spun sugar, picked raspberry and festive berries. I spritzed it with water and blotted it dry. Then I chose my sentiments and stamped them with my MISTI.

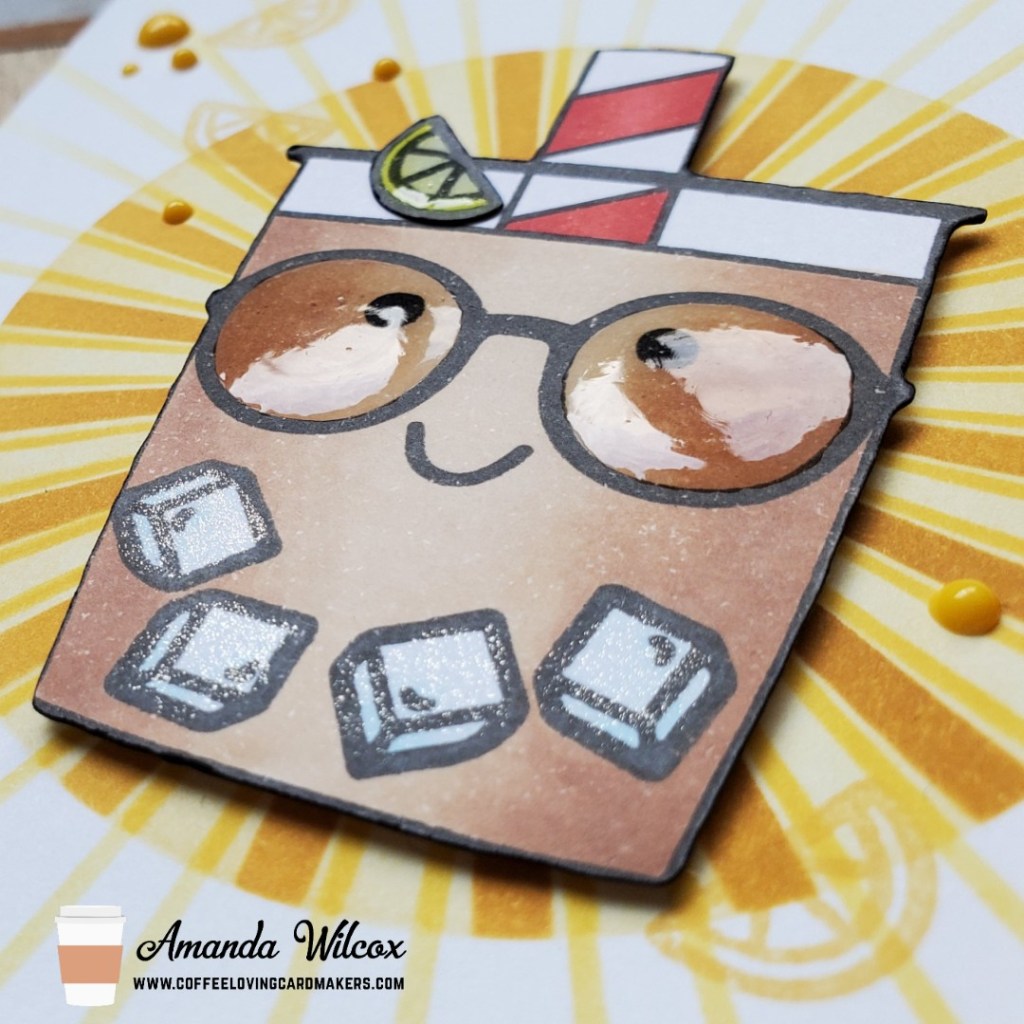
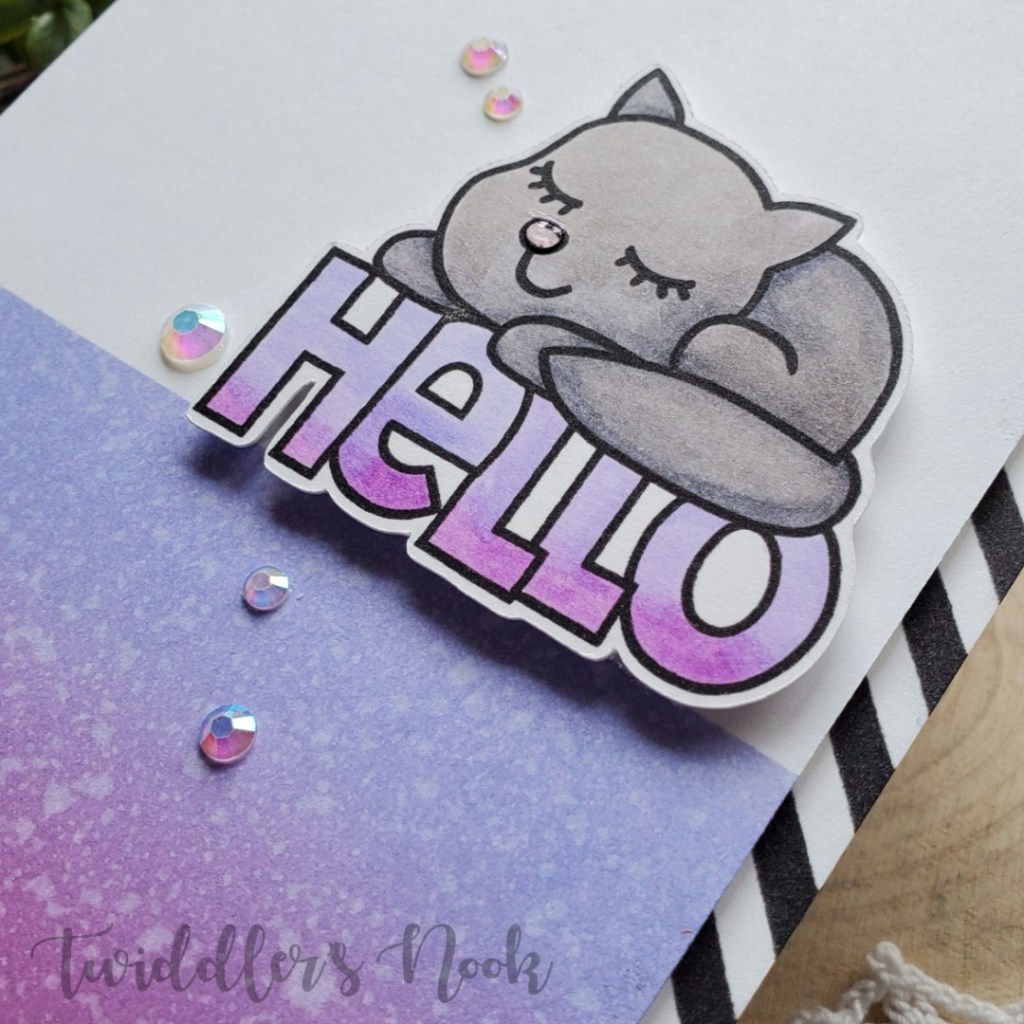
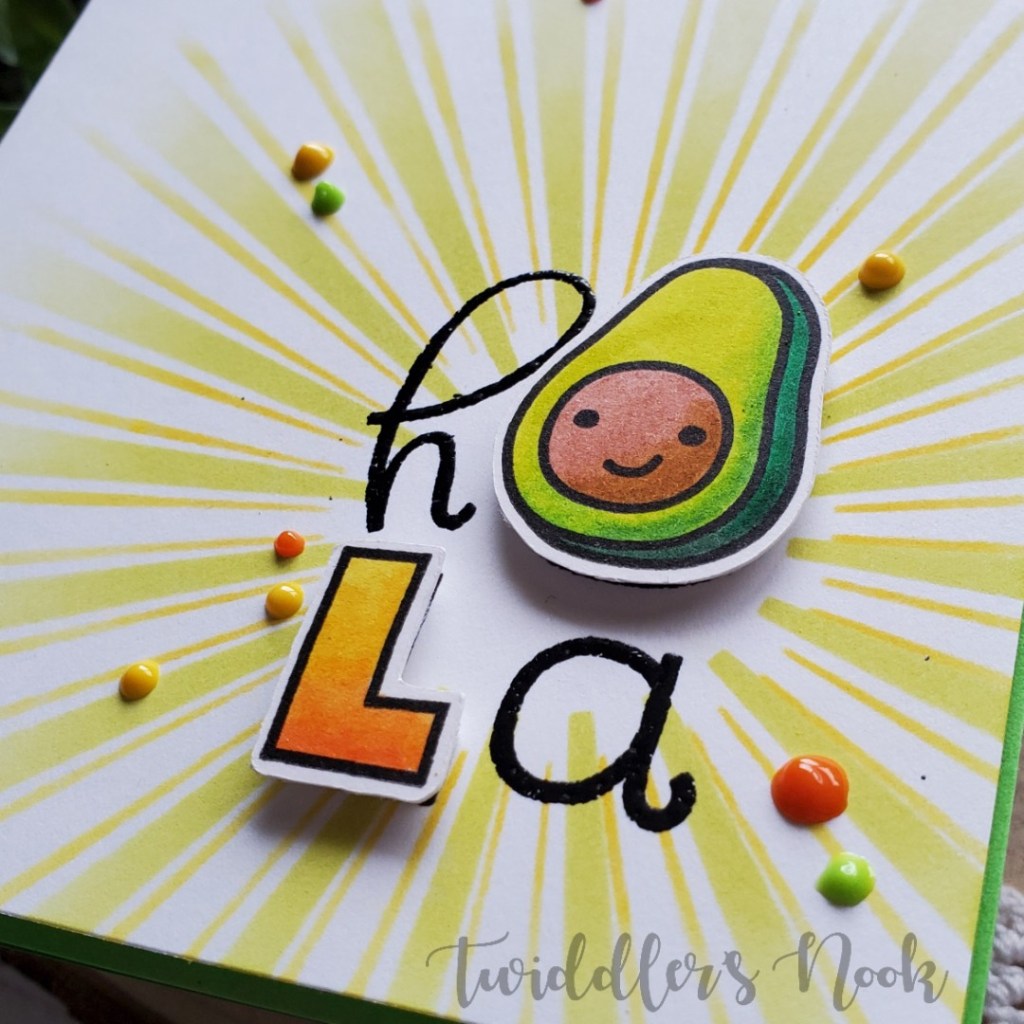
I adhered the images together with tape runner and them attached them to the card front with foam squares. You know me, I had to add some finishing touches so I grabbed the white gel pen and added highlights, then glossy accents to the kitty’s eyes. Finally I pulled out Nuvo Crystal Drops in simply white and party pink and scattered them about.

I’m not sure if the kitty is talking to the coffee or the recipient of this card…either way it’s silly and I love how it turned out. Super fun!

I appreciate you sharing your time with me. Have a fabulous day!

Coffee Loving Cardmakers – National Iced Tea Day

Hello everyone! Today is National Iced Tea Day and we’re celebrating with a fun inspiration hop and a giveaway with the Coffee Loving Cardmaker’s team today! Be sure to head over and check out the fun HERE! More details at the bottom too so keep scrolling!

Here’s the fun card that I made! I combined a few awesome Super Sponsors together to make this fun cup of iced tea. I took the cup from Paper Smooches Caffeinated and added the glasses from the set. Then I switched over to Trinity Stamps Coffee with Character for the ice cubes and lemon wedge. I stamped and colored everything and then used my scan-n-cut to cut it out.

Next, I took a white cardbase and a couple of Trinity Stamps stencils – foundations circles and catching some rays – with a variety of yellow inks and my blending buddy brushes! I used the medium yellow ink and stamped the lemon wedge from Coffee With Character across the card front from top left to bottom right. I chose a sentiment from Clearly Besotted Spilling Tea and stamped it in black on the bottom right corner and attached my images with foam squares.

Last, I added some fun finishing touches like glossy accents to the cup glasses and lemon wedge and Wink of Stella glitter brush pen to the ice cubes. I also decided on a scattering of Nuvo Crystal Drops in dandelion yellow mixed in with the lemon wedges in the background.

Such a happy, fun card and also a fun farewell to Paper Smooches who just announced the retirement of the shop. You might want to head over there and pick up your wishlist goodies while supplies last. She’s having a sale until everything is sold out.

And just a reminder to head over to the Coffee Loving Cardmakers blog to find the complete list of links to hop along. Comment for a chance to win a $15 gift card to your choice of one Spring | Summer Coffee Lovers Blog Hop Super Sponsor. The winner will be chosen from one of the comments on any one of the blogs so be sure to comment on each to increase your chances of winning!

I appreciate you sharing your time with me. Have a fabulous day!

Paperie Ink – SeaSUN of Fun

Oh my goodness, the art that Paperie Ink creates just seems to get cuter and cuter with each release! This last time I ordered two new sets. I had a moment to ink up the cute little piggies from Seasun of Fun this week and create a fun, sunshiny card to share with you!

I started this card with a general idea of what I wanted to create so I stamped my images and colored them with my copics. Then I used my scan-n-cut to cut them out. I trimmed down a white panel to 4×5.25 and used the next-to-largest outside in stitched scalloped circle from Lawn Fawn to cut a window. I also trimmed a second panel down smaller than that and stamped the sunshine where I wanted it to peek through the window. I used my copics to color a little sand and sky and started assembling my card.

I trimmed down some patterned paper and adhered it to a card base, then added my scene to that. I put foam tape on the back of the window panel and used it as a guide to line up my images and adhere them. Once those were in place I removed the release paper and put my window panel in place.

Finally I added the couple of images I had left to the front of the window. I just love the way this looks – like the scene is spilling outside of the opening.

Last, I stamped the sentiment on yellow cardstock and trimmed it in to a flag. This was popped up with foam squares and adhered to the upper right of the card.

I could seriously squeal over these piggies! They are just so cute! I can’t wait to ink up the rest of the set, along with the other one I picked up too!

I appreciate you sharing your time with me. Have a fabulous day!

Paper Smooches – CLC Spring-Summer Hop

Welcome! Welcome! Today I’ve got completely clean and simple AND die cut! If you’ve followed me for long, you know I don’t like white space. It makes me so uncomfortable but when I saw this design using some other types of dies, I was inspired to try it with this fun Paper Smooches coffee cup die.

This is a die set with the solid cup and the designed cup. I die cut the solid cup multiple times from white cardstock and glued them offset across my card. I trimmed the excess off the sides and then I die cut the design twice from white cardstock. One set I colored with my copics. Then I took the outline from the second one and glued it over the top. I adhered this to my card base and moved on to my sentiment.

I stamped and heat embossed a sentiment from Paper Smooches Caffeinated on black cardstock with white embossing powder. Then I took a banner die from Trinity Stamps 4-Bar Card Die set to cut it out. I popped this up with foam strips for a little dimension on such a simple card.

I’m linking this up to the Coffee Loving Cardmaker’s Summer-Spring Hop as well. Have you joined in on the fun yet? There’s still time. Head HERE to check out some inspiration and link your projects up as well.

I appreciate you sharing your time with me. Have a fabulous day.

Paper Smooches – Bee Hi

Thanks so much for sticking through all four days of my super fun Paper Smooches Happy Hellos series. Today features the final image in the stamp set – the adorable upside down bee! He’s the cutest and I was extra excited to plan something out with him.

This card was the biggest struggle out of them all but I think I love it the most! I started by stamping, coloring and cutting out my bee image. Then I had an idea that he would be fun on a tag so I started playing around with the design but it was too simple. That’s where distress oxides and some heat embossing played a big part!

I die cut the Newton’s Nook Fancy Edges Tag from yellow and black. Then I used the zig zag die to cut the bottom of the black off. I cut a yellow hole reinforcer from the same set and used some gathered twigs distress oxide on all the of the yellow for a little depth. I adhered all the pieces, strung some ribbon through the hole and tied it with baker’s twine. Then I popped the bee image up with foam tape and set it aside to work on this plain background.

I took a teal panel and inked the edges with peacock feathers distress oxide ink. Then I stamped the double hexagon image from Happy Hellos repeatedly around the panel with VersaMark and heat embossed it with yellow embossing powder. I trimmed this panel down to 4×5.25 and popped it up on a black card base with foam tape. Then I also popped the tag up with foam tape.

For finishing touches on this card I added Unicorn Stickles to the bee wings, black glaze pen to his eyes and some white gel pen accents to the whole image including the letters.

This is such a fun, bright card with the contrasting colors, I just love it!

This is my final link up for the HAPPY – Paper Smooches Challenge this month. I look forward to playing along with the next challenge as well.

I appreciate you sharing your time with me. Have a fabulous day!

Paper Smooches – Kitty Hello

Welcome back to day 3 of my Paper Smooches – Happy Hellos series. This was totally unintentional but you all know that I have a hard time choosing which images to use from a stamp set. So I stamped and colored them all. And when the cards just started flowing, who was I to stop it??? No way!

So on to today’s fabulous card. It’s a feminine feline hello featuring some fun ink blending and more Zig coloring.

I started by coloring and cutting out my kitty image from Happy Hellos. Then I chose some distress oxide inks that matched the colors of the letters and inked the bottom 2.25 inches of a white panel. I took my new diagonal stripes stencil from Trinity Stamps and inked it up with black soot distress oxide on the edge of a card base. I trimmed .25 inches off the purple/blue panel and popped it up on the card base with foam tape. I love the contrast this gives!

I popped the kitty image up with foam squares and added some morning dew Nuvo Crystal Drops to her nose. Then I finished the card off with a scattering of Crystalized Unicorn Tears embellishments from Trinity Stamps.

This is such a pretty card and that striped contrast adds so much to a simple design. It’s so great! I’ll be using the heck out of that stencil, I know it.

I’m linking this fun card up to the HAPPY – Paper Smooches Challenge as well.

I appreciate you sharing your time with me. Have a fabulous day!

Paper Smooches – Hola

Hi again! Today is day 2 of my Paper Smooches fun! Let’s shake things up a bit – Spanish-style! 😉 I love avocados and my husband hates them. This leaves so many opportunities for teasing both ways. It’s great fun and our daughter loves to instigate it.

As you can guess, I was super excited to use this fun stamp from the Happy Hellos set to show my love for what my husband calls – dirt fruit.

For this card, I stamped my image on Bristol Smooth Cardstock and pulled out my Zigs again. Then I cut out the two parts that I colored and set them aside.

I grabbed my Trinity Stamps Catching Some Rays stencil and did a two-tone with it. The skinnier stripes are mustard seed to squeezed lemonade distress oxides while the thicker stripes are twisted citron. I just faded the ink the farther our I got from the center. Then I heat embossed the image near the center area and popped the colored images on top of that with foam squares.

I took my panel and popped it up with foam tape on a lime green card base that played off the colors on the avocado well and moved on to finishing touches. I scattered Nuvo Crystal Drops in ripened pumpkin, dandelion yellow and apple green across the design.

This is such a spicy, fun card! I love how it turned out! It’s fun and also easy enough to mass produce if you wanted to send a bunch of happy mail out!

I’m linking this card up to the HAPPY themed Paper Smooches challenge this month too. Stay tuned tomorrow for another installment of Happy Hellos fun!

I appreciate you sharing your time with me. Have a fabulous day!

Paper Smooches – Hey, Hi Slider Card

Hello again and Happy Friday everyone! Not that days of the week have much meaning to most of us anymore. I do appreciate not being tied to a laptop during the weekends though.

I recently took advantage of an amazing sale from Paper Smooches and grabbed a couple of fun things I’d been wanting. Over the next few days I’m going to share some super fun card, all using one stamp set – Happy Hellos. It’s so much fun and has tons of possibilities. I hope you enjoy!

For this fun card, I stamped my image from Happy Hellos on Bristol Smooth Cardstock with VersaFine ink and set to coloring with my Zig Clean Color Real Brush Markers. I love how the bright colors pop on this image. I cut out the image and set it aside to build my card.

I used my Spellbinders slider card and cut the pieces from gray and white cardstock. On the front panel I stamped My Favorite Things Lined Up Dots background stamp in gray ink for a tone-on-tone effect. Using this as a guide, I stamped the “hi” with the heart from the Happy Hellos stamp set on a card front and colored it pink. I adhered the white slider card to the mechanism and adhered this panel to my card front.

I used tape runner to adhere my bird to the slider mechanism and slipped some rainbow ribbon through the hole, tying it with black and white baker’s twine. This just finishes the card of perfectly!

I love that because this is just the front of a regular card, you still have the whole inside of the card to write a really fun message to the recipient!

Paper Smooches has a challenge going on right now with the theme – HAPPY – that I plan to link this awesome card up to!

I appreciate you sharing your time with me. Have a fabulous day!