Hi friends! Proud to be a super sponsor of the Coffee Loving Cardmakers Fall | Winter Hop once again. I’m here to share some great inspiration with you and a little intro to my shop. If you’re new here, welcome! And if you’re an old friend, I’m happy to have you with us!

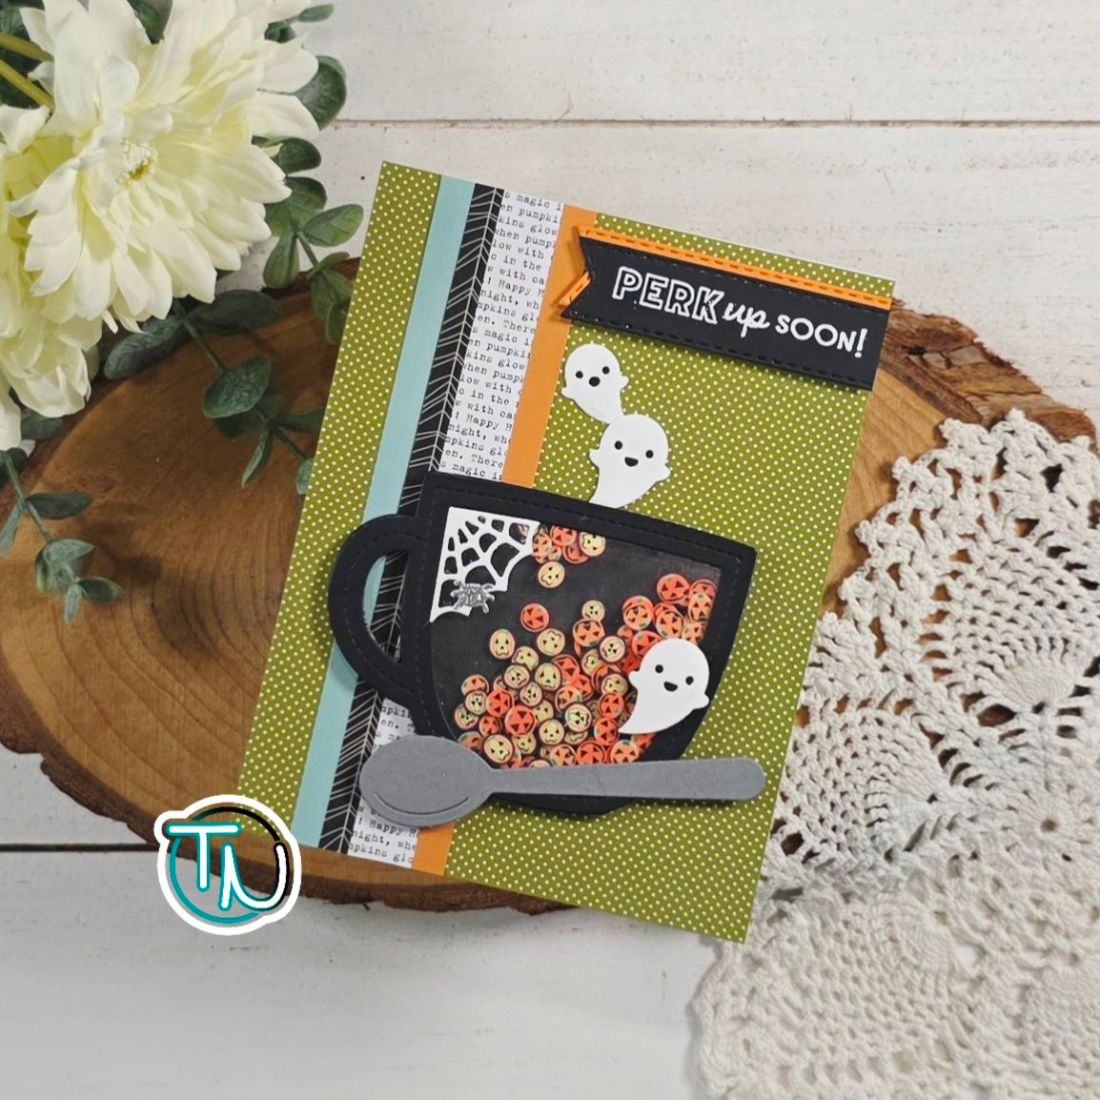
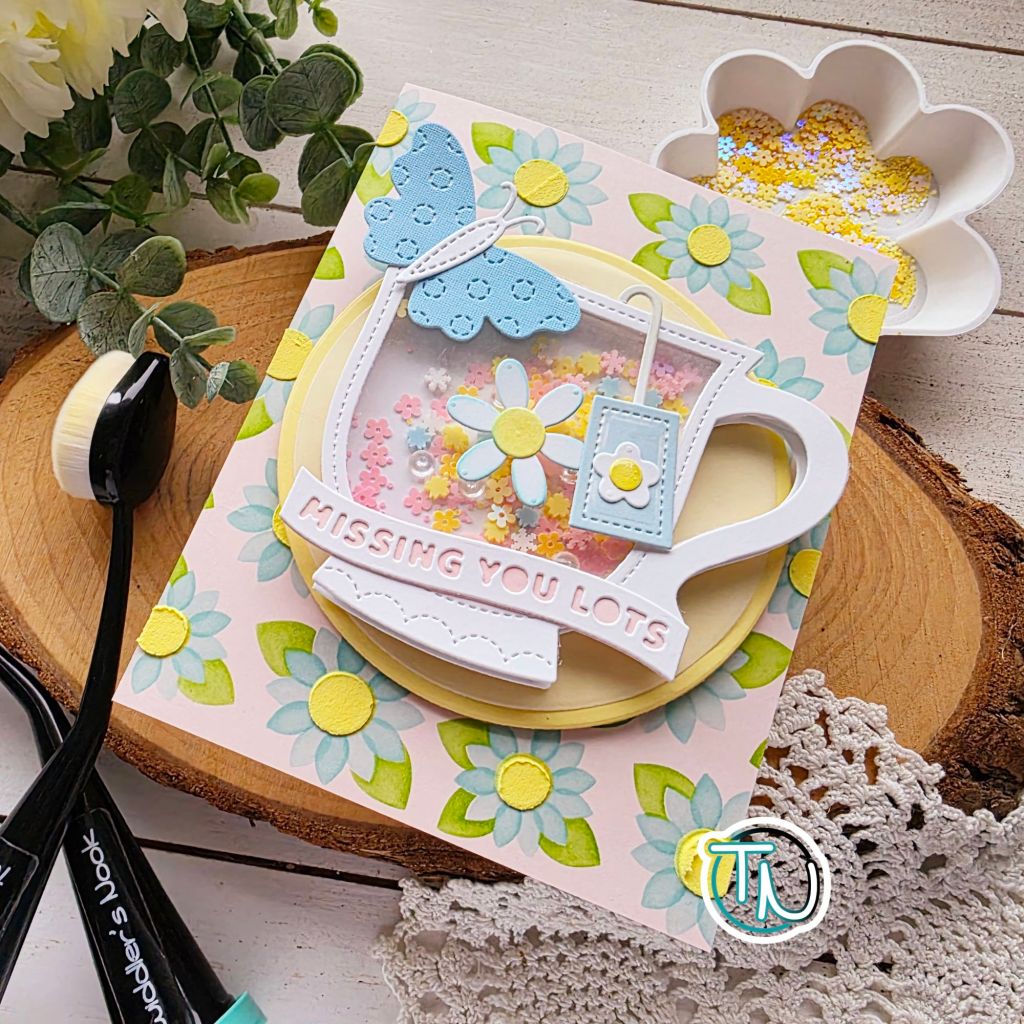
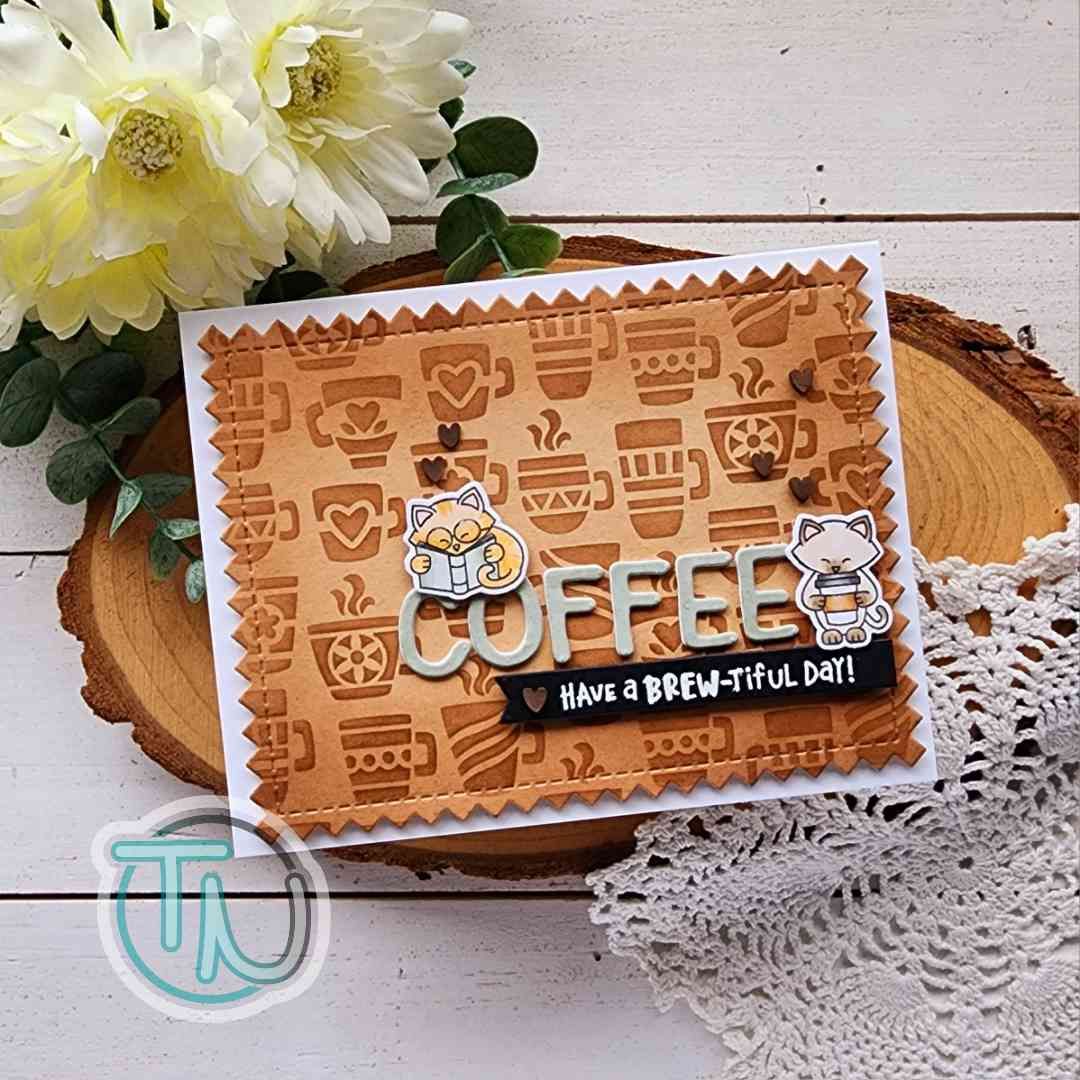
Today I’m pairing a few Twiddler’s Nook embellishments and crafty tools with Newton’s nook dies and patterned paper to create a holiday shaker card.
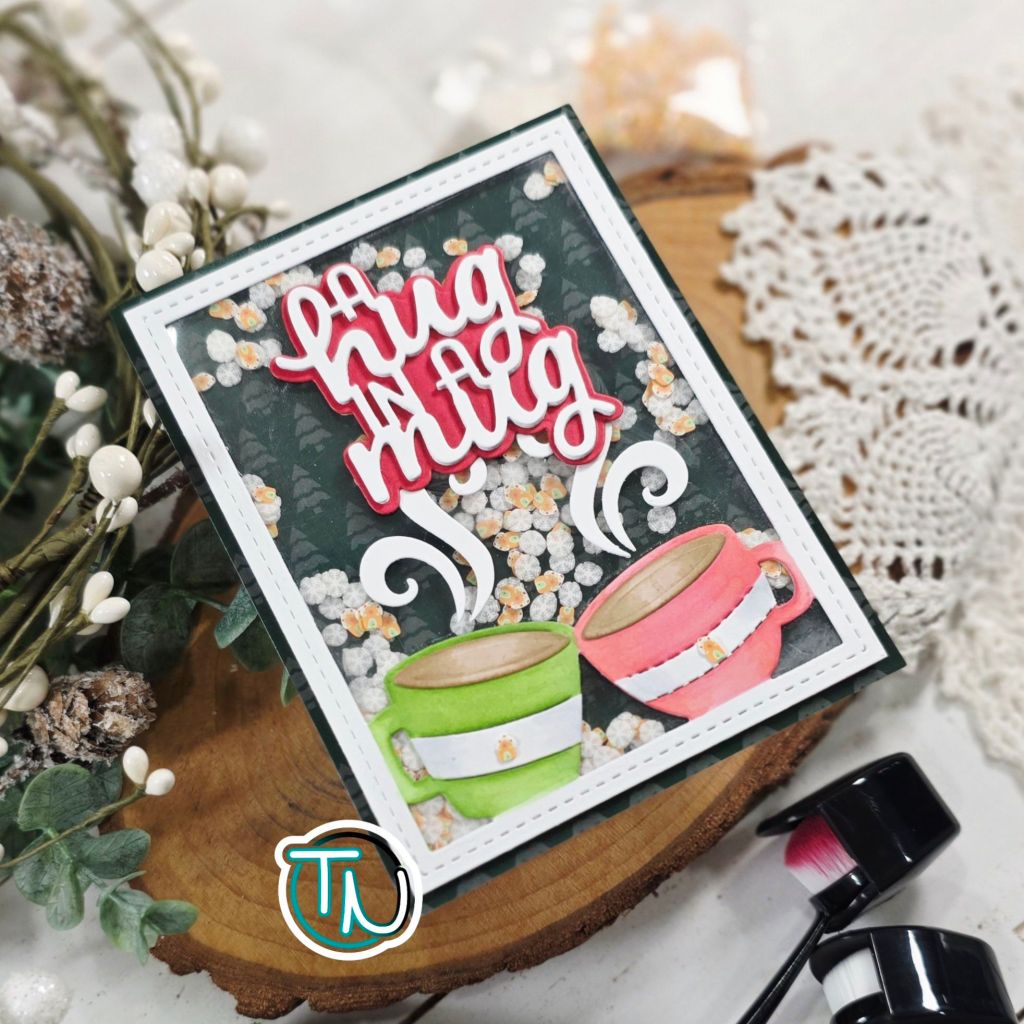
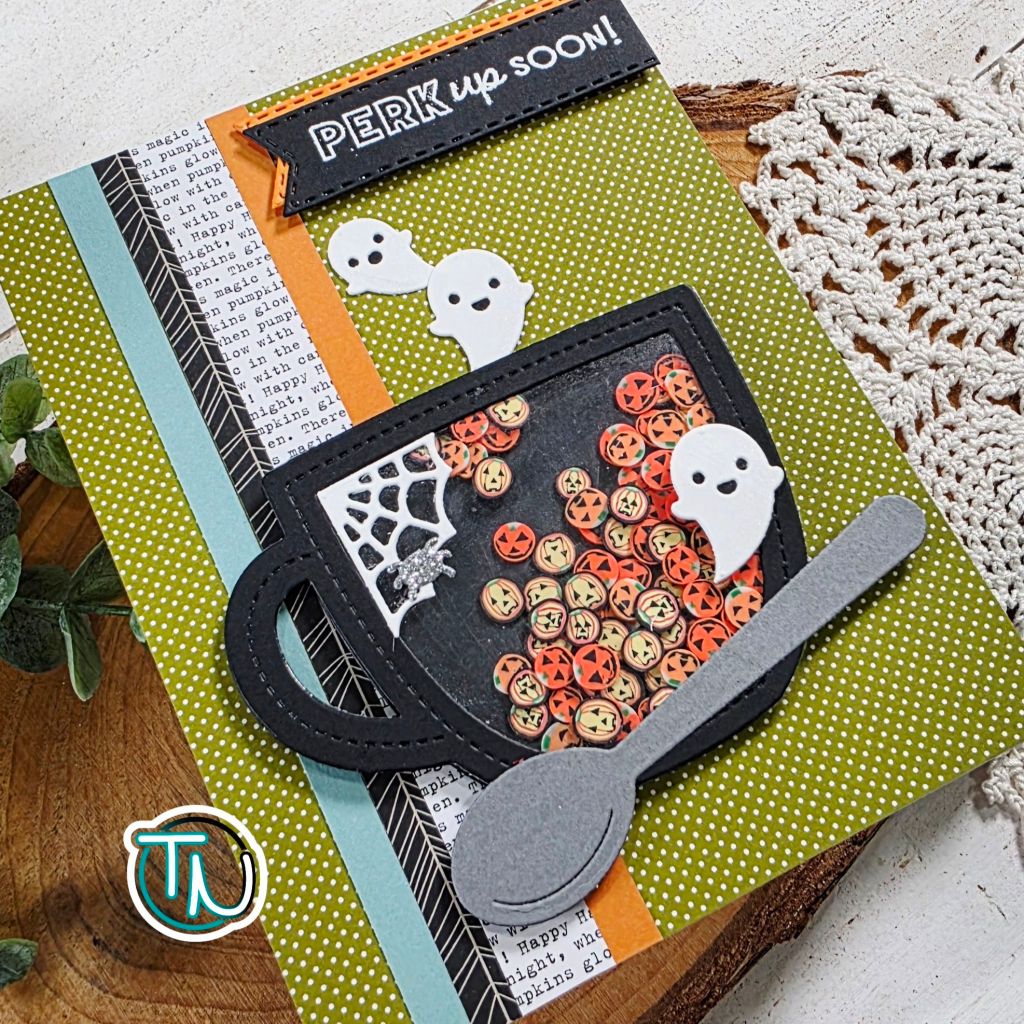
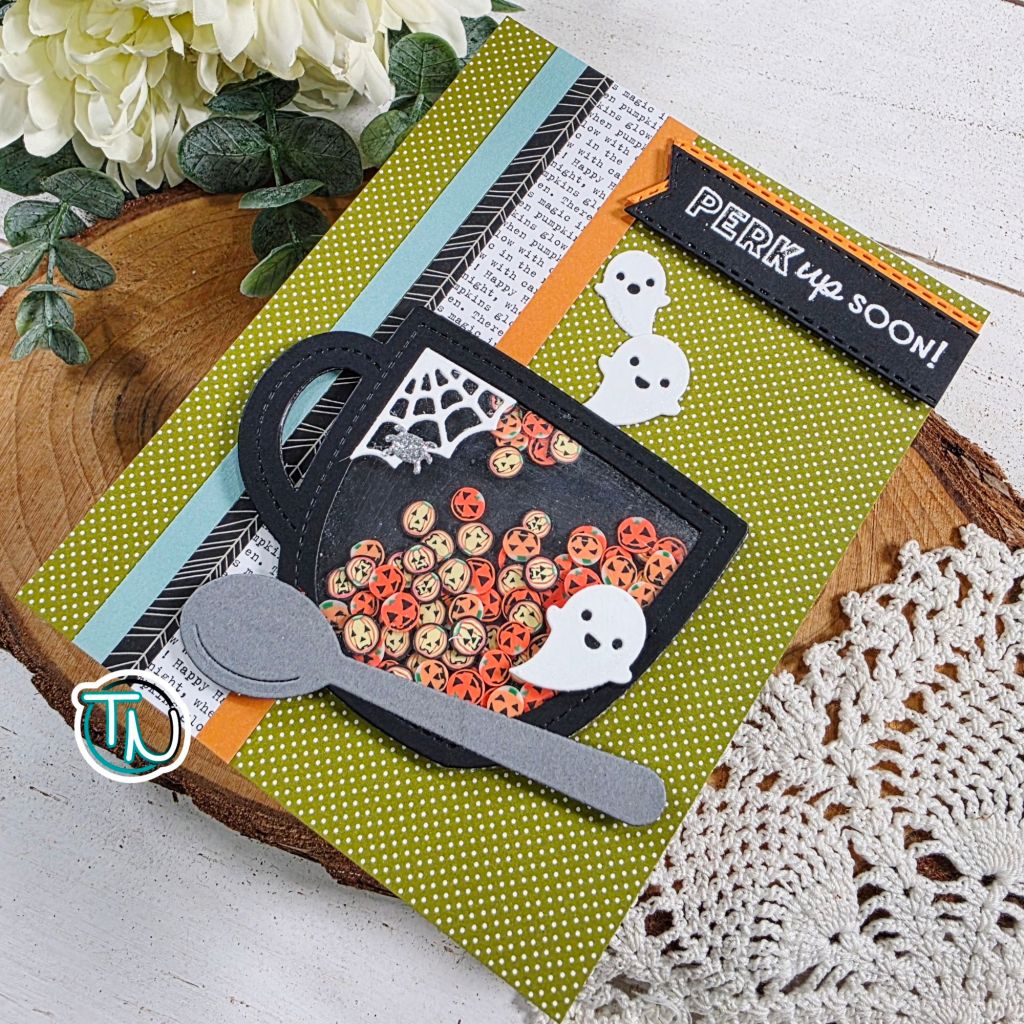
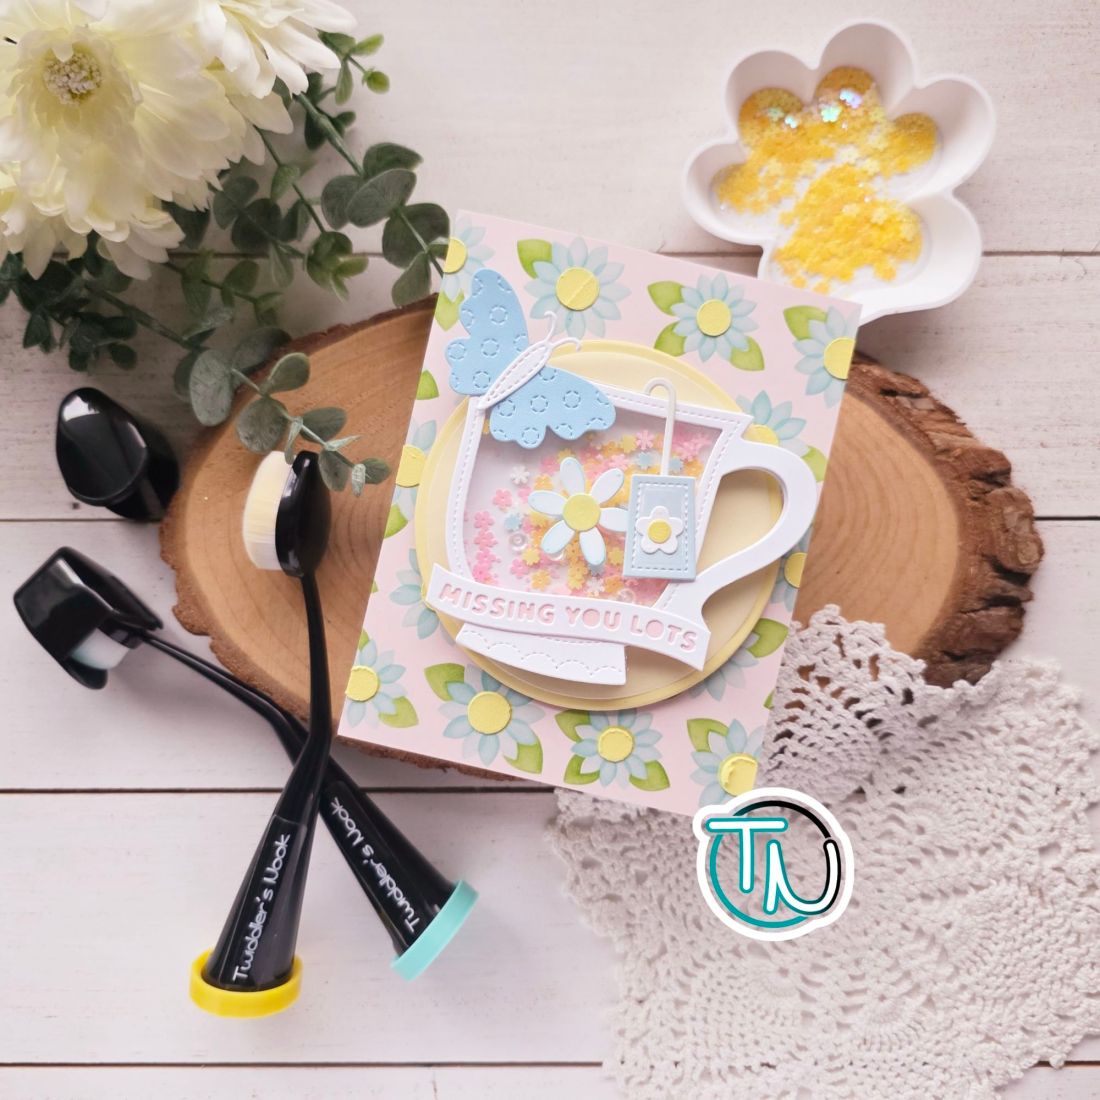
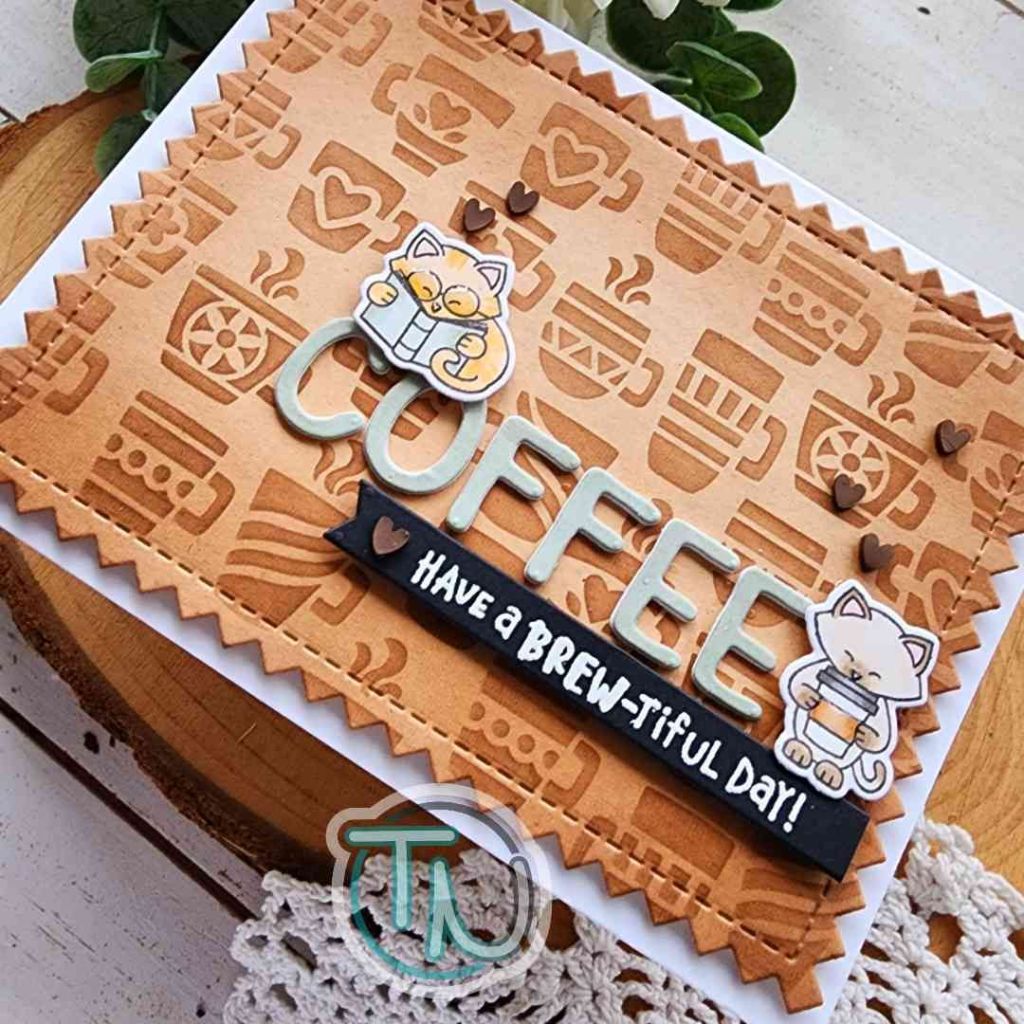
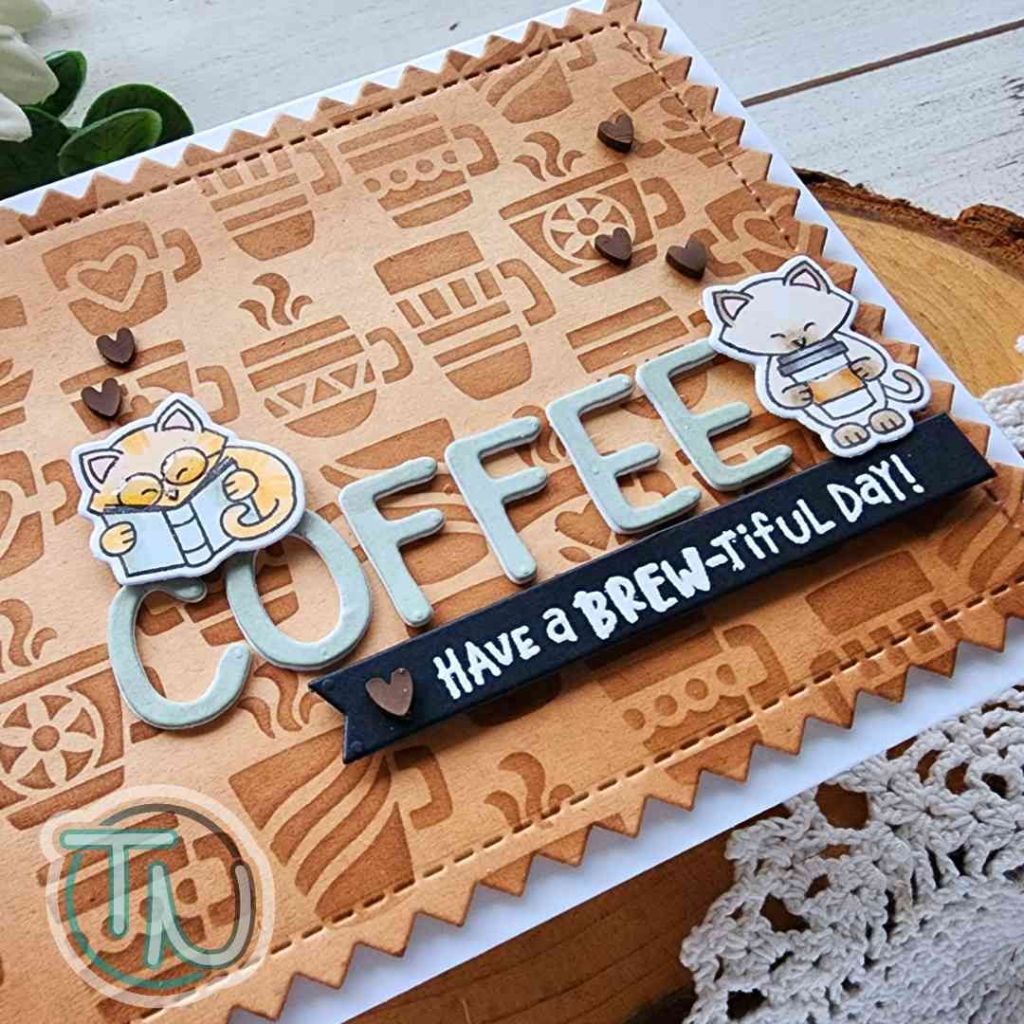
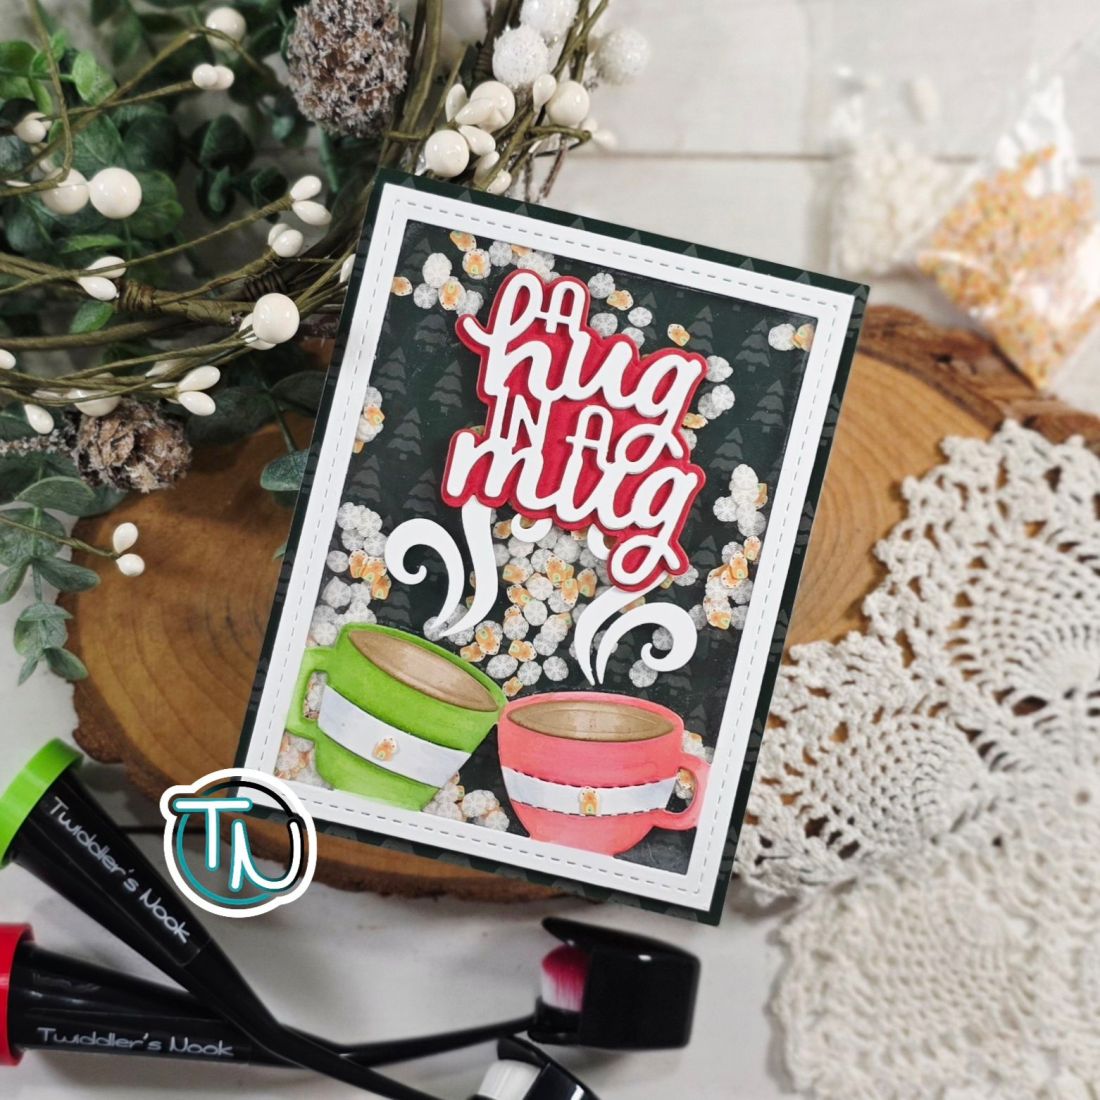
I cut the Newton’s Nook Coffee Frame from white cardstock, masked off the border and used Twiddler’s Nook blending brushes to add color to the mugs. I cut the mugs a second time from white cardstock, trimmed the center stripe out and added it with liquid glue over top of the ink blended mugs.
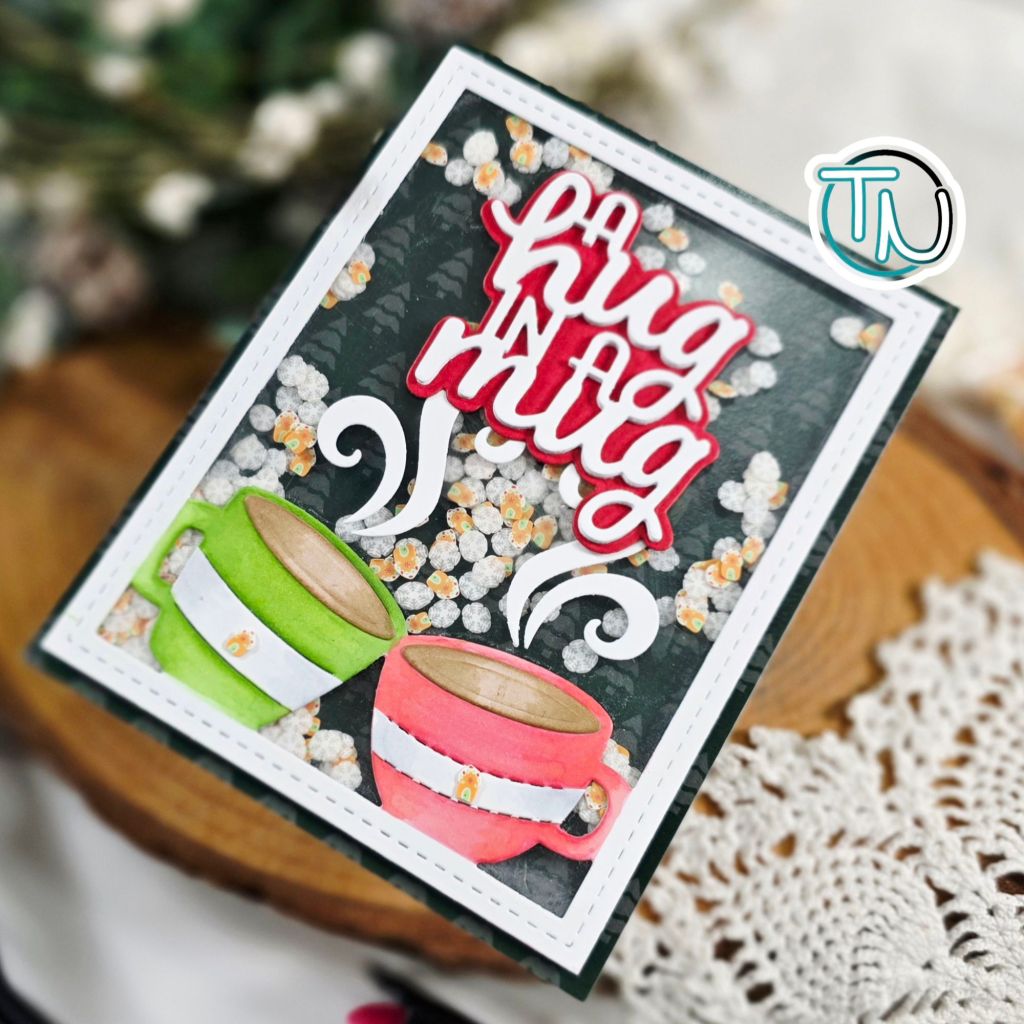
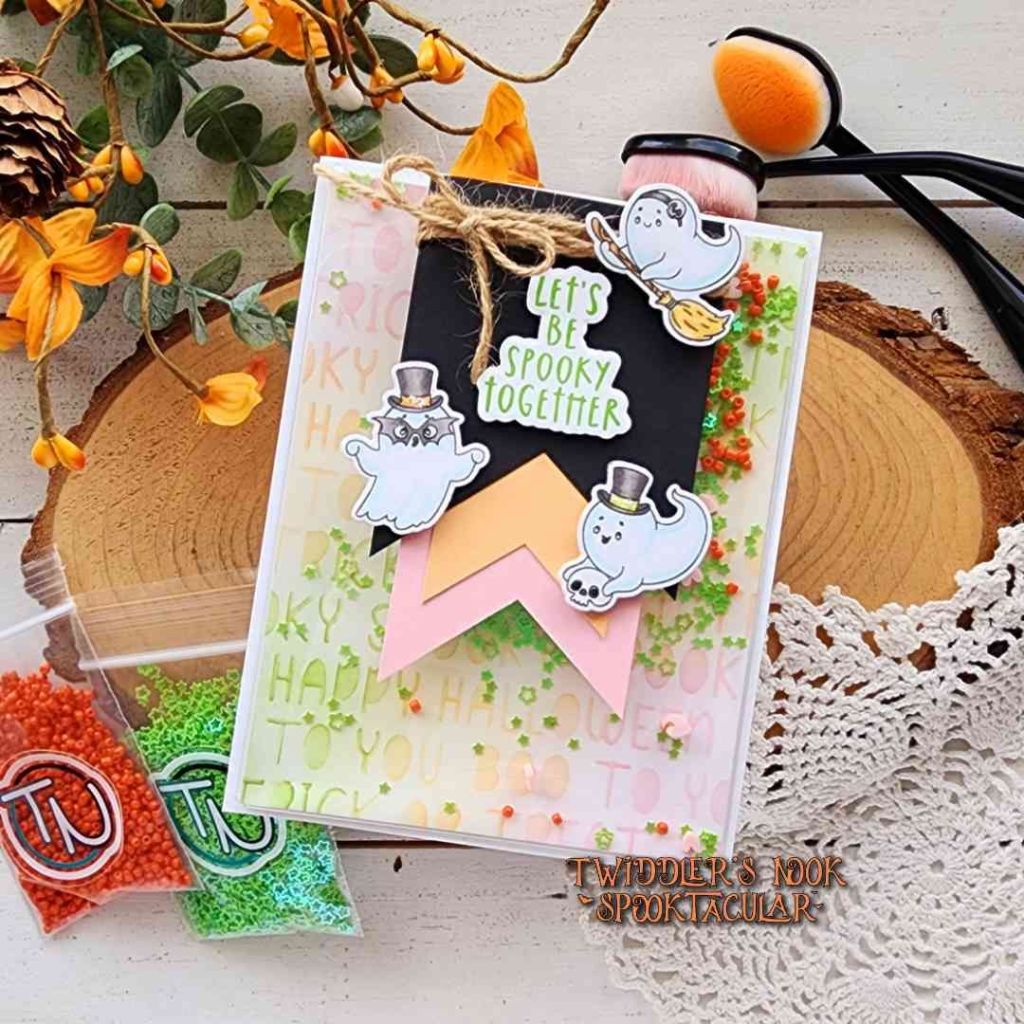
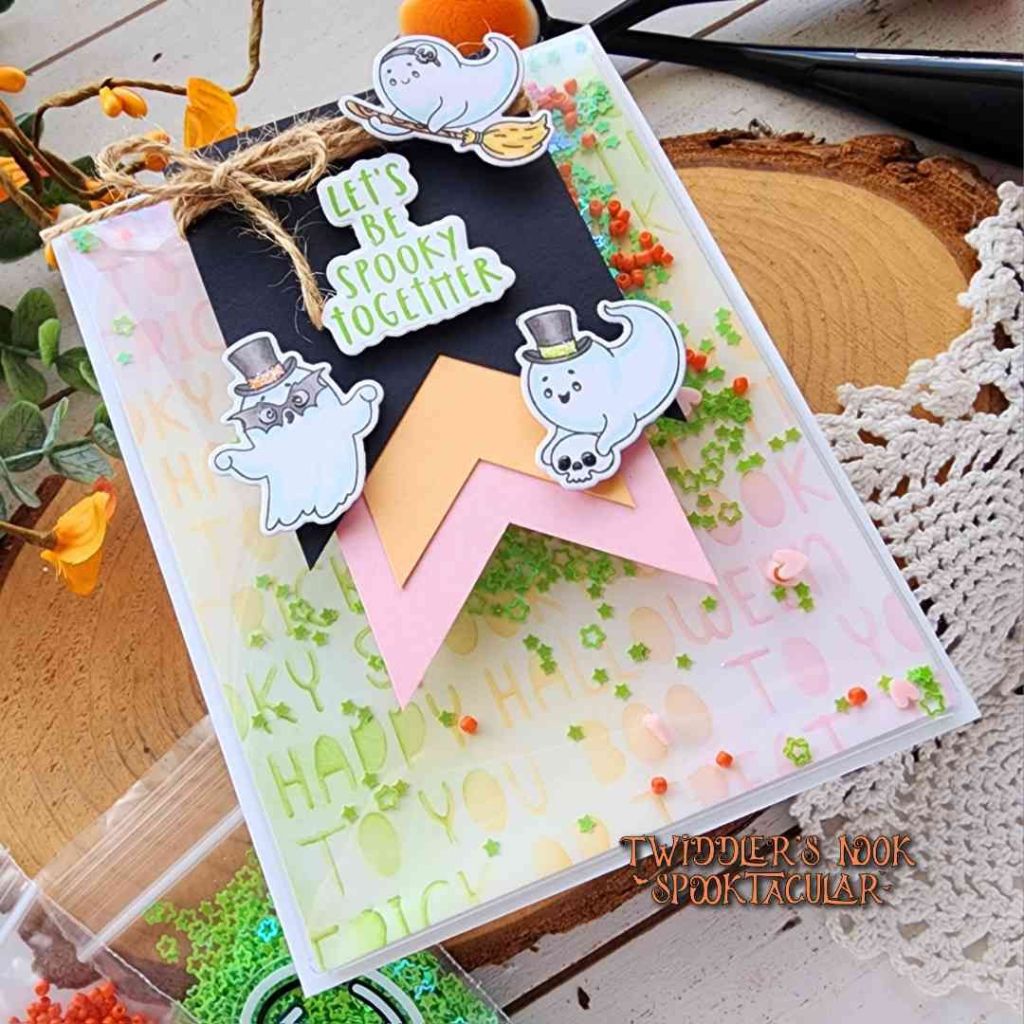
I added acetate and foam strips to the frame for my shaker window. Then sprinkled some Snowy Day and Gingerbread House clay embellishments to an A2 piece of patterned paper and adhered the frame over the top to seal the shaker up.
I glued the steam bits above the mugs on the acetate and then glued my Newton’s Nook Hug in a Mug sentiment over the top of that. Next, I added the whole panel to a card base.
If you’d like to check out the Twiddler’s Nook Shop to see what embellishments and crafty tools we have to offer, click HERE.
Next on the hop list is Your Paper Insider! If you need to get back to the beginning of the hop, click HERE!
I appreciate you sharing your time with me. Have a fabulous day!