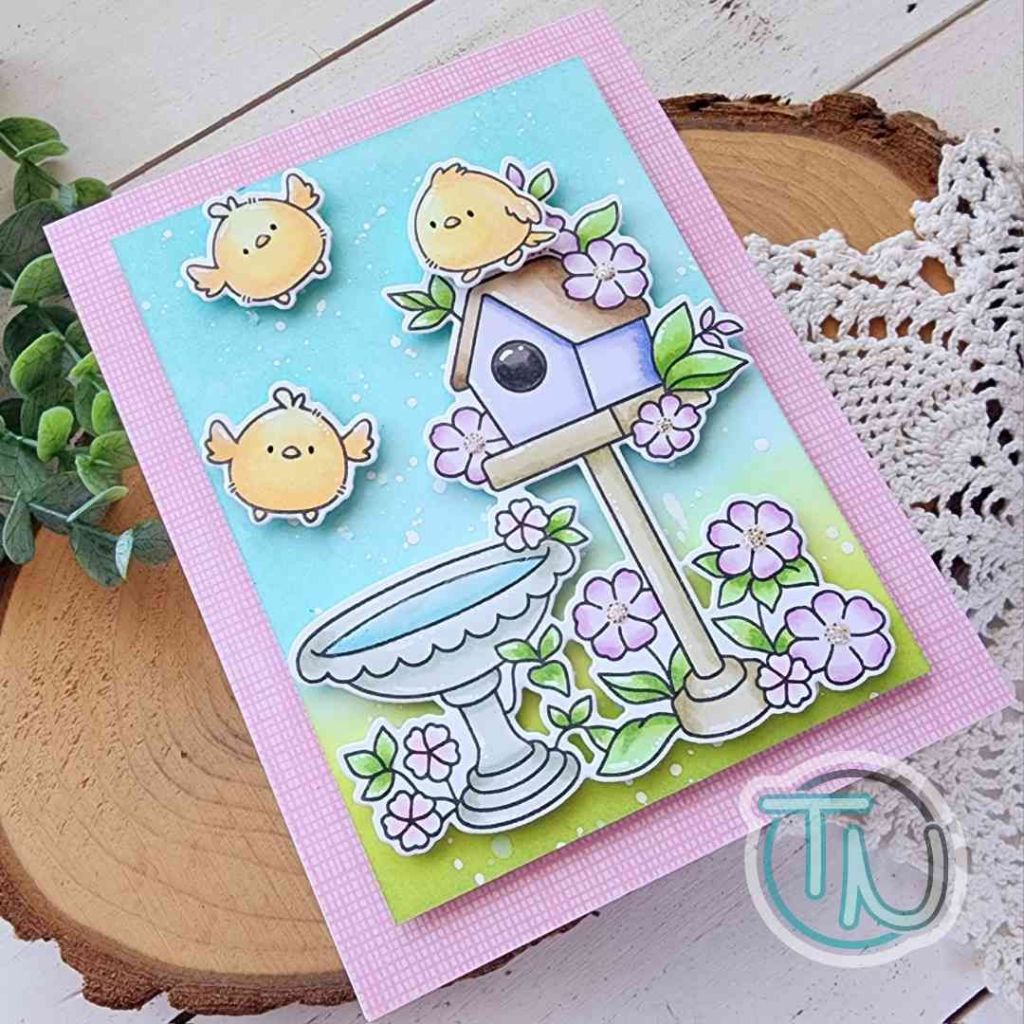
Welcome everyone and happy Friday! I’m so extra excited to be almost done with the week because camping is right around the corner! Time to unplug, relax and unwind! It’s going to be great. But I wanted to pop in before all of that and share a new card I created with the My Favorite Things Fiery Friends stamp set. It took ages to get to me because of slow shipping, delayed products, all the things, which made it all the sweeter when my package finally arrived.

I had absolutely no card design in mind when I stamped my images. I just wanted some coloring therapy. Uncommon for me but not impossible. So I took my time over a couple of days to color all of these images and then used the coordinating dies to cut them all out. At that point I played around with mini scenes to see if I needed anything additional to make it feel complete.

Ultimately I thought everything balanced out pretty well so I started on my background panel. Given the moon and clouds, I went with a night time feel. I inked blended distress oxide ink on a 3.75 x 5 inch piece of white cardstock and splattered it with water. After blotting it dry I went in with white paint splatter too.

I chose a piece of patterned paper from the Colorful Canvas paper pad, trimming it to 5.5×3.5 inches and gluing it to a white card base. Then I added my images to the scene panel and stamped my sentiment on the bottom. That panel is popped up on the card base with foam tape.
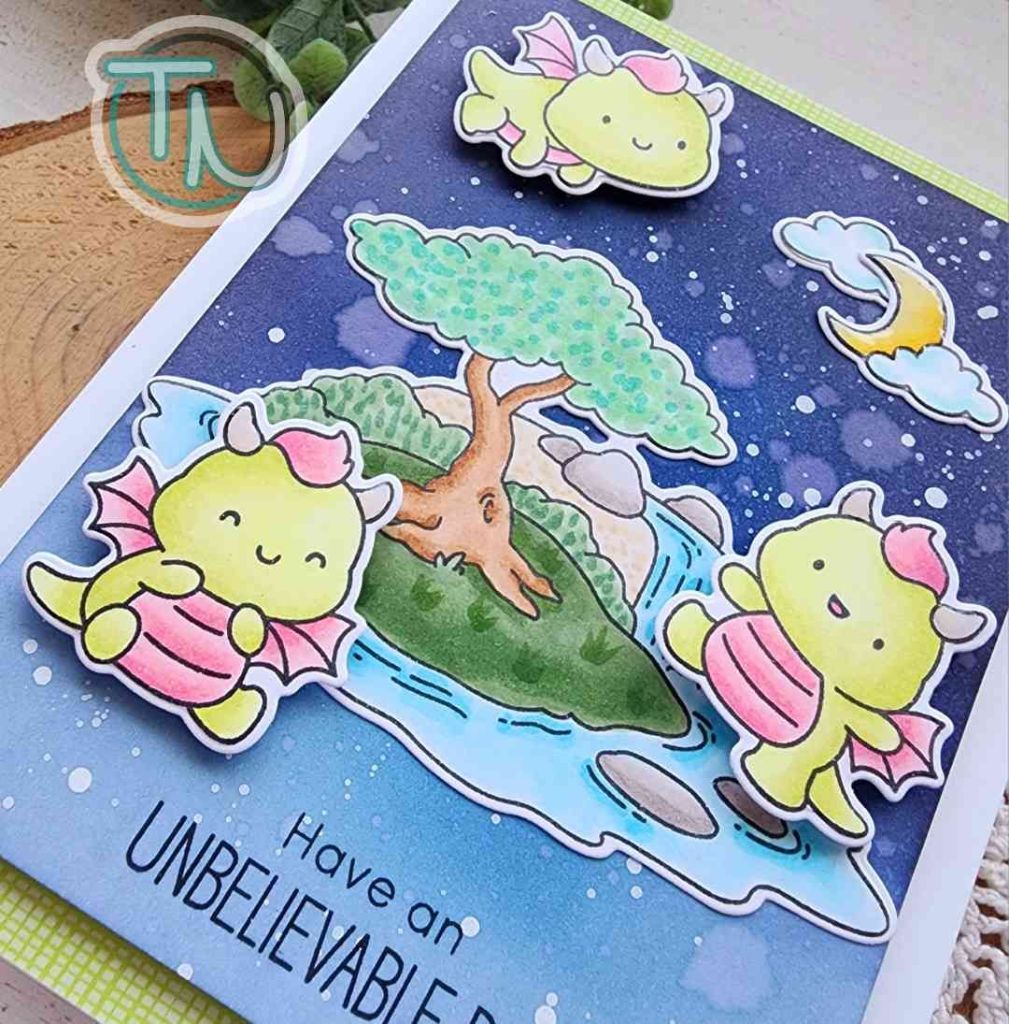
For finishing touches today, I just added glossy accents to the dragon horns and moon. There is a lot going on so I didn’t feel the need to add much but you know I like shiny things!
Products used:
Fiery Friends stamps and dies
Colorful Canvas paper pad
Distress Oxide Ink – chipped sapphire, faded jeans, black soot
Liquid glue
Foam tape and squares
Glossy accents
I appreciate you sharing your time with me. Have a fabulous day!