Newton’s Nook – August Release Day

Hip, hip, hooray!!! It’s release day!!! But first, you have to head to Instagram and hop along with us. Comment as you go for a chance to win credit to the Newton’s Nook shop! Then go wild and snag all these super fun goodies to start your birthday card stash!

Today the card I’m sharing features the Birthday Greetings stamps along with the Cat Builder and Birthday Accessories dies.

Today, I cut the pieces from colored cardstock but used ink blending on all the parts to add depth and interest. I always use liquid glue to adhere bits and pieces together, sometimes reverse tweezers help told them in place while the glue dries.

I had a layout planned in my head, so after all the pieces were cut and glued together. I cut the A2 Card Layout die from white cardstock, saving the frame for another day, using the stitched rectangles that also cut with the frame. I added a sentiment to the longer top rectangle and popped up all my elements with foam squares.

I added those to a green cardstock panel with foam tape. The panel is cut down to 4×5.25 inches. Before gluing that to my card base, I took guava ink direct to the paper so I got a textured color edge instead of another layer of cardstock.

For finishing touches I added glossy accents on parts of each icon. Then stardust Stickles to the party hat and each balloon too.

Just a reminder that today is release day and our Instagram hop is going on. Click here to get started!

I appreciate you sharing your time with me. Have a fabulous day!

Newton’s Nook – August Release Sneak Peeks Day 2

Welcome back again! Today we’ve got three new builder die sets to share with you, plus fun inspiration before the whole lot goes on sale tomorrow!

Cat Builder, Dog Builder and Birthday Accessories dies

With so much goodness to share today, I have two cards to share featuring all of these new products! First up, let’s build a super cute cat and get him ready for the party!

I cut everything for the kitty and party accessories from white cardstock and used blending brushes with dye inks to add my color. Then I used liquid glue and reverse tweezers to assemble everything.

*A great tip, the packaging for these builder die sets has a map to show you how to put the pieces together in different ways. I cut my packaging down and kept that part with the die sets for all of them.

If you saw my post yesterday, you’ll realize that I was very stuck on the Birthday Time paper pad. It fit with everything I was creating this time so why fight it?!? I trimmed another piece down to 4.25×4.5 inches. I stamped my sentiment at the bottom of a top folding card and popped the orange panel up with foam tape. Next, I cut a strip from another pattern in the same set and glued it to the bottom of the orange panel.

Last, I popped my kitty up with foam tape as well and finished the design off with a scattering of flat sequins for some added sparkle and shine across the design.

Next, I took some time to build a dog and some of the super fun accessories that come with him!

For this card, I used the same paper pad plus the Frames & Tags die set for my layout. I took the teal inserts that cut with the frame and splattered them with teal ink. After those were dry, I stamped my sentiment from yesterday’s Birthday Greetings set on one of the smaller rectangles and popped my other elements up with foam squares on the last two.

I chose a pattern for my card front, trimmed it down and glued it to a card base. Not wanting to cover up the fun words, I cut the zig zag rectangle from vellum, added my teal rectangles to it with foam tape and then hid tape runner behind the rectangles to adhere the whole thing to my card front.

*Tip, liquid glue tends to make vellum ripple because of the liquid part so I always try my hardest to use dry adhesive like tape runner.

For finishing touches on this card, I went a different route again and added white gel pen highlights to all of the bits. It doesn’t require drying time but can also change the look of your card completely.

Check out the Design Team blogs for more inspiration and featured project details:

Newton’s Nook Designs
Larissa Heskett
Donna Idlet
Rosie Lopez
Samantha Mann
Diane Morales
Amanda Wilcox

Newton’s Nook – August Release Sneak Peeks Day 1

Happy Wednesday friends! We have a quick two-day set of sneak peeks for the Newton’s Nook August release and then on Friday you get to enjoy a fun Instagram hop for added inspiration (and chances to win) plus the goodies go on sale so you can shop to heart’s content!

Today we have a builder die set and a new sentiment stamp set to share with you.

Cake Builder dies and Birthday Greetings stamps

For my card today, I used all the new goodies but surrounded my color palette around a previously released paper pad called Birthday Time. It’s a great collection of images and patterns in more pastel vibes than bright which was perfect for my crafting mood.

For my cake, I cut all the pieces from various colors of cardstock. Then I took the cake layers and spritzed them with white paint. It gave great texture and toned down the brightness of my cardstock colors. I used liquid glue to assemble it all and moved on to the other elements.

I stamped part of my sentiment on a banner trio die and trimmed the other half with scissors after stamping. My background panel is from the Birthday Time paper pad, trimmed to A2 and glued to a card base. Then I added ovals from the oval frames die set. The white scallop oval is glued to my card base and the teal is popped up with foam tape.

Last, I added the sentiment strips and cake with foam tape. For finishing touches I added stardust Stickles to the candles and glossy accents to the flames and frosting on each cake layer. I feel like these last details really pulled this card together. It went from alright to super cool!

Check out the Design Team blogs for more inspiration and featured project details:

more inspiration and featured project details:

Newton’s Nook Designs
Larissa Heskett
Donna Idlet
Rosie Lopez
Samantha Mann
Diane Morales
Amanda Wilcox

Doodlebugs – Happy Birthday to Moo Tag

Hey friends! It’s mix-it-up Monday and I’m here with some birthday fun using Lawn Fawn and Mama Elephant new and old together. It’s great when things work out that way – getting new goodies that give your older stuff new life at the same time!

I’ve been dying to play with the Lawn Fawn Highland Cows since they released and today I finally took my opportunity and ran with it! Isn’t this little guy THE CUTEST!?! He’s perfect! Pretty sure I’m giving this tag to myself on my birthday, not even hiding it.

To create it, I started by gathering some images from the Highland Cow stamp set and creating a mini scene. Once I had enough filler, I stamped everything and colored with my copic markers. Then I used the coordinating dies to cut it all out. However, this set doesn’t come with a speech bubble so I went digging and found this one in the Silly Goose set. Lots of Lawn Fawn sets have them so just dig in your stash.

Then I pulled out the Mama Elephant Emerald Package die set and cut the tag shape and the shape one size smaller from yellow and white cardstock, respectively. I taped off a portion of the white panel and inked it green, then flipped my tape and inked the sky teal. I splattered some water for texture and blotted it dry.

Finally, I glued the foliage down with liquid glue and popped the cow and speech bubble up with foam squares. Then I popped the scene panel up on the yellow tag with foam tape. For finishing touches I added some white gel pen to the cow’s cheecks and stardust Stickles to the tip of the hat. Last, I added glossy accents to the flower center and two stripes on the hat. I threaded ribbon through the hole, tied it with twine and voila, my tag is finished!

Products used:
Lawn Fawn Highland Cows stamps and dies
Lawn Fawn Silly Goose stamps and dies (speech bubble only)
Mama Elephant Emerald Package dies
Foam tape
Glossy accents
Stickles – stardust
Blending brushes
Lawn Fawn inks – mermaid and cilantro
Gelly Roll pen – white

I appreciate you sharing your time with me. Have a fabulous day!

Spellbinders – Halloween Felt Stitch and Create Part 2

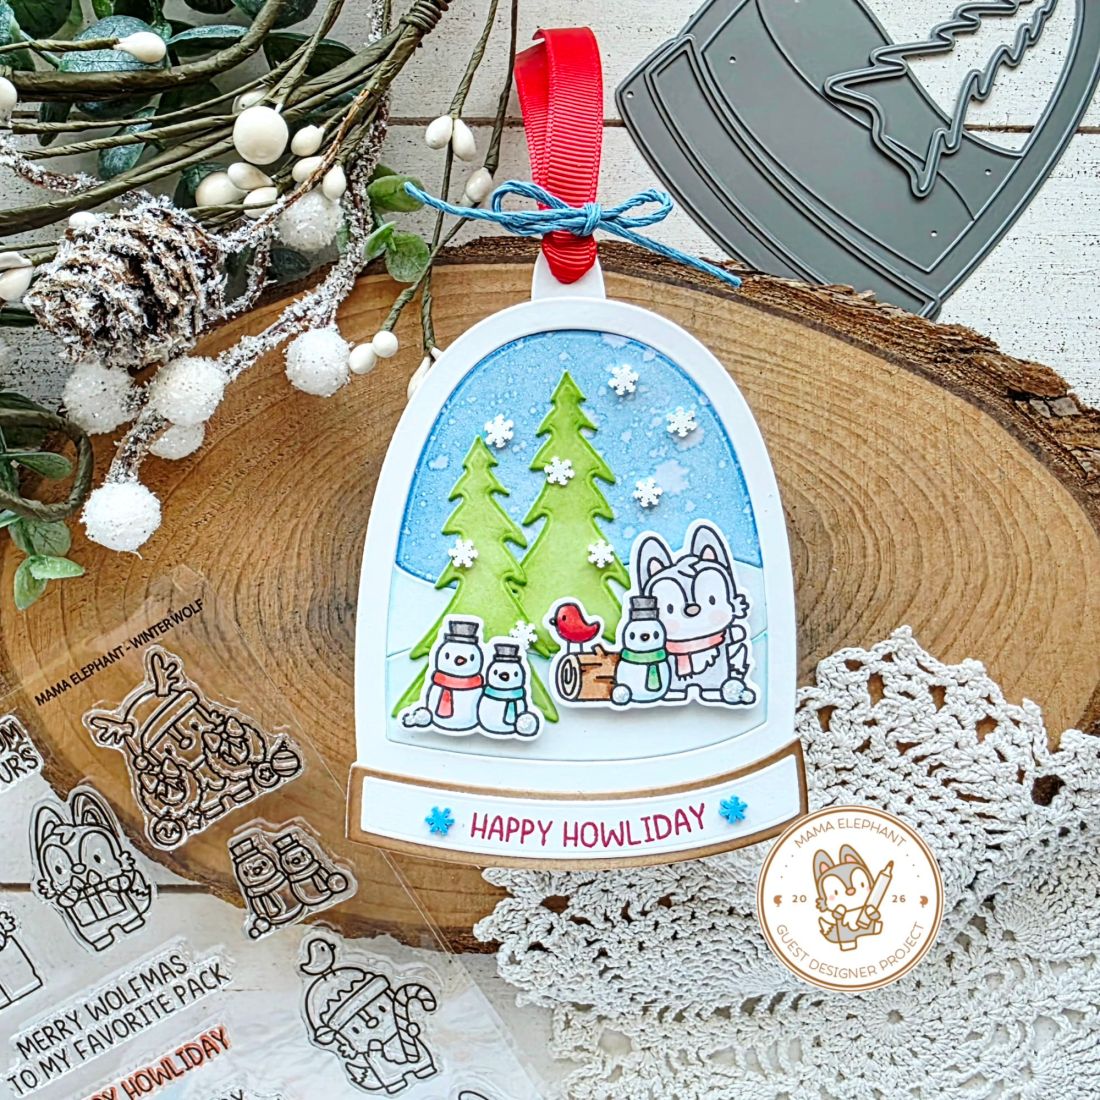
Welcome everyone! Today I’m here with a couple more projects using that new fantastic Halloween felt stitching collection from Spellbinders and Nichol Spohr. There are four sets in the collection and I’ve used three so far. They are so fun to create with in different colorways.

Today I’ve got ideas for the Charming Witch Hat and Harvest Witch Boot to share. I tried to think outside the typical ornament/bag tag idea because we all know how to do that, and also branch out a little with different colors.

First I stitched up the witch boot and created some flowers with the dies included in that set. But as I was playing with layout for the florals on the boot, I realized I wanted them higher but how was I going to accomplish that. Well, I love to create banners and little decorations to hang around the house so that’s what I did.

I cut some cardboard backing from a paper pad into a banner shape and roughed up the edges. Then I went to town layering distress oxide inks; everything from gathered twigs to ground espresso to a little black soot around the very edge. I spritzed the cardboard with water and let it dry. Then splattered some watered down black soot ink on the whole panel. I punched holes in the top so I knew where to keep my book and flowers confined to.

I added everything, included some flat sequins, with liquid glue and threaded some black ribbon through the holes.

Next, I went digging for different colors of felt in my stash to create a festive witch’s hat that isn’t the typical black. I think this green is pretty awesome for it! I chose the colors of felt and then floss colors to stitch everything together. I like how the hat stitching matches the felt on the band to tie them together and also give contrast against the green.

Given that the hat is green, I went with black florals to pull that spooky vibe in a little bit more. I love them! After the hat was all stitched up and the flowers were dry, I glued them to the hat with fabric glue. After that was set, I glued magnets to the back of this project so I can hang it on the fridge or even the filing cabinet in my office. A little bit of a different take on felt stitching projects.

Products used:
Charming Witch Hat dies
Harvest Witch Boot dies

Thermoweb fabric glue
Benzie Design felt
DMC floss
Distress Oxide Inks

I appreciate you sharing your time with me. Have a fabulous day!

Simon Hurley Create – If You’ve Got it, Haunt It

Welcome everyone! Today I’m playing with Halloween goodies that released last year but I was late to the party so I get them last month and finally carved out time to play. They are a combo Spellbinders | Simon Hurley Create release, which always equals perfection!

These ghosts are adorable and I was so happy to finally get a chance to create with them! The set is called Boo Crew. I started by cutting and inking up all the pieces to build adorably funny ghosts, then used liquid glue to adhere the layers together. Everything is cut from white cardstock and color was applied with copic markers or blending brushes.
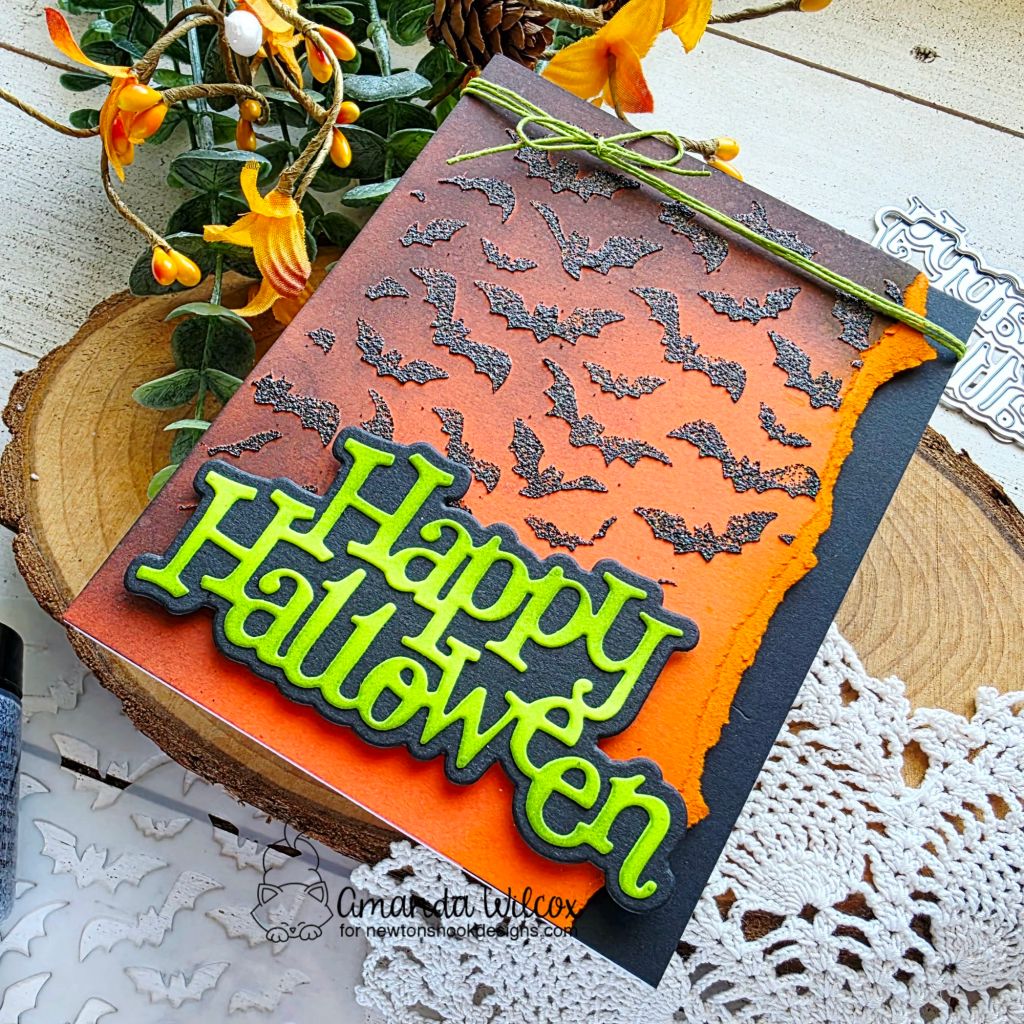
For my background, I used the Damask 3D embossing folder on cardstock that I sprayed with twisted citron Distress Stain Spray, then mowed lawn Distress Oxide Spray. After embossing the panel, I drug the black soot distress ink pad across the embossing, then came in with a blending brush to give the embossing more definition. Next, I tore the edge off the panel and roughed it up with scissors and used reverse tweezers to help some edges curl up.

I folded a white card base and glued a strip of black cardstock to the right edge before popping the embossed panel up with foam tape. Next, I added my ghosts with foam tape as well, leaving space for a mysterious sentiment…because I hadn’t chosen one yet.

Boo Crew has a die cut sentiment included in the set but I was feeling restless and went digging anyway. I came across a retired Spellbinders stamp set from Halloween years ago and couldn’t resist. I stamped and heat embossed it, then fussy cut it before popping it up with foam squares as well.

Products used:
Boo Crew dies
Damask 3D embossing folder
Foam tape and squares
Liquid glue
Reverse tweezers
Scissors
Distress Ink – black soot
Distress Oxide Spray – mowed lawn
Distress Spray Stain – twisted citron
Blending brush

*Retired* Boo Dance Party stamps

I appreciate you sharing your time with me. Have a fabulous day!
Spellbinders – Halloween Felt Stitch and Create

OH MY WORD!!! Friends, the most amazing felt stitching dies just dropped from Spellbinders! They are giving retro vibes and have so many possibilities ahead! Today I’m sharing my first little creation which uses the patchwork ghost dies, but know there is so much more ahead!

How cute is this little guy!?! He’s super versatile that you can cut the side with the patches or without so you can create your ghost friends in any way you want! I love the patchwork idea so of course I dove in first to give that a try.

Remember when using stitching dies with felt, you have to use wool felt or the die won’t cut through the fibers. Mine is a mixture between Benzie Designs, Ellen Hutson and some local craft stores around town. Benzie Designs is my favorite by far! It’s the best quality and comes in any color you can imagine!

After stitching this guy together, I added a twine loop to the top so I can hang him as a decoration, add it to a gift bag or any other number of ideas I might have between now and then.

Products used:
Spellbinders Halloween Felt Stitch and Create – patchwork ghost

Thermoweb fabric glue
DMC B5200 thread
Wool felt

I appreciate you sharing your time with me. Have a fabulous day!
Mama Elephant – Zodiac Monkeys on the Go

Hey friends! I’m here today with two of my most recent obsessions – decorating journal covers and the Mama Elephant Zodiac series! My husband and I were having some fun trying out our new UV printer and created a printed cover but given it is all new to us, this one got messed up and dislodged while printing. Never fear…it’s not a waste, just give me a minute in the craft room!

So the gingham banana background was something we designed and were printing. When it dislodged, it tore the corner. Then we also noticed it wasn’t taped down firmly everywhere so some spots were faded looking. No big deal, I just had some fun decorating in ways to cover some of the blemishes.

I started by tearing some yellow cardstock pieces and roughing the edges. I glued them to the cover, then added a fun strip of blue to tie the background together. I splattered the panel with white paint and set it aside to dry.

I stamped and colored images from the Mama Elephant Zodiac Monkey set with copic markers. I used the coordinating dies to cut them out and liquid glue to adhere the bits together. I popped them up on the cover with foam squares. Then went a die cut the letters for the word “notes” 3 times from white cardstock using the Mama Elephant Lucky Alphas die set. I glued the layers together and then to the journal cover.

After finishing the cover up with glossy accents and stardust Stickles on the images, I thought it needed something else. So I created a sweet monkey clip to help you keep your place! To create these, I just stamp, color and die cut the original image, then die cut the shape only two more times. Glue one blank to the back of the coloring, add a piece of double-sided tape to the bottom and adhere your paperclip, then use liquid glue to adhere the second blank die cut to seal it all together. Let it dry completely before trying to use it.

Isn’t this the cutest!?!?! I brought it to work to show someone and it immediately went home with that person. I’d say that’s a win.

Products used:
Mama Elephant Zodiac Monkey stamps and dies
Mama Elephant Lucky Alpha dies

Liquid glue
Double-sided tape
Foam squares
Glossy accents
Stickles – stardust

I appreciate you sharing your time with me. Have a fabulous day!
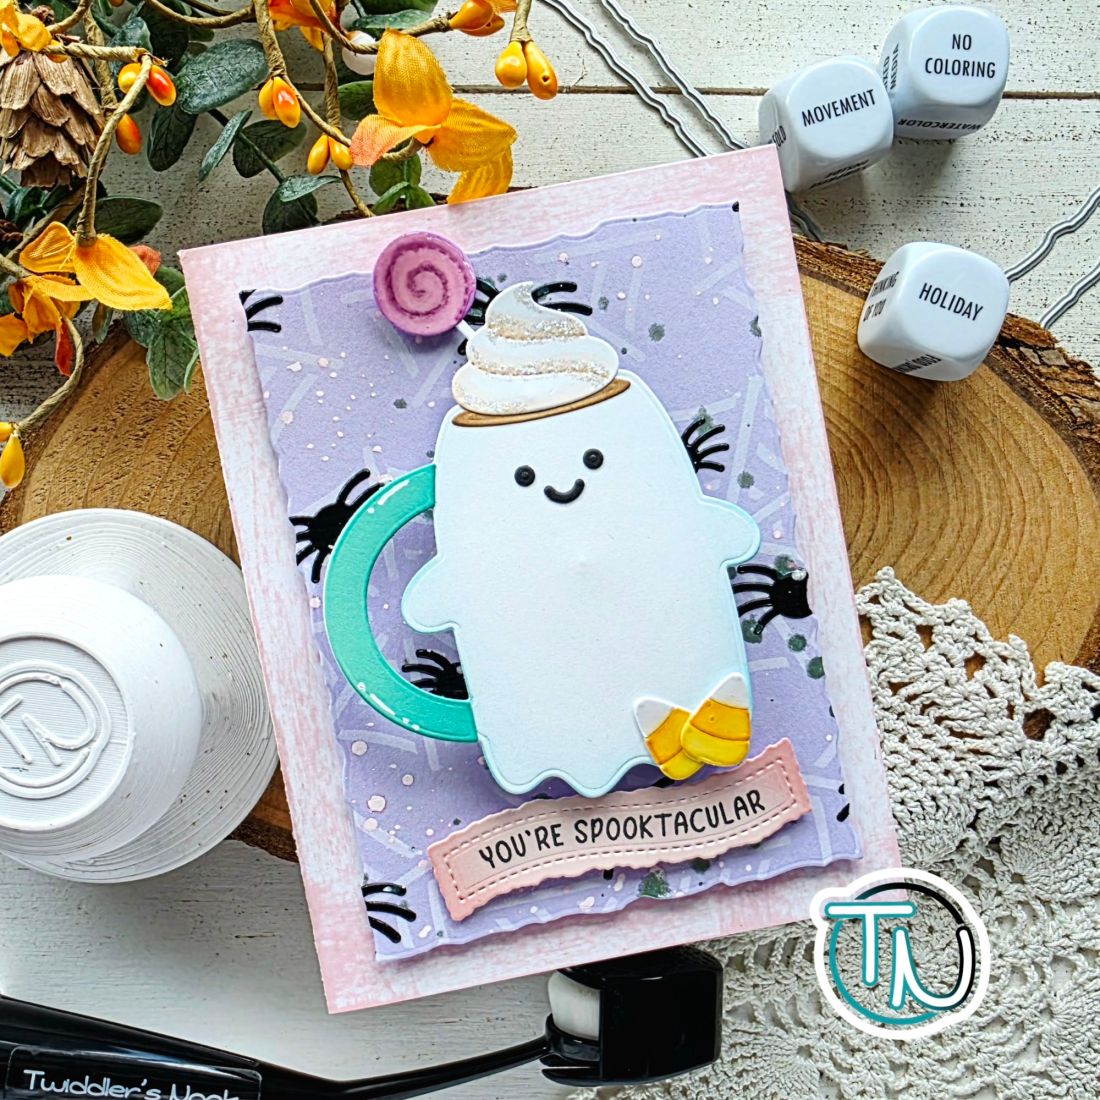
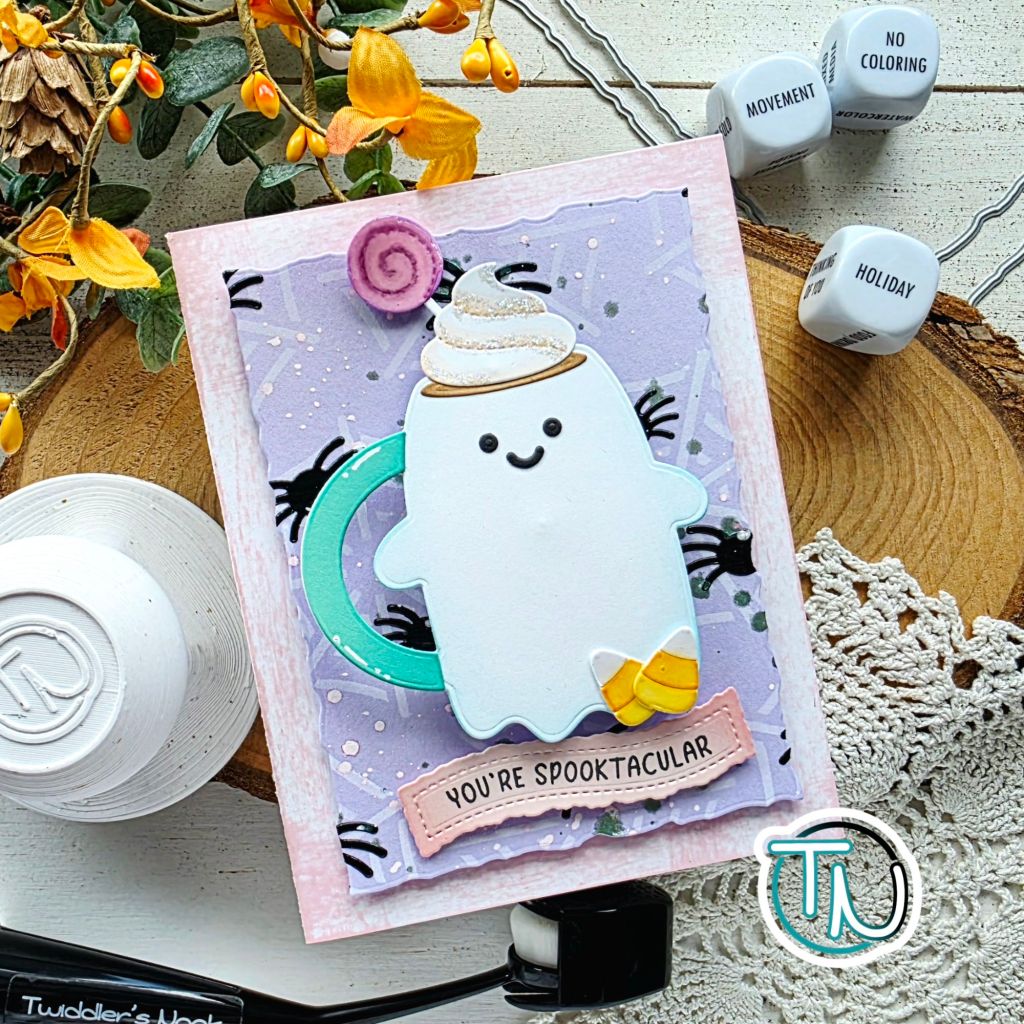
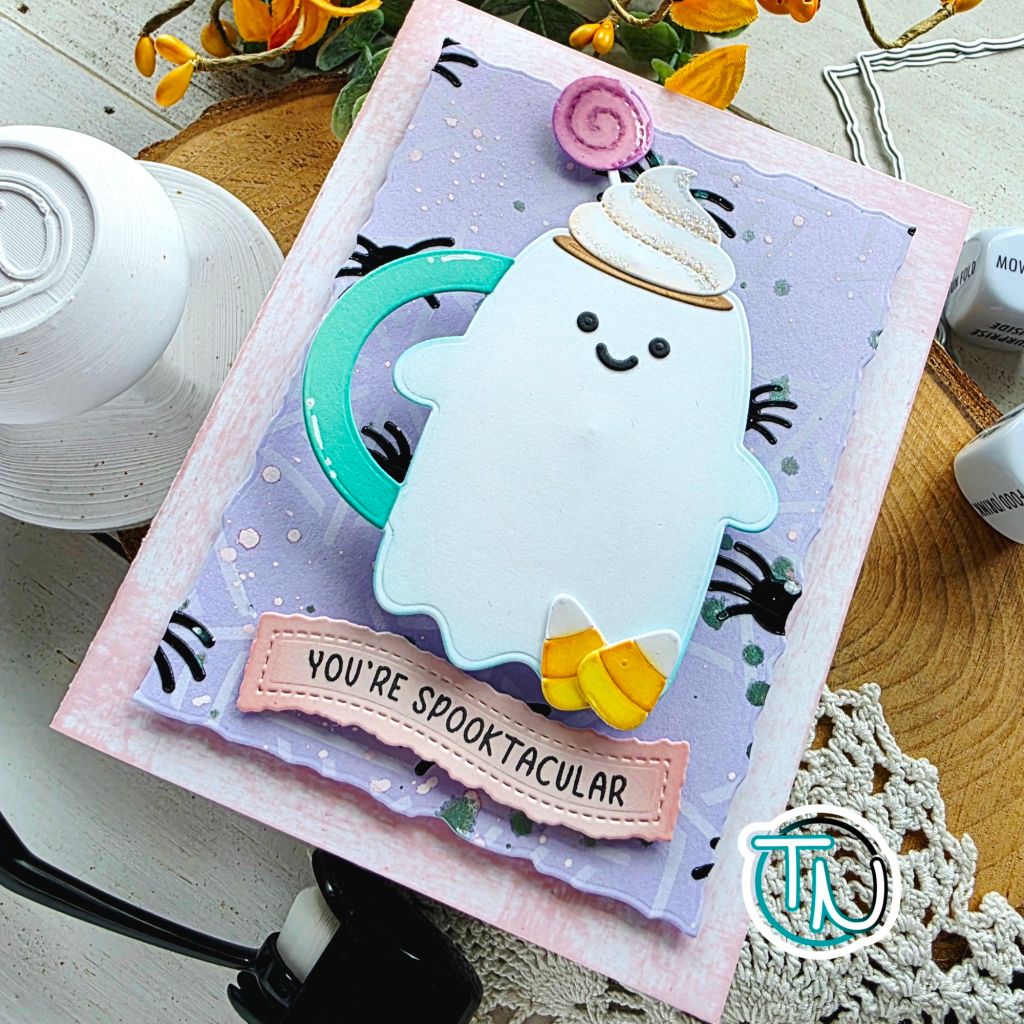
Newton’s Nook – Espresso Your SPOOKY Side

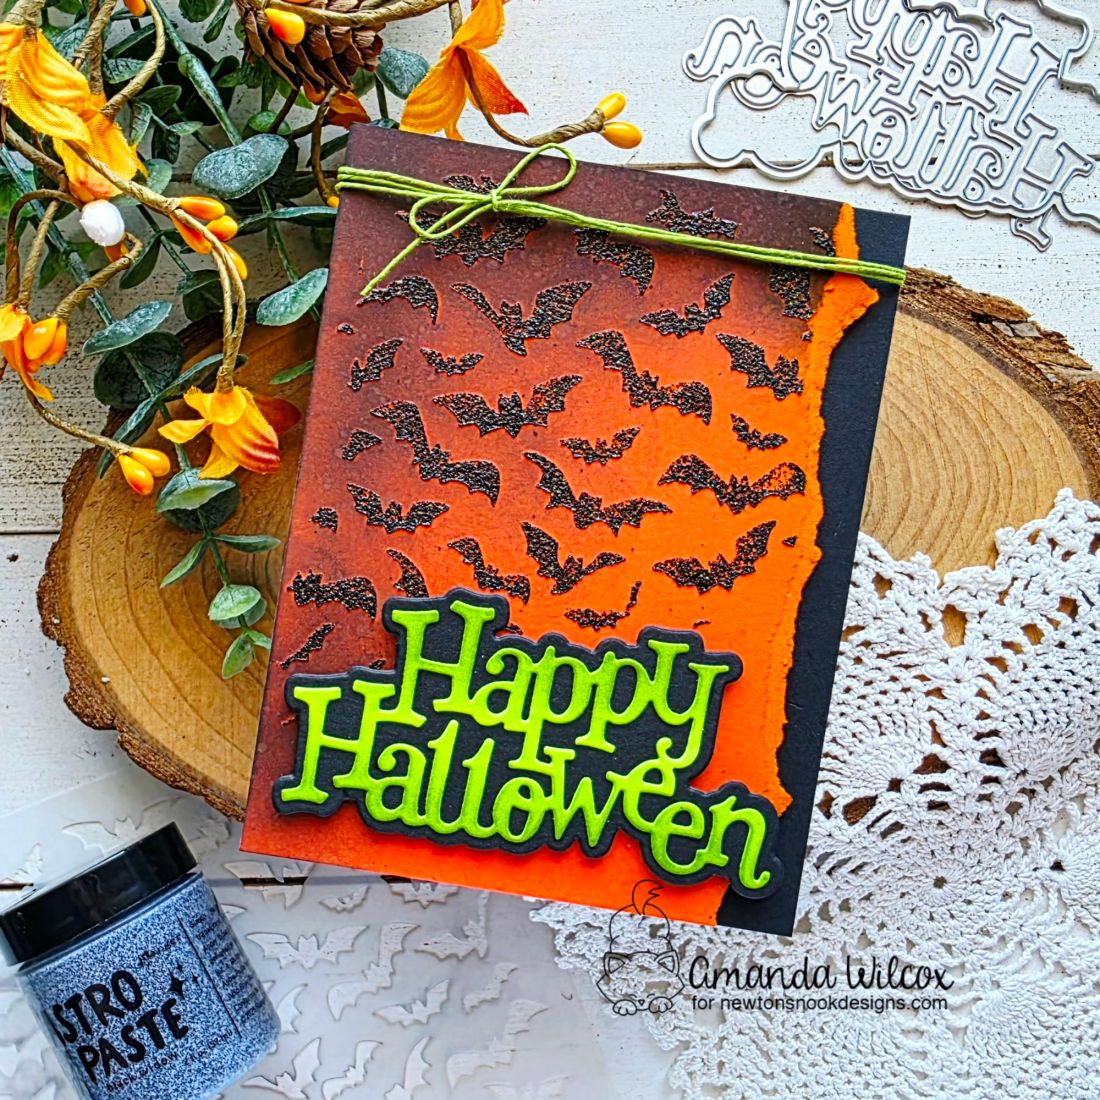
Hey friends! Happy to be over on the Newton’s Nook blog. Today I’m diving farther into my Halloween stash and giving a fun idea for a stenciled background! Let’s dive in!
Full transparency, I did this in a different order but sometimes hindsight is 20/20 so I’m sharing a more time effective or to create this card, but whatever works for your brain is going to be perfect!

I recommend a sticky mat for stenciling but if you don’t have one, tape your black cardstock panel to your stencil so it doesn’t shift while spreading paste. Then choose your different solar pastes. I used a palette knife to add blobs of the different colors all over the panel. Then I used a long paste spreader to level it all out and (sort of) mix the colors giving you the variegated effect.

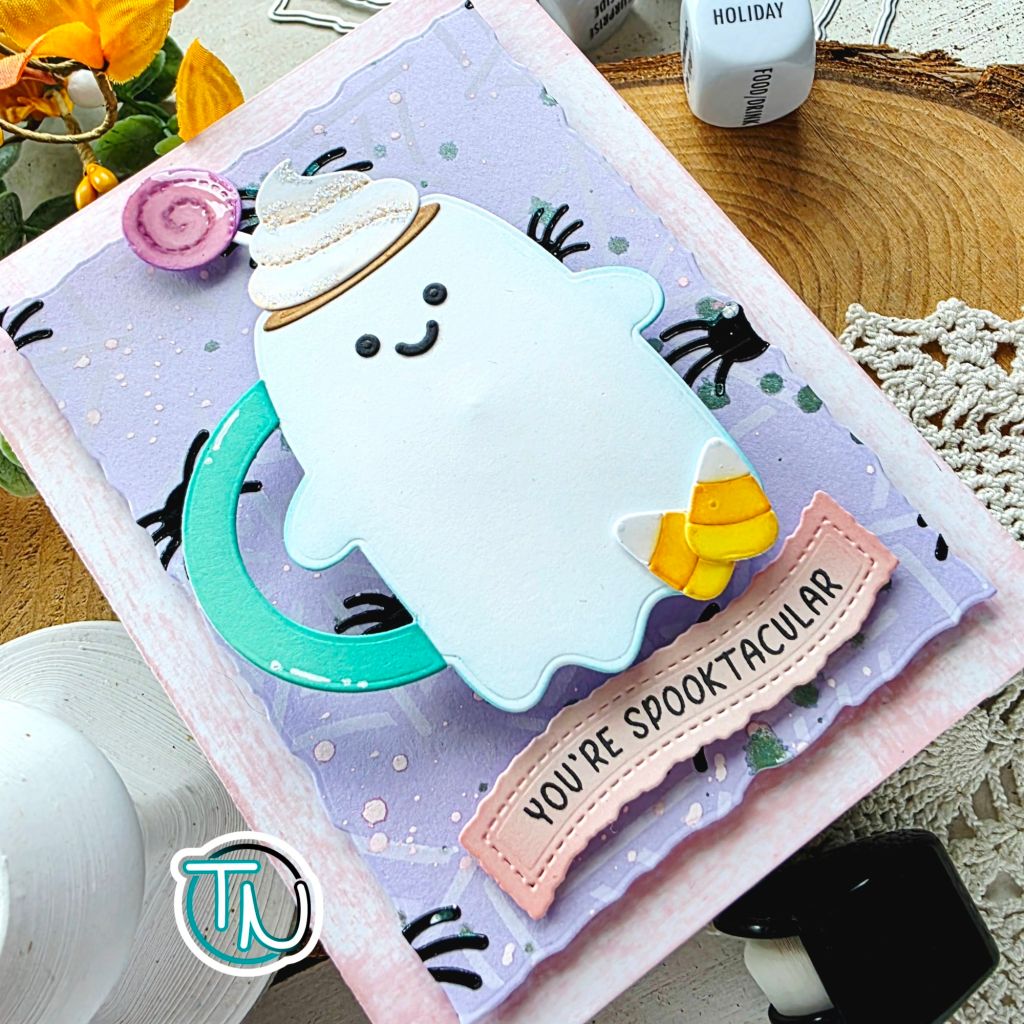
Then I stamped, colored and die cut all of my images from the Newton’s Nook Spooky Coffees. Instead of my normal vellum steam, I went with fun spooky colors for a change of pace.

Next, I trimmed a piece of black cardstock to about 1″ wide and heat embossed my sentiment on it. To break up the background from the sentiment strip, I added a 1/4″ piece of brown cardstock to the edge.

Working my way from the bottom up, I added foam tape to everything and adhered the sentiment strip, then the brown strip, then the mugs on that. I glued the panel to a top folding card base and then tied string around the top for some added interest.

For finishing touches on this design, I used my glitter brush pen on all the steam for some sparkle. Then I added bits of glossy accents to each mug so they shine too!

Products used:
Ghosts stencil
Spooky Coffees stamps and dies

Solar Paste – pity part, sublime, neptune
Paste spreading tools (variety pack)
Foam tape and squares
Glossy accents
Glitter brush pen
Anti-static bag
Embossing ink
Embossing powder – white

I appreciate you sharing your time with me. Have a fabulous day

Doodlebugs – Bright and Bold Summer Hugs

Welcome back everyone! This week’s Mix it up Monday for Doodlebugs is much bolder and brighter than I originally planned but sometimes you just go with the flow and see where you end up.

This card started with my desire to play with the Pretty Pink Posh Summer Fun stencil set again in a more calculated way by inking each item separately with mini blending brushes instead of the global one color per layer idea. It started out easy enough but quickly took a turn on the second layer when my color choices turned much bolder than I originally pictured. But nothing was wrong so I kept going and actually love where we ended up.

Once the ink blending was done I wanted to add some texture so I went with Distress Spritz Spray in tumbled glass lightly across the whole panel. Then while that was drying, I pulled out the Lawn Fawn Giant Sending Big Hugs die and cut it from Spellbinders glitter foam. *Pro Tip: This foam is made from something different because after it goes through the die cut machine you can actually watch it pop back up to full volume. It’s crazy.

I really wanted to tie in the sentiment to something summery so I pulled out the Pretty Pink Posh Banner Greetings stamps and dies, finding the perfect sub-sentiment to add. I adorned that with some embellishments from my stash which I think are SO FUN on this design!

After adding the whole thing to a card base with liquid glue, I wrapped some twine around the top for added brightness and interest.

Products used:
Pretty Pink Posh Summer Fun stencils
Pretty Pink Posh Summer Banner Greetings stamps
Pretty Pink Posh Banner Greetings 3 dies
Lawn Fawn Giant Sending Big Hugs die
Liquid glue
Distress Spritz Spray – tumbled glass
Blending brushes

Stellar Inks

I appreciate you sharing your time with me. Have a fabulous day!