

Welcome back again! Today we’ve got three new builder die sets to share with you, plus fun inspiration before the whole lot goes on sale tomorrow!
Cat Builder, Dog Builder and Birthday Accessories dies

With so much goodness to share today, I have two cards to share featuring all of these new products! First up, let’s build a super cute cat and get him ready for the party!
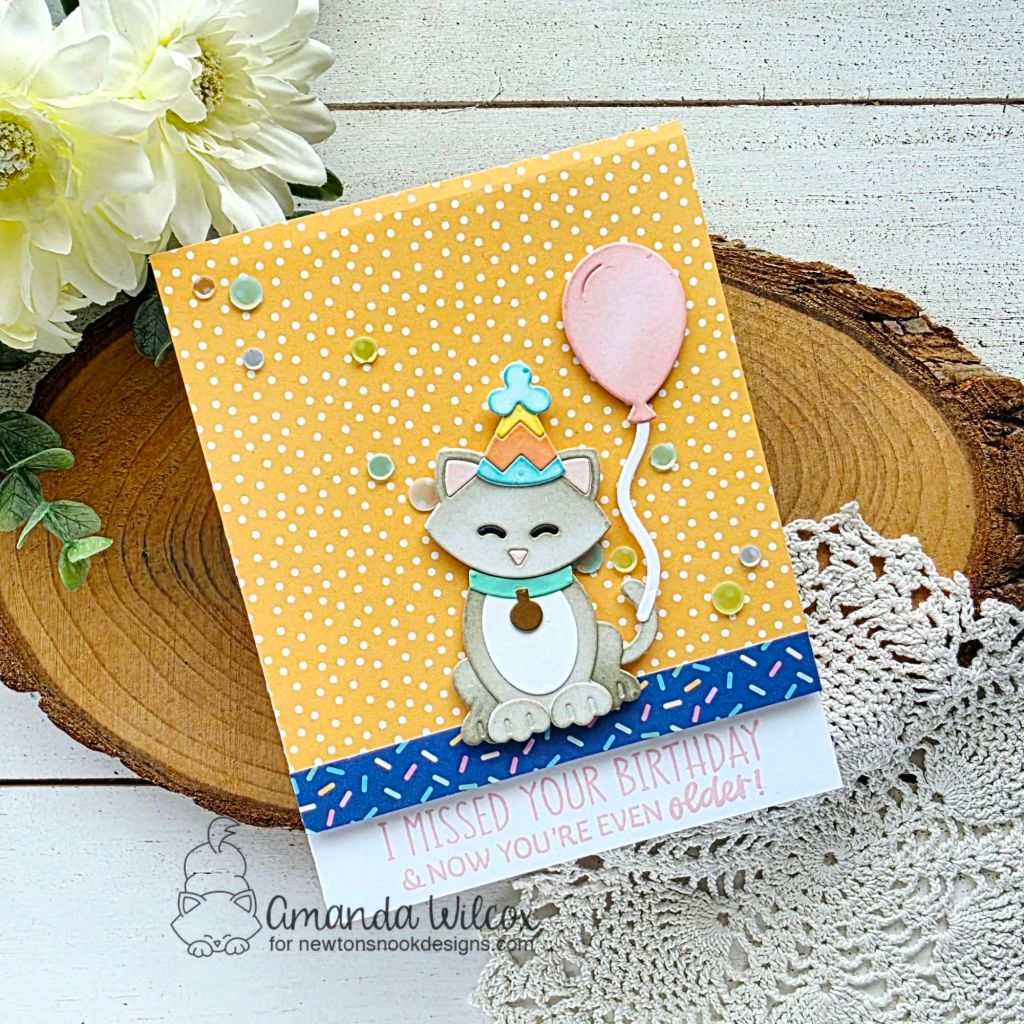
I cut everything for the kitty and party accessories from white cardstock and used blending brushes with dye inks to add my color. Then I used liquid glue and reverse tweezers to assemble everything.
*A great tip, the packaging for these builder die sets has a map to show you how to put the pieces together in different ways. I cut my packaging down and kept that part with the die sets for all of them.
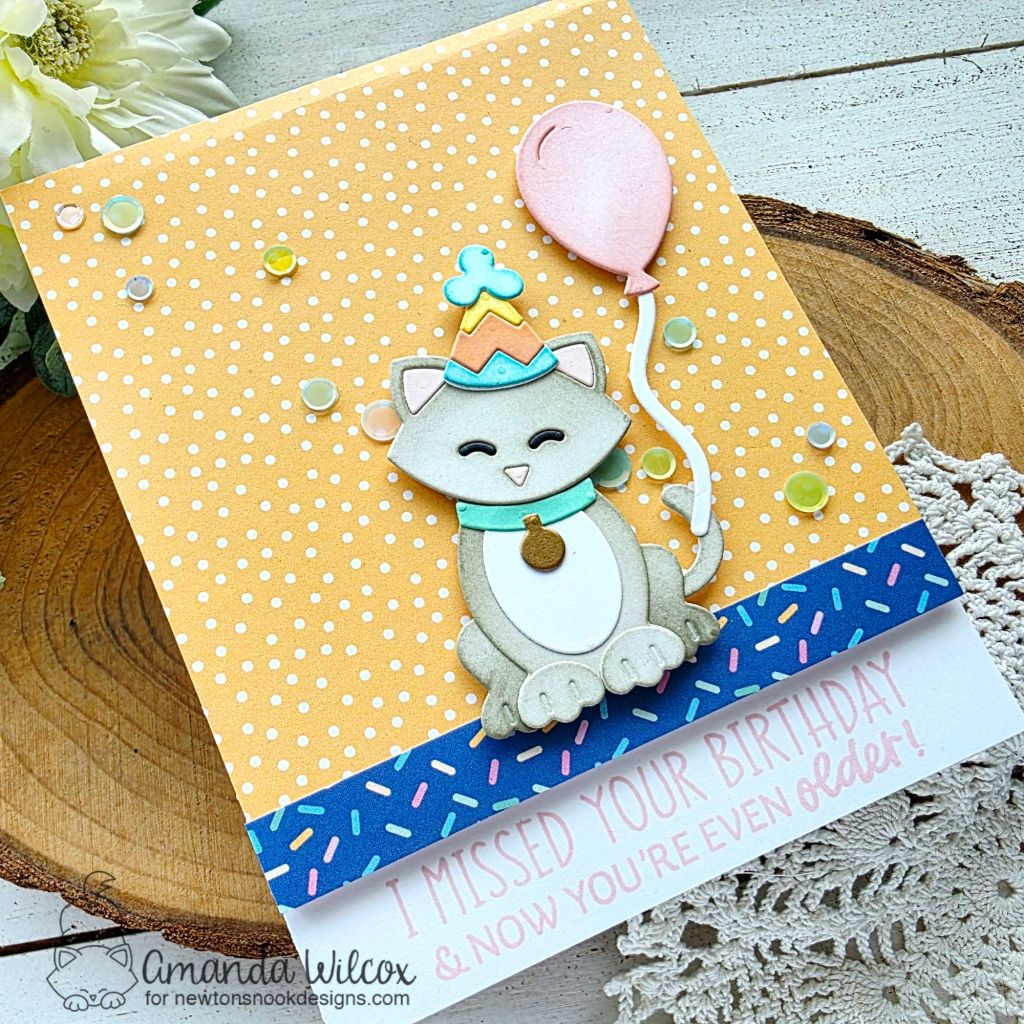
If you saw my post yesterday, you’ll realize that I was very stuck on the Birthday Time paper pad. It fit with everything I was creating this time so why fight it?!? I trimmed another piece down to 4.25×4.5 inches. I stamped my sentiment at the bottom of a top folding card and popped the orange panel up with foam tape. Next, I cut a strip from another pattern in the same set and glued it to the bottom of the orange panel.
Last, I popped my kitty up with foam tape as well and finished the design off with a scattering of flat sequins for some added sparkle and shine across the design.
Next, I took some time to build a dog and some of the super fun accessories that come with him!

For this card, I used the same paper pad plus the Frames & Tags die set for my layout. I took the teal inserts that cut with the frame and splattered them with teal ink. After those were dry, I stamped my sentiment from yesterday’s Birthday Greetings set on one of the smaller rectangles and popped my other elements up with foam squares on the last two.
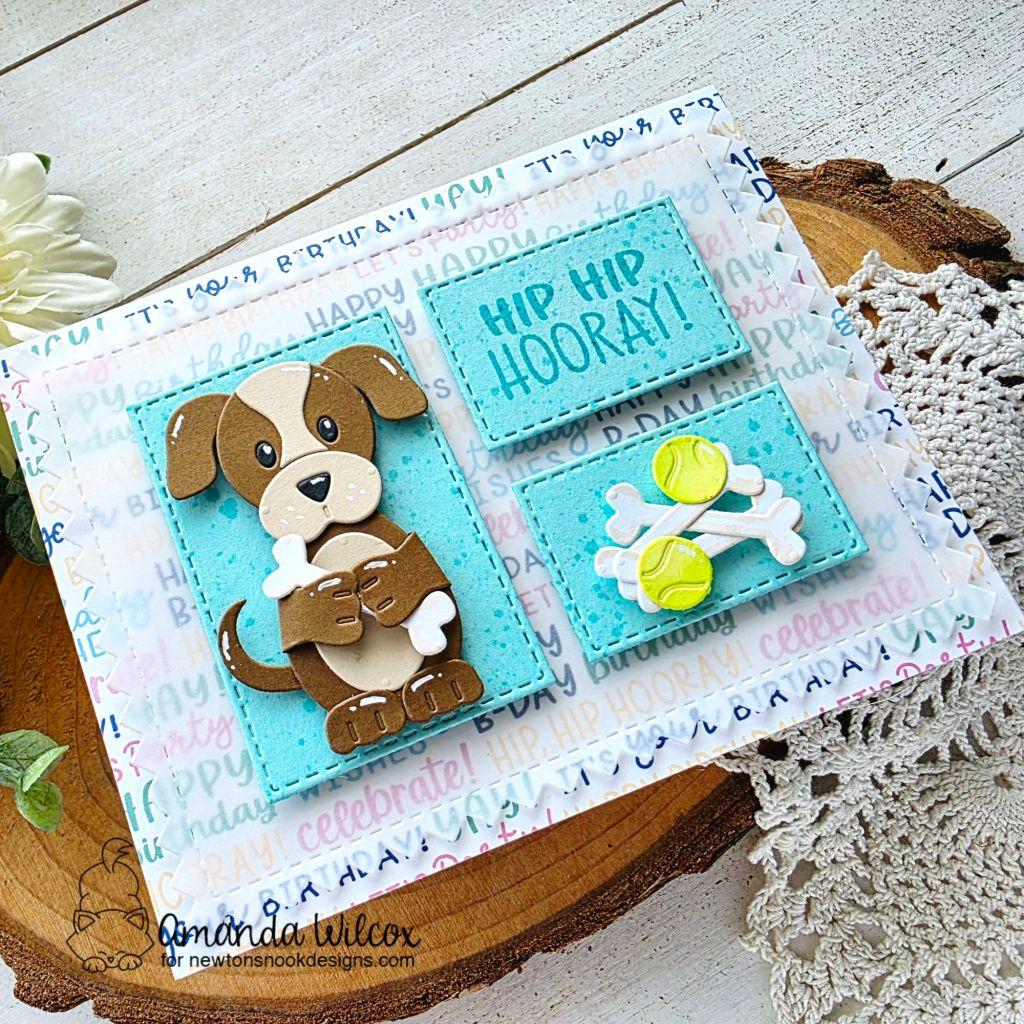
I chose a pattern for my card front, trimmed it down and glued it to a card base. Not wanting to cover up the fun words, I cut the zig zag rectangle from vellum, added my teal rectangles to it with foam tape and then hid tape runner behind the rectangles to adhere the whole thing to my card front.
*Tip, liquid glue tends to make vellum ripple because of the liquid part so I always try my hardest to use dry adhesive like tape runner.
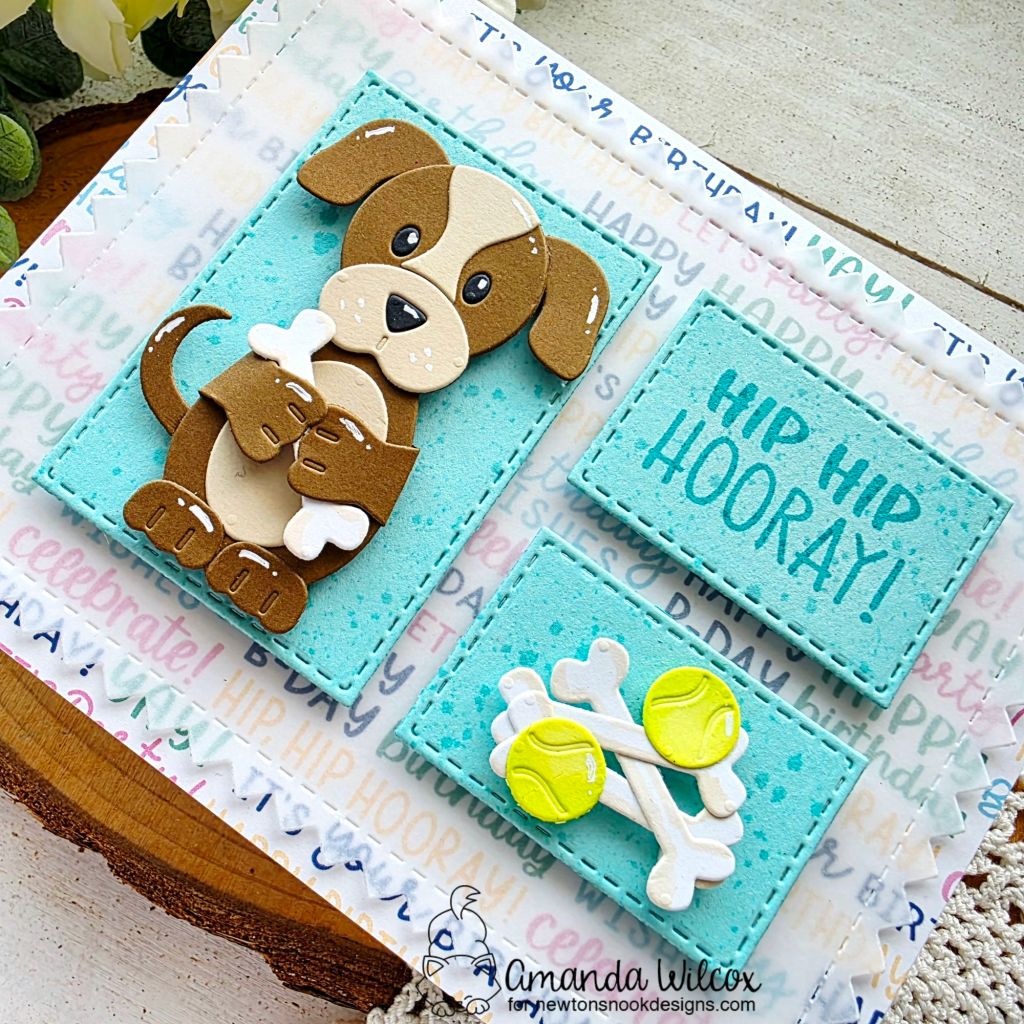
For finishing touches on this card, I went a different route again and added white gel pen highlights to all of the bits. It doesn’t require drying time but can also change the look of your card completely.
Check out the Design Team blogs for more inspiration and featured project details:
Newton’s Nook Designs
Larissa Heskett
Donna Idlet
Rosie Lopez
Samantha Mann
Diane Morales
Amanda Wilcox


