Good morning everyone! I’m up on The Rabbit Hole Designs blog today with this sweet Valentine card featuring the new Love You More – Heart Dance stamp set. This couple is just so sweet and coincidentally kind of make a heart shape with their dance pose. 😉
To make this card I stamped the open heart cluster from the set in pink all over the card front and die cut a heart shape out. Then I backed it with iridescent vellum and put a sentiment strip across it.
Then I made a mini card for the inside and stamped my couple in the center and colored them with copic markers. I glued this to the inside of my regular A2 card so the couple shows through the window. I just love how this looks!
With it structured like this you get the pretty vellum window, the full image and still have room to write your love note to that special someone.
I appreciate you sharing your time with me. Have a fabulous day!
Hello again! I’m taking over The Rabbit Hole Designs blog today with this fun, clean and simple Valentine card.
I was inspired by another crafter who did two versions of the same card a while ago – one was in full color and the other was simple and just the outline. This is something that I never do and was excited to try.
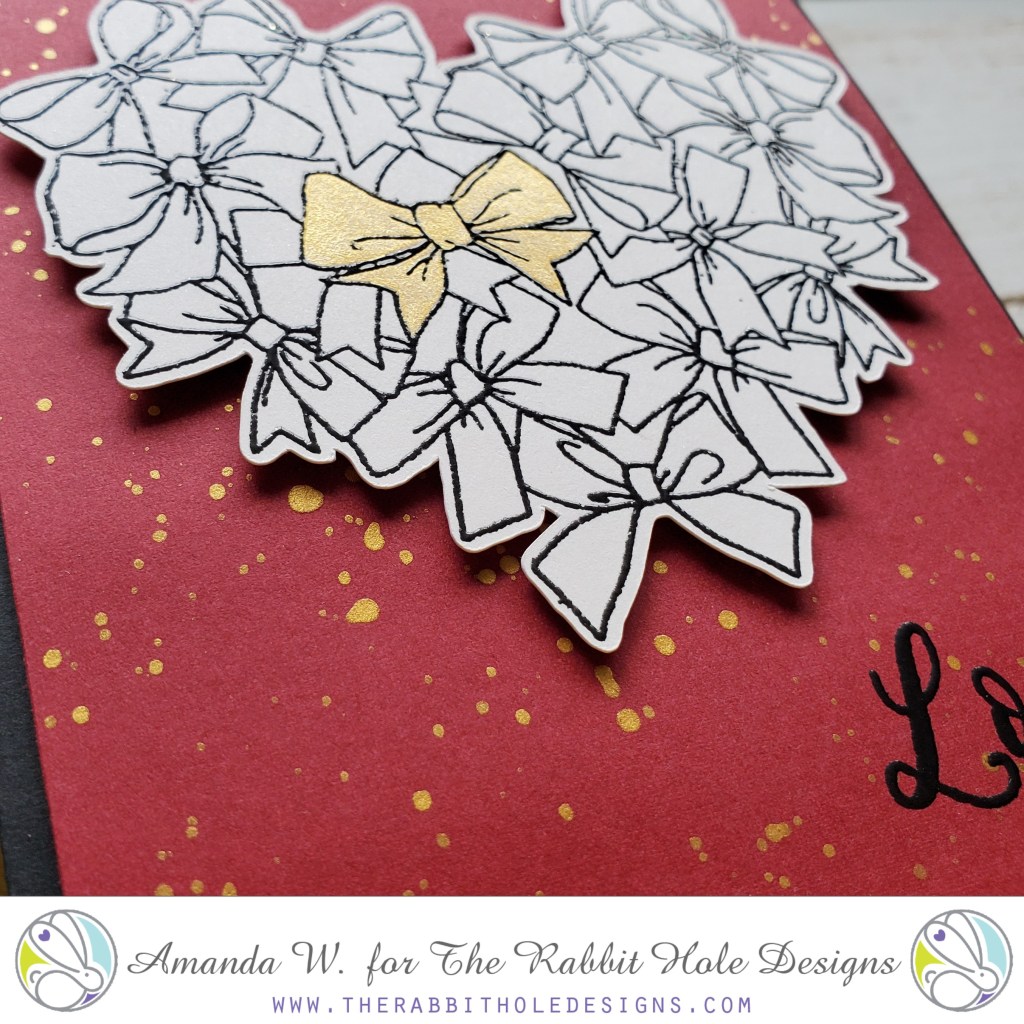
I heat embossed my bows in black and painted one that stood out to me with gold watercolor. I took the same watercolor and flicked it on a red panel. Then heat embossed love in black on the bottom right corner. I popped the red panel on a black card base and popped the bows up with foam squares.
The shine of the embossing and the shimmer of the metallic watercolor make this clean and simple card just a little bit more. It catches your eye and is just striking. I love this color combo!
Thank you so much for stopping by to celebrate day 3 of The Rabbit Hole Designs new release blog hop! It’s been so much fun so far and today we’ve got even more to share. The stamp set for today is called Put a Bow On It and it’s adorable! There’s also another stencil that is mind blowing – Square Illusion. These are versatile and so fun to play with.
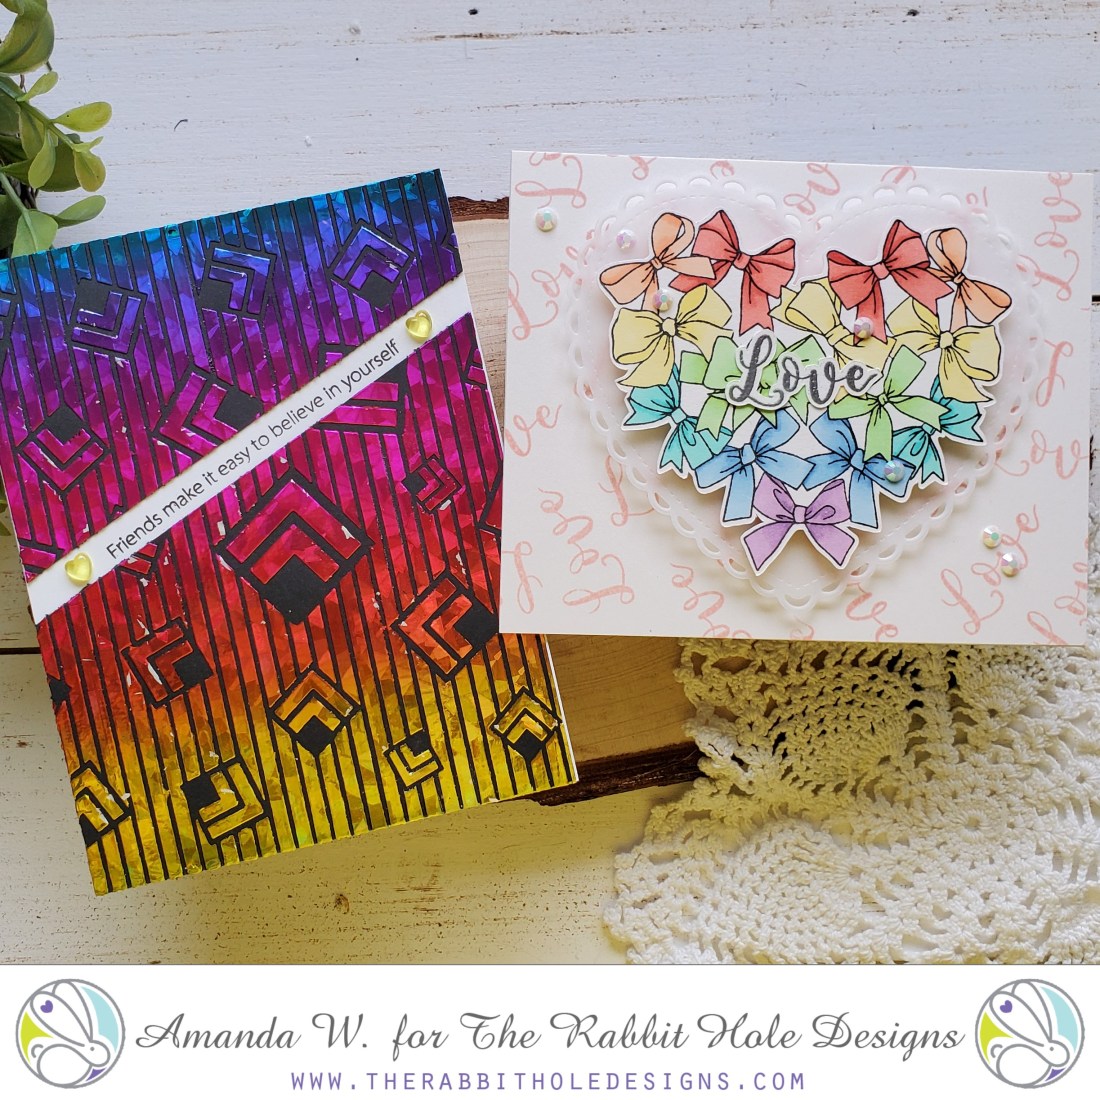
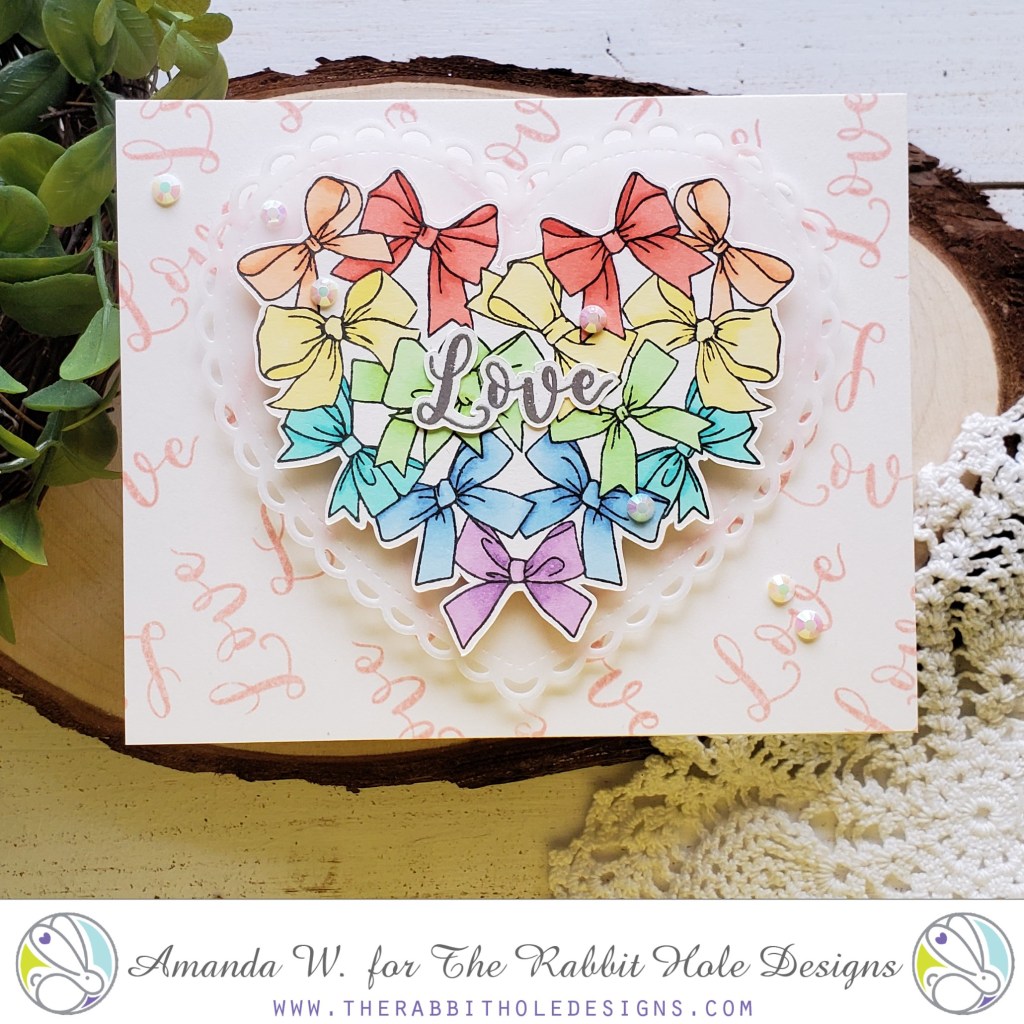
As soon as I saw the Put a Bow On It stamp set, I knew I wanted to try a rainbow. And I absolutely love how it turned out!
For this card, I stamped the love sentiment in pink all over my background. Then stamped, colored and cut out my bows. I decided I wanted to break things up a bit between the card base and the bows so I added a vellum heart between with foam squares popping each up so there’s lots of dimension. I stamped and heat embossed love in silver and glued it to the bow heart. Then to finish things off I added some gems across the card front.
Soft and sweet! But my next card is the polar opposite! If you like bold and bright, let’s move along with the show.
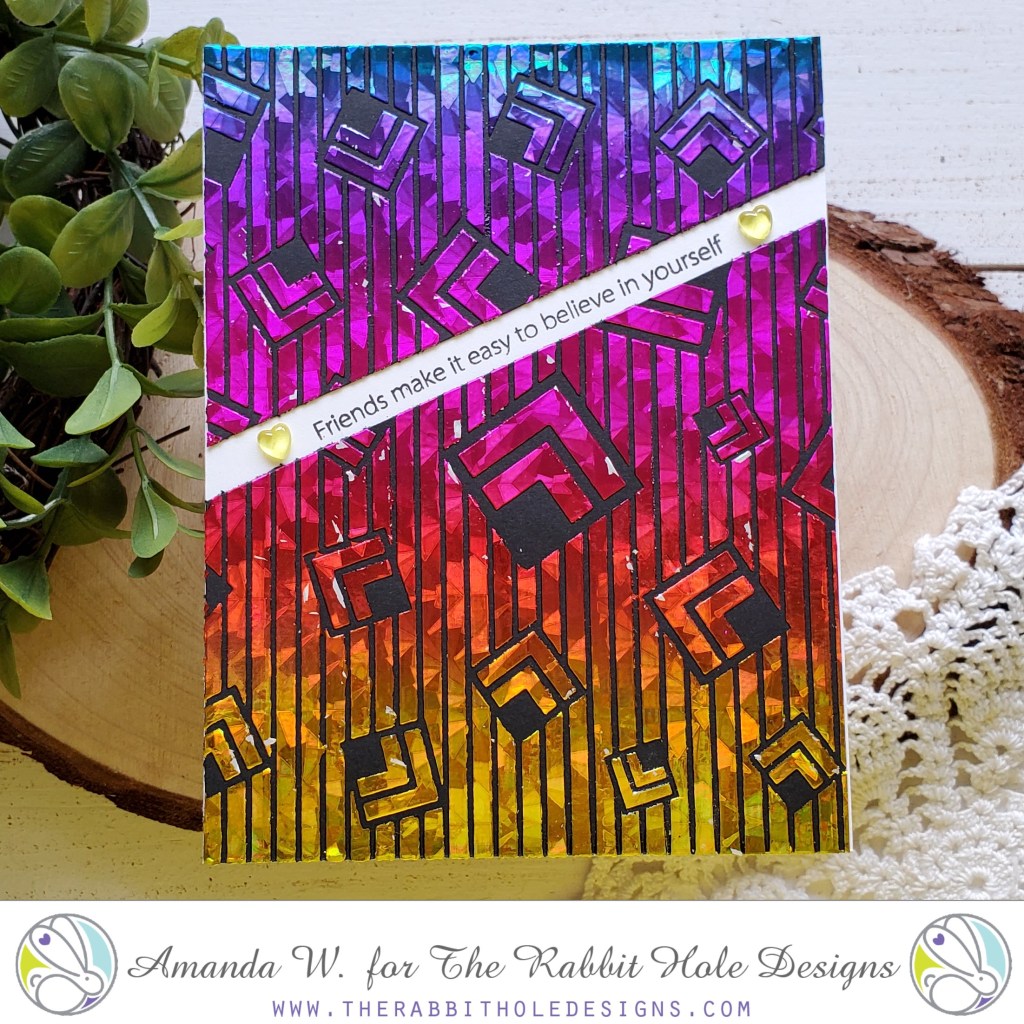
Using the Square Illusion stencil I added transfer gel to a black panel and set it aside to dry. Then I sent it through my laminator with some fractured rainbow deco foil for a bold background. Not wanting to take away from that, I decided to slice the panel at an angle and cut off about a quarter inch from each side. It gave me a perfect gap to add a simple sentiment from Sassy Sentiments and some heart embellishments.
Every order placed will be eligible for a 20% discount. Discount Code TRHDTHANKFUL20 this code will only be accepted until Friday 11-29-2019 12:01 a.m. PST. There are no exclusions on this code it is applicable to your whole order. Not applicable to previous orders. May be used more than once. Does not apply to shipping and tax. *Please Note: Free shipping WILL NOT be available during the time this discount code is in effect.
GIVEAWAYS: To celebrate day 3 of inspiration The Rabbit Hole Designs is giving away the Stamp and stencil promoted on day 3, to One lucky winner. Winner will be chosen at random from the comments left on participating blogs, so make sure to visit each stop and leave a comment. Leave comments by 11:59 pm PST 11-28-19 on all participating blogs. Winner will be announced on The Rabbit Hole Designs blog 11-29-2019
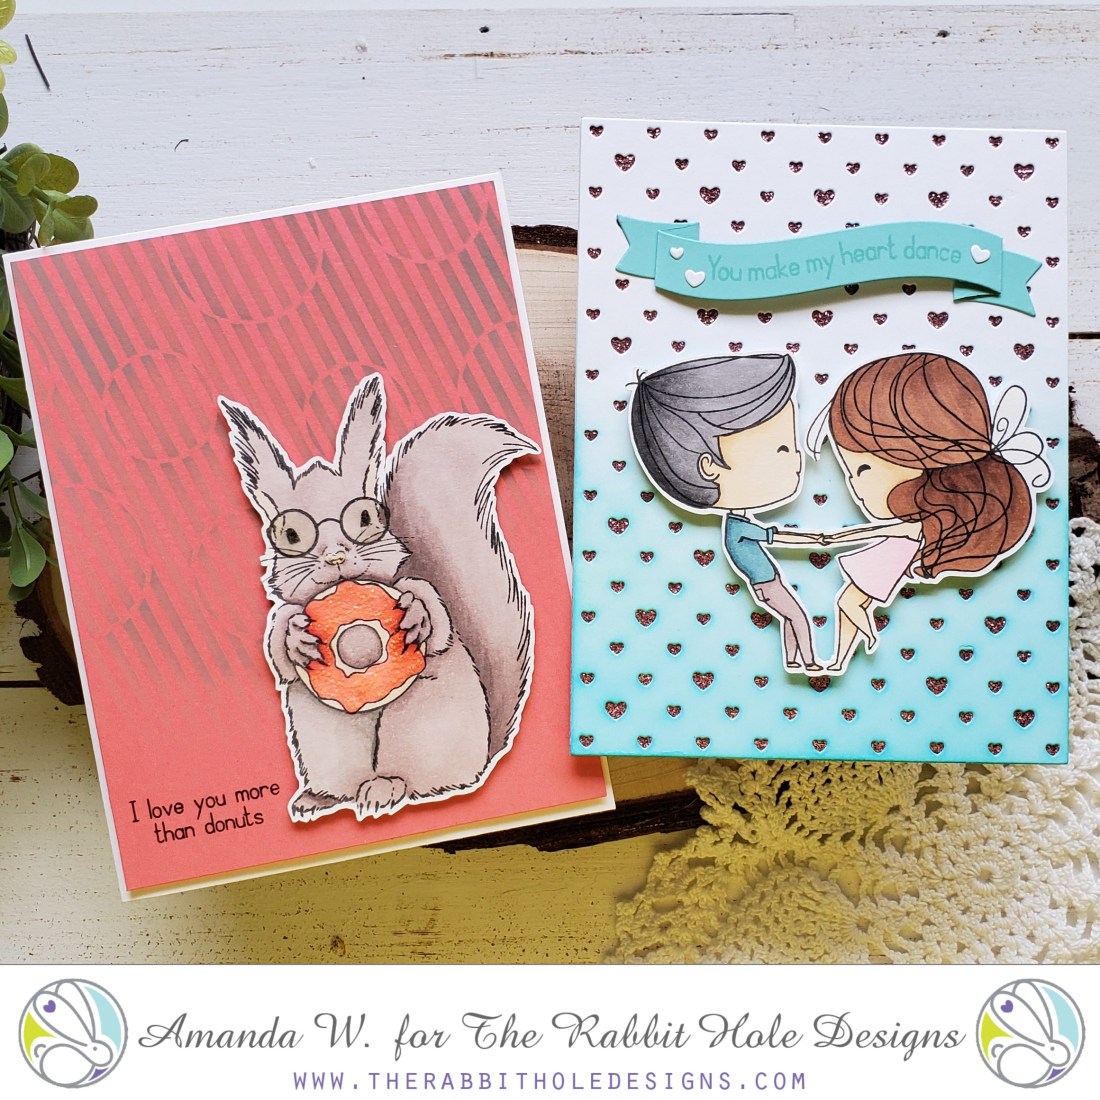
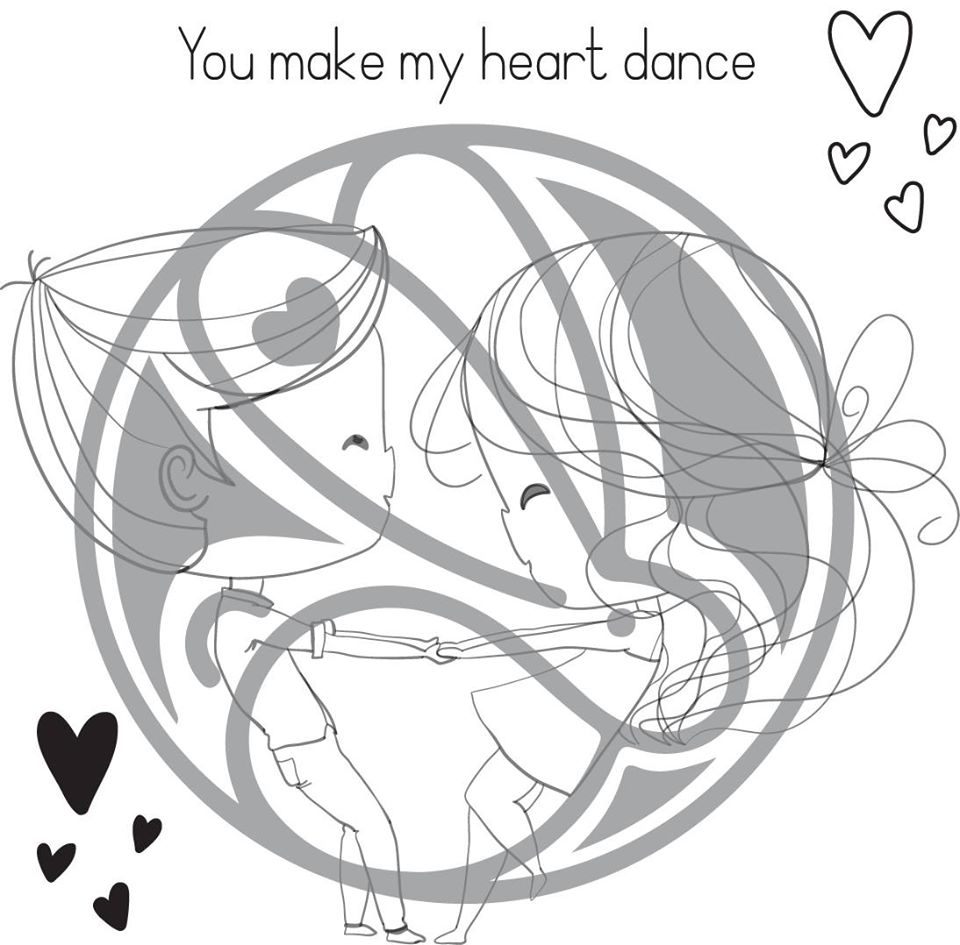
Thanks for stopping by for day 2 of The Rabbit Hole Designs new release fun! Today we’re dancing up a storm and having a blast! The stamp set for the day is Heart Dance and we’ve got a new stencil called Circle Illusion.
I had so much fun creating both of these cards! I’m going to start off by sharing Heart Dance because I’m just loving this stamp set! This couple is adorable and I’ve got tons of ideas for them!
For this card, I stamped, colored, cut out my couple and set them aside. Next, I cut a pink glitter panel down to A2, then die cut a heart backdrop to go over it. I didn’t like the plain white so I used distress ink and blended it darker up to nothing at the top. I glued all my layers together, popping the couple up with foam squares and stamped my sentiment on a banner. I finished it off with a couple of hearts that came out of the backdrop on either side of the sentiment. These barefoot dancers are just adorable! I love them!
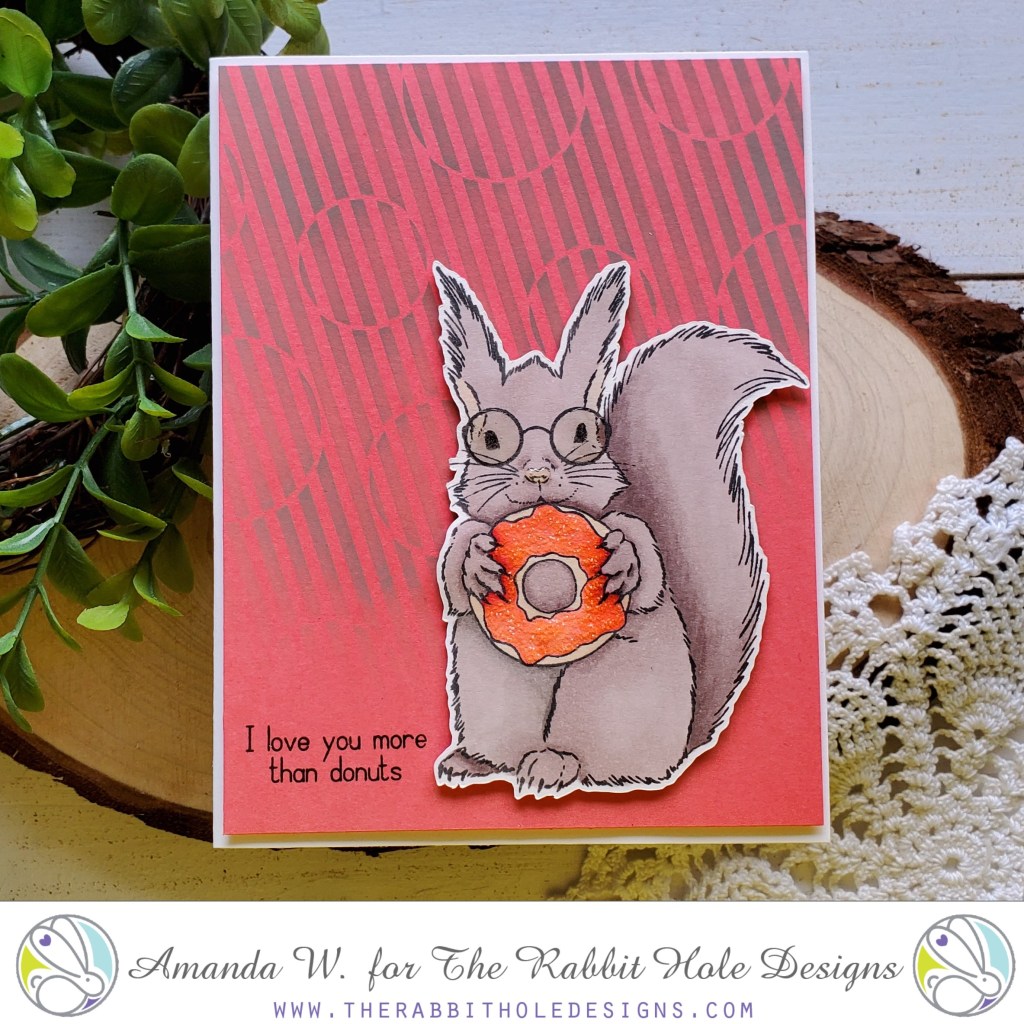
For the next card, I had to pull out my squirrel again because he was so much fun to color!
For this card, I used a gray pigment ink on a melon colored background with the new, amazing Circle Illusion stencil. Then I colored my squirrel more gray tones, cut him out and popped him up. I stamped my sentiment next to him and then just had to add glossy accents to his glasses and nose, and some sugar Stickles to the donut frosting.
So much fun! I love the cool interest the stencil gives to the background of an otherwise simple card.
Every order placed will be eligible for a 20% discount. Discount Code TRHDTHANKFUL20 this code will only be accepted until Friday 11-29-2019 12:01 a.m. PST. There are no exclusions on this code it is applicable to your whole order. Not applicable to previous orders. May be used more than once. Does not apply to shipping and tax. *Please Note: Free shipping WILL NOT be available during the time this discount code is in effect.
GIVEAWAYS: To celebrate day 2 of inspiration The Rabbit Hole Designs is giving away the stamp and stencil promoted on day 2, to One lucky winner. Winner will be chosen at random from the comments left on participating blogs, so make sure to visit each stop and leave a comment. Leave comments by 11:59 pm PST 11-28-19 on all participating blogs. Winner will be announced on The Rabbit Hole Designs blog 11-29-2019
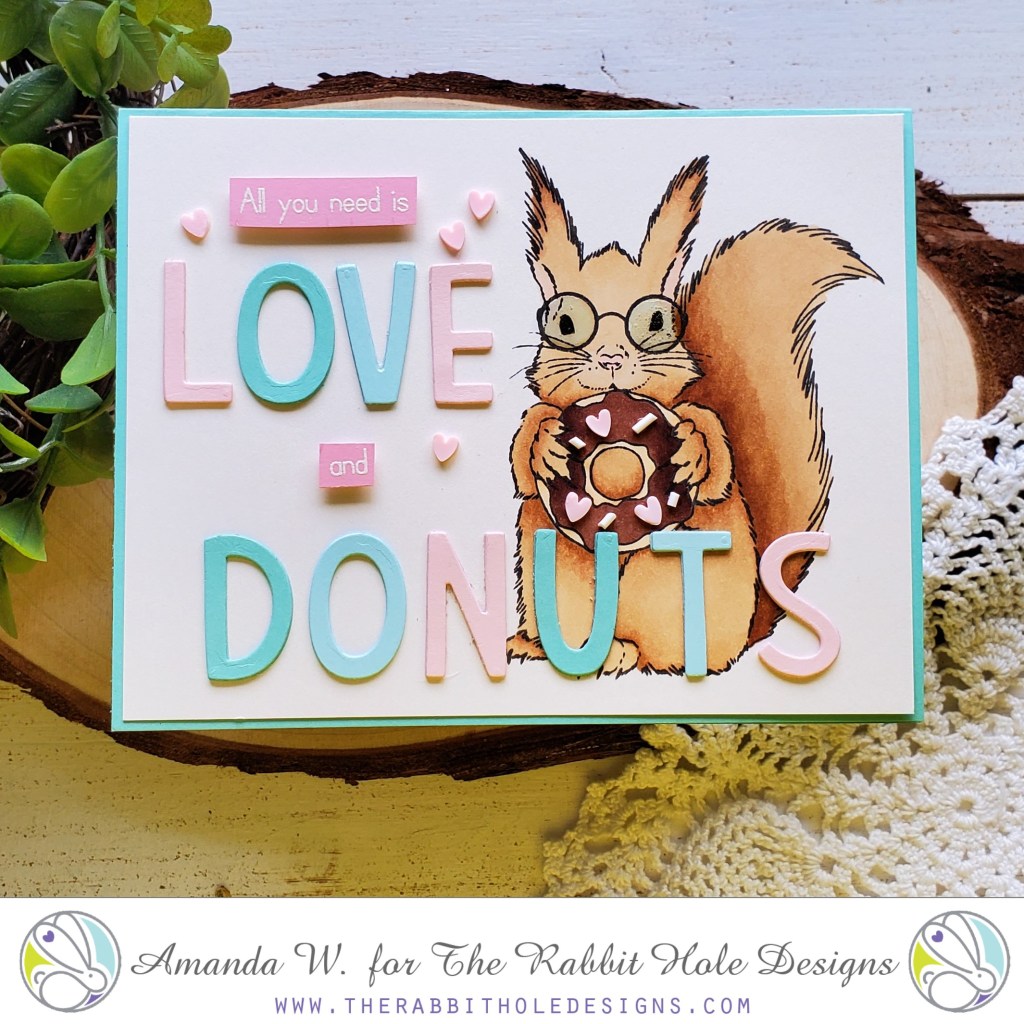
Welcome to day 1 of the fabulous Rabbit Hole Designs new release blog hop! Today we’re getting squirrely with More Than Donuts and I also have a bonus project featuring the new Sassy Anti Valentine Sentiments to share.
I’m going to start us off with this fun Love and Donuts card where I took one of the sentiments from the set and made it a little bolder with die cut letters for parts.
I think I really feel the sentiment of this card. It’s just so me, and my family. LOL! We love donuts and love!
I started off stamping and copic coloring my squirrel on the right side of a panel just shy of A2 size. I mounted that to a teal card base and then stamped and heat embossed my sentiment, cutting it apart. I die cut the two words that I chopped off of the embossed portion three times for each letter and glued them together for stacked dimension. I added glossy accents to the squirrel’s glasses and clay embellishments for donut sprinkles and around the background too.
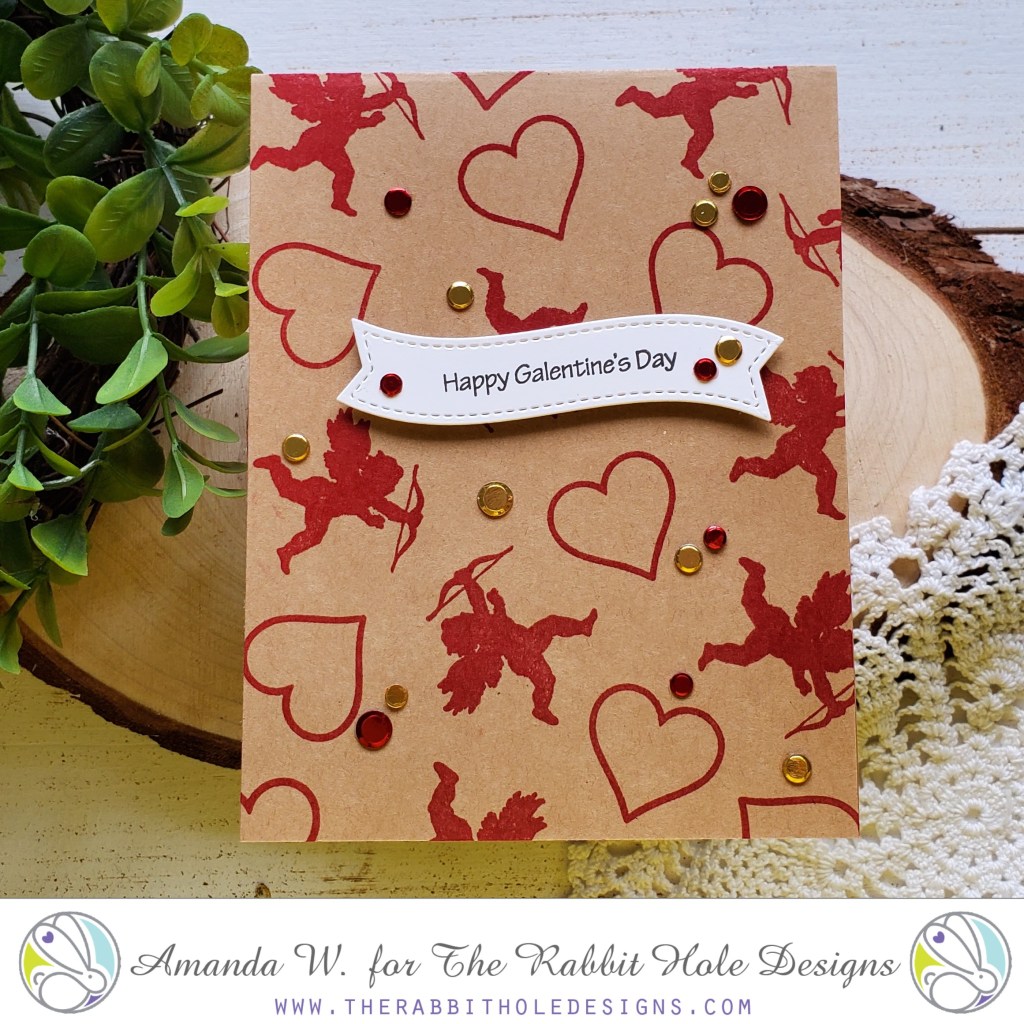
This next card was super quick to put together and I will definitely be making more to share with some of my girlfriends for Valentine’s Day this year.
I just took the heart and cupid images and stamped them all over a kraft card base, stamped and popped up my sentiment banner and finished it all off with a scattering of red and gold sequins.
Every order placed will be eligible for a 20% discount. Discount Code TRHDTHANKFUL20 this code will only be accepted until Friday 11-29-2019 12:01 a.m. PST. There are no exclusions on this code it is applicable to your whole order. Not applicable to previous orders. May be used more than once. Does not apply to shipping and tax. *Please Note: Free shipping WILL NOT be available during the time this discount code is in effect.
GIVEAWAYS: To celebrate day 1 of inspiration The Rabbit Hole Designs is giving away the stamp set More than Donuts to One lucky winner. Winner will be chosen at random from the comments left on participating blogs, so make sure to visit each stop and leave a comment. Leave comments by 11:59 pm PST 11-28-19 on all participating blogs. Winner will be announced on The Rabbit Hole Designs blog 11-29-2019
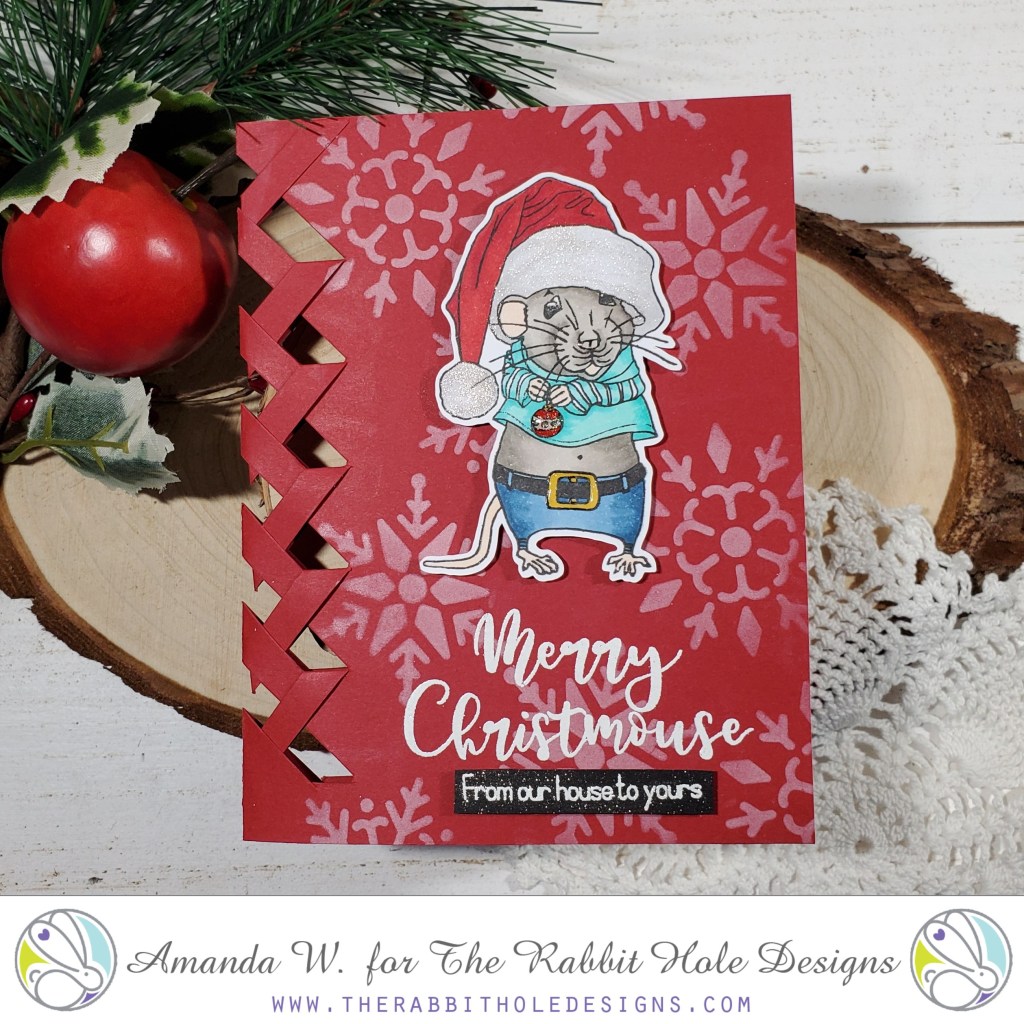
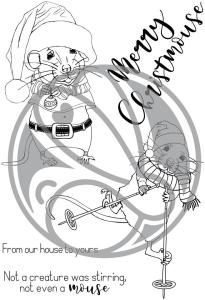
Hey everyone! I’m taking over The Rabbit Hole Designs blog today with this fun Merry Mousemas Christmas card. It’s been years since I’ve done this braided card edge and thought it would be fun to bring back.
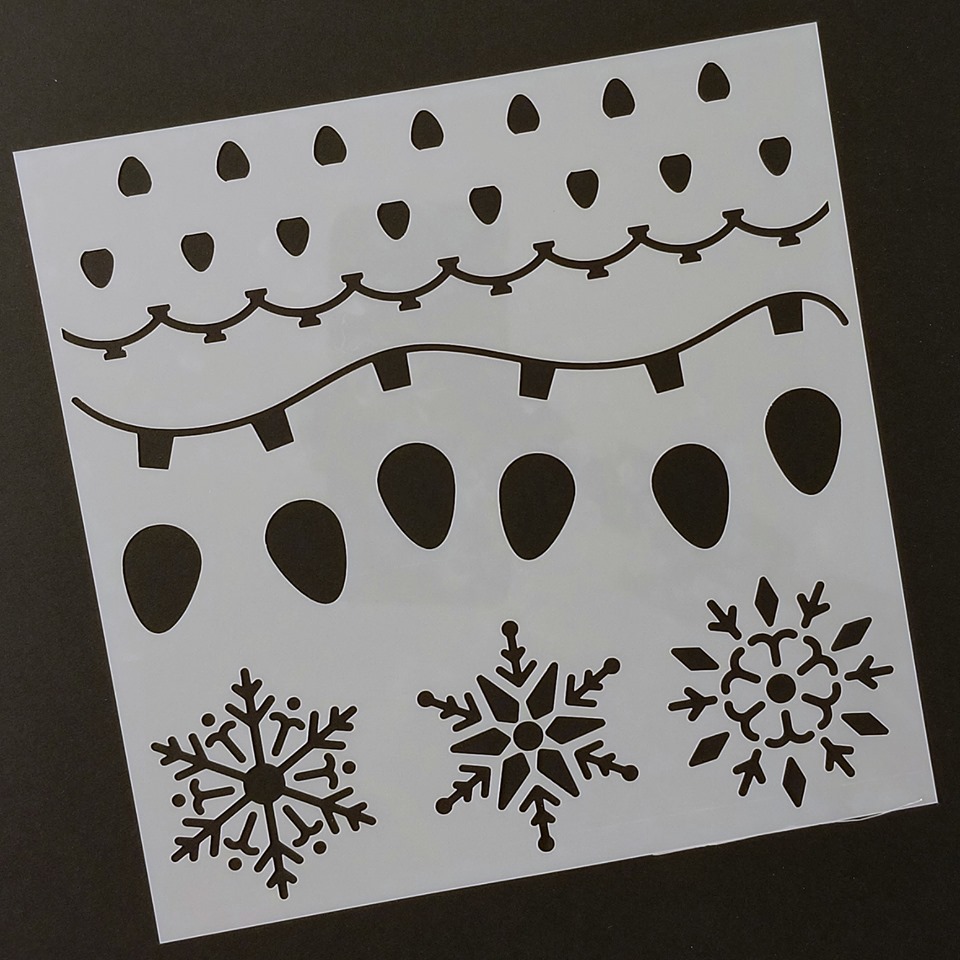
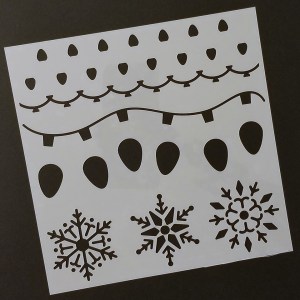
Once my card base was created, I stenciled snowflakes from the new Light Me Up stencil all over the background. I stamped, colored, cut out and popped up my mouse in the middle and heat embossed my sentiment. Then added a second heat embossed sentiment strip below that.
For finishing touches on this card I added Wink of Stella to the hat, ornament and sentiment strip. Then glossy accents to the ornament, mouse’s nose and belt buckle.
Isn’t he so cute!!! Have you started on your Christmas cards yet?
For this card I took a red panel and embossed it with a snowflake embossing folder and then used Wink of Stella glitter brush on top of the raised snowflakes. Then I added a strip of plaid paper down the middle and edged it with silver strips to offset it. I stamped, colored and cut out my piggy, popping him up on a teal circle and also popped the circle up on the plaid panel. I stamped and heat embossed my sentiment and cut it into a banner shape popping it up as well. I love what interest all the dimension gives cards.
Finishing touches on this card were very simple, just adding more Wink of Stella on the white parts of the hat and Santa suit. You can see in this close up picture how much glimmer that really gives him. It’s super fun!
Today I’m sharing this super fun interactive caffeinated reindeer card! I used the candy twist stencil on the background, assembled my card, stamping and heat embossing my sentiment at the bottom. Then I built my wreath, added a vellum circle behind it and adhered my reindeer. Then gluing just the bottom part to the card front so the mechanism still moves I lined up my stamp and added a sentiment to the inside too.
For finishing touches I added Nuvo Crystal Drops to the reindeer’s nose and glossy accents to his cup and slipper’s noses. I plan to add a Starbucks gift card to the inside of this, which fits perfectly inside the opening.
Make sure you also head over to CLC Fall/Winter Blog Hop to link up to win some awesome prizes. The hop goes through November 8.
I appreciate you sharing your time! Have a fabulous day!
It’s our final inspiration day of the new release. I hope you’ve had fun and continue to hop along with us today. There are some squeaking good ideas to see! 😉 I promise!
Today we’re showcasing the new Merry Mousemas set and it’s super fun!
My mouse is slaying the slopes all bundled up in his cute scarf! I used the new Light Me Up stencil for the snowflakes in the background, then cut some snow hills and topped them with blue stickles for a glittery texture. I heat embossed my sentiment in silver and popped up my mouse with foam squares. Some small finishing touches on this card were Nuvo Crystal Drops in morning dew among the snowflakes, Wink of Stella on the hat and glossy accents on the mouse’s little nose.
For this fun card I used the smaller lights from the Light Me Up stencil across the whole background. Then ink blended distress inks and spritzed it with water for a distressed look. I die cut a circle from both green cardstock and vellum and glued them together, then popped them up on the background with foam squares. I also popped up my mouse and heat embossed sentiment. For finishing touches I added Wink of Stella to the hat, glossy accents to the nose and ornament and scattered some opalescent gems across the card.
This is one of my favorite cards from this release. I hope you’ve enjoyed the inspiration and continue to hop along. Keep scrolling down for all that info!
DISCOUNT INFORMATION Every order placed will be eligible for a 10% discount. Discount Code TRHD2019 this code will only be accepted until Friday 11-01-2019 12:01 am PST. Excludes Crafter’s Essentials. Not applicable to previous orders. May be used more than once. Does not apply to shipping and tax. **Please Note: Free Shipping WILL NOT be available during the time this discount code is in effect. **
GIVEAWAY To celebrate day 3 of inspiration The Rabbit Hole Designs is giving away the Merry Mousemas and the Light Me Up stencil, promoted on 10-30-19, to One lucky winner. Winner will be chosen at random from the comments left on participating blogs, so make sure to visit each stop and leave a comment. Leave comments by 11:59 pm PST 10-31-19 on all participating blogs. Winner will be announced on The Rabbit Hole Designs blog 11-01-2019
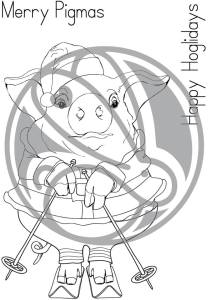
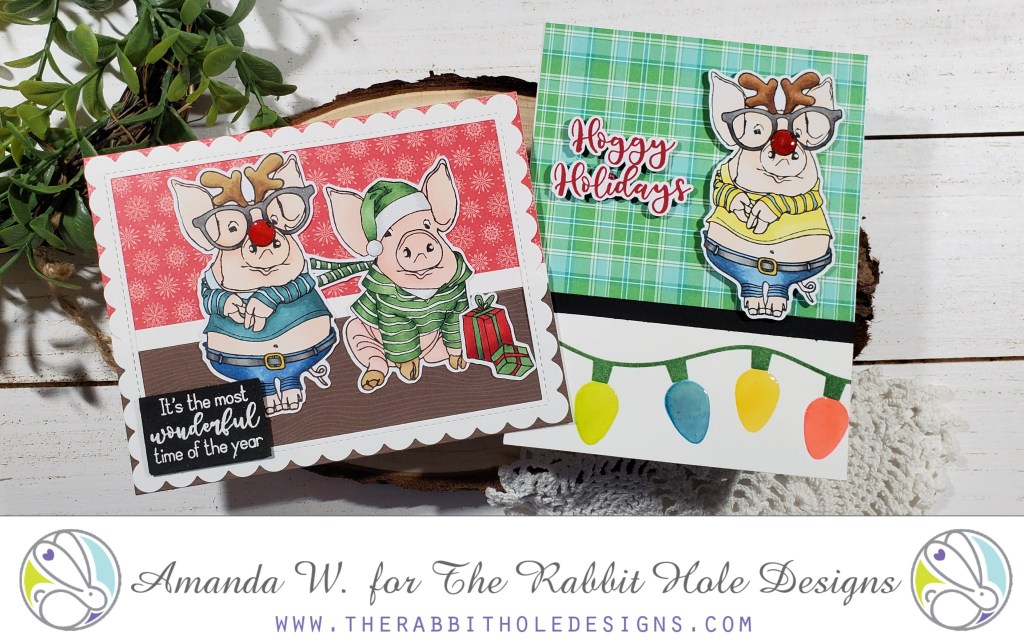
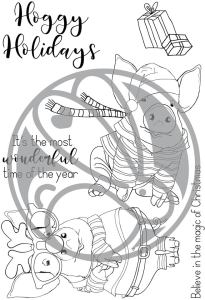
I hope you had fun hopping yesterday and got lots of fun inspiration! We have so much more to share today! There are two sets being highlighted – Hoggy Holidays and Merry Pigmas. I’ve got two fun cards featuring Hoggy Holidays for you. Be sure to visit the whole hop list to see both sets.
For my first card today. I simply stamped, colored and cut my piggy images. Then used patterned paper to create a scene and added a frame around these cuties. I stamped and heat embossed my sentiment and popped it up with foam tape. I added glossy accents to the piggy’s reindeer nose and some Wink of Stella to the other pig’s santa hat.
These two crack me up. I feel like they are piggy brother’s posing for a photo for their mom or something hilarious like that. I love it!
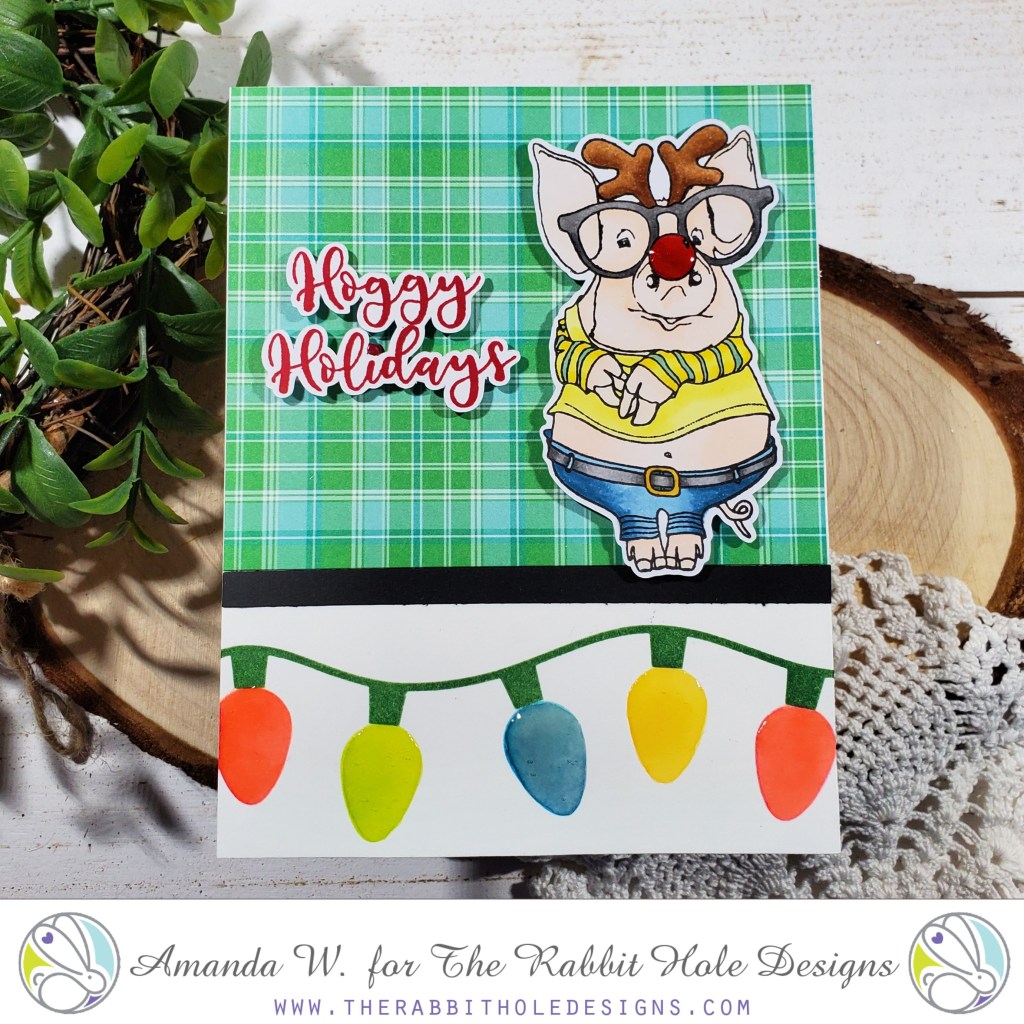
Okay, I couldn’t get enough of this pig with the glasses on so I reached for him a second time and decided to showcase him on his own. I inked the new Light Me Up stencil across the bottom of my card front and the added patterned paper and a black strip to break up the two and give my pig a floor to stand on. I stamped, colored, cut out my pig and them popped him up with foam squares. I also stamped and cut out my sentiment and popped it up too. For finishing touches I added glossy accents to the piggy nose and Christmas lights.
These silly pigs were fun to create with! I can’t wait to see what you make with them too!
DISCOUNT INFORMATION Every order placed will be eligible for a 10% discount. Discount Code TRHD2019 this code will only be accepted until Friday 11-01-2019 12:01 am PST. Excludes Crafters Essentials. Not applicable to previous orders. May be used more than once. Does not apply to shipping and tax. **Please Note: Free Shipping WILL NOT be available during the time this discount code is in effect. **
GIVEAWAY:
To celebrate day 2 of inspiration The Rabbit Hole Designs is giving away the 2 stamp sets promoted on 10-29-19, to one lucky winner. Winner will be chosen at random from the comments left on participating blogs, so make sure to visit each stop and leave a comment. Leave comments by 11:59 pm PST 10-31-19-19 on all participating blogs. Winner will be announced on The Rabbit Hole Designs blog 11-01-2019