Hey friends! Ranger Ink had a fun release with Simon Hurley Create this month with a Christmas in July theme. I’m here to pop in with some sweet inspiration using a couple of those new goodies that I can’t get enough of!
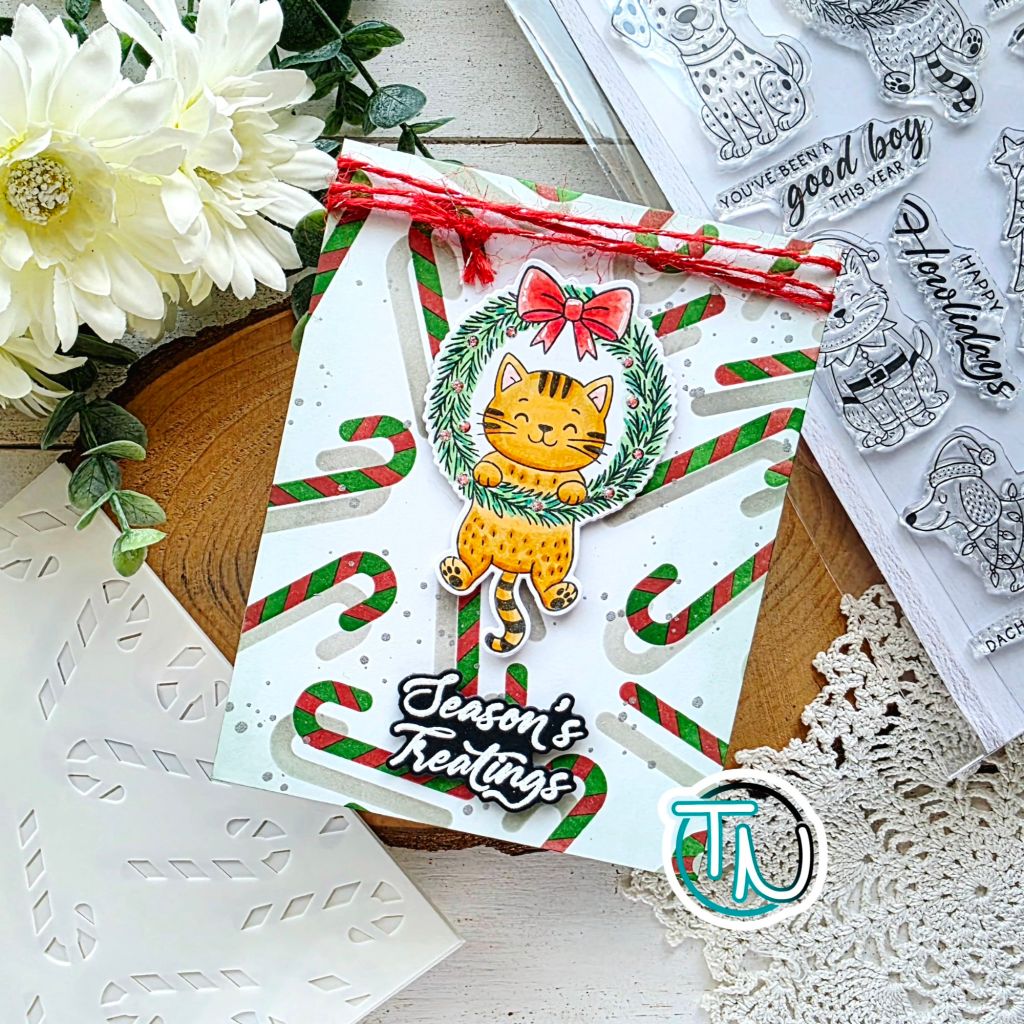
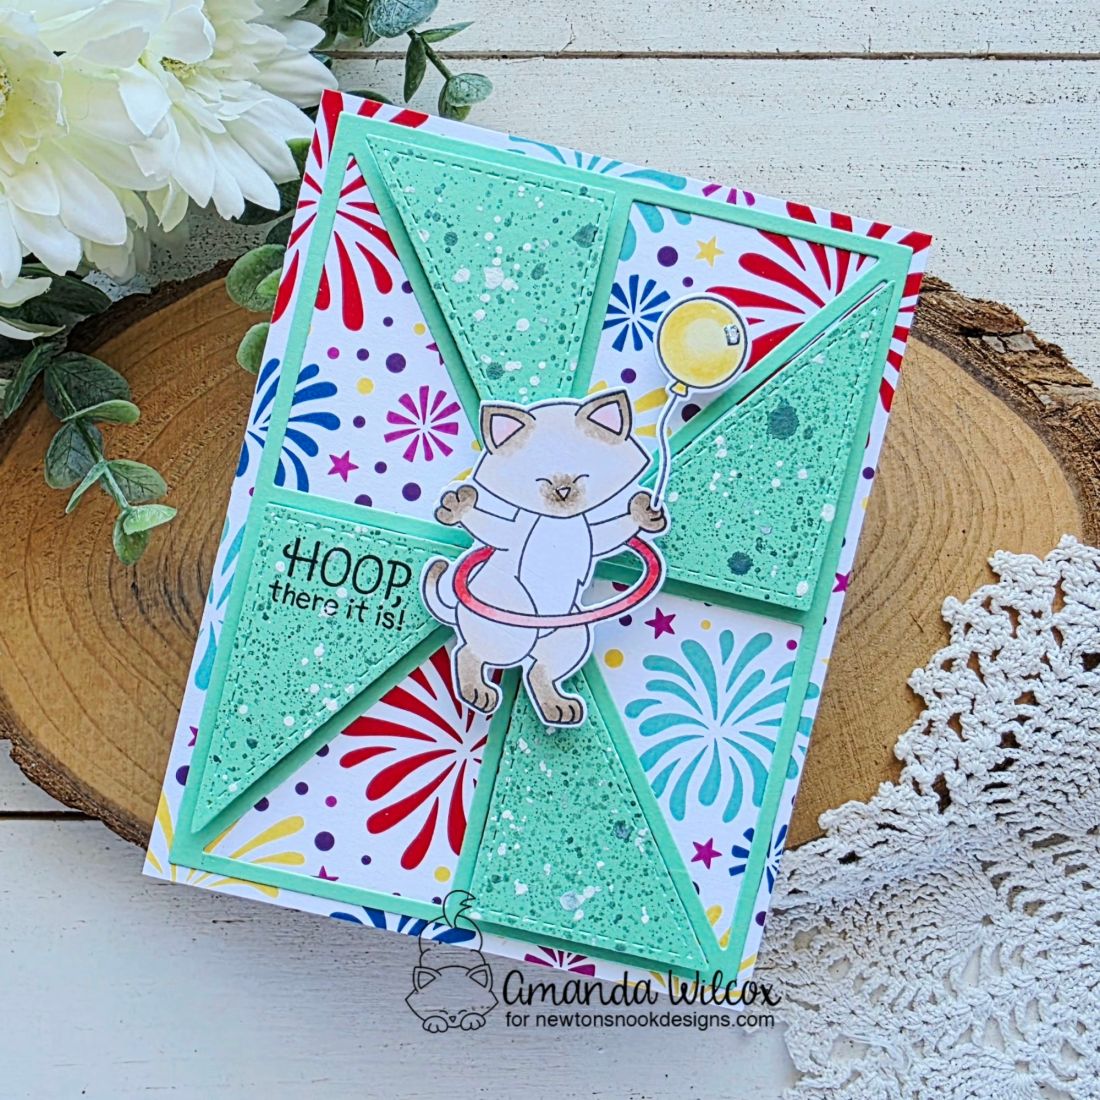
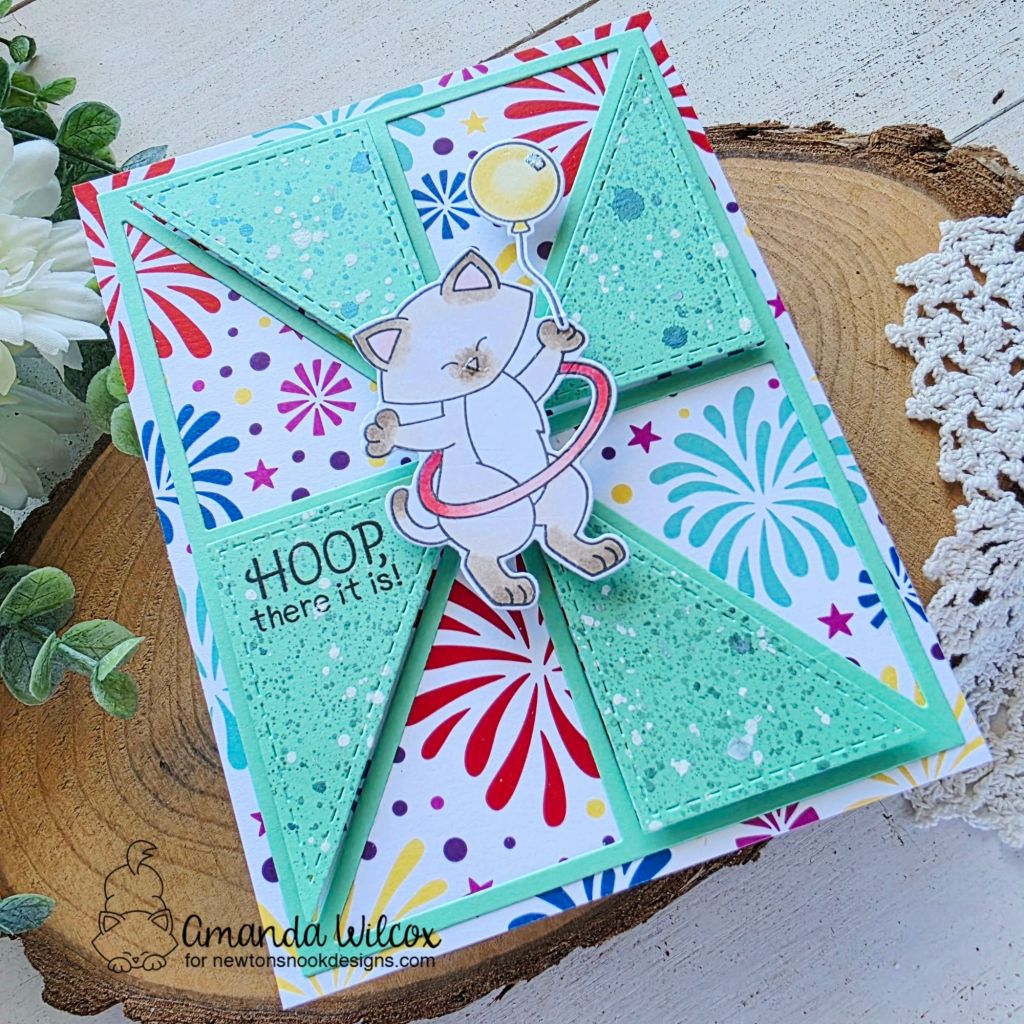
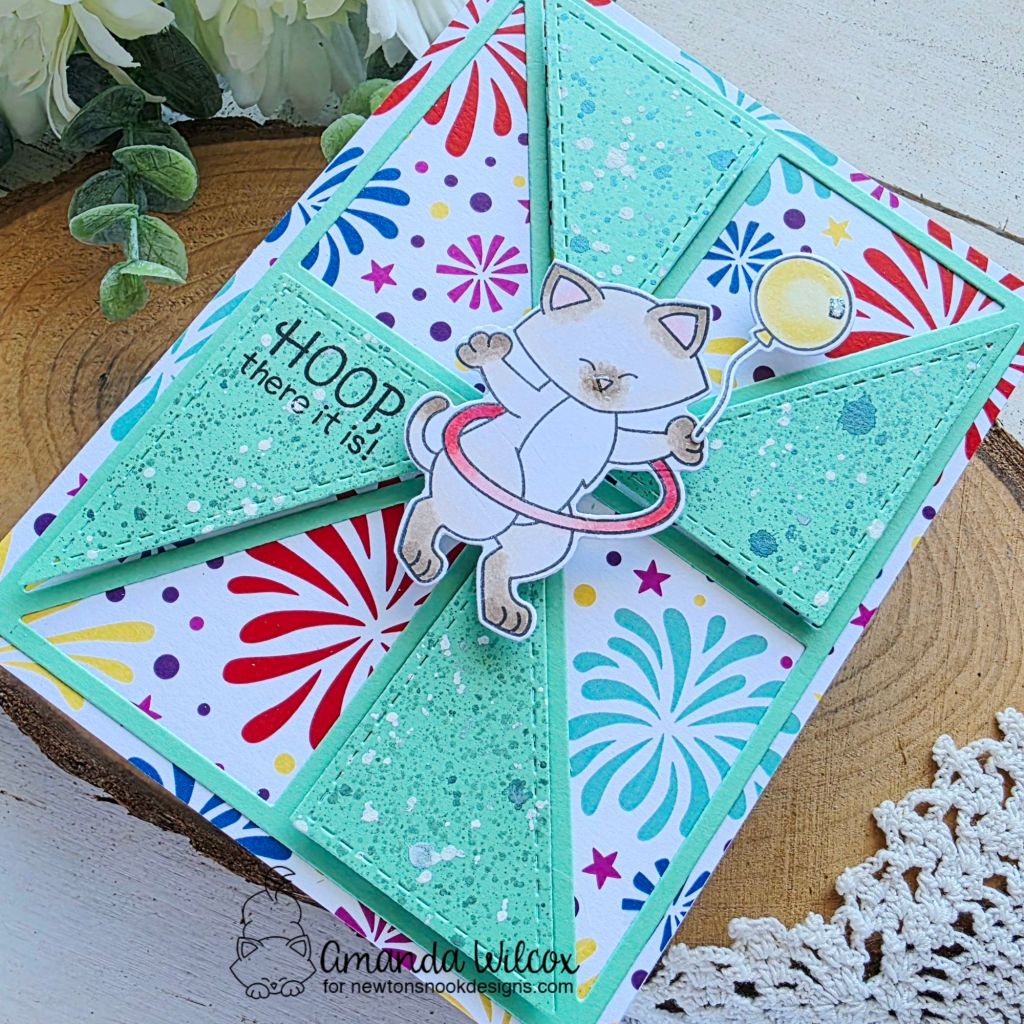
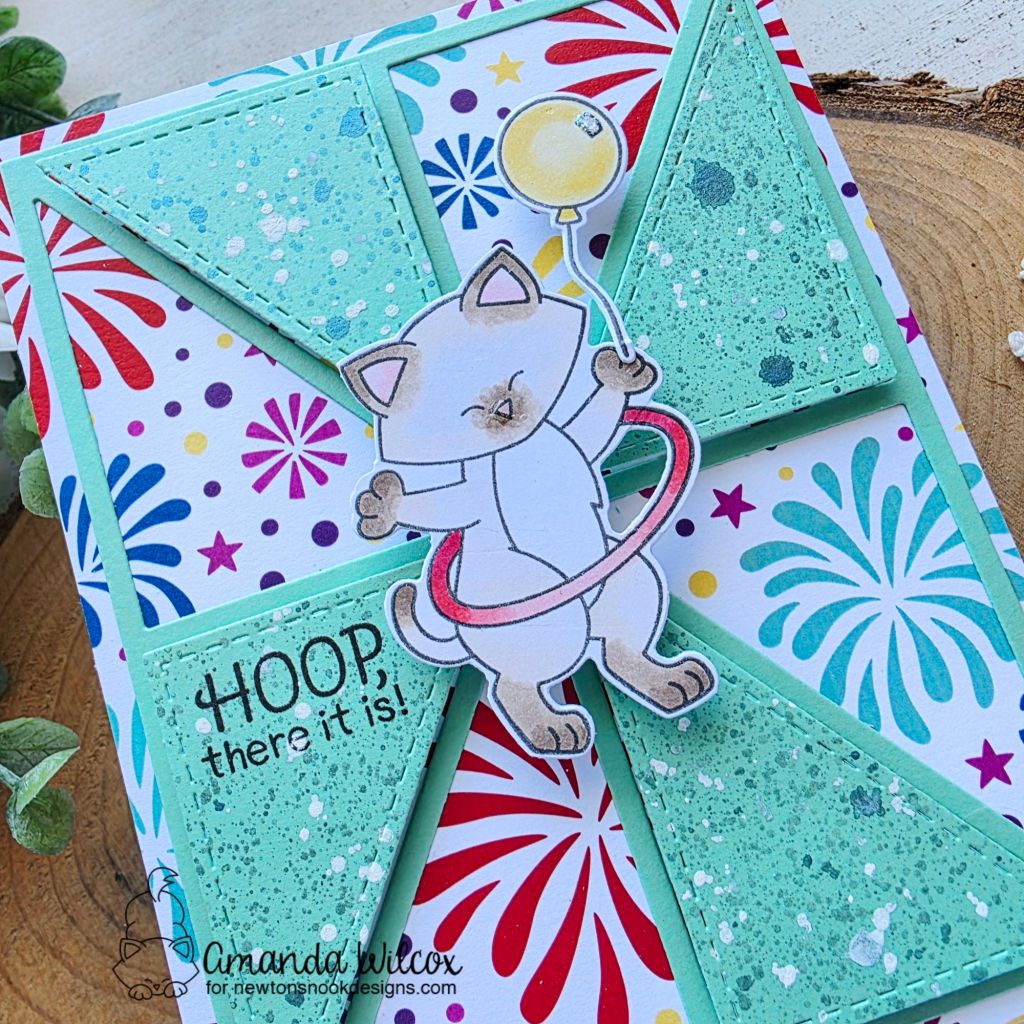
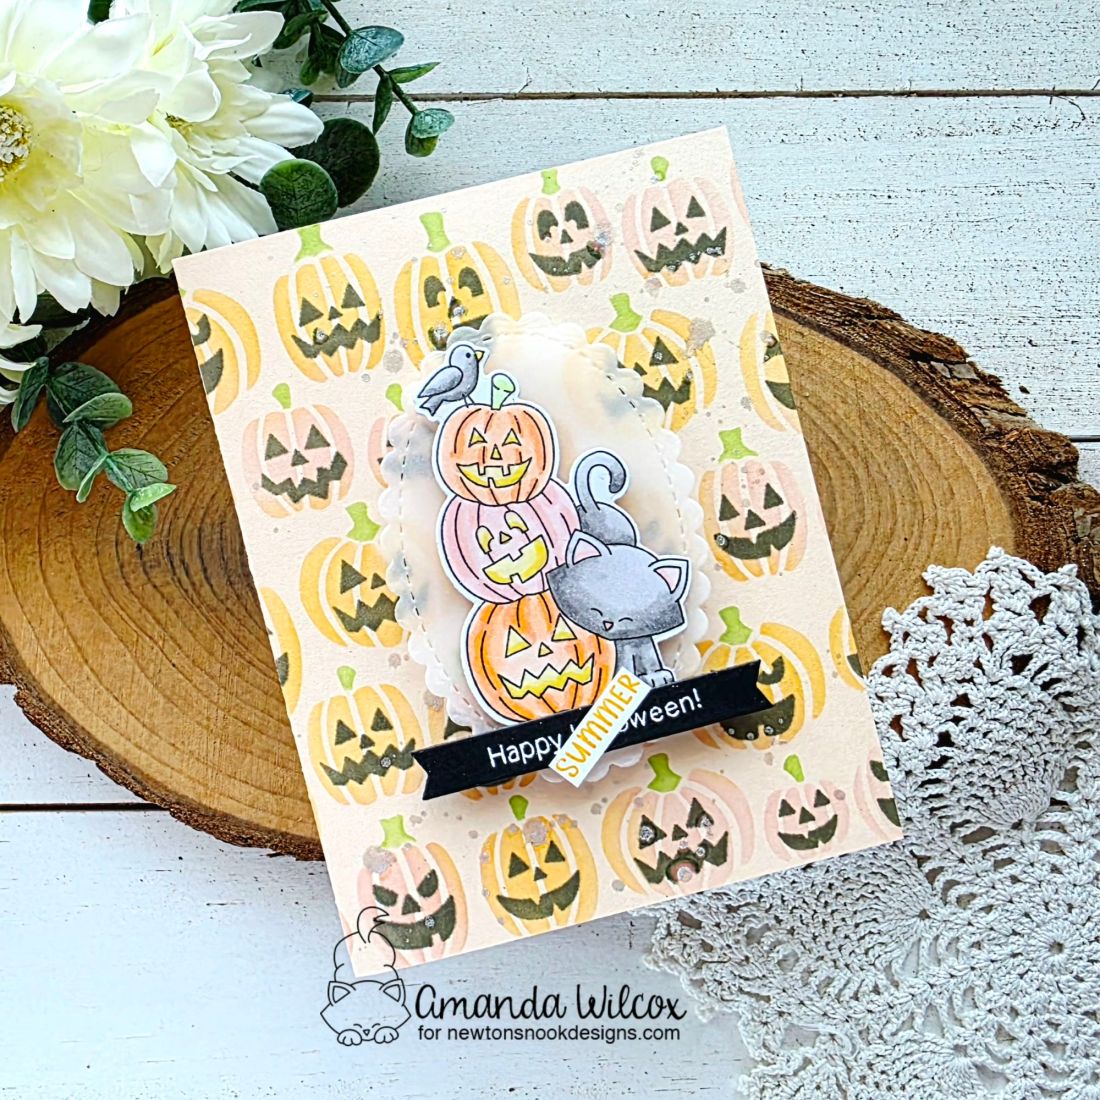
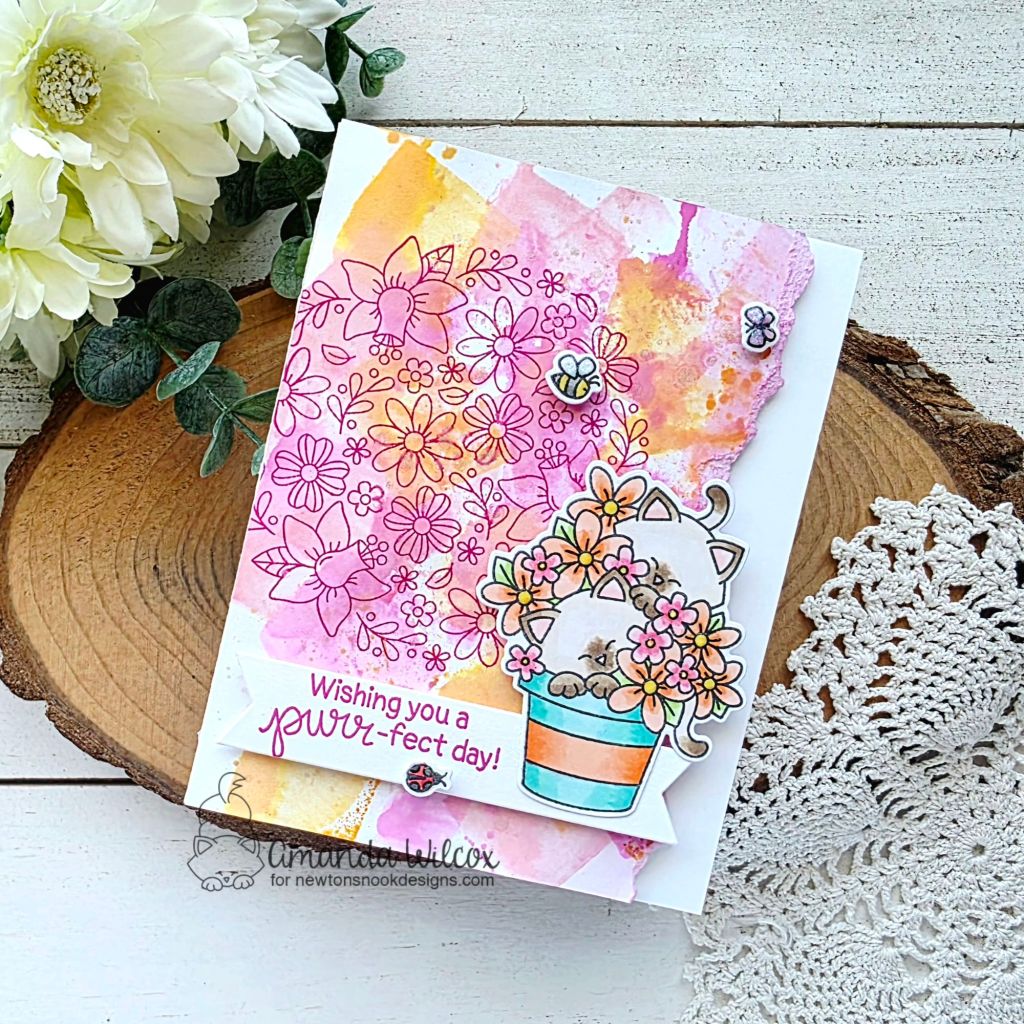
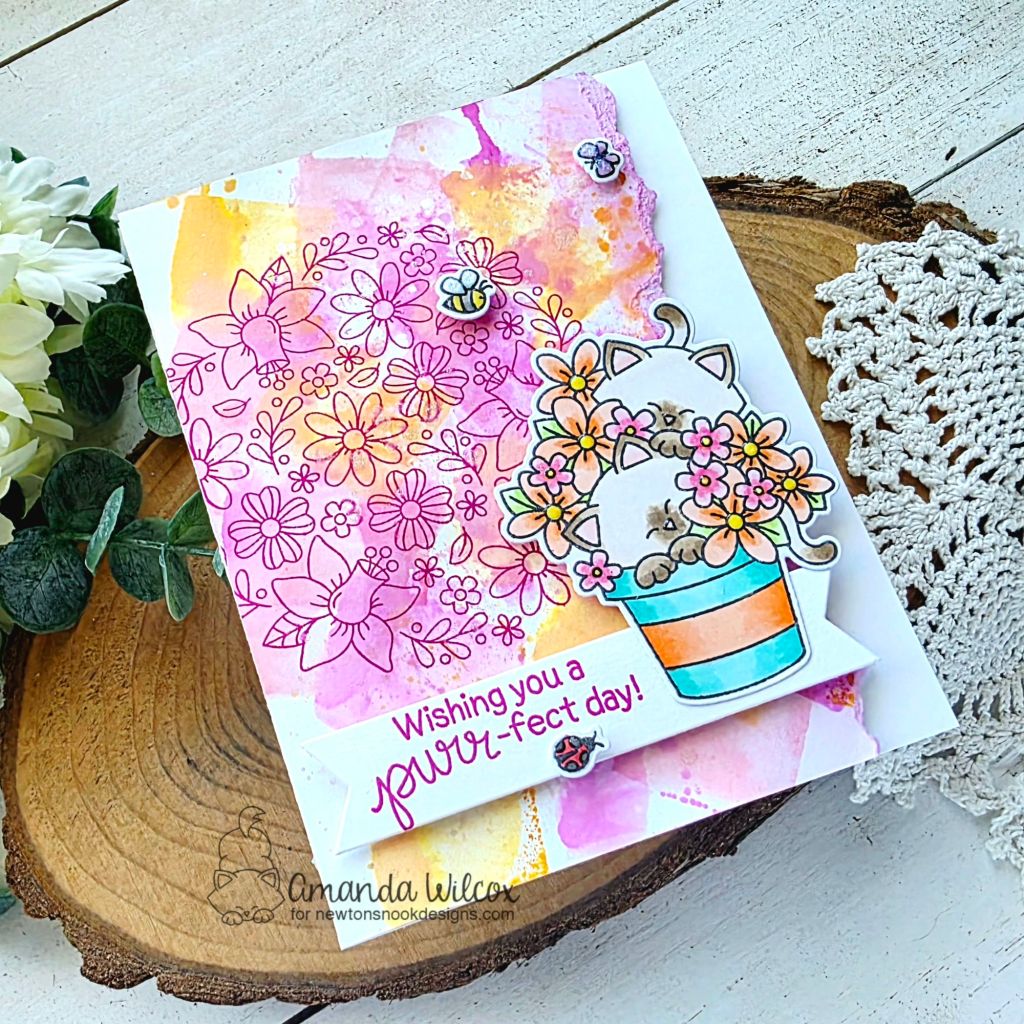
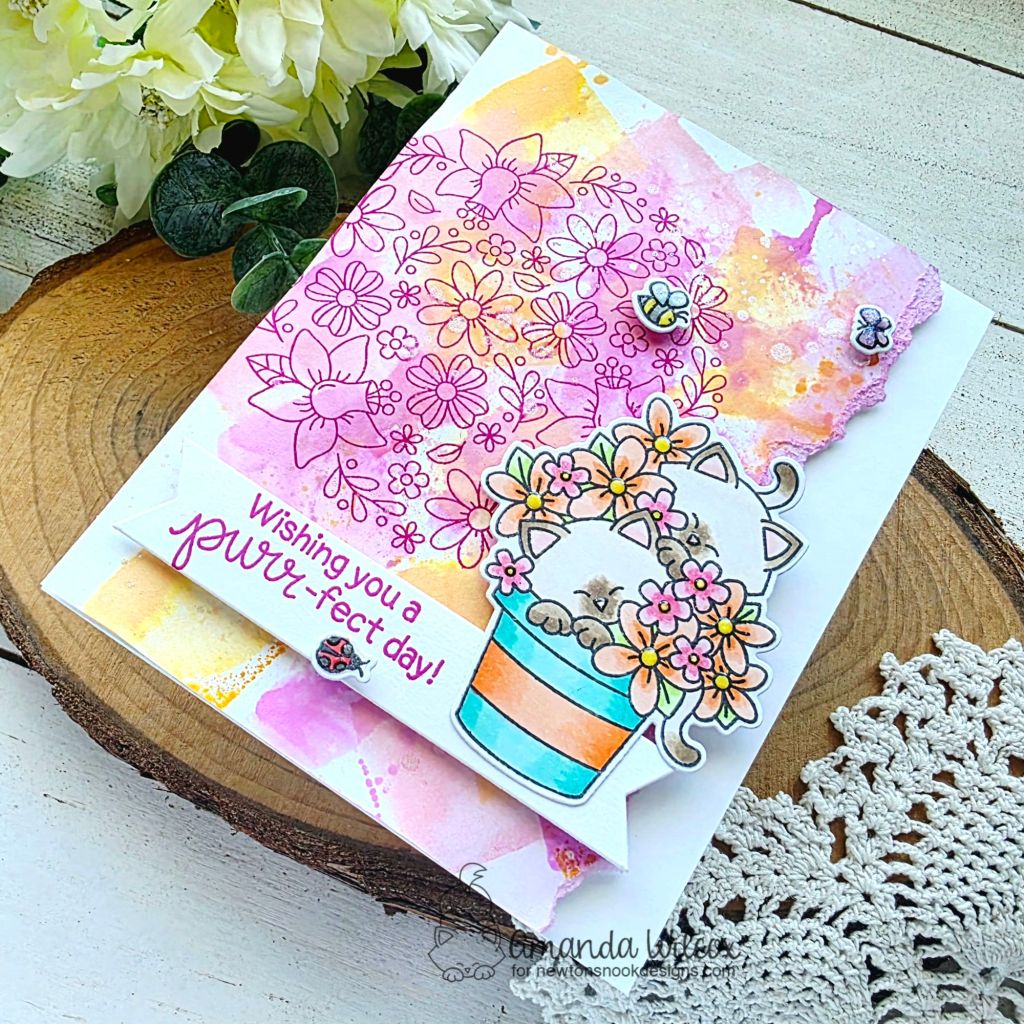
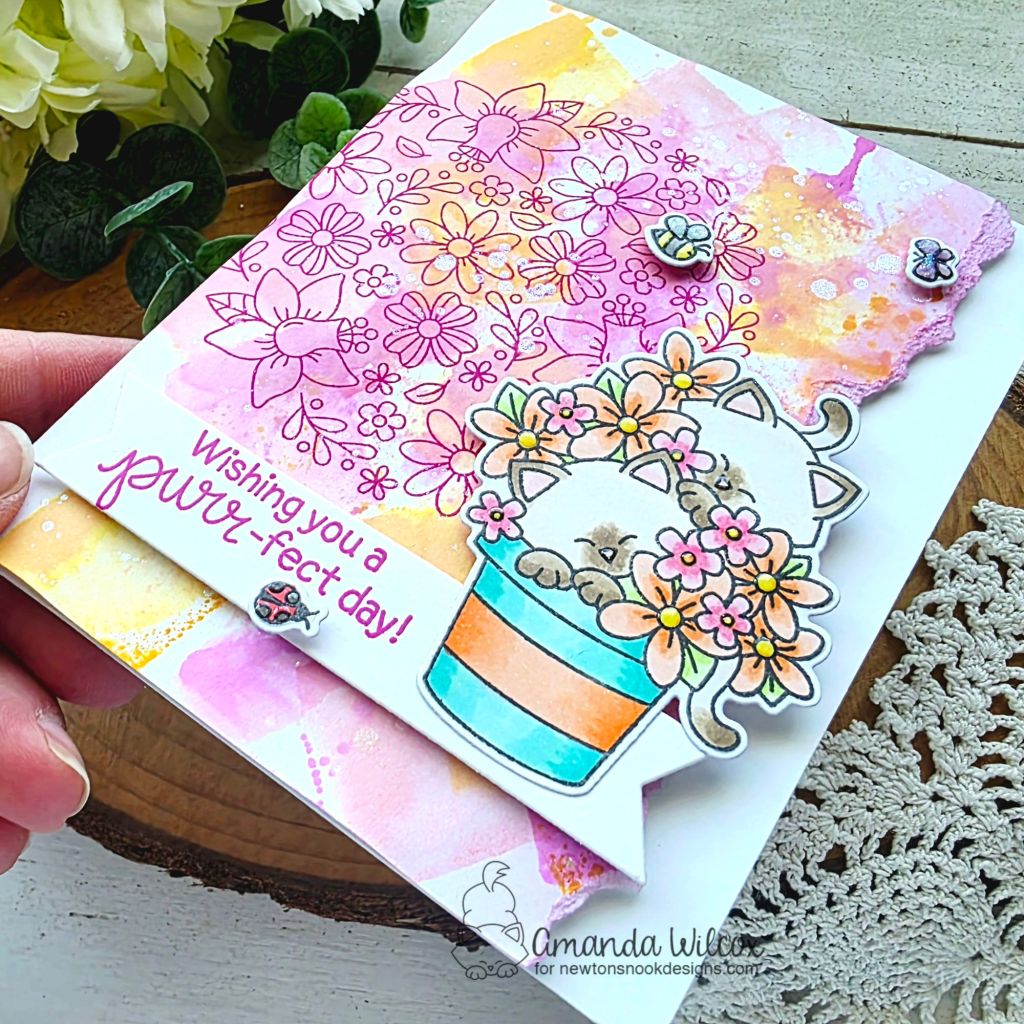
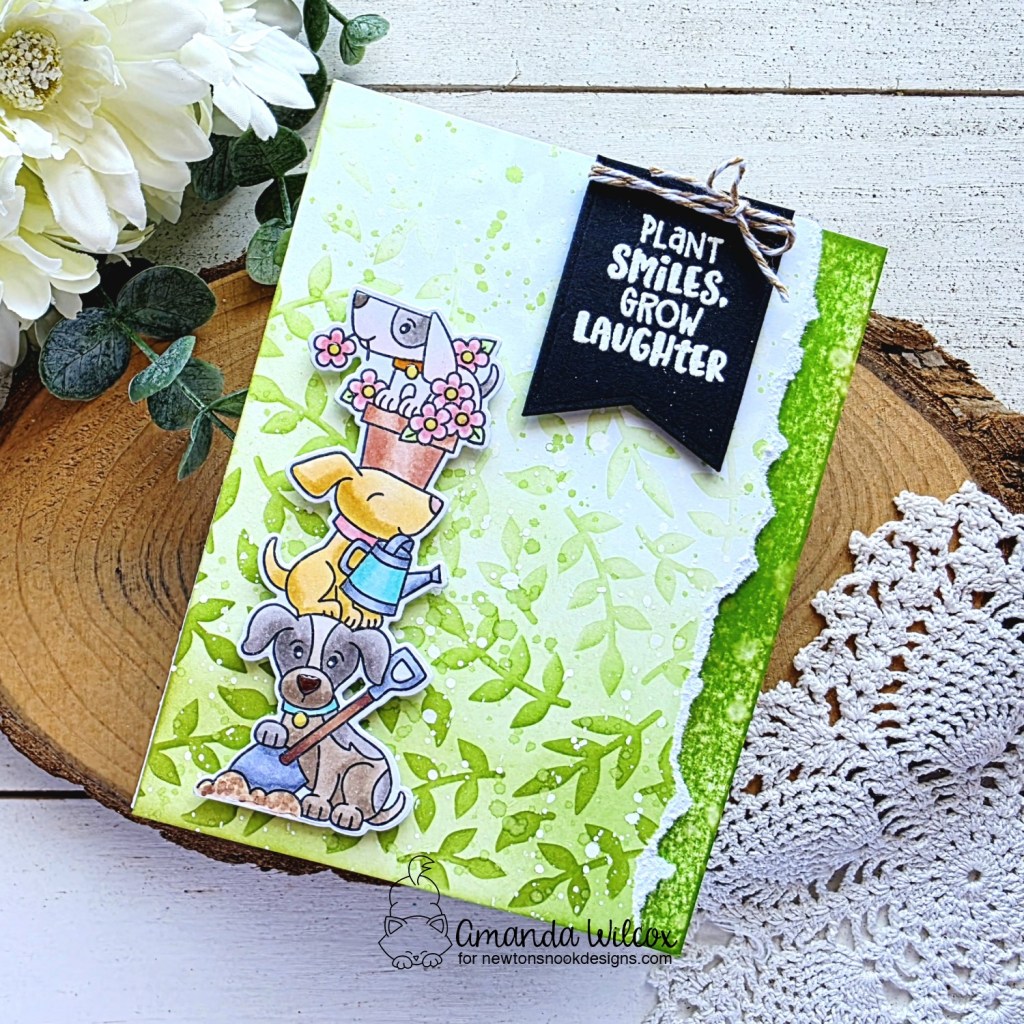
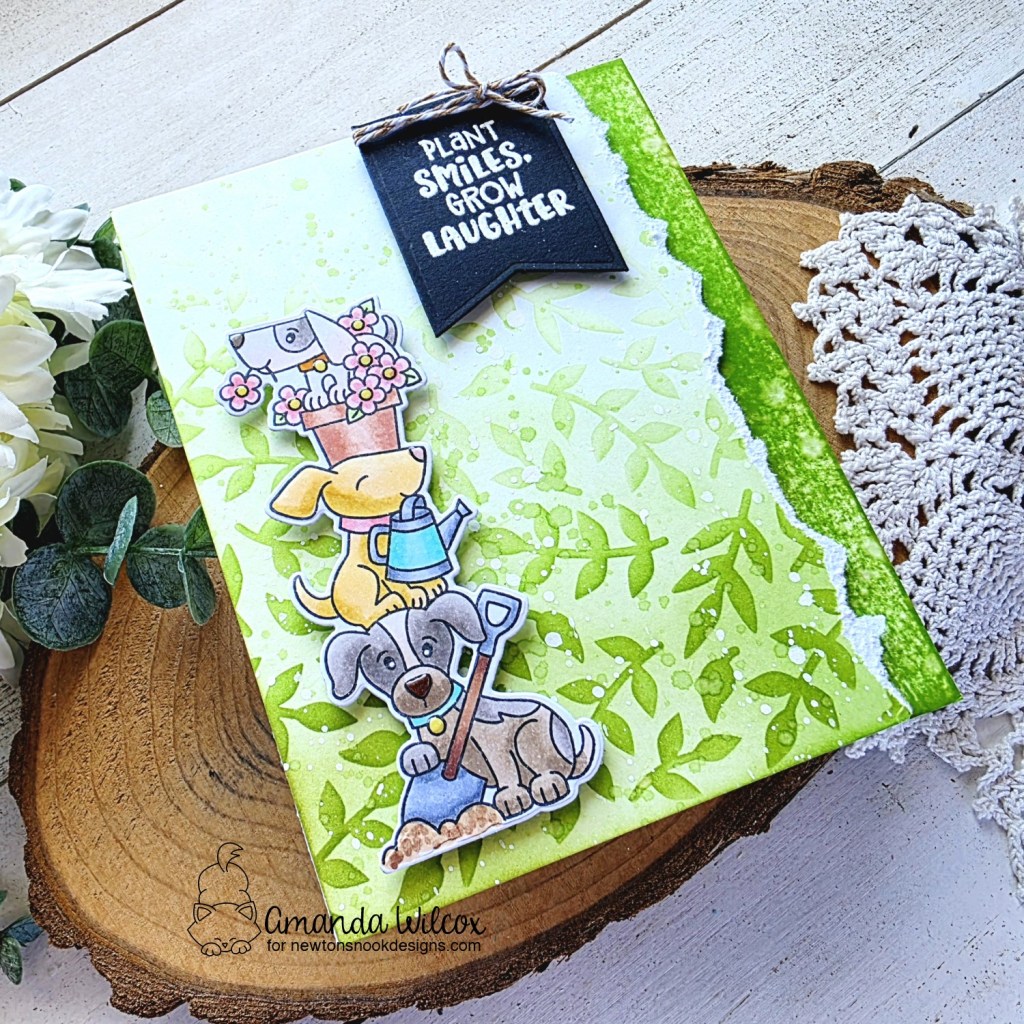
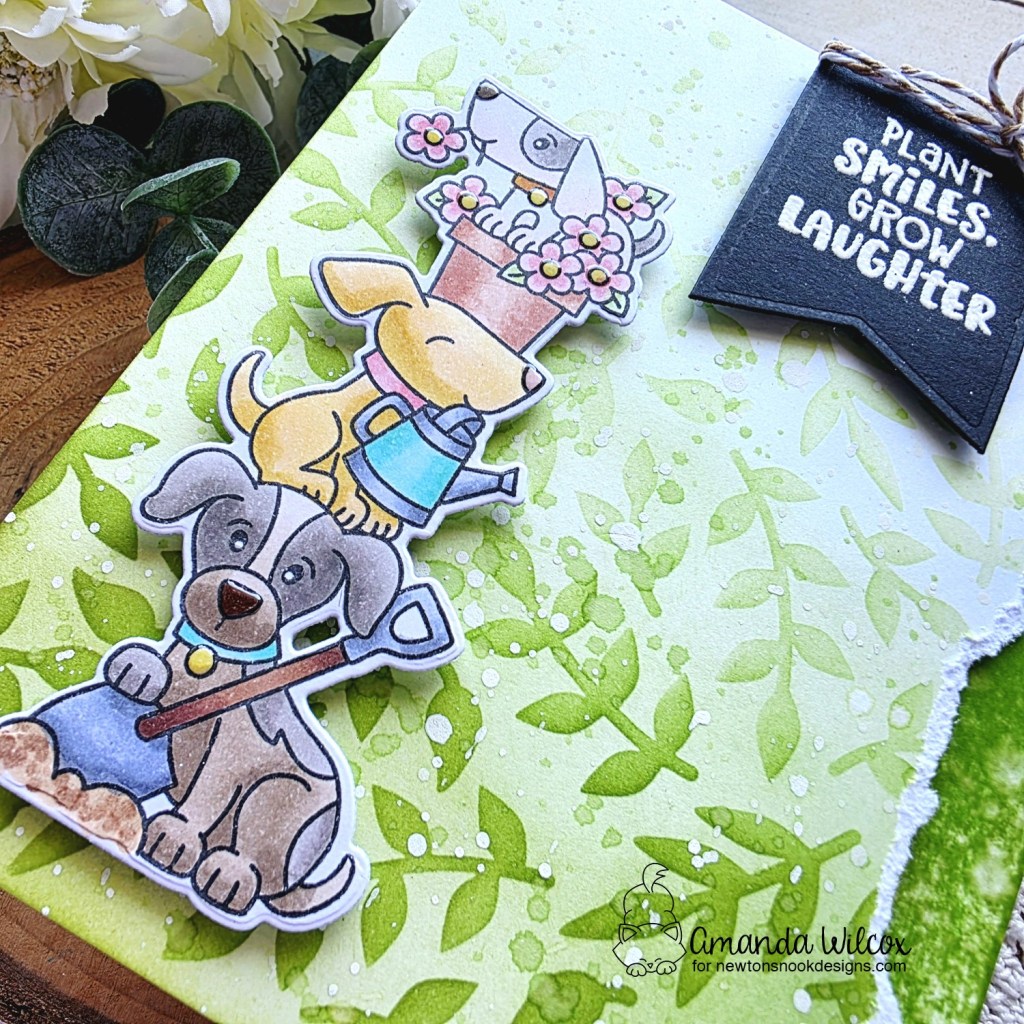
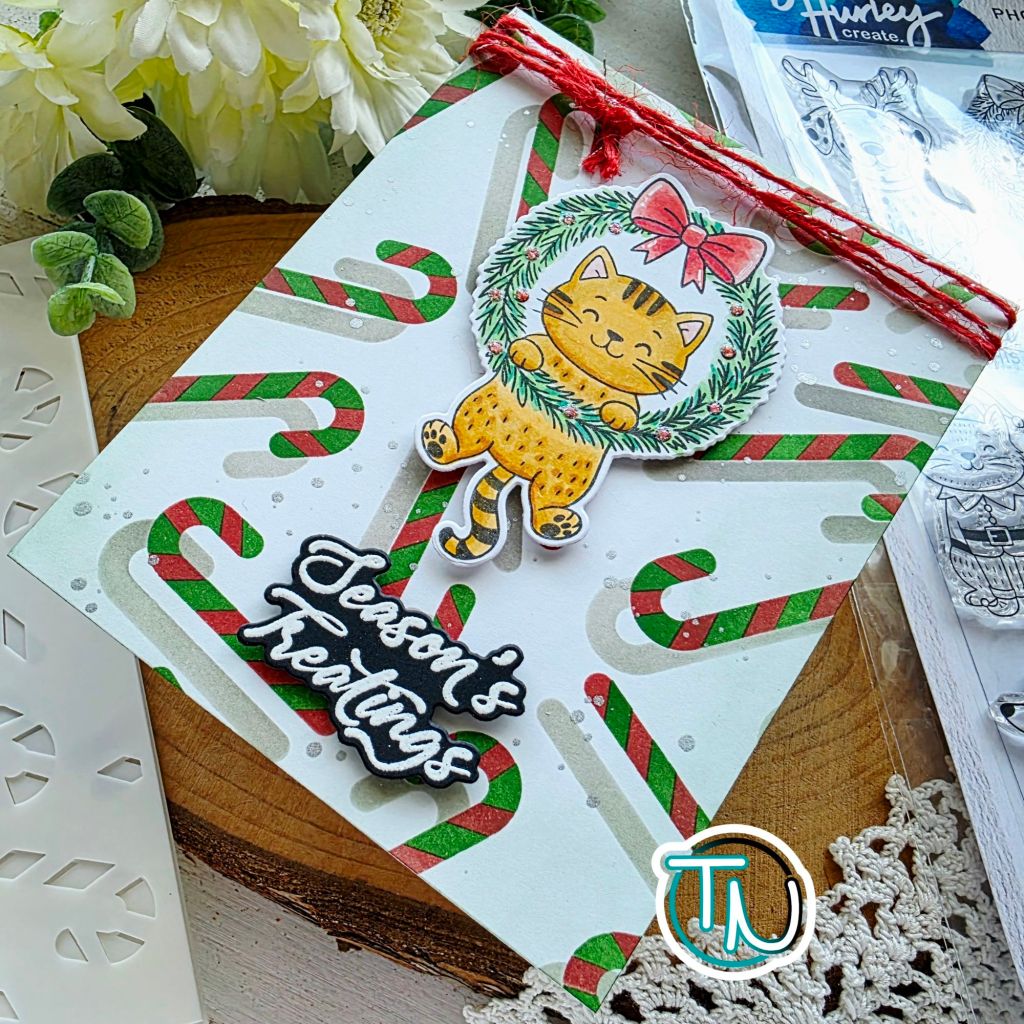
The punny sentiments always get me and the images they tie to are always the first ones I just have to play with. So this sweet kitty was top on my list with that great Season’s Treatings sentiment. They’re too good for each other not to! This all comes from the new Christmas Pets stamp and die set. Don’t sleep on this one – It’s super fun!
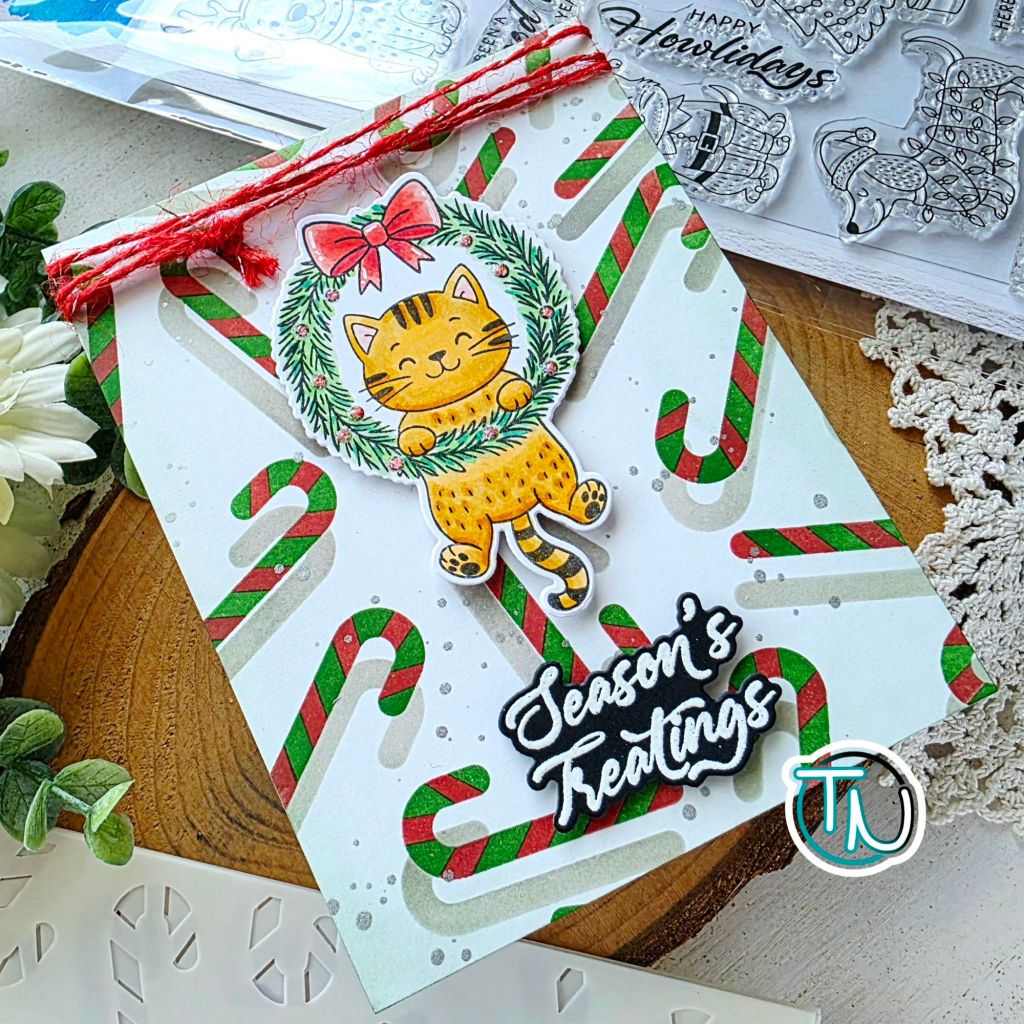
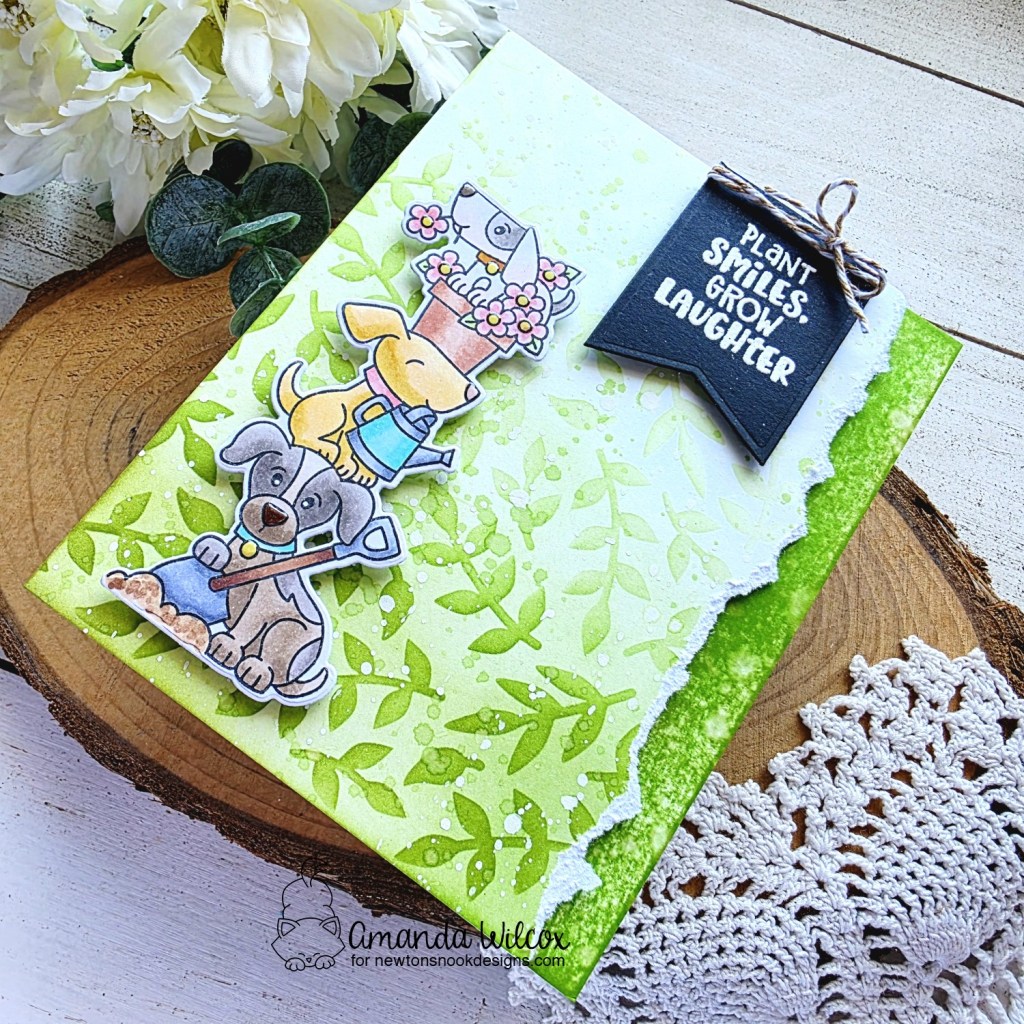
The background is from the new Candy Canes layering stencil set. I love how you can add the stripes separately but then it’s a whole new level having that awesome shadow layer too! It’s so cool and gives such great dimension to a flat base layer.
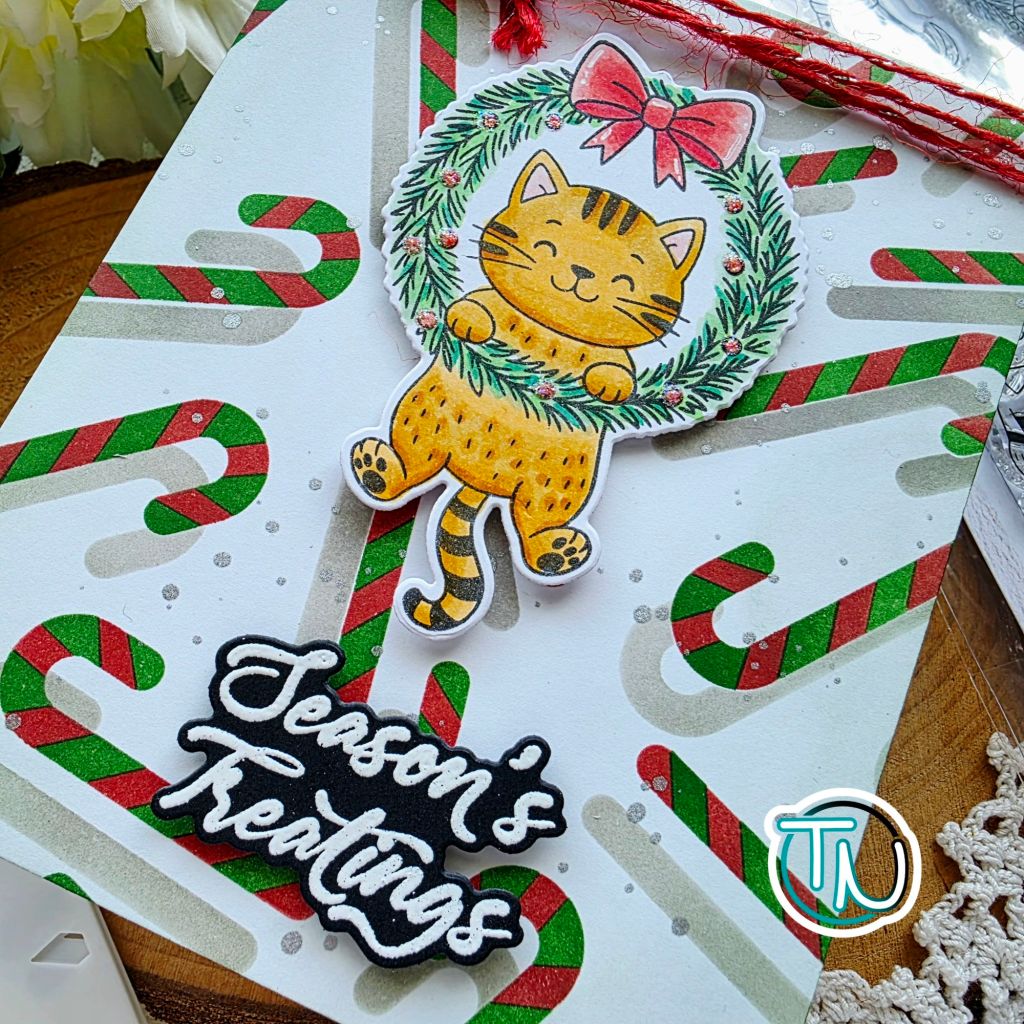
For assembly on this card, I glued the stenciled layer to a card base and simply popped up the image and sentiment with foam squares. In between that I did splatter the stencil layer with distress spray stain in pewter for a silver shimmer in the splatter. Then, finishing touches were just stardust Stickles on the wreath berries and some white gel pen highlights on the bow.
Be sure to check out this whole release. There are other stamp and die sets, plus a background stamp and stencil combo that’s AMAZING!
I appreciate you sharing your time with me. Have a fabulous day!