Simon Says Stamp | Newton’s Nook – Stamptember Release

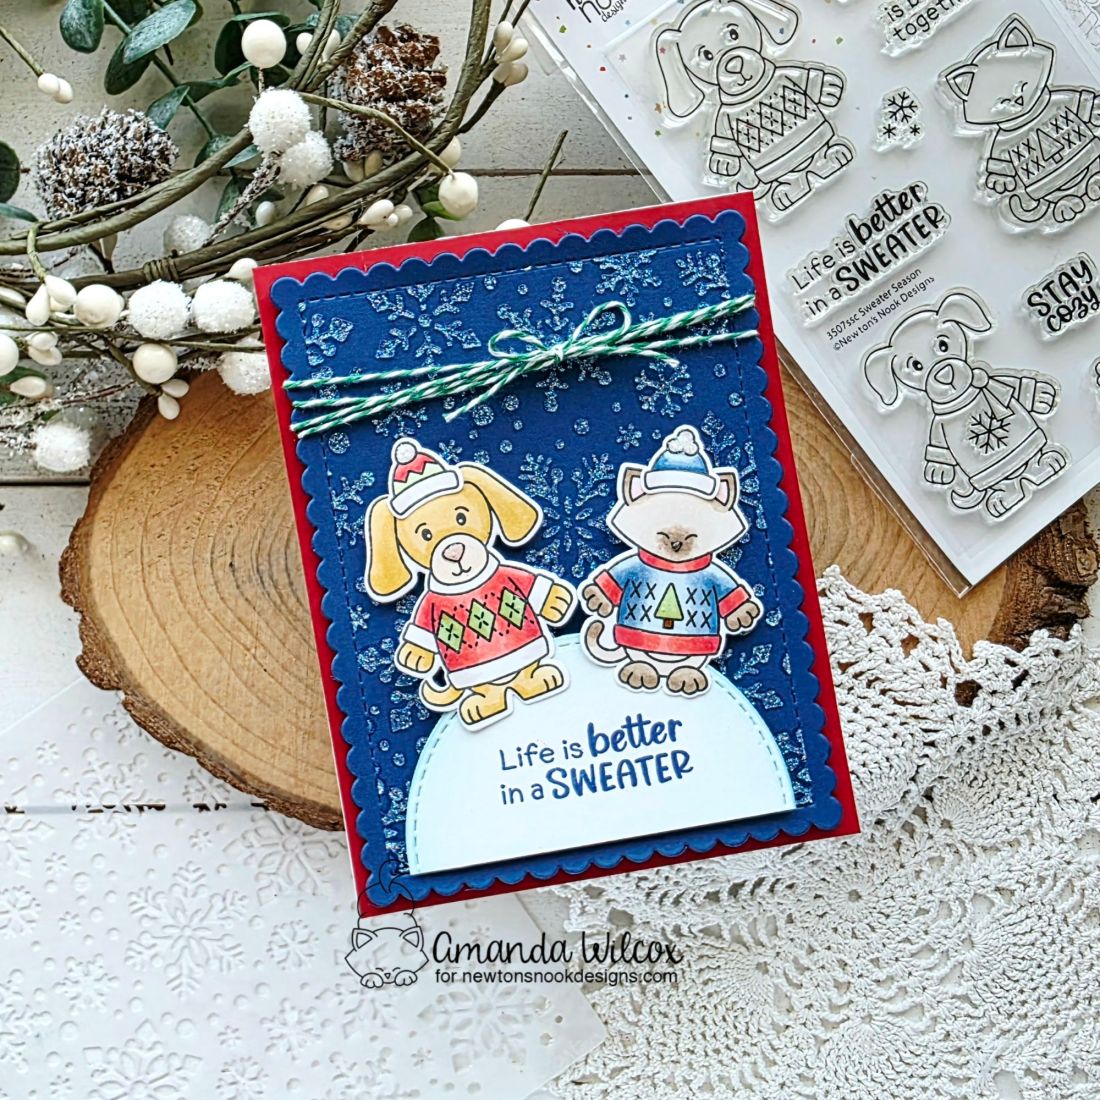
Hello everyone! I’m super excited to part of the special edition release with Simon Says Stamp and Newton’s Nook for Stamptember! This is such a fun set and is going to be adorable used in so many ways!
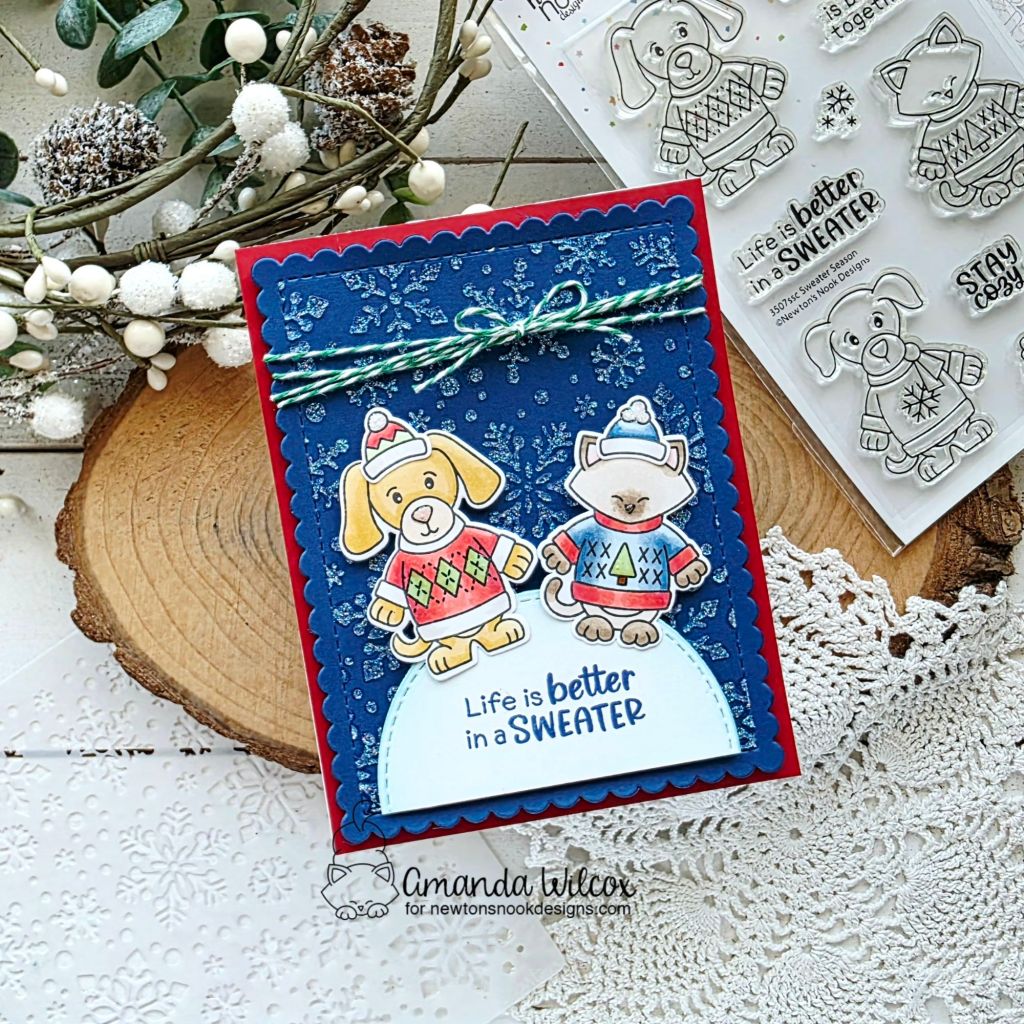
My go-to with these sets is always to create gift tags. We all know I love making tags to a ridiculous level and, also, I need lots of tags at Christmas so getting a jump start is always appreciated. However, I resisted the urge and created a super fun card to share with you instead.
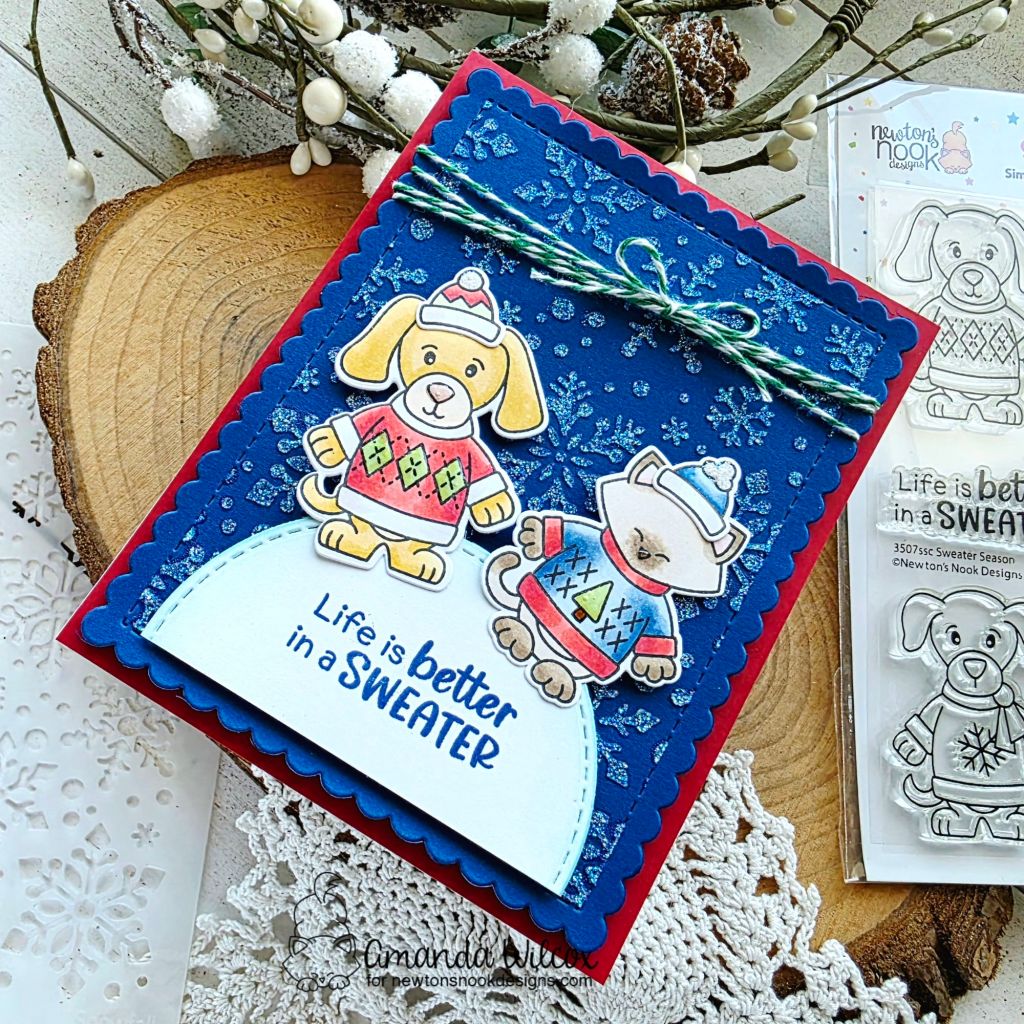
I chose two of the images to stamp and color with copic markers. Then used the coordinating dies to cut them out. Next, I used the largest Frames & Flags die to cut the scalloped rectangle from dark blue cardstock. I taped off the stitched edges and spread unicorn horn Astro Paste through the Snowfall stencil to create my glittery background.
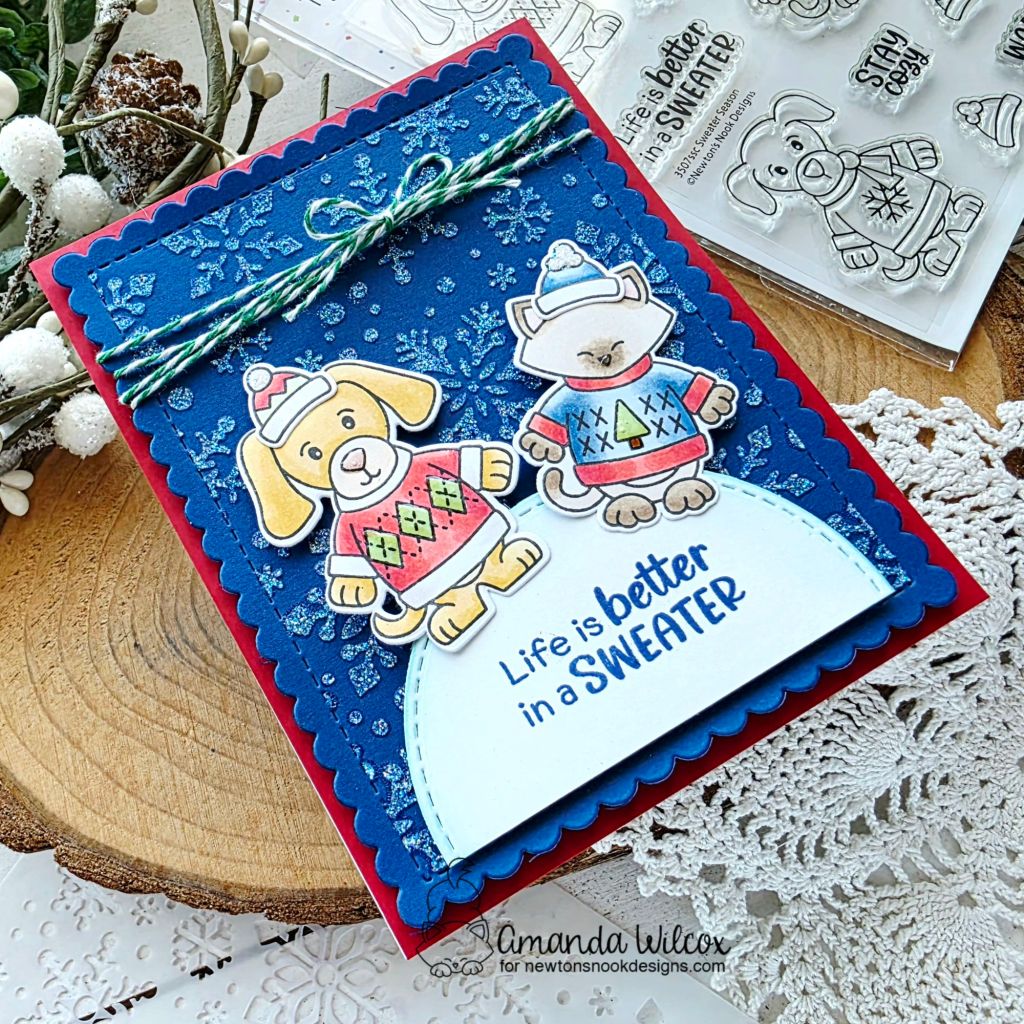
While that was drying, I die cut a circle using the largest regular circle in the Circle Frames die set from white cardstock. I stamped the sentiment in a dark blue ink and blended the edges with teal ink and a blending brush.
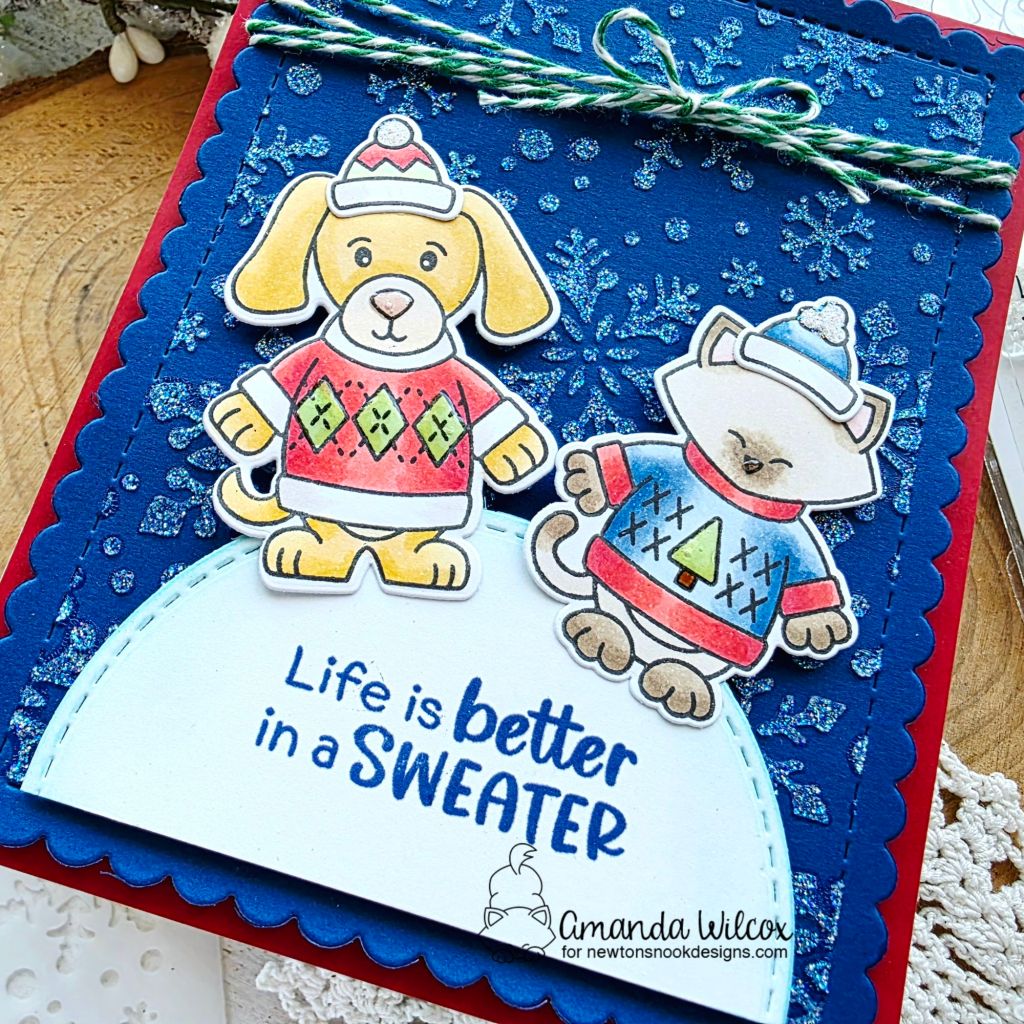
For assembly, I added the circle snow mound to the bottom stitched edge of the stenciled panel with foam tape. Then I adhered the kitty and puppy with foam tape and liquid glue above that. Then, I wrapped my twine around the top of the panel, tying it in a bow before adding foam tape to the back of the panel, avoiding the twine so the foam tape lies flat.

I finished the design off with a little glossy accents on the sweaters and critter noses. Last was stardust Stickles on the pompoms of each hat because, of course we needed more glitter.

Be sure to snag your Stamptember set right away. They always sell out super fast!

Products used:
Stamptember Set – Sweater Weather: Simon Says Stamp only
Frames & Flags dies
Circle Frames dies
Snowfall stencil

Astro Paste – unicorn horn
Paste spreader

Blending brush
Lawn Fawn ink – mermaid and blue jay
Foam tape
Liquid glue
Glossy accents
Stickles – stardust

I appreciate you sharing your time with me. Have a fabulous day!
Newton’s Nook – September Release Day

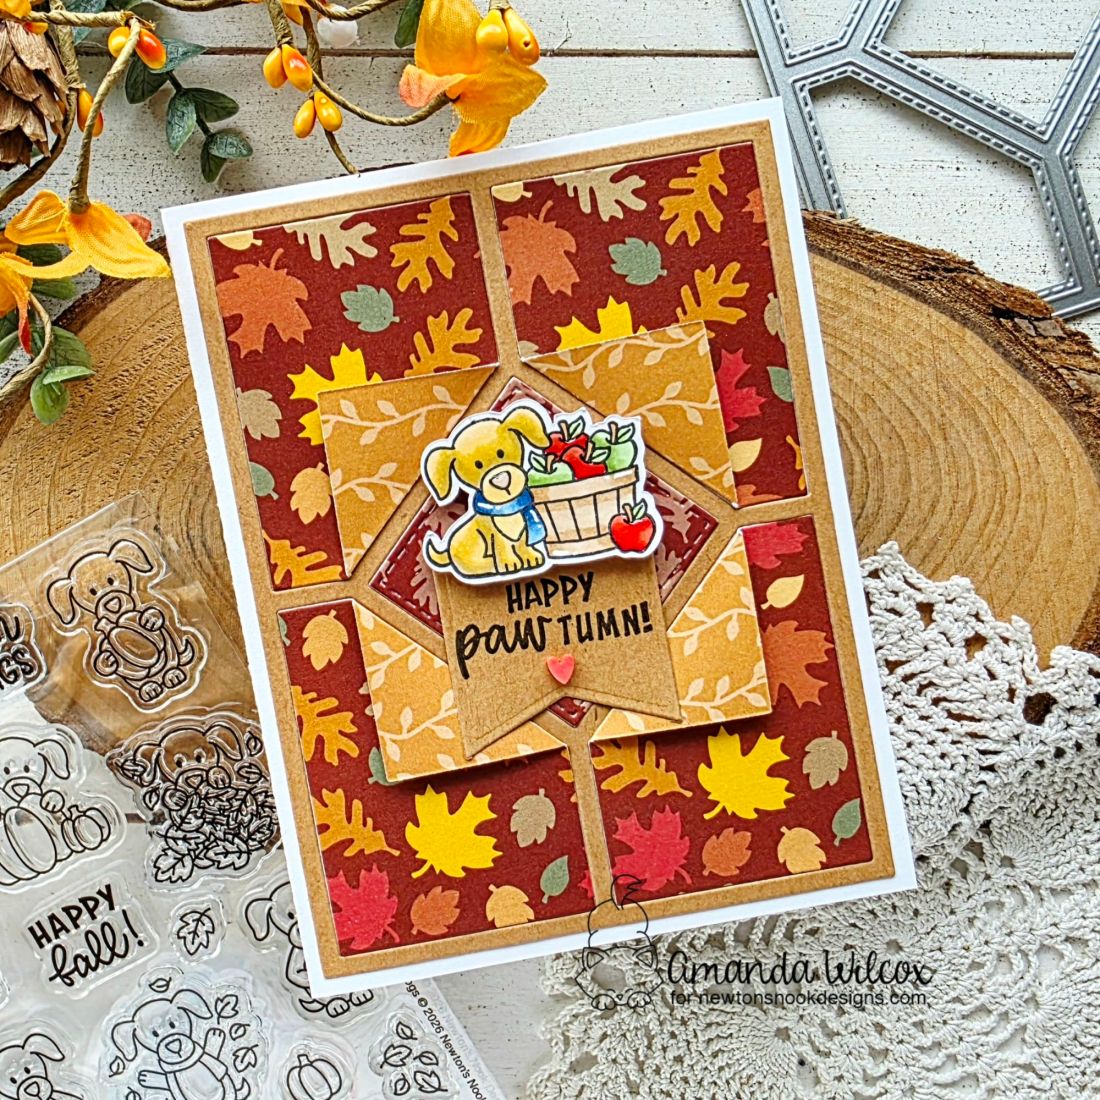
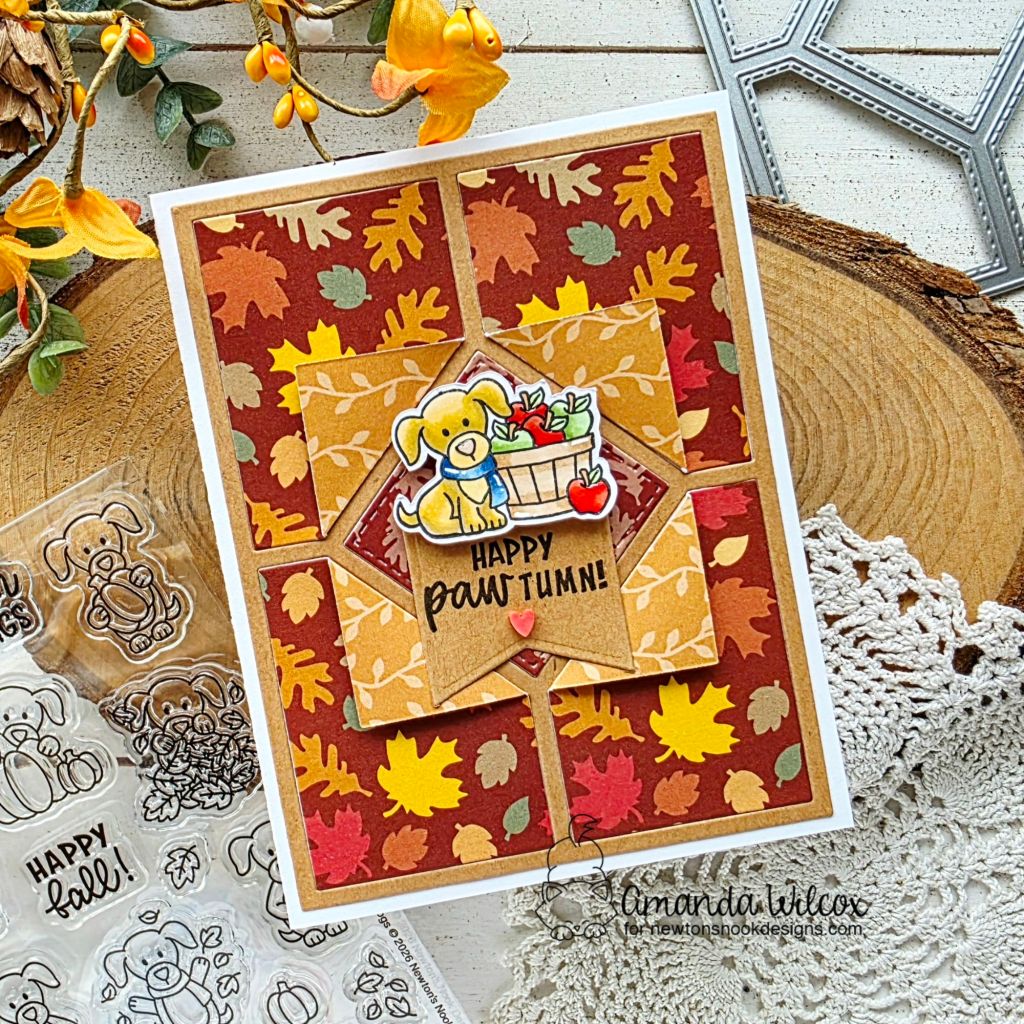
YIPPEE!!! We made it to release day! The Newton’s Nook release is available in the shop and we’re having an Instagram hop to celebrate today! Below is my card but be sure to head to Instagram and comment along the hop for a chance to win!

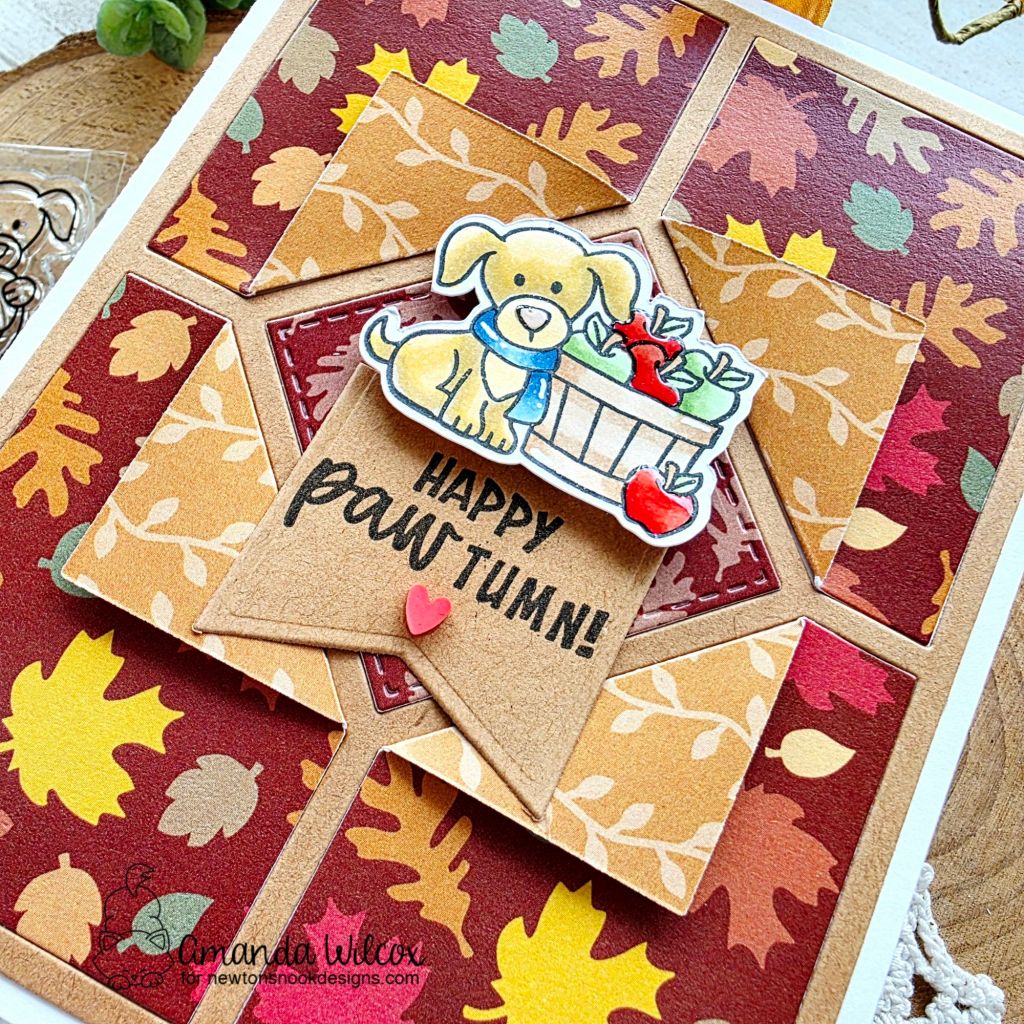
I’m pulling us back to reveal day 1 goodies with all things fall and the Autumn Dogs stamp set. I couldn’t resist this sweet pup and his barrel of apples. I just loved it so much I thought he needed his own moment to shine!

I paired him with the Autumn Leaves paper pad and the Card Layout 6 dies that parner with the Corner Flip dies (used here). This is a great way to show off both sides of your patterned paper, especially when you just don’t want to have to choose!

My sentiment is stamped on a banner in the Frames & Flags set and everything is glued down except for the flipped corners and the main image which are popped up with foam squares. Then for finishing touches I added glossy accents to the puppy’s nose and the red apples. I also added white gel pen highlights on a few spots and a red clay heart below the sentiment.

Products used:
Autumn Leaves paper pad
Autumn Dogs stamps and dies
Corner Flip dies
Card Layout 6 die

Foam squares
Glossy accents
Liquid glue

Sweethearts embellishment mix

I appreciate you sharing your time with me. Have a fabulous day!
Mama Elephant – Little Wolf Agenda Highlight

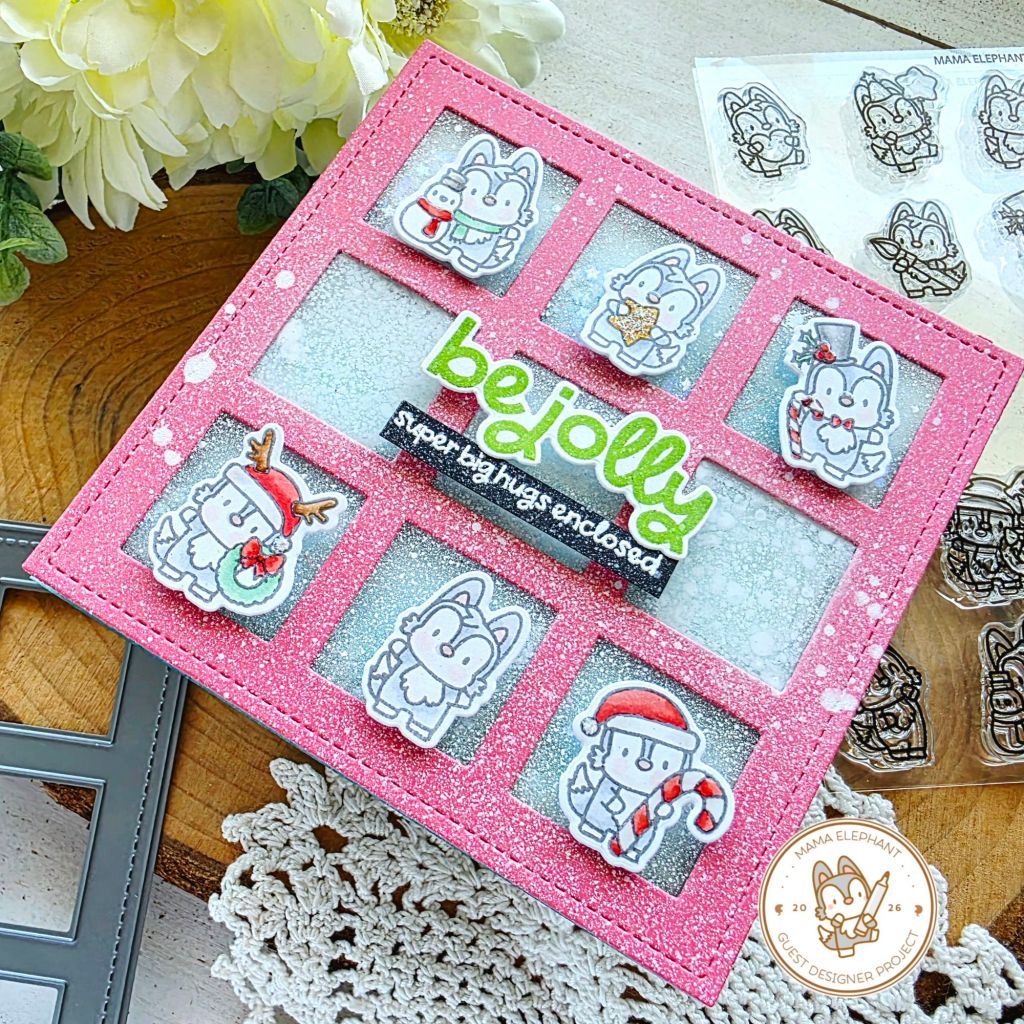
Hi there! Mama Elephant is in the middle of their stamp highlights for the anniversary release and today we get to share Little Wolf Agenda! OMG they are so cute and so fun to color!!! I kept reaching for them for repeat projects while I was creating.

For this card, I stamped my little wolves in gray ink and colored them in soft gray colors. Then I used the coordinating dies to cut them all out. You’ll notice lots have holiday items but there are a fair amount with empty arms or generic celebration things like balloons and stars. This is another fabulous little agenda set to add to your collection!

I die cut my background from the Square Grid cover plate and lined it with acetate for a shaker. The bits inside are a super fine glitter so it’s just shimmery behind the spritzed paint. I popped my wolves up with foam tape and switched to my sentiment next.

The sentiment is from Everything Nice which has the chunky big sentiments and the smaller sub sentiments included. So I stamped and cut the larger one and heat embossed the second on a strip. They are both popped up with foam squares and strips.

For finishing touches I added glossy accents to all wolf noses and bits of the images like candy cane stripes, bows and berries. Last, I added stardust Stickles to the star center on the top for sparkle too.

Products used:
Little Wolf Agenda stamps and dies
Square Grid Cover die
Everything Nice stamps and dies

Foam strips and squares
Glossy accents
Stickles – stardust
Liquid glue

I appreciate you sharing your time with me. Have a fabulous day!
Newton’s Nook – September Release Reveals Day 2

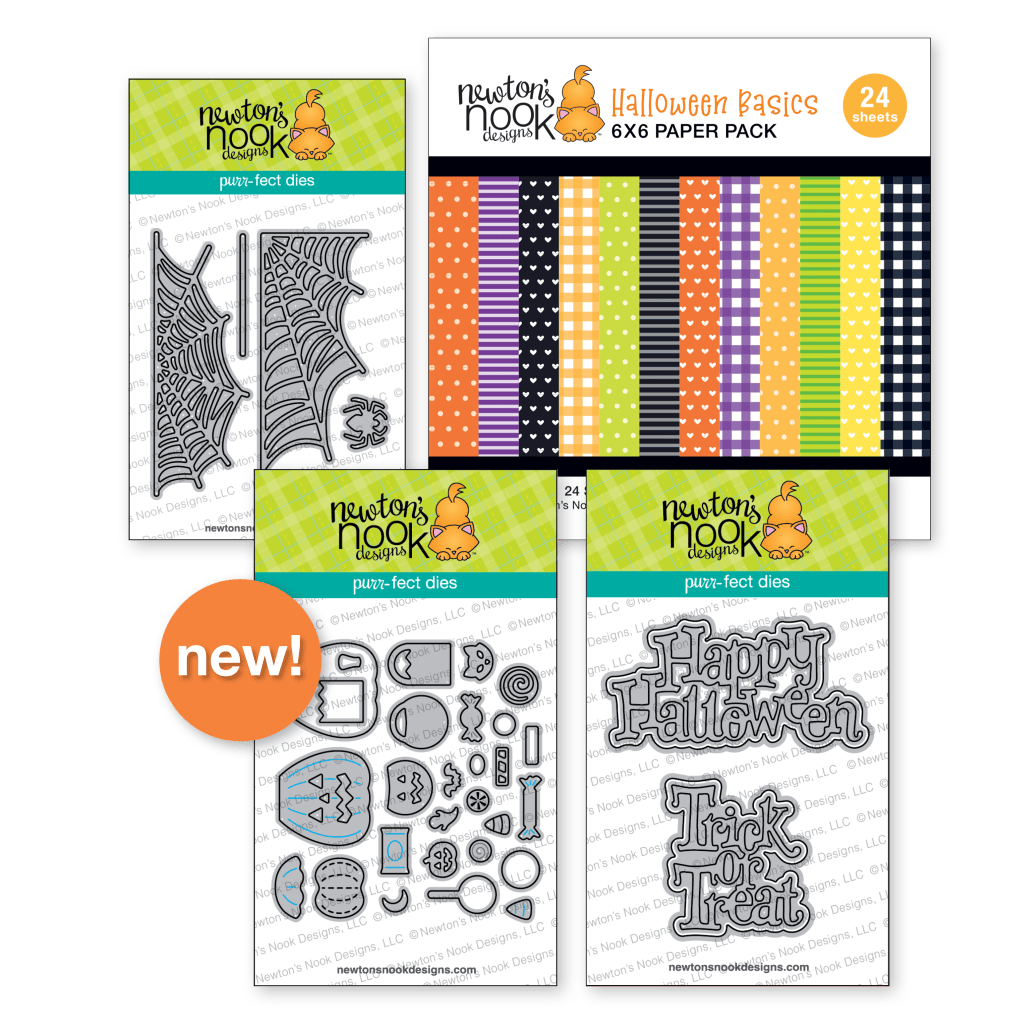
Welcome everyone! It’s day 2 of the Newton’s Nook September Release reveals and, like I said yesterday, there’s so much! Today is all Halloween goodies and they are SO GOOD!!!

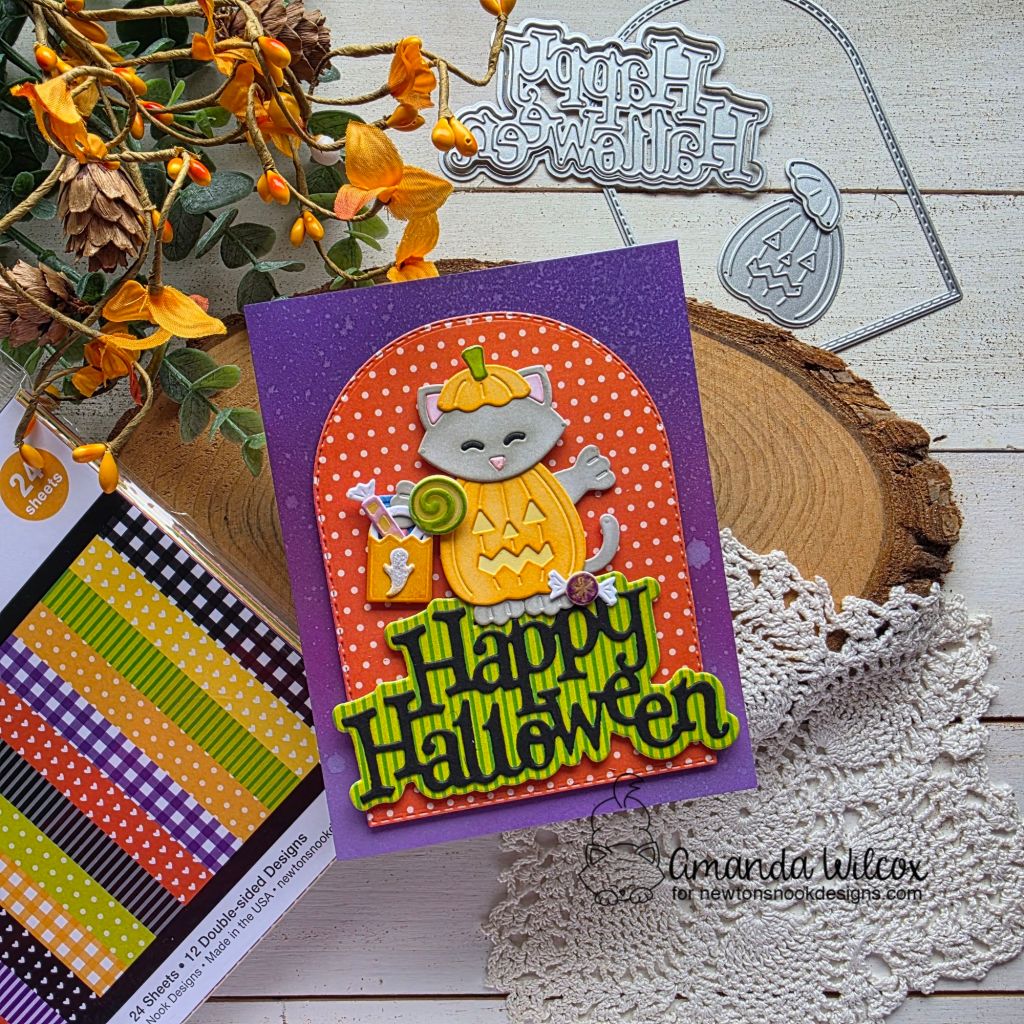
Seriously! We have spiderwebs and sentiments, plus a new paper pad and to top it all off, accessories for the new cat and dog builders! OMG they’re so fun!!!

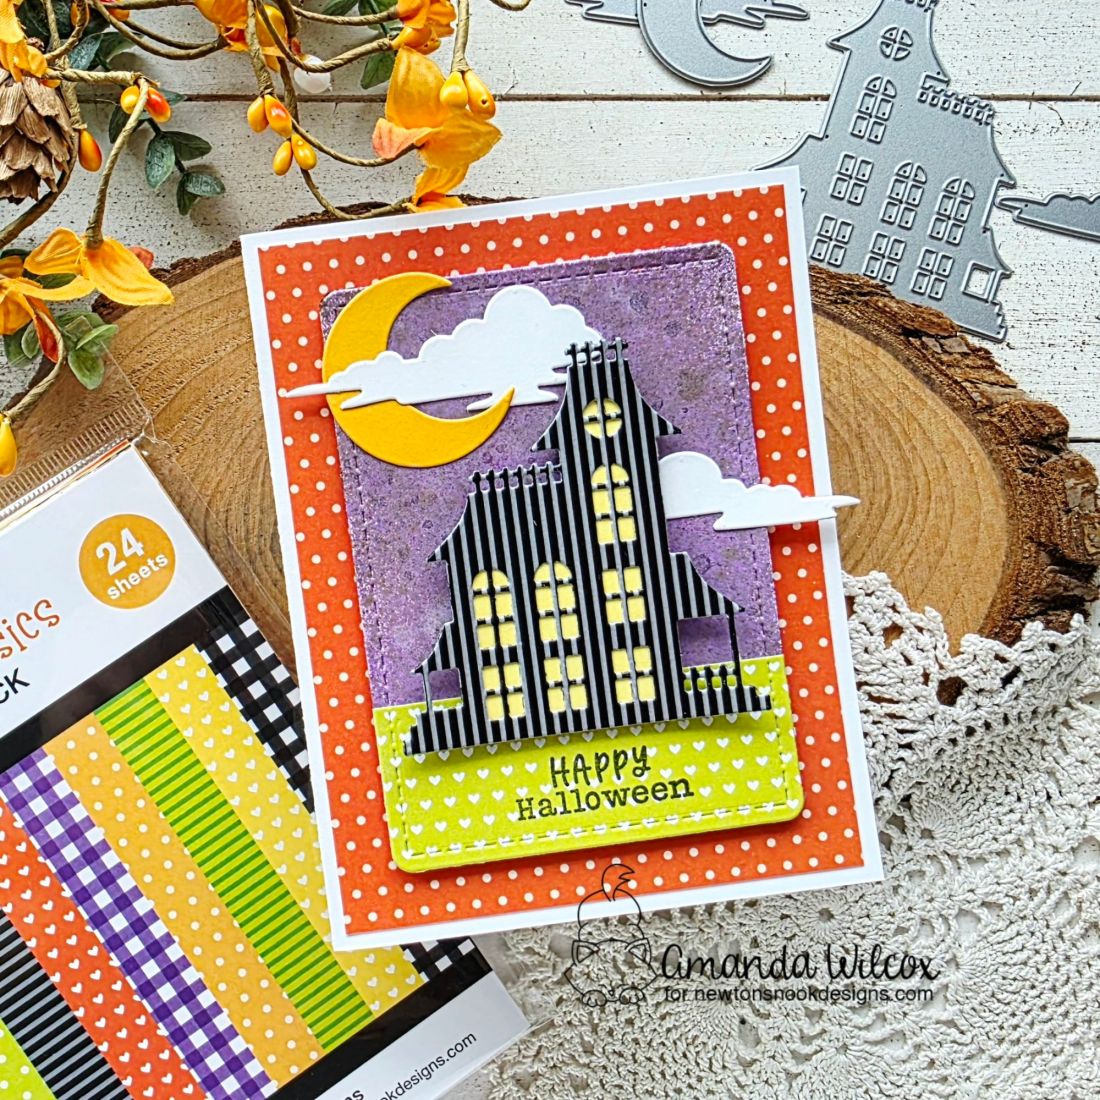
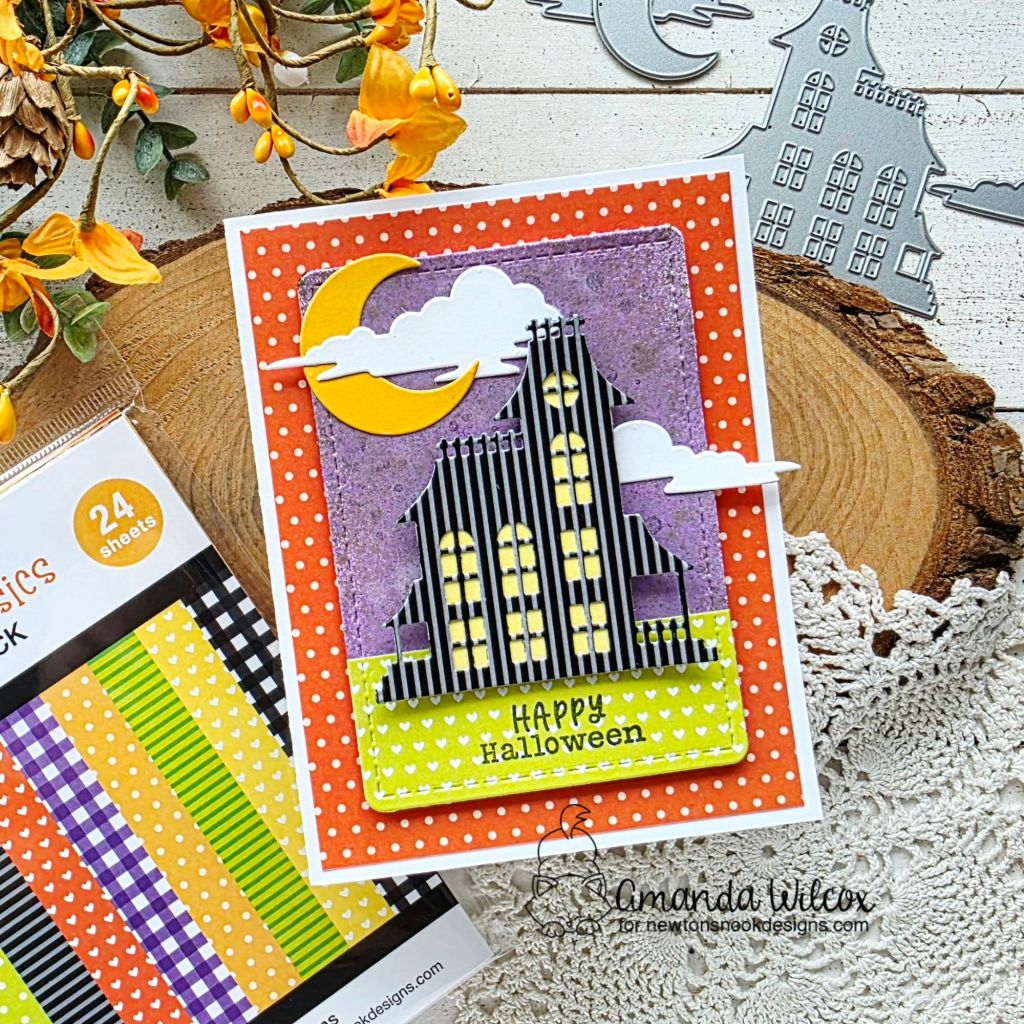
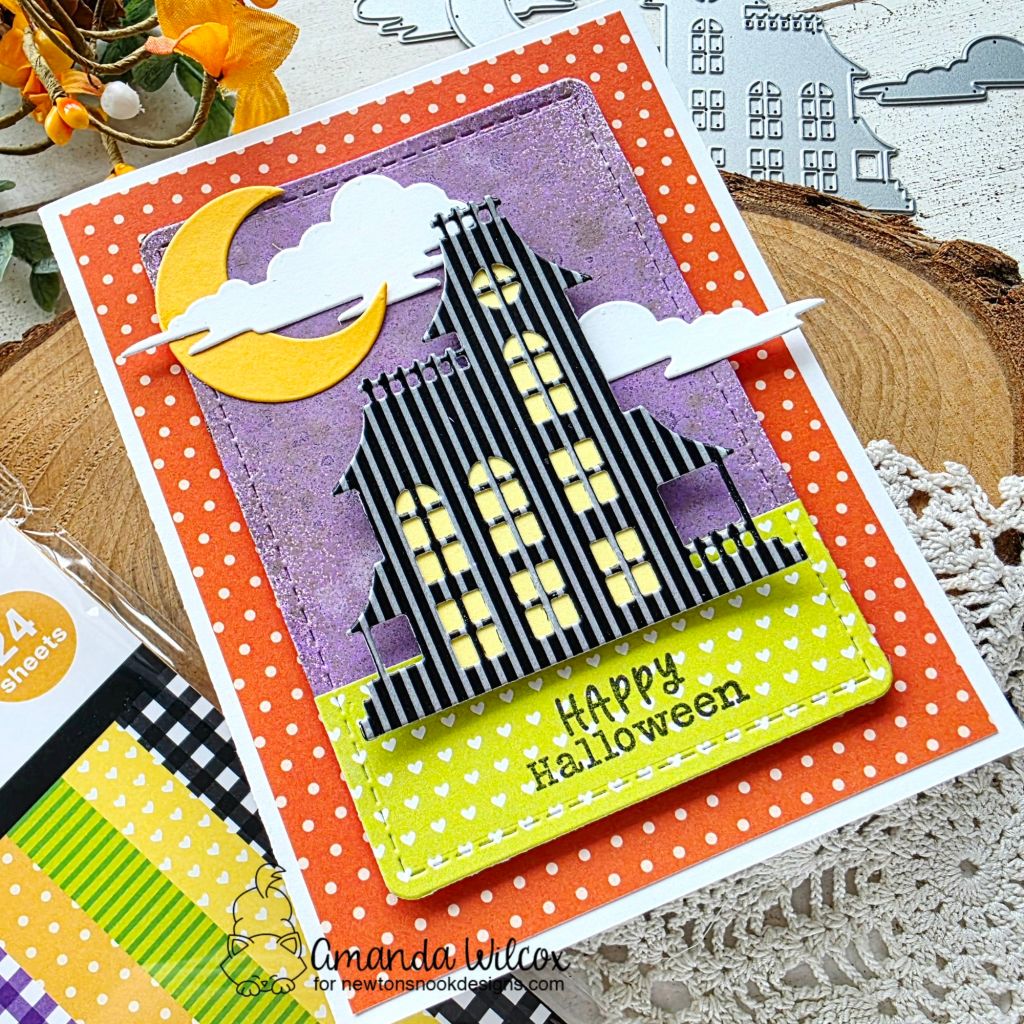
Since I didn’t have the new dies when I was orinally designing for this week, I went digging and played with older Halloween goodies to give the new paper pad a try. Isn’t this haunted house so fun with the stripes! It’s giving Addam’s Family for me and I’m not mad about it.

The sky portion of my background was created with distress oxide and spritz sprays. It makes for fun texture and shimmer in the end. My sentiment was borrowed from the Trick or Treat Newton stamp set.

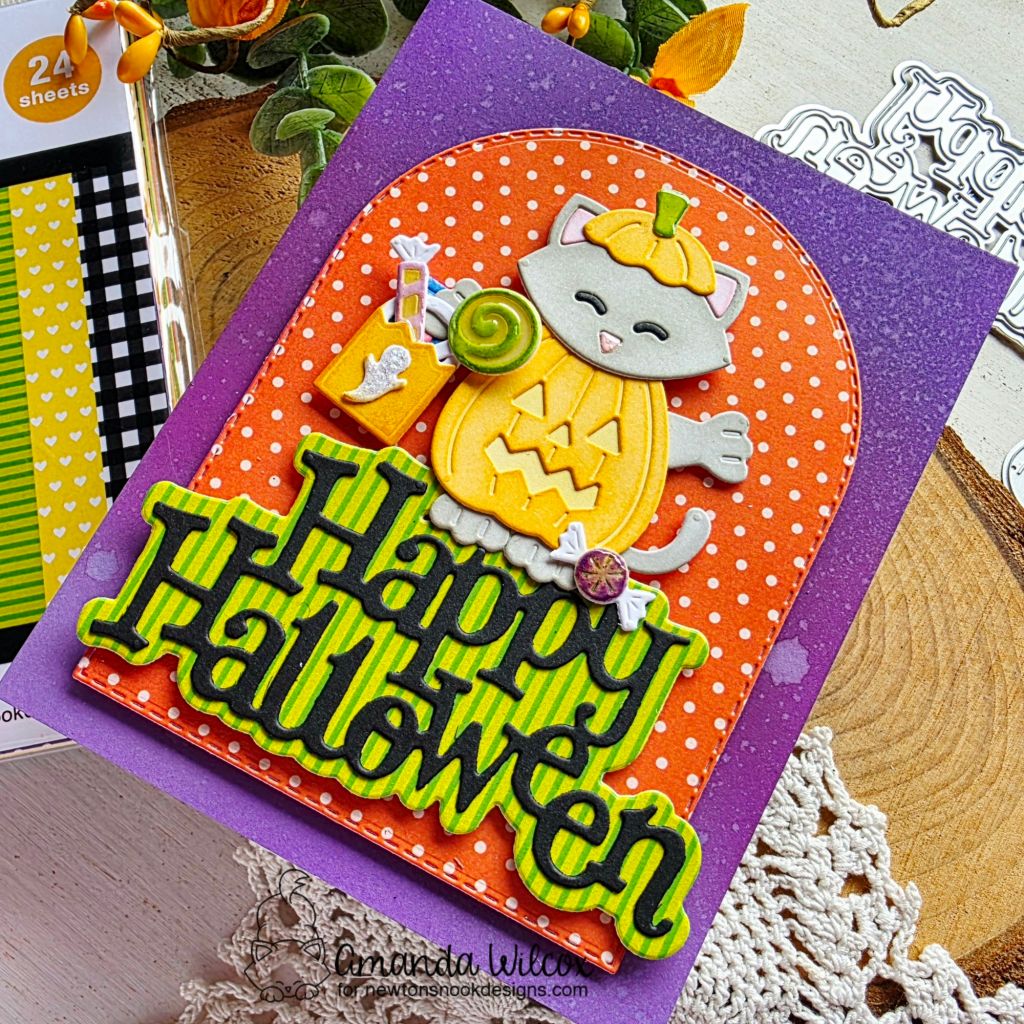
My dies came and I couldn’t resist playing immediately so I had some inspiration to share with you! Here is a fun card featuring the new Halloween Accessories on the Cat Builder! Eeeekkk!

I pulled the paper pad back out and paired it with the Arched Frames and one of the new Halloween sentiments too! Everything is popped up with foam tape and squares like I do and it just makes it so fun!

For finishing touches on this card, I added glossy accents the the kitty nose and bits of the candy pieces.

Check out the Design Team Blogs for  more inspiration and featured project details:

Newton’s Nook Designs
Larissa Heskett
Donna Idlet
Rosie Lopez
Samantha Mann
Diane Morales
Amanda Wilcox

I appreciate you sharing your time with me. Have a fabulous day!
Newton’s Nook – September Release Reveals Day 1

Hi friends! I’m excited to be back with another Newton’s Nook release week reveal post! This time we have 2 days of reveals – so much good stuff – and release day is on Thursday! So buckle up, here we go!

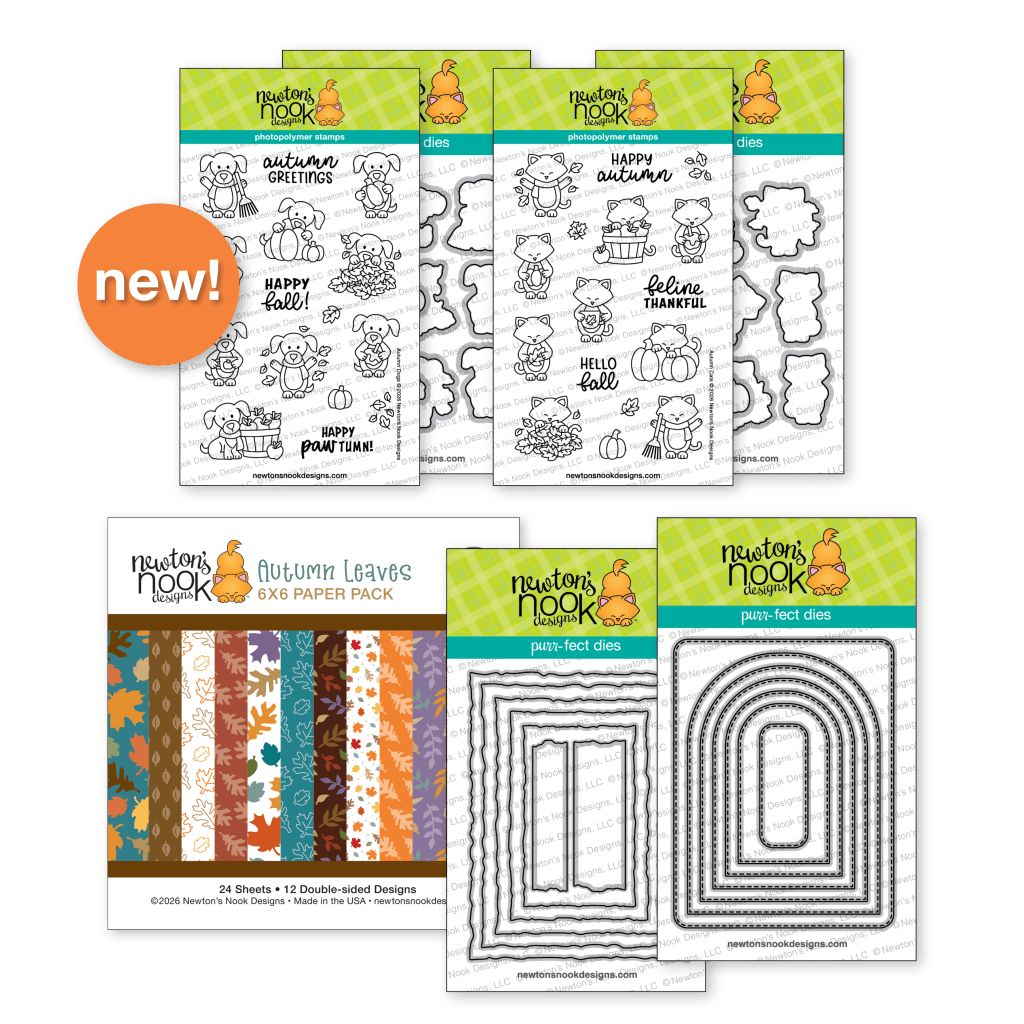
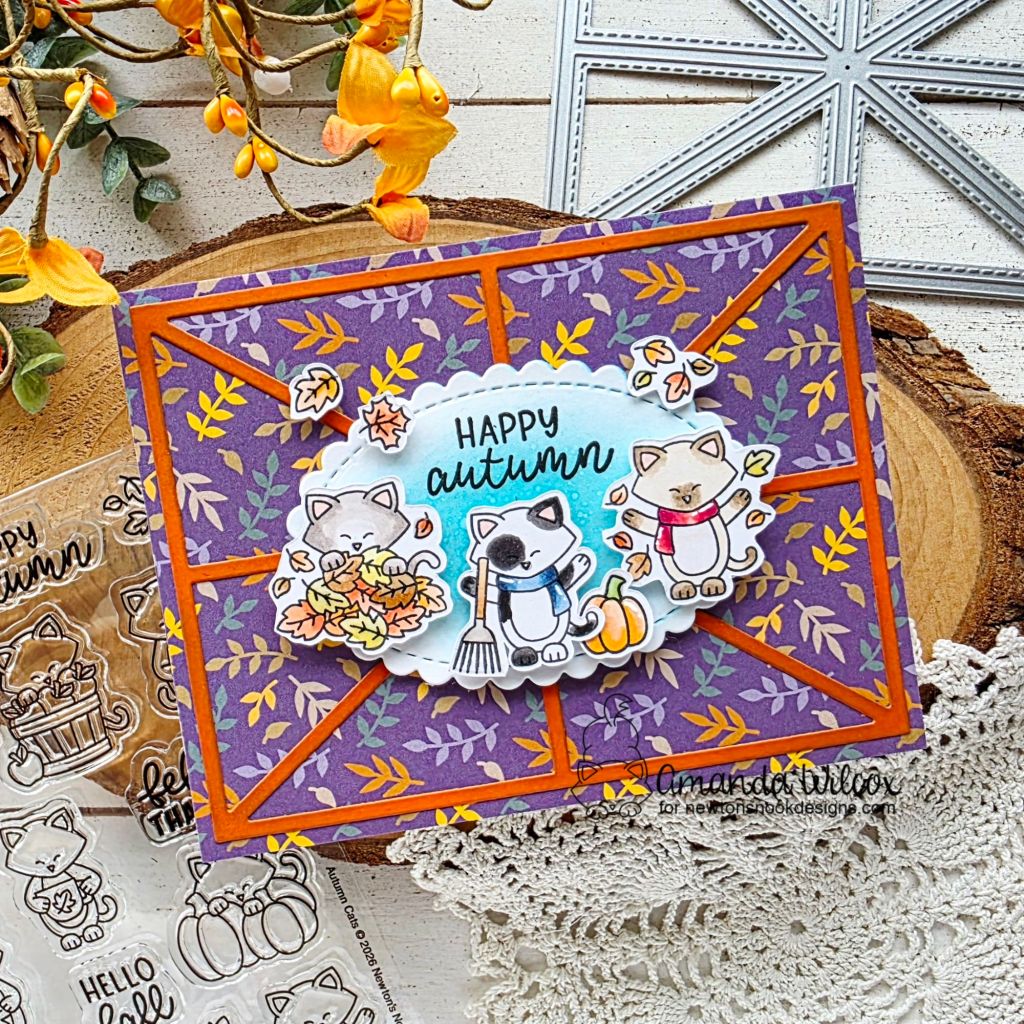
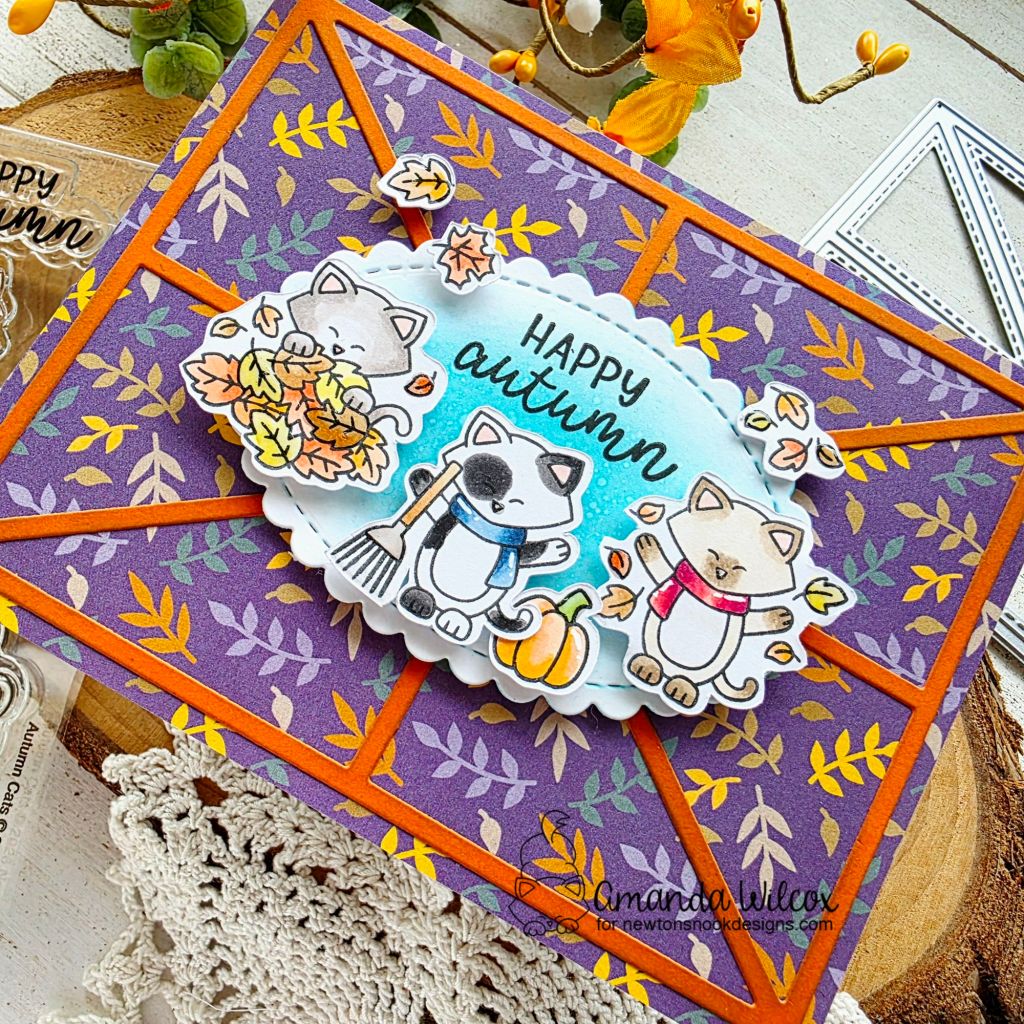
Phew! Today we’re revealing two new stamp and die sets – Autumn Cats and Autumn Dogs, plus Autumn Leaves paper pad – swoon, plus Arched Frames dies and Torn Edge Frames dies! Now, distributers were slow so I didn’t have all the dies when creating for this so bear with me – all of us really. We did our best!

First up we have a little taste of the Autumn Leaves paper pad and Autumn Cats having fun in the fall leaves! Aren’t they super cute!?! I added the frame from the Card Layout 5 die for a little texture on the background to break up the patterned paper. It gives a great focus to the center.

I popped my scalloped over up with foam tape and popped the images up off that too. You all know by now that I love dimension. I can’t help myself. Finishing touches on this one are glossy accents for all kitty noses and white gel pen highlights on the images. Then I came back and added glossy accents on random leaves throughout the images. I just couldn’t help myself.

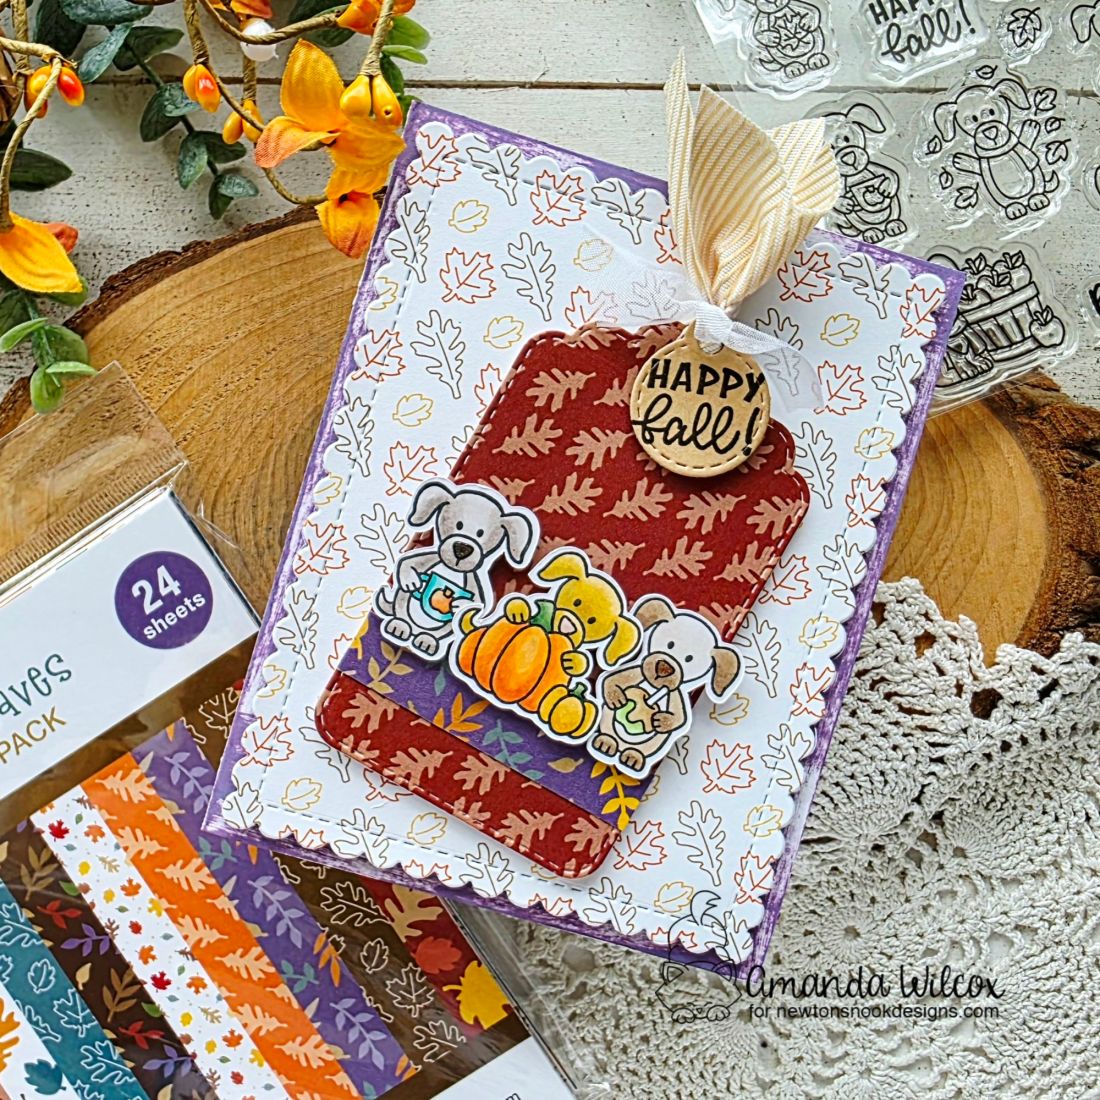
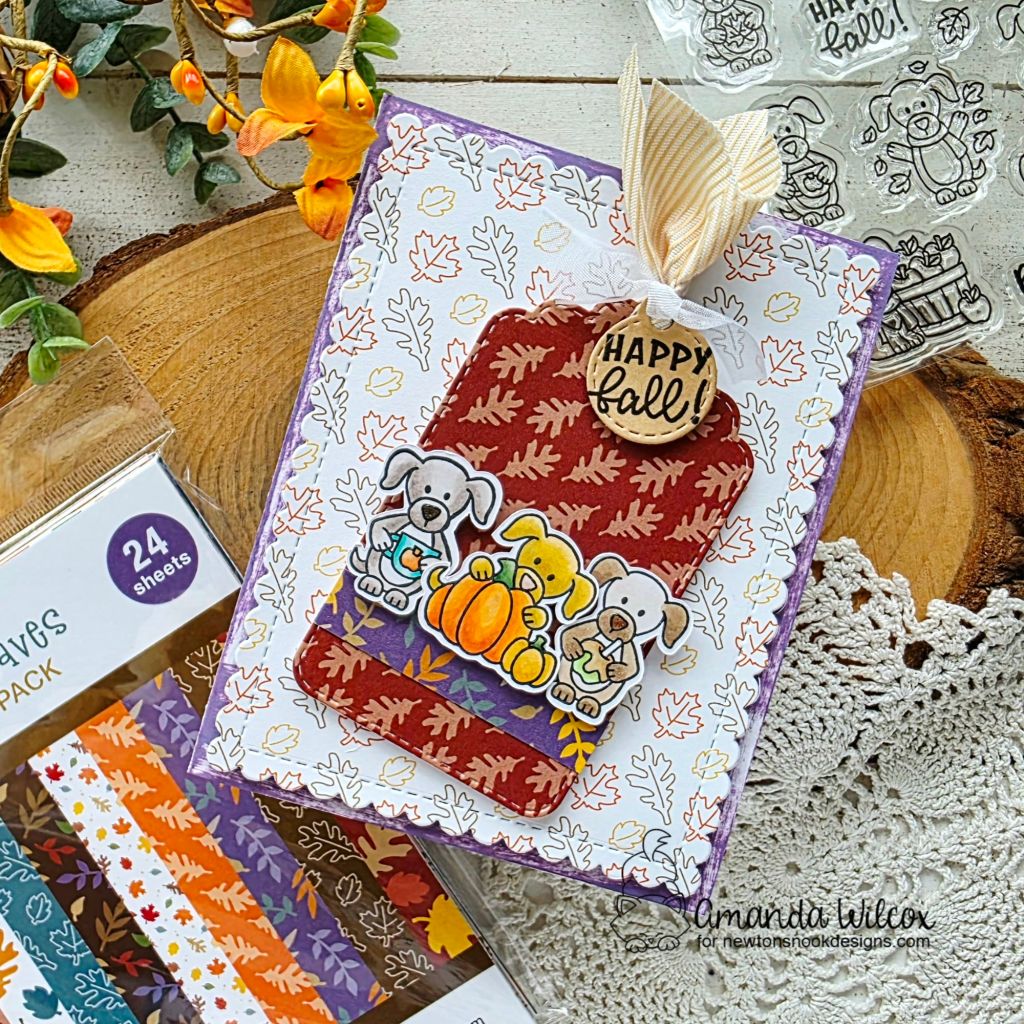
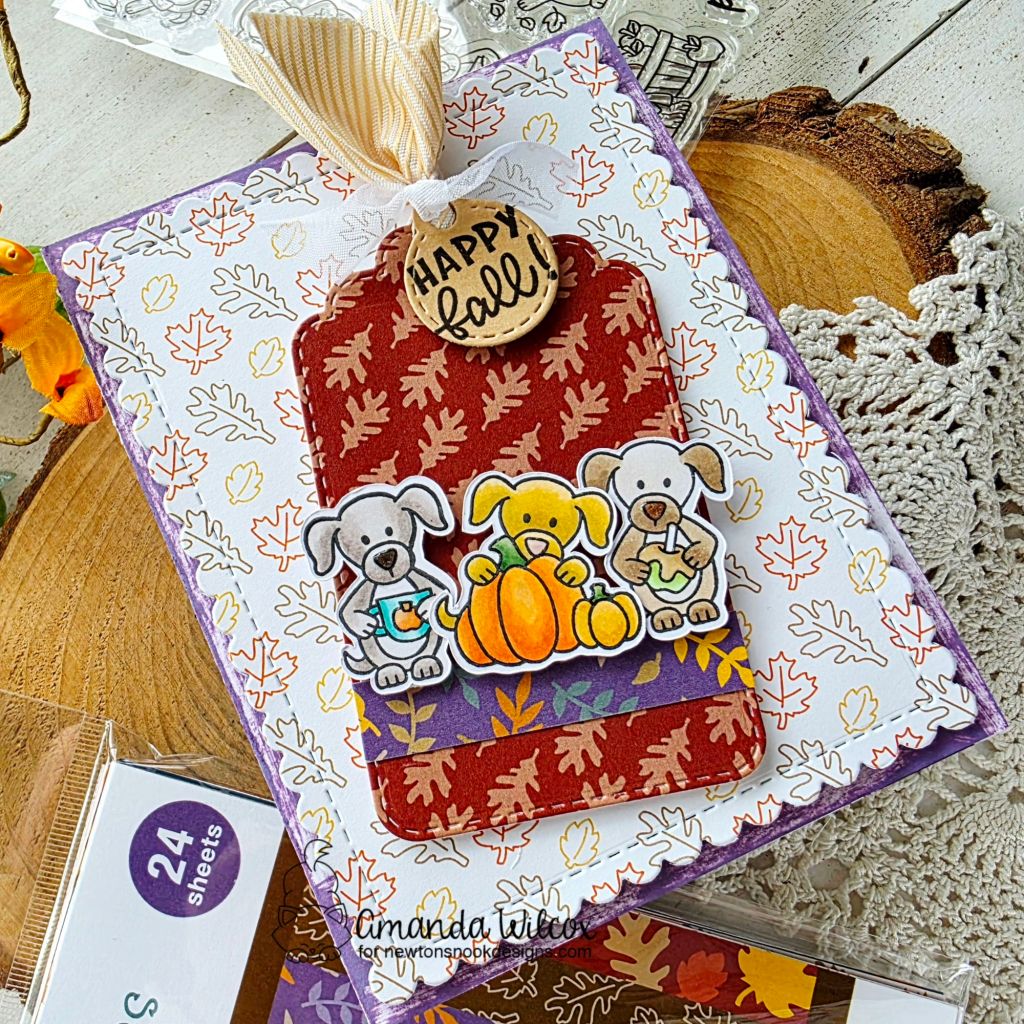
For my Autumn Dogs inspiration, I pulled out the paper pad again because it’s packed full of such different patterns, who can resist!? Not it. The dies I used were the largest Frames & Flags scalloped rectangle with the tags from the Essential Tags die set.

I took a distress oxide dusty concord ink pad direct to my card base for the textured purple edge and then popped everything up layer by layer with foam tape and squares. Finishing touches here were just glossy accents on puppy noses, coffee mug, pumpkin stems and caramel on the apple.

Check out the Design Team Blogs for  more inspiration and featured project details:

Newton’s Nook Designs
Larissa Heskett
Donna Idlet
Rosie Lopez
Samantha Mann
Diane Morales
Amanda Wilcox

I appreciate you sharing your time with me. Have a fabulous day!
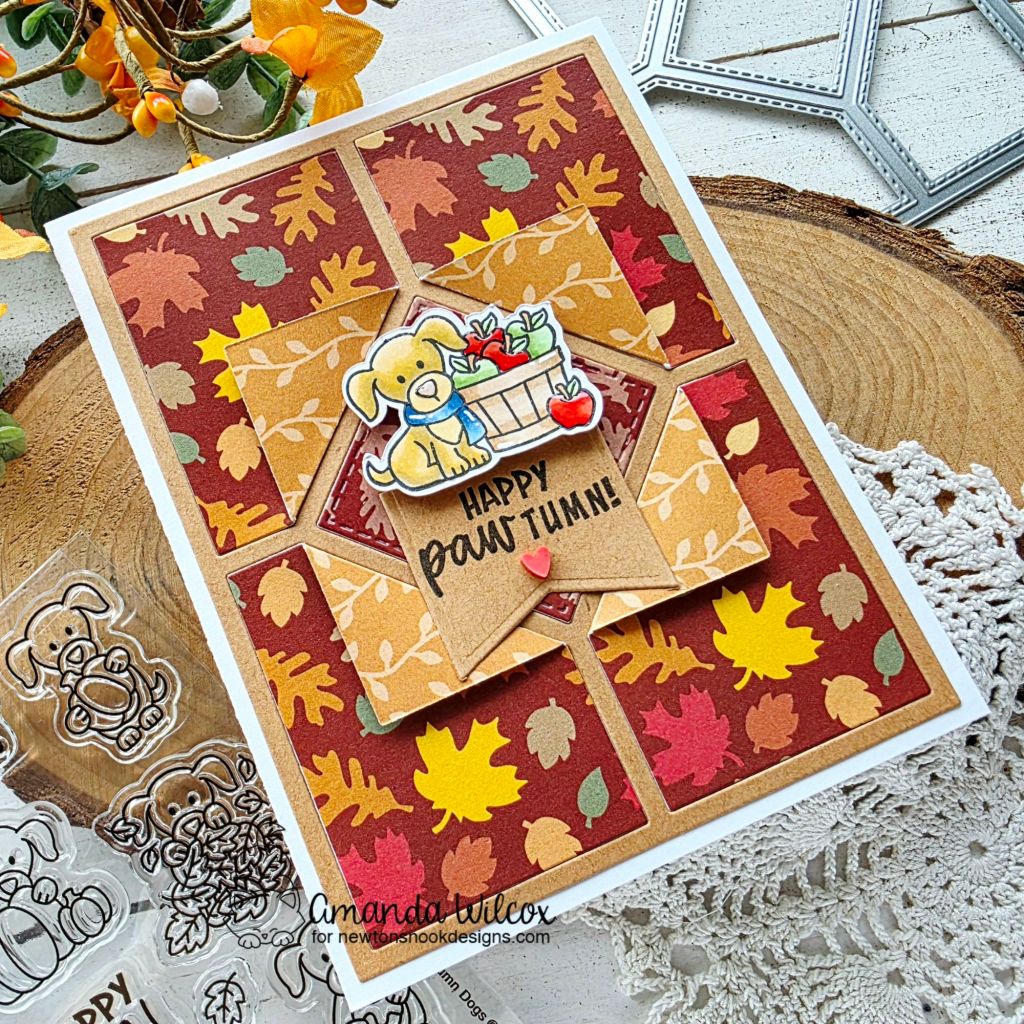
Mama Elephant – Stampede Day 2

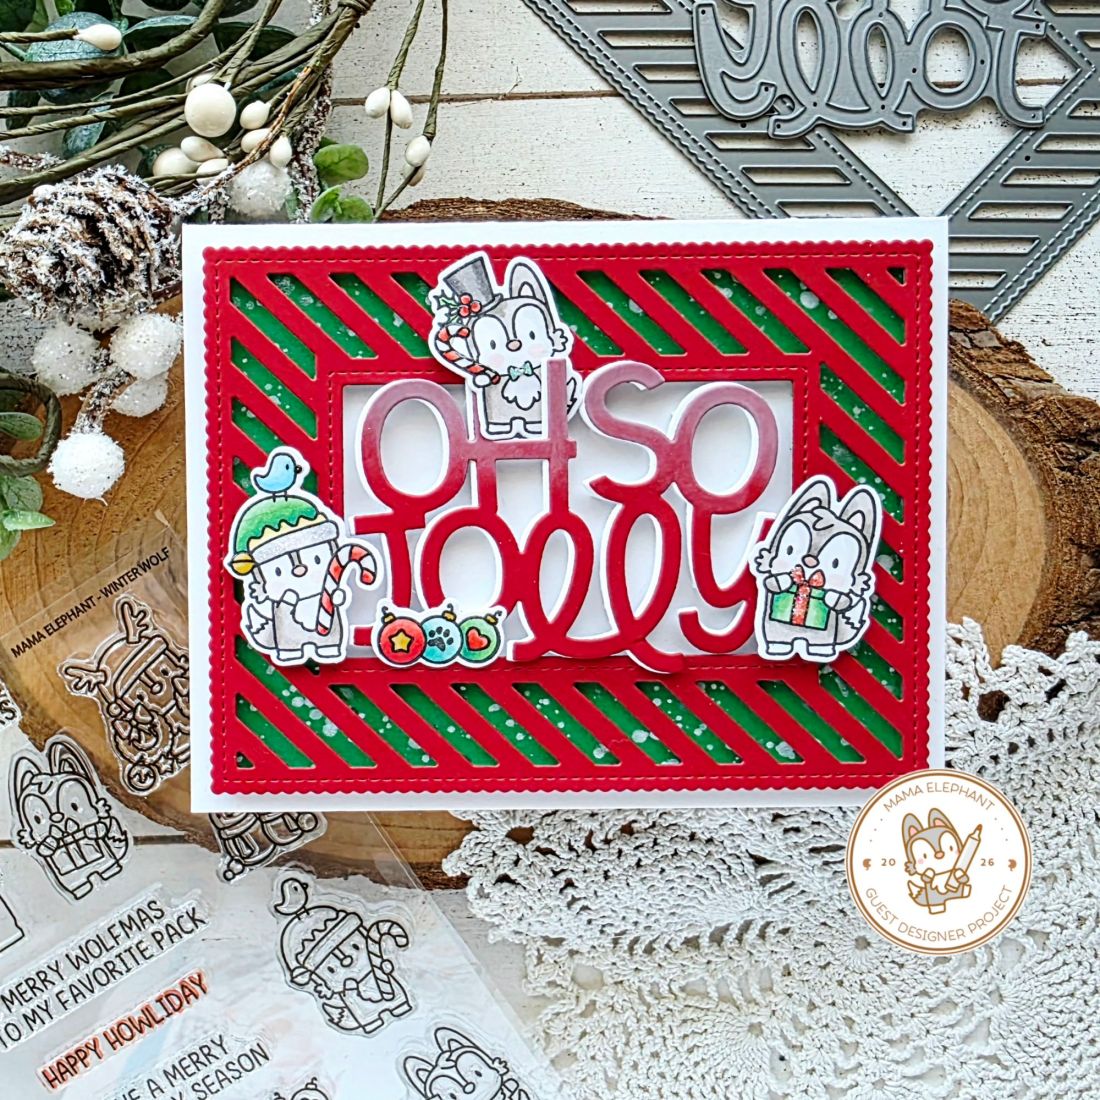
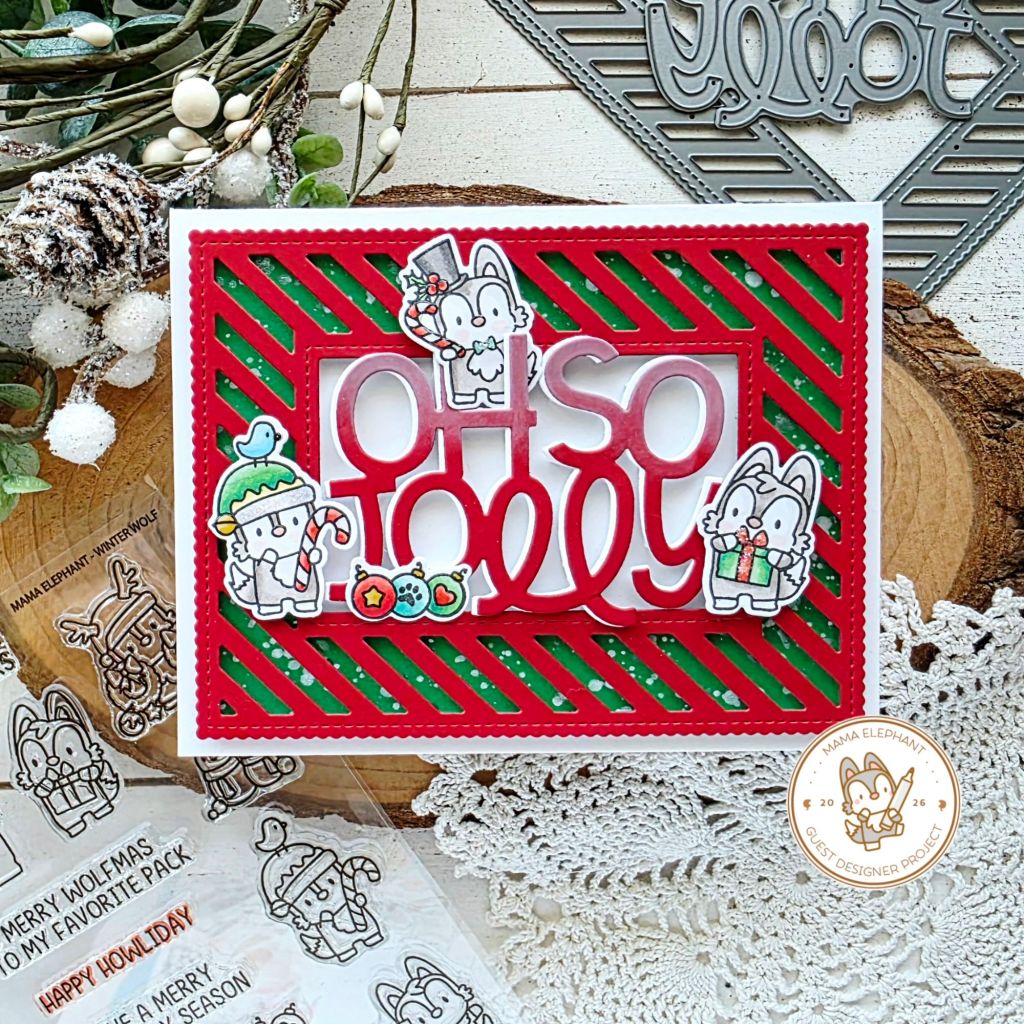
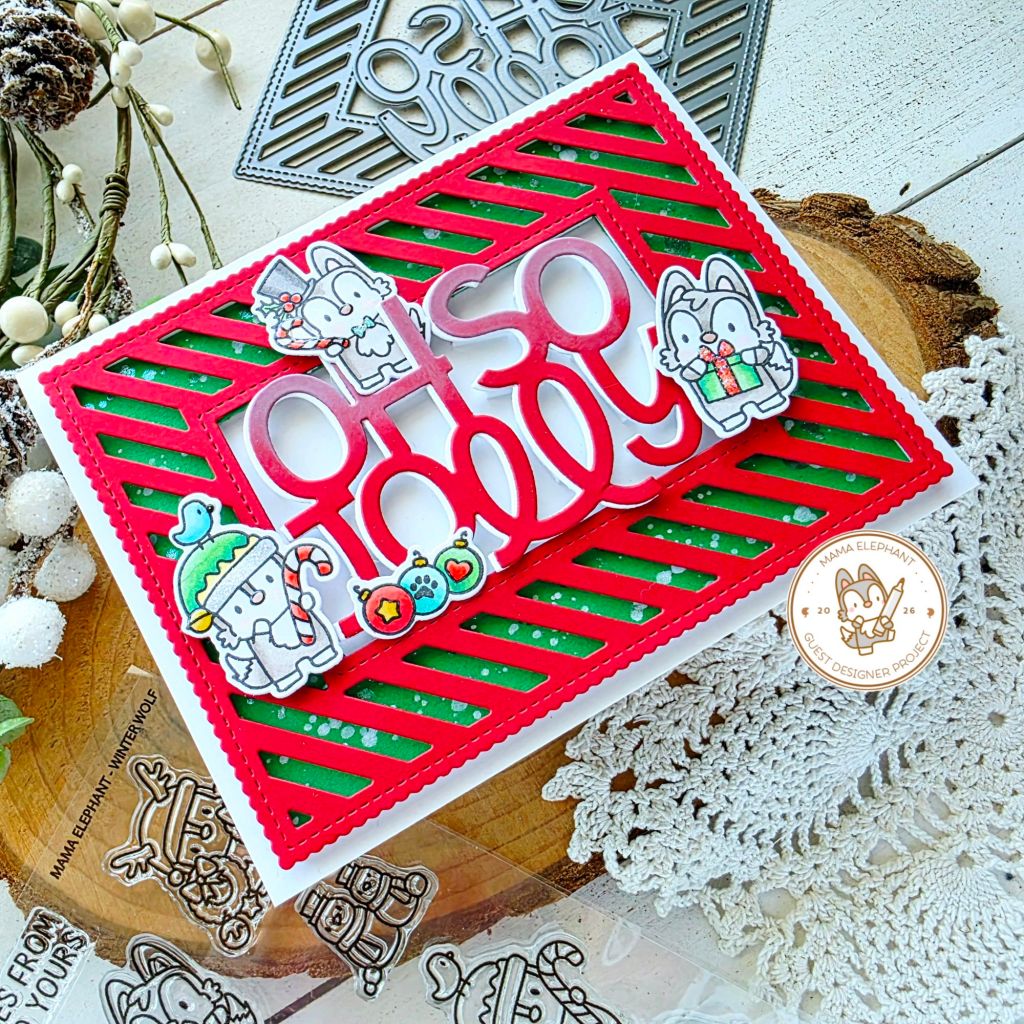
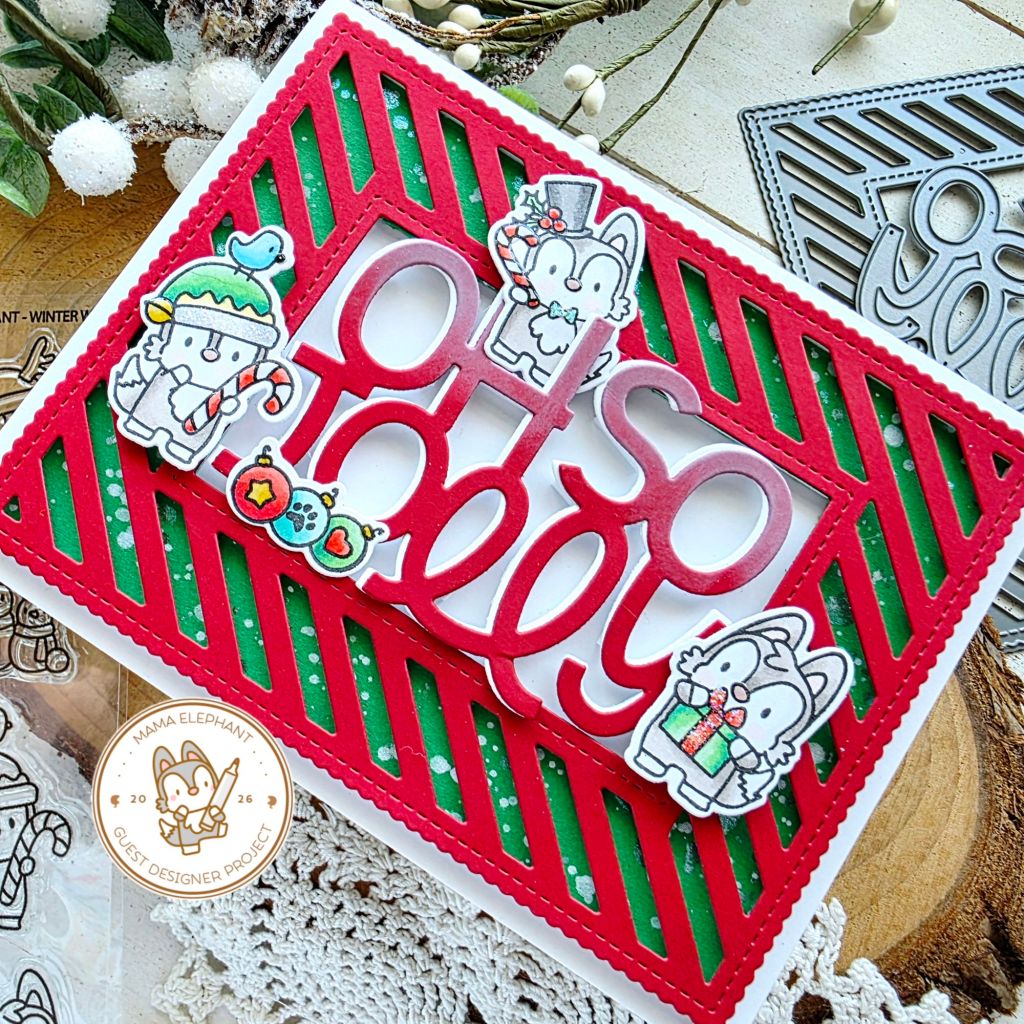
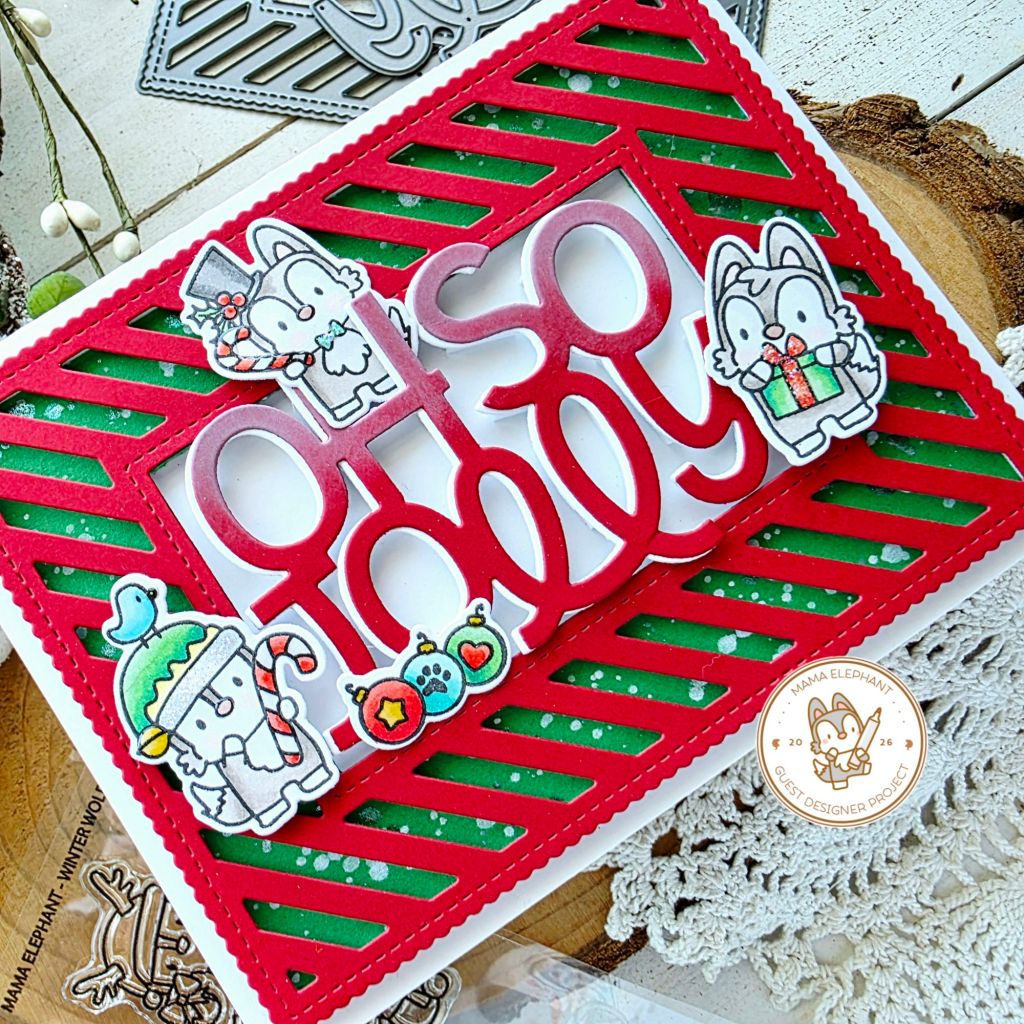
Hi friends! I’m so excited to be included in the Mama Elephant 14th Anniversary Release festivities! Today is day 2 of the release Stampede and I’m here with a card featuring the new Winter Wolf stamp set.

I started by stamping and coloring images from Winter Wolf with my copic markers. Then I used the coordinating dies to cut them out. I had a different layout in my head but sometimes reality changes those ideas. So I went digging in my stash and came up with the Oh So Jolly sentiment die that goes great with the frame from the Sweet Shoppe Frame dies.

I cut the frame and sentiment from red cardstock. Then trimmed a piece of green cardstock to back my frame with. I splattered it with unicorn watercolor before popping the frame up with foam strips. Then, I ink blended white pigment ink on the top of the sentiment to help it stand out before adding foam strips to that so it would lay on the same height as the frame.

The frame and sentiment are adhered to a white card base. Then the super cute wolves are squishing in and around that. They are adhered with a combo of liquid glue and foam squares depending where they are at.

For finishing touches I added glossy accents and stardust Stickles all around each of the images. You know I love sparkle and shine on everything!

Products used:
Winter Wolf stamps and dies
Sweet Shoppe Frame dies
Oh So Jolly die

Foam strips and squares
Glossy accents
Stickles – stardust
Liquid glue

Mama Elephant will be giving away five $25 Gift Cards per Stampede Day to a random commenter on Mama Elephant’s Instagram, Facebook or YouTube channel in addition to their sitewide sale and free gift promotion!

I appreciate you sharing your time with me. Have a fabulous day!
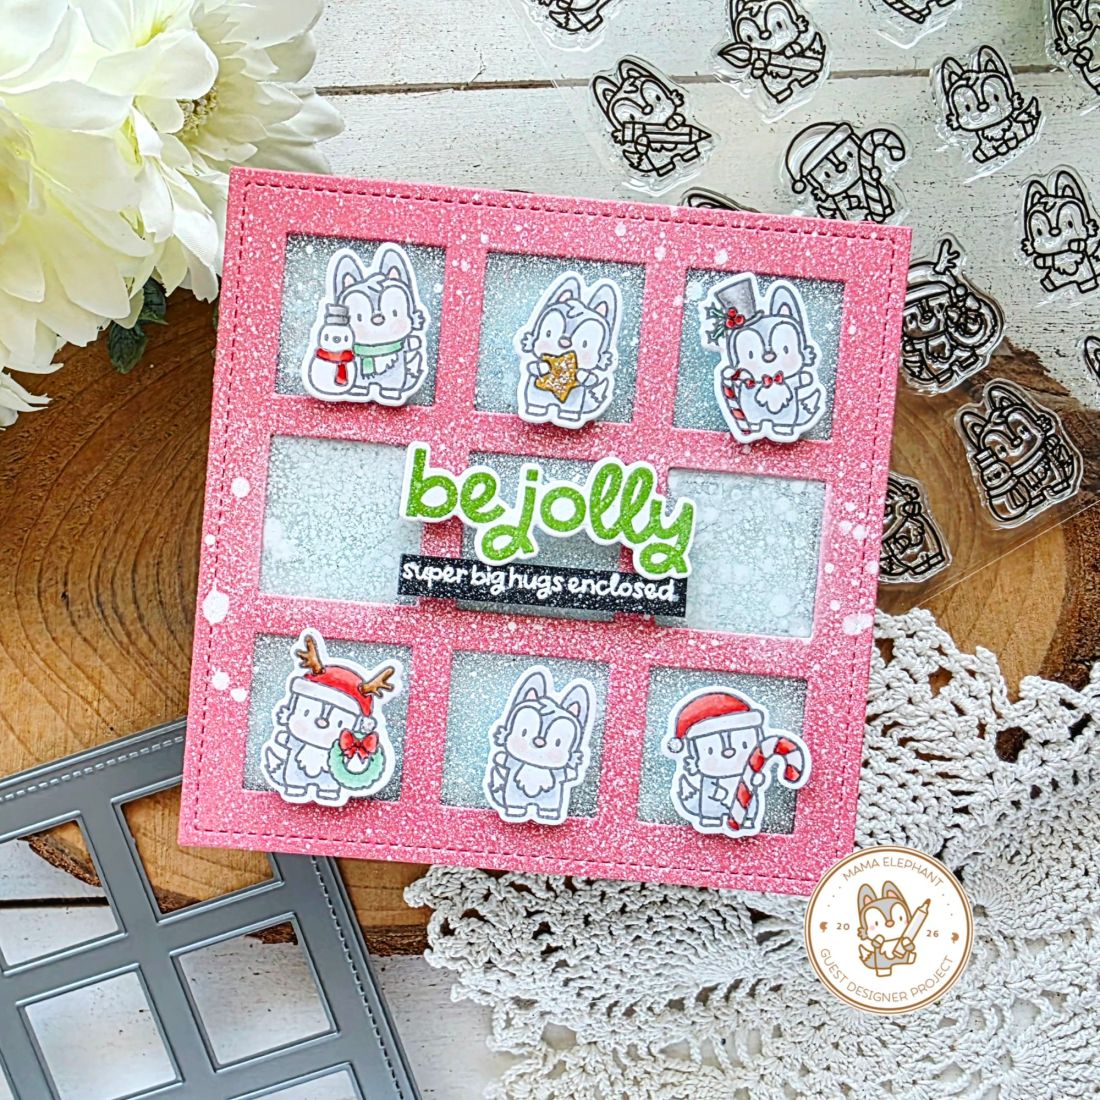
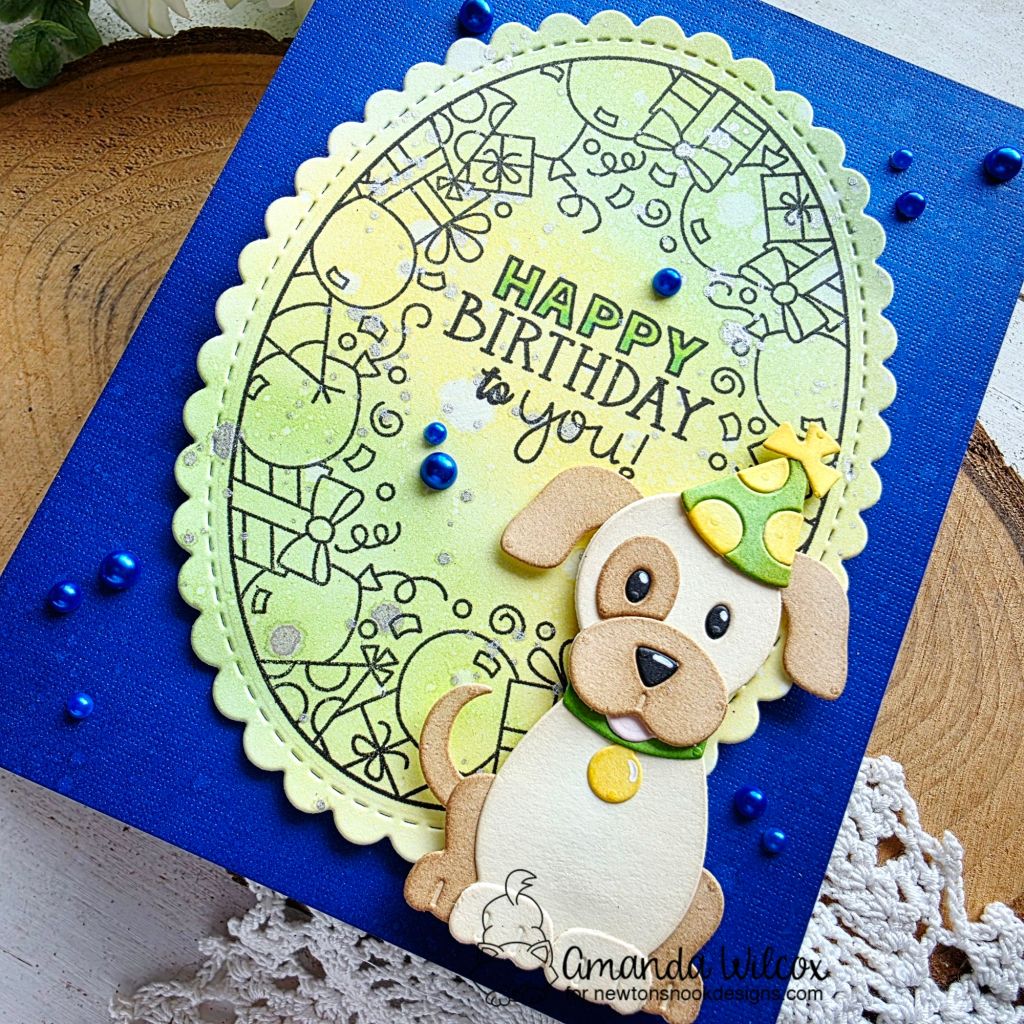
Newton’s Nook – Happy Birthday To You

Hi friends! I’m over on the Newton’s Nook blog today sharing more inspiration featuring the new release plus reinvigorating some fabulous older products! I love it when the new does that for the old. Let’s dive in!

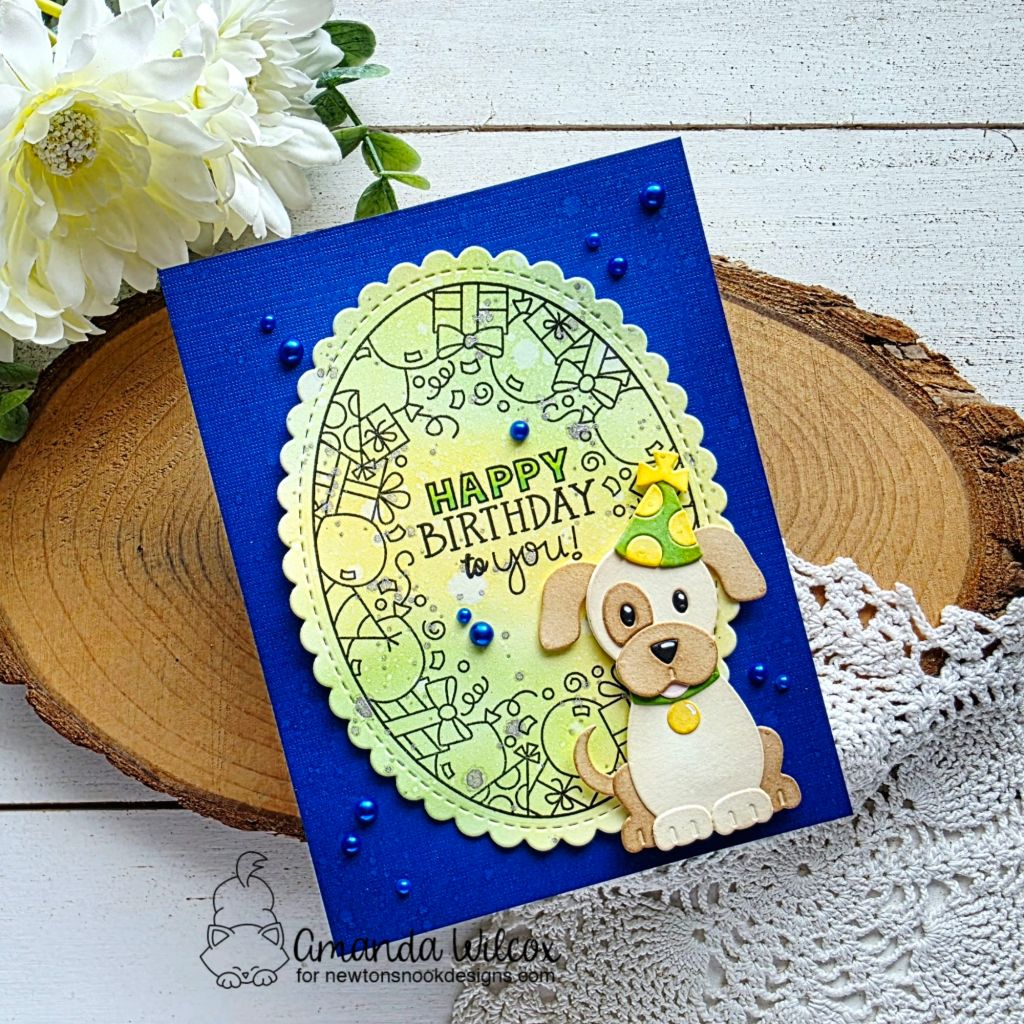
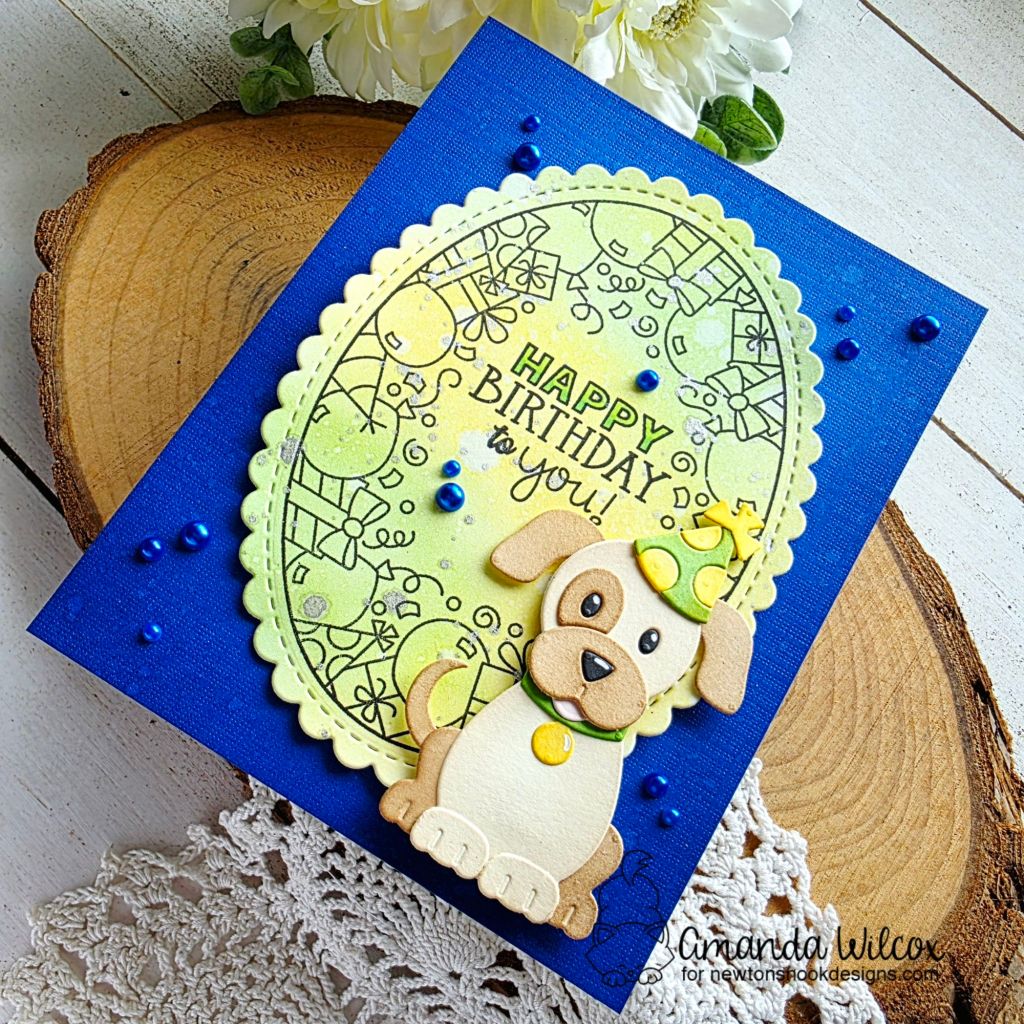
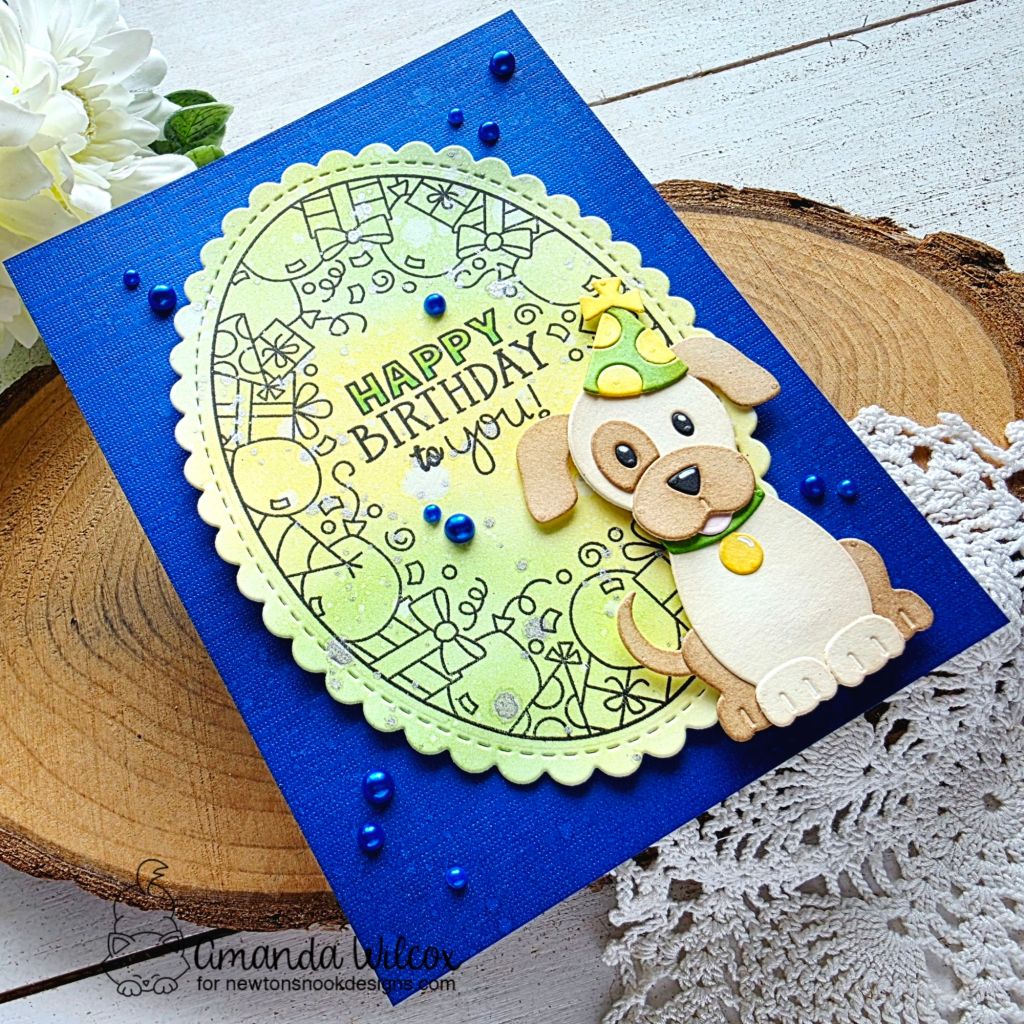
I started this card with the vision that my puppy would fit in the center of the Birthday Oval but when I physically had it all in front of me, the vision changed. Not a lot this time, but enough and I want to make space for everyone to remember that it’s okay to change your mind in the middle of the process. Go with your gut!

So using the guide on the packaging of the Puppy Builder dies, I die cut and ink blended all the pieces of my pup, including the collar and tag this time. I used liquid glue to assemble and then also cut a birthday hat using the Birthday Accessories dies.

Next, I haphazardly ink blended yellow and green (matching my pup’s accessories) on a white panel. I stamped the Birthday Oval image on it and die cut it with the next-to-biggest Oval Frames die. For a bold contrasting background, I cut a piece of blue cardstock and ink blended it a little deeper blue along the edges, spritzing with water for more visual texture.

At this point I was playing with placement and that’s when I really decided I didn’t like the puppy in the middle of the oval but a sentiment there with the pup on the side would be pretty perfect. So that’s what I did.

After the stamping was done, I used copic markers to color the open letters of “happy” and splattered silver watercolor on the panel. Once that dried I popped the oval up with foam tape and then did the same with the puppy.

For finishing touches, I added white gel pen highlights to the puppy eyes, nose and tag. Then I glued a scattering of blue pearls across the design for more bubbly texture.

Products used today:
Dog Builder dies
Oval Frames dies
Birthday Oval stamps

Blending brushes with yellow and green dye inks
Pearls – blue
Gelly Roll white gel pen
Liquid glue
Reverse tweezers
Watercolor – silver
Foam tape

I appreciate you sharing your time with me. Have a fabulous day!
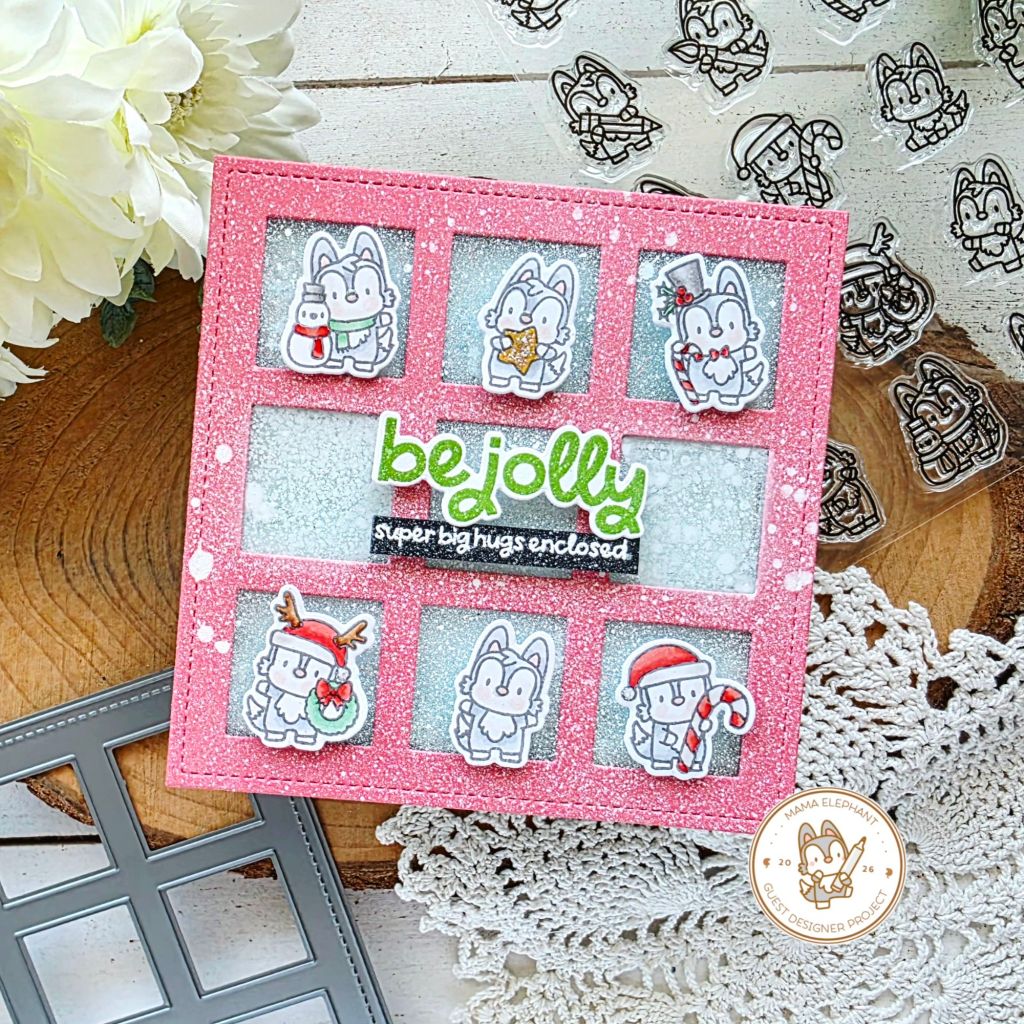
Simon Says Stamp – Stamptember Party

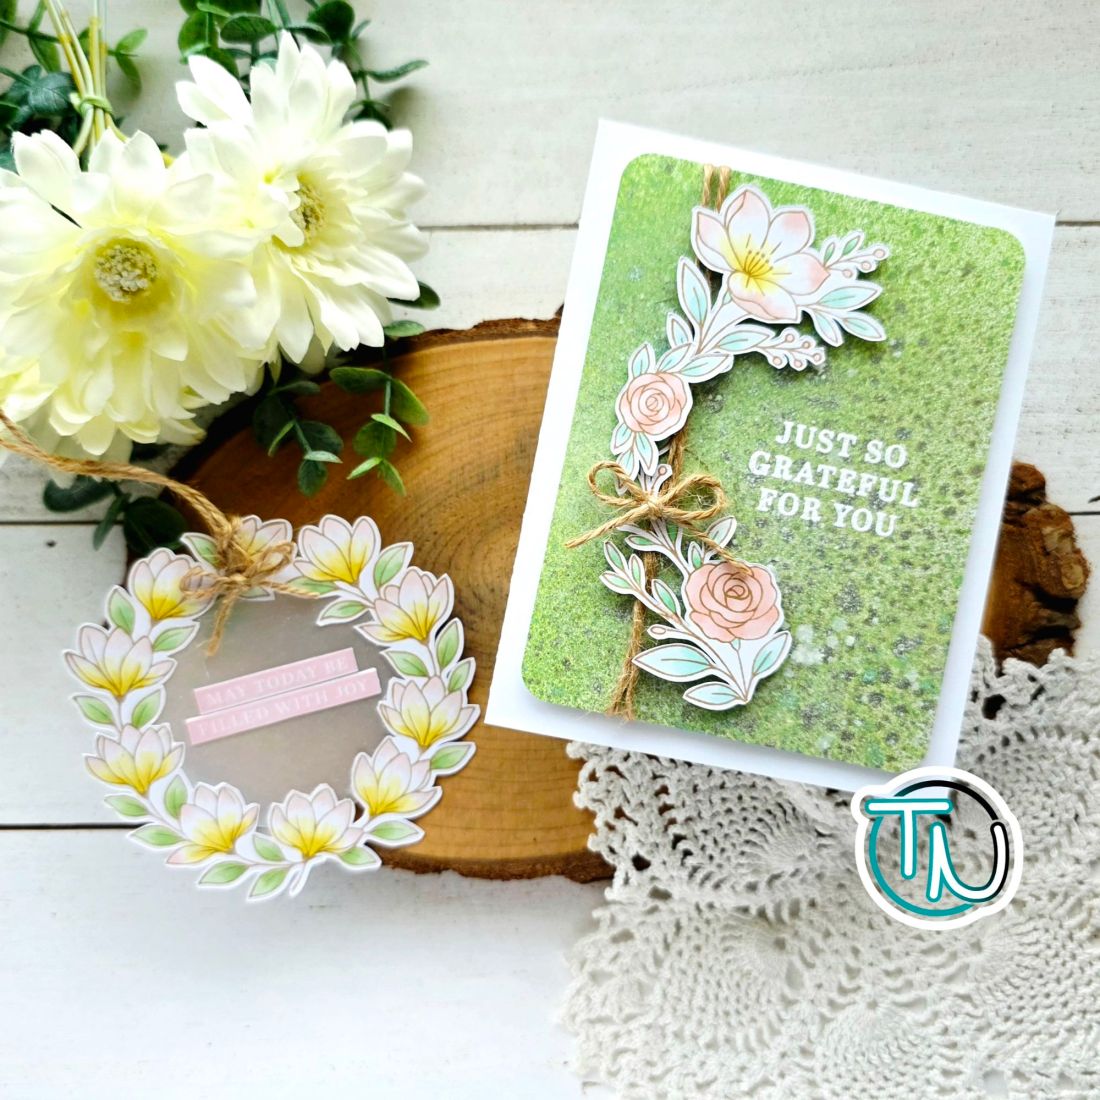
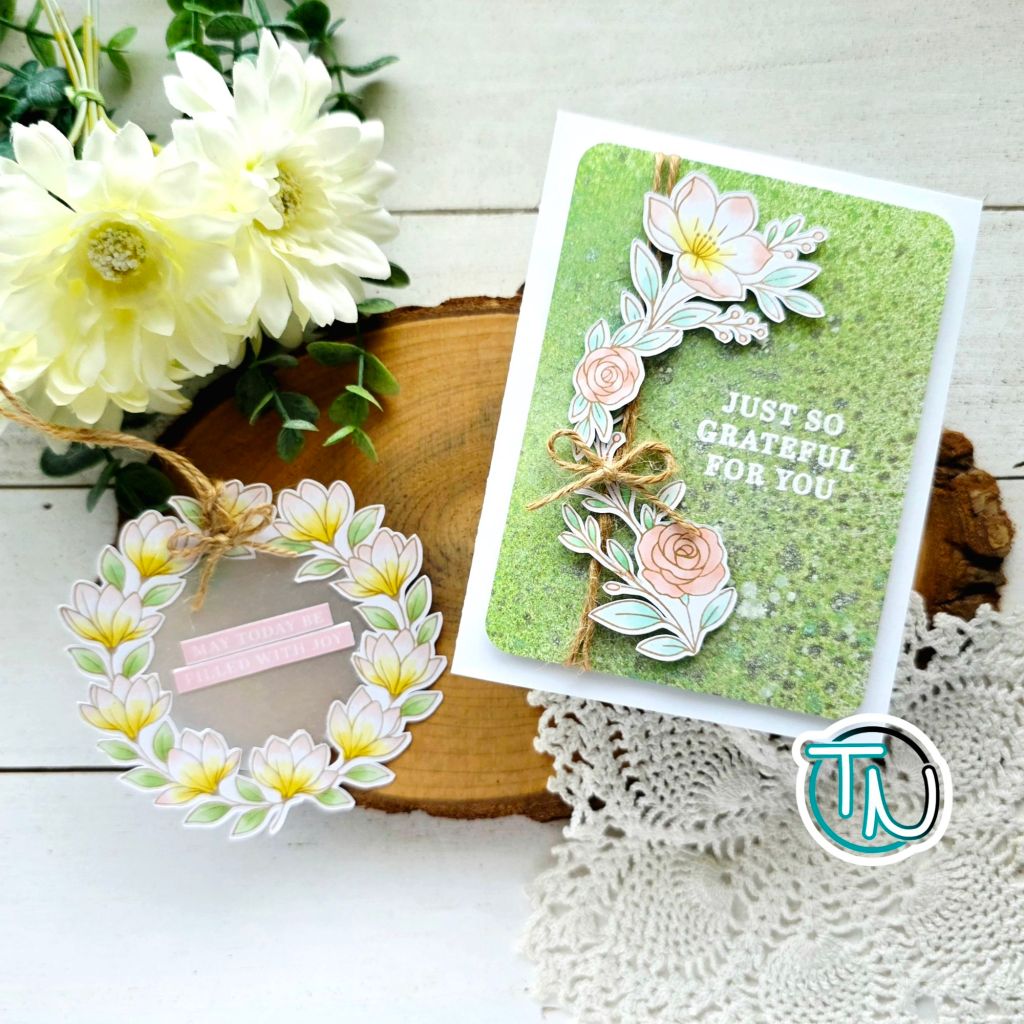
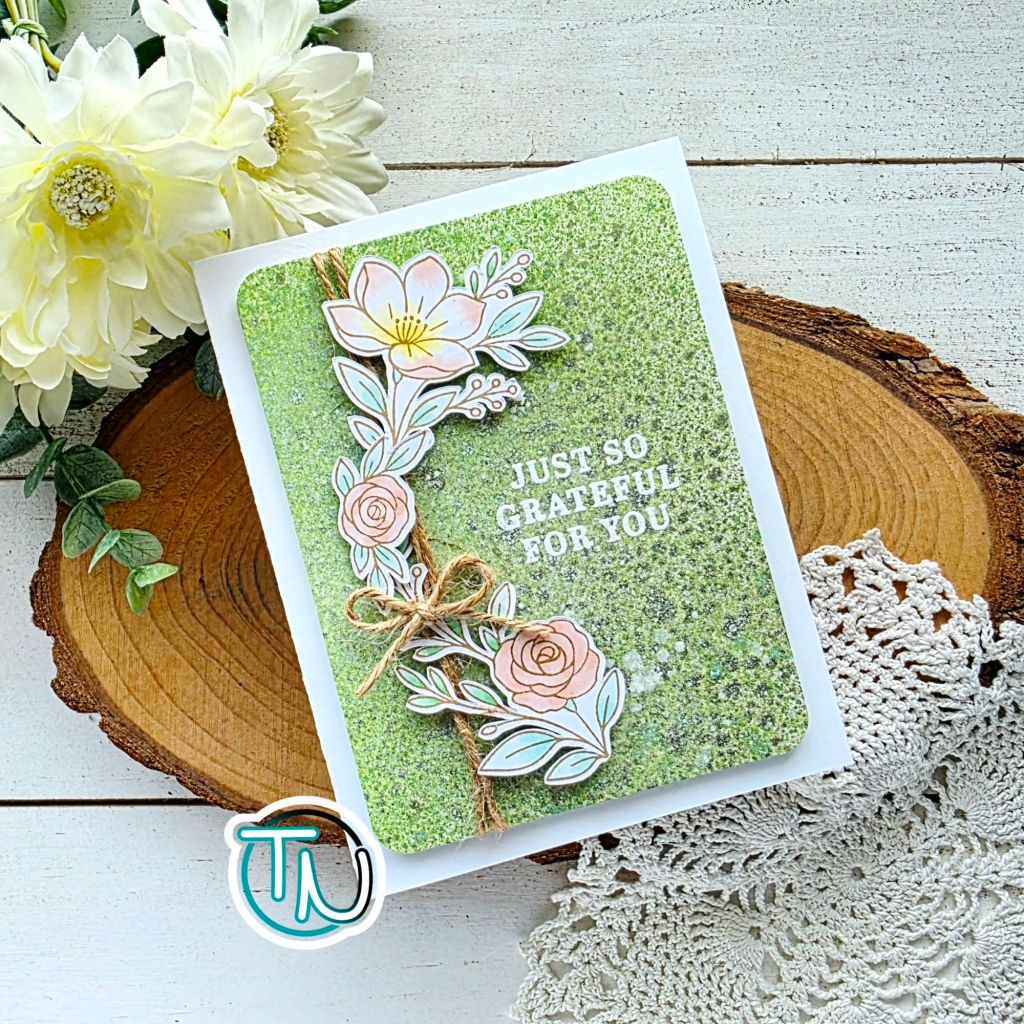
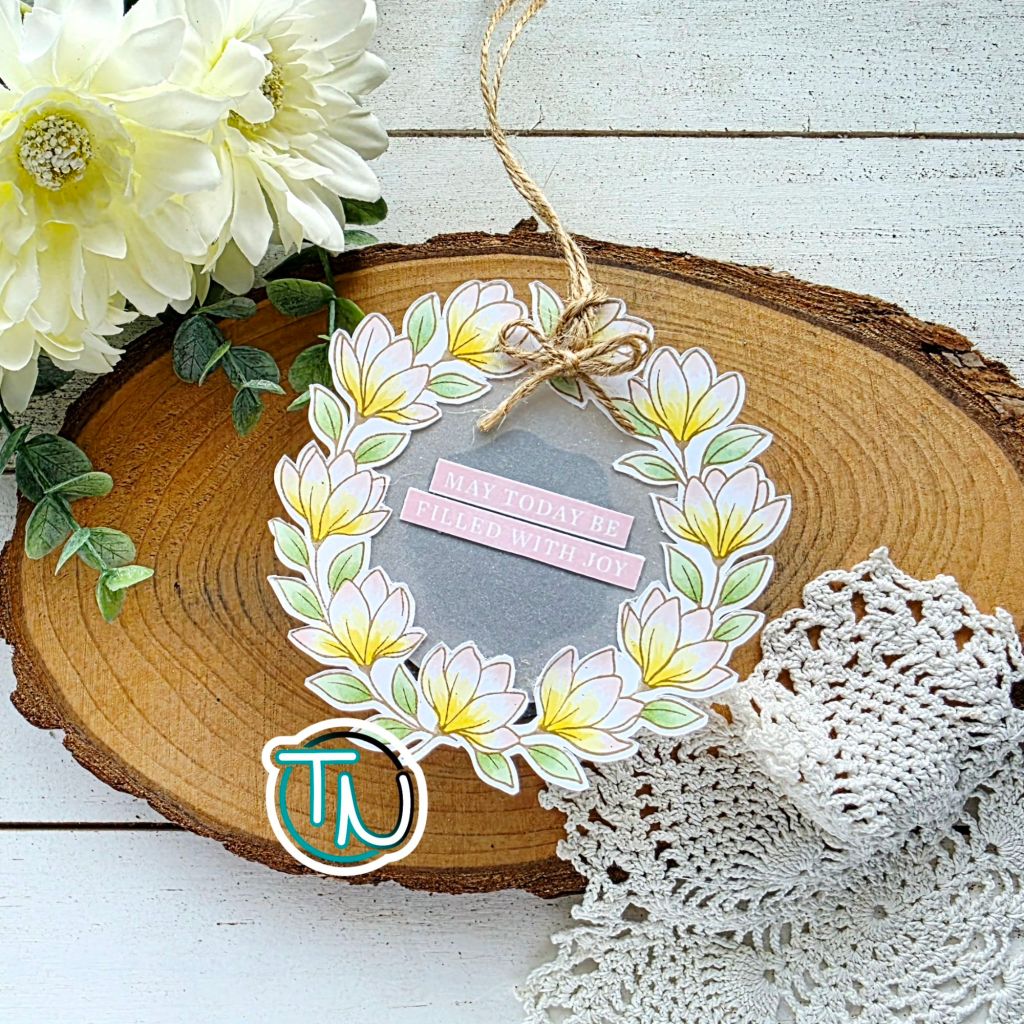
Hi friends! I’m here with a fun reminder that the Simon Says Stamp Stamptember Party is in full swing! I got to work with the new stamp set called Today and Every Day, which is a beautiful floral design with lots of great sentiments for a variety of occasions.

I created a card and a bag tag with the set. The wreath image was just calling for it, along with being turned into a shaker holder too. I still have to try that.

For my card, I stamped and colored images, using my scan-n-cut to cut them out. Then created a background with distress sprays – oxide, stain and spritz. I heat embossed my sentiment so it stood out and popped everything up, as usual. You know I love my dimension.

For the bag tag, I stamped and colored the image with copic markers and cut it out the same as the rest. Then I adhered a circle of vellum to the back with dry adhesive. Remember that liquid adhesive makes vellum ripple. I stamped my sentiment in a light pink ink to keep with the soft vibes and cut them into rectangles before adhering to the vellum center. I punched a hole to add the twine and covered that with a twine bow.

Check out the Simon Says Stamp Stamptember release HERE!

For a whole bunch of extra inspiration, check out the Simon Says Stamp special blog post HERE.

I appreciate you sharing your time with me. Have a fabulous day!
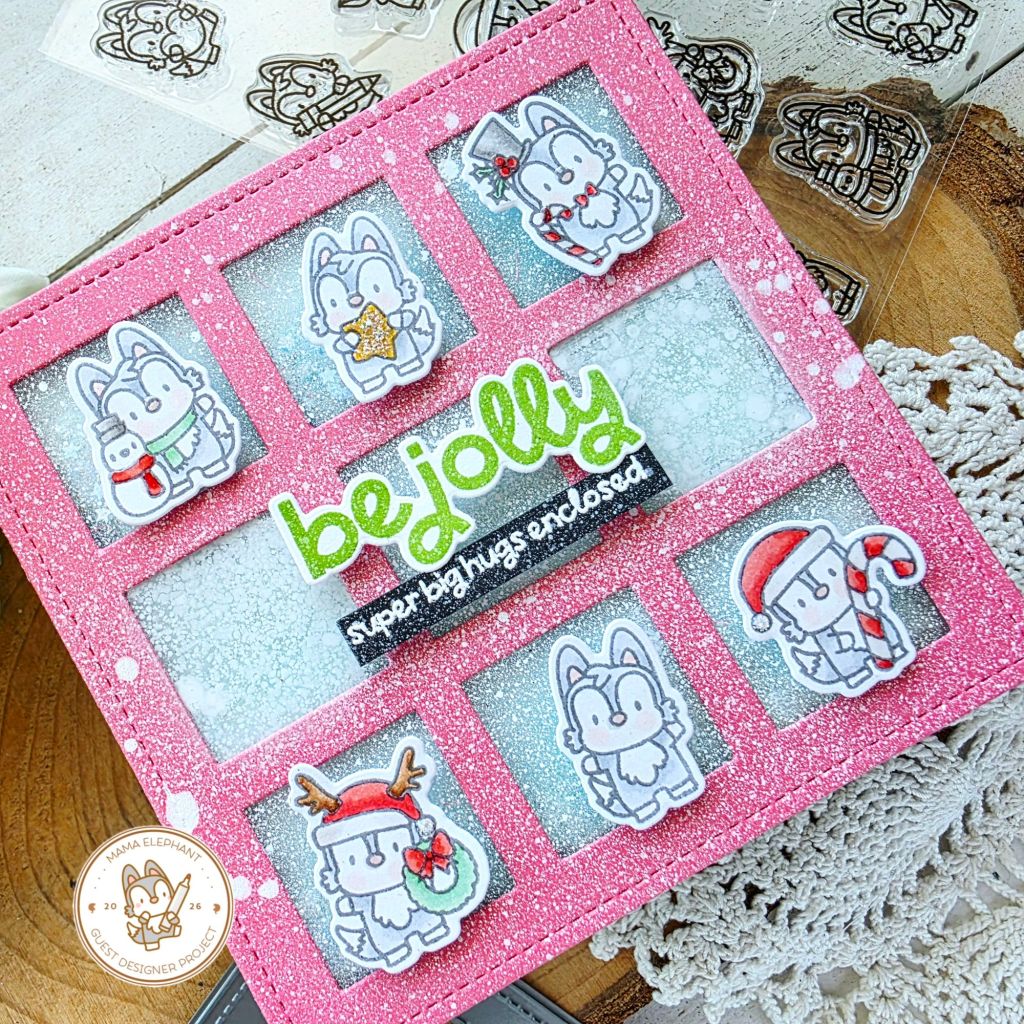
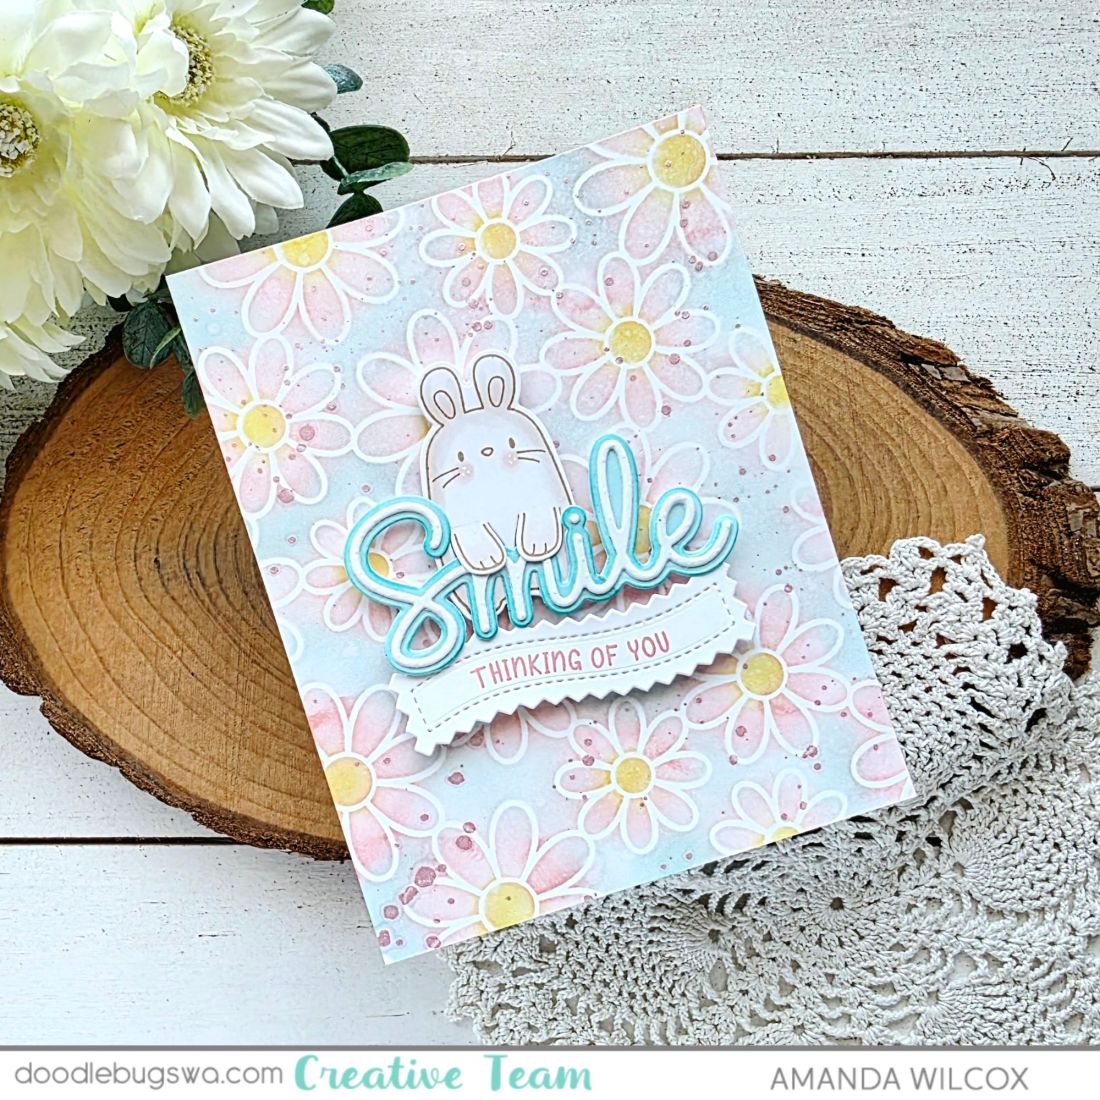
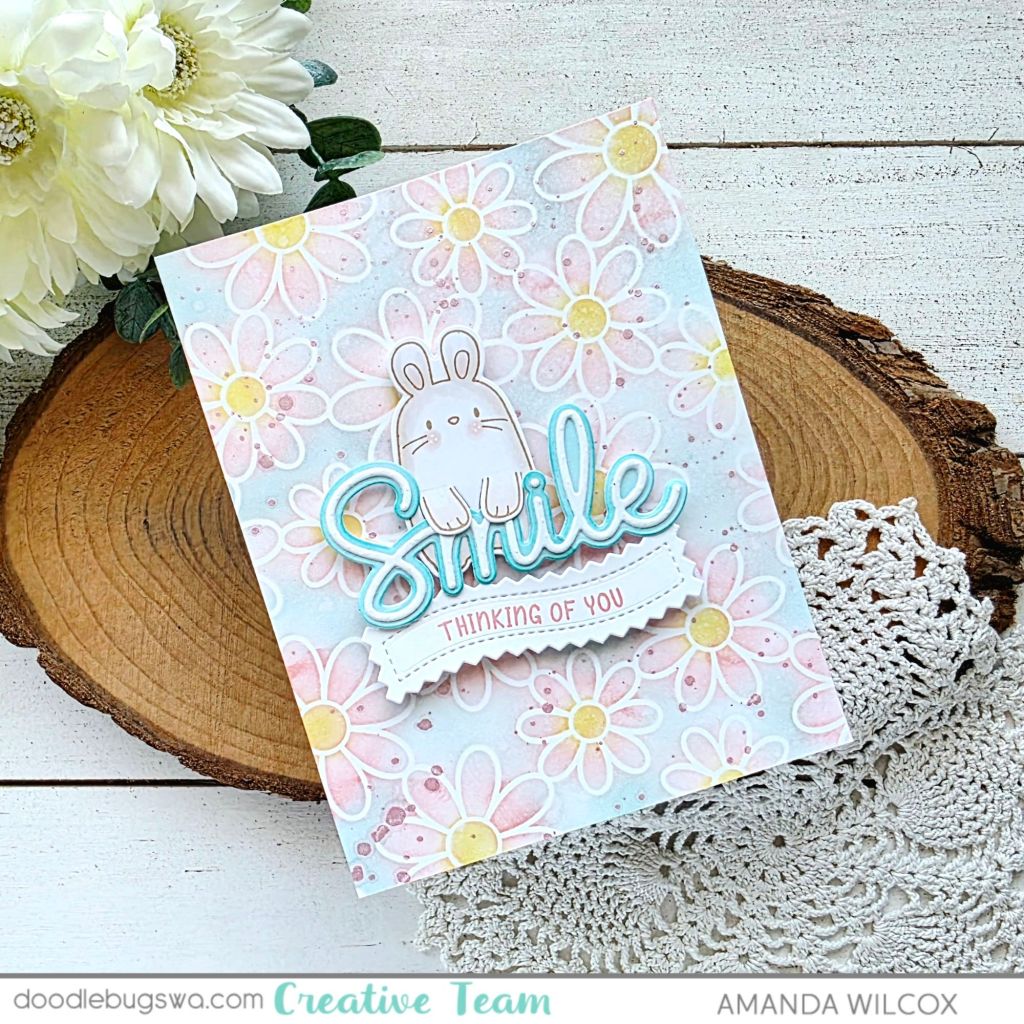
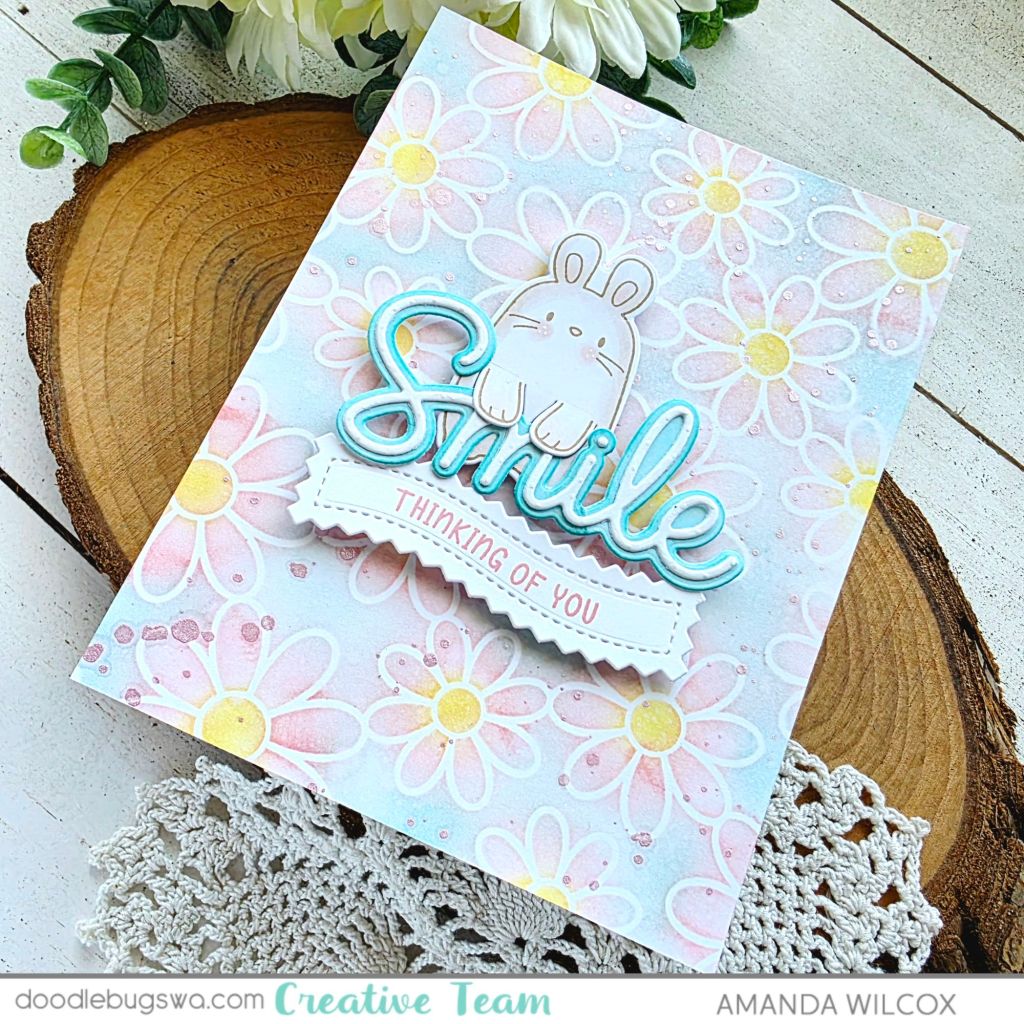
Doodlebugs – Smile, Thinking of You

Hi friends! Today is going to be the last Mix it up Monday for Doodlebugs for now. Cathy has some family things to attend to and the design team is going away. We will continue to cheerlead and support Doodlebugs in all the ways we can but weekly posts won’t happen anymore.

For my last design team card, I’m using a combo of multiple companies, old and new products. Shopping your stash can really be so fun and invigorating when you get to extend the life of something you’ve had for years and put something shiny and new to use too!

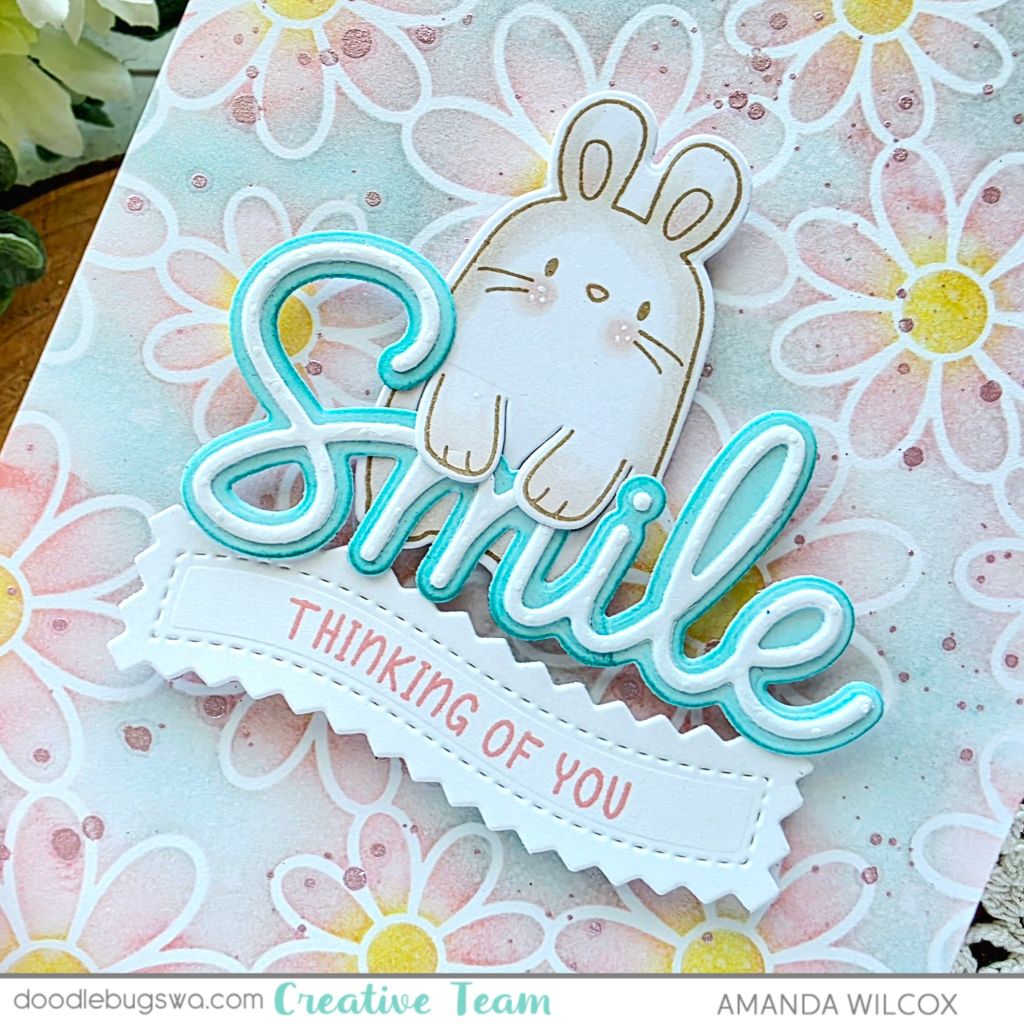
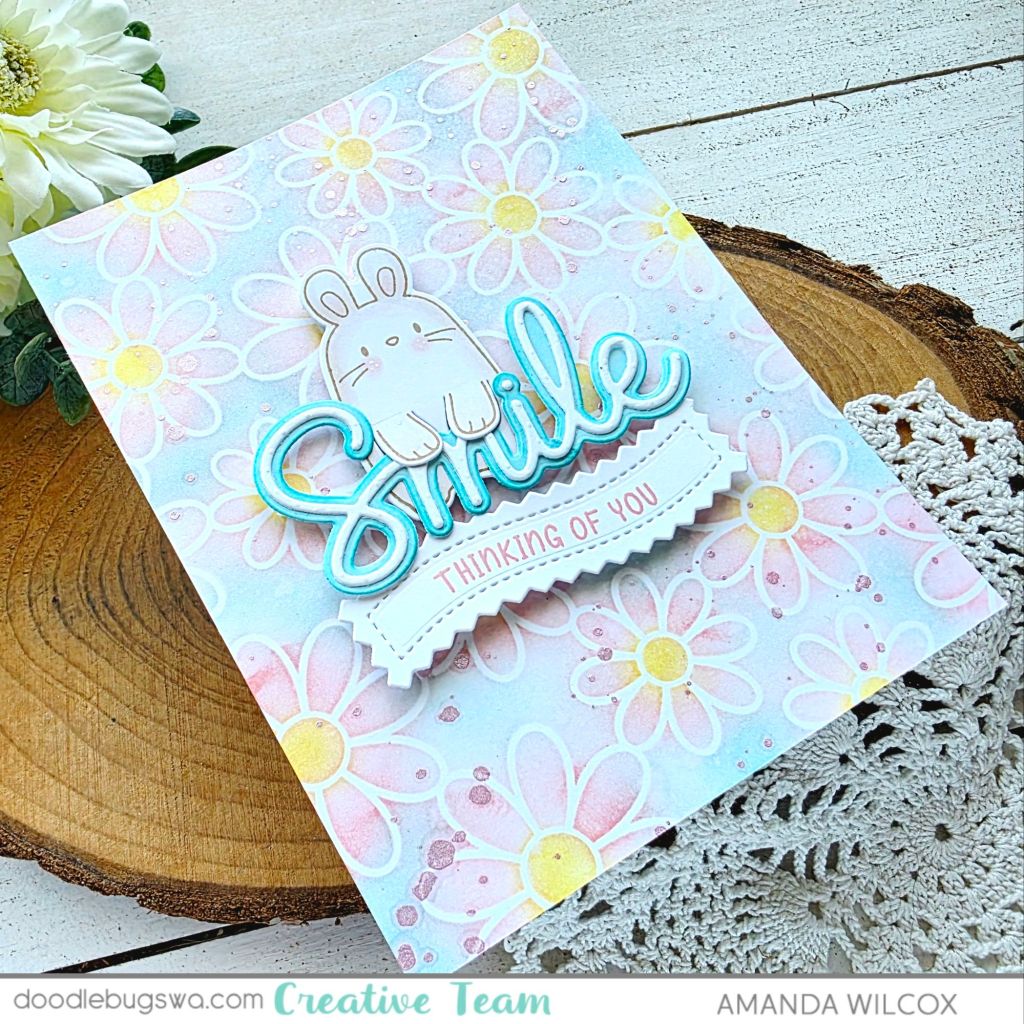
I recently got the Lawn Fawn Daisy Bloom Outline stencil and wanted to play with it so that’s how my card started. I inked it up using mini blending brushes and Lawn Fawn dye inks – guava, mermaid and sunflower specifically. I removed the stencil and splattered the panel with pink metallic watercolor which adds so much shimmery fun to the background!

This is the point where I played with the new thing I’d been putting off so what to pair with it. Digging for a sentiment to guide my way, I came across my Pretty Pink Posh die cut sentiments and loved the “smile” idea with happy flowers. To grow on that, I added a favorite banner greeting to take it a step further. But that was all too plain so I went looking for one of my staple cute critters to liven things up.

That is when I found one of my oldest and most favorite Mama Elephant sets called Page Huggers! I haven’t used it in a while so I was excited to find an excuse to. This set has four animals, today I chose the bunny for his height in proportion to the sentiment. I colored and cut him out with the coordinating die, then layered everything together.

Everything is adhered with foam squares for that dimension and interest. Plus, I want to note that there is no harsh black on my card anywhere so I went chose to stamp an image, I used Lawn Fawn Crunchy Leaf ink which is copic friendly but also kept the overall appearance on my card soft.

Products used today:
Mama Elephant Page Huggers stamps and dies
Pretty Pink Posh Banner Greetings 3 dies
Pretty Pink Posh Everyday Banner Greetings stamps
Pretty Pink Posh Large Smile Shadow dies
Lawn Fawn Daisy Bloom Outline stencil
Blending brushes
Lawn Fawn ink – mermaid, guava, sunflower, crunchy leaf
Foam squares
Liquid glue

I appreciate you sharing your time with me. Have a fabulous day!
Newton’s Nook – August Release Day

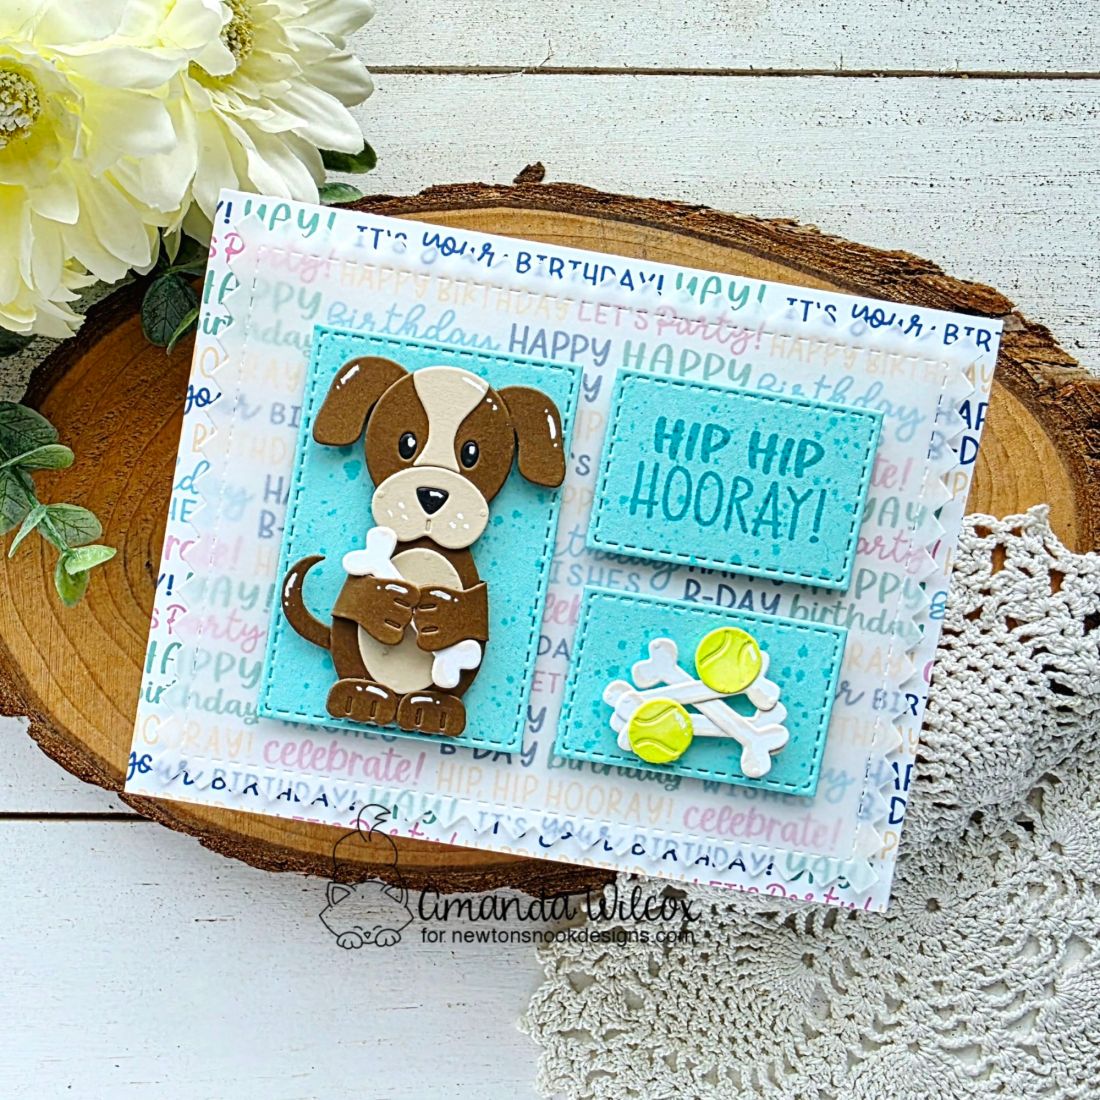
Hip, hip, hooray!!! It’s release day!!! But first, you have to head to Instagram and hop along with us. Comment as you go for a chance to win credit to the Newton’s Nook shop! Then go wild and snag all these super fun goodies to start your birthday card stash!
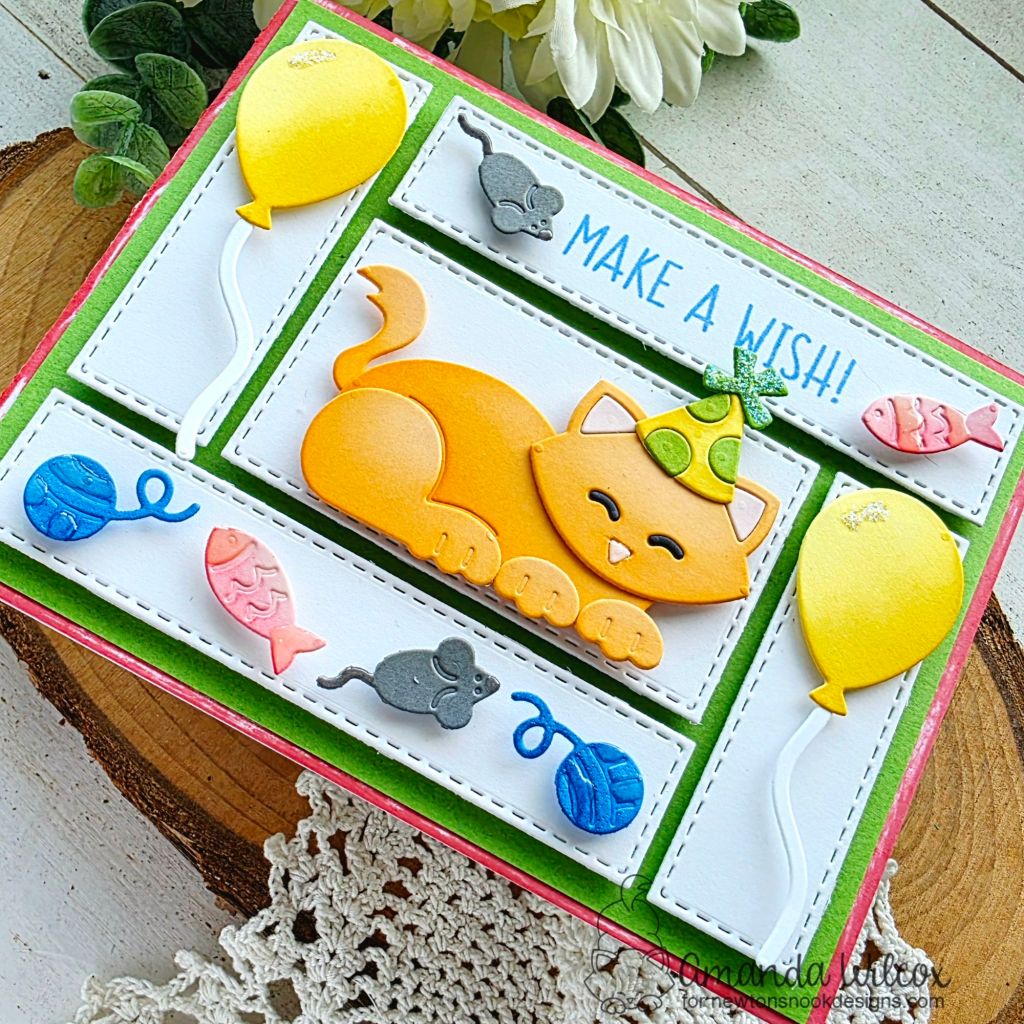
Today the card I’m sharing features the Birthday Greetings stamps along with the Cat Builder and Birthday Accessories dies.

Today, I cut the pieces from colored cardstock but used ink blending on all the parts to add depth and interest. I always use liquid glue to adhere bits and pieces together, sometimes reverse tweezers help told them in place while the glue dries.

I had a layout planned in my head, so after all the pieces were cut and glued together. I cut the A2 Card Layout die from white cardstock, saving the frame for another day, using the stitched rectangles that also cut with the frame. I added a sentiment to the longer top rectangle and popped up all my elements with foam squares.

I added those to a green cardstock panel with foam tape. The panel is cut down to 4×5.25 inches. Before gluing that to my card base, I took guava ink direct to the paper so I got a textured color edge instead of another layer of cardstock.

For finishing touches I added glossy accents on parts of each icon. Then stardust Stickles to the party hat and each balloon too.

Just a reminder that today is release day and our Instagram hop is going on. Click here to get started!

I appreciate you sharing your time with me. Have a fabulous day!