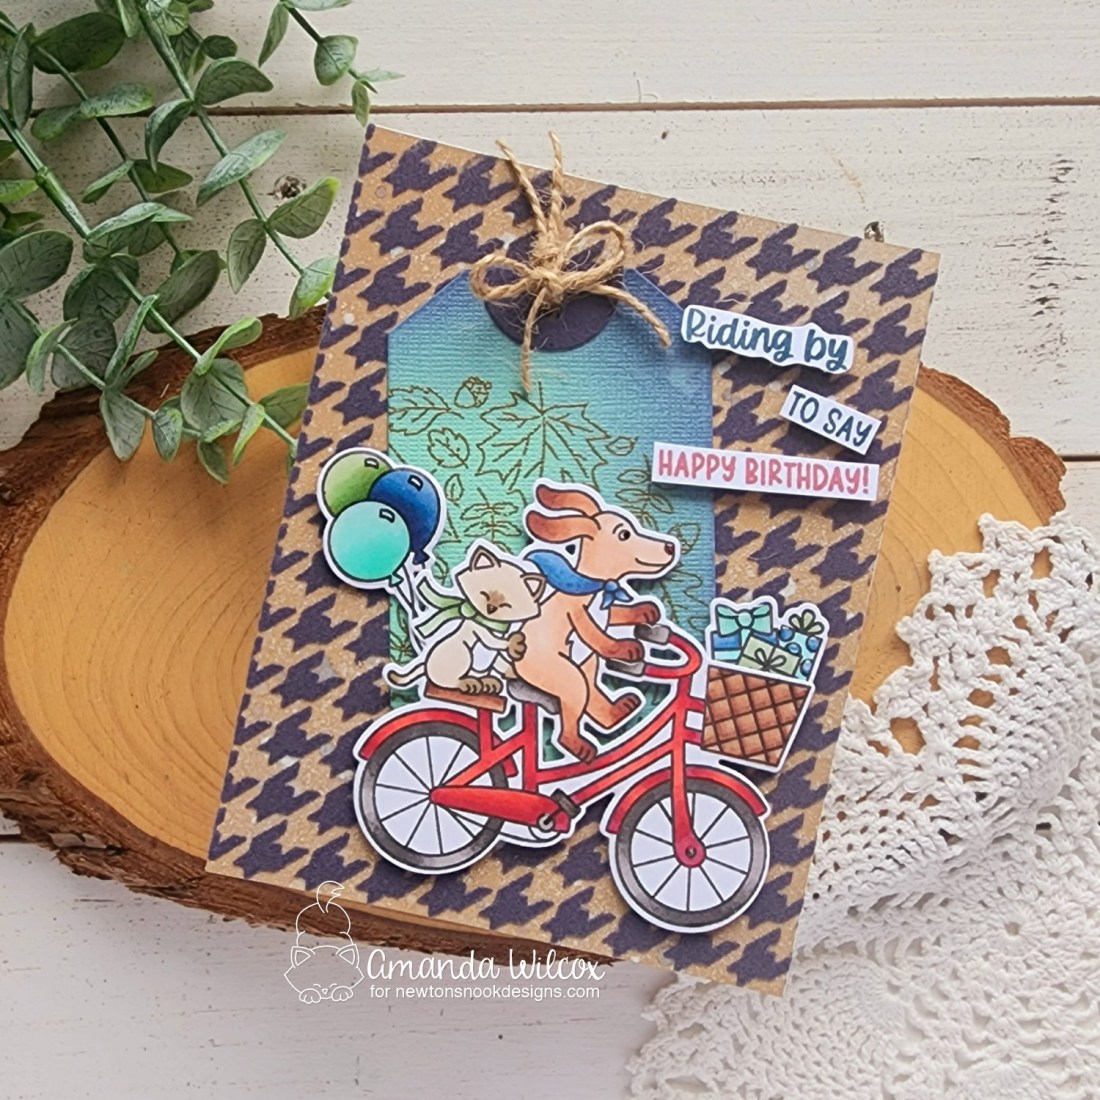
Hi friends! I’m over on the Newton’s Nook blog today sharing more inspiration using the new toner card fronts. They’re such a quick and easy way to pack a punch on your backgrounds! Plus they are a super affordable addition to your craft stash. Don’t sleep on these beauties…they’re fun!
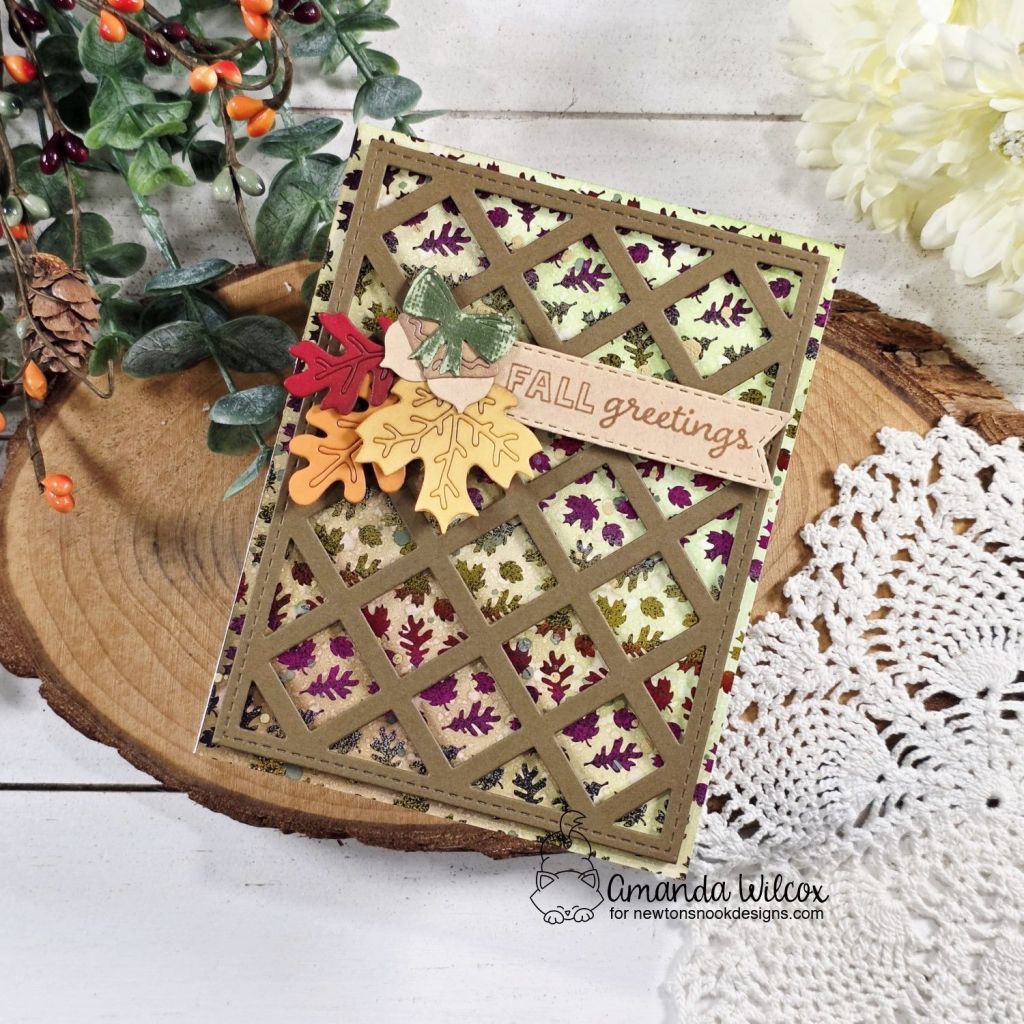
I started by foiling one of the Fabulous Fall toner card fronts with Thermoweb deco foil. This pattern is a gradient of warm tones which is as great for fall is it is summer! After I foiled the panel I ink blended brown to green at an angle across the whole thing. I splattered it with water and gold distress spray for texture.
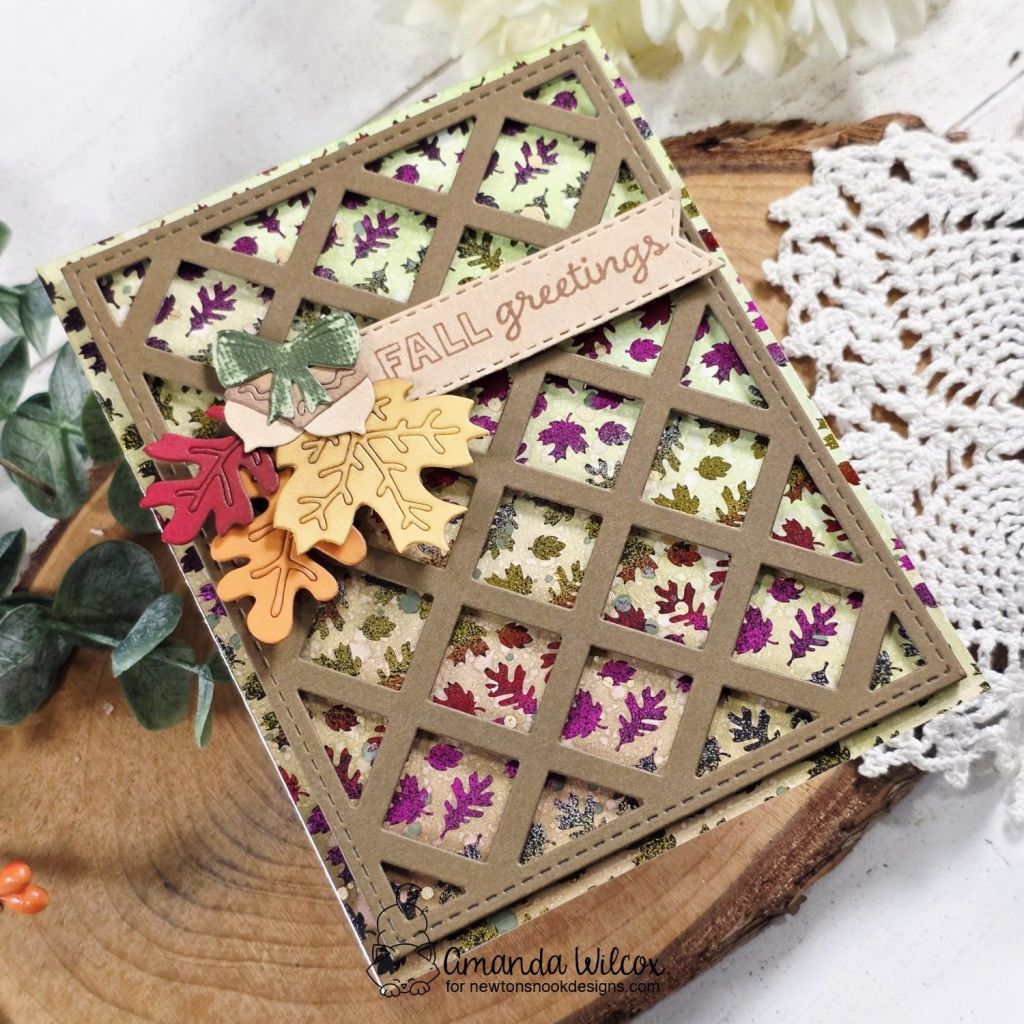
Then I cut the Lattice cover die from dark brown cardstock. I added that to the foiled panel using foam strips on the whole lattice panel. Then I glued this to a white card base for stability. Toner card fronts are a thinner cardstock so it’s nice to have that backing.
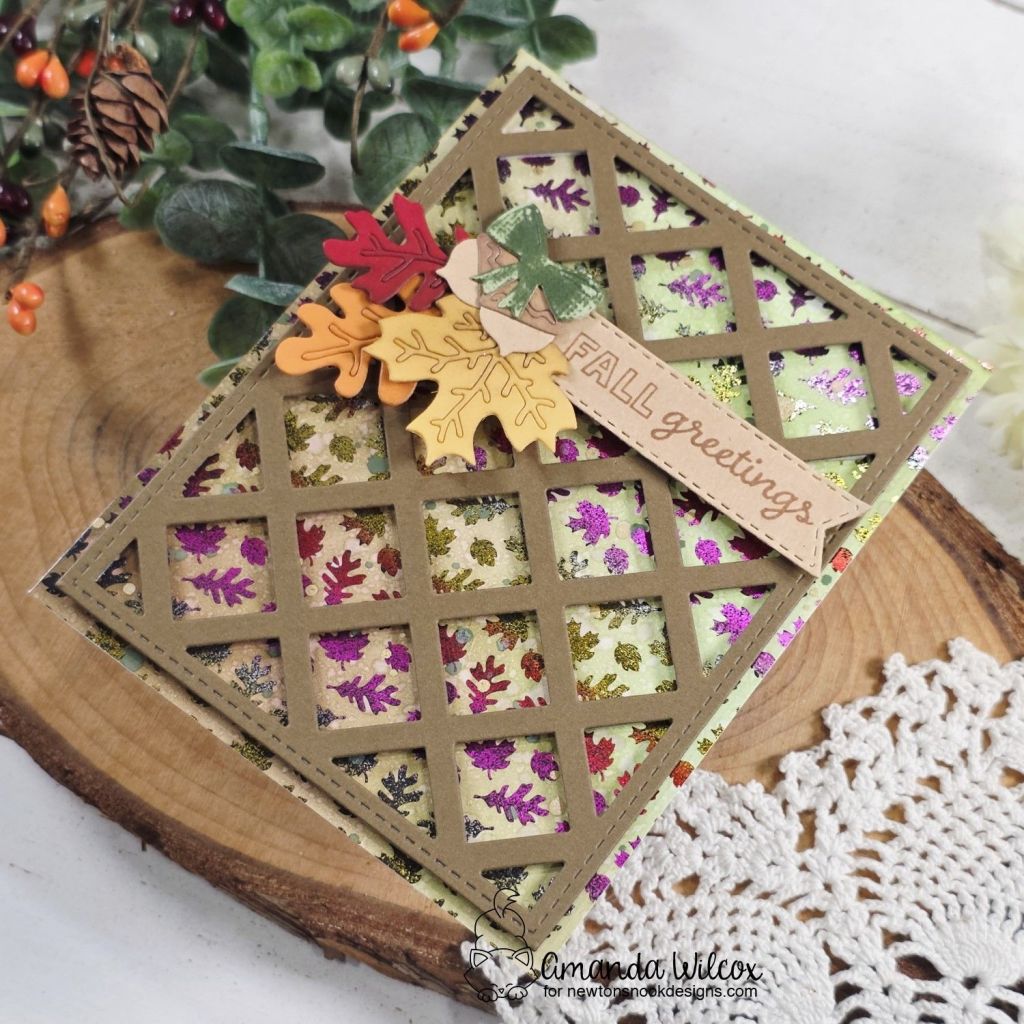
Then I cut the Fall Foliage dies from different colors of cardstock. The details can pop out of these images but this time I wanted them to stay so I added washi tape to the back of each keeping them in place. I adhered them all together using liquid glue.

I stamped a sentiment from Heartfelt Fall on a Banner Trio die cut, using brown ink to keep with the tone of the card. This and the leaf bundle are popped up on the card front using foam squares.
Products used:
Fabulous Fall toner card fronts
Lattice die
Fall Foliage dies
Banner Trio dies
Heartfelt Fall stamps
Thermoweb Deco Foil
Minc machine
Liquid glue
Foam strips and squares
Distress Spray – gold
Lawn Fawn dye ink – walnut and artichoke
Blending brushes
I appreciate you sharing your time with me. Have a fabulous day!