Newton’s Nook | Simon Says Stamp – Stamptember Collab Release

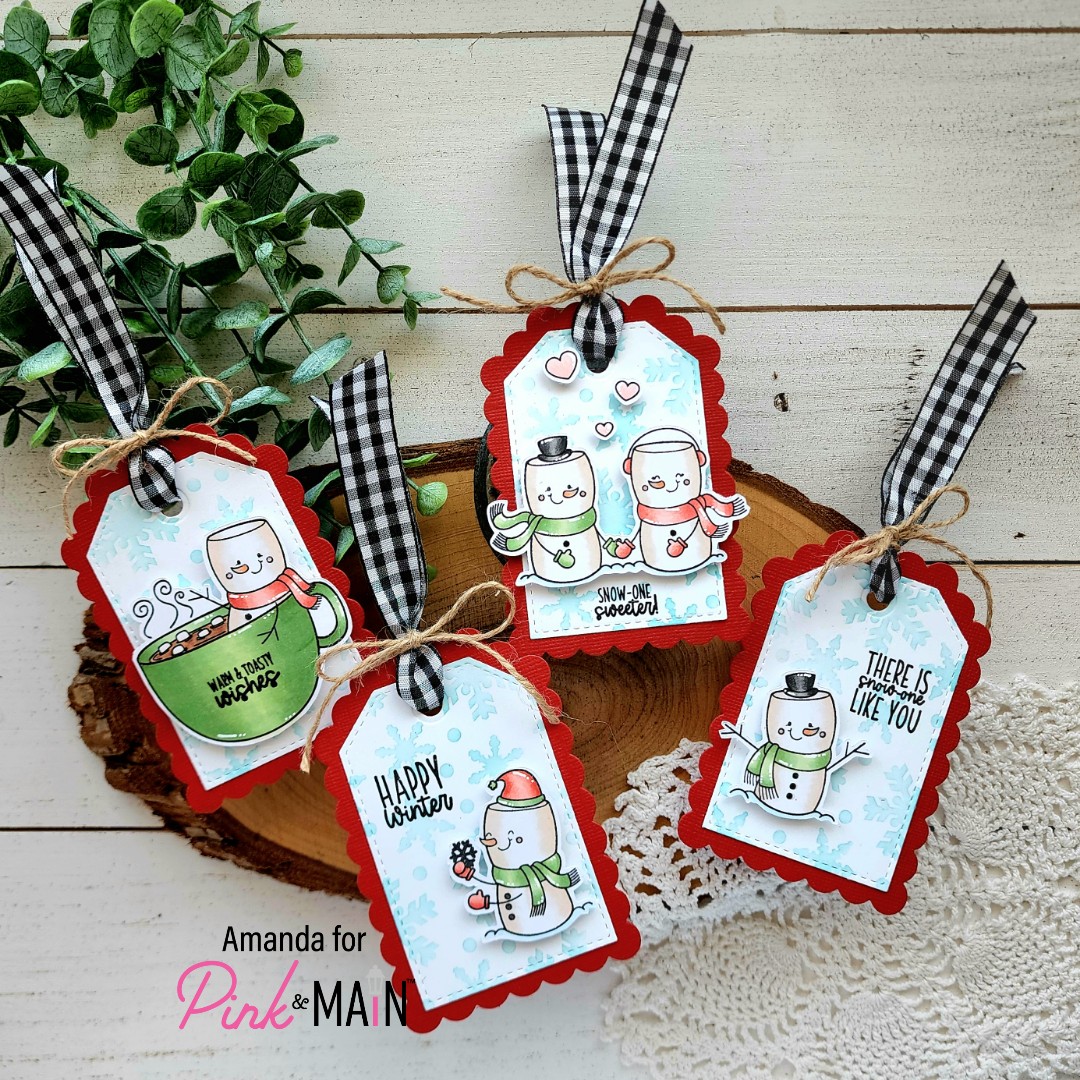
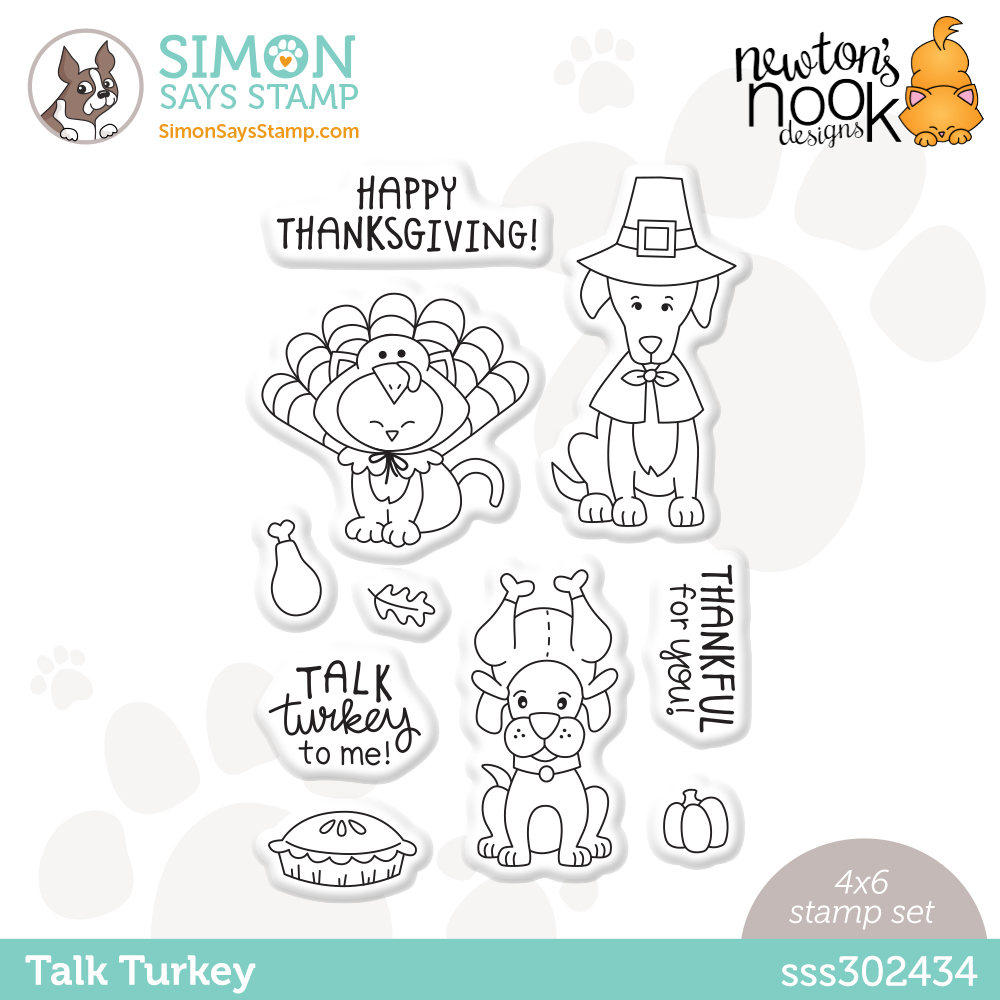
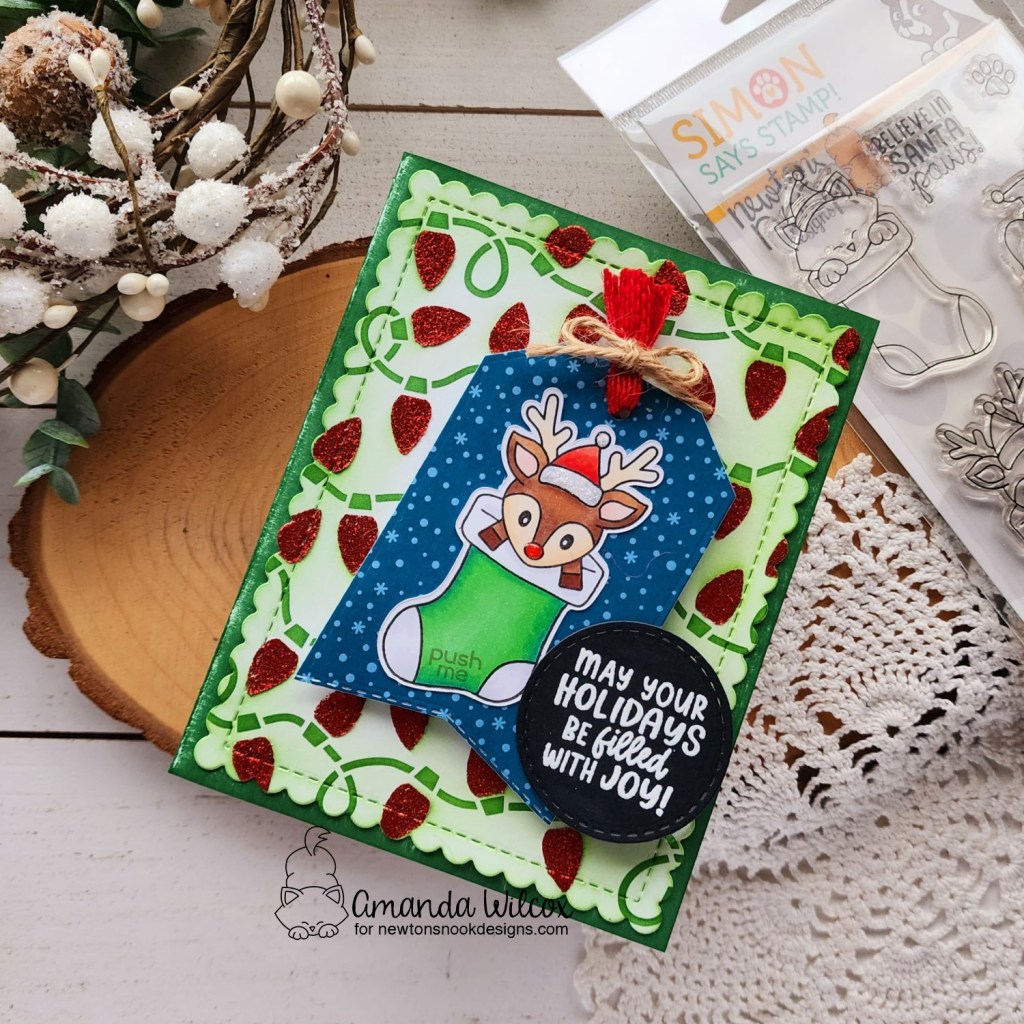
I’m popping in really quick tonight with a fun card featuring the Newton’s Nook | Simon Says Stamp Stamptember Collaboration set. As always, it’s totally adorable and has a million and one ways to use it.

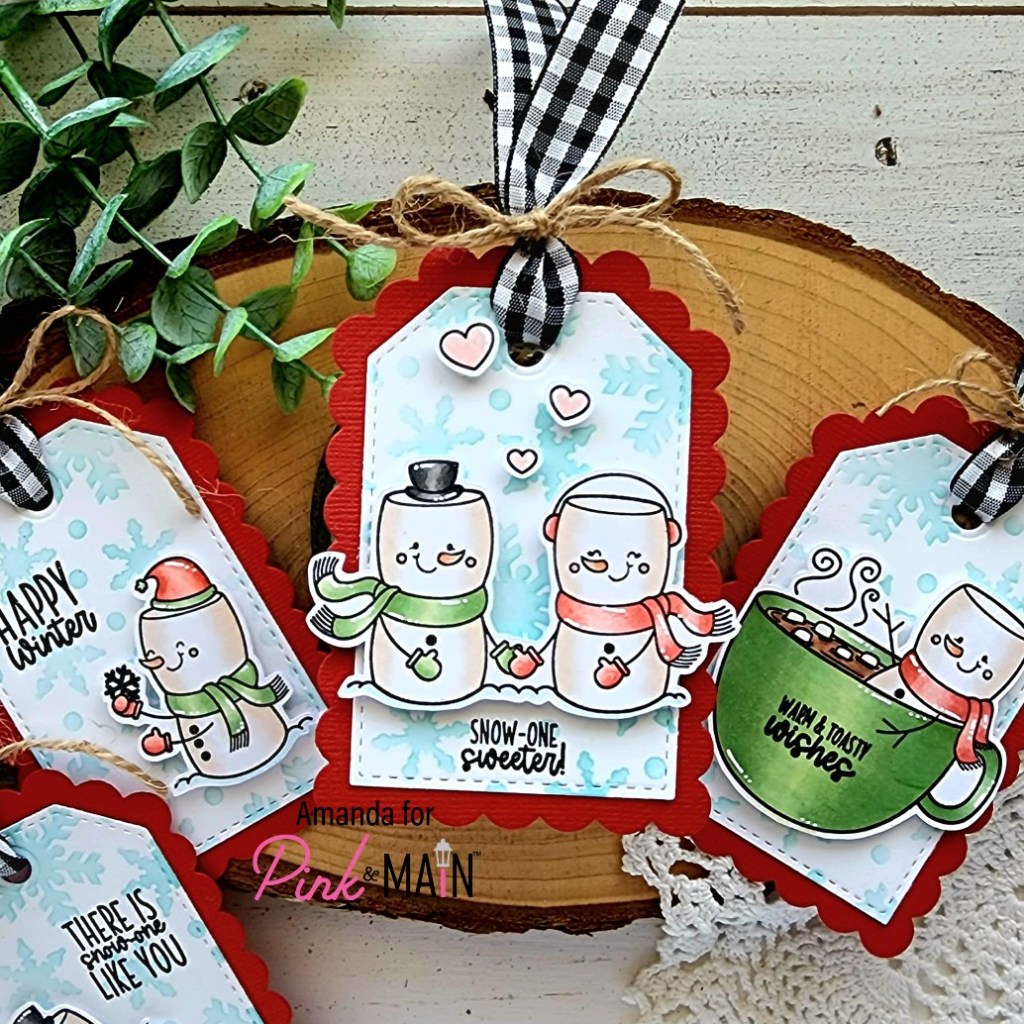
Straight away, I want to make gift tags with them, paper piece patterns on the stockings and customize the critters to all of our pets!

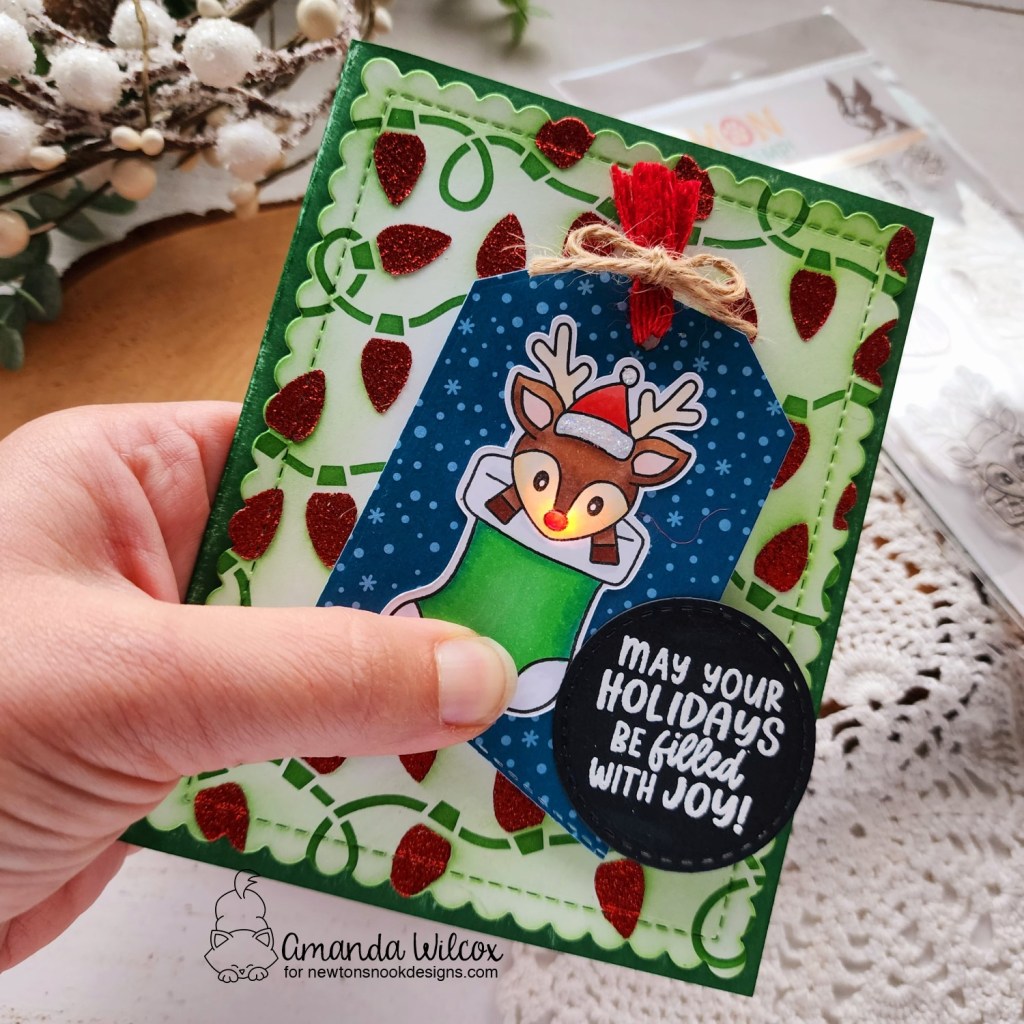
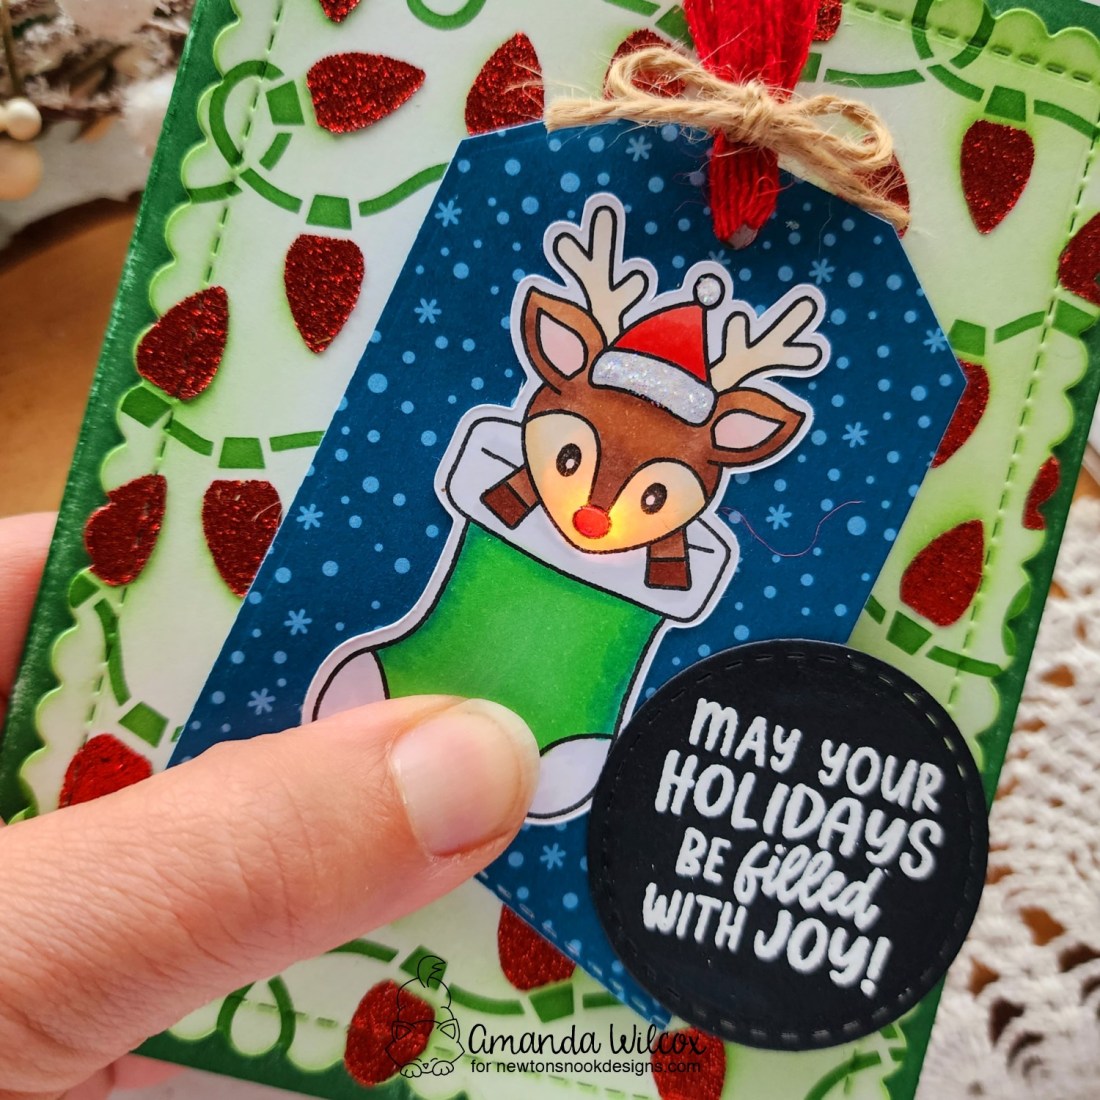
Today I went a little extra because that sweet reindeer was just calling out to have his nose light up. Isn’t he just the cutest!?! I started by stamping and coloring him with copic markers. Then I used the scan-n-cut to cut him out and switched gears to my messy background so it could dry while I did the light up part.

I love this layered stencil. It makes it so easy to customize your lights in different ways. Today I inked green light strings and spread Thermoweb Glitz Glitter Gel through the lightbulb layer.

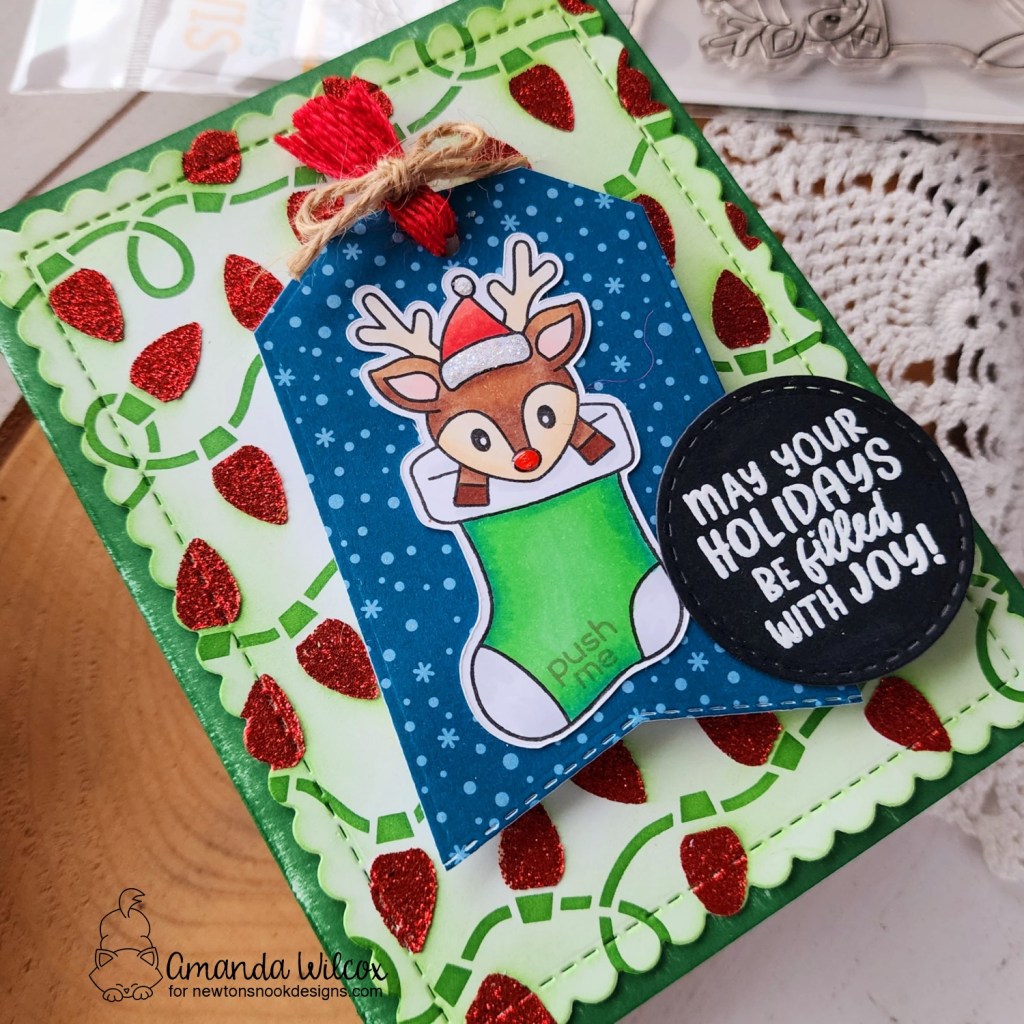
While that was drying, I cut a tag shape with the Fancy Edges Tag dies from a piece of patterned paper from the Christmas Time paper pad. Then I cut a hole in the center of that for the light to shine through. I added my Pear Blossom Press One Light to the back of the tag with glue dots and then glued my reindeer in place so the light was under his nose.

I added foam to the back of the tag and tied some ribbon through the hole. ***Note that you always need double layer foam for the light mechanisms to sit flat.***

With the glitz gel dry, I die cut the panel with the largest Frames & Flags die. There was too much bright white for me so I used the green left in my blending brush and inked the edges. Then I took the green ink pad I used originally and went direct to paper to ink up the edges of my card front. It’s a darker, more saturated version of the same green so they go together plus I don’t have to try and color match my cardstock.

I chose my sentiment from the set and heat embossed it on a circle from the Frames Squared dies before adhering all my pieces together.

You all know I like dimension but I try to keep it no more than two levels high, since my tag is that high from the light mechanism, I glued the light string panel directly to my card base with liquid glue, then removed the release paper and added the tag and finally added the sentiment circle with foam and liquid glue as well.

Be sure to pop over to Simon Says Stamp and snag this adorable stamp set before they’re sold out. These things have barely been lasting the night so don’t miss it!

Products used:
Stamptember Collab stamps
Frames & Flags dies
Frames Squared dies
Christmas Lights stencils
Thermoweb Glitz Gel
Stencil Pal
Foam tape
Liquid glue
Blending brushes

Pear Blossom Press One Light

I appreciate you sharing your time with me. Have a fabulous day!

Trinity Stamps | Simon Says Stamp – Stamptember Release

Hey friends! Popping in late to let you know the collab between Trinity Stamps and Simon Says Stamp for Stamptember is cuter than cute and it’s available for purchase while supplies last!

Trinity Stamps was the trailblazer for all things slimline so I couldn’t resist myself in creating a fun slimline card with this adorable stamp set. The images are sweeter than sweet with lots of sentiment options to choose from too.

I stamped and colored my images with copic markers, lots of extra trees to fill my hilly scene. Then I used my scan-n-cut to cut them all out. Next, I cut a Striped Frame Slimline panel from white cardstock. I taped off the edges and inked light teal some hills going down the panel.

I glued the trees to the panel with liquid glue and popped my images up with foam squares. Then I stamped and die cut a sentiment using one of the banners in the Scalloped Card Panels and Banners die set. I inked it up with the same color I stamped my sentiment to help it pop and attached it with foam strips.

Last, I took a slimline card base and inked the edges like my banner and then added my panel to the front with liquid glue. For finishing touches I glued a scattering of Silver Sparkle Rhinestones throughout the design. Then I added glossy accents to my reindeer’s nose and bells, and stardust Stickles to the poms on the gnomes hats.

Remember these sets are limited quantities and this is the first time Trinity Stamps has gotten to participate so don’t wait to snag yours. It’ll be gone and you’ll be sad.

Products used today:
Trinity Stamps Stamptember Collab stamps
Striped Frame Slimline dies
Scalloped Card Panels and Banners dies
Blending brushes
Lawn Fawn mermaid ink
Liquid glue
Foam squares
Silver Sparkle Rhinestones
Glossy accents
Stickles – stardust

I appreciate you sharing your time with me. Have a fabulous day!

Newton’s Nook – Stamptember

Hey friends! Popping in really quick tonight to let you know the absolutely adorable Newton’s Nook collaboration set for Simon Says Stamp Stamptember is live and available for purchase. This super adorable set has so many scene building possibilities that I can hardly believe it! So much cuteness you’re going to love it!

Today I just chose the couch, blanket and pillow images and one each of the kitty and puppy. I colored Newton like our cat Oreo and the pup like our new puppy Athena. I love customizing these animals! It makes the whole process extra fun. I cut them all out and used liquid glue to adhere them together, then lined the back with foam tape.

I took an A2 panel and inked it up at a diagonal with uncharted mariner and salvaged patina distress oxide ink. Then I laid the Houndstooth stencil over top and added a little more uncharted mariner. I sprayed the panel with a distress sprayer and let it dry. Then I pulled out my LH Colors watercolor and splattered unicorn watercolor on the panel as well.

When the panel was completely dry, I trimmed it down to 4×5.25 inches and placed it in my MISTI to stamp the sentiment on the upper right corner whitespace. I added foam tape and adhered it to a kraft card base before removed the release paper and adding the images last.

For finishing touches I added glossy accents to the heart on the pillow and both critter noses. Then I came in with white gel pen highlights on all of the images for a little something extra.

Remember these Stamptember sets don’t get restocked so head over and snag yours before they are gone!

Products used today:
Warn & Cozy Wishes Stamptember collaboration stamps
Houndstooth stencil
Distress Oxide Ink – uncharted mariner and salvaged patina
Foam tape
Glossy accents

I appreciate you sharing your time with me. Have a fabulous day!

Pink & Main – Stamptember with Simon Says Stamp

Oh my gooooooodness!!!! Friends! It’s time for the release of the Pink & Main contribution to Simon Says Stamp Stamptember! This set is absolutely adorable and so much fun to create with! Today I made a set of tags that I will be attaching to Snowman Soup closer to Christmas. If you don’t know what that is I’ll explain it later on. But now, let’s check these cute marshmallow snowmen out!

I immediately thought tags when I saw this set. It’s got so many adorable images with lots of fun sentiments to choose from too! So I stamped everything and colored them with copic markers. I used my scan-n-cut to cut them all out and switched to tag making.

This is one of my all-time favorite tag die sets. I cut the scalloped base from red cardstock 4 times. Then I cut 4 stitched inserts. I inked the white panels up with light blue ink and the Snowflake stencil. I used EZ Squeeze liquid glue to adhere the layers together.

Next, I added foam squares to all of the images and started pairing sentiments with images. I wanted something generic but different for each tag. Once the sentiments were stamped, I removed the release paper and added the images to each tag.

I found some great Gina K Designs black and white plaid ribbon in my drawer. I cut 4 lengths of 10 inches and threaded them through each hole. Then I cut 4 lengths of jute twine at 8 inches long and tied bows on each one, trimming the ends as I went.

For finishing touches I added glossy accents to all the noses, cheeks and buttons on the snowmen. Then I came in with white gel pen highlights on the hats, scarves and other accessories.

I just love how cute these turned out! Be sure to pick this set up while you can. Stamptember sets never last long so don’t wait!

Products used:
SSS Stamptember *** stamps
Pink & Main Fancy Tag dies
Pink & Main Blizzard stencil
Ergonomic Blending Brush
EZ Squeeze liquid glue
GIna K Designs gingham ribbon
Glossy accents
Foam squares

I appreciate you sharing your time with me. Have a fabulous day!

Newton’s Nook – Stamptember Celebration

I am SO EXCITED to share today’s projects with you celebrating the Newton’s Nook release for Simons Says Stamp’s Stamptember extravaganza! This event is always so exciting and it’s just gotten better the last couple of years being able to participate from a designer point of view too!

Today we’re sharing an adorable Thanksgiving themed stamp set – Talk Turkey – where I immediately saw place cards for our Thanksgiving table! For added fun, instead of just a tent fold card, I made circular easel cards for each one!

Here’s a look at all of them folded flat and looking super adorable! I used a combo of the circle frames die sets, banner trio dies and stencils – gingham, houndstooth and falling leaves.

I came in with glossy accents on things like noses, stems and this pup’s tag. Then I used black glaze pen on the eyes and came back with a white gel pen accent if it needed it.

This Newton just cracks me up with his turkey hat and hoarding his turkey leg! No sharing going on here!

This pilgrim pup was just too adorable and definitely needed to bring home the pie!

Here’s a look at all of them popped up and ready for Thanksgiving!

I added the banners to the inside with foam squares so they work as a great stopper for the easel and show who sits there. Plus, my daughter and I thought we could write personal messages inside the cards to share why we’re thankful.

Don’t forget these Stamptember sets are limited edition so head over and snatch yours up straight away! You won’t want to miss out!

Products used on today’s project:
Simon Says Stamp Newton’s Nook Stamptember Talk Turkey stamps
Newton’s Nook Circle Frames dies
Newton’s Nook Banner Trio dies
Newton’s Nook Gingham stencil
Newton’s Nook Falling Leaves stencil
Newton’s Nook Houndstooth stencil
Blending brush
Foam squares
Glossy accents
Copic markers

I appreciate you sharing your time with me. Have a fabulous day!

Simon Says Stamp Under the Sea Animals Card

Hey! Hey! Happy Friday!!! Remember that amazing mermaid card from Monday…well, I told you the other half of the background would be coming soon. And today is the day with this awesome Simon Says Stamp Under the Sea Animals card.

Here’s how I did it.

  • I glued the Neat and Tangled snake scales backdrop frame to a piece of cardstock and adhered it to a card base.
  • Stamped the fish on cardstock and colored them with copic markers. Then die cut them all and started arranging them on the background.
  • Once I liked their placement I glued them all down, stamped a sentiment and cut it into a strip gluing that down too.
  • For finishing touches, I added Ink Road Stamps gems throughout and then took my wink of stella clear glitter brush and colored in a few random scale openings over the whole background to add some shimmer.

This really was a simple card to create but the color palette is so pretty and fun. The sentiment is great for encouraging anyone going through a tough time.

I appreciate you sharing your time with me. Have a fabulous day!

Simon Says Stamp Under the Sea Animals Card

Hello everyone! Welcome back and happy weekend! I skipped the gym last night and played in the craft room. I had no specific ideas, just that I wanted to play. So I started with distress inks and made a handful of backgrounds. It’s always messy fun that gets the creative juices flowing. Today I’m sharing a card I made with one of them.

This is a direct to paper technique that I’d never tried before. I used the small distress ink cubes and just swiped them back and forth across the paper until the color was how I wanted it. I overlapped the colors a bit but didn’t try to blend them. Then I sprayed the whole thing with a bit of water and laid a clear block on top. This smooshed the water on the paper and gave the ink a fuzzy look rather than white spots like the water drops give.

Next I trimmed a piece of white card stock down to 4×5.25 and die cut the Simon Says Stamp Pebbles border from the bottom half. Then stamped a sentiment from Simon Says Stamp Under the Sea Animals set under that. I chose the one that went with the snail because I knew I wanted to use him on this card.

For assembly I glued the inked panel to a card front and then only glued the top and bottom of the white panel down. This gave the pebble area the ability to lift up for some interest and dimension.

I stamped, colored and die cut the snail, and then attached him to the front with foam squares. For finishing touches on this card I added glossy accents to the whole snail shell and Nuvo Crystal Drops in morning dew scattered throughout for a water drop look.

I am really happy with how it turned out. The colors are super soft and calming and the whole card was a lot of fun to make! Have you done anything creative lately? Let me know in the comments. I’d love to hear about it.

I appreciate you sharing your time with me. Have a fabulous day!