Spellbinders – Halloween Felt Stitch and Create Part 2

Welcome everyone! Today I’m here with a couple more projects using that new fantastic Halloween felt stitching collection from Spellbinders and Nichol Spohr. There are four sets in the collection and I’ve used three so far. They are so fun to create with in different colorways.

Today I’ve got ideas for the Charming Witch Hat and Harvest Witch Boot to share. I tried to think outside the typical ornament/bag tag idea because we all know how to do that, and also branch out a little with different colors.

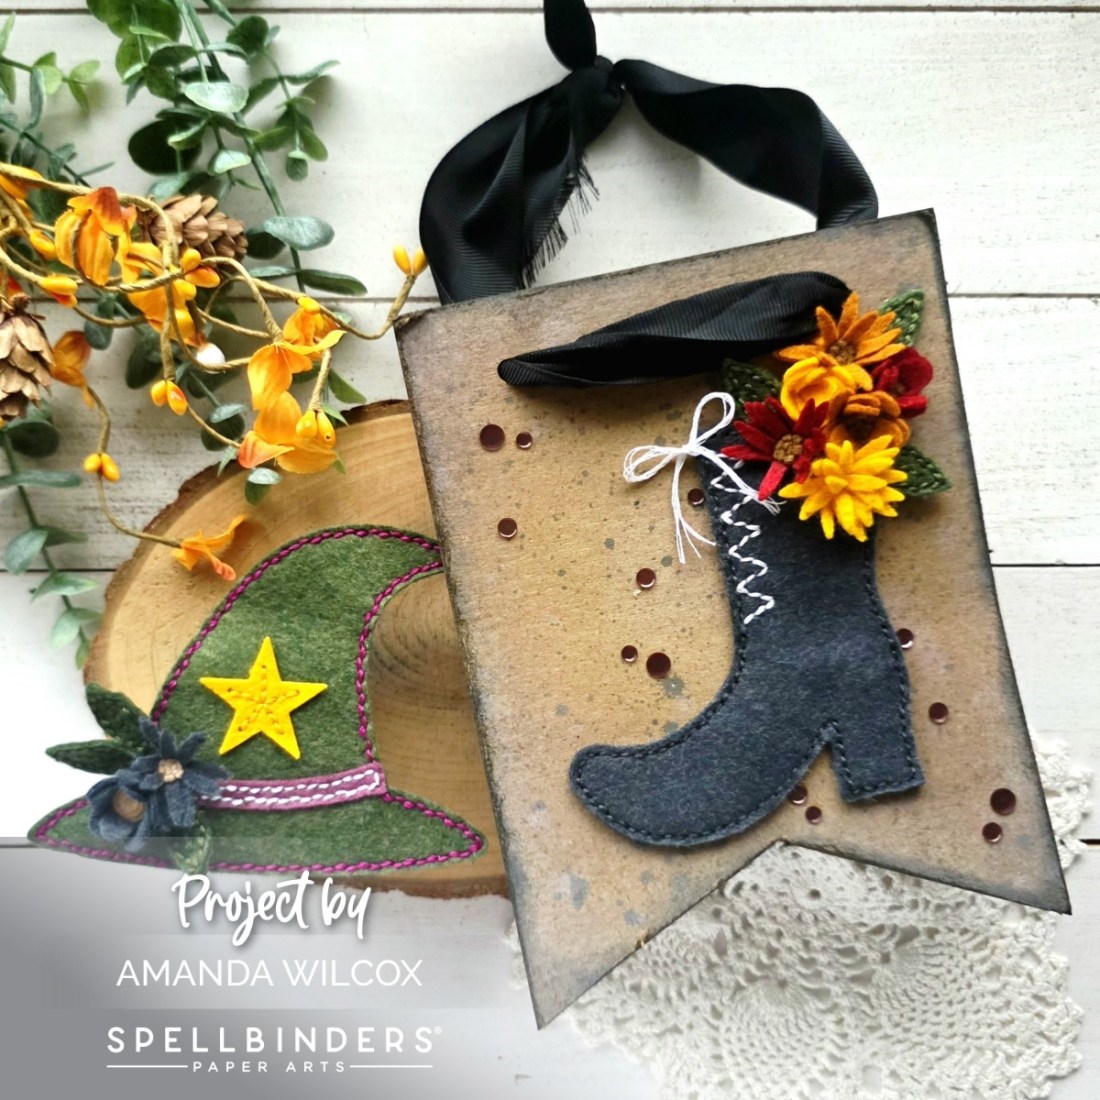
First I stitched up the witch boot and created some flowers with the dies included in that set. But as I was playing with layout for the florals on the boot, I realized I wanted them higher but how was I going to accomplish that. Well, I love to create banners and little decorations to hang around the house so that’s what I did.

I cut some cardboard backing from a paper pad into a banner shape and roughed up the edges. Then I went to town layering distress oxide inks; everything from gathered twigs to ground espresso to a little black soot around the very edge. I spritzed the cardboard with water and let it dry. Then splattered some watered down black soot ink on the whole panel. I punched holes in the top so I knew where to keep my book and flowers confined to.

I added everything, included some flat sequins, with liquid glue and threaded some black ribbon through the holes.

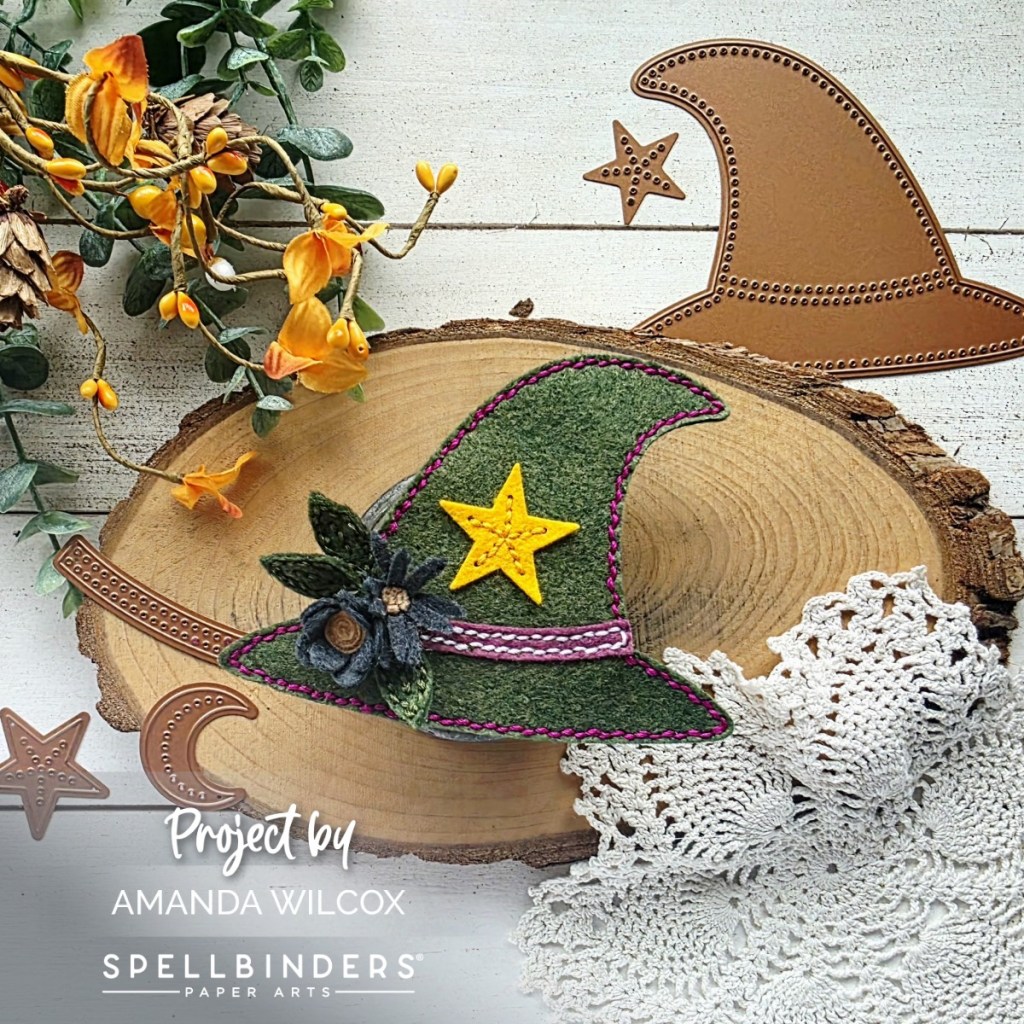
Next, I went digging for different colors of felt in my stash to create a festive witch’s hat that isn’t the typical black. I think this green is pretty awesome for it! I chose the colors of felt and then floss colors to stitch everything together. I like how the hat stitching matches the felt on the band to tie them together and also give contrast against the green.

Given that the hat is green, I went with black florals to pull that spooky vibe in a little bit more. I love them! After the hat was all stitched up and the flowers were dry, I glued them to the hat with fabric glue. After that was set, I glued magnets to the back of this project so I can hang it on the fridge or even the filing cabinet in my office. A little bit of a different take on felt stitching projects.

Products used:
Charming Witch Hat dies
Harvest Witch Boot dies

Thermoweb fabric glue
Benzie Design felt
DMC floss
Distress Oxide Inks

I appreciate you sharing your time with me. Have a fabulous day!
Spellbinders – Halloween Felt Stitch and Create

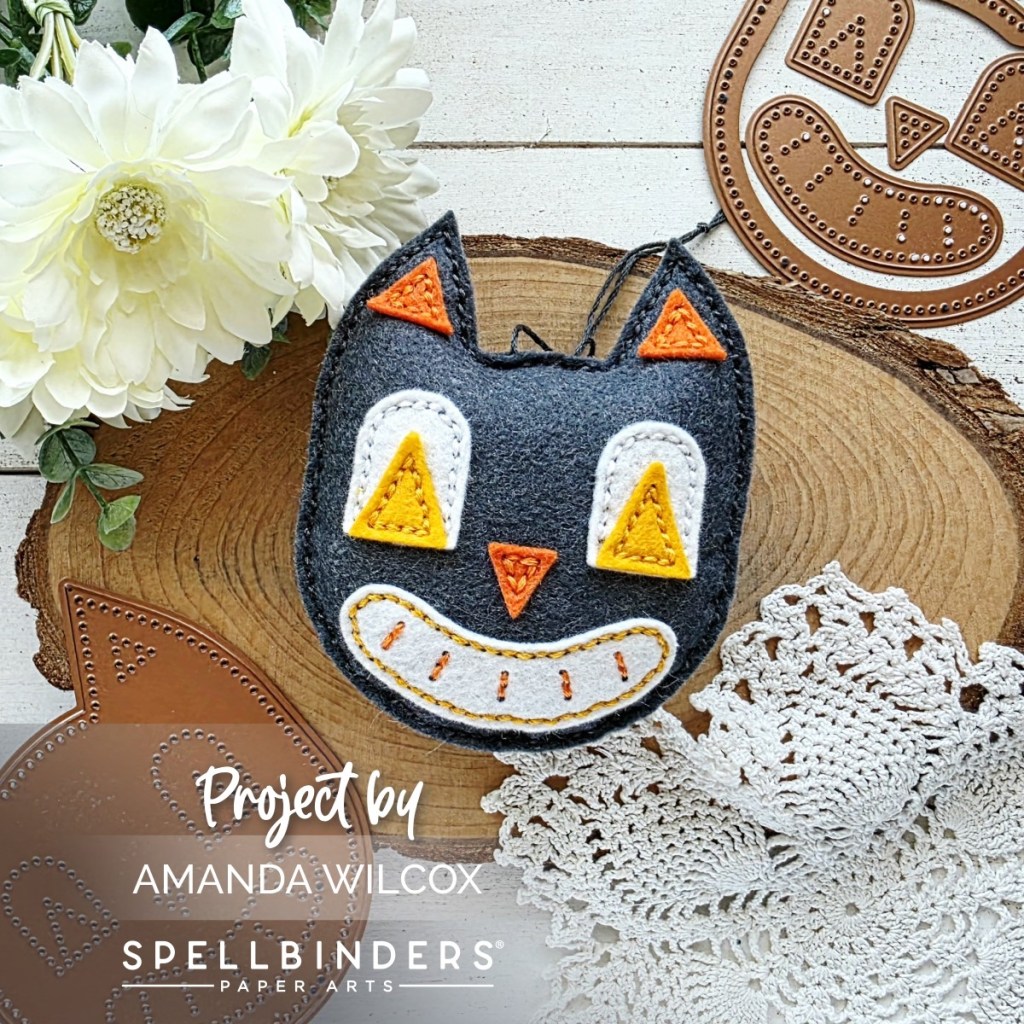
OH MY WORD!!! Friends, the most amazing felt stitching dies just dropped from Spellbinders! They are giving retro vibes and have so many possibilities ahead! Today I’m sharing my first little creation which uses the patchwork ghost dies, but know there is so much more ahead!

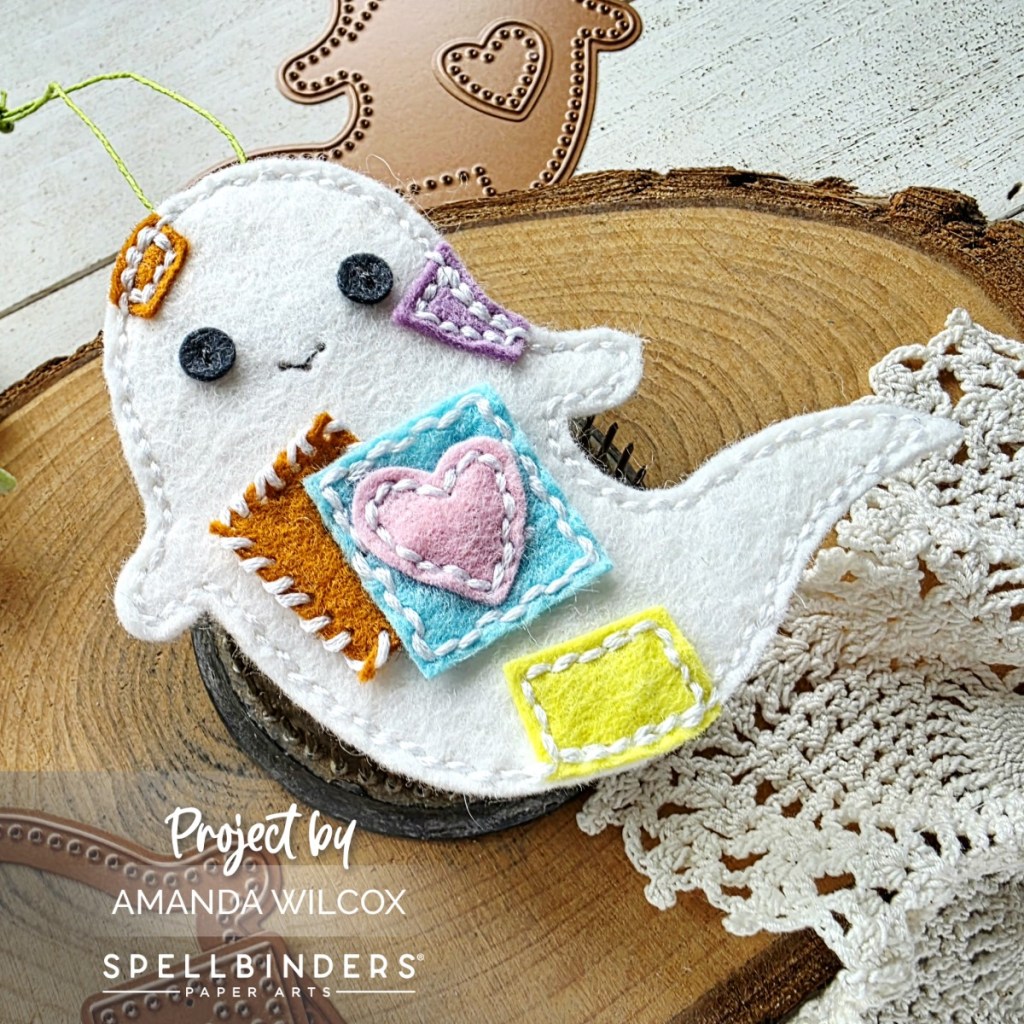
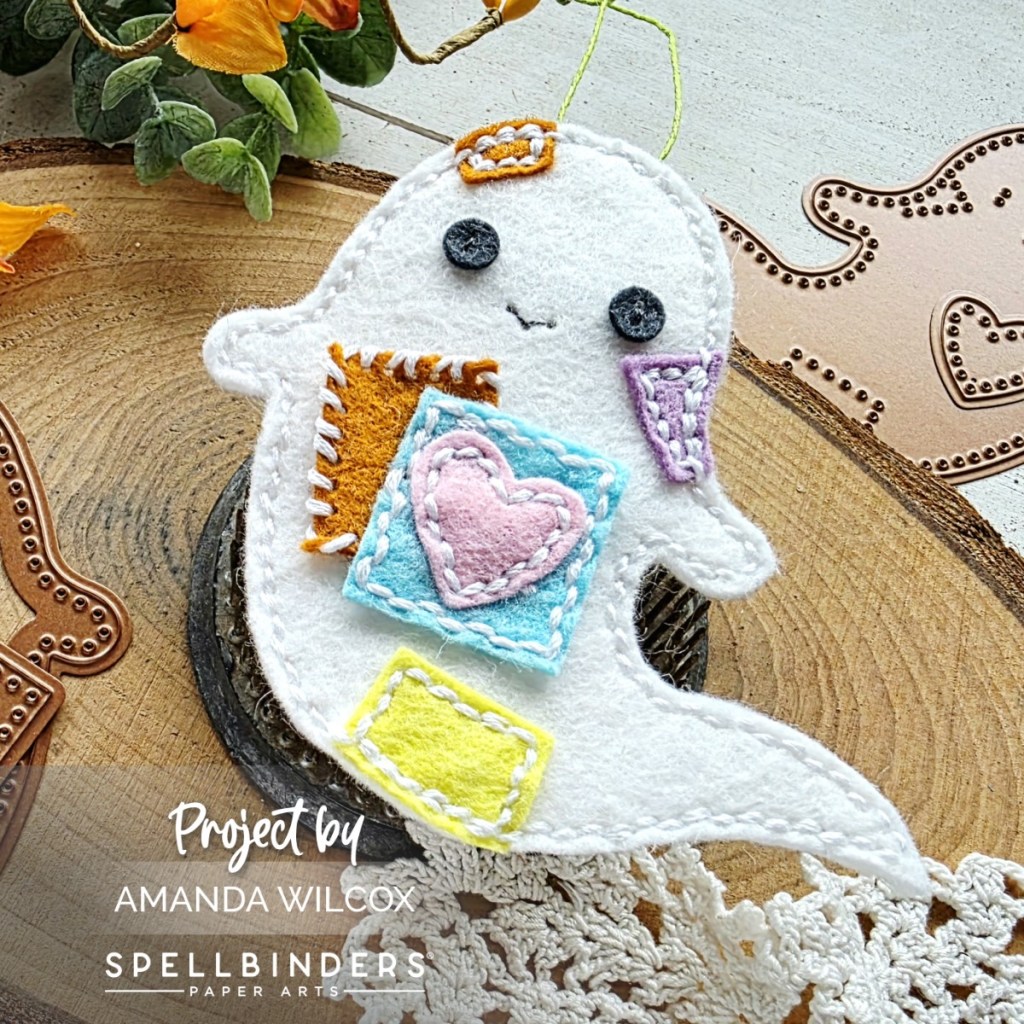
How cute is this little guy!?! He’s super versatile that you can cut the side with the patches or without so you can create your ghost friends in any way you want! I love the patchwork idea so of course I dove in first to give that a try.

Remember when using stitching dies with felt, you have to use wool felt or the die won’t cut through the fibers. Mine is a mixture between Benzie Designs, Ellen Hutson and some local craft stores around town. Benzie Designs is my favorite by far! It’s the best quality and comes in any color you can imagine!

After stitching this guy together, I added a twine loop to the top so I can hang him as a decoration, add it to a gift bag or any other number of ideas I might have between now and then.

Products used:
Spellbinders Halloween Felt Stitch and Create – patchwork ghost

Thermoweb fabric glue
DMC B5200 thread
Wool felt

I appreciate you sharing your time with me. Have a fabulous day!

Mama Elephant – Zodiac Monkeys on the Go

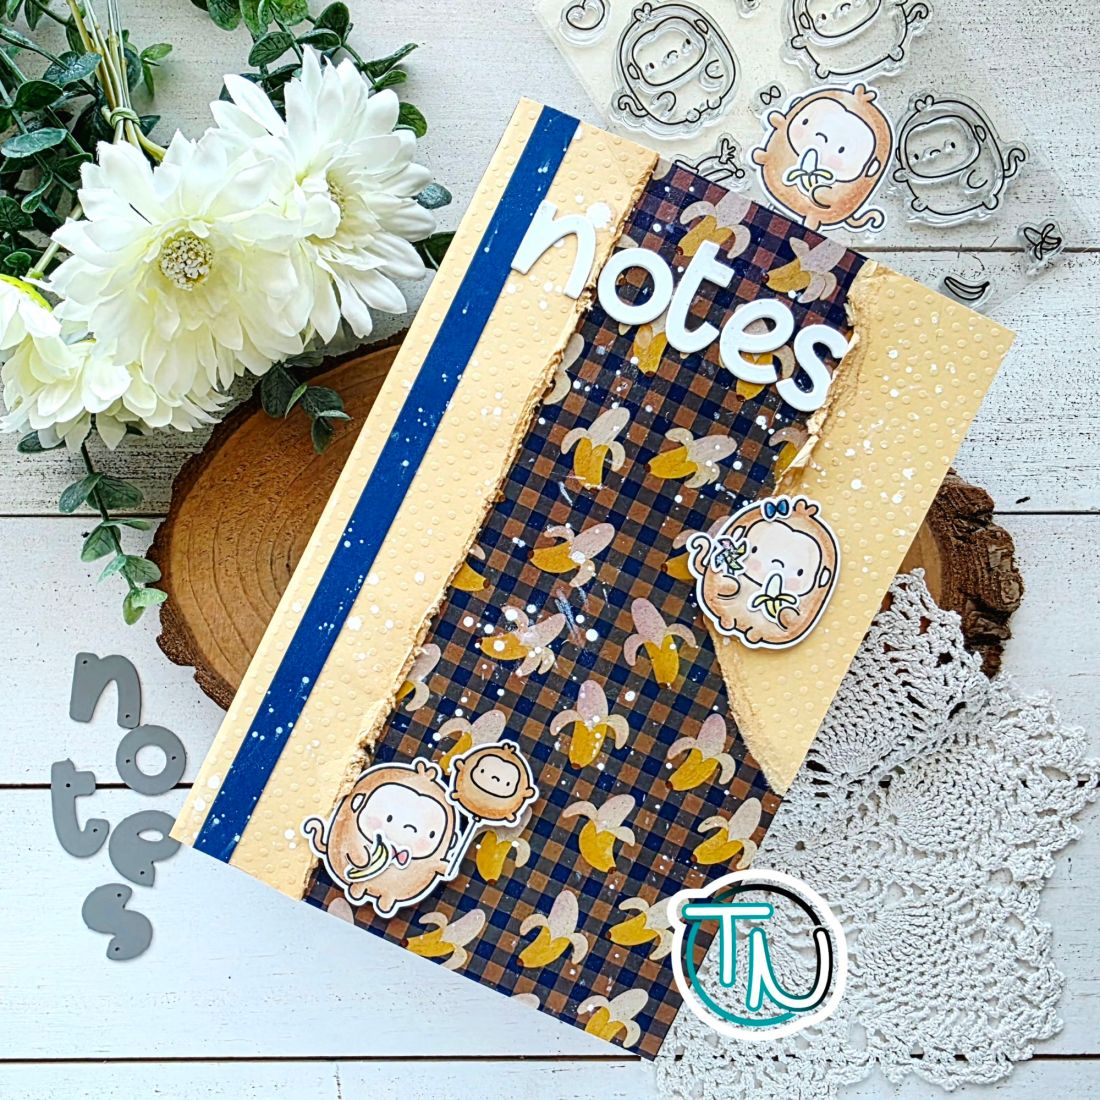
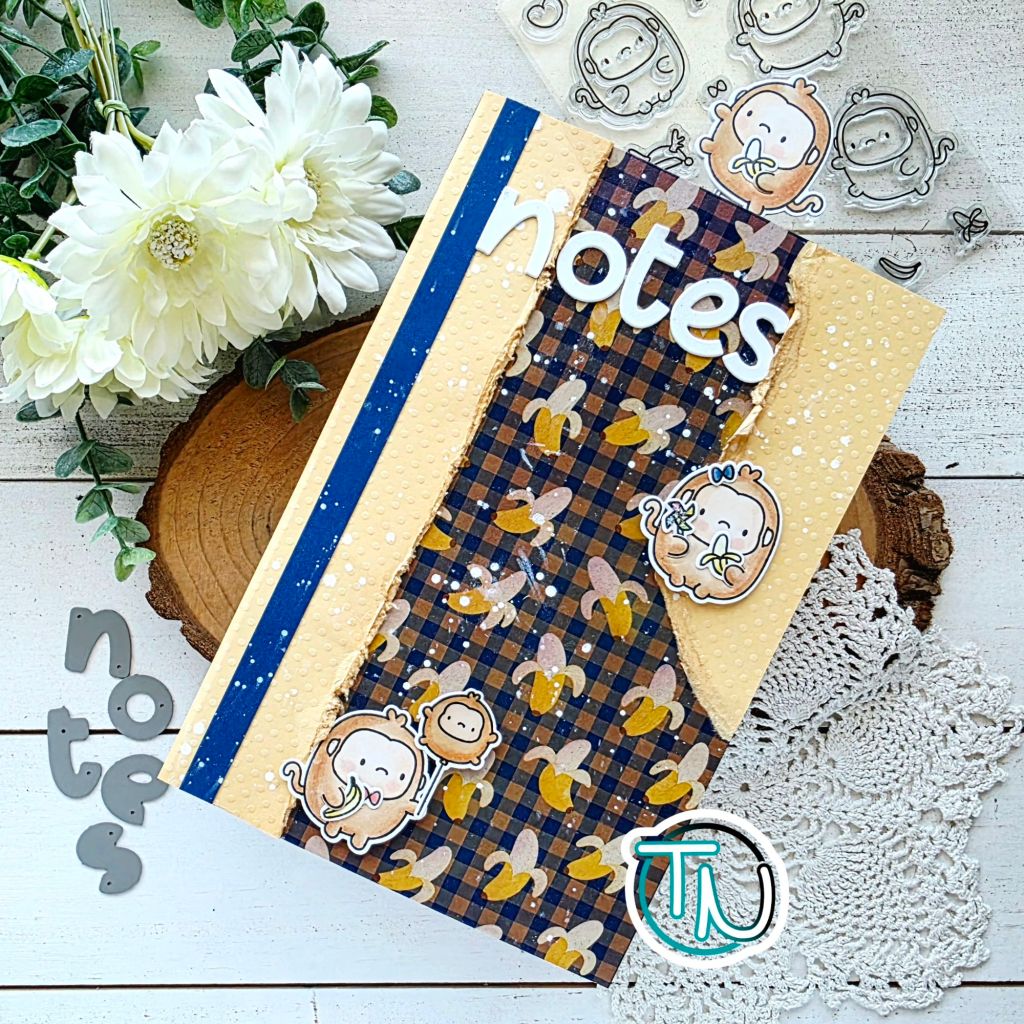
Hey friends! I’m here today with two of my most recent obsessions – decorating journal covers and the Mama Elephant Zodiac series! My husband and I were having some fun trying out our new UV printer and created a printed cover but given it is all new to us, this one got messed up and dislodged while printing. Never fear…it’s not a waste, just give me a minute in the craft room!

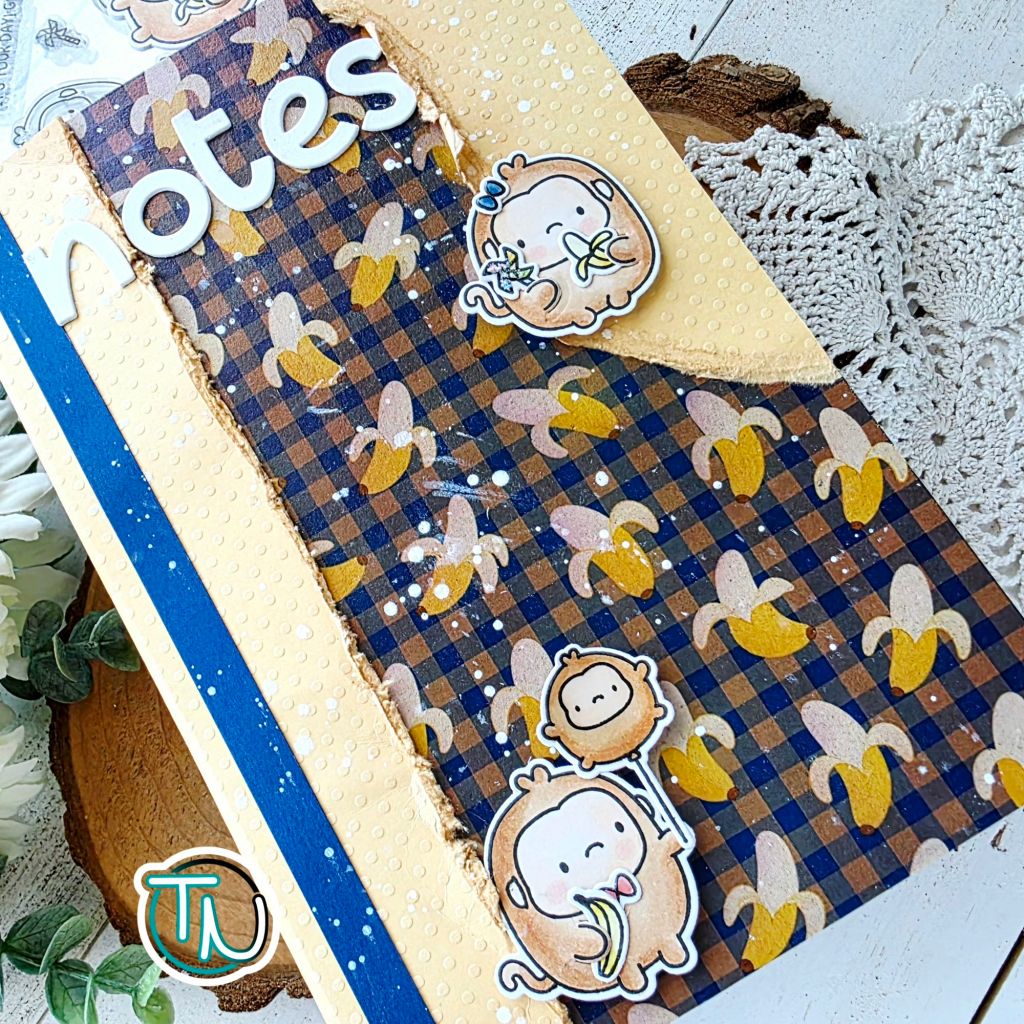
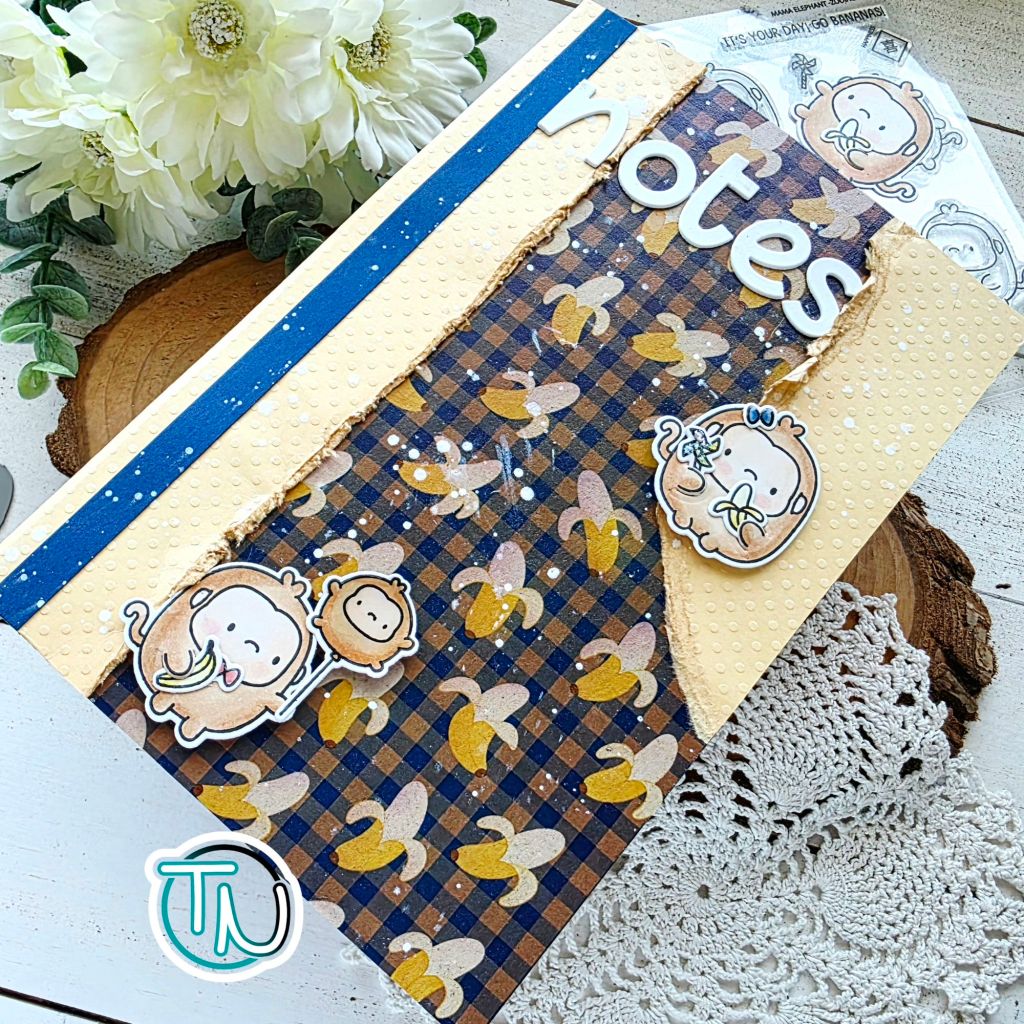
So the gingham banana background was something we designed and were printing. When it dislodged, it tore the corner. Then we also noticed it wasn’t taped down firmly everywhere so some spots were faded looking. No big deal, I just had some fun decorating in ways to cover some of the blemishes.

I started by tearing some yellow cardstock pieces and roughing the edges. I glued them to the cover, then added a fun strip of blue to tie the background together. I splattered the panel with white paint and set it aside to dry.

I stamped and colored images from the Mama Elephant Zodiac Monkey set with copic markers. I used the coordinating dies to cut them out and liquid glue to adhere the bits together. I popped them up on the cover with foam squares. Then went a die cut the letters for the word “notes” 3 times from white cardstock using the Mama Elephant Lucky Alphas die set. I glued the layers together and then to the journal cover.

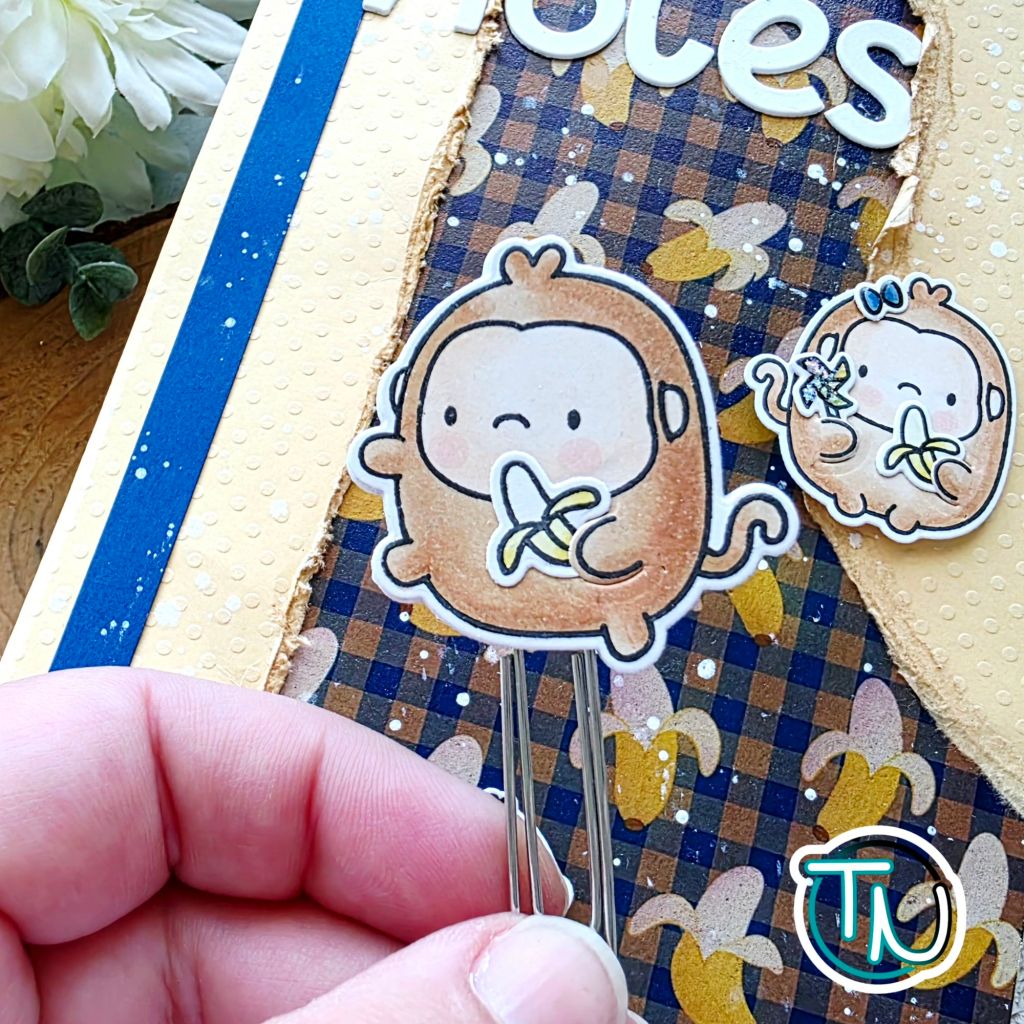
After finishing the cover up with glossy accents and stardust Stickles on the images, I thought it needed something else. So I created a sweet monkey clip to help you keep your place! To create these, I just stamp, color and die cut the original image, then die cut the shape only two more times. Glue one blank to the back of the coloring, add a piece of double-sided tape to the bottom and adhere your paperclip, then use liquid glue to adhere the second blank die cut to seal it all together. Let it dry completely before trying to use it.

Isn’t this the cutest!?!?! I brought it to work to show someone and it immediately went home with that person. I’d say that’s a win.

Products used:
Mama Elephant Zodiac Monkey stamps and dies
Mama Elephant Lucky Alpha dies

Liquid glue
Double-sided tape
Foam squares
Glossy accents
Stickles – stardust

I appreciate you sharing your time with me. Have a fabulous day!

Spellbinders – 3D Eggs and Flowers Inspiration

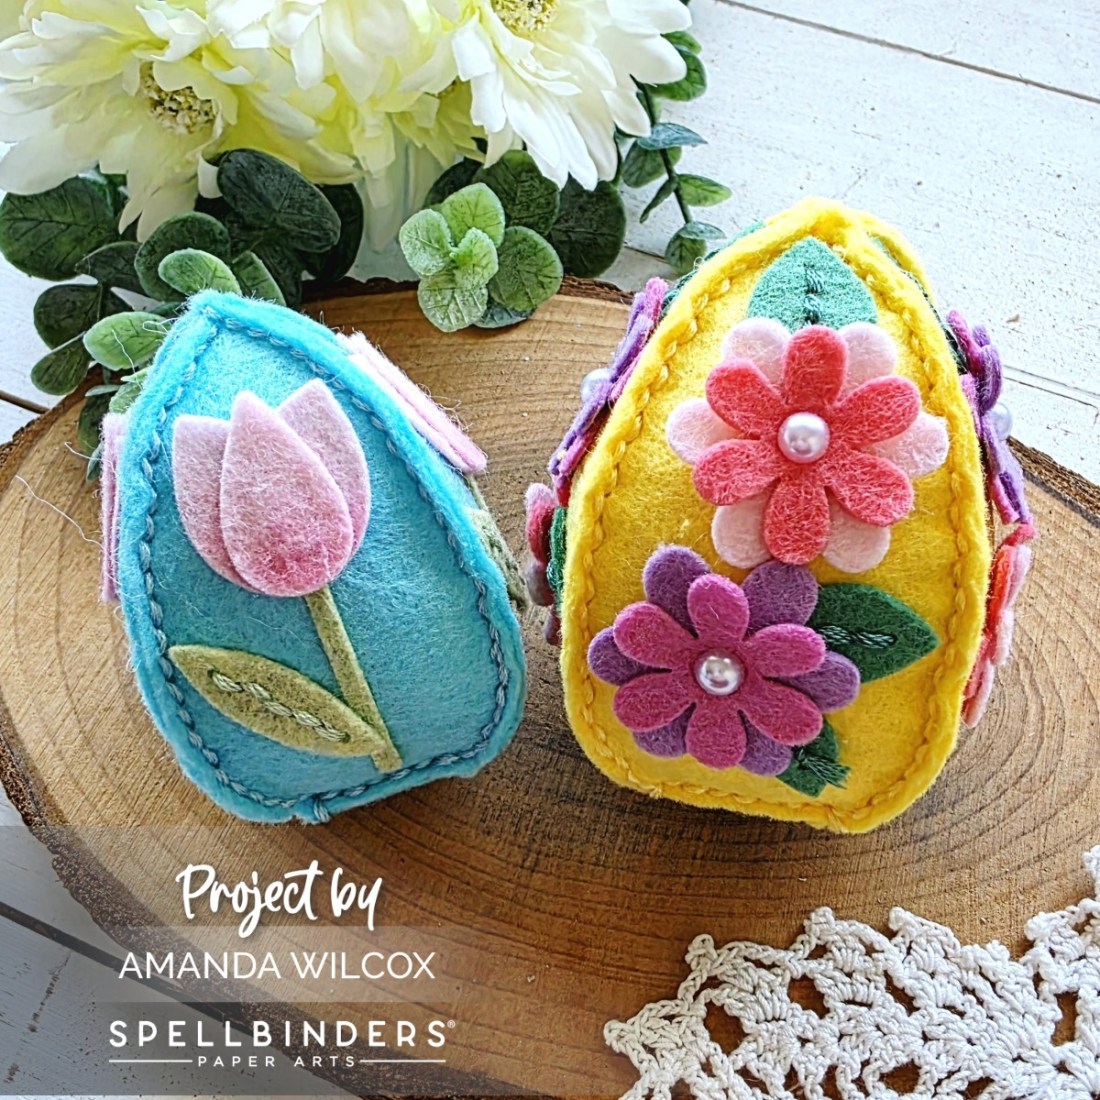
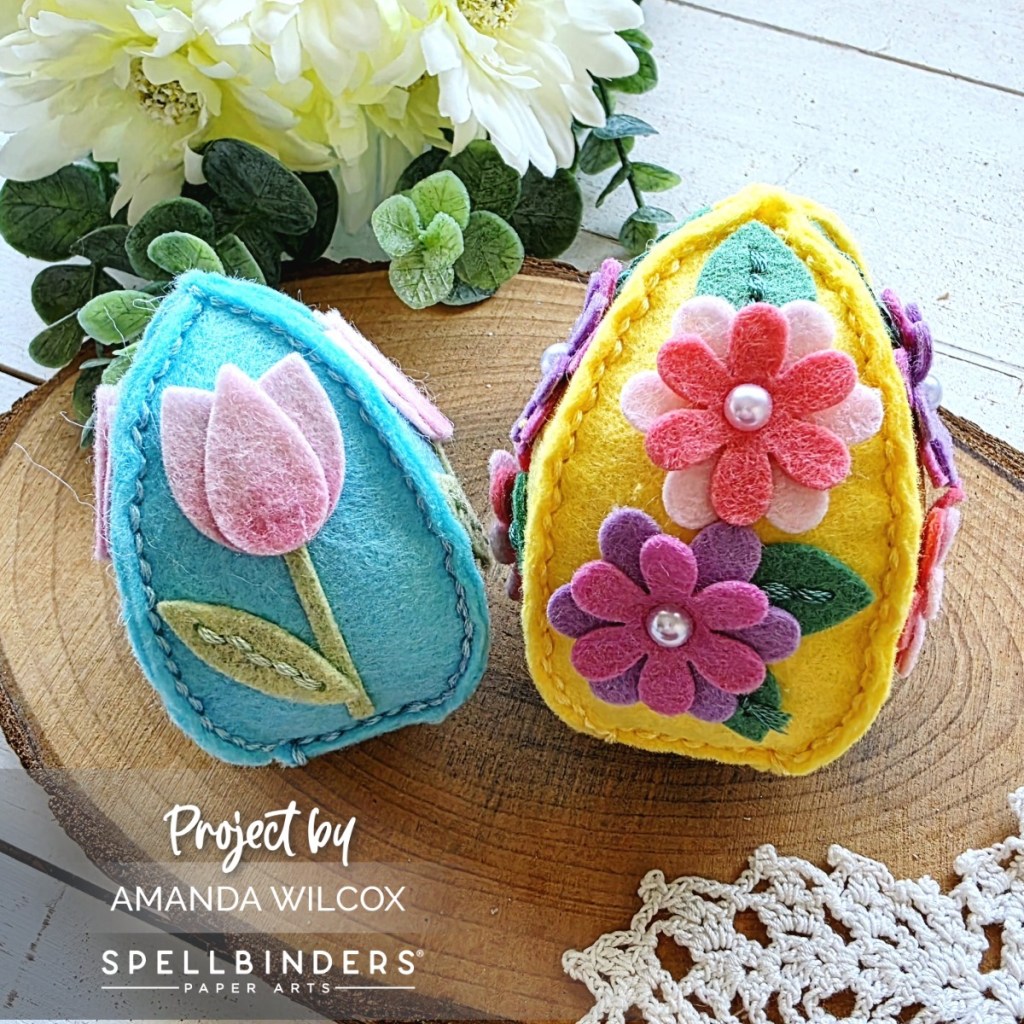
Welcome everyone! Today I have a couple of fun 3D Easter ideas to share with you featuring the new Spellbinders 3D Eggs and Flowers die set. This die set creates 3D Easter eggs with a variety of florals to decorate the sides. There are two sizes included in the set so I made one of each size to start out with.

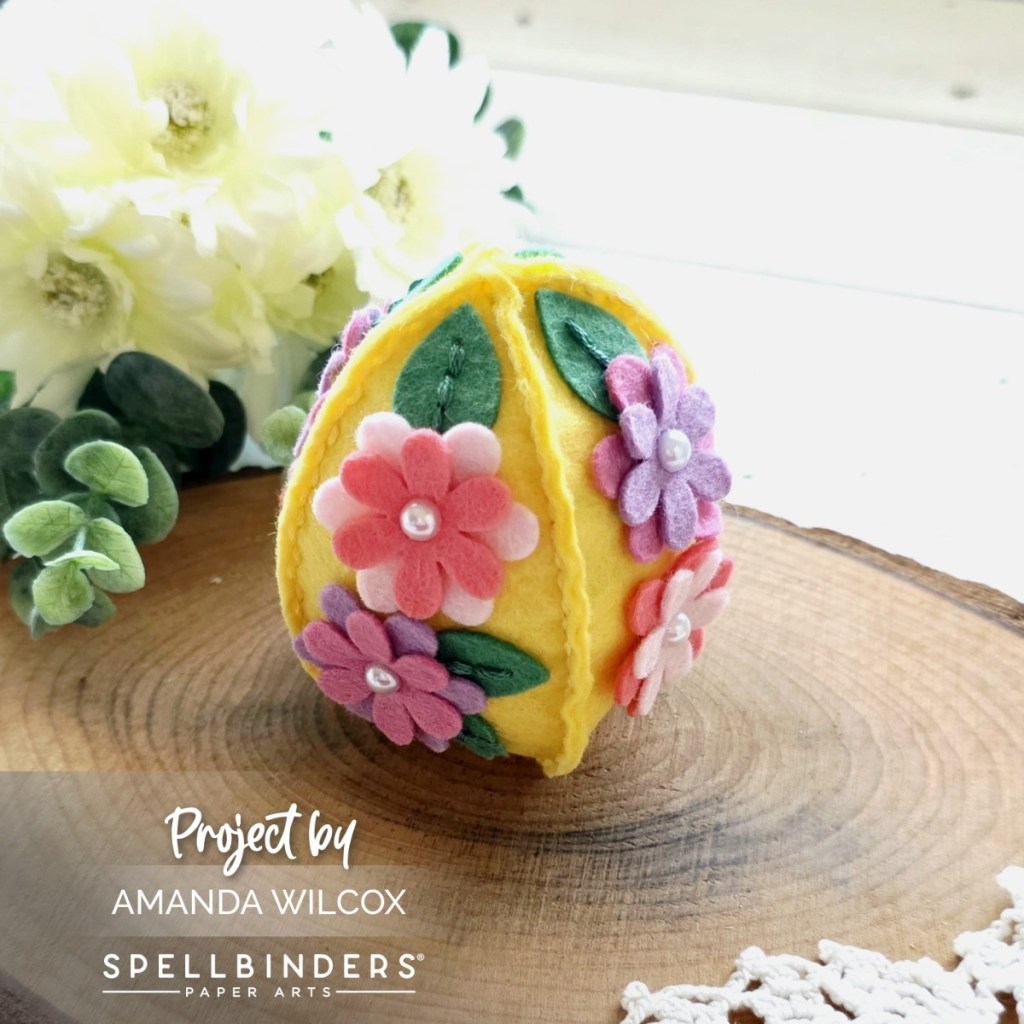
I was also sure to play with multiple variations of the florals available in the set too. I started by choosing color palettes of felt and then die cut enough pieces of everything to create two eggs and decorate all four sides of each one.

The yellow egg is the larger size so I was able to fit two florals and three leaves per side. I used fabric glue to adhere my layers together, stitched all my leaves and then used the fabric glue to adhere decorations to each side before stitching the whole thing together.

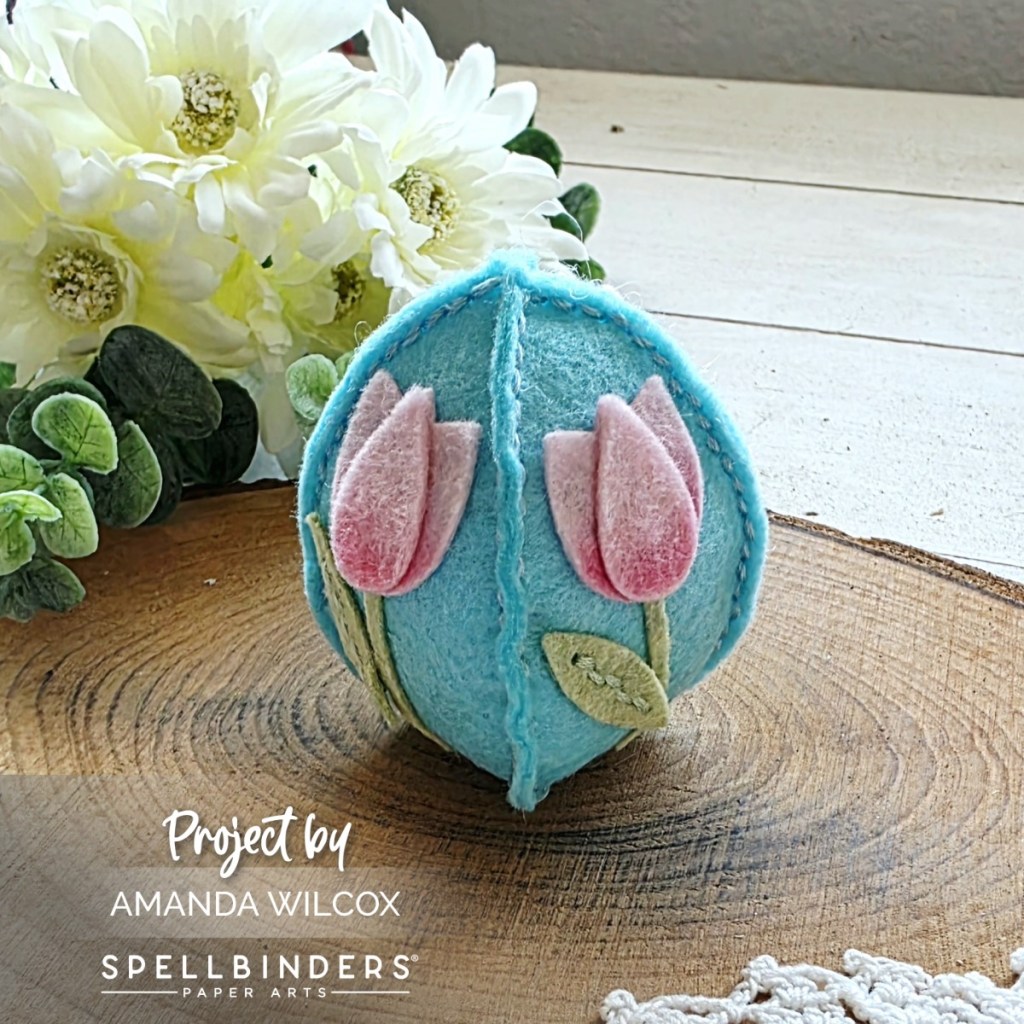
I followed the same order of operations for this smaller teal egg but with the tulips, I used some chalk and a foam pad to add some shading to the bottom of the petals. I love the extra depth it gives them!

I’m excited to make more of these in different colorways and possibly hang them on a garland or maybe decorate the mantel with a cluster or two.

Products used:
3D Eggs and Flowers dies
Benzie felt
DMC embroidery floss

Thermoweb Fabric Fuse

I appreciate you sharing your time with me. Have a fabulous day!

Spellbinders – Spring Felt Stitch & Create

Hello again! I’m stopping by today with a sweet Easter garland that I created with one of the new Spellbinders Spring Felt Stitch & Create die sets. There were only 2 and I still need to stitch up the fun chicken because this bunny/carrot combo had my heart immediately!

I did some pre-die cutting a couple weeks ago and took these guys camping with me. I managed to finish both carrots and a bunny while we were gone and then I finished up the last 2 bunnies last week. After the glue dried on the bows I strung them together using embroidery floss and adding some wood beads between each stitched item.

I can’t wait to hang this up and enjoy it!

Products used:
Felt Carrot Companion die set
Benzie Design wool blend felt
DMC embroidery floss
Thermoweb Fabric Fuse glue

I appreciate you sharing your time with me. Have a fabulous day!
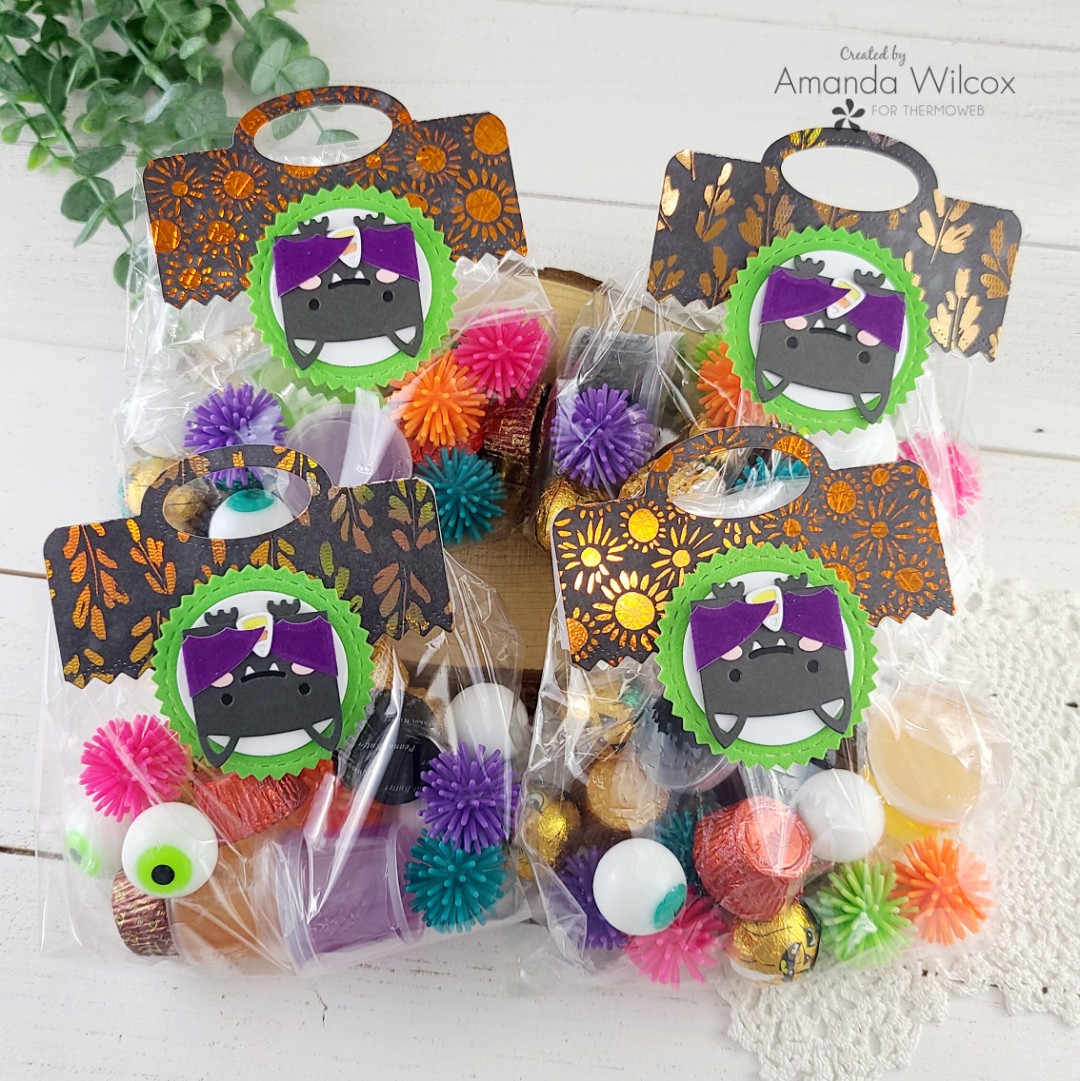
Thermoweb – Halloween Fun Treat Bags

Hello again. It’s a super busy day on here. Just popping in really quick to share a set of adorably fun treat bags I made featuring foiling and flocking fun. All the details are over on the Thermoweb blog today.

I love making gift packages like this! Add the Halloween theme to it and I was over the moon! I had so much fun putting these together!

For all the details, click HERE to get to the blog post.

I appreciate you sharing your time with me. Have a fabulous day!

Coffee Loving Cardmakers – National Coffee Day | Ellen Hutson Cup Cozies

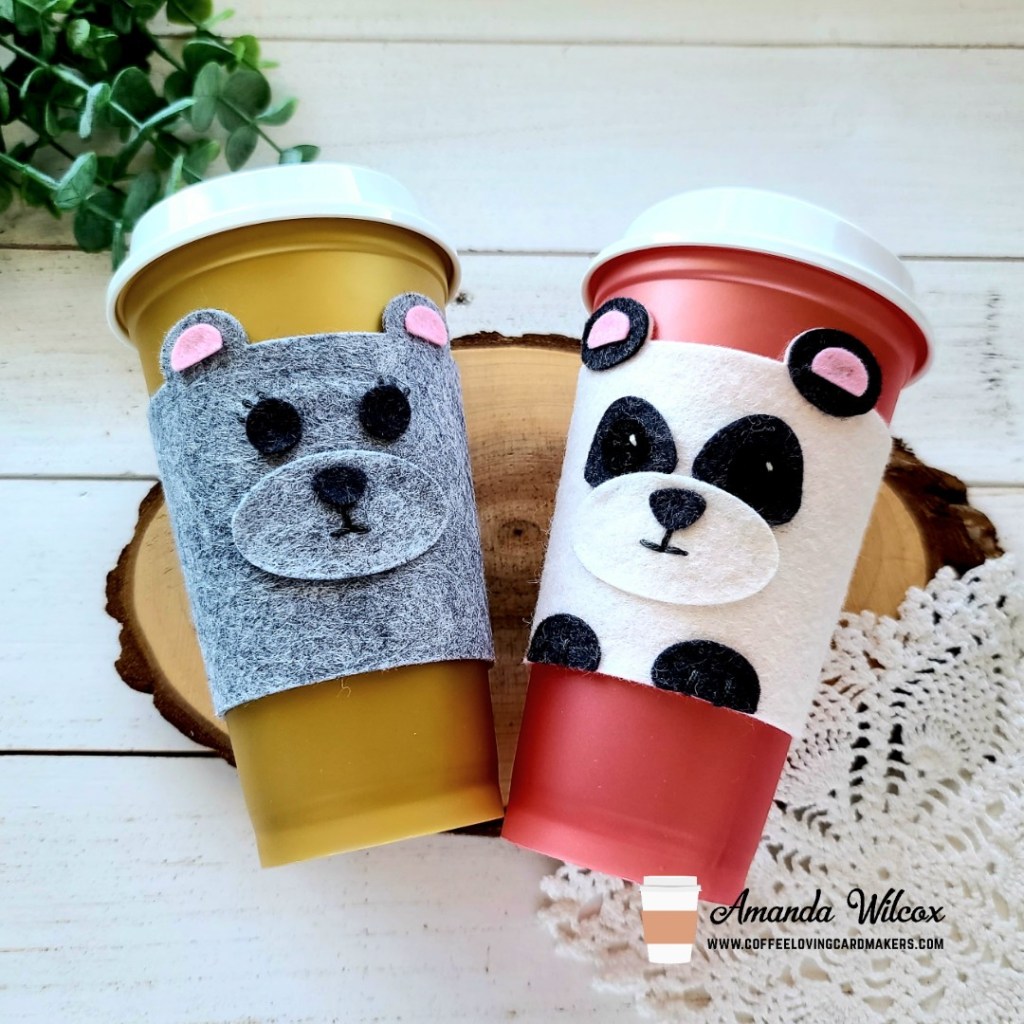
Hey again! As part of the National Coffee Day celebration with the Coffee Loving Cardmakers, we’ve all created super awesome inspiration with the Ellen Hutson Bear Cozy Kit! This kit is SO MUCH FUN! Today I have a couple of simple cozies to share with you featuring items from the kit.

First I created the simple gray bear on the left using only items from the kit. I used Thermoweb FabricFuse liquid adhesive to adhere all of my pieces together and then stitched in a little detail like the mouth and eyelashes.

For the second cozy, I just had to try a panda. They are quite literally my VERY FAVORITE animal and it just had to be done. Lol. I cut the cozy from winter white felt and then the accents from charcoal felt. I cut the eyes from black. In the photos it’s hard to tell the distinction but in person the eyes really do stand out. After gluing these pieces together, I added some fun stitching detail on here too.

There is a die in the set that cuts a row of holes which is perfect for stitching the two sides of your cozy together. You can see here how I stitched the gray one together. Also the little extra detail I gave with that sweet heart and some extra stitches too!

Products used on today’s projects:
Ellen Hutson Bear Cozy Kit
Ellen Hutson felt – charcoal, black, winter white, linen, carnation

Head over to the Coffee Loving Cardmakers blog for a chance to win your own kit!

I appreciate you sharing your time with me. Have a fabulous day!

Thermoweb – Collaboration with Benzie Design

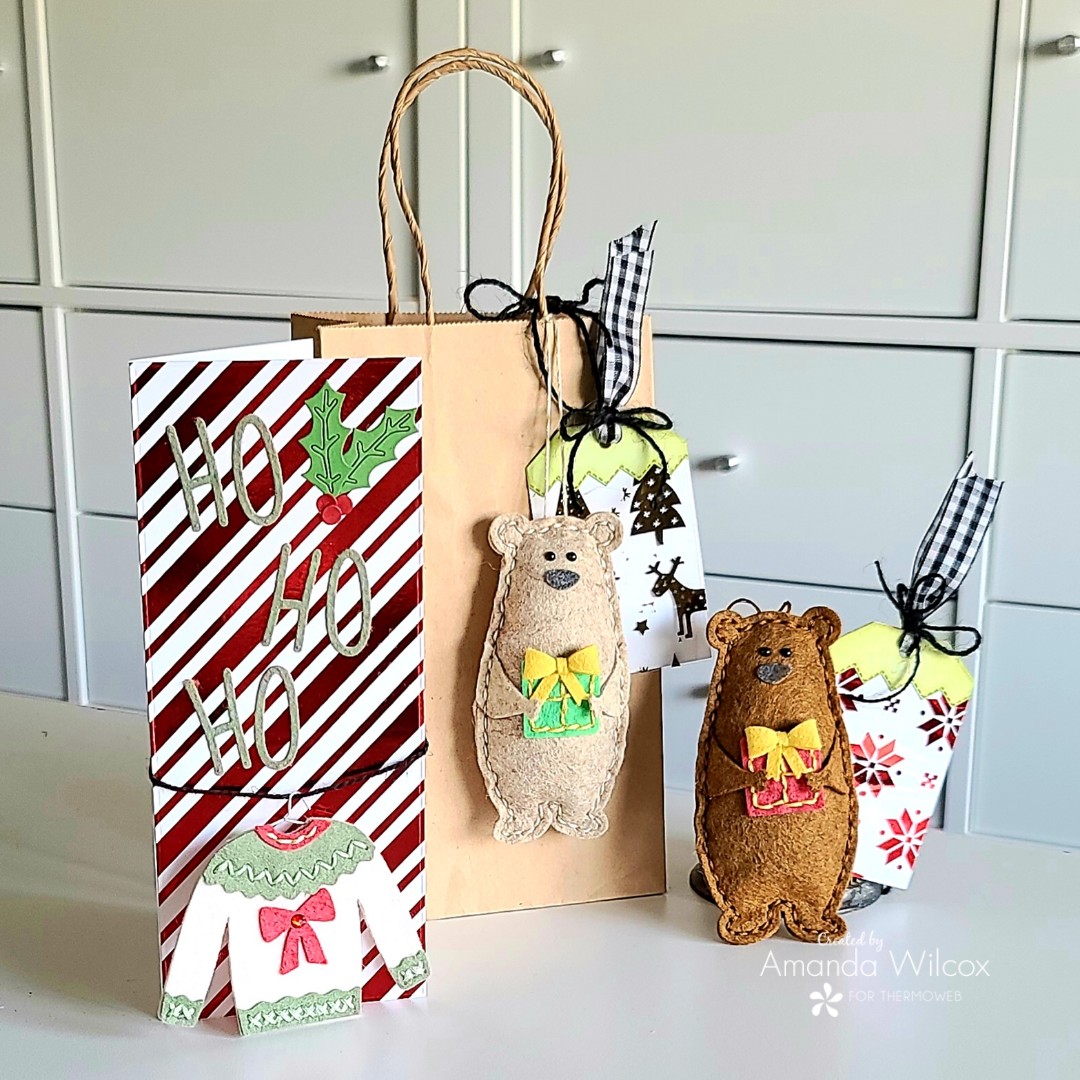
Oh my goodness! I am so excited to share that Thermoweb and Benzie Design have partnered up for a really awesome Christmas in July collaboration! They’ve got designers from the paper team and fabric team creating awesome projects all week long! Today I have some ornaments, tags and a card to share!

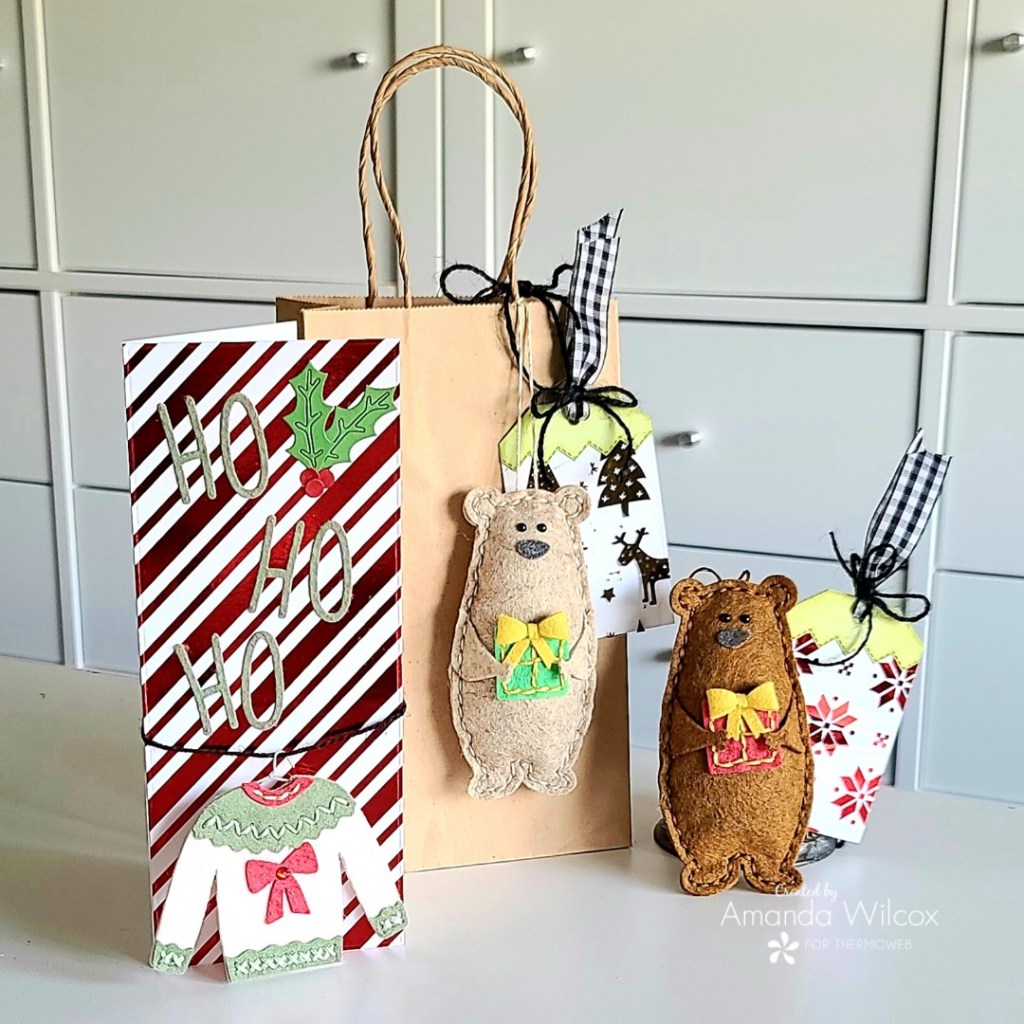
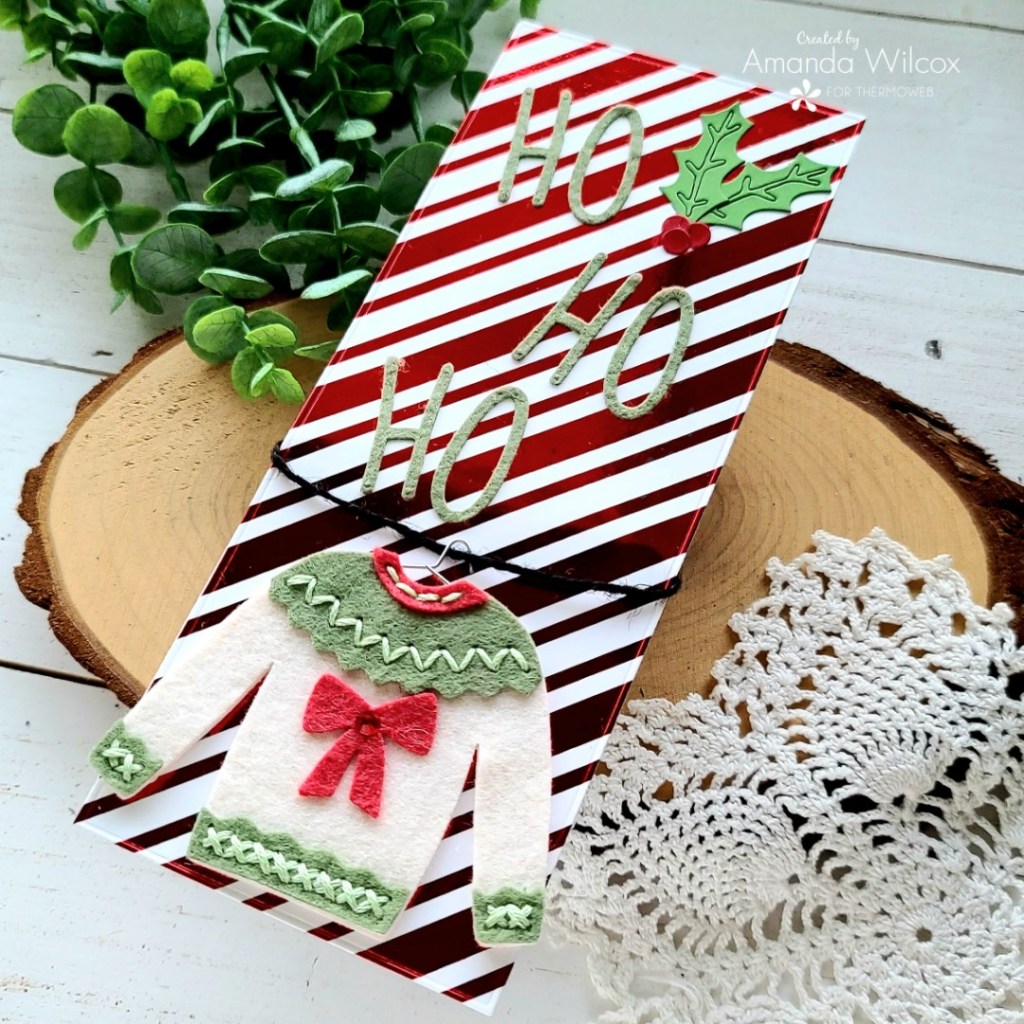
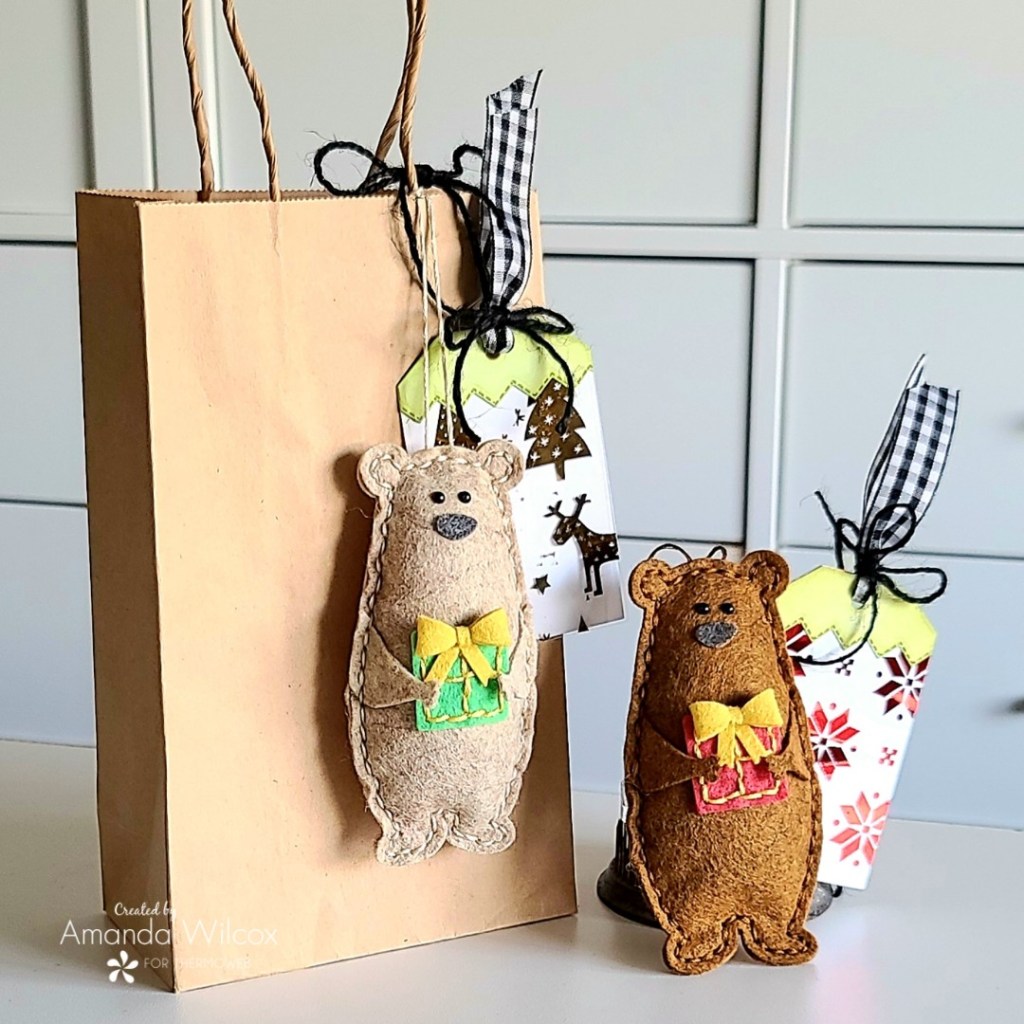
Here’s a quick look at all the fun things I created for the collaboration! The sweet bears and foiled tags are great together or on their own. Tied to a package or maybe affixed to an envelope even. And the Christmas card is fun and the sweater is removable to hang on the tree!

Here’s a closer look at the Christmas card. The fun foiled background mixed with the fuzzy texture from the felt are so awesome! And I can’t get enough of the Ugly Christmas Sweater dies from Benzie! They are so fun!

Here’s another look at those sweet bears and gift tags. I have been obsessed with these bears for a while and love making them hold lots of different things. For this project I gave them each a Christmas gift with a bow on top! The tags are two layers with foiled acetate on top and white cardstock for writing a message or the recipient’s name on the bottom.

If you’d like to see a step-by-step for these projects and more head over to the Thermoweb blog and check it all out!

I appreciate you sharing your time with me. Have a fabulous day!

Thermoweb – Laura Kelly Treat Boxes

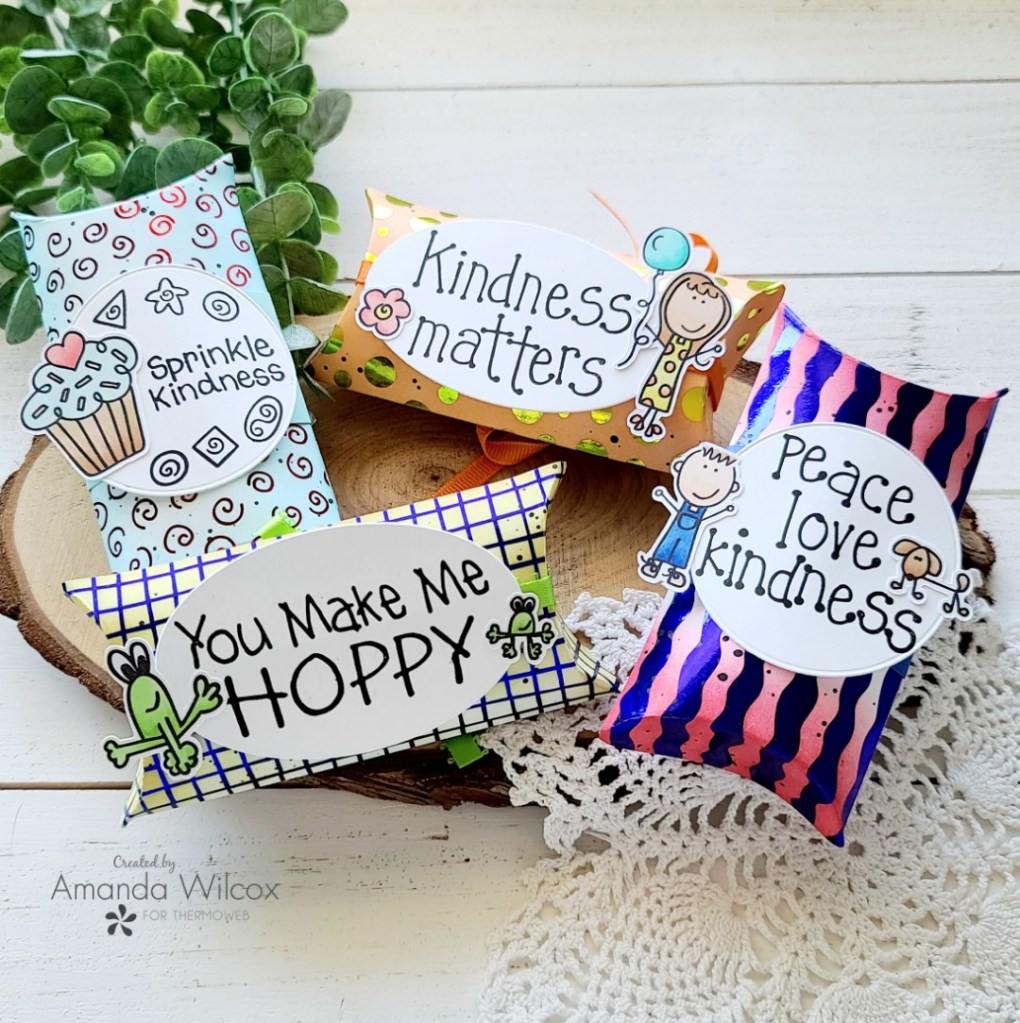
Hey friends! I’m super excited to have some fun treat boxes over on the Thermoweb blog today featuring stamps, dies, toner card fronts and new foils in a new line partnering with Laura Kelly! Her doodles are so fun and whimsical I knew I wanted to create a variety of fun treat boxes to add goodies to and hand out to friends! They’re sure to make them smile!

I used to make treat boxes for coworkers for just about every holiday or occasion I could come up with and loved it! Since working from home I don’t get that chance really so this was a great excuse to pull out some dusty supplies and give them some love!

Head over to the Thermoweb blog for a tutorial how I created these fun boxes.

I appreciate you sharing your time with me. Have a fabulous day!
Trinity Stamps – Ocean Themed Magnetic Picture Frames

Hey friends! I’m over on the Trinity Stamps blog today with NOT a card project! Haha! Instead, today I’m making magnetic picture frames with an ocean theme to go with the photos that I want to put in them.

I made some like this around Christmas time years ago and they were so fun! Everyone seemed to enjoy them so I thought it would be great to bring them back and share how I made them.

These are kind of a two-for-one project because you get the frame portion but I always decorate the part that comes out of the middle too. Let’s get started!

I gathered some basic supplies, starting with the photos that I wanted to frame so I could choose images/colors accordingly. I chose the Trinity Stamps winter hues slimline paper pad for my paper and you can find the magnet sheets for less than $2 at Walmart. You may even be able to get something that would work at the dollar store. This isn’t a costly project at all. Moving on…

You need the stitched rectangle and smaller square dies from the Trinity Stamps Slimline Frame and Fold die set and whatever images you want to use to decorate. I chose Turtley Awesome and Ocean Reef Builder stamp sets.

I inked them up and colored them with my copic markers. Then I used the coordinating dies for each set to cut them out and set them aside. Now for the magnet portion of the project.

I trimmed the magnetic sheet down to 4 inches wide, removed the backing paper and smoothed down a piece of striped paper from the winter hues paper pad. Then I die cut 2 of the stitched rectangles from it, positioned the square die and ran them through again. I prefer to do this in two steps because you can get funny warping on the thinner sides if you do them at the same time.

Now it’s time to decorate all of our pieces! I just used liquid glue to adhere the images wherever they touched the frames. Nothing special needed.

When I was finished, I trimmed down my photos and adhered them to the back of the magnet with a little washi tape. It’s not totally necessary but ensures they stay where I want them. Then I went over the images with some unicorn Stickles and glossy accents in various places.

And here are the rectangles that were cut out when I created the frames. I used the Slimline Great Outdoor Border dies to cut a little kraft cardstock and create a sandy ocean bottom for my mini scenes. I use these to hold photos that are too big to fit in the frames. They also have glossy accents and unicorn Stickles for added shine and sparkle.

Products used on today’s project:
Slimline Frame and Fold dies
Turtley Awesome stamps and dies
Ocean Reef Builder stamps and dies
Slimline Great Outdoor Borders
Slimline Paper Pad – winter hues
Stickles – unicorn
Glossy accents
Copic markers
Magnetic sheets

I appreciate you sharing your time with me. Have a fabulous day!
(This blog uses affiliate links whenever possible, at no additional cost to you.)