Hello there! I’m so excited to be back today sharing these ADORABLE plush bears using wool felt and Essentials by Ellen Bear Hugs dies. They are so stinking cute and so versatile! Like many crafters I don’t just make cards. I love all things creative from crocheting and sewing to woodworking and painting. I watched a video by Nichol Spohr (click here to see it) and instantly fell in love with these guys. I had to have them. They are simple and so fun to put together.
In case you’re curious, I’ll run through how I put them together but if you’re more of a process person, I highly suggest watching Nichol’s video (and subscribing to her channel, she’s amazing!).

We’re starting off with a photo of the dies that come in the Bear Hugs set and the basics to create a bear cut out and ready to go. This time I didn’t use the die cut for the eyes and, instead, opted to make french knots. You could also use gems or pearls too! So many options!
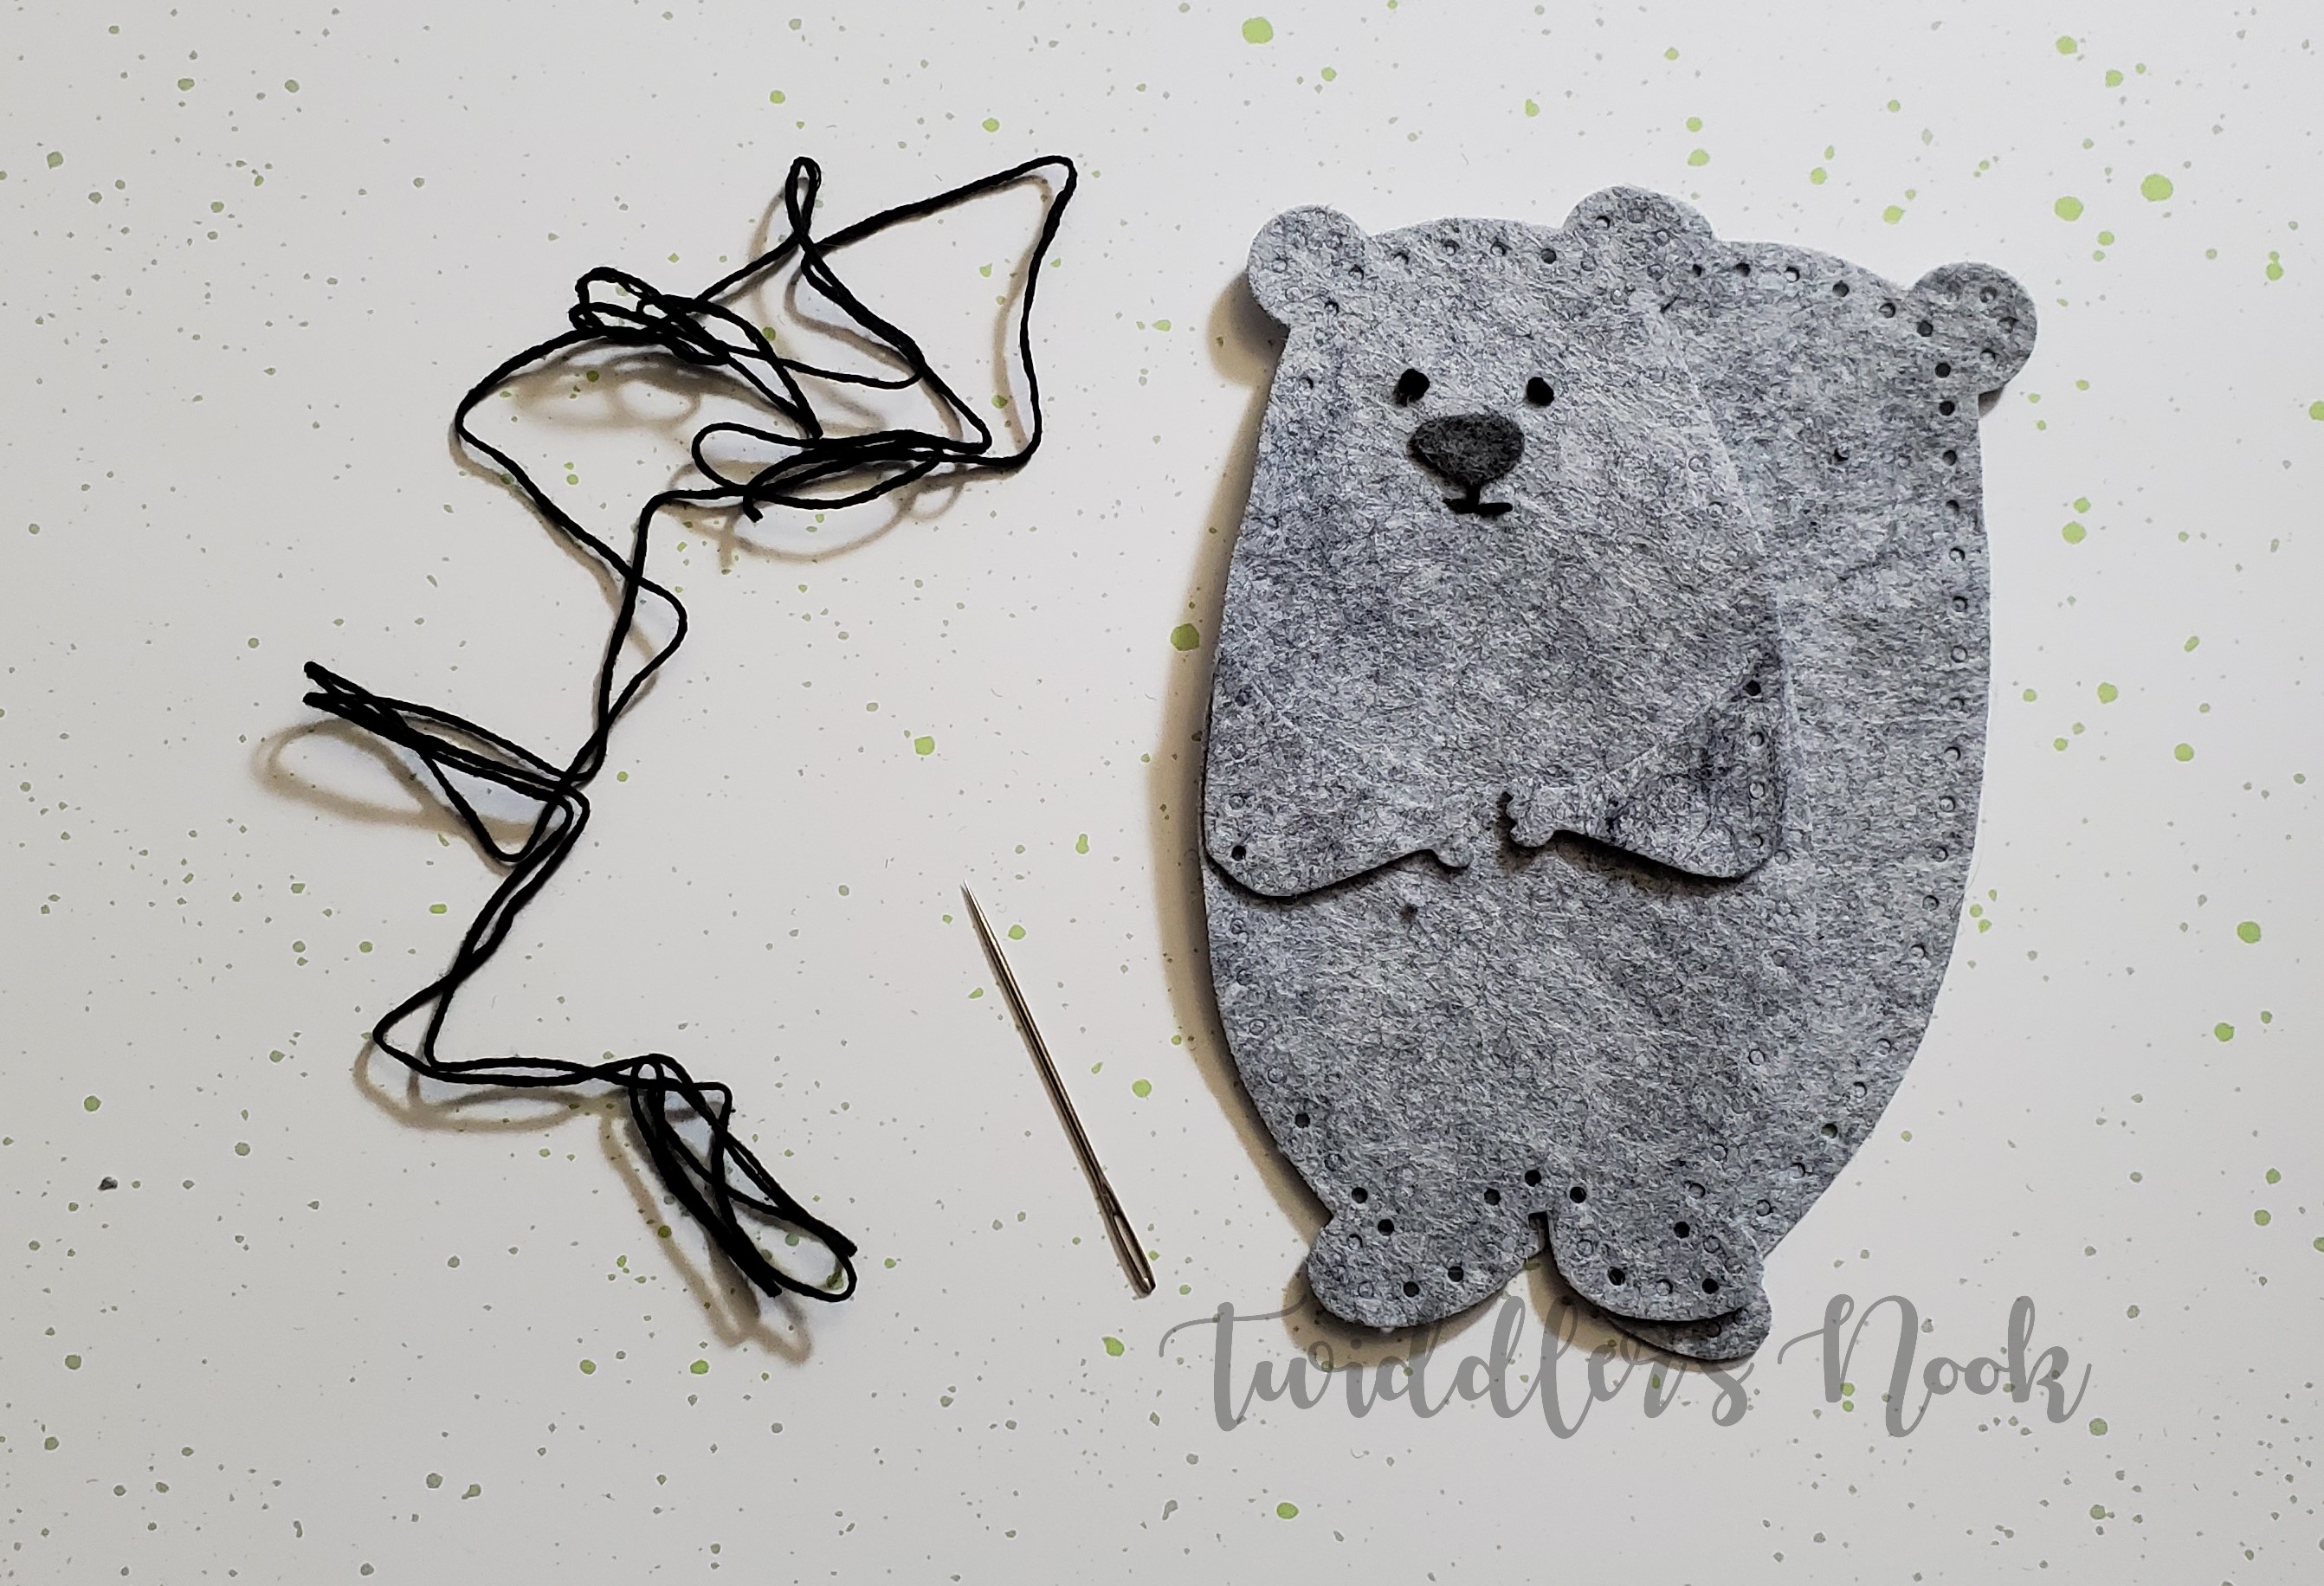
As you can see, I’ve glued the nose on with fabric glue, stitched on a mouth and eyes and am ready to start stitching the bear together. To measure my embroidery floss I loosely wrap the string around the bear twice making sure that there is enough extra to tie it off at the end. I like to start at the bottom of the left arm and go up and around from there.
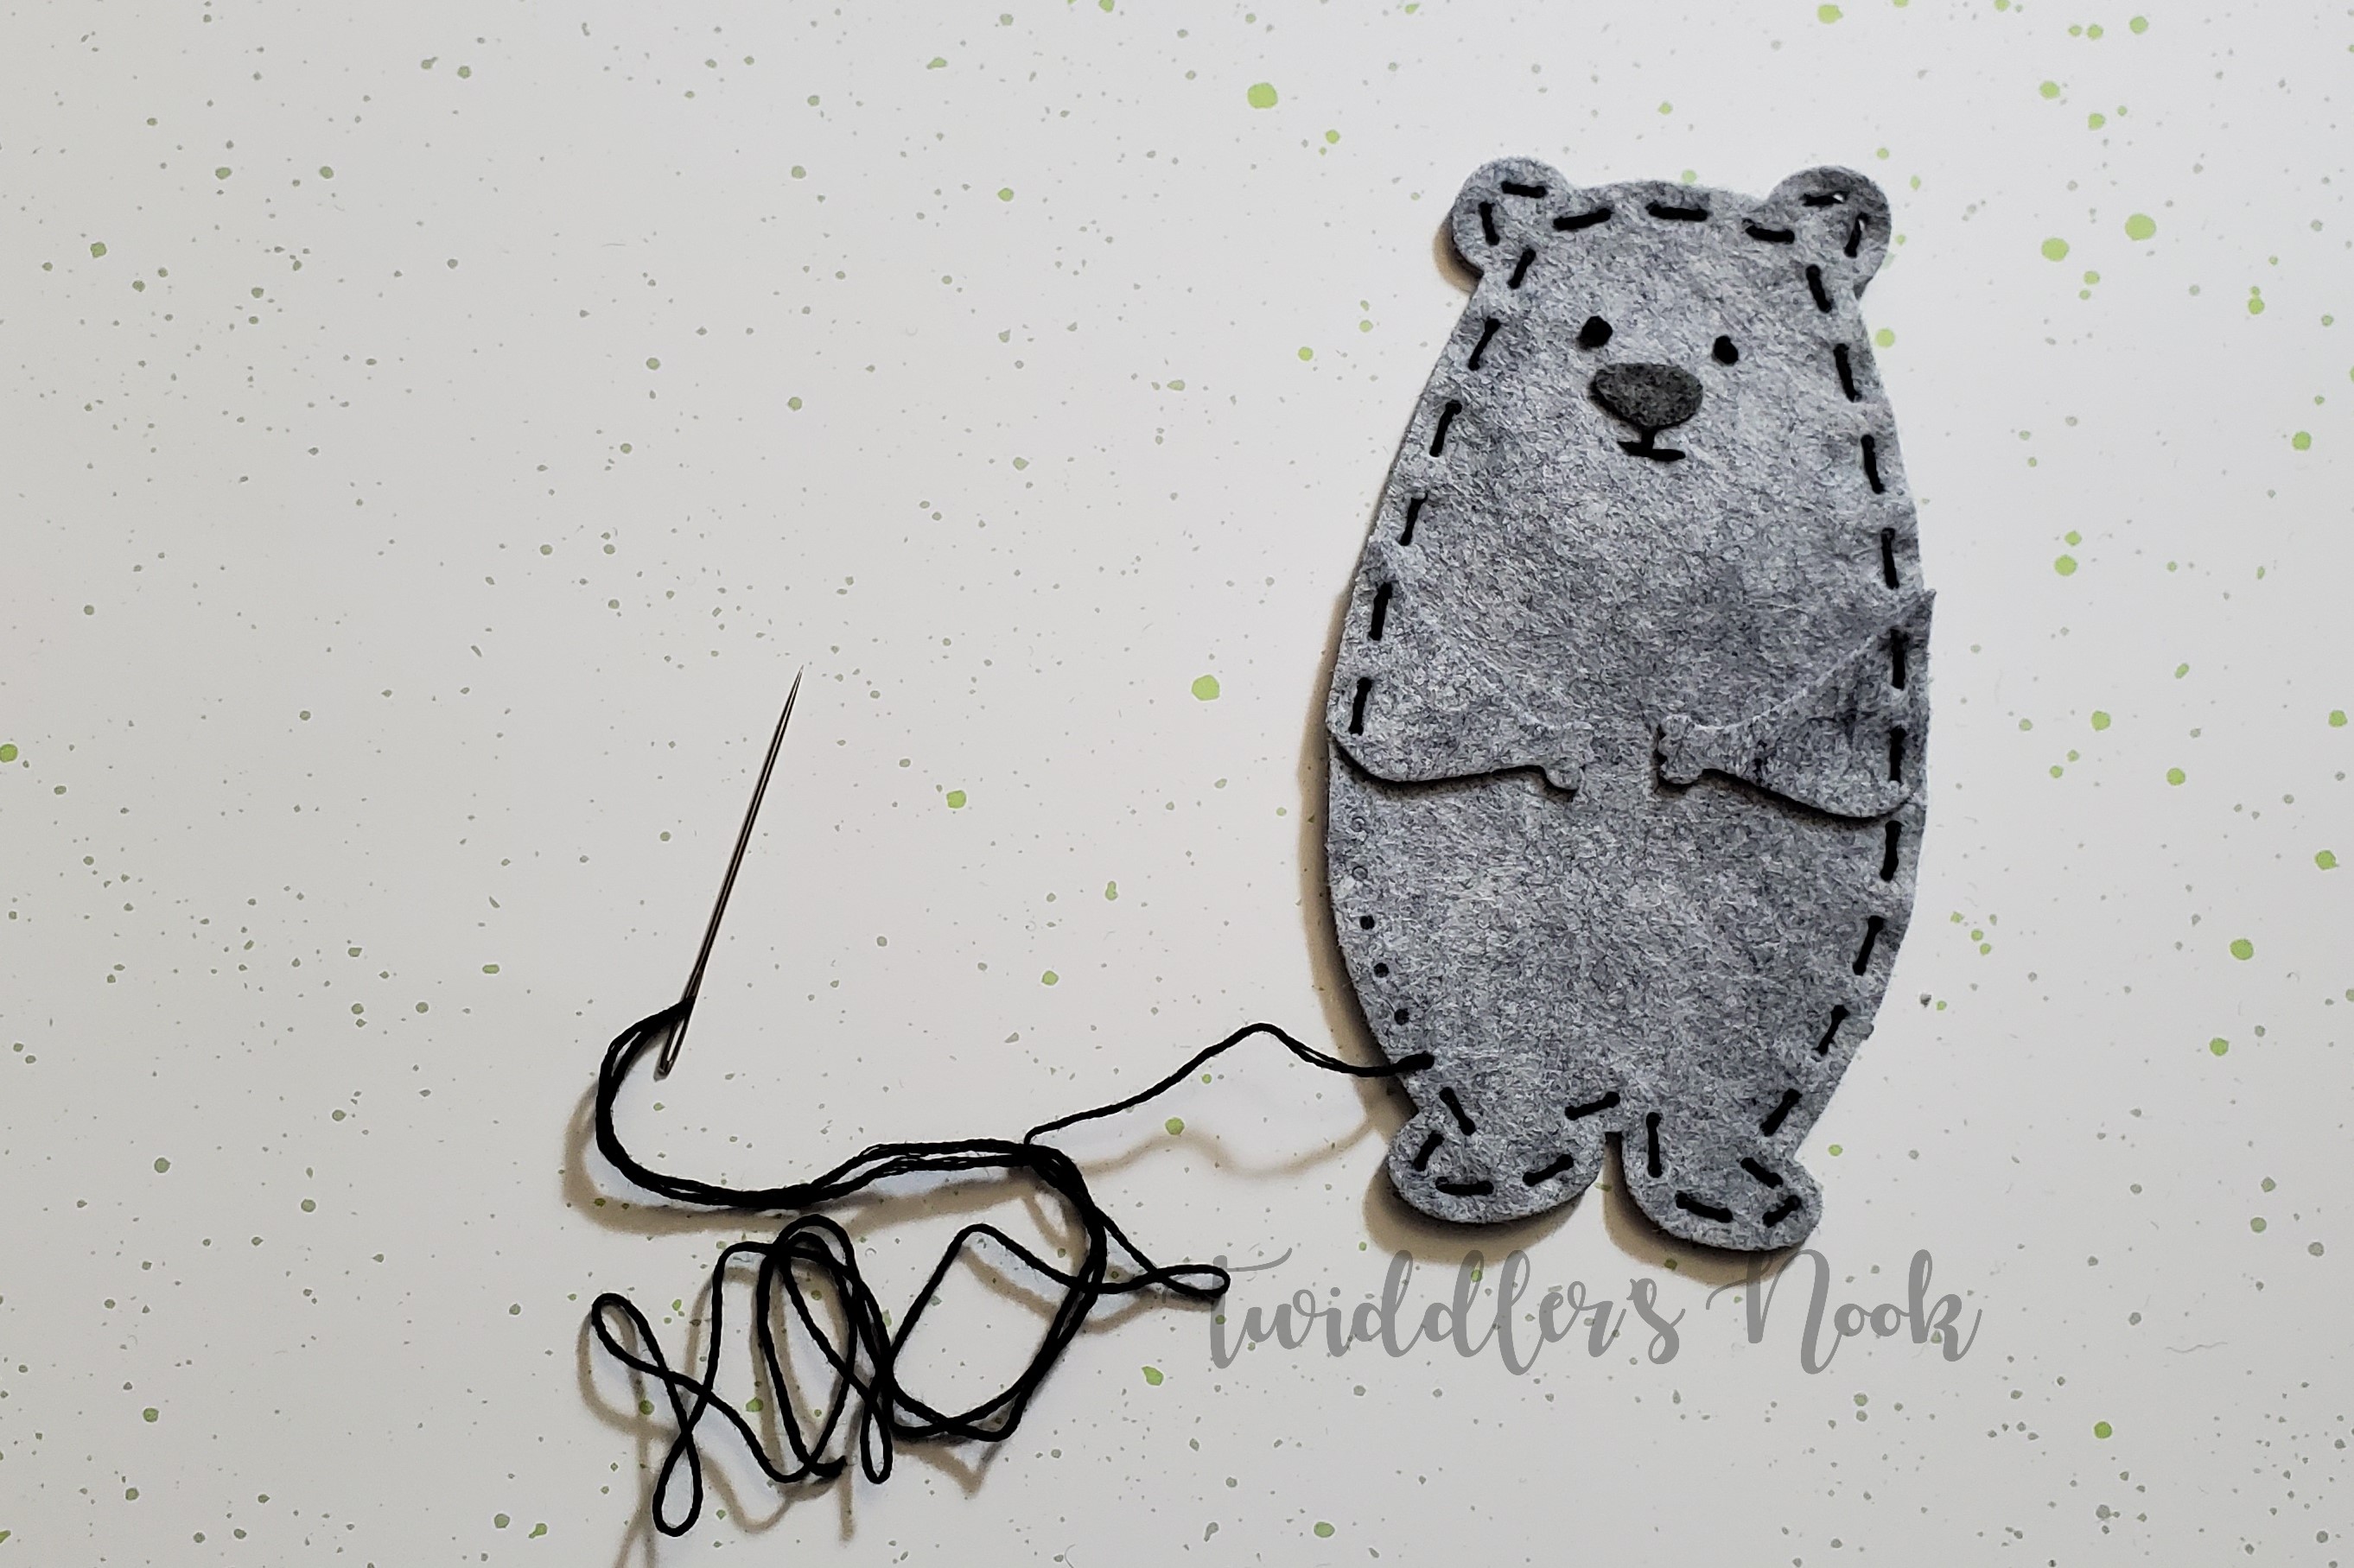
I stop right about here to stuff him lightly so he has good dimension but not so much that it’s bursting out the sides. Once he’s stuffed I just continue around a second time and then tie it off, hiding the tie in-between the layers of felt.

Here are two of these cuties all done and ready for some embellishing. From the photo of the dies in the set, you can see that there is a larger heart and a square to make a present for the bear to hold. I thought I’d make both to show you what they look like. The heart is always my favorite but I’m really excited to make a set of these with Christmas themed gifts in their hands. Imagine getting a package with one of these guys tied to it. I’d melt!

All done and ready to make someone smile. I also used a needle to thread a string through the top stitching so they can be tied to a gift bag or package.
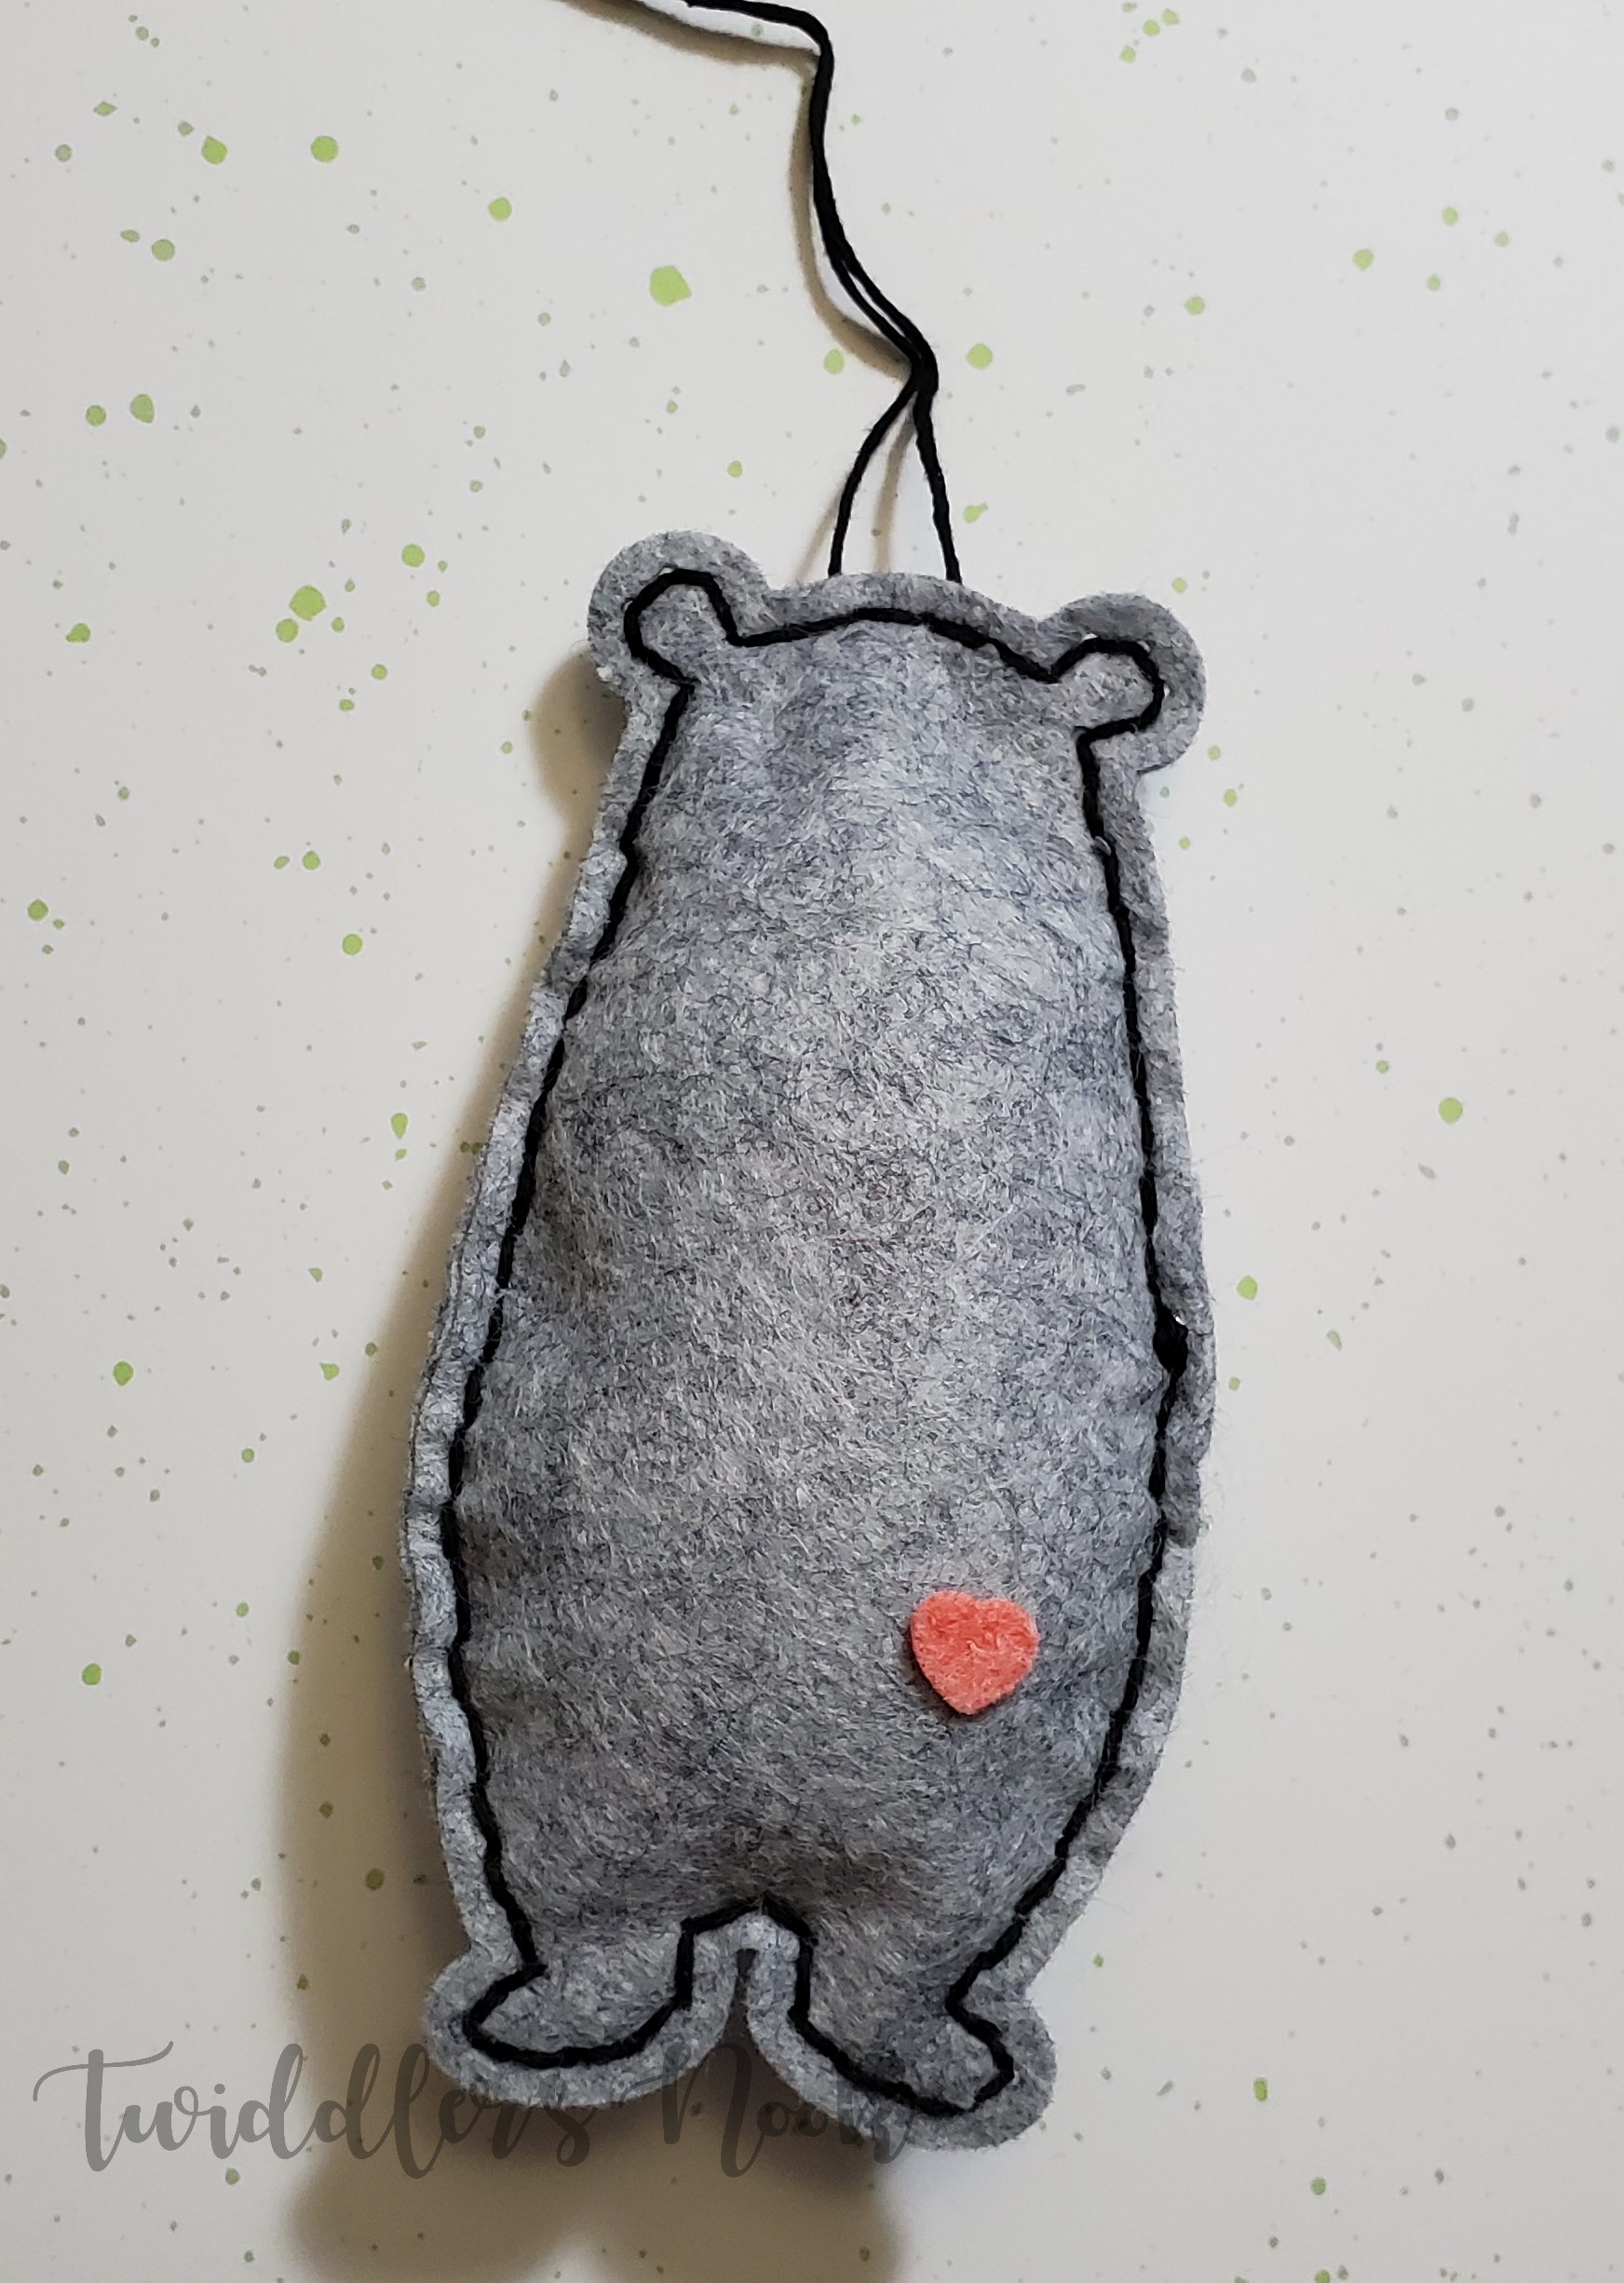
One last little detail I got from Nichol was a mini heart on his bum because…it’s adorable! Who needs more of a reason?!?
I hope you enjoyed this little tutorial. Do you have creative outlets other than card making or stamping? I’d love to know in the comments below.
I appreciate you sharing your time with me. Have a fabulous day!
