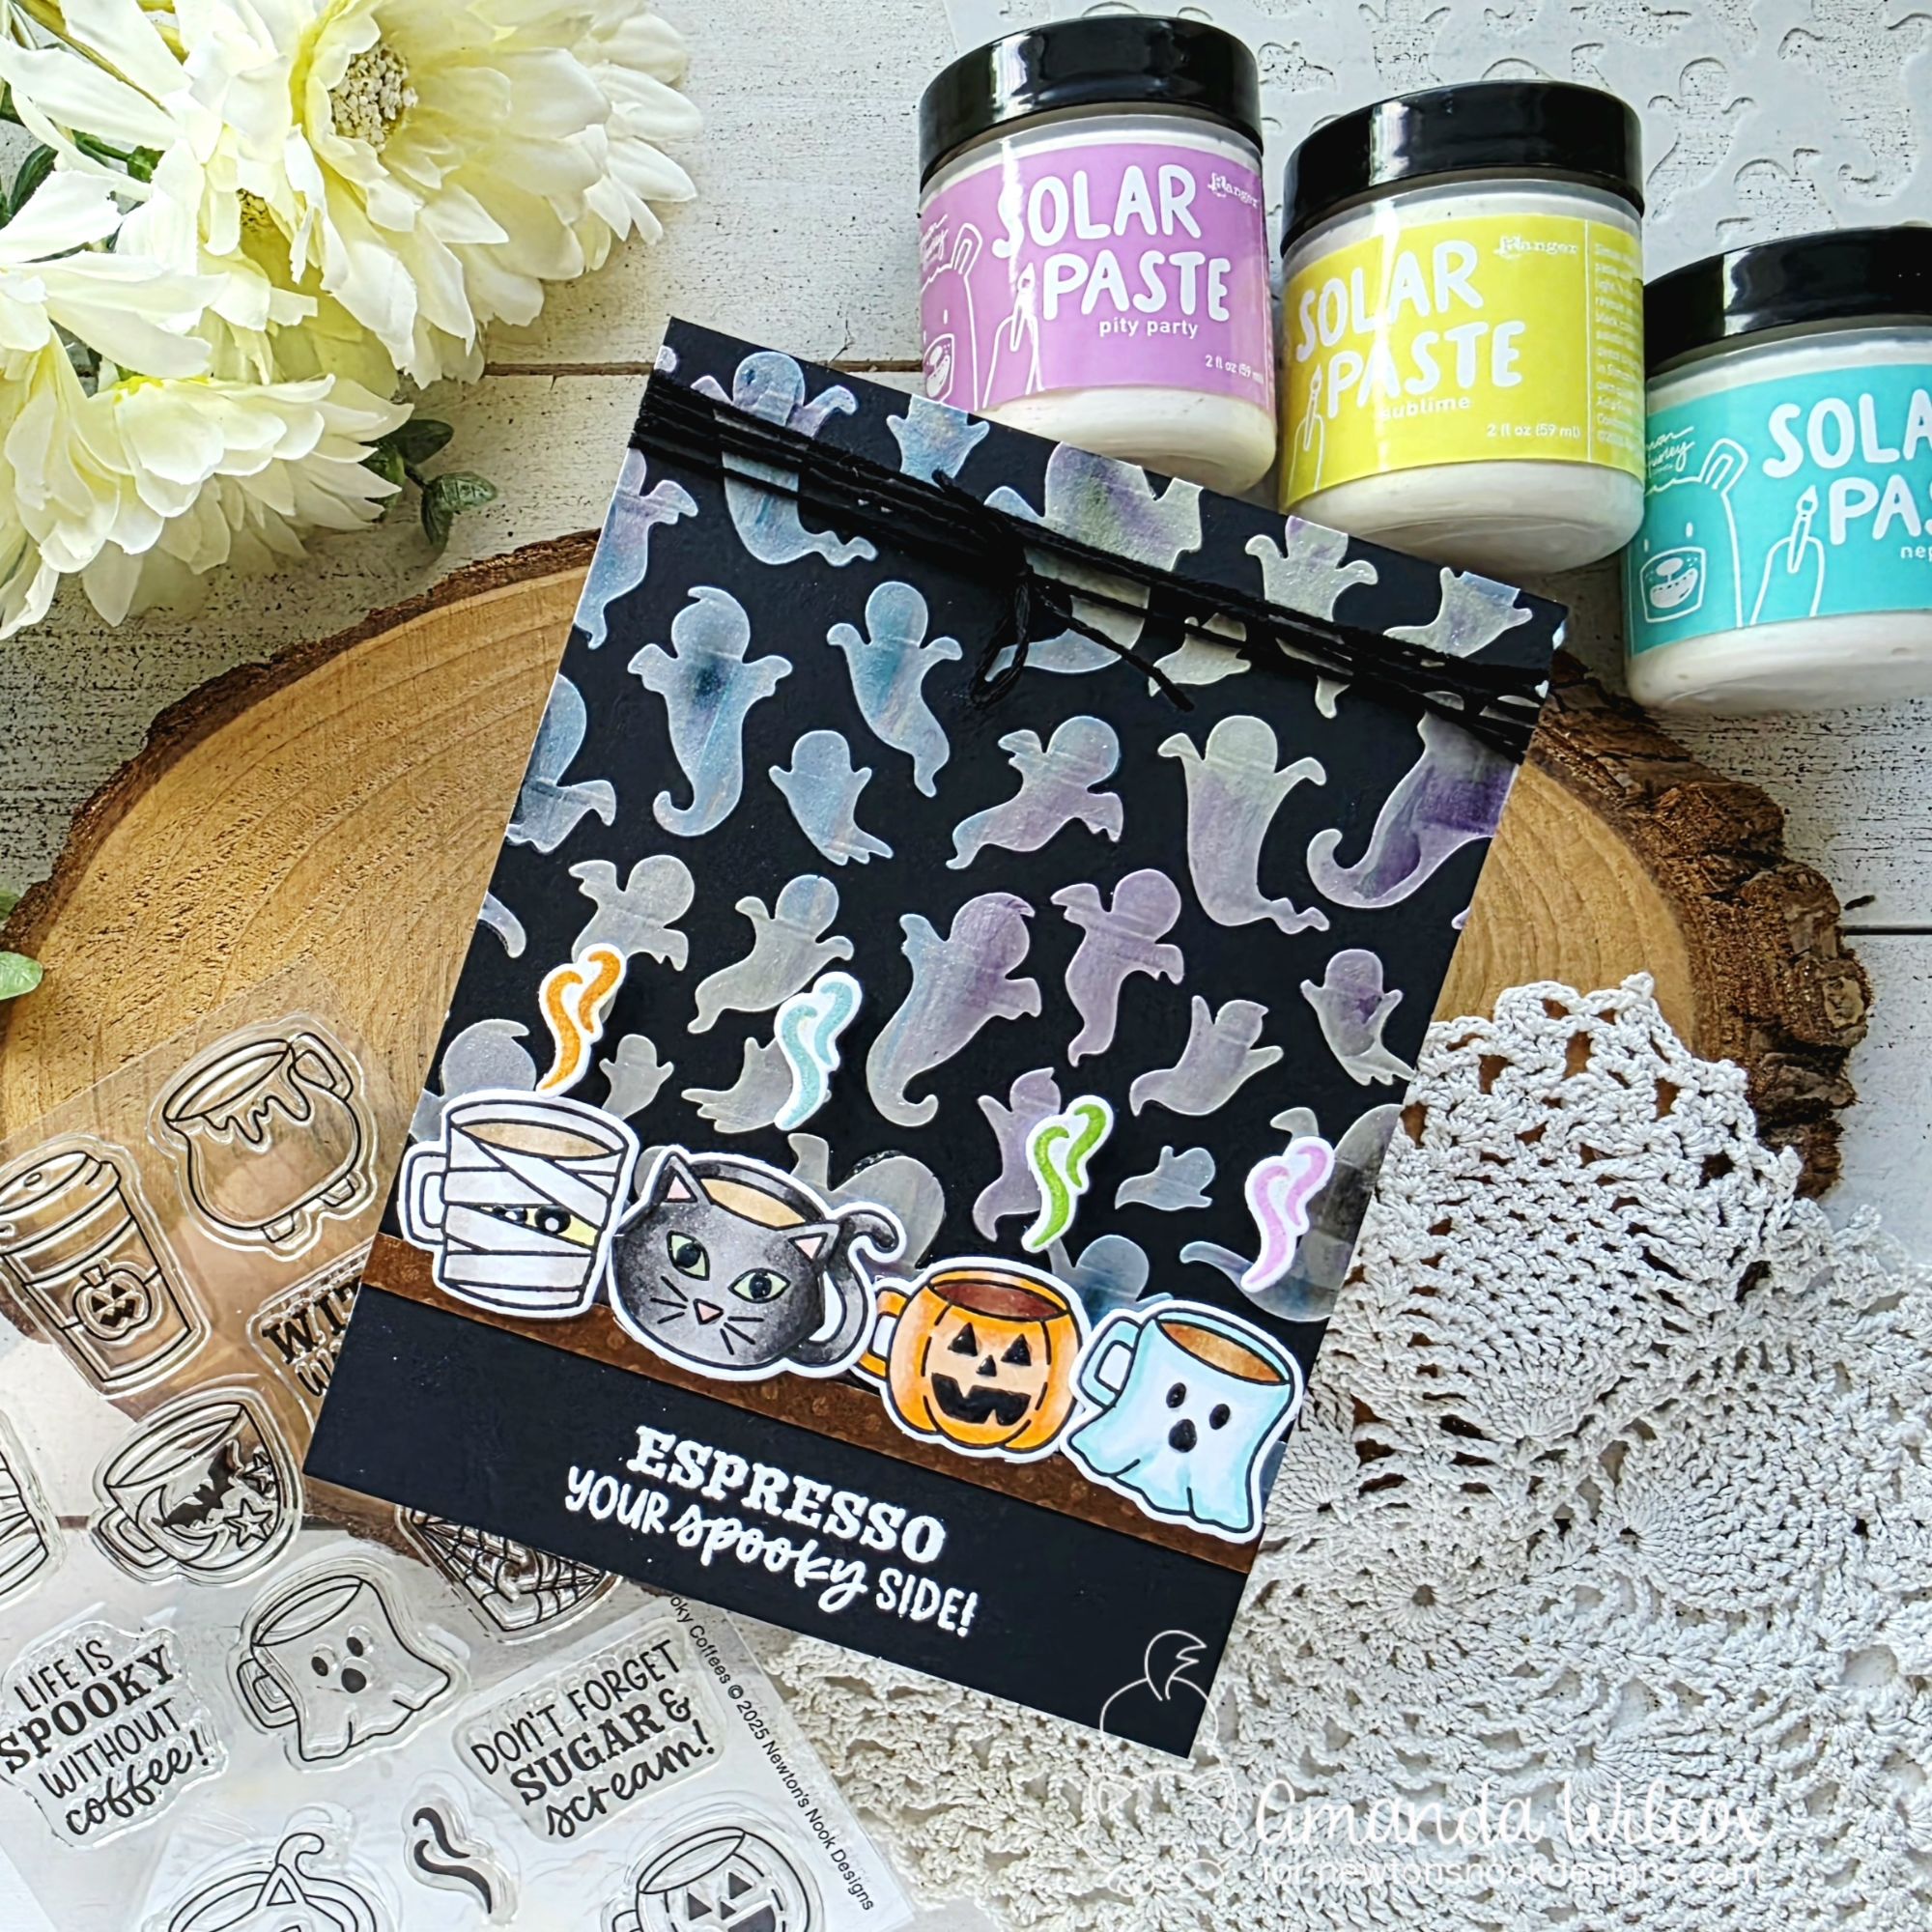
Hey friends! Happy to be over on the Newton’s Nook blog. Today I’m diving farther into my Halloween stash and giving a fun idea for a stenciled background! Let’s dive in!
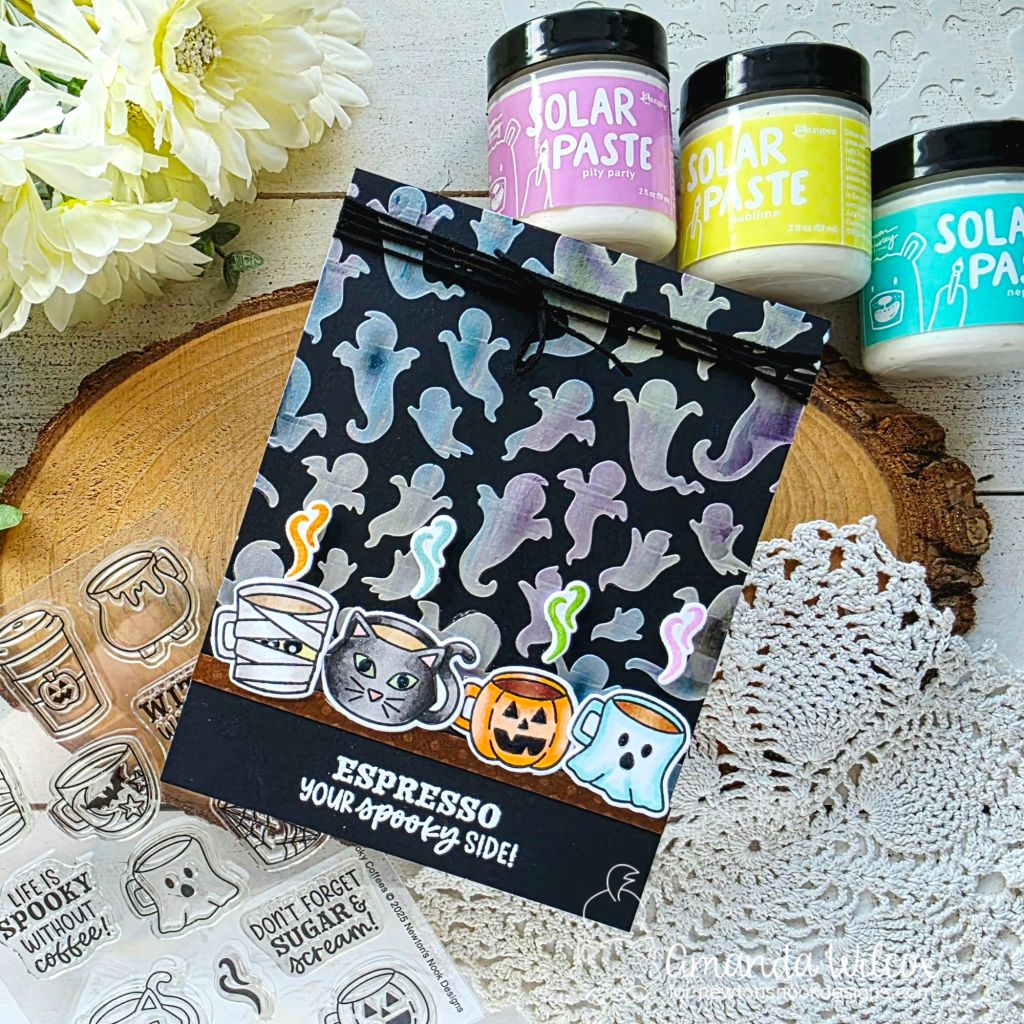
Full transparency, I did this in a different order but sometimes hindsight is 20/20 so I’m sharing a more time effective or to create this card, but whatever works for your brain is going to be perfect!
I recommend a sticky mat for stenciling but if you don’t have one, tape your black cardstock panel to your stencil so it doesn’t shift while spreading paste. Then choose your different solar pastes. I used a palette knife to add blobs of the different colors all over the panel. Then I used a long paste spreader to level it all out and (sort of) mix the colors giving you the variegated effect.
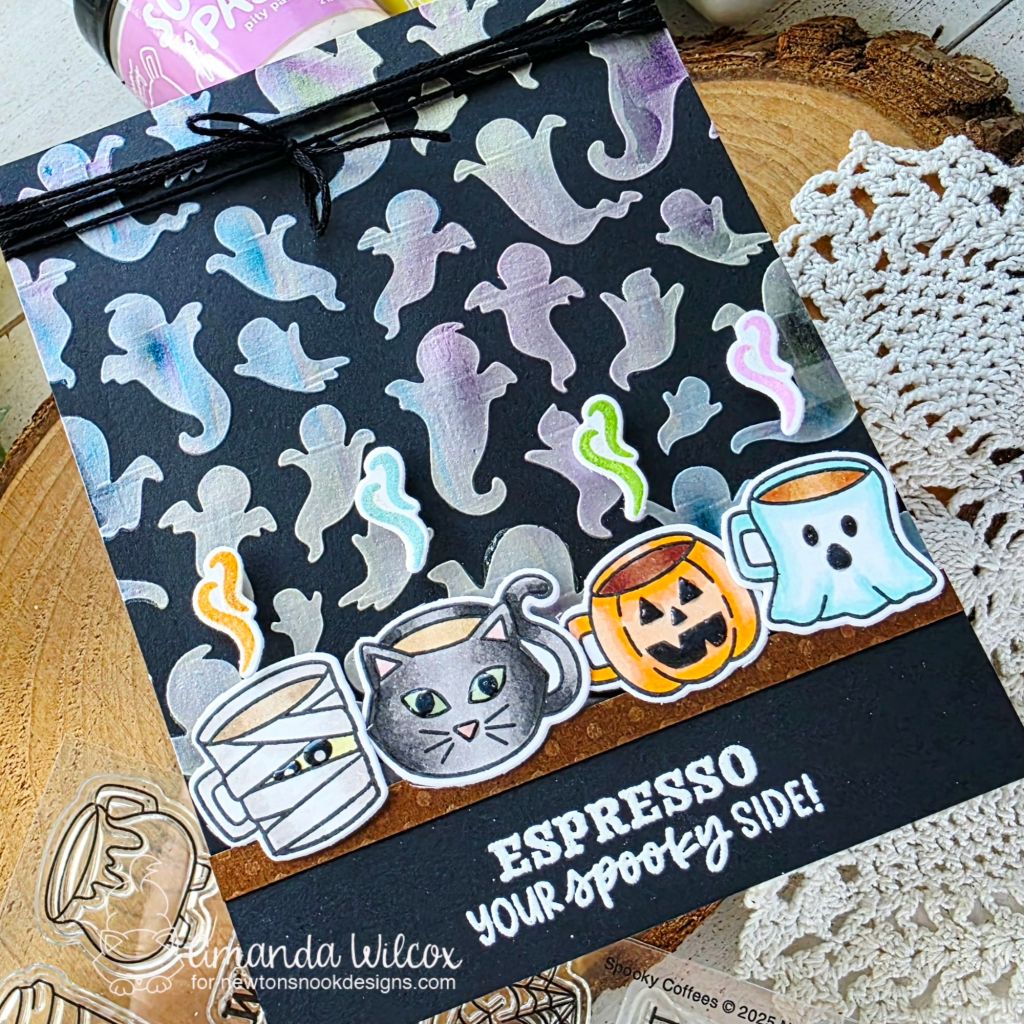
Then I stamped, colored and die cut all of my images from the Newton’s Nook Spooky Coffees. Instead of my normal vellum steam, I went with fun spooky colors for a change of pace.
Next, I trimmed a piece of black cardstock to about 1″ wide and heat embossed my sentiment on it. To break up the background from the sentiment strip, I added a 1/4″ piece of brown cardstock to the edge.
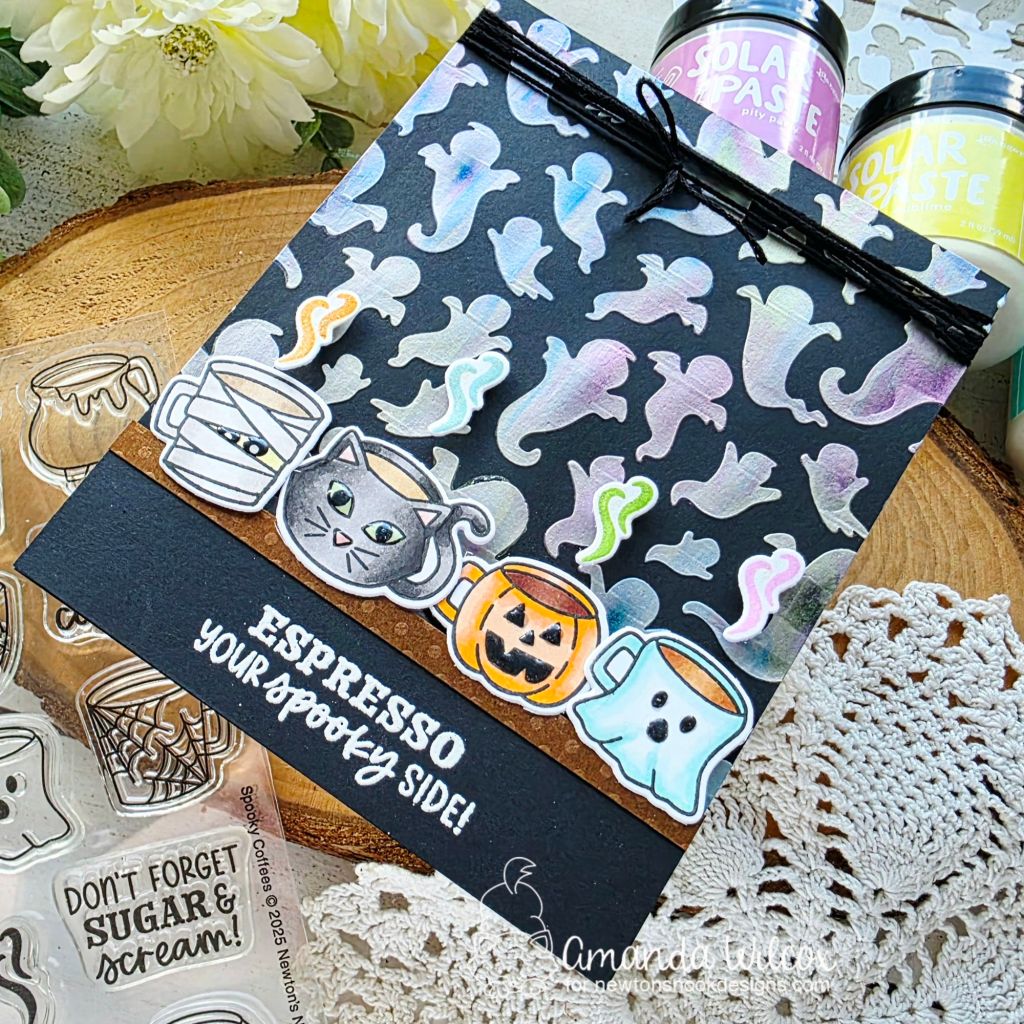
Working my way from the bottom up, I added foam tape to everything and adhered the sentiment strip, then the brown strip, then the mugs on that. I glued the panel to a top folding card base and then tied string around the top for some added interest.
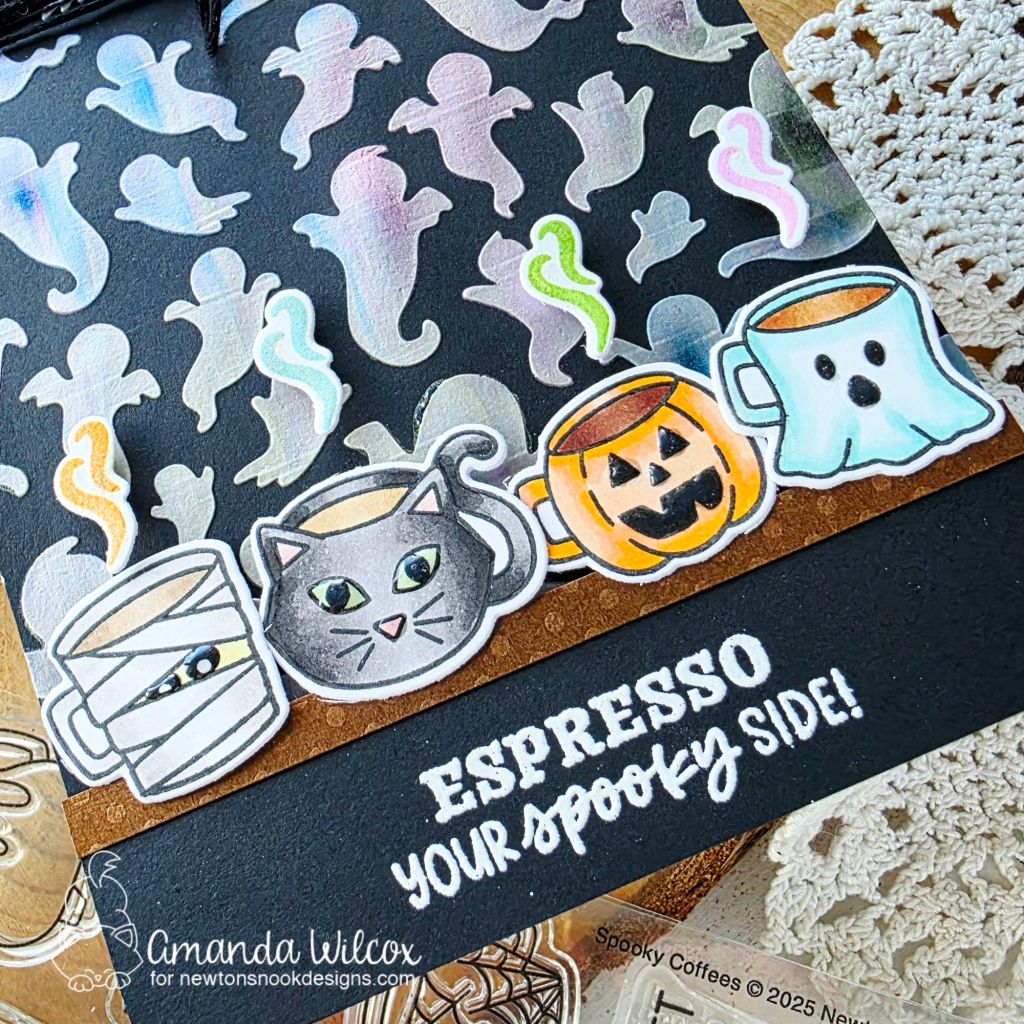
For finishing touches on this design, I used my glitter brush pen on all the steam for some sparkle. Then I added bits of glossy accents to each mug so they shine too!
Products used:
Ghosts stencil
Spooky Coffees stamps and dies
Solar Paste – pity part, sublime, neptune
Paste spreading tools (variety pack)
Foam tape and squares
Glossy accents
Glitter brush pen
Anti-static bag
Embossing ink
Embossing powder – white
I appreciate you sharing your time with me. Have a fabulous day


