
We’re already on the final day of features. I hope you’ve enjoyed them all and found some fun inspiration to create with!
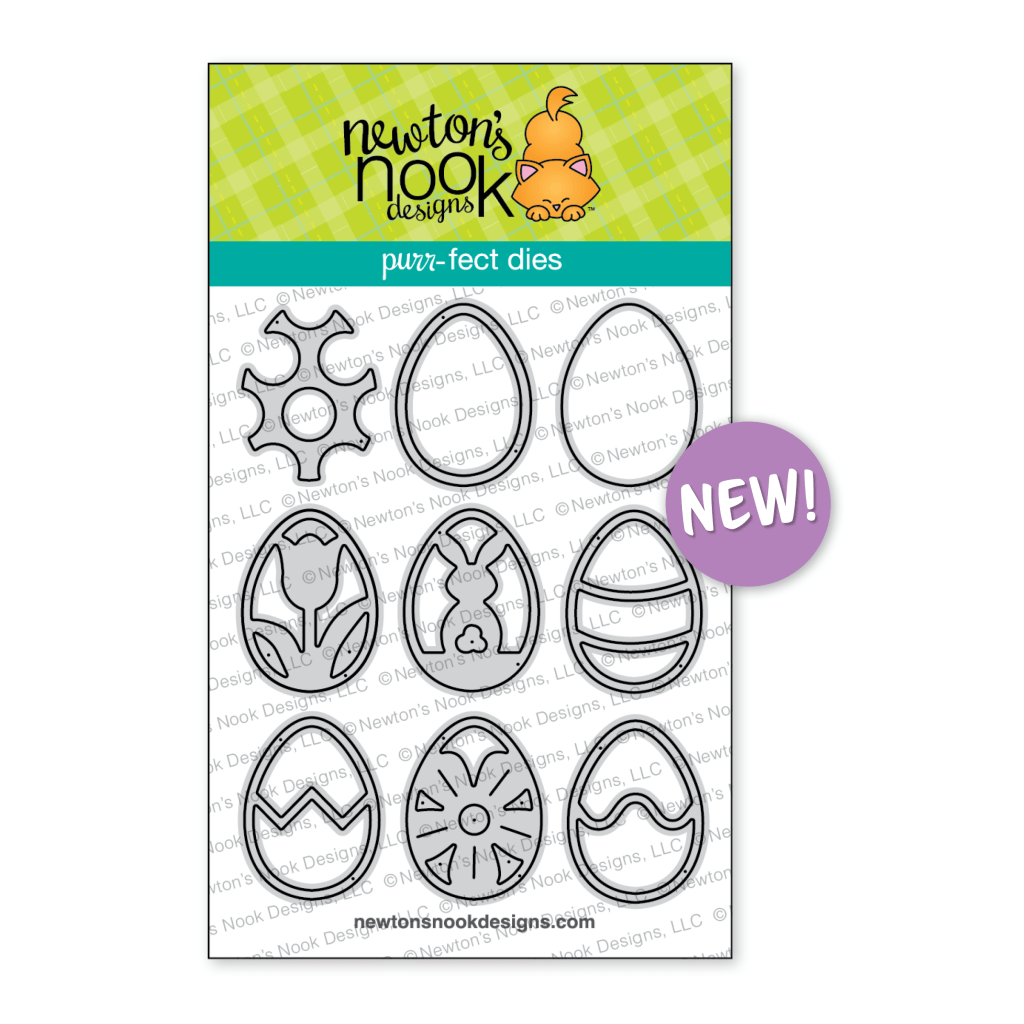
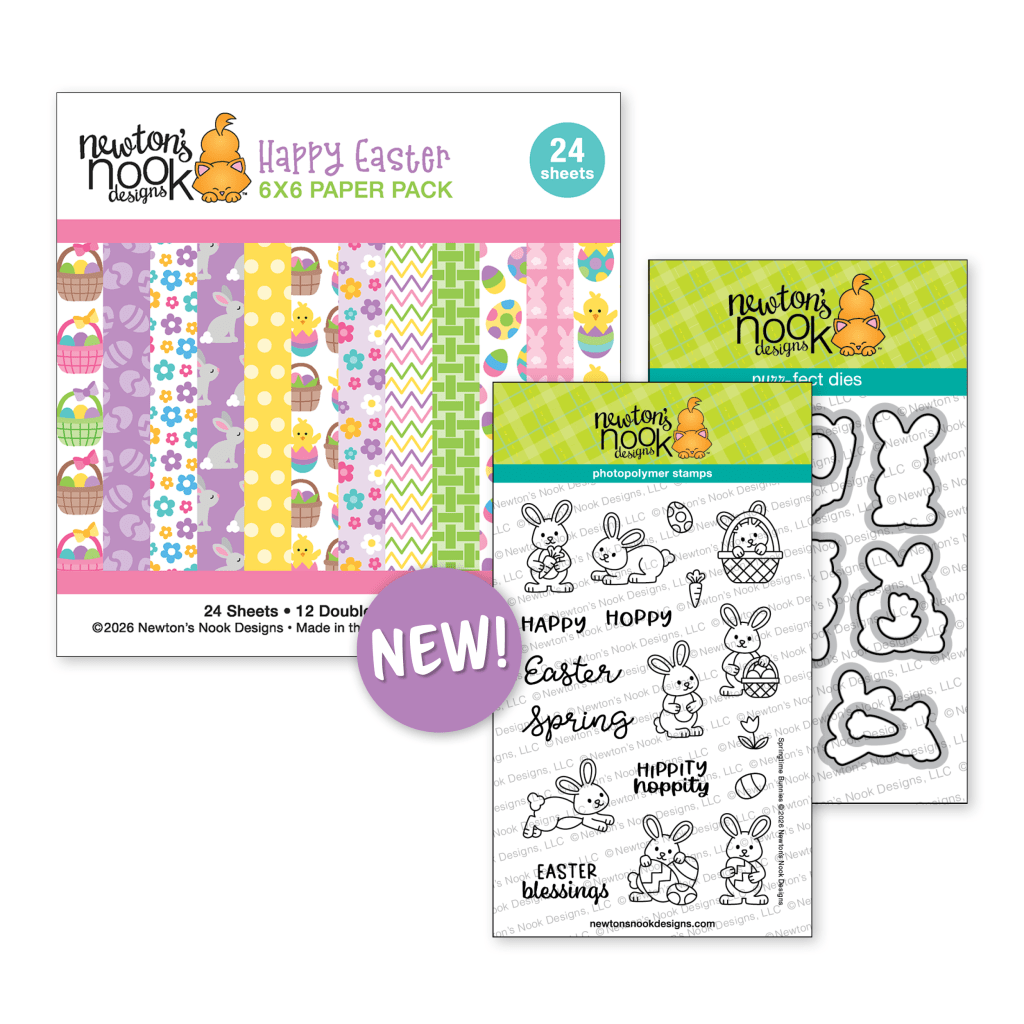
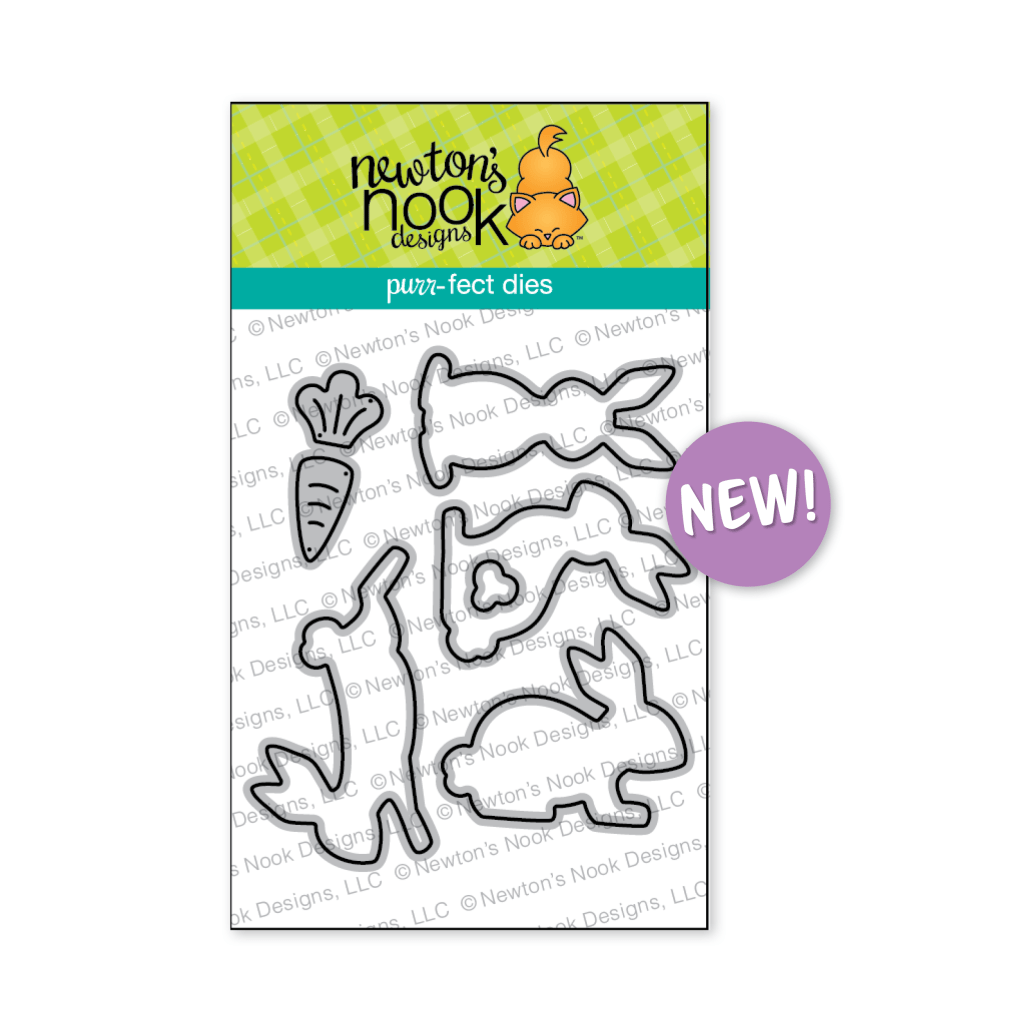
Silhouette Bunnies dies
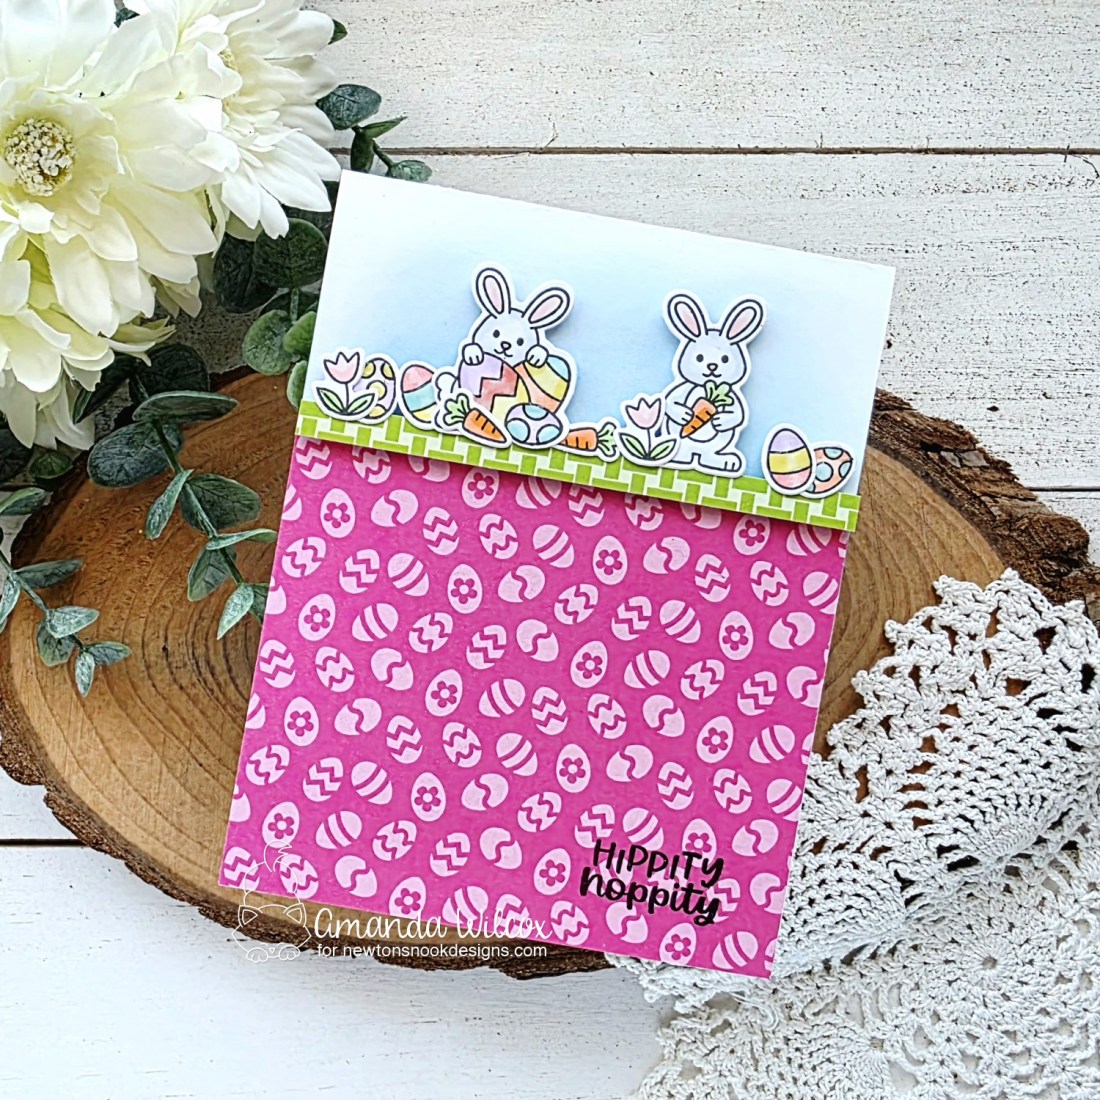
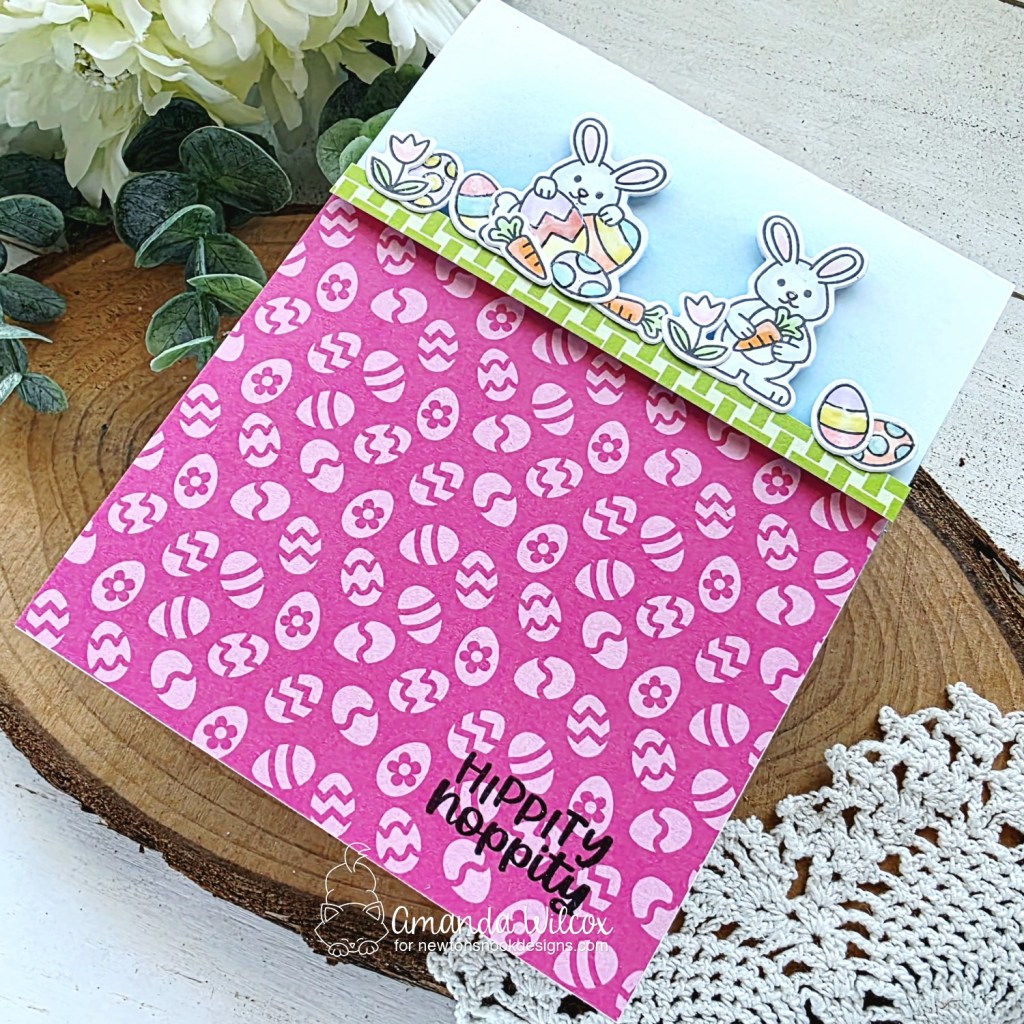
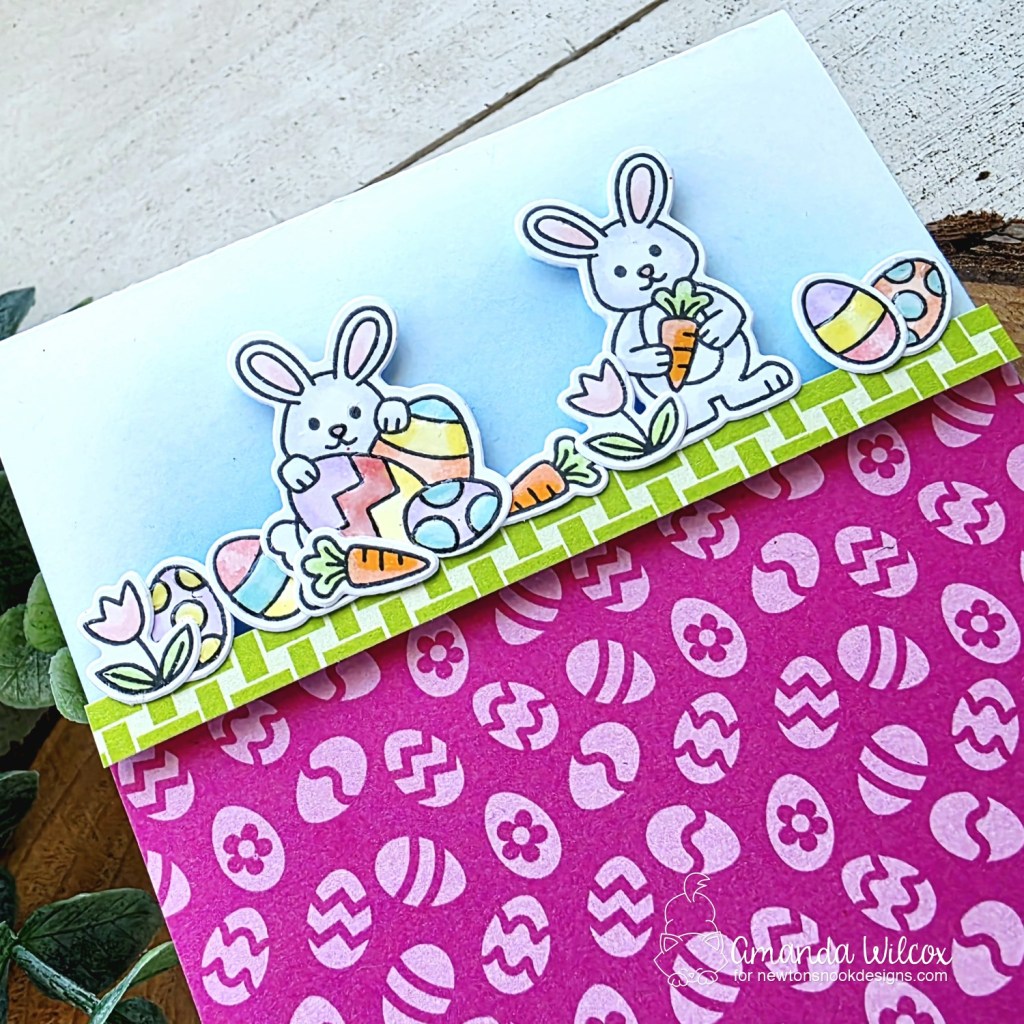
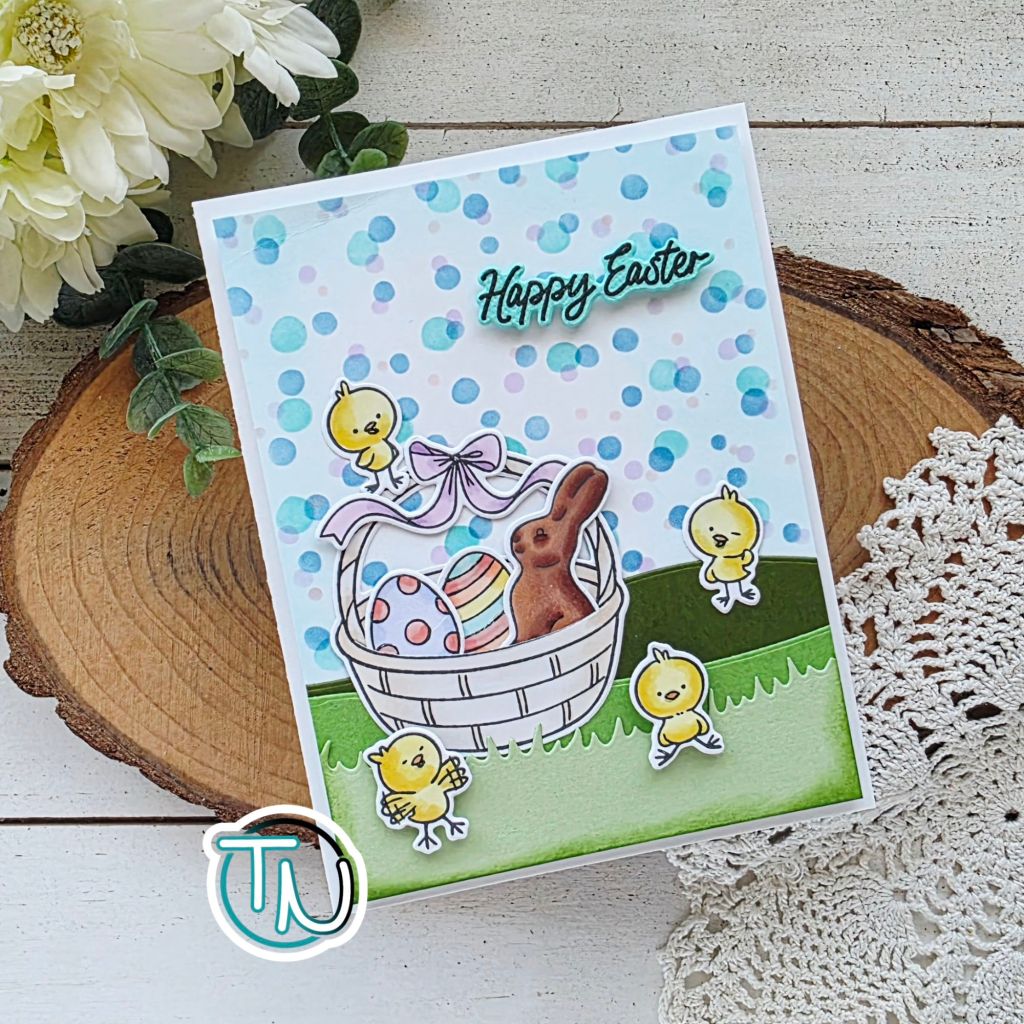
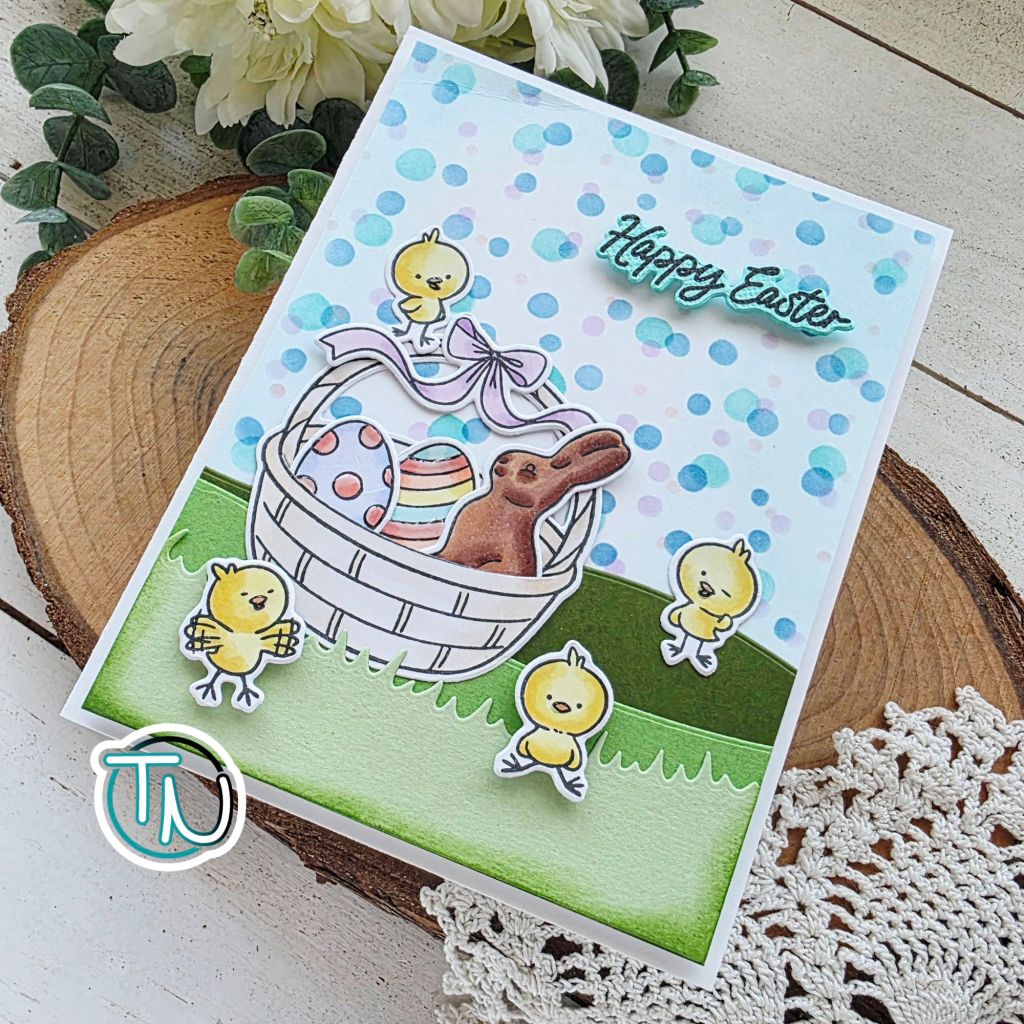
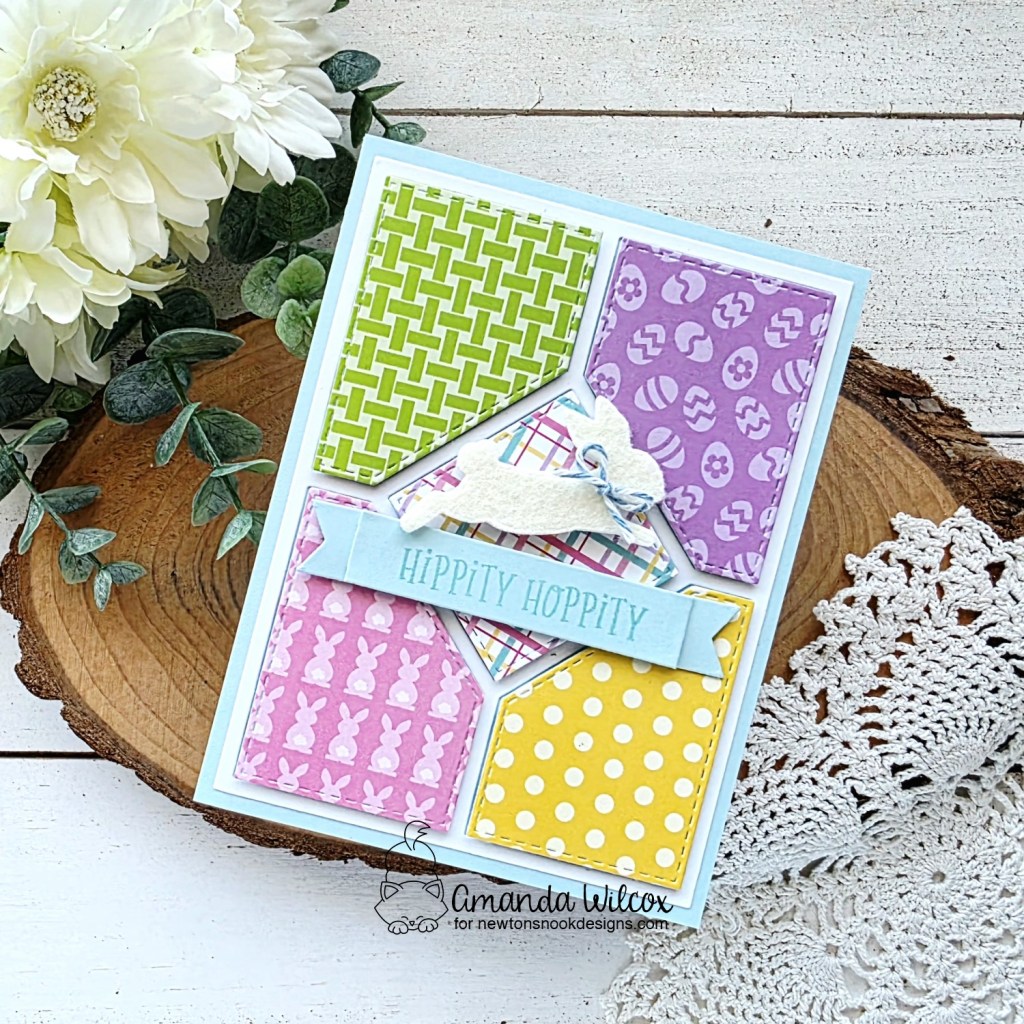
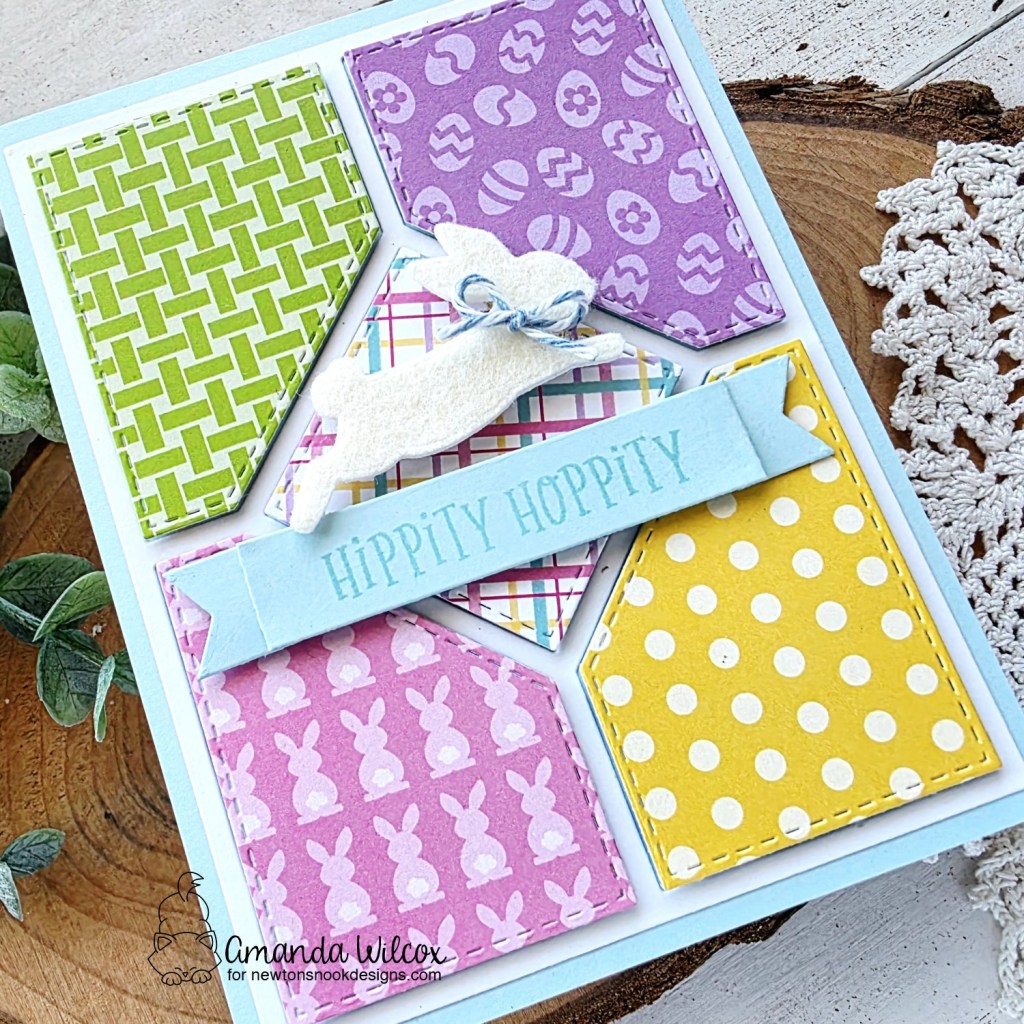
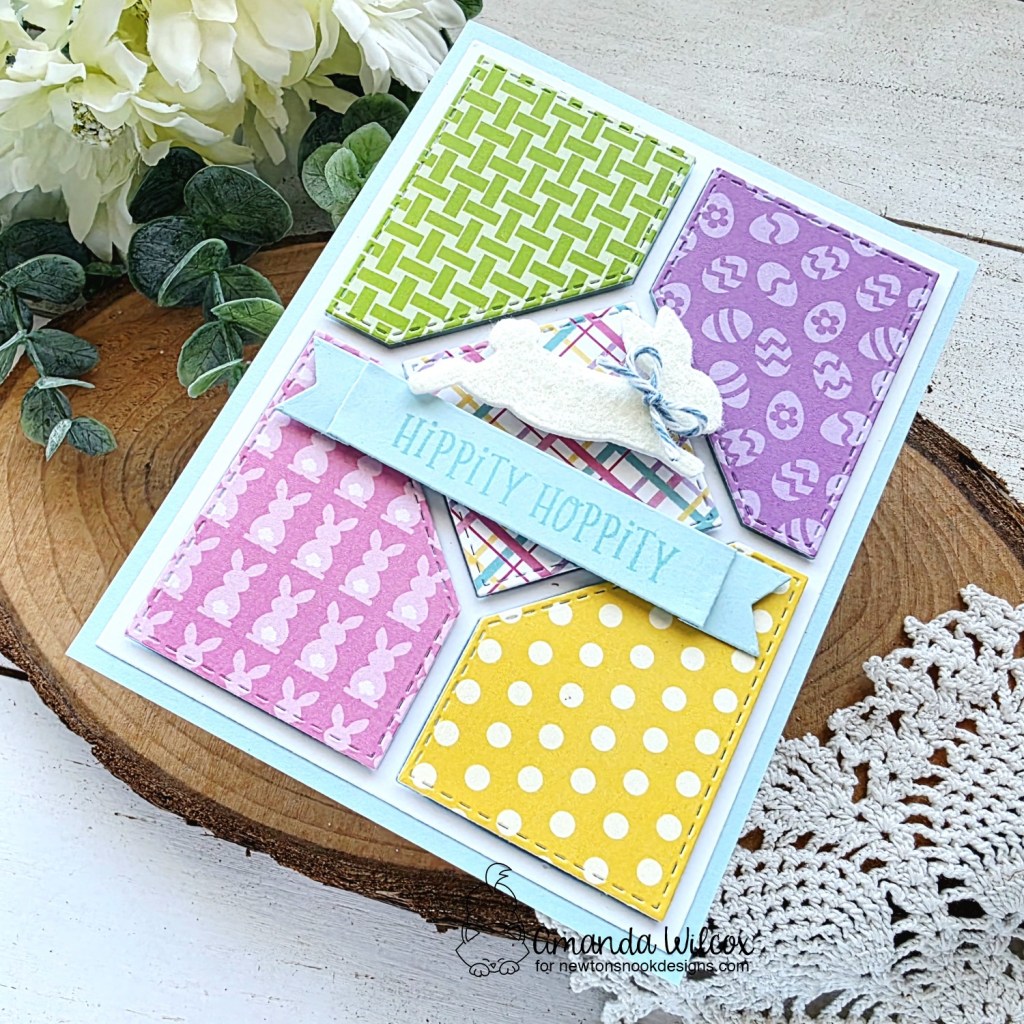
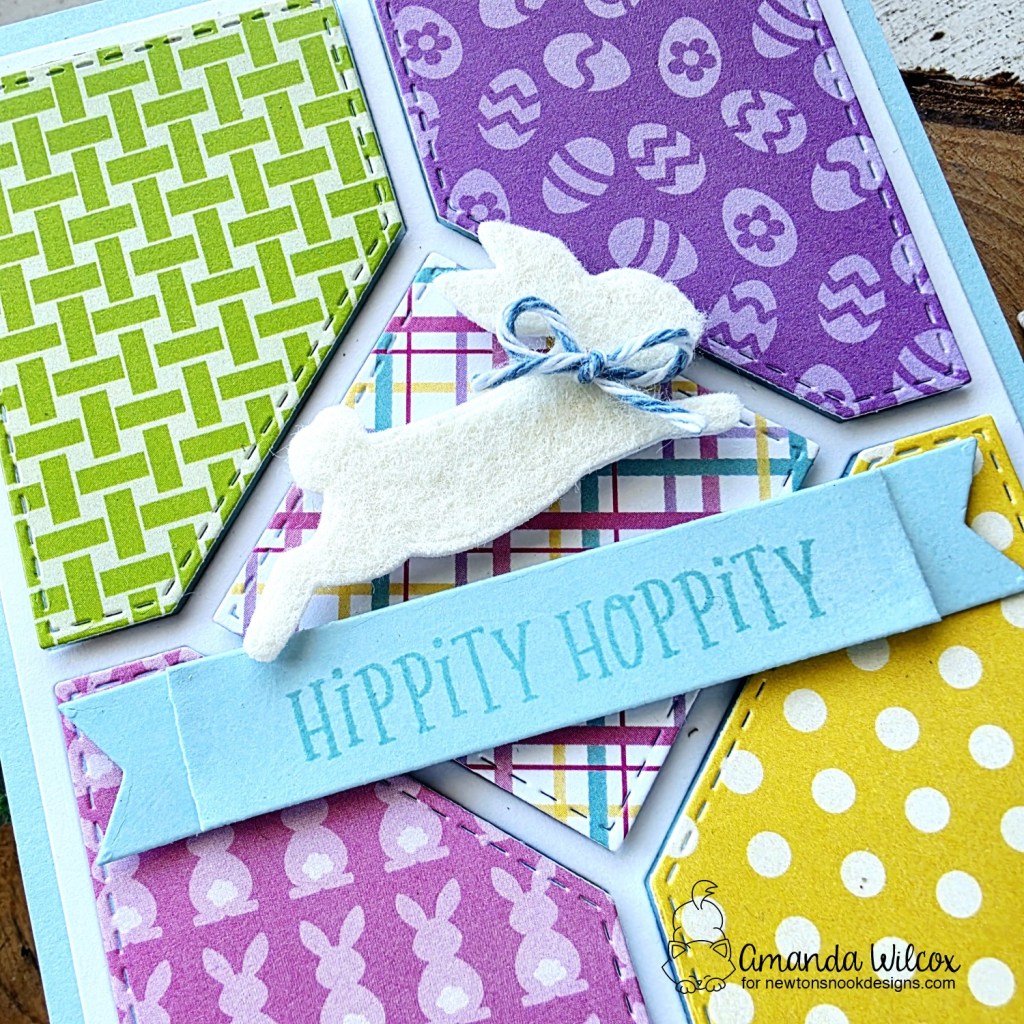
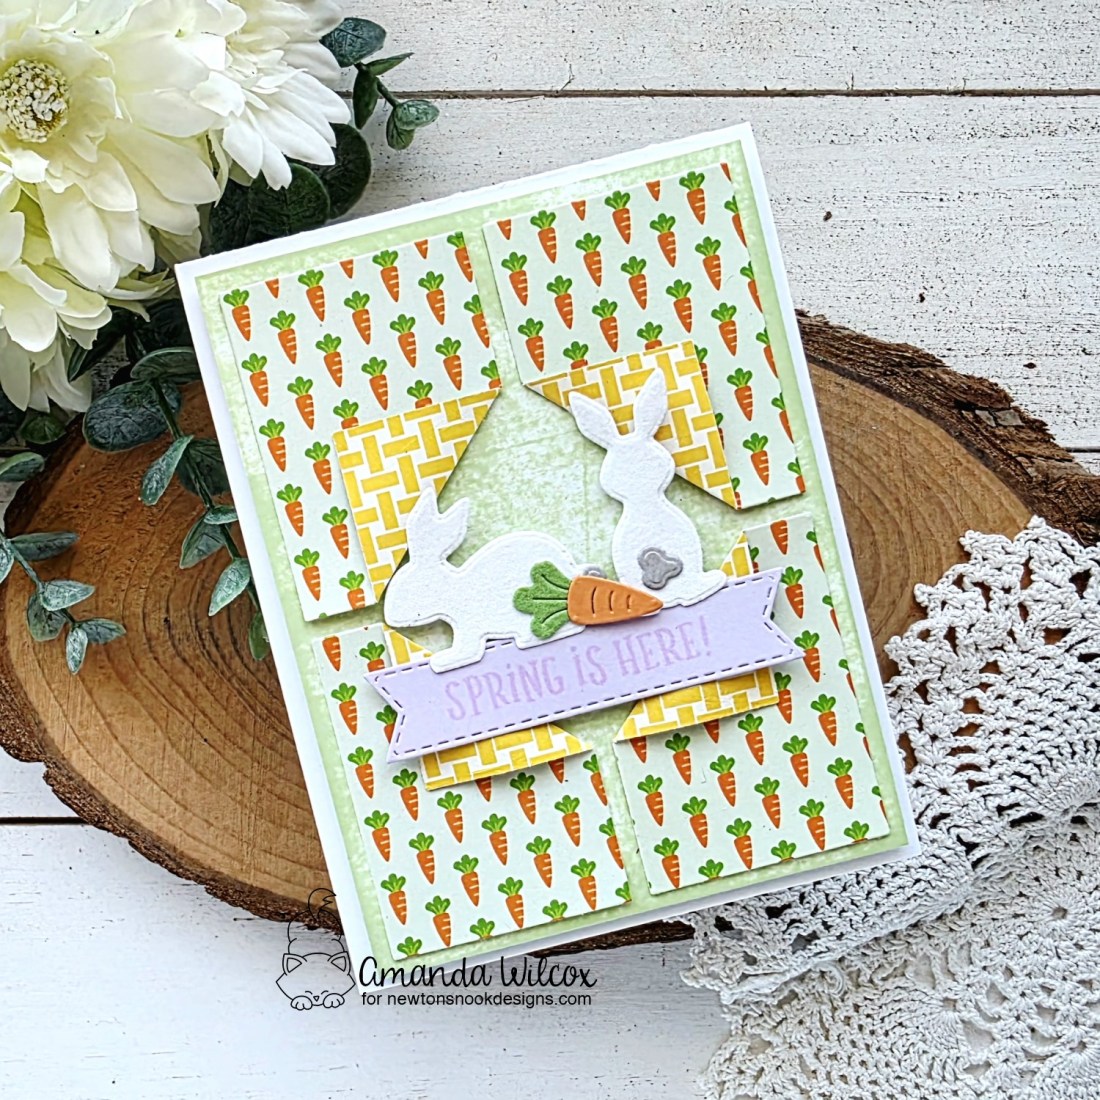
This new set of adorable bunny silhouettes (and carrot) are so sweet and fun to create with using a multitude of mediums. My card last Friday had them cut from felt and today I’m using Thermoweb flock mixed with cardstock for fun texture.

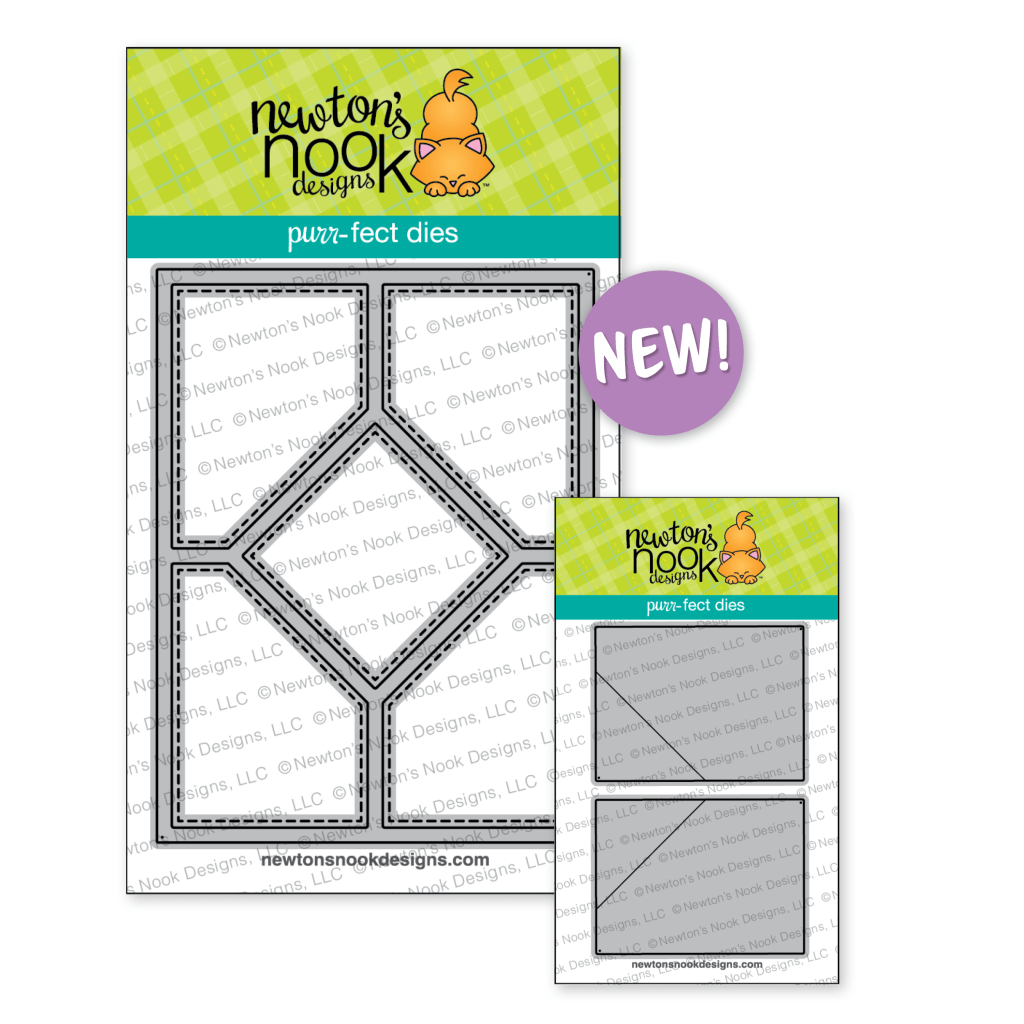
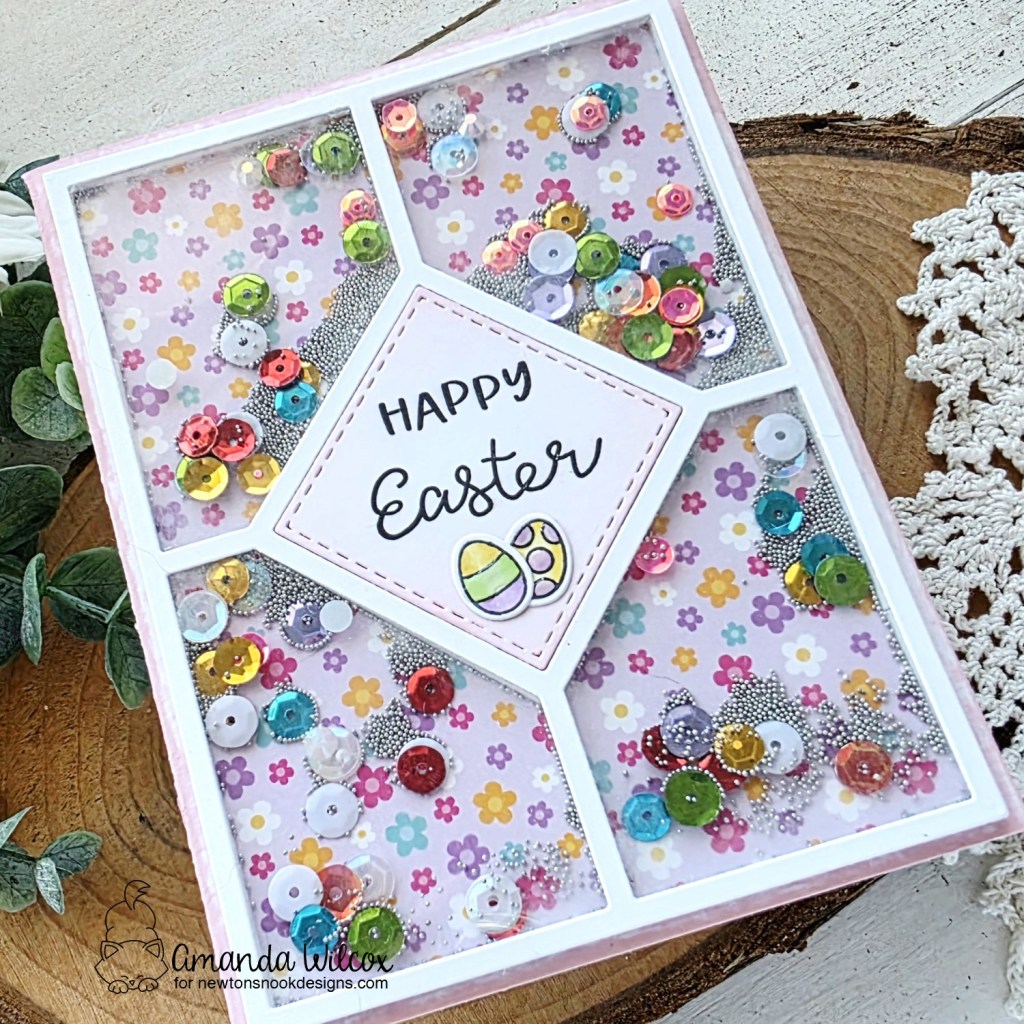
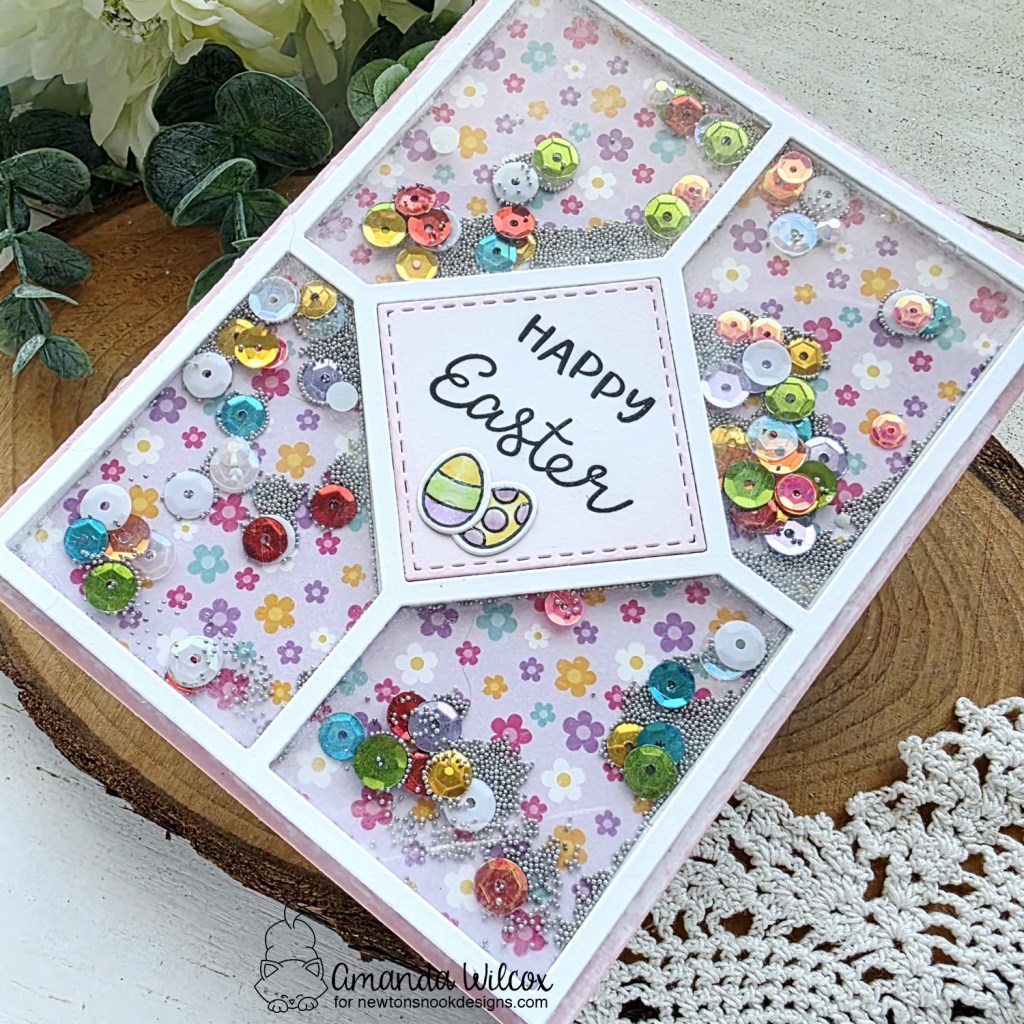
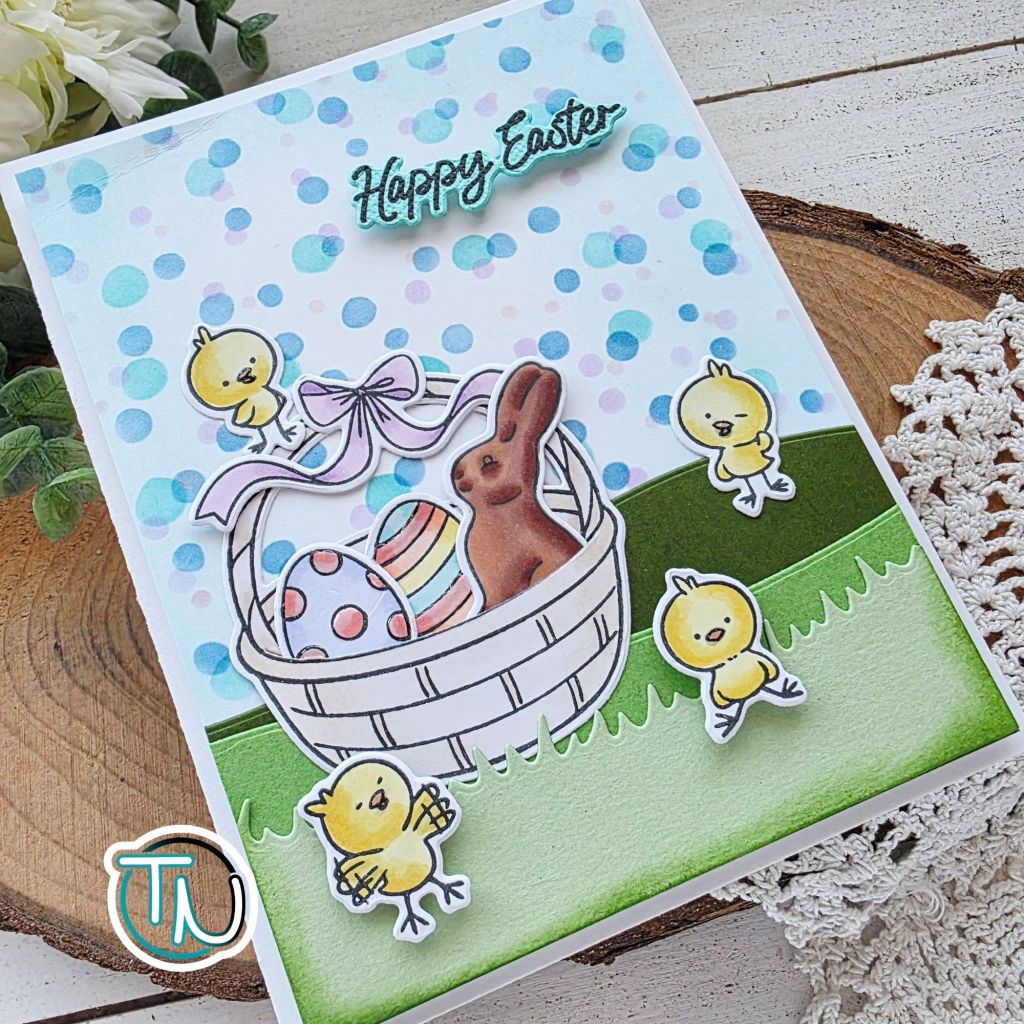
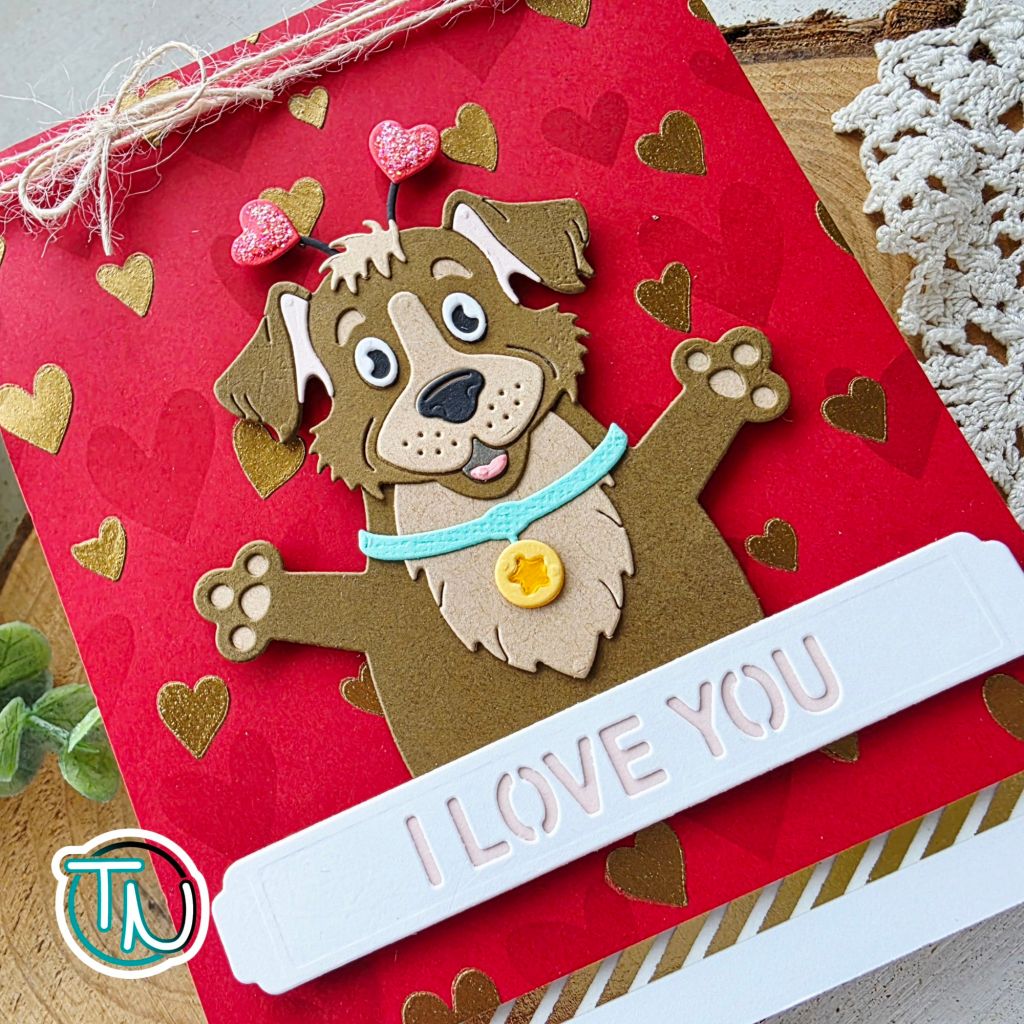
And as promised, I’ve paired these sweet bunnies with the new Corner Flip dies too. It’s difficult to see in pictures but on the corner flip portion, I add a small foam square close to the fold line, then a glue dot on the corner tip before folding and adhering the panels. This gives them a little dimension which is really cool in person.
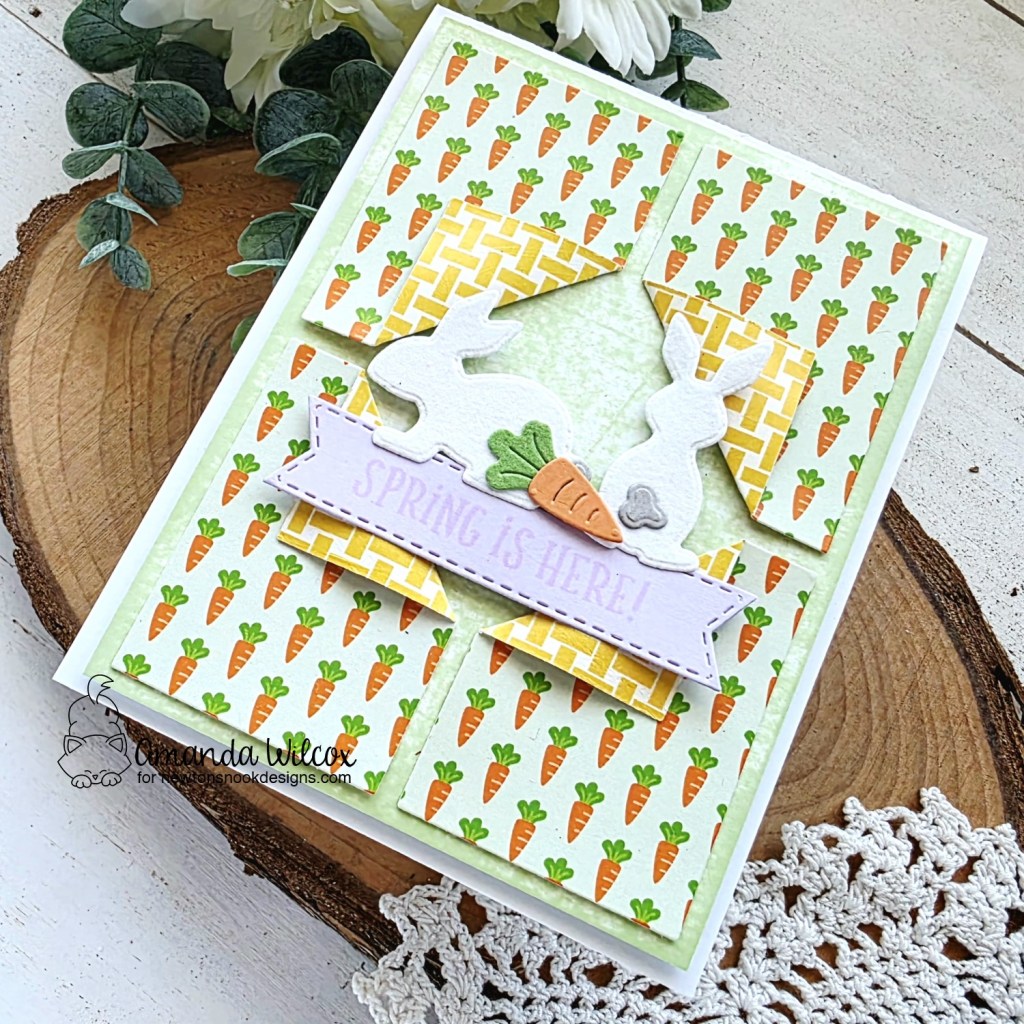
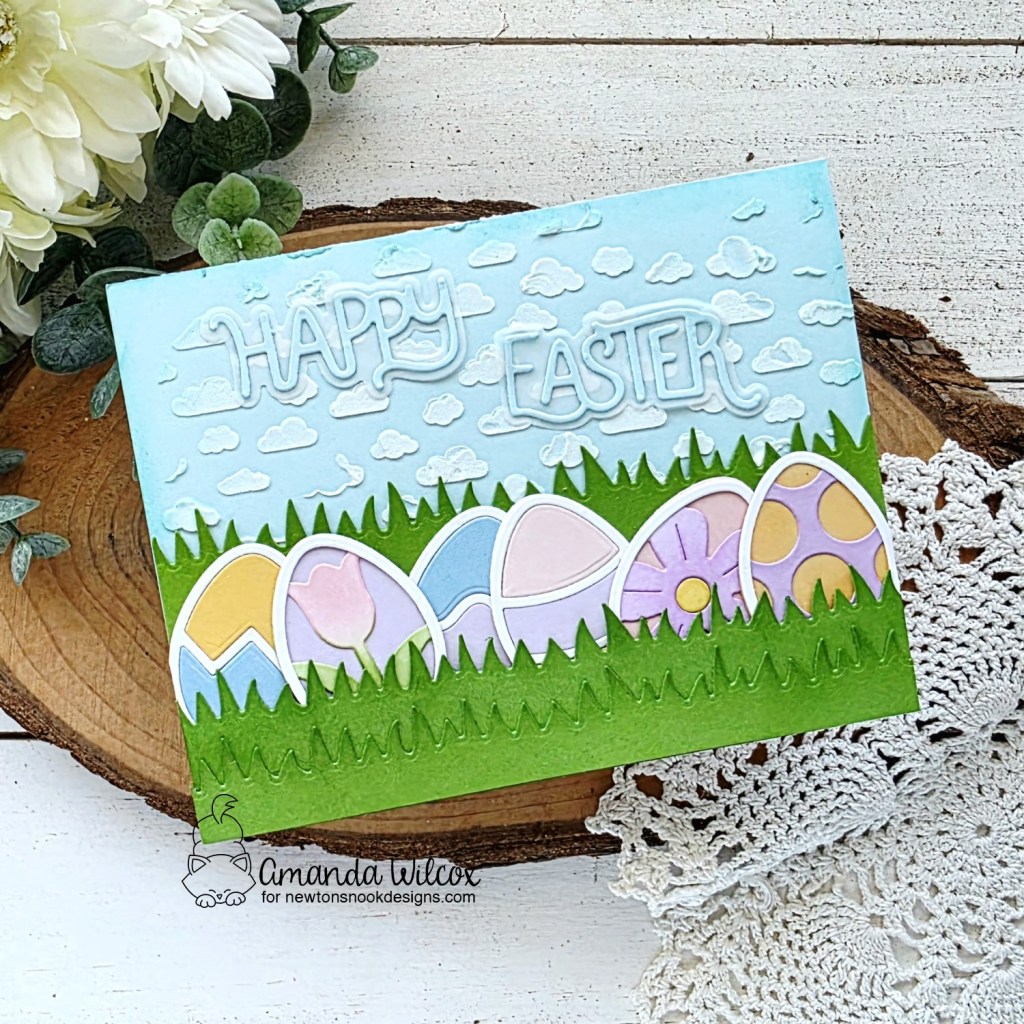
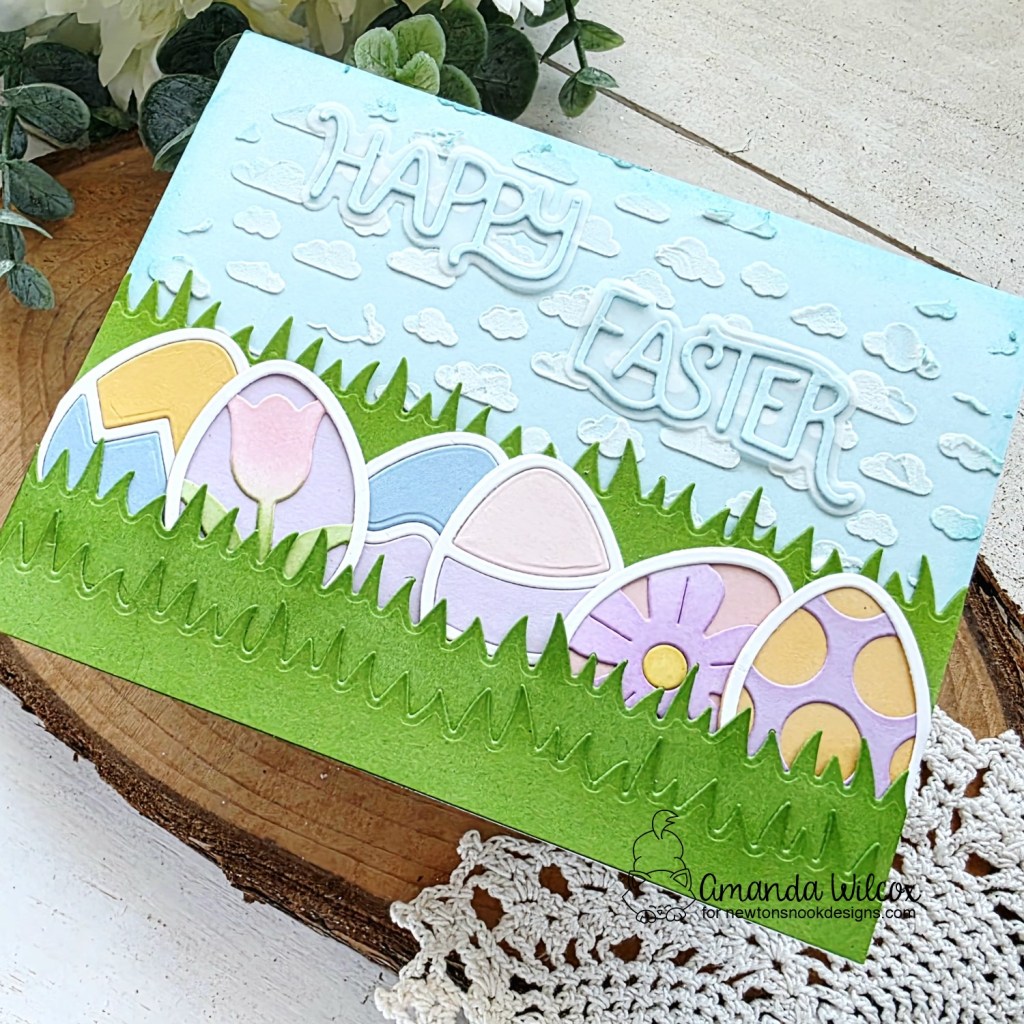
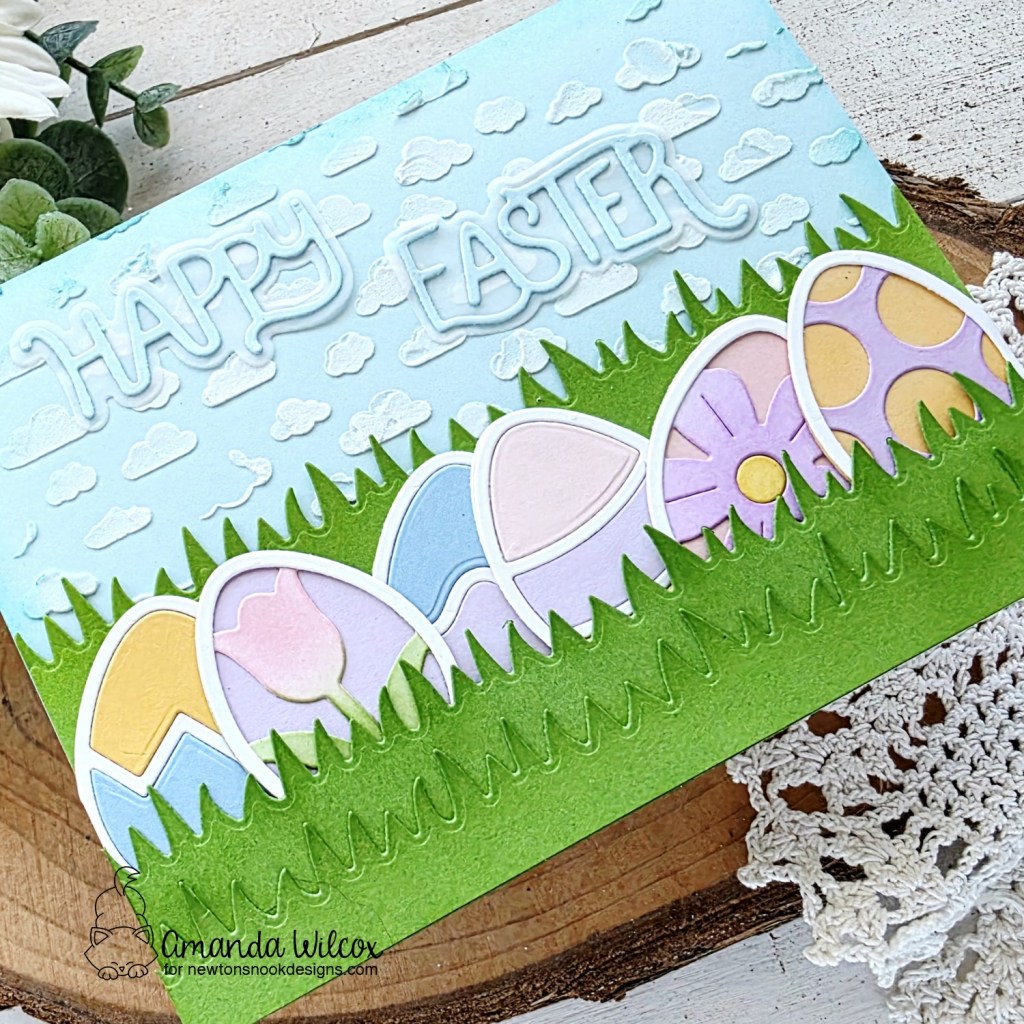
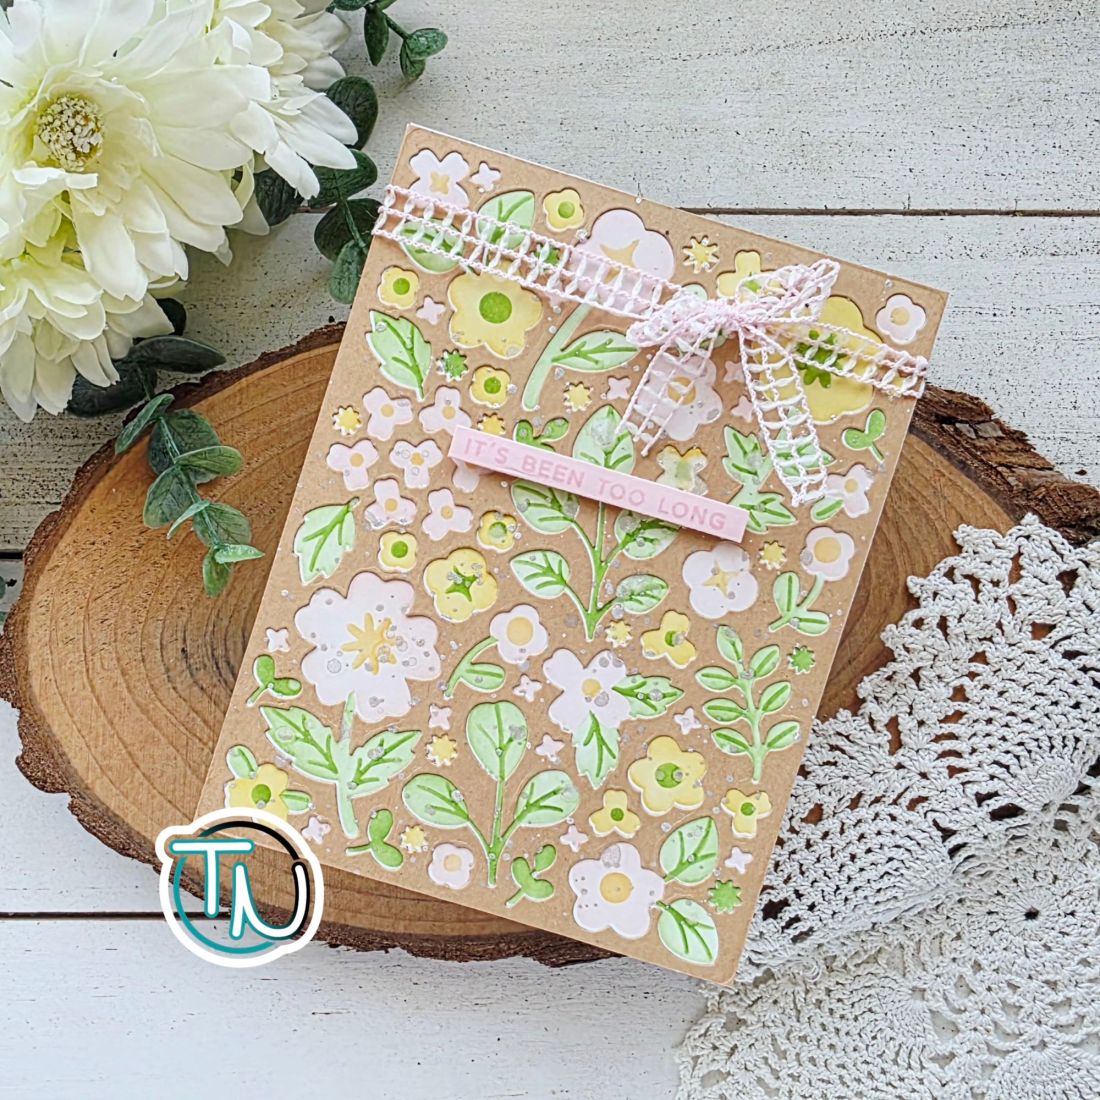
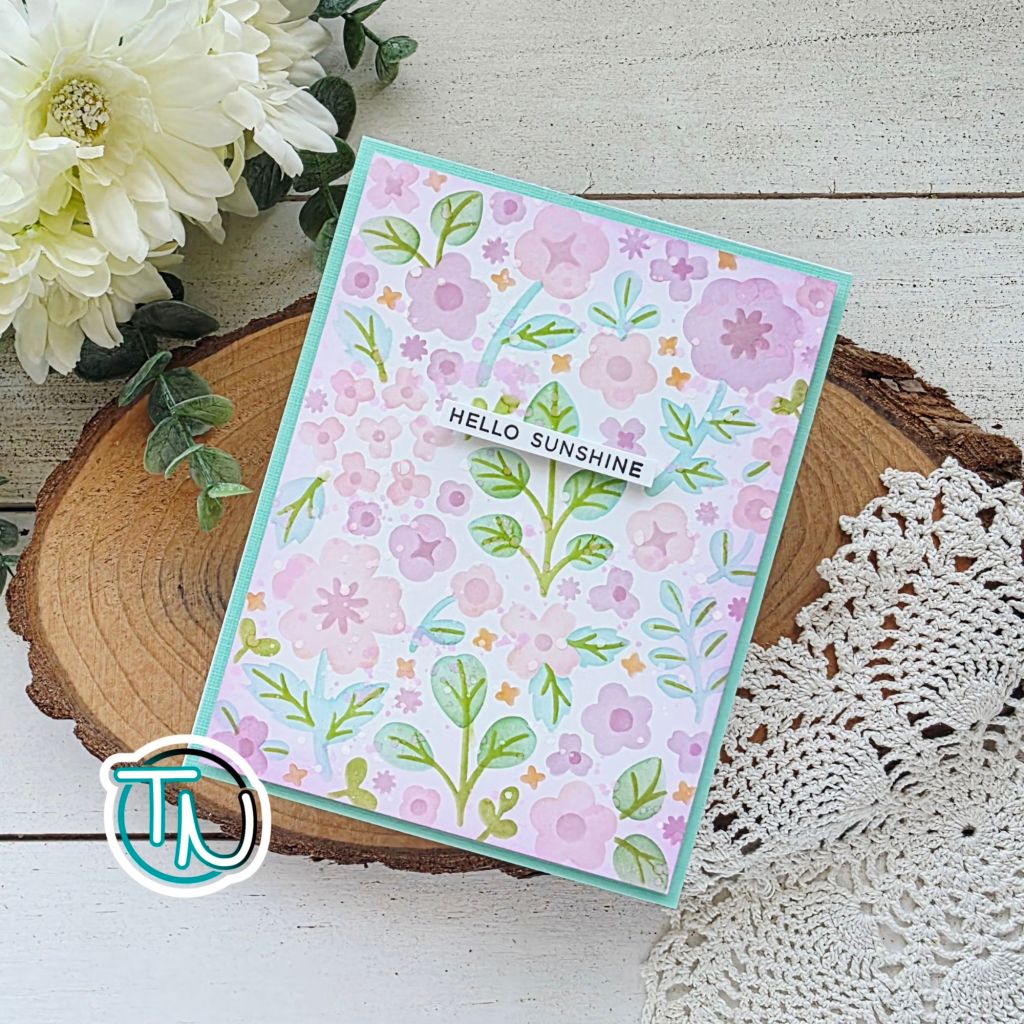
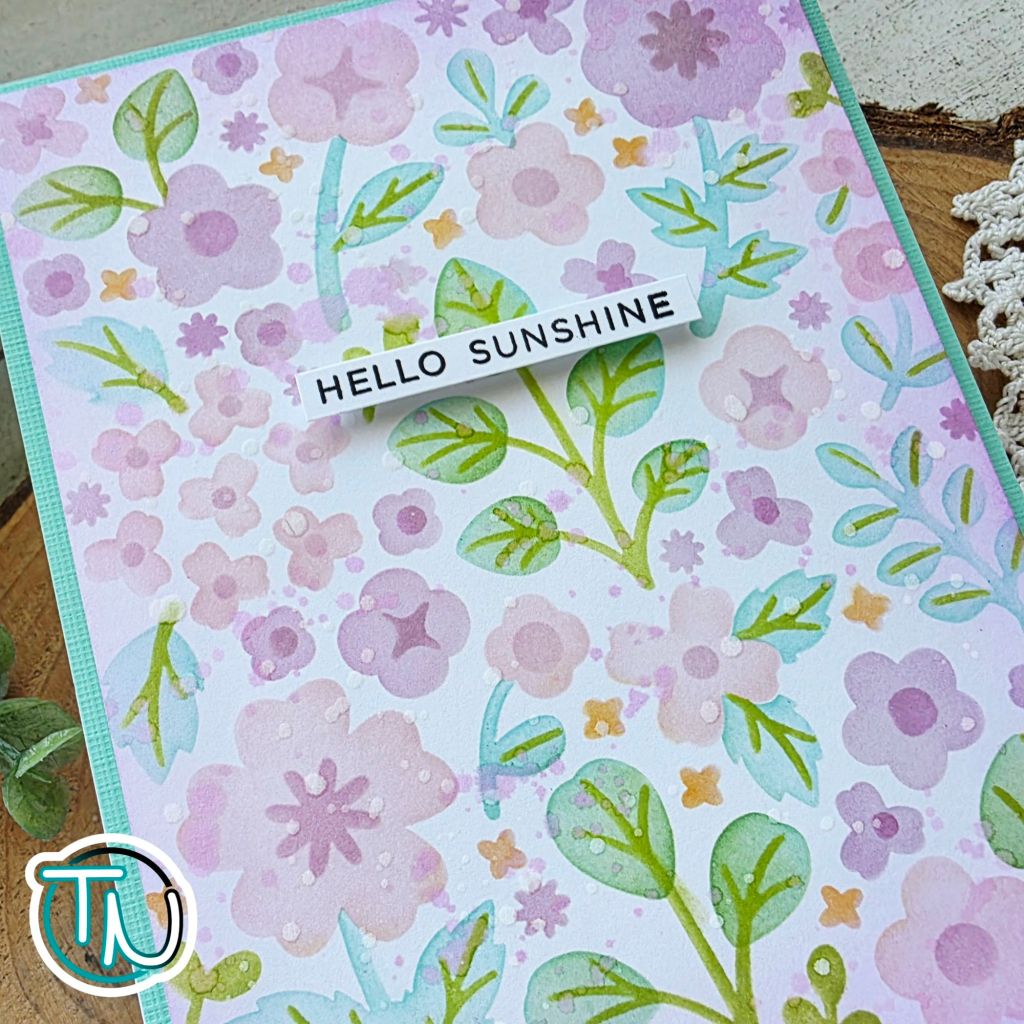
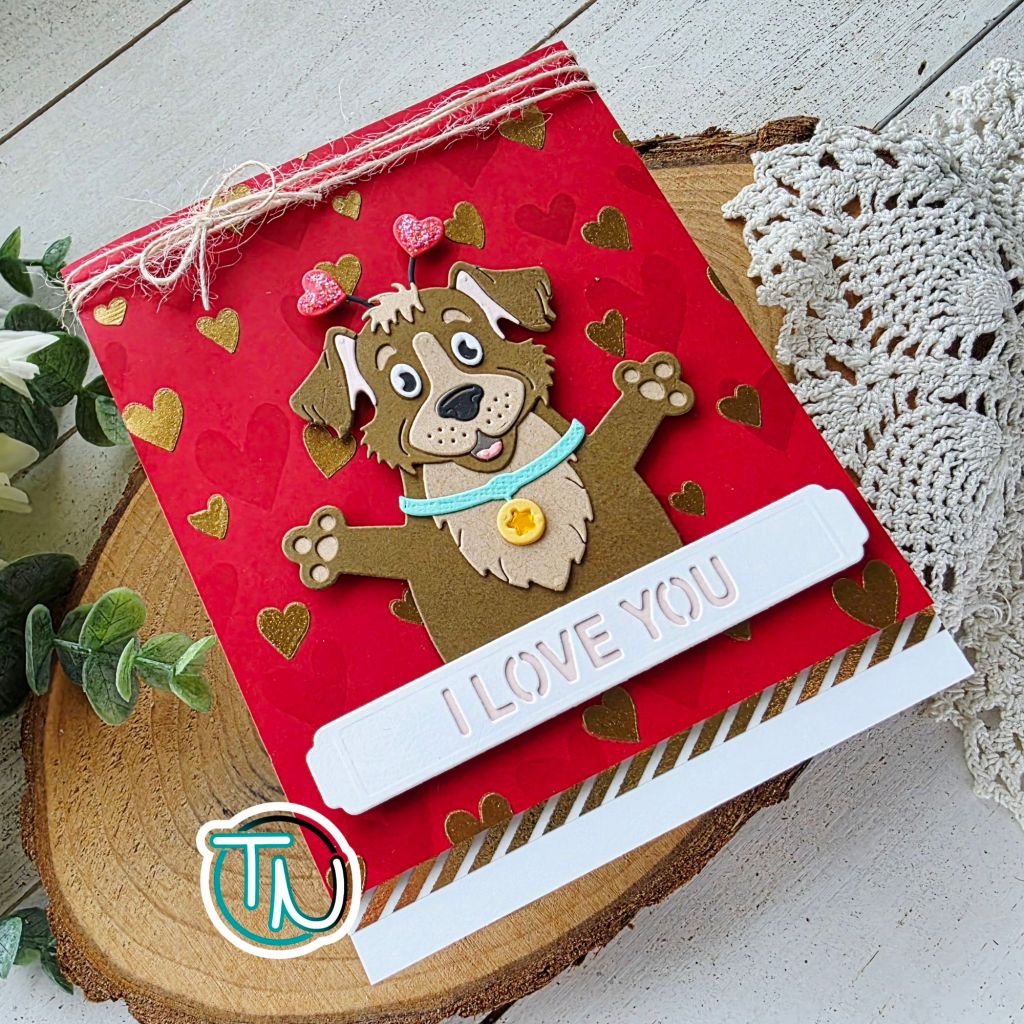
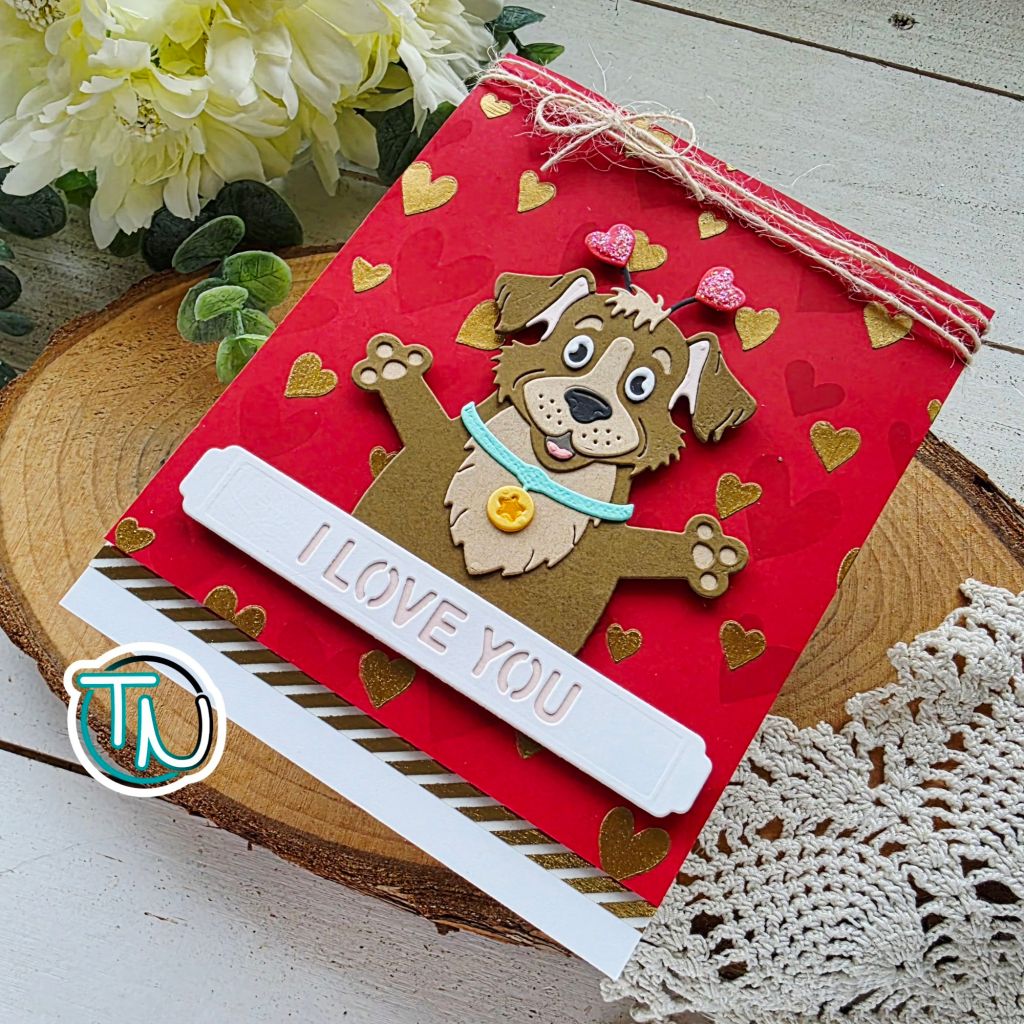
I used my trusty, favorite direct-to-paper inking technique on my background panel to get a textured green background. Then glued the corner flip pieces with liquid glue and popped my sentiment strip and bunnies up with foam squares. The carrot is glued directly to the bunnies with liquid glue.
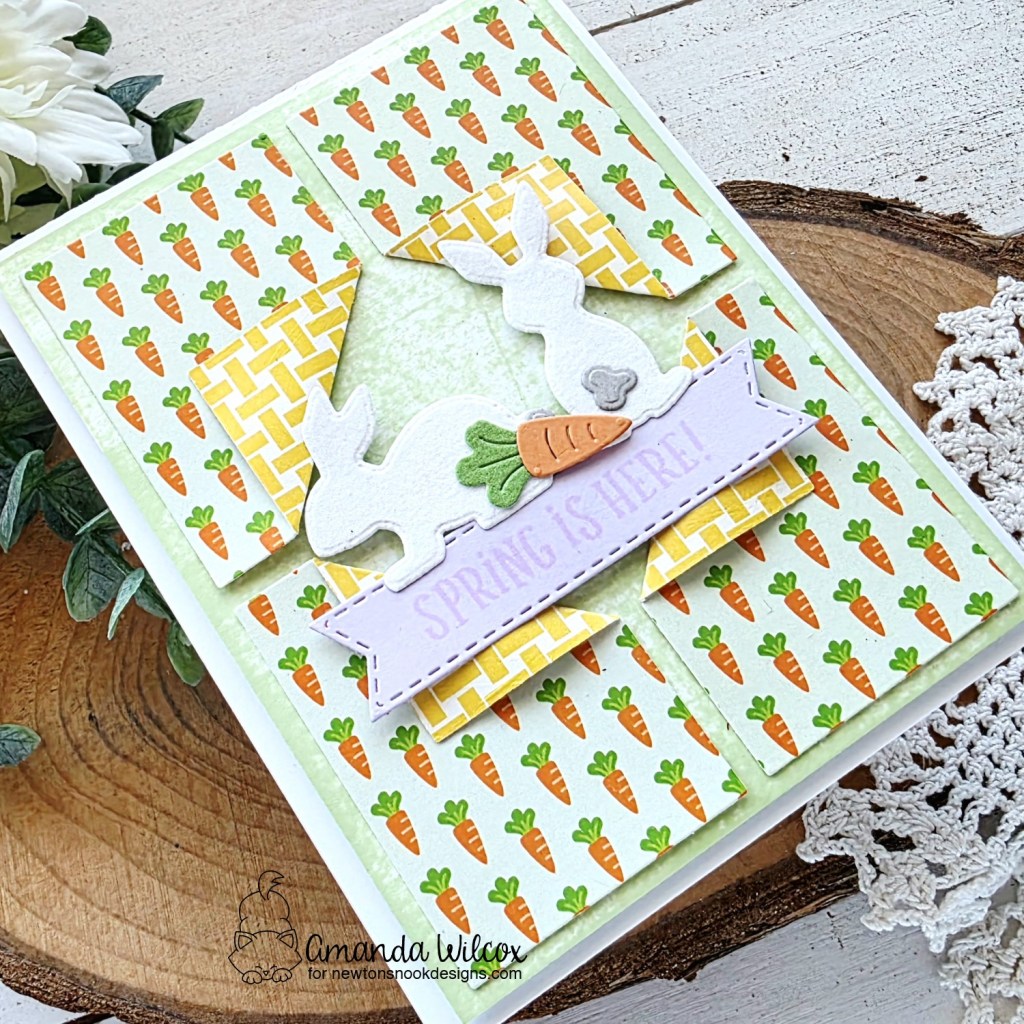
Last, the panel is popped up on a white card base for even more dimension and visual interest.
Products used:
Silhouette Bunnies dies
Happy Easter paper pad
Banner Trio dies
Springtime Roundabout stamps
Foam squares and tape
Glue dots
Liquid glue
Check out the Design Team Blogs for more inspiration and featured project details:
Newton’s Nook Designs
Larissa Heskett
Samantha Mann
Diane Morales
Farhana Sarker
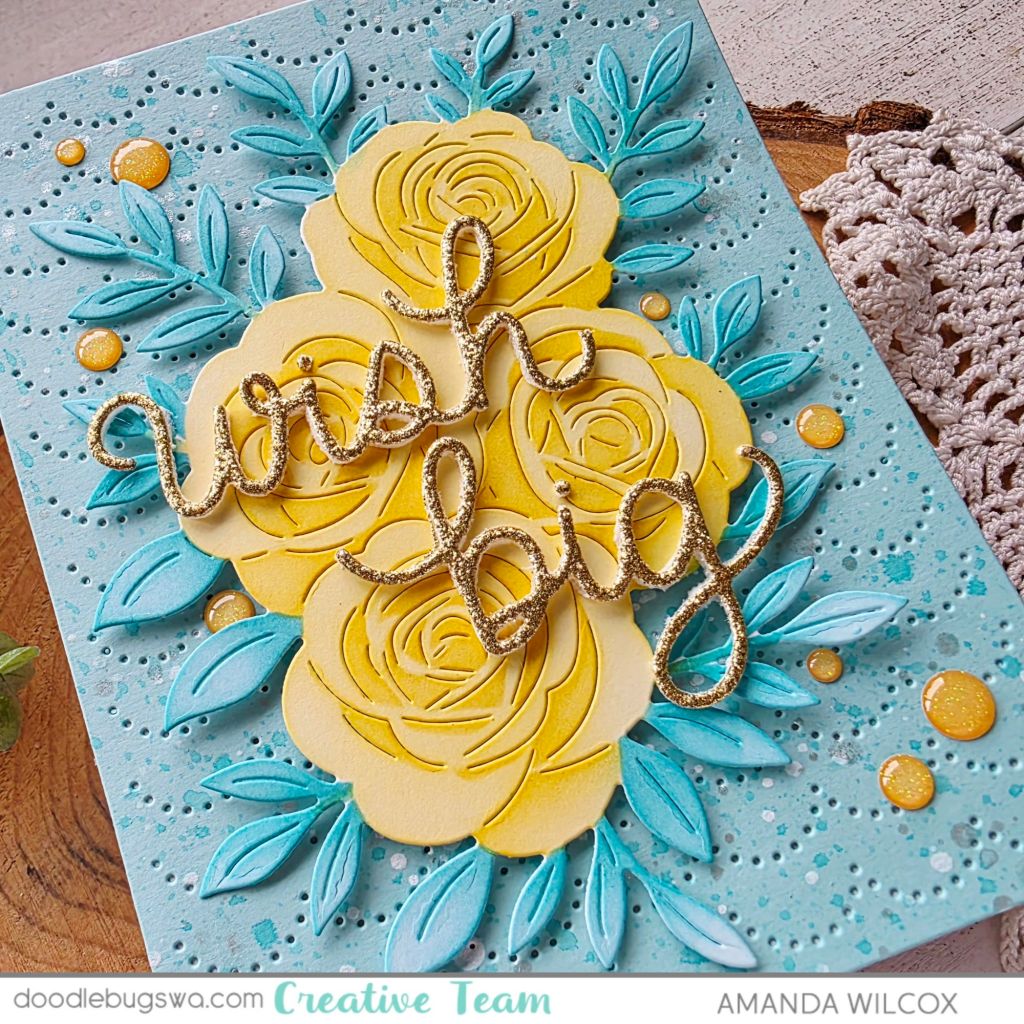
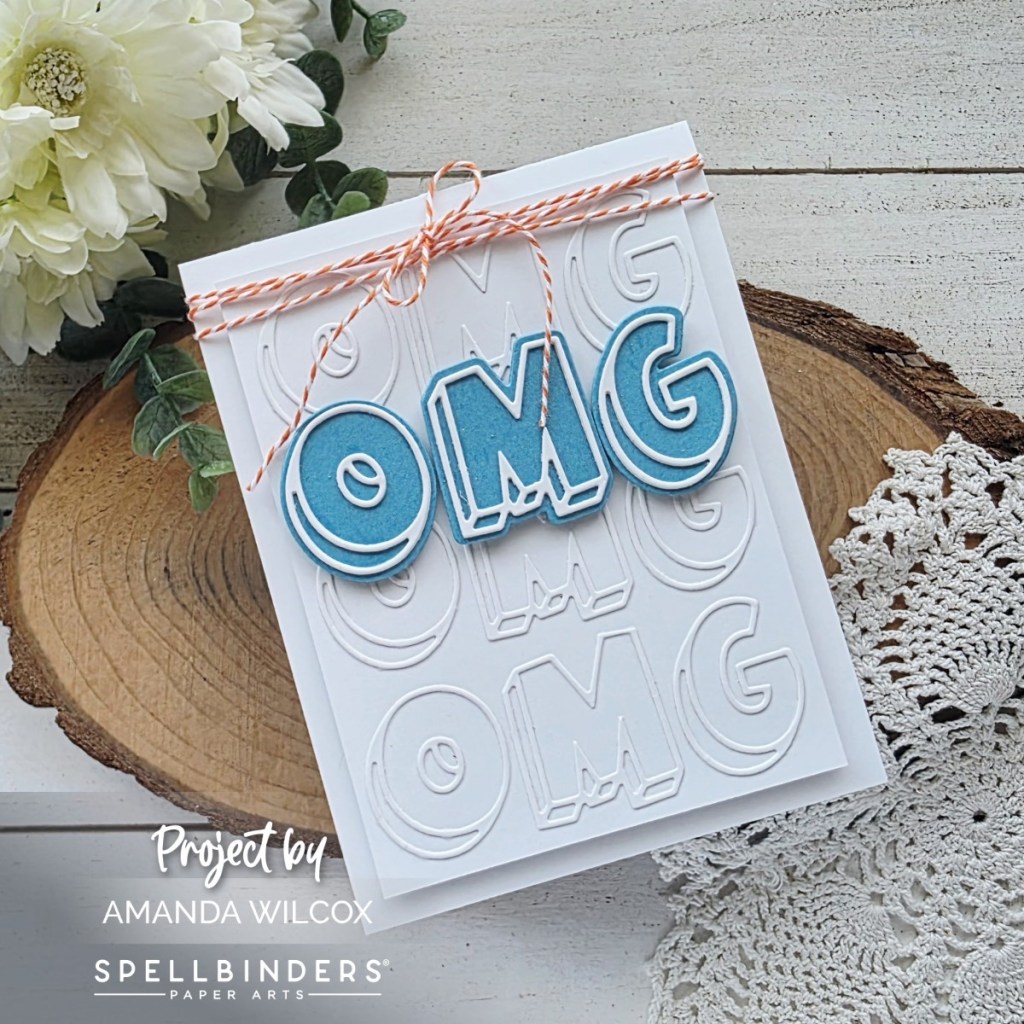
Amanda Wilcox
I appreciate you sharing your time with me. Have a fabulous day!