Welcome back everyone. Today I have inspiration for quick scene “coloring” using Miss Ink Stamps stencils, dies and stamps. As things get closer to Christmas, we have less and less time to sit and color detailed scenes, but maybe you still really want to create with those gorgeous images. Here’s one solution for you.

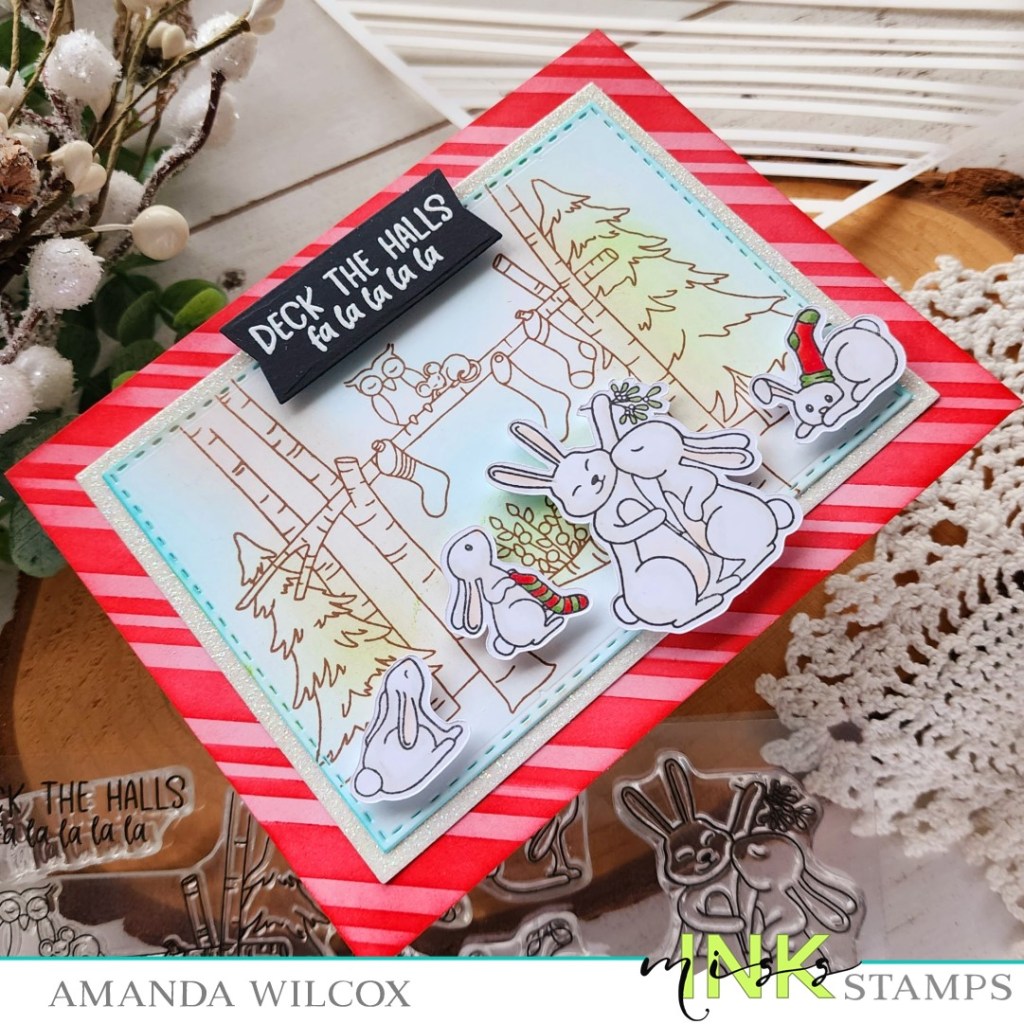
To start my card, I stamped the bunny images I wanted cut out and colored them with copic markers. Then I used my scan-n-cut to cut them all out and set them aside.
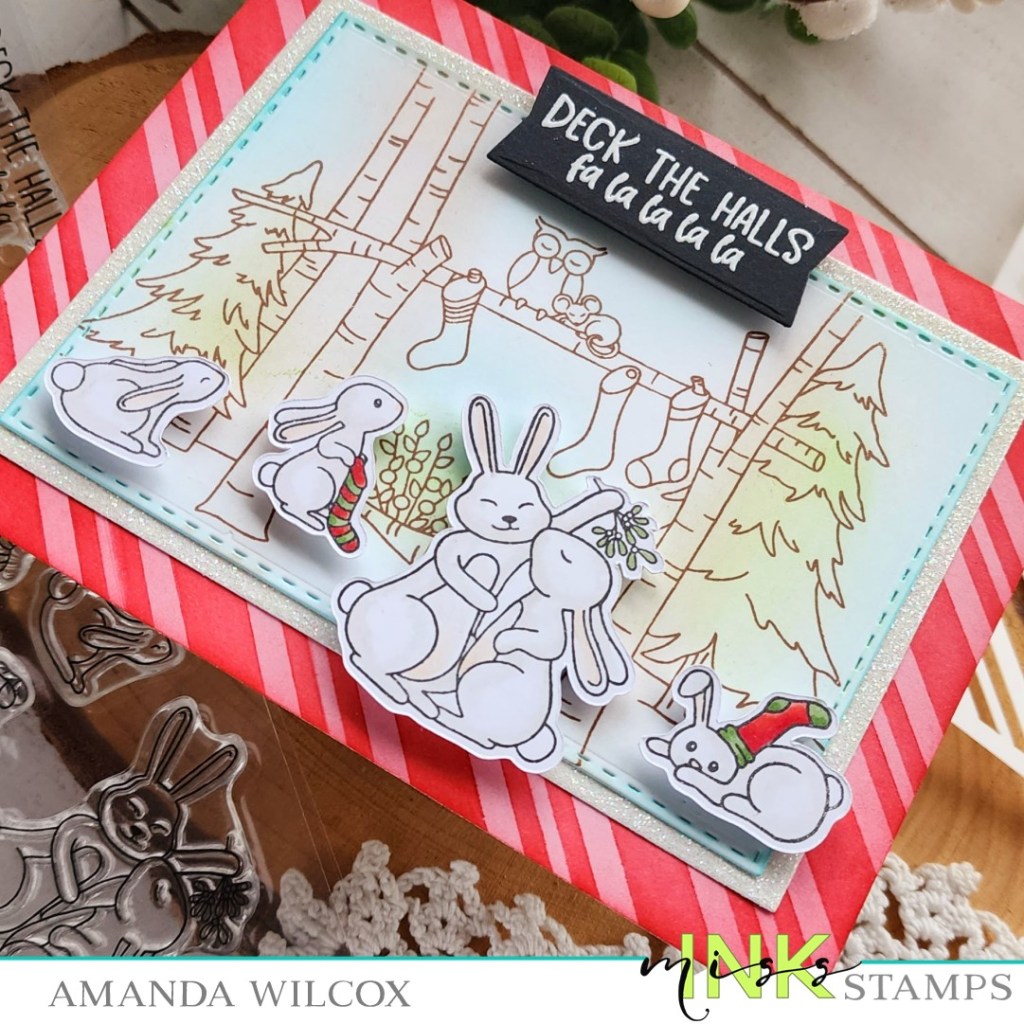
Next I cut the stitched rectangle from EIEIO Frames die set and stamped the large background image in brown ink on it. Then, without adding ink to my blending brushes, I went around the edge with my teal brush, then over the tree trunks with brown and last the trees themselves with green. It just gives the background a glow of color so it’s not stark white but really took no time at all.
Next, I took an A2 white panel and inked up the Candy Stripes stencil with red ink. After removing the stencil I went around the border with the same color so there wasn’t any white but you could still differentiate the stripes.
I used liquid glue to adhere my layers together and to a card base, then I popped up my images and sentiment banner.
Products:
Woodland Hearth stamps
EIEIO Frames dies
Candy Stripes stencil
Blending brushes
Liquid glue
Foam squares
Embossing & Watermark Ink
Embossing powder – frosting
Magic Anti-static brush
I appreciate you sharing your time with me. Have a fabulous day!
