Spellbinders – Country Christmas Release Day

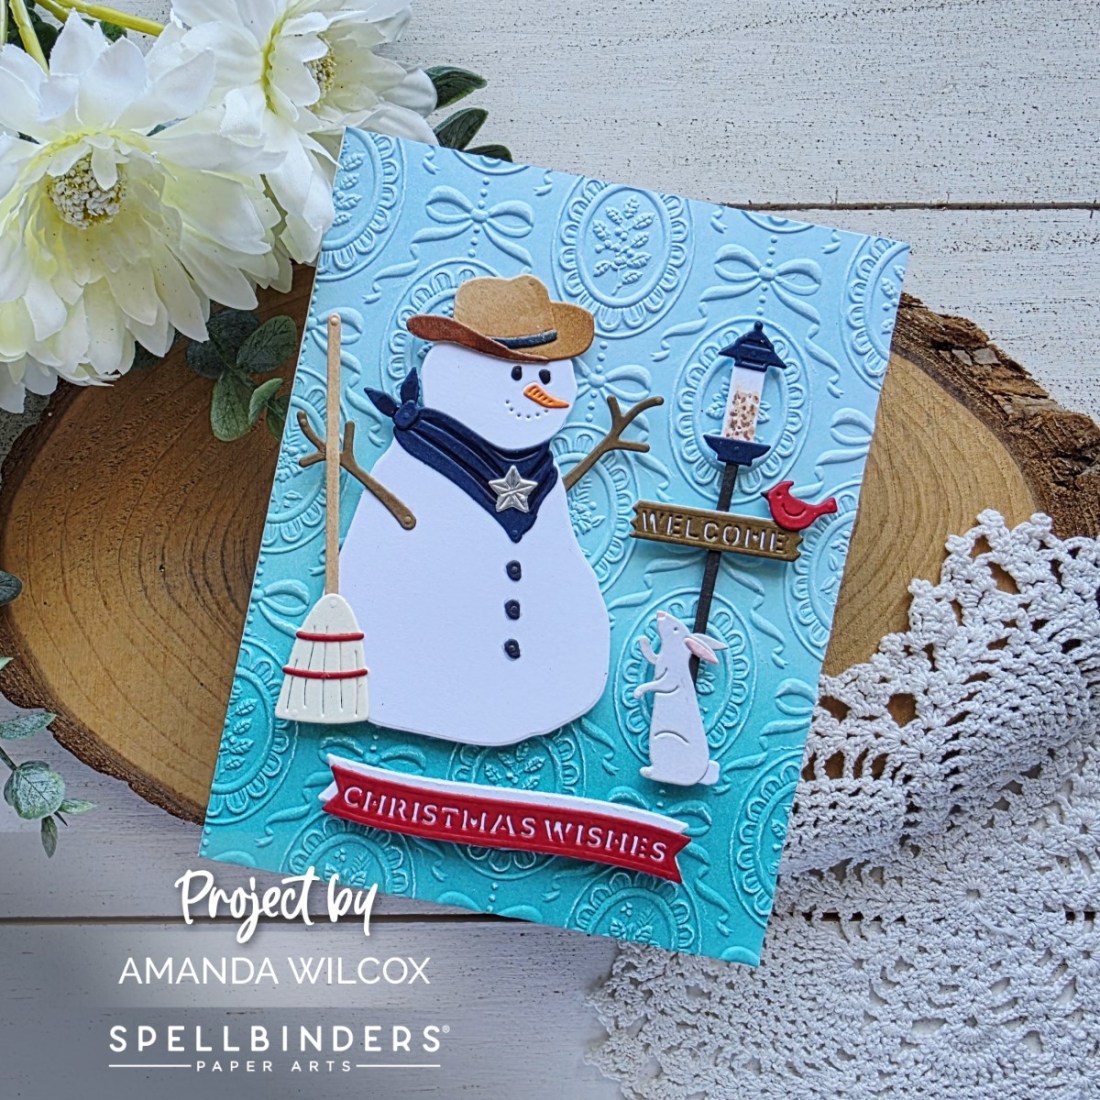
Welcome back everyone! I’m back today with a card featuring goodies from a couple of Spellbinders Christmas in July releases happening today. This first card features sweet scene dies from the Country Christmas Collection by Annie Willis and an embossing folder from the Merry Moments Collection.

I spent some relaxing time die cutting all the elements for my Country Snowman, using ink blending and a little copic marker coloring for shading and texture in places. Reverse tweezers and liquid glue are always my friend when creating with dies like these.

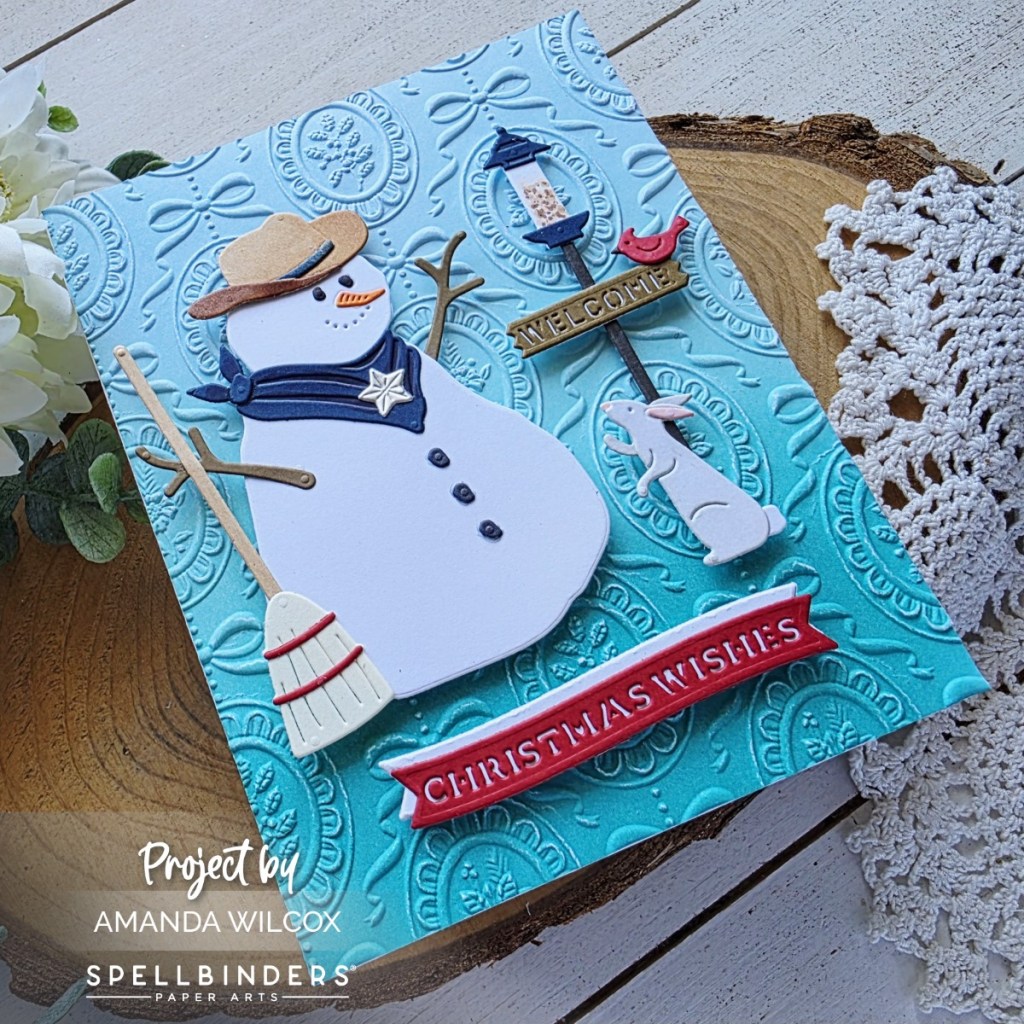
Once I had my scene elements created, glued and drying, I ink blended a panel with distress oxide inks and ran it through the die cutter with the Christmas Cameos 3D embossing folder. I glued that to a card base and started assembling the rest of my card.

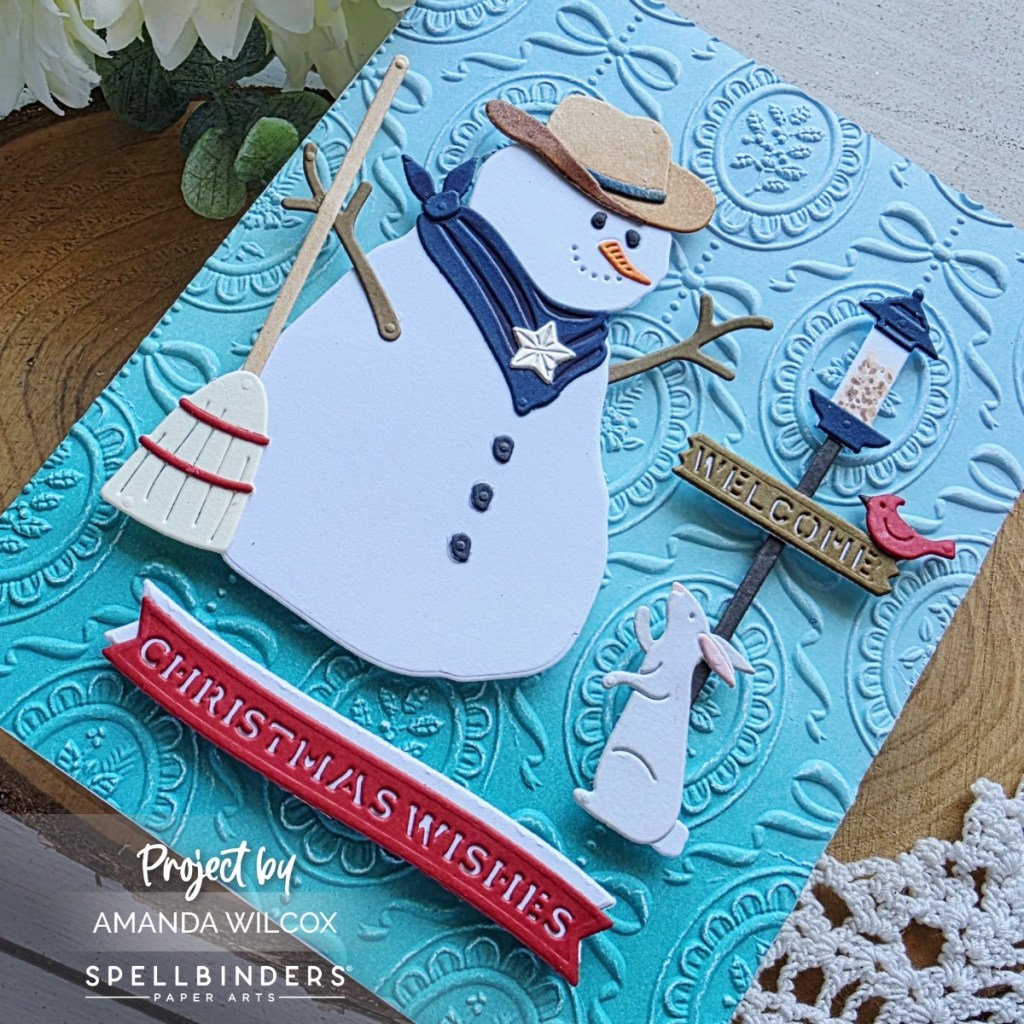
After adding the Country Snowman elements with foam squares I pulled out my favorite sentiment banners from last year to finish things off. The white layer on the sentiment banner helps the sentiment pop and hides the foam behind it but this time I offset it for a little added interest.

Are you Christmas crafting yet?

Products used:
Country Snowman dies
Christmas Cameo embossing folder
Handmade Sentiments dies
Foam squares
Reverse tweezers
Liquid glue
Distress Oxide ink – peacock feathers, salvaged patina, tumbled glass

I appreciate you sharing your time with me. Have a fabulous day!

Newton’s Nook – All Die Cut Cards, When It’s too Hot to Color

Hello everyone! I’m over on the Newton’s Nook blog today with a fun, book-themed card that’s all die cuts with one stamped sentiment. I recognize that it’s summer and hot and not everyone has air conditioning. If you color with materials like copic markers that are pressurized, it makes it difficult to accomplish anything when the temperatures rise.

I’m in that boat right now as our air conditioner is out so I pulled out some fun die cuts to play around with and love how it turned out.

The books I used are from the Bookmark II die set and the flowers are from the Daisies die set. I cut from colored cardstock and used copics to add little accents to the book spines, just coloring the inserts a shade or two darker so they stood out.

I cut a piece of white cardstock down to 3.5×4.75 and ink blended a section a couple inches up from the bottom. Then I glued a piece of rose gold foil cardstock to the seam and used the same apricot ink to stamp my sentiment that I ink blended with.

I used liquid glue to adhere all the die cut elements and finished the design off with some glossy accents on the flower centers. Then I popped the panel up on a white card base with foam tape and my card is all finished.

Products used:
Daisies dies
Bookmark II dies
Never Enough Books stamps

Glossy accents
Foam tape
Liquid glue

I appreciate you sharing your time with me. Have a fabulous day!

Doodlebugs – Spooky Wishes

Hey friends! I interrupt your regularly scheduled summer fun for some spooky wishes featuring the Mama Elephant Halloween awesomeness that recently released! If you’ve been here for just a minute, you know Halloween is my favorite and any excuse to create for it has me ALL IN!

I had a general idea that I wanted to create a big sentiment with the adorable mummies and witches around and in the letters somehow. So I started with my background to set the tone and choose my color palette…perfect summerween colors! I used the Pretty Pink Posh Layered Stars stencil set on pink cardstock to start off with. I used Lawn Fawn carrot and jet black inks.

Next, I adhered white cardstock to craft foam and covered the back with adhesive sheet. Then I die cut my sentiment using the Lawn Fawn Henry’s ABCs die set. This gave instant dimension with less work than cutting each letter 4 times and gluing them together. After arranging my letters together I chose a Spellbinders Emerald Cut Label die to cut from vellum as a backdrop.

Now that I had a general placement and size of open space, I chose a couple of mummies and a witch from the new Mama Elephant sets – Mummified and Bewitched. I stamped, colored and die cut them, then adhered each mummy with foam squares and the witch with liquid glue.

Hiding adhesive behind the letters and images, I adhered the vellum panel with tape runner to the stenciled background. Next, I used liquid glue to adhere the whole thing to a card base.

For finishing touches I added orange glitter brush pen to the sentiment and white gel pen highlights to the images.

On a scale from 1 to spooky, how much do you love crafting for Halloween?

Products used:
Mama Elephant Mummified stamps and dies
Mama Elephant Bewitched stamps and dies
Pretty Pink Posh Layered Stars stencils
Spellbinders Emerald Cut Labels dies
Blending brushes
Lawn Fawn inks – carrot and jet black
Liquid glue
Adhesive sheets
Craft foam
Foam squares
Tape runner

I appreciate you sharing your time with me. Have a fabulous day!