Newton’s Nook – Sending Uplifting Smiles Blog Hop

Today the Newton’s Nook Designs and Inky Paws Challenge Team members are hopping along to Send Uplifting Smiles! Our goal today is to help brighten your day with uplifting and encouraging cards that will make you smile! We know that many of you are under stay home orders to help fight the spread of the Coronavirus and during this time of social distancing it’s more important than ever to keep in touch with family and friends! We encourage you to spend some time creating and sending cards to those who matter to you! Check out all the stops in this hop to get inspired on ways you can send uplifting smiles!

 
Leave comments at all the stops on the hop for a chance to win a store credit to our shop (details at the bottom of this post). 

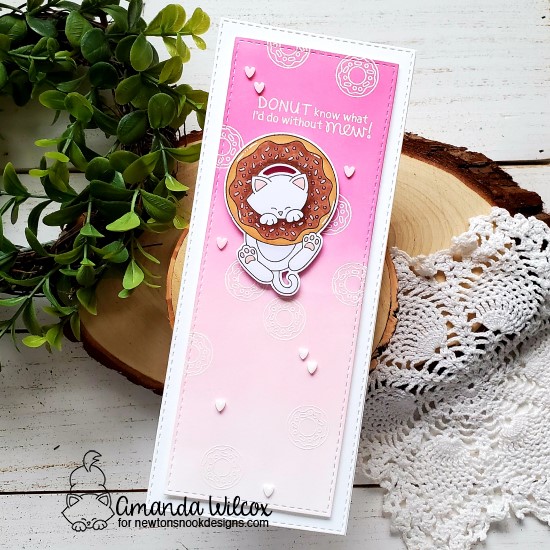
To make this card, I started by die cutting my slimline panels. On the smaller one I stamped and heat embossed the small donut and a sentiment from Newton’s Donut in white. Then I took distress inks in picked raspberry and spun sugar and blended them over the embossing. I buffed away the excess ink and my background is finished.
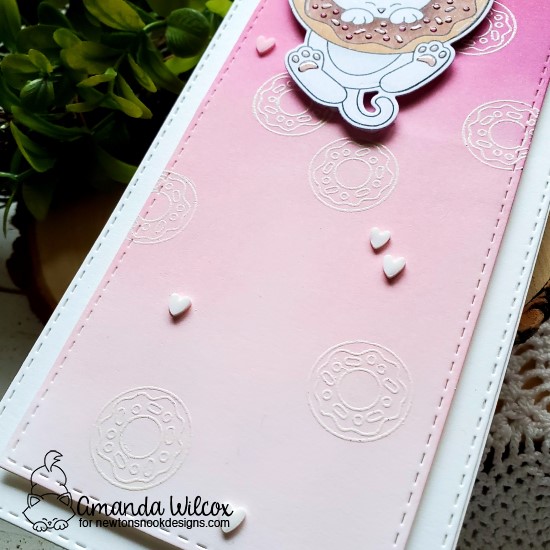
I popped it up on a slimline card with foam tape for some dimension and moved on to coloring my image. I stamped Newton and colored him with copic markers. Then I used the coordinating dies to cut him out. He’s popped up with foam squares and I moved on to finishing touches.

For this card, I used glossy accents on the donut sprinkles and Newton and then added some clay heart embellishments throughout the background of the design.

Inspired?
What will you create? Newton’s Nook Designs is having a sale this weekend too so you can stock up on your favorites to make some cards today! Check out their shop at www.newtonsnookdesigns.com for details! 

Send Uplifting Smiles Hop Giveaway!
Would you like to win a $25 store credit to Newton’s Nook Designs online shop?
We are giving them out to TWO lucky winners!

Here’s how to win:
Comment on the NND blog and Design Team blogs (see list below)! The winner will be chosen at random from the collective reveal posts. Make sure to check out each of their blogs and comment for your chance to win. You will not know which blog has been chosen so the more you comment on the better your chances are of winning! You have until Monday, April 20th, at 9 pm EST to comment — winners will be announced on the blog post on Tuesday, April 21st.

Check out all the awesome Design Team Blogs below to enter:

Newton’s Nook Designs
Ellen Haxelmans
Larissa Heskett
Samantha Mann
Zsofia Molnar
Maria Russell
Andrea Shell
Tatiana Trafimovich
Amanda Wilcox <— YOU ARE HERE! 🙂
Debbie Owens
Diane Morales
Becky Noelle
Crystal Komara
Trinity Stamps – Appreciation Trio

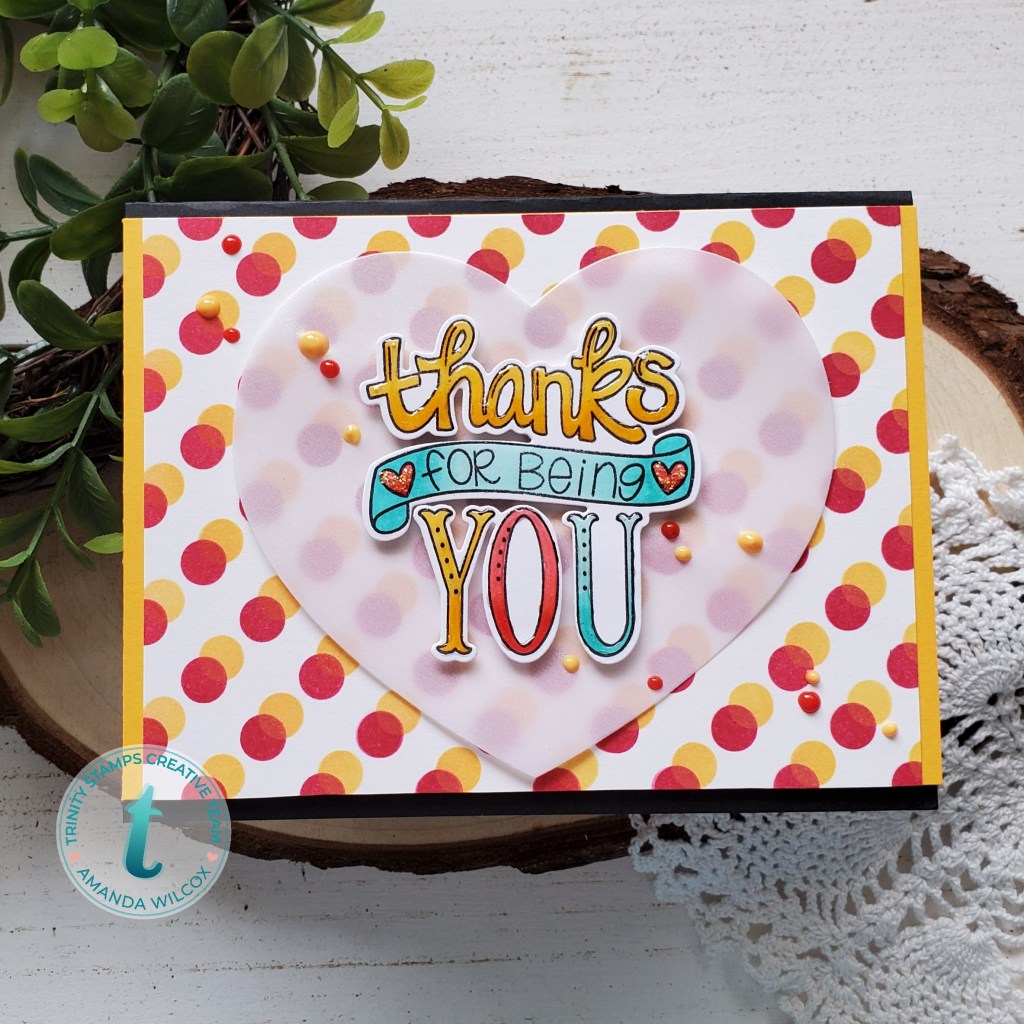
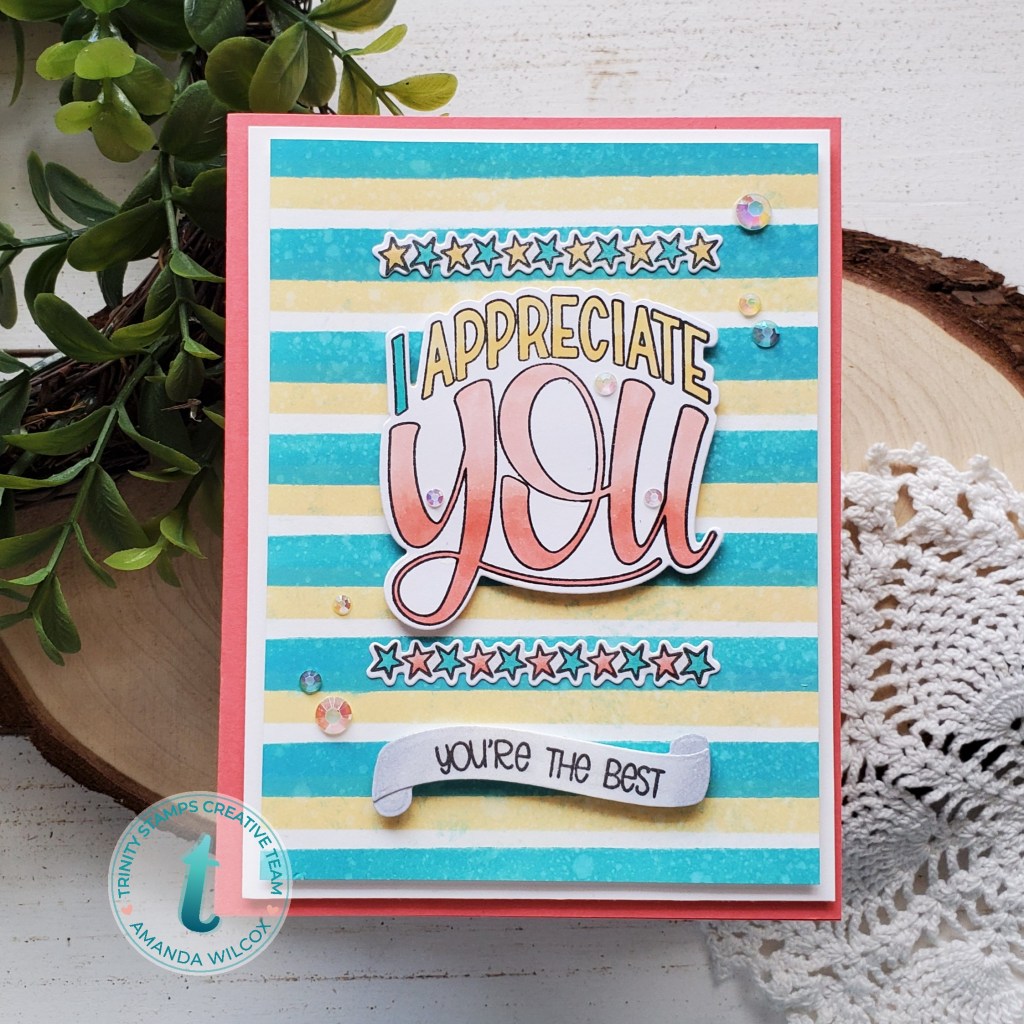
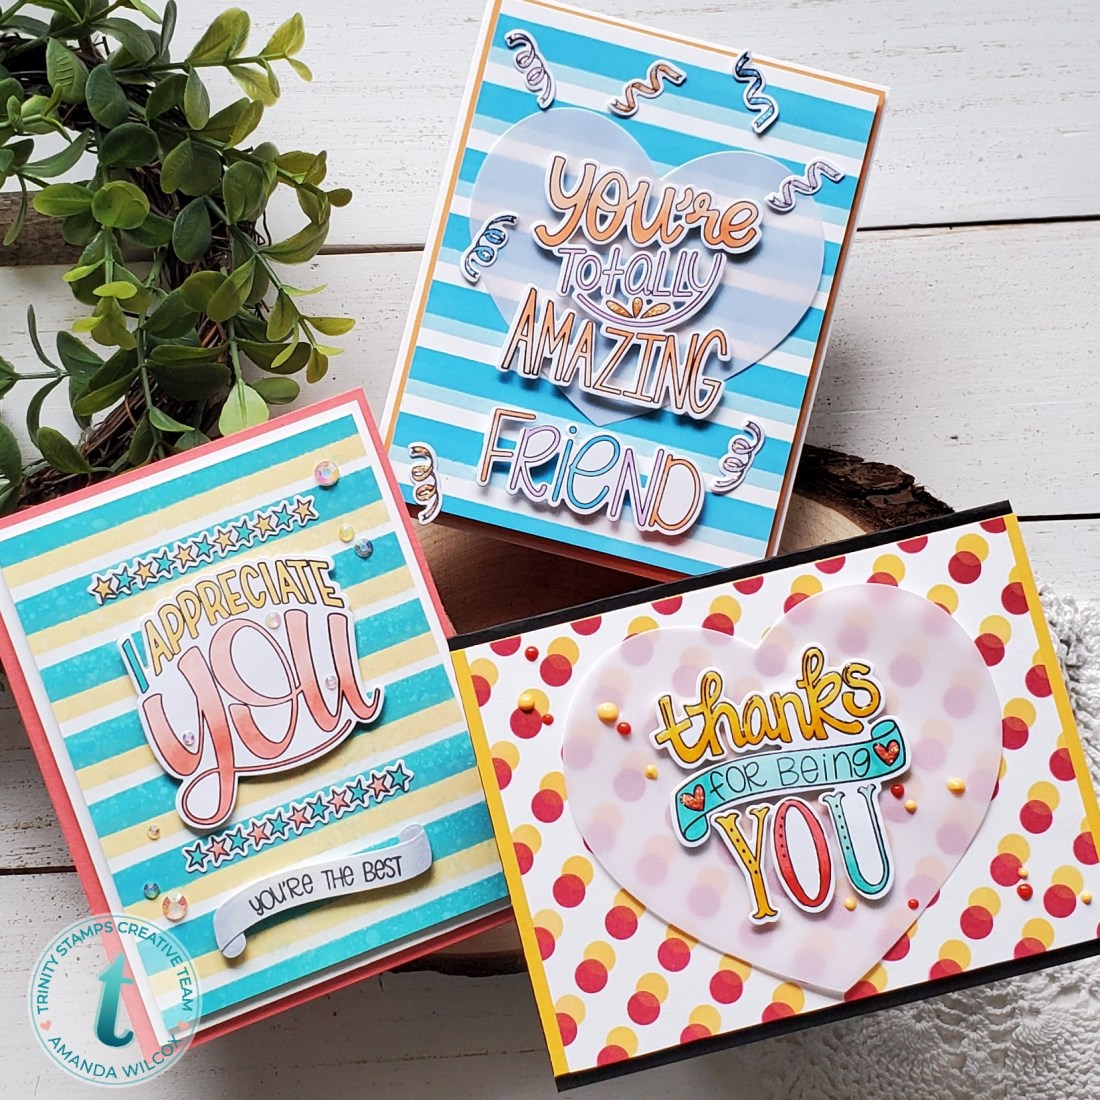
Hey everyone! I’m up on the Trinity Stamps blog today sharing this great trio of appreciation cards with the recent new release. I love these amazing word art style stamps that Love Dani Studio designs for Trinity! They are so much fun and for the sentiment to #1 fill the card front and #2 be an amazing decorative focal point is just awesome!

I actually created the backgrounds for these cards a couple nights before when I was playing with the new stencils from the release – straight stripes and polka dots…I love them!!!

There was no way I could choose one of these to create with so I stamped out all 3 images from both stamp sets – Totally Amazing and So Appreciative and started coloring to coordinate with the backgrounds I created.

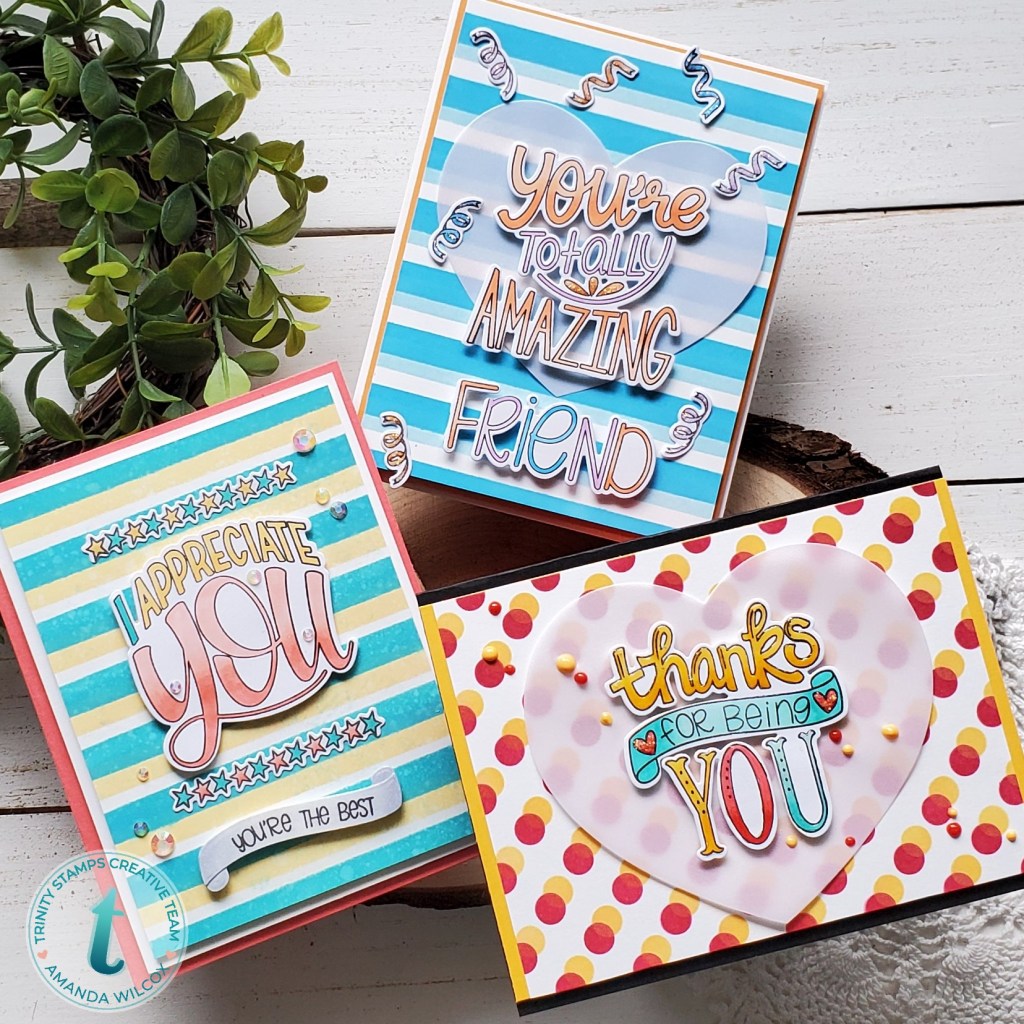
For this first card, I cut an orange panel and popped it up with foam tape, then also popped the striped panel up as well. I die cut the next-to-largest nested heart from iridescent vellum and popped the sentiment up on it. I hid liquid glue behind the image to adhere the heart to the card front. I popped up the word friend and thought the card looked a little plain so I went back and added some of the curled ribbon from the set. I added Stickles to these for a little shimmer on it.

For this card I made my cardbase black, cut a strip of orange cardstock to 4×5.5 and popped it up with foam tape. I then attached my stenciled panel and die cut the largest nested heart die from iridescent cardstock as well. The sentiment is popped up with foam tape and the glue holding the heart down is hidden behind it again. For finishing touches I added glossy accents to the words and scattered Nuvo Crystal drops about the design. The last thing I did was add a little Stickles to the hearts on the banner for some shimmer. Loving this bold color combo!

For this last card I decided to spritz the distress background with water and blot it dry to add a little texture. Then I popped the layers up with foam tape all the way down to the card base. The star strips are adhered directly to the card front but that’s it. For finishing touches I added Wink of Stella glitter brush pen to the stars and banner and then glued some unicorn tears rhinestone embellishments across the design.

These cards were really simple to put together but so much fun to do! The sentiments say it all while giving you an “image” to color and decorate at the same time. The sets are super versatile and have lots of different phrase combos to change the meaning or recipient too. Be sure to check them out at Trinity Stamps!

I appreciate you sharing your time with me. Have a fabulous day!

Newton’s Nook – Zoo Party

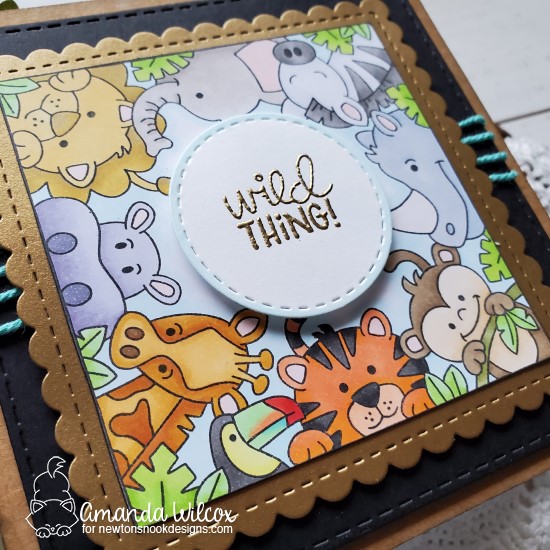
Hello everyone! I’m up on the Newton’s Nook Blog today with this super fun square card featuring the Zoo Party stamp set along with the Frames Squared dies. This is such a fun line! There are so many different square card front stamps that go with this single die set. It’s genius and so much fun to play with!

To make this card I stamped and colored my image from Zoo Party with copics. Then I cut it out with scissors and started to decide on the layering for my card. Using the different dies from Frames Squared I cut the scallop square from gold cardstock and the rounded square from black. I made a card base from kraft and inked the edges with tea dye and black soot distress inks. For my sentiment I used the larger of the two circles and heat embossed it in gold. Then I took a copic marker and colored the edge so it coordinated with the stamped image. Last I moved on to assembly.

I started at the top and worked my way down. The circle is adhered with foam squares and the image is glued directly to the gold square. I wrapped teal twine around the black square and then added foam tape to that and the gold square and adhered everything together.

There is so much going on with this card that I decided to leave it as is. I love the little bit of metallic from the embossing and the paper. I think the darker bold colors really help those awesome animals pop off the card. I hope you enjoyed it too!

I appreciate you sharing your time with me. Have a fabulous day!

Trinity Stamps – You Make Everything Magical!

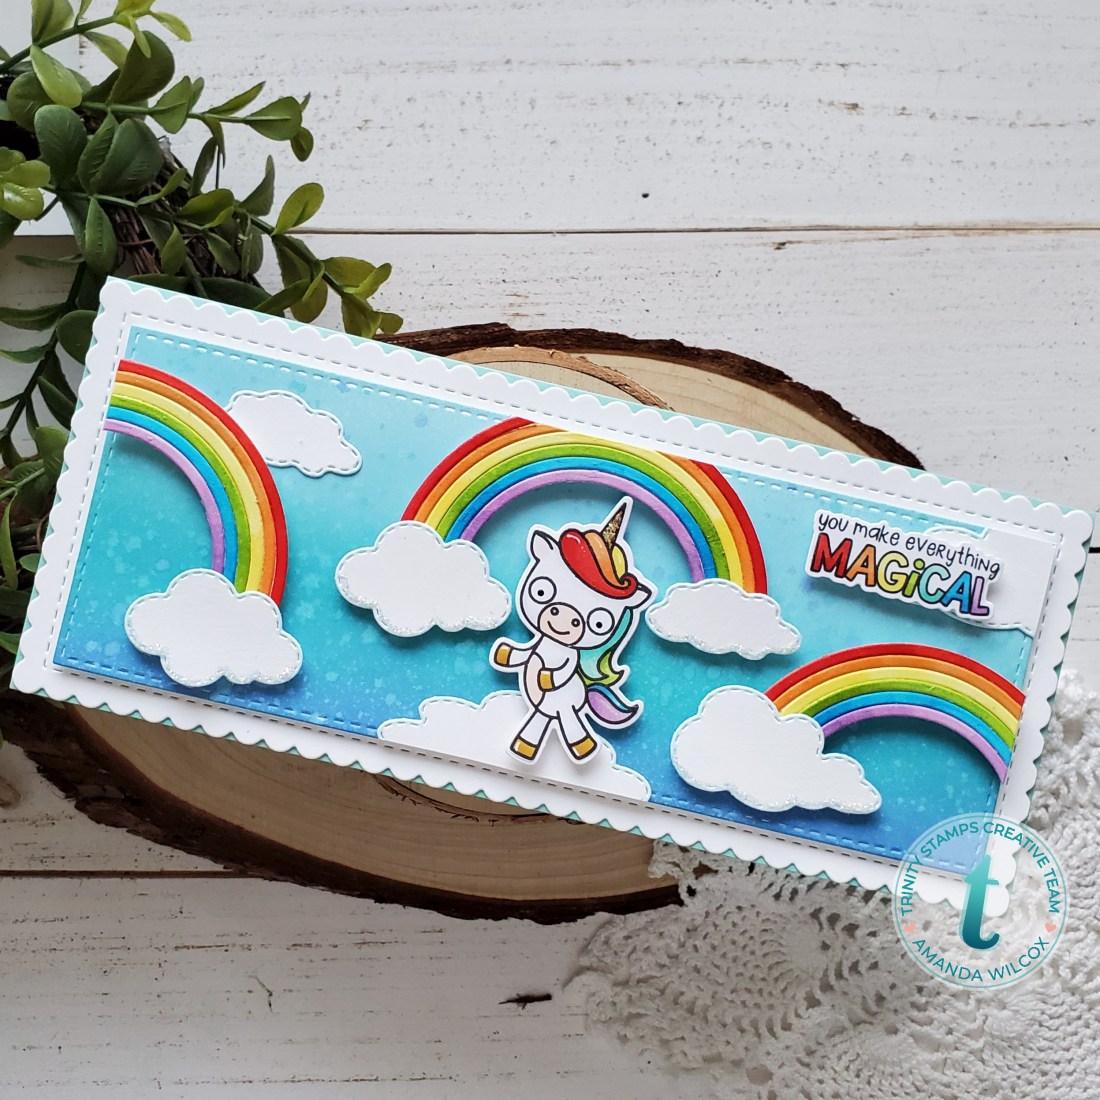
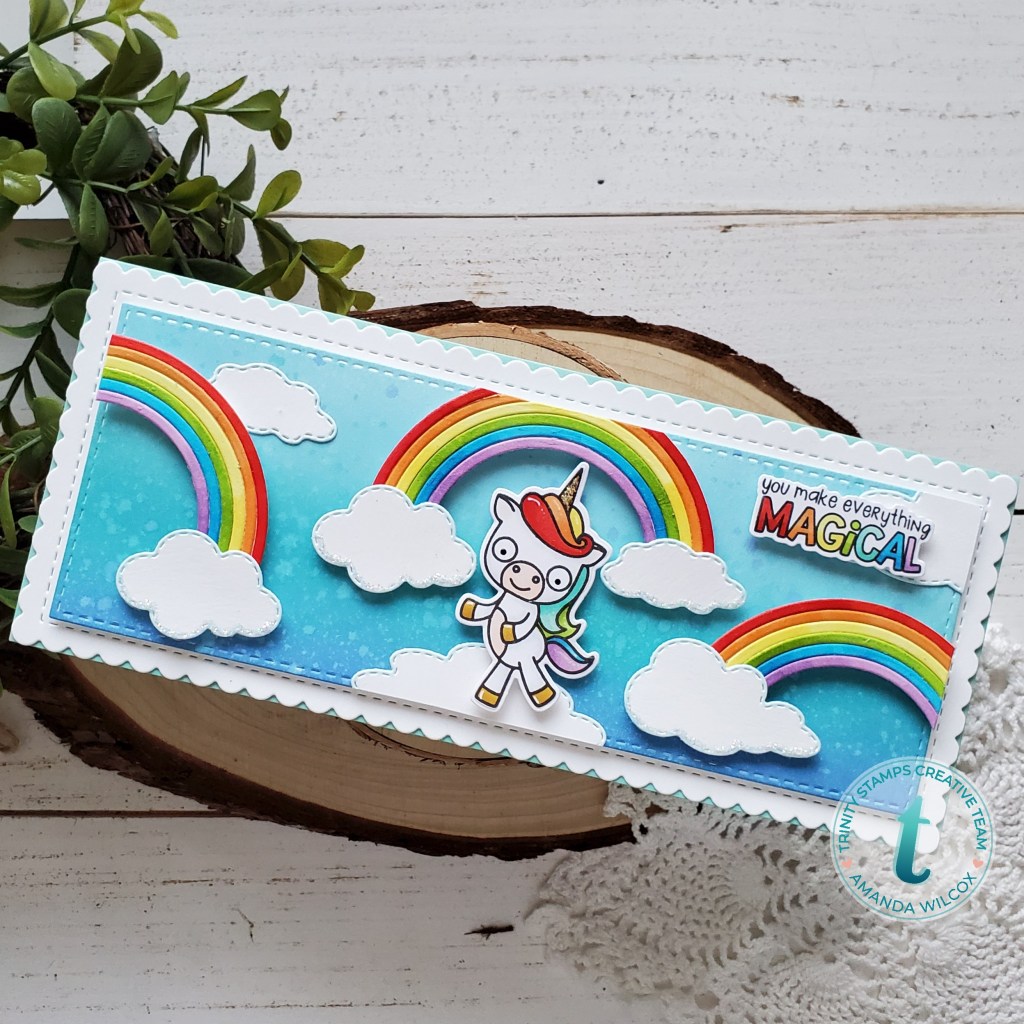
Oh my goodness, I’ve been dying to share this card with you all since I made it. I’m so happy today is finally here. I hope you love it as much as I do. But first, I have to admit that when I was designing this card it was fully intended to have my adorable mice all over it, but when I looked to my right this fabulous unicorn was just staring at me and I knew what I had to do.

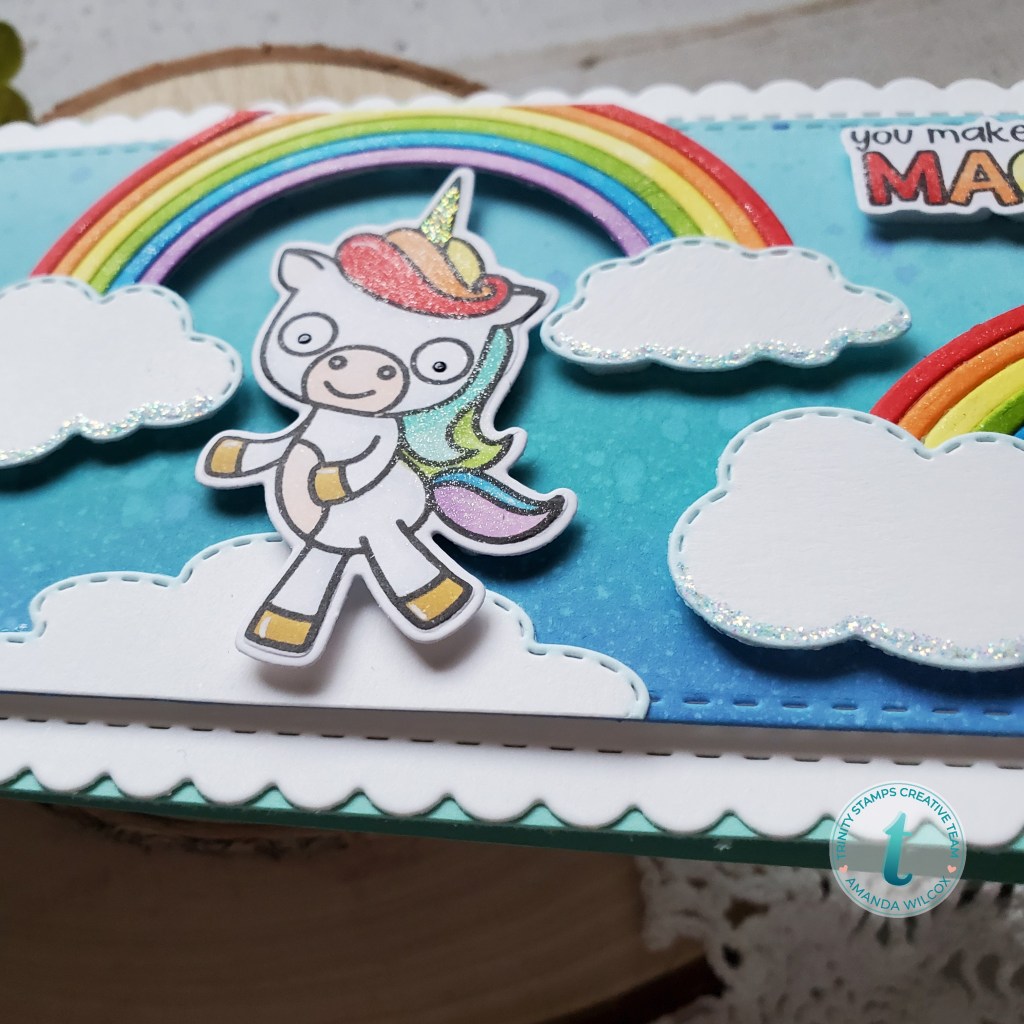
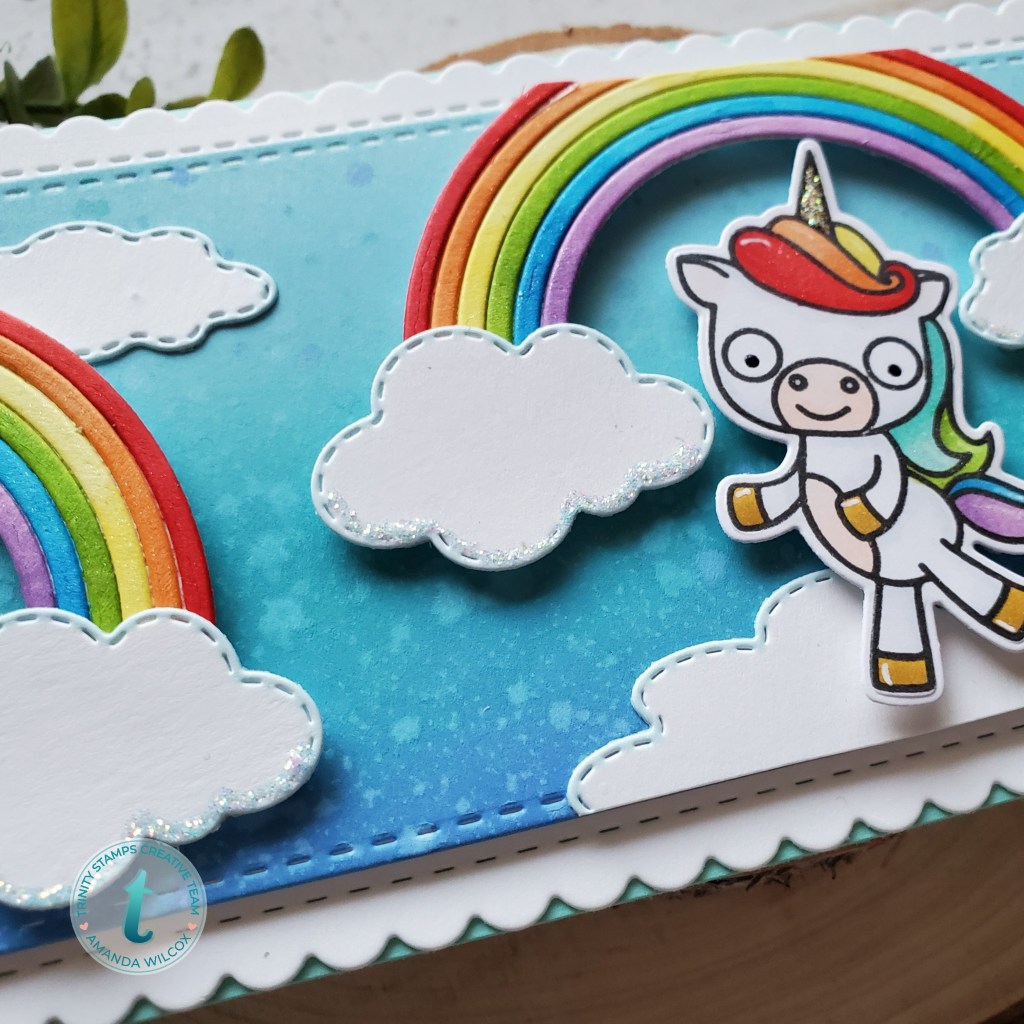
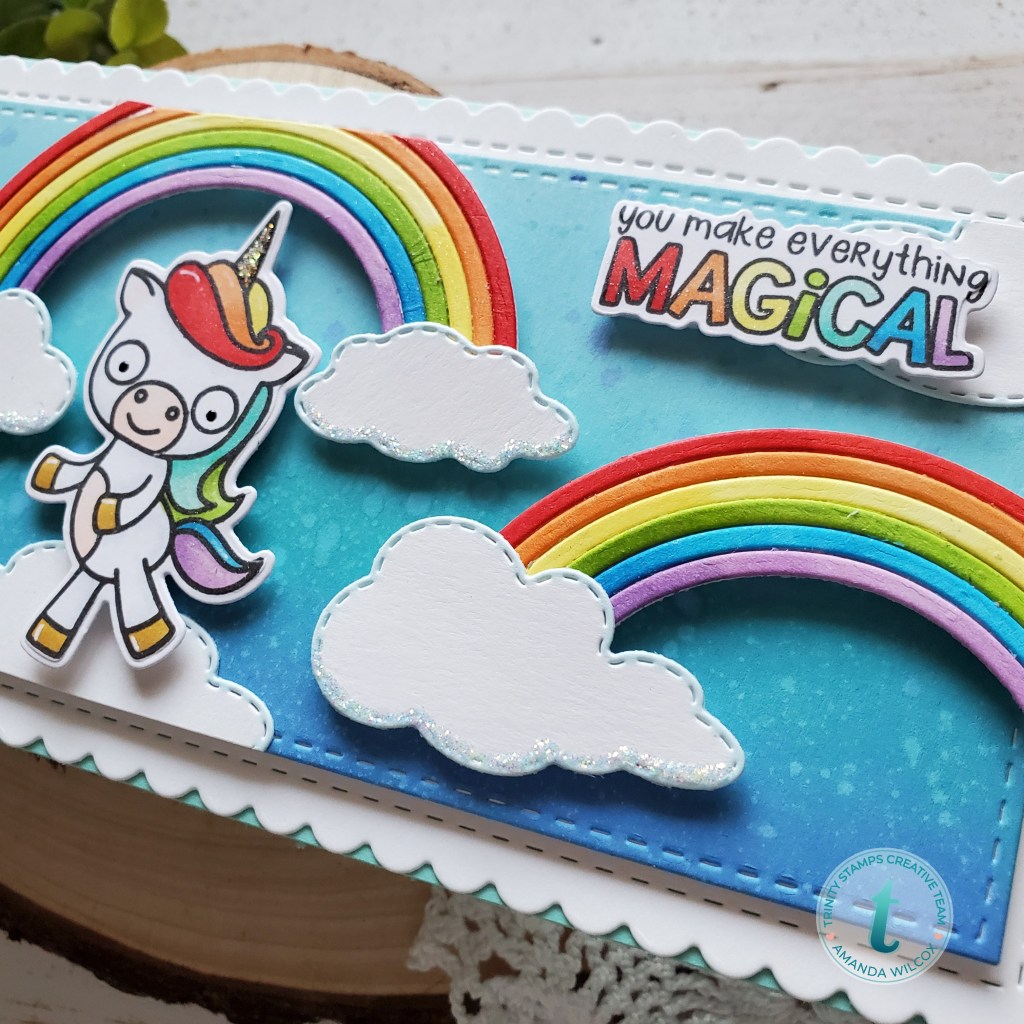
To create this card I started with the background and rainbows. I die cut a panel from the slimline card series stitched panels and windows set and blended distress oxide ink on it. I spritzed that with water and set it aside. I die cut the rainbow and a bundle of clouds from white cardstock and used copics to color them in. Then I adhered the pieces together and started deciding on a final layout.

The rainbows are popped up with foam tape along with some of the clouds while others are glued directly down. At this point I stamped my unicorn and sentiment from Let the Good Times Roll and colored it all with my copics. Then I used the coordinating dies to cut them out. They are both popped up with foam squares as well.

I moved on to finishing touches which I think really make this card so perfect! I used Stickles to the bottom edges of the clouds and also the unicorn’s horn. Then I used Wink of Stella glitter brush pen to the unicorn’s hair, all the rainbows and the sentiment.

This card is literally nothing but happiness wrapped up in something adorable to look at! It’s got rainbows and unicorns and glitter and sparkle, what more could you ask for?!? I’m so happy with how this turned out and I hope you enjoy it too!

Also, don’t be surprised if I remake this exact card using the adorable mice that I love so much from Mouse House! You know it’s coming…

I appreciate you sharing your time with me. Have a fabulous day!

Happy Easter, Again!

Hi everyone! I hope you’re enjoying your Easter with those that you can this year and making the best of whatever situation you’re in. Our Easter is much smaller than normal and not at all typical.

I wanted to pop in a second time today to share a couple of special Easter cards that I made, but didn’t want to spoil anything so by now they’ve already opened them.

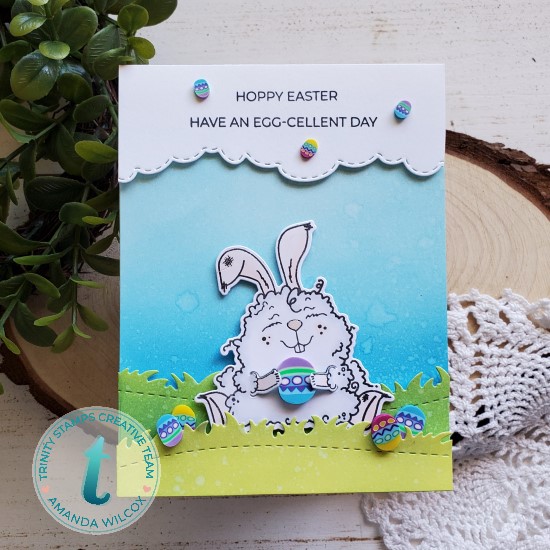
This first card is for my daughter and features fun products from Trinity Stamps – including a few from the release that just went live on Friday. That Dir-tea bunny was just asking to hold the awesome Easter egg embellishments and my daughter loves them so it was a perfect combo! I used the slimline scenic borders to create the grass and clouds. The sentiments are from the new spring senti-mini set from Trinity as well.

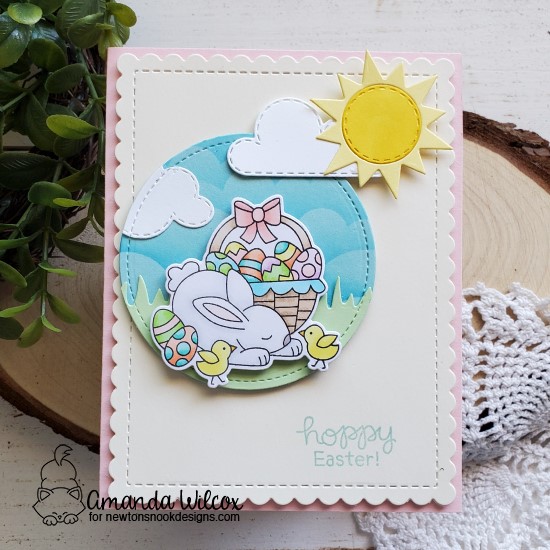
This second card is for my parents. We always visit them on Easter and won’t be able to this year so I thought it would be fun to make them a special card. This card features one of my favorite images from Newton’s Nook’s Hop Into Spring set. I also used the recently released sky scene builder dies for the clouds and sun. I stenciled in some clouds for texture on the mini scene and used the land borders for some grass too. The scalloped rectangle from Frames and Flags gives the perfect sweet frame to all my scene to as well.

I appreciate you taking time to stop by. Enjoy the rest of your day!

Trinity Stamps – 24 Carrot Friend

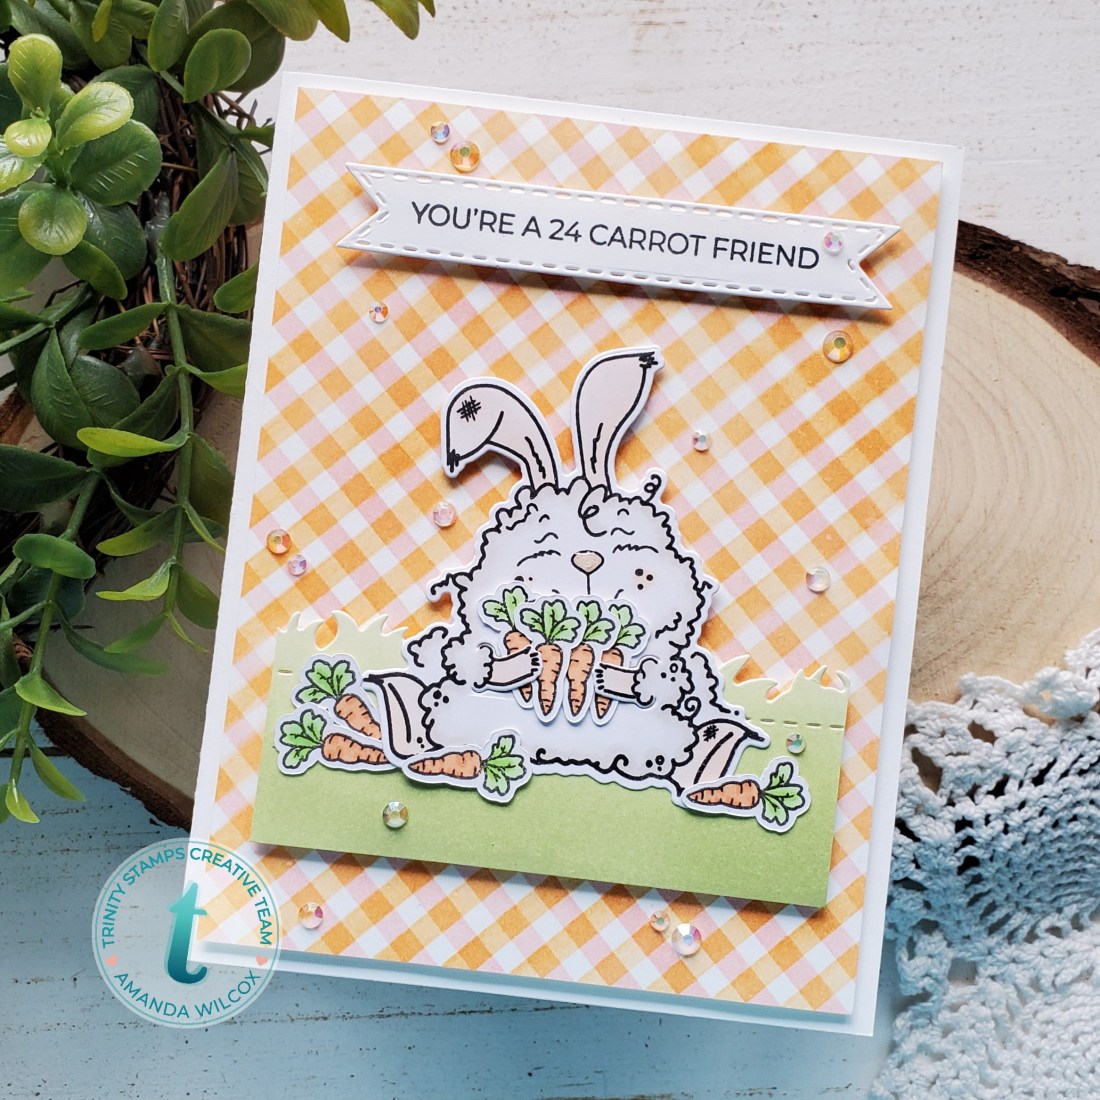
Happy Easter everyone!!! I hope you’re having a fabulous day and are able to find a creative way to celebrate the occasion in lieu of crazy world events. The new Trinity Stamps release went live on Friday and I just had to share this extra card with you today featuring a few of those new products.

To make this fun card, I started by using the new slimline stripes stencil and my blending buddy brushes to blend light pink dye ink and then flip the stencil and do the same thing with a light peach ink. I love the faux plaid look this gives! Isn’t it so much fun?

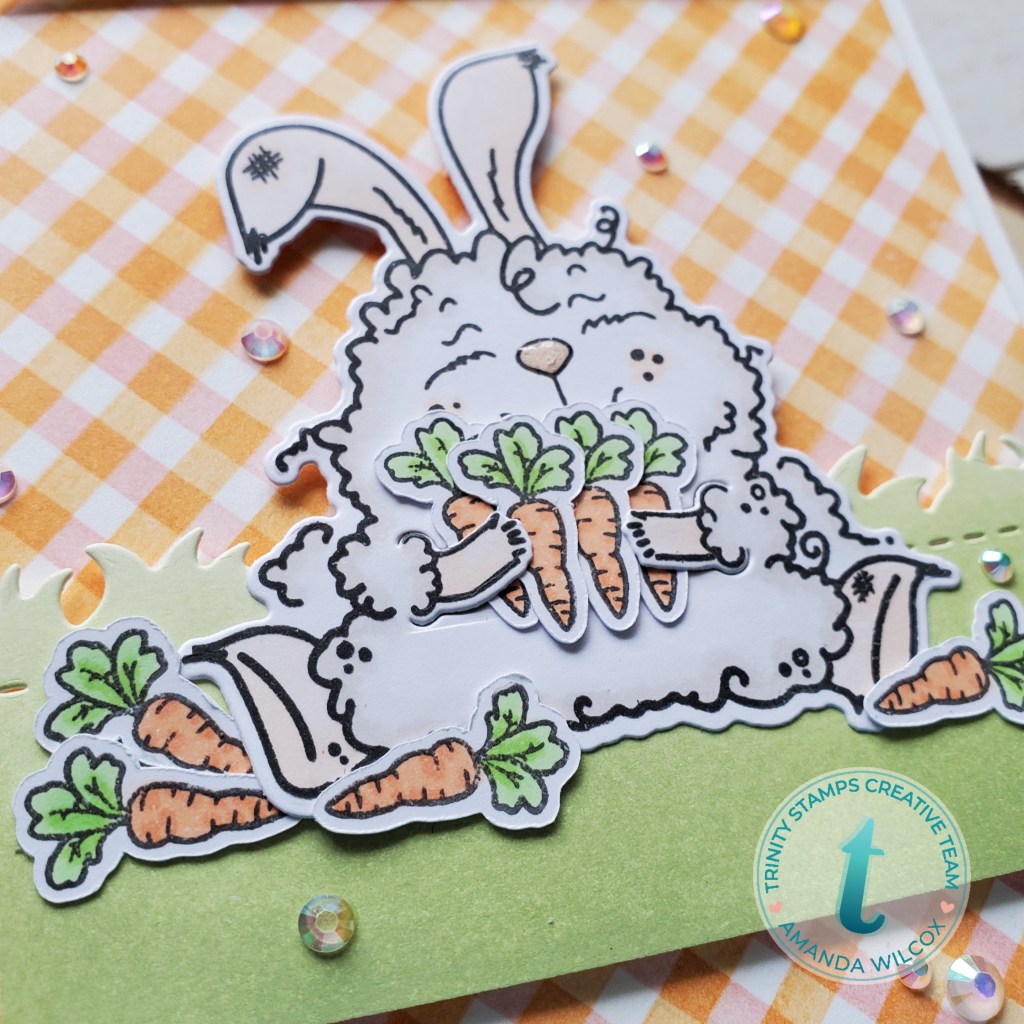
Then I stamped, colored and die cut my Dir-tea Bunny but instead of holding that mug, I grabbed the carrot from the new Springtime Sentiments and stamped a bunch of those! Thank goodness for my Scan-n-cut! 😉 I also inked up a panel with green and die cut it with the Slimline Borders grass die.

For assembly, I trimmed the background down to 4×5.25 and popped it up with foam tape on a white card base. Then I trimmed the grass panel down to 3.5 and popped it up as well. I used a combo of foam tape and liquid glue to adhere my bunny and then just liquid glue for all those carrots!

I finished things off with some crystallized unicorn tears embellishments scattered about and glossy accents on that cute bunny nose! I die cut the straight banner from the Slimline Scalloped Card Panels and Banners set and stamped my sentiment, popping it up with foam tape as well.

This was such a fun card to put together! And just knowing that you can have that little bunny hold all the things just opens up a whole new world for me! ❤ I can’t wait to try other things too!

I appreciate you sharing your time with me. Have a fabulous day!

Trinity Stamps – You’re Number One, Don’t Forget It!

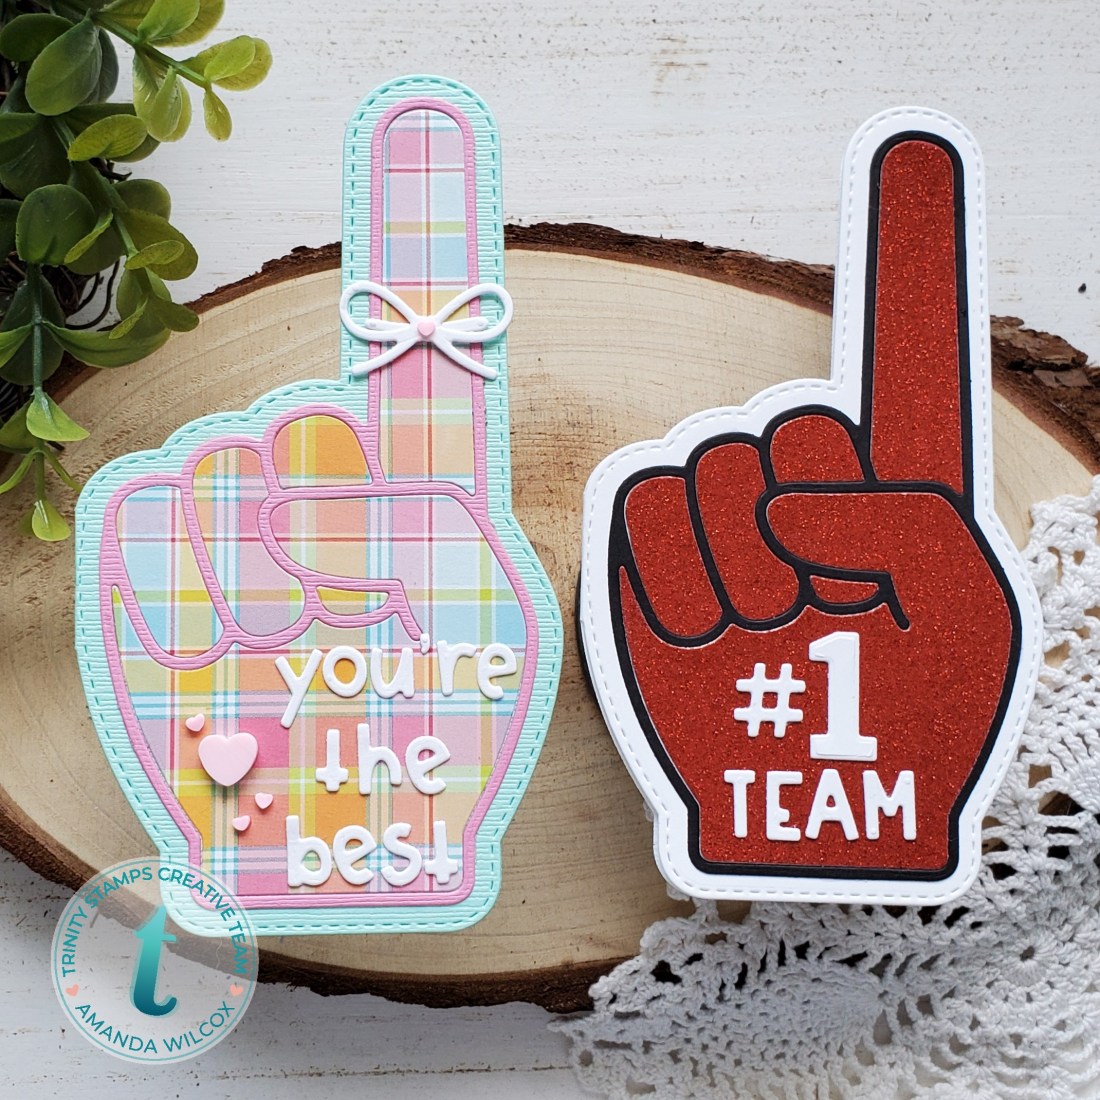
Hey there! The spring release for Trinity Stamps went live yesterday. After you’re done here, be sure to head to Instagram and comment on the hop for a chance to win a Trinity Stamps gift certificate! Today though, I wanted to share an up close look at one of the new stand-alone die sets called You’re #1. It’s a super fun shape card with lots of possibilities!

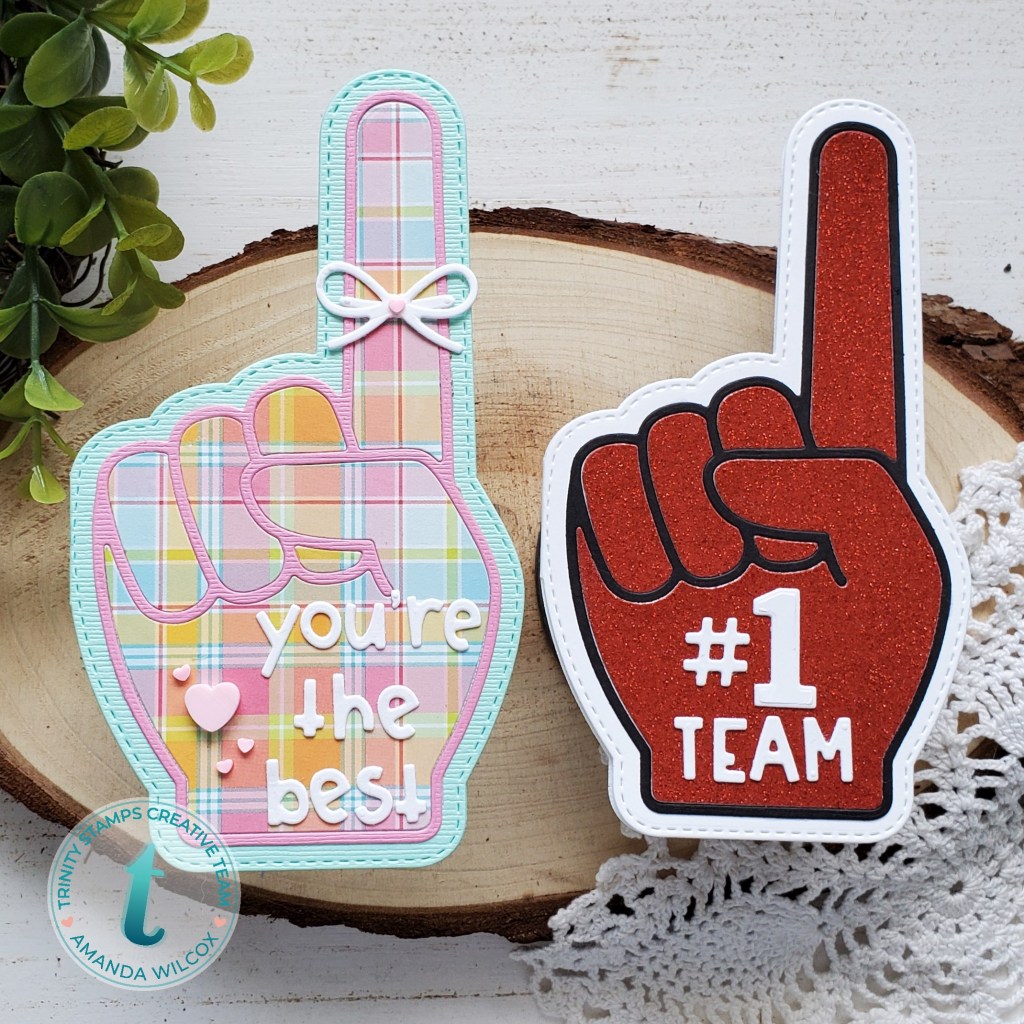
I shared a sneak peek of this earlier in the week that was actually the reverse of the card on the right. When you have a die like this it’s hard to throw that good paper away so I’ve been making two cards each time.

For this card, I die cut the base from a heavy white cardstock and used my bone folder to reinforce the crease line. I found that if you skip this step it likes to try and fold on the stitching line instead. Easy fix. Then I die cut the pieces from red glitter, black and white cardstocks. Then I simply used liquid glue to adhere all the pieces in place on the card front.

I can’t wait to make these in some specific colors for sports lovers in my life! Watch out football season!!! 😉

For this next version, I took out the bow and that little line die cut. This is supposed to be like tying a bow on your finger so you don’t forget something. I pulled out some softer colored cardstock and fun plaid patterned paper for a more girly looking card. Once it was all glued down, I finished it off with some Crafty Love clay heart embellishments and it’s ready for a message to be written on the inside.

I’m totally in love with how this one turned out. In my head it reads “Don’t forget! You’re the best!” Wouldn’t this be great to send to a friend who needs a little encouragement or maybe a thank you?

Depending on the colors of paper and the sentiment you choose there are so many possibilities with this die set.

Another quick reminder that the Instagram hop is still going on so head over there and start hopping for more amazing inspiration and comment for a chance to win.

I appreciate you sharing your time with me. Have a fabulous day!

Trinity Stamps – NEW RELEASE

Hello everyone!!! I am soooo beyond excited to share that Trinity Stamps has a new release live today! We’re doing a hop over on Instagram so be sure to jump over there and hop along. There is tons of inspiration and, of course, prizes to be won! You can start at the Trinity Stamps Instagram page here.

Below are the projects I’m sharing, with a bit more explanation in case you have questions. ❤

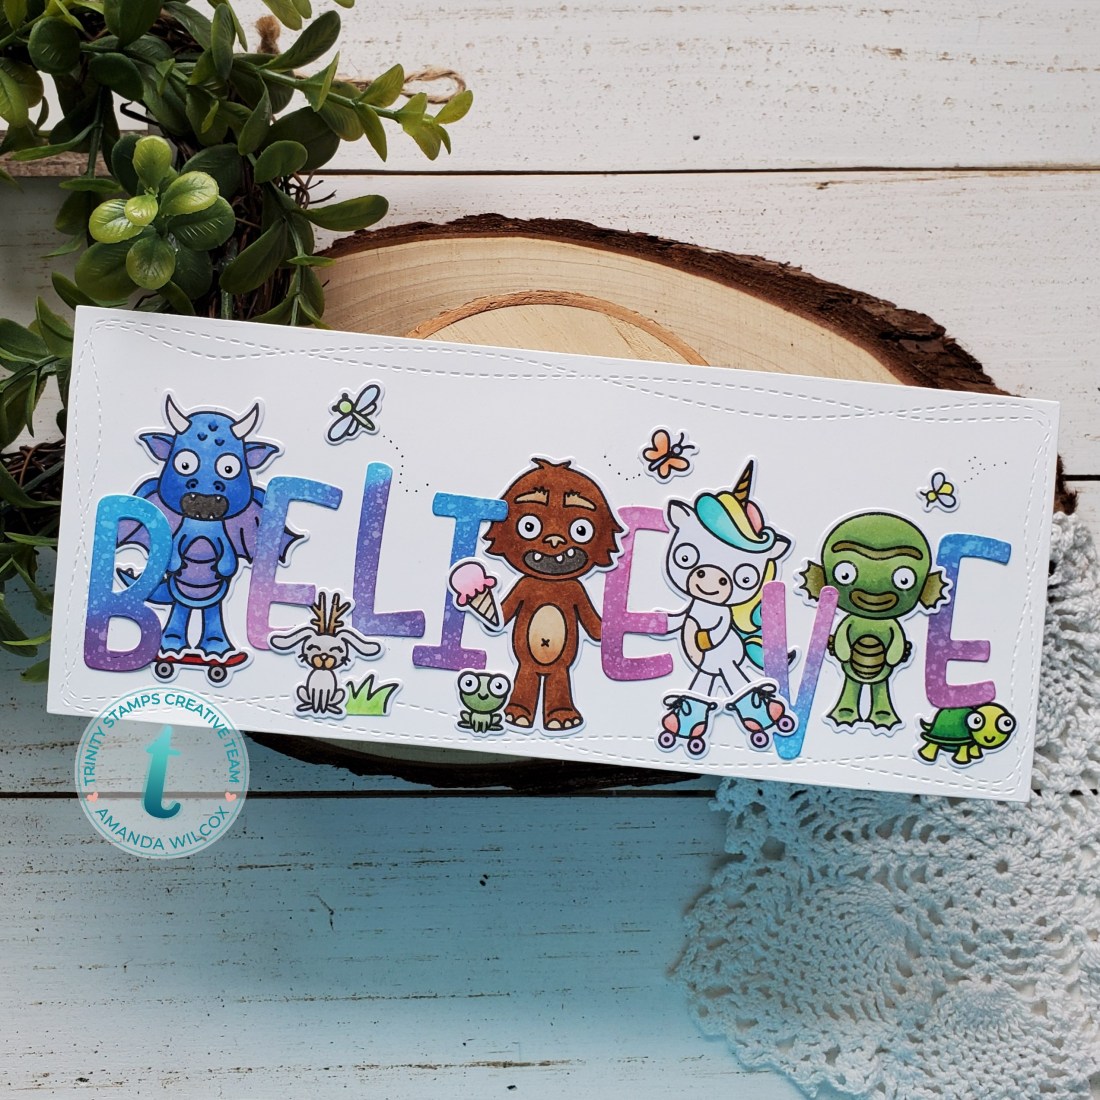
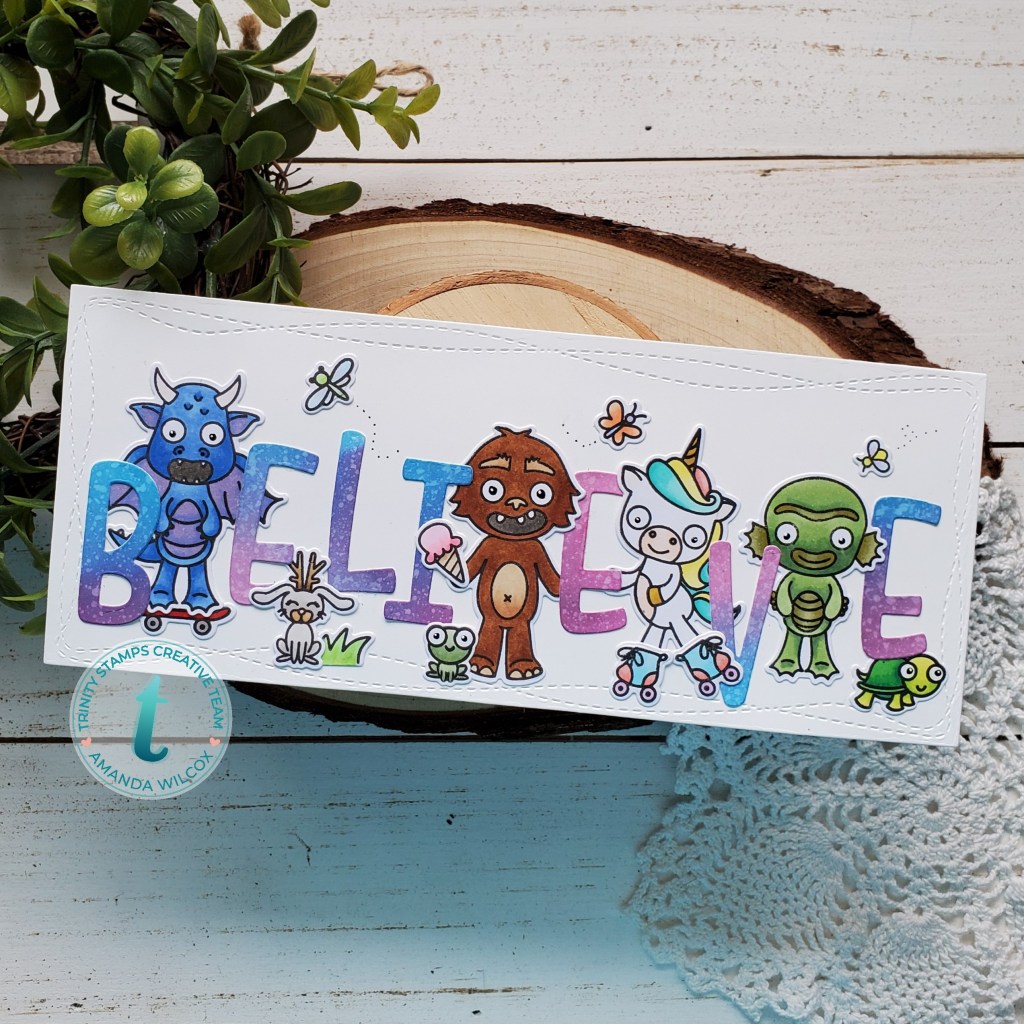
For this first card, I literally took all of the new magical creatures sets, stamped the images and colored the with my copics. I used the coordinating dies to cut them out and moved on to my sentiment. For that, I blended some random distress oxide inks on a panel, spritzed it with water and die cut the word BELIEVE with the new Marshmallow Alphabet dies. (This font is absolute heaven and I can’t wait to put it on everything!) I die cut a white panel with the new Slimline Wonky Stitched panel and adhered it to a card.

After that, I arranged everything how I wanted it and glued it down. I drew some little flying trails off the bugs and black glaze pen to the creature eyes and this card is finished. Soooo much fun!!! I can’t wait to mail it off! ❤

For my second card today, I used the new Layered Lakeside Mountain stencil to create my background. This was so much fun to put together! I used a corner rounder on opposite corners of the background panel and a kraft cardbase and popped the panel up with foam tape.

After that was done, I stamped, colored and die cut the images from the new Rare Treasure set and popped them up with foam squares. I stamped my sentiment at the top leaving space for the larger word that is die cut and popped it up with foam squares.

For finishing touches I added black glaze pen to the eyes, glossy accents to the cool dragon egg and sentiment, and Stickles to the treasure and dragonflies.

I hope you enjoyed today’s projects and don’t forget to head over to Instagram to hop along and see what else the design team has in store for you! You can get your new goodies at Trinity Stamps starting today too!

I appreciate you sharing your time with me. Have a fabulous day!

Trinity Stamps – Spring Release Another Sneak Peek

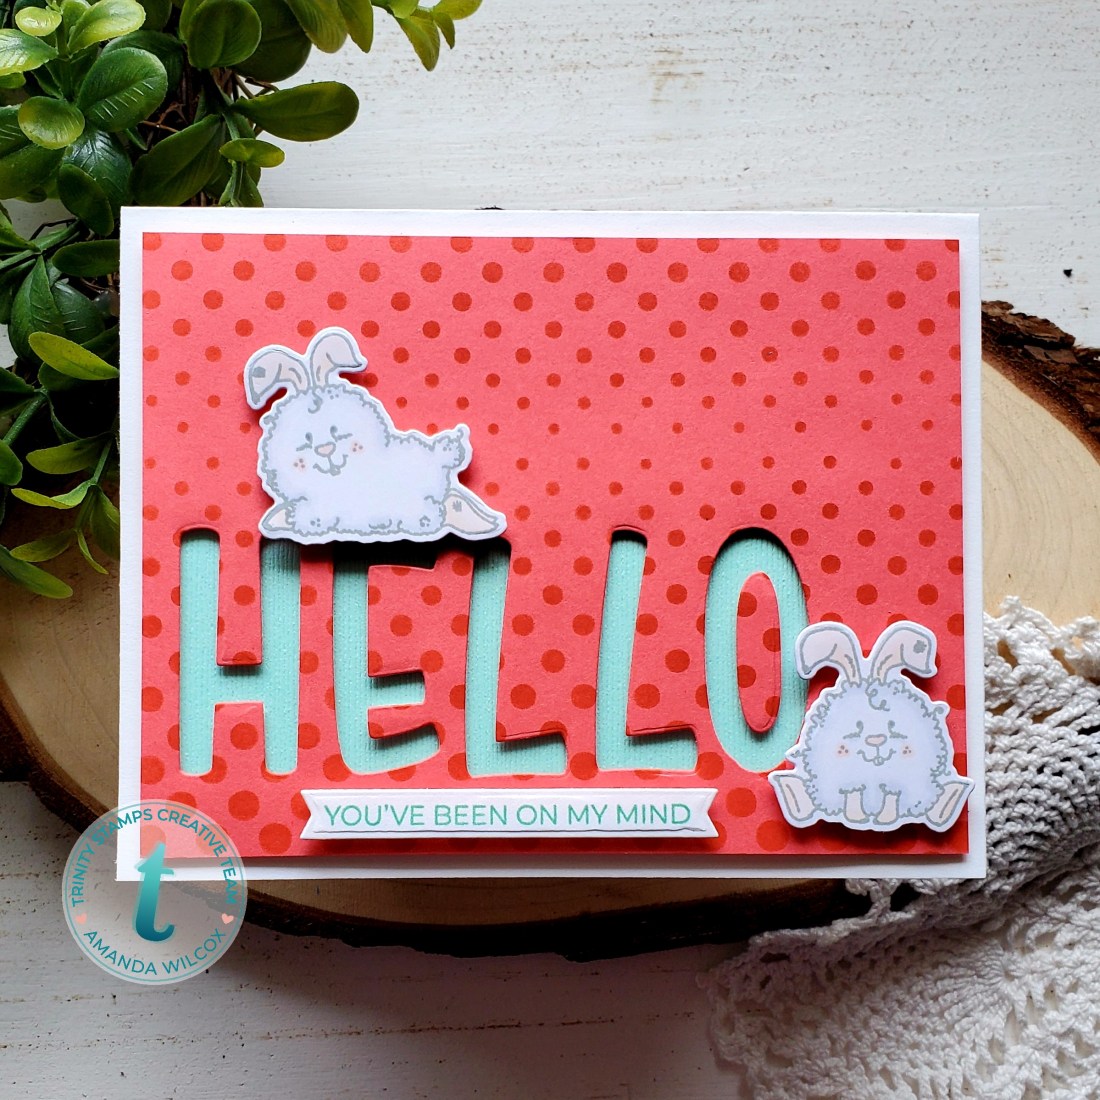
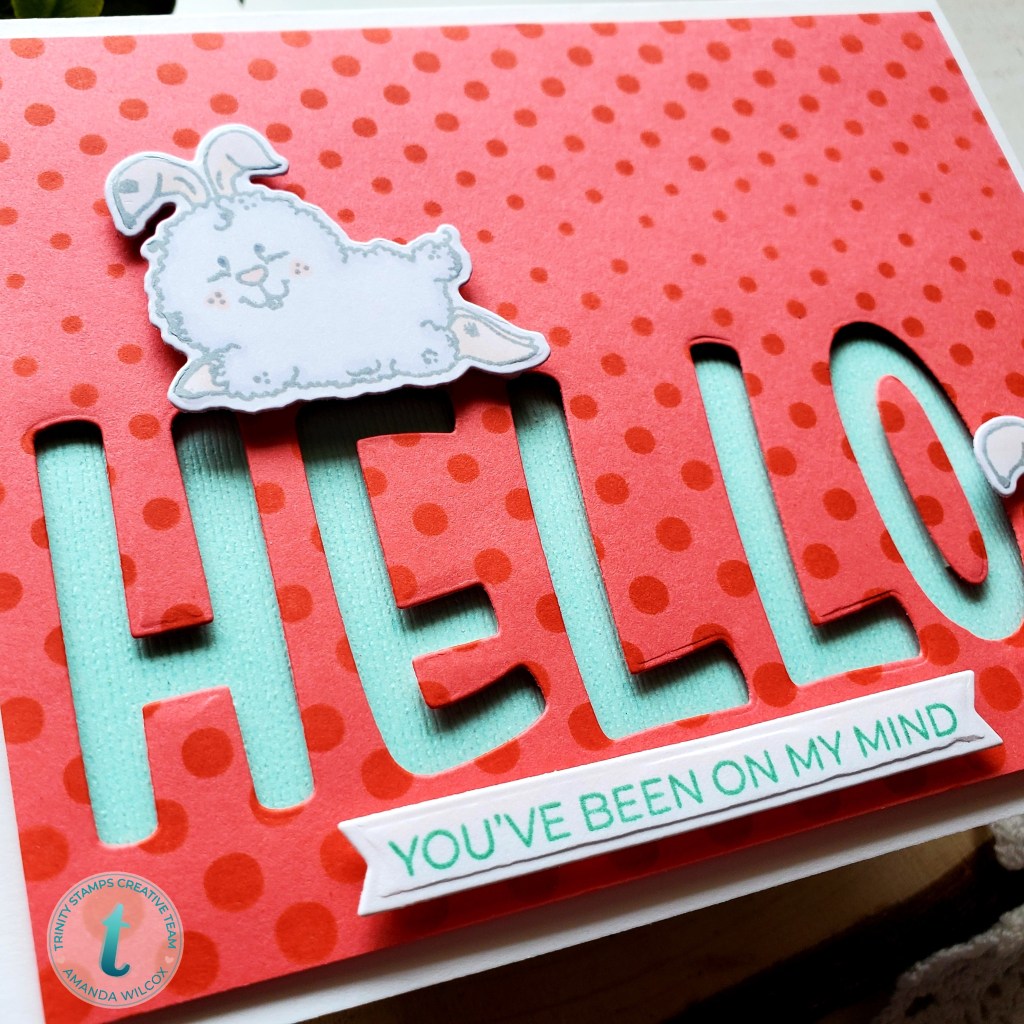
Hi there! Tomorrow is Trinity Stamps release day but I really wanted to get one more sneak peek in to get you extra excited!!! I am SO incredibly happy with how this card turned out and the design is so versatile. It can be done a million different ways for completely different looks on the same idea.

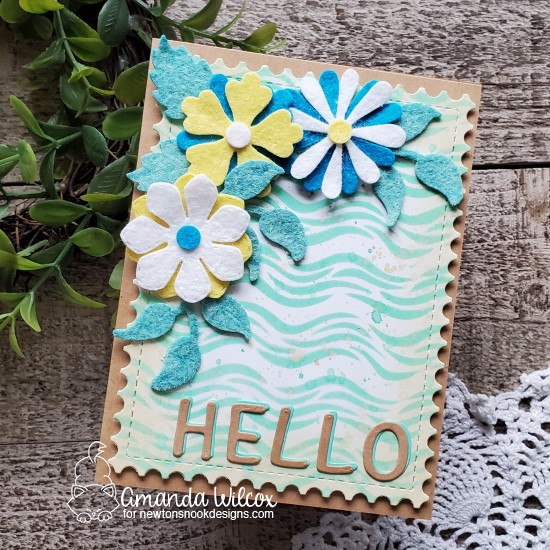
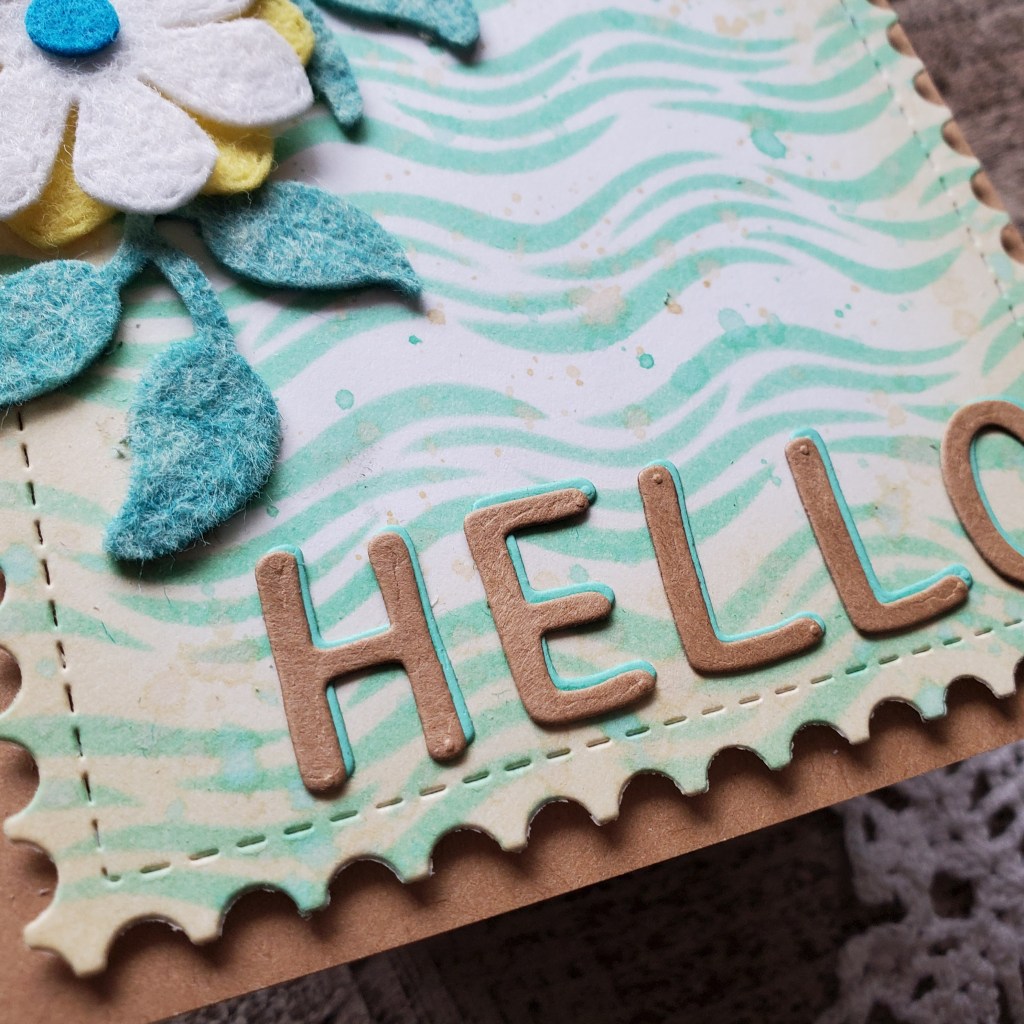
Check out that awesome stencil background! I love the pattern and the size will totally blow your mind tomorrow! So much versatility! I’m really excited about that!

And that die cut font…oh my goodness people, it’s just perfect! Did you even see those bunnies??? I’m in love! They literally make me giggle when I pull them out of the die cuts each time. And trust me…I’ve colored quite a few of these cuties! ❤ You’re going to love them too!

Sentiments are something I’m not good at but this new set is absolute perfection! Something for everything, I swear!

Look at that chubby little dust bunny. He’s my spirit animal, I swear. Espcecially with all this extra time at home these days. Haha!!!

Can you just picture changing out the stencil you use to stripes or something? And the sentiments are totally interchangeable too! And just imagine any of the critters in your stash. I just love this and can’t wait to manipulate it for a slimline too!

I hope you’ve enjoyed the sneaks this week and will join us for the Instagram hop tomorrow to see what everyone is sharing. I promise, it’s so amazing!

I appreciate you sharing your time with me. Have a fabulous day!