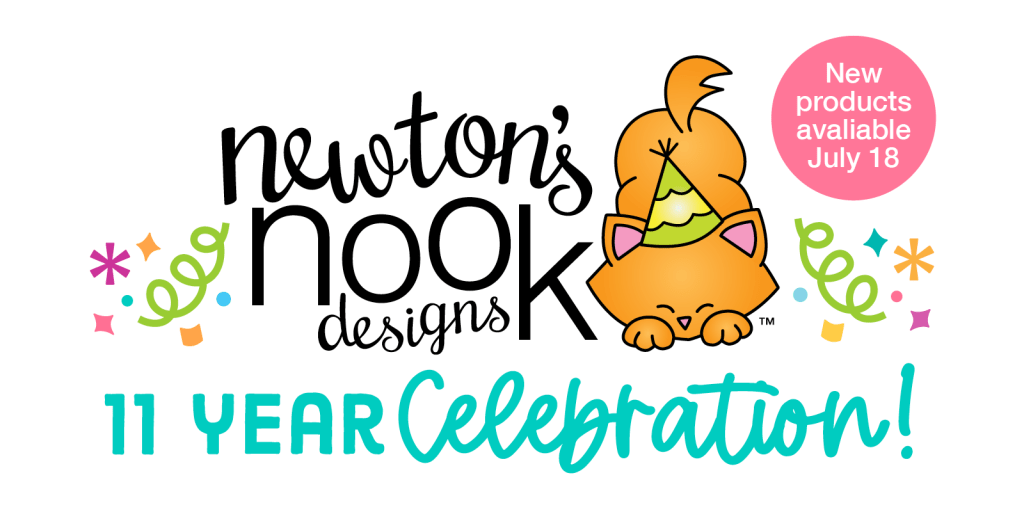
Happy Monday friends! I’m super excited to be celebrating Newton’s Nook’s July Release with you this week. It also happens to be their 11th birthday release! Holy wow!!! That’s so amazing!
First up…today’s product reveals.
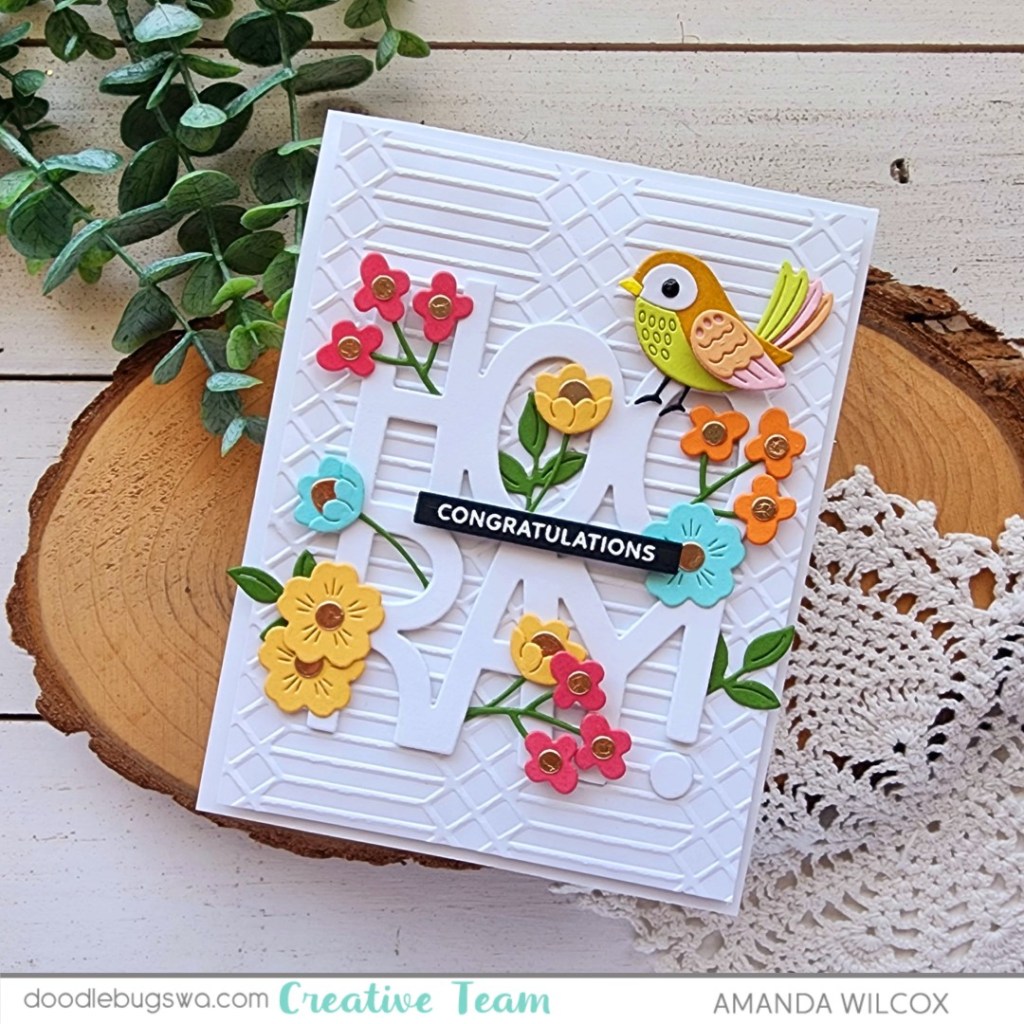
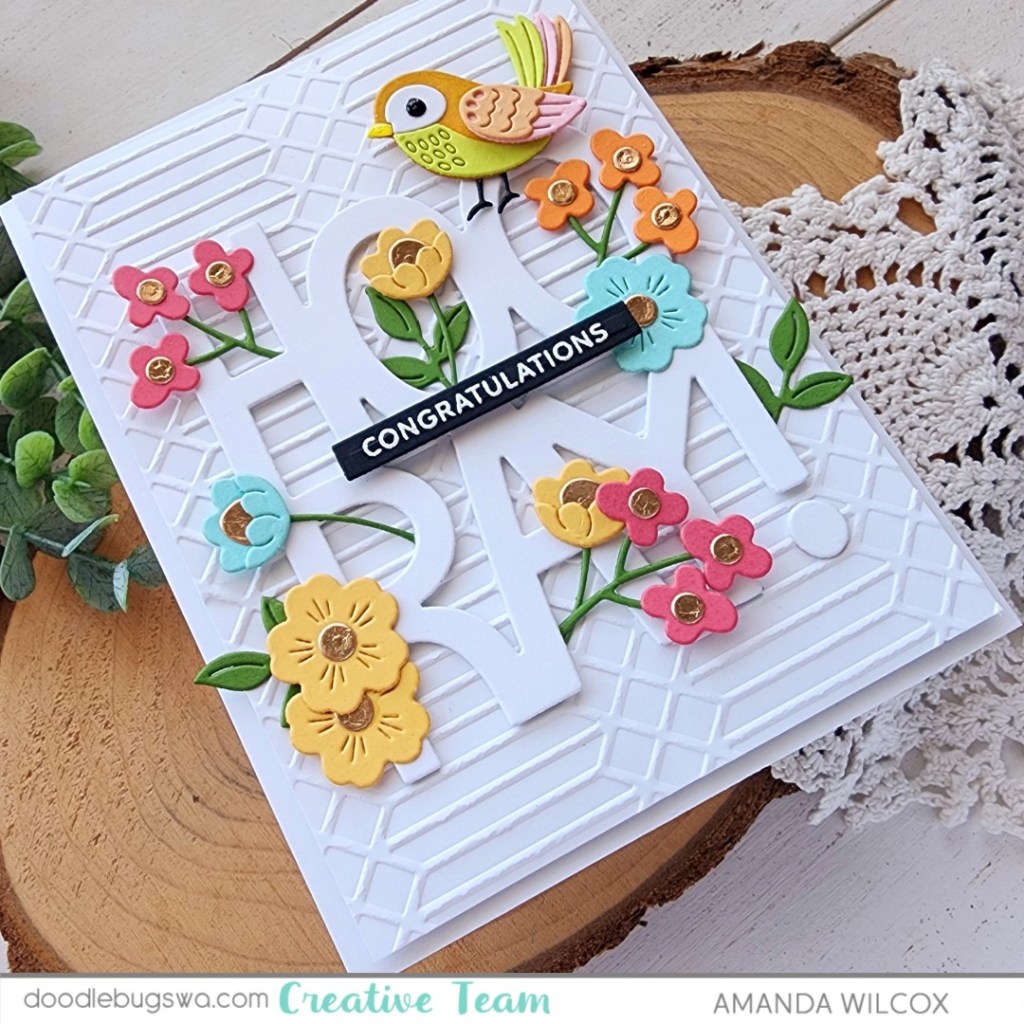
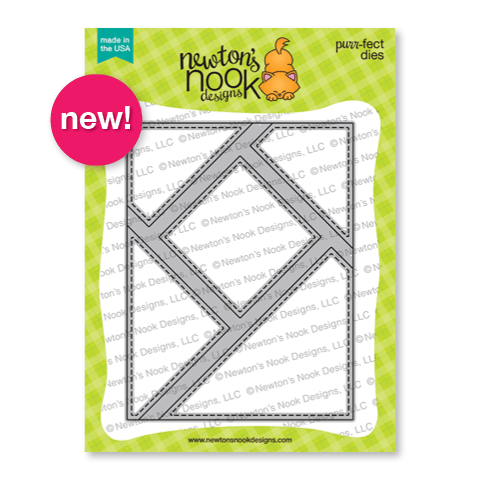
Fractured Card Layout die
Black & White Basics and Natural Basics paper pads

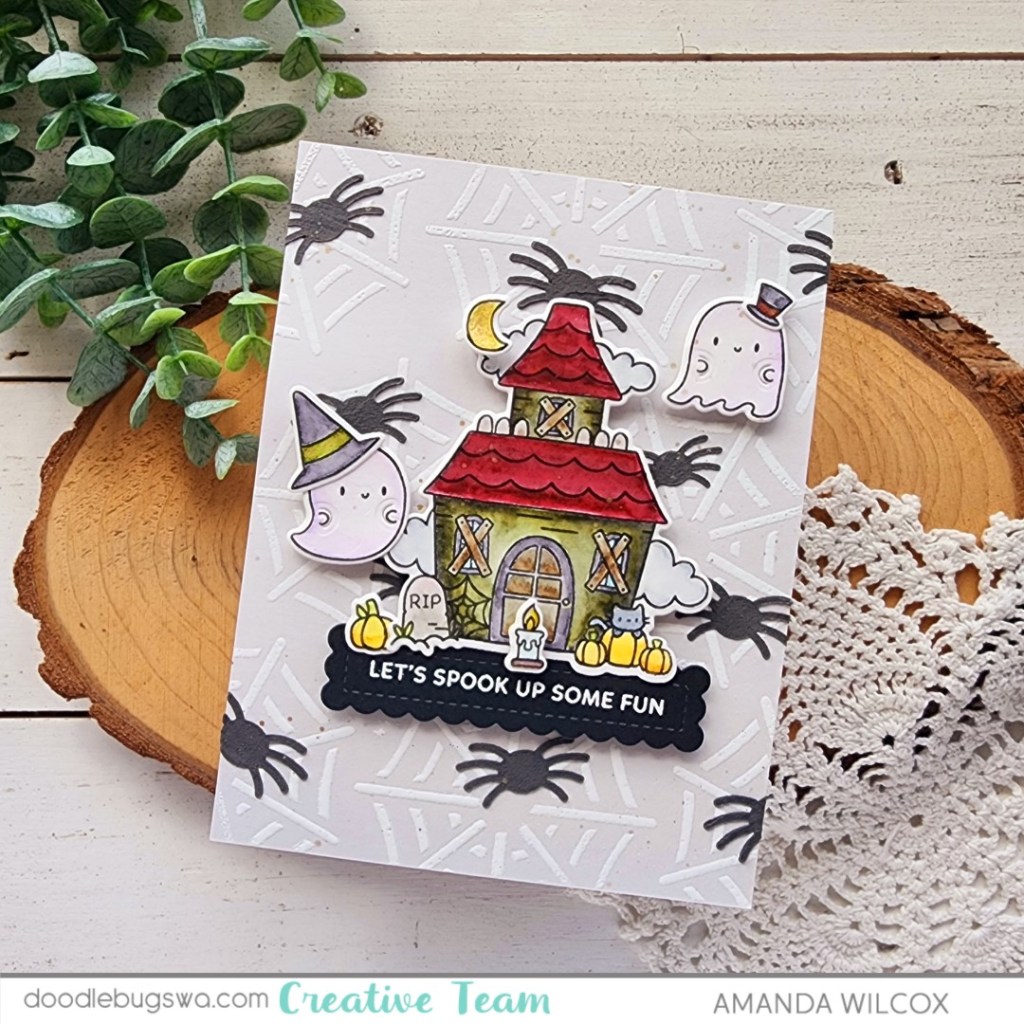
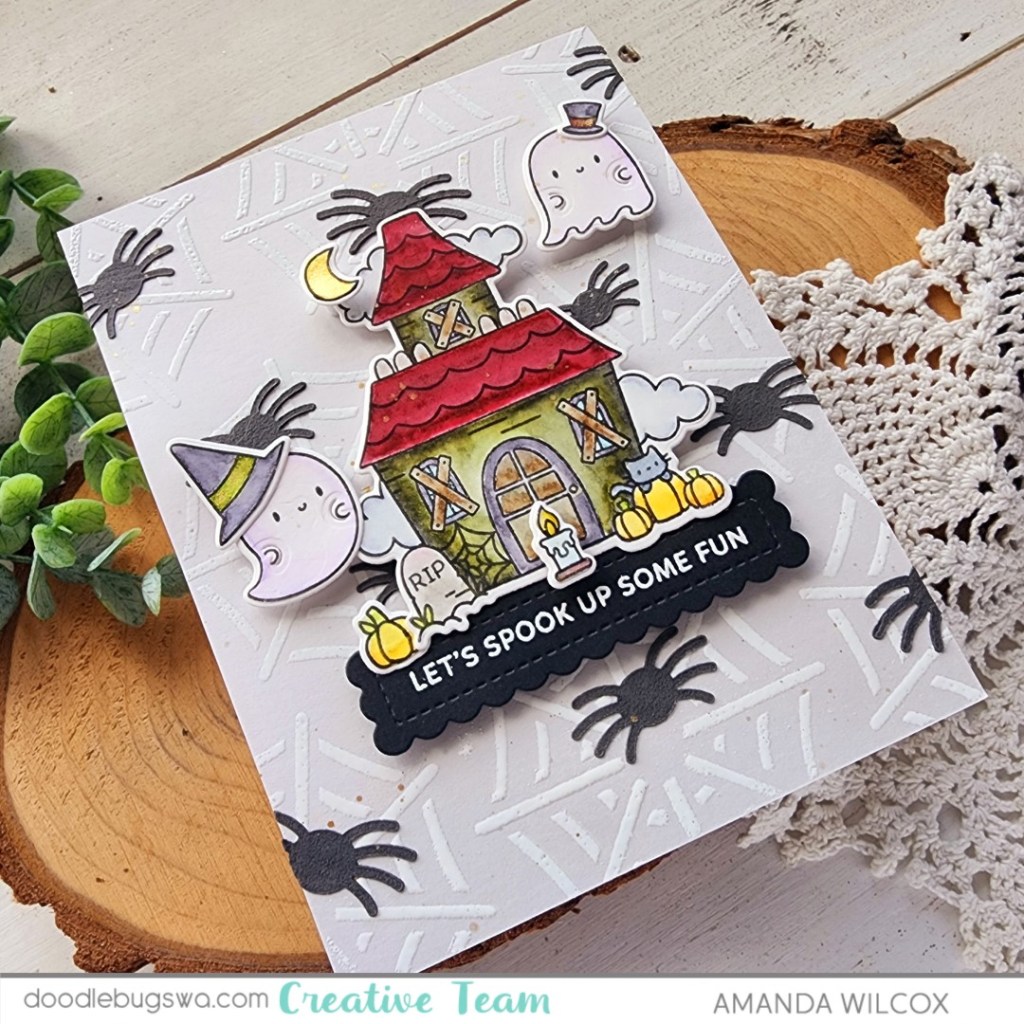
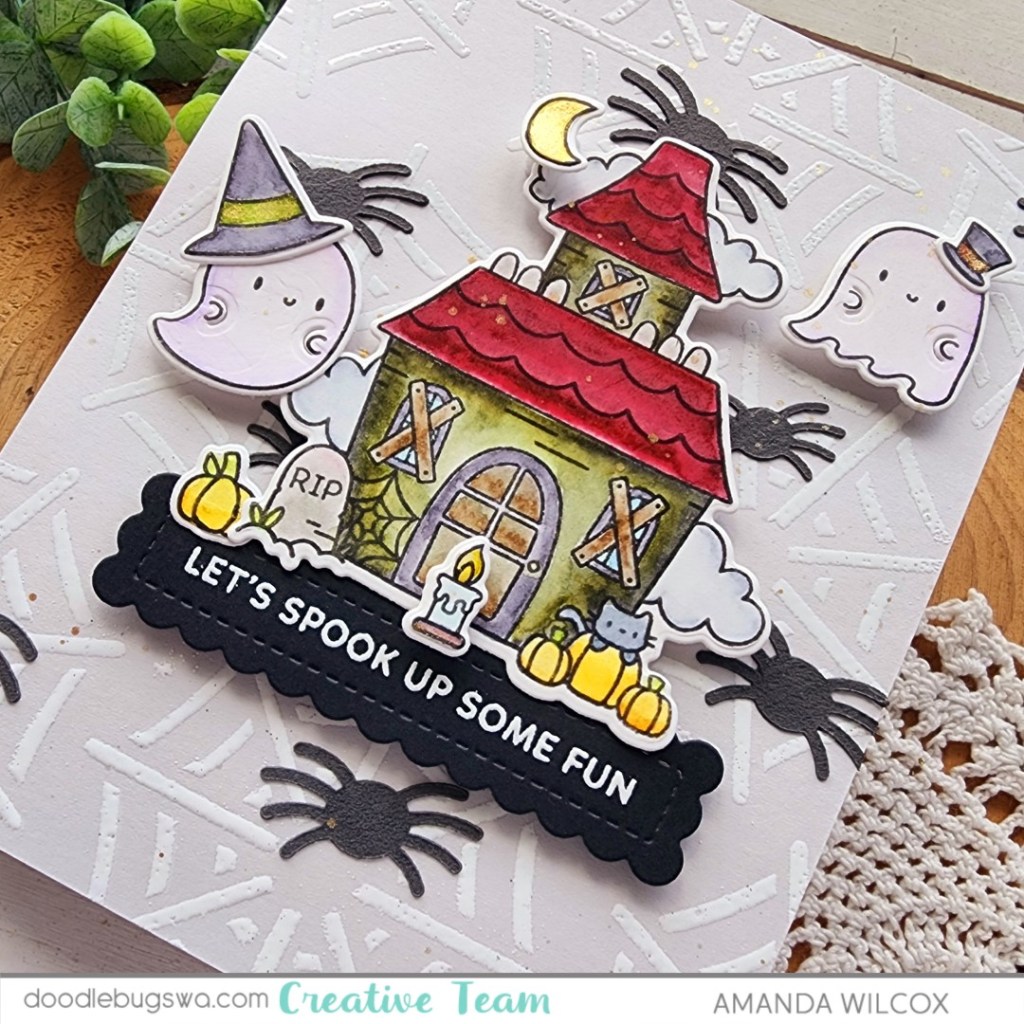
This new background layout die is absolutely amazing and so fun to create with! Today I have a shaker card to share with you featuring the new die and one of the paper pads.

I’m definitely in my Summerween Era so any change to grab a Halloween themed anything I’m all over it these days! Therefore, we get an early taste of Count Newton today. Isn’t he the cutest!
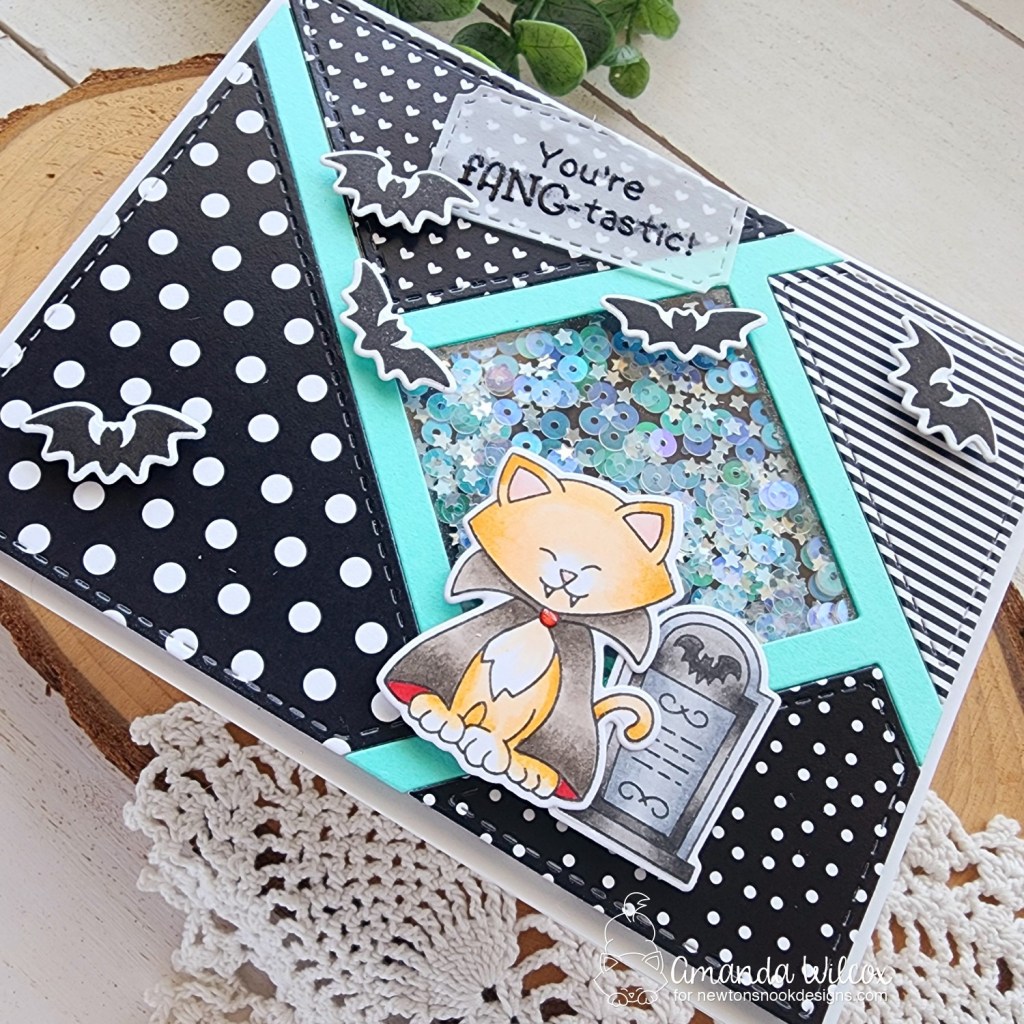
I cut a piece of acetate and used tear tape to add the Fractured Card frame and inserts, except the center square/diamond so I had a window for my shaker bits. I lined the back with foam and sprinkled my bits in the opening. I backed that part with black cardstock and then glued the shaker panel to a card base.

Next, I cut the ticket shape from the Framework die set and heat embossed my sentiment on it. I popped the images from Count Newton up with foam squares and then put a light layer of liquid glue on the back of my sentiment and added it as well.
For finishing touches on this card I kept it simple and just added a little glossy accents to Newton’s nose and the button on his cape.
Enter to Win a $25 Prize!
One lucky winner will receive a $25 prize to spend at Newton’s Nook Designs online shop! The winner will be chosen at random from the collective blog posts featuring our new products this week. For a chance to win, leave comments on the Design Team Member Blog Posts (see list below) from Monday July 15 through Wednesday July 17th. You will not know which blog has been chosen so the more you comment on the better your chances are of winning! You have until Thursday, July 17th at 9 pm ET to comment — winners will be announced on the NND blog on Thursday, July 18th.
Want another chance to win? We will be having an Instagram hop on Thursday with a second prize! Please join us over on Instagram on Thursday, July 18, for details!
Check out all the awesome Design Team Blogs below to enter:
Newton’s Nook Designs
Donna Idlet
Larissa Heskett
Samantha Mann
Diane Morales
Farhana Sarker
Amanda Wilcox