I'm a wife, mom, craft blogger and designer for Newton's Nook, Pink & Main, Miss Ink Stamps and Pixi Dust Designs. I also create as an affiliate for Spellbinders and guest design for other companies. Welcome to my crafty place. I hope you enjoy looking around.
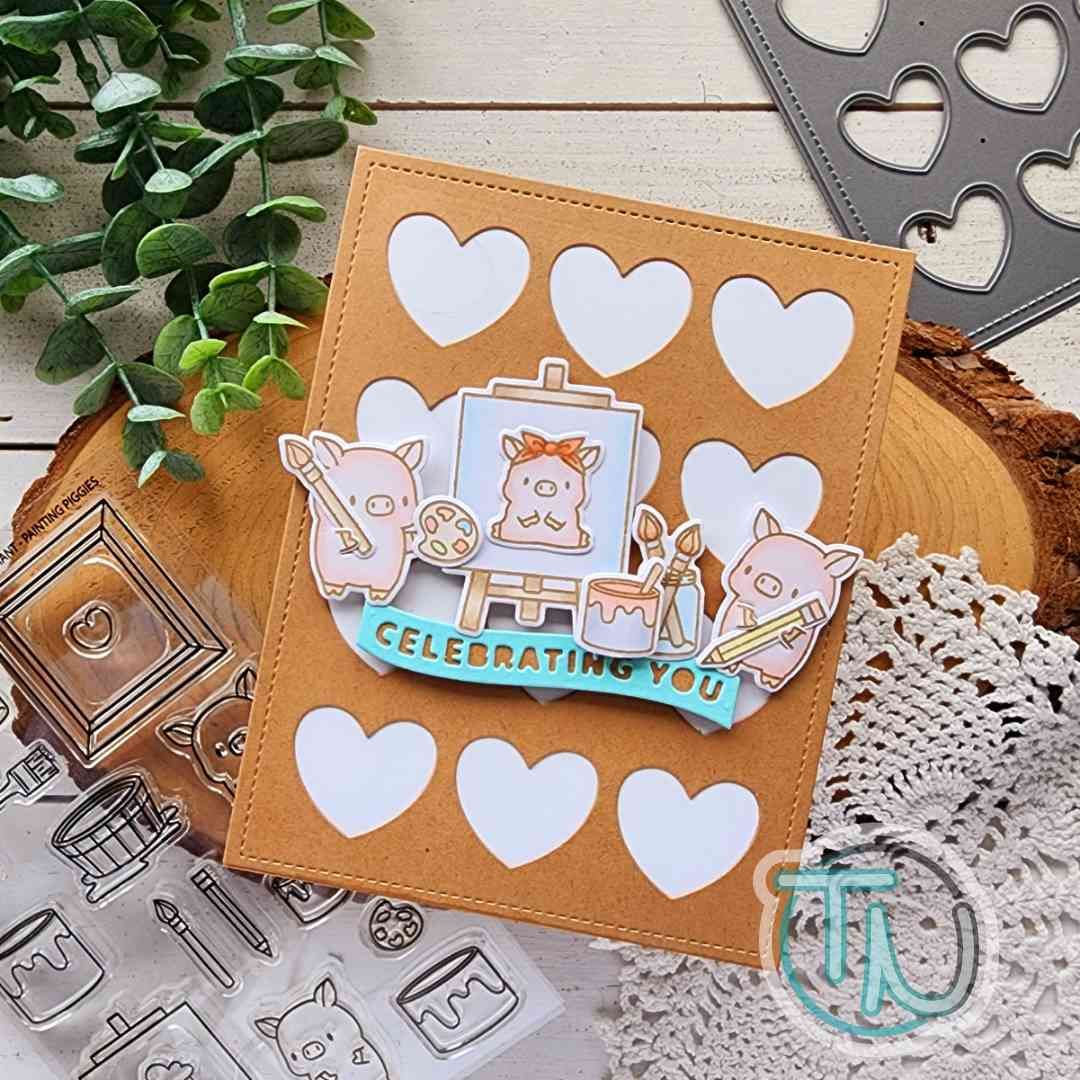
Hey friends! I have been playing with the new Mama Elephant piggies and wanted to share my latest card. They’re so sweet, especially when stamped in a brown ink. I love how soft it makes the images.
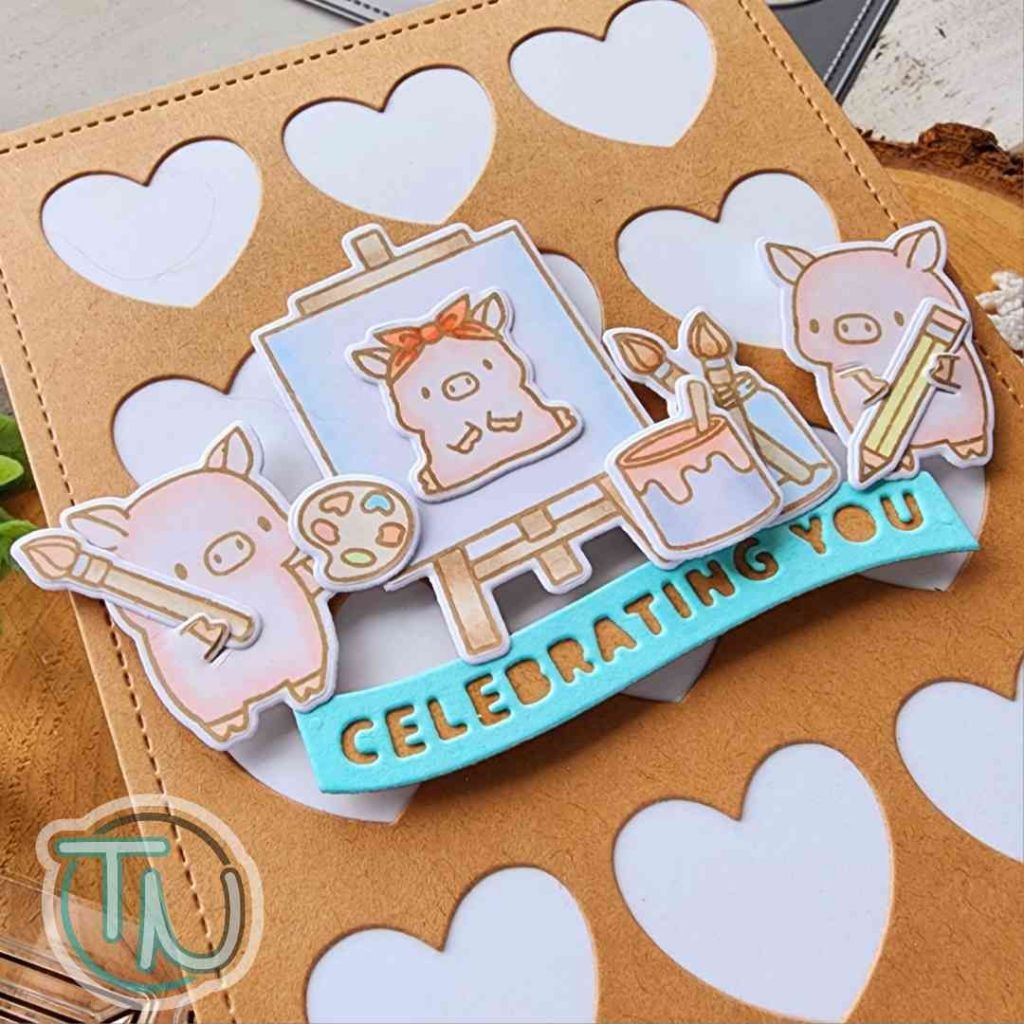
The images for today’s card come from a combination of Little Pig Agenda and Painting Piggies stamp sets. I stamped everything in brown copic-friendly ink and colored with my copic markers. Then I used the coordinating dies to cut everything out. I love how the pig dies from Painting Piggies cut their hooves out so they can hold everything!
Next, I cut the Heart Grid from kraft cardstock and adhered it to a white card base. Next, I used one of the Banner Greetings dies to cut the words from teal and background from kraft. I adhered the layers with liquid glue and popped this, along with my images up on foam squares and strips.
Aren’t they all just the cutest you’ve ever seen?!? He’s like a little Pig-caso painting up a masterpiece for his friend!
Yes, I think I’m hilarious. I love puns more than I should. I’m also aware of this.
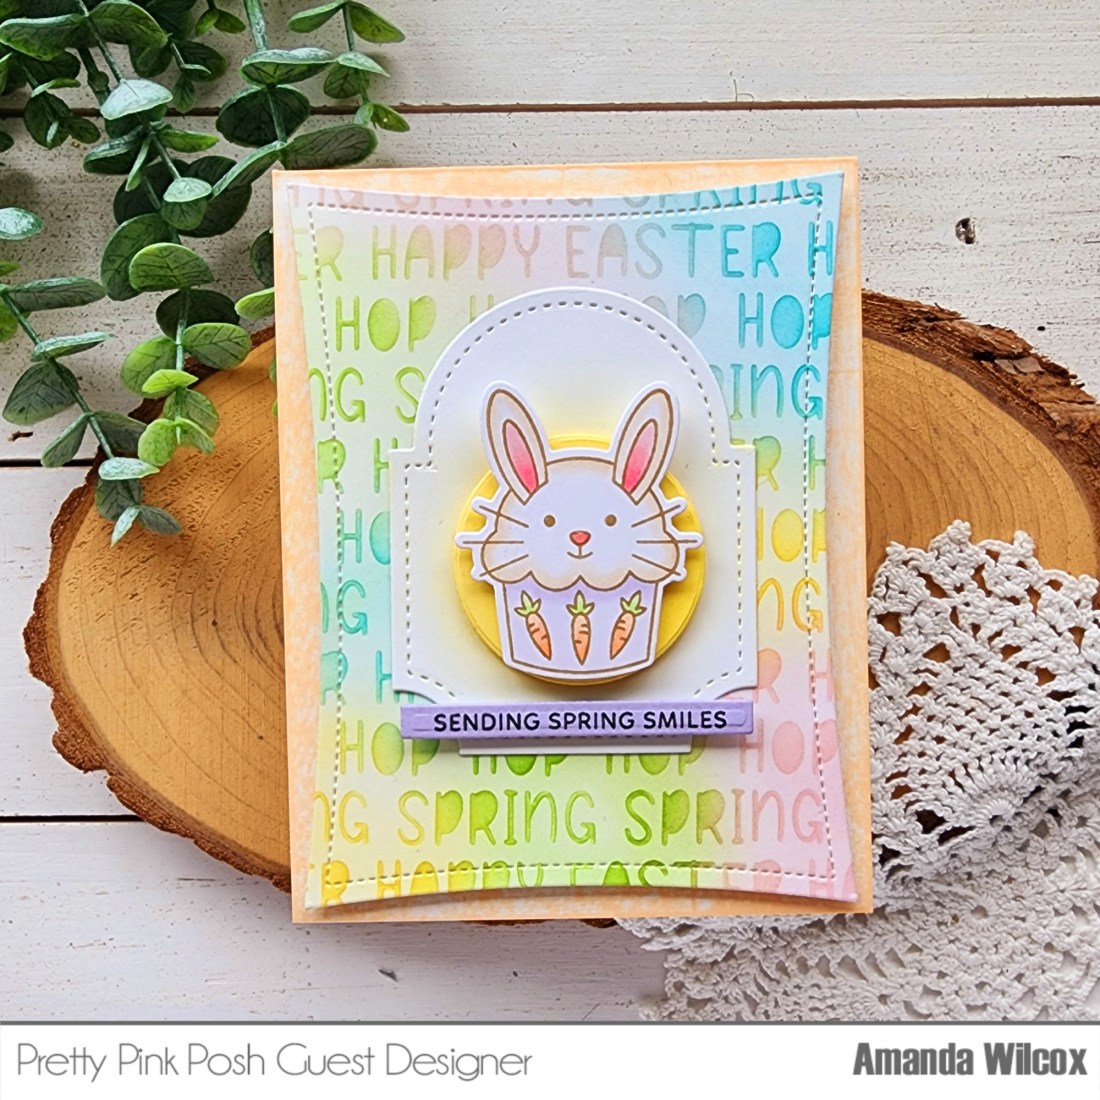
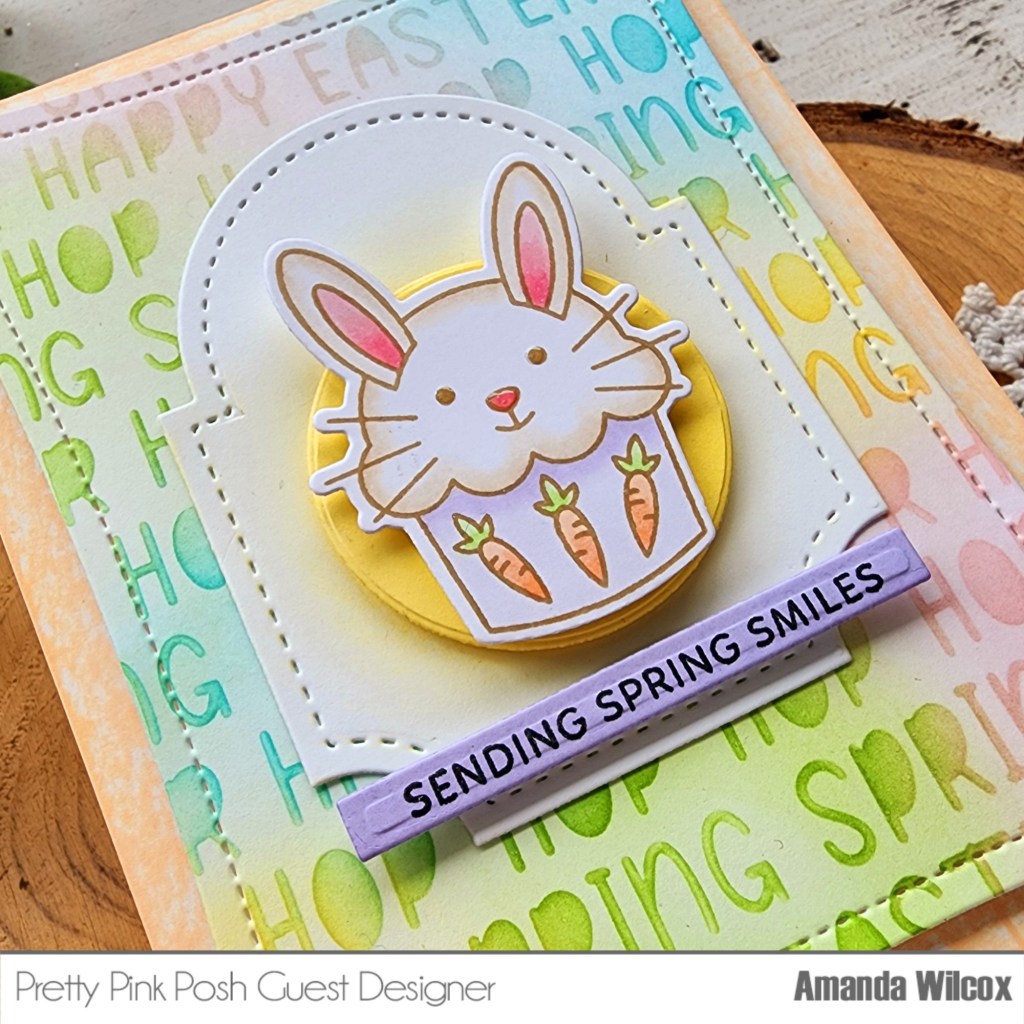
Hello crafty friends! I’m excited to be on the Pretty Pink Posh blog today sharing a card I created using the new March release of goodies, plus some previously released dies that I seem to reach for over and over again.
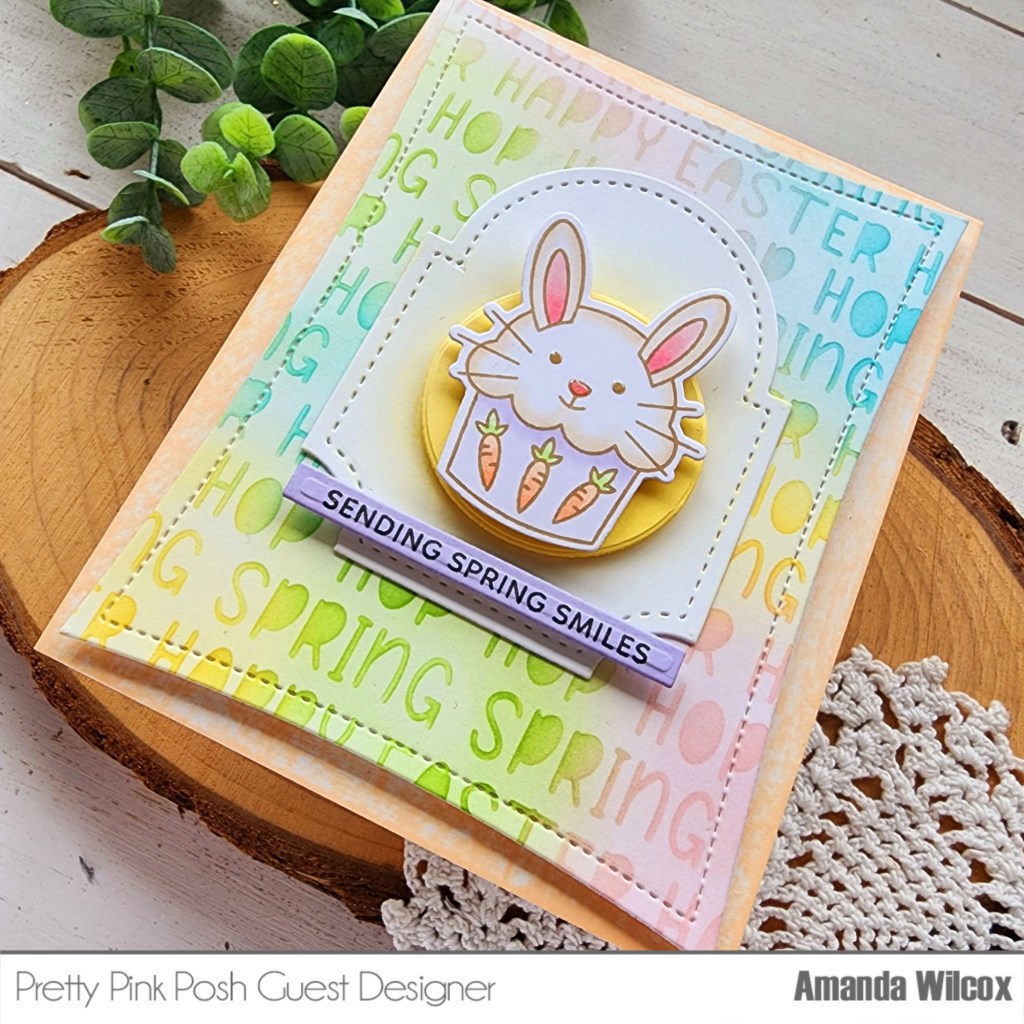
I started by stamping my bunny cupcake image from the Easter Cupcakes set using a brown copic-friendly ink. I colored the image and used the coordinating die to cut it out. Then I switched gears to stenciling my background panel.
For that, I layered the Easter Words stencil over a piece of white cardstock and randomly inked it with light and bright spring colors. After I removed the stencil I went over the panel with the same color in all the different areas. This brings another layer to the words and colors in the white background at the same time. Once that was done I used the largest Wonky Stitched Rectangle die to cut the panel out.
I cut a white tag and yellow circle using the Spring Circles coordinating dies and ink blended a yellow shadow on the white tag. I layered all my pieces with foam squares, then glued the tag to the stenciled panel with liquid glue.
Then, I stamped a sentiment from the Easter Train set and cut it out with a Sentiment Strip die and popped it up below my cupcake. Before popping the whole thing up on a card base, I took a light orange ink pad and drug it across the edges for a textured inky look.
For finishing touches I just added glossy accents to the bunny’s nose and eyes.
Are you ready for Easter yet? We’re excited at my house!
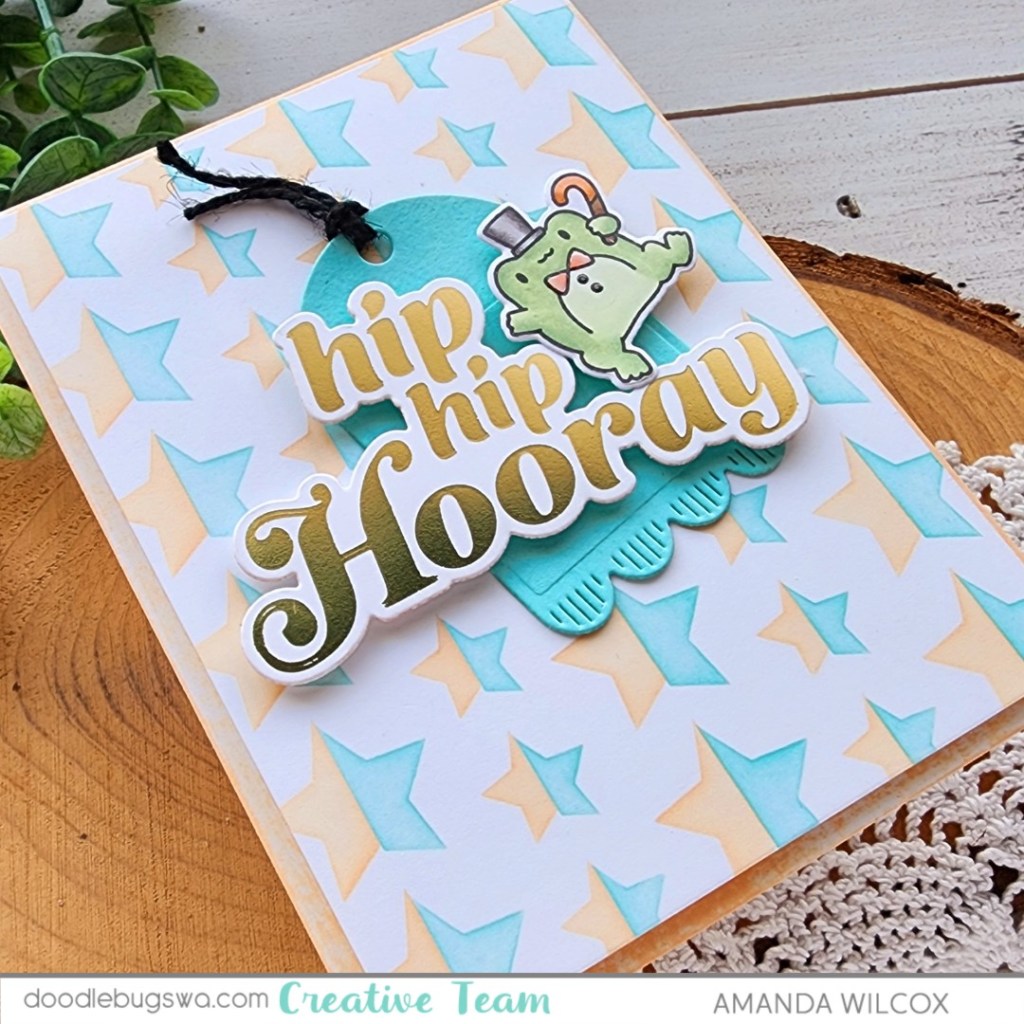
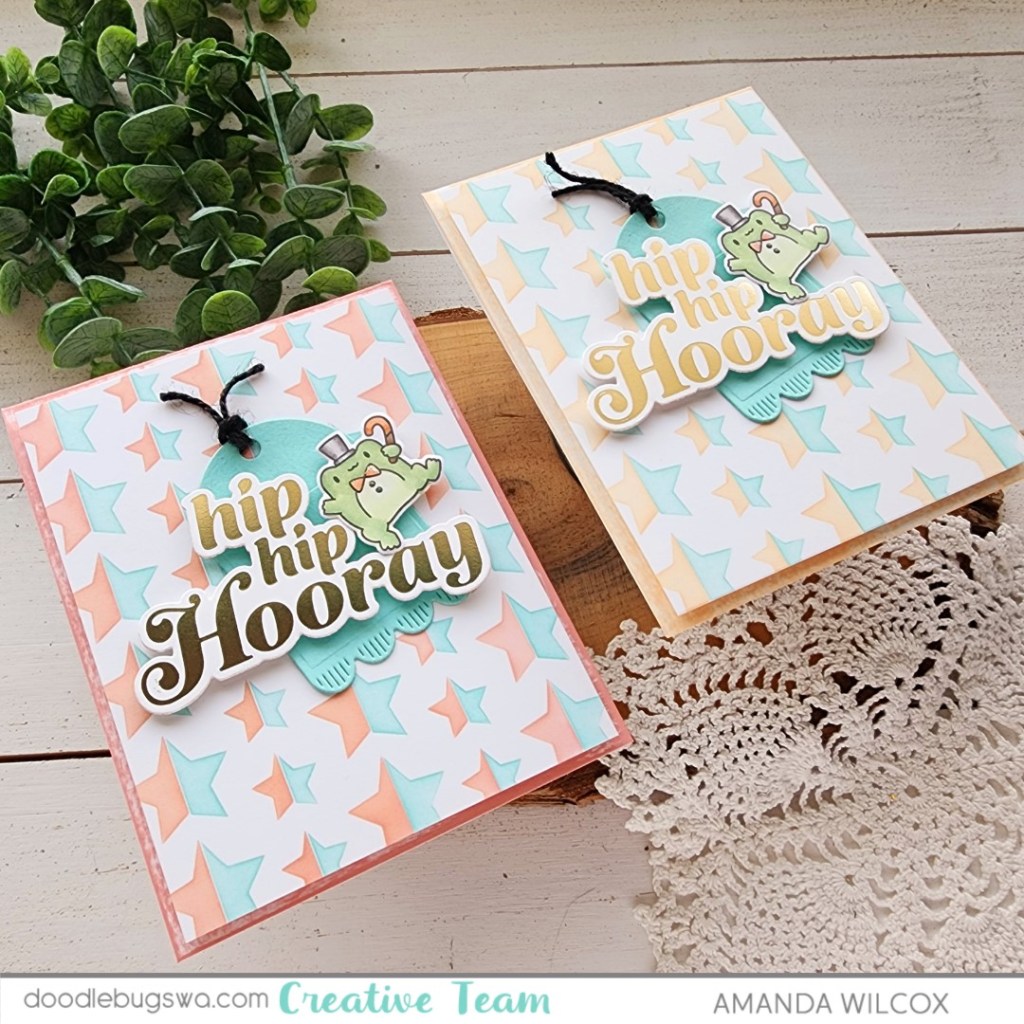
Happy Mix it up Monday everyone! I had so much fun mixing so many companies together to create these fun cards! It all started with the backgrounds and quickly grew from there. Do you ever have that with a new layered stencil? You have to try it in a billion color combinations just to see what you actually like together…or maybe you love them all and you just keep going? The second thought was more what happened to me this time.
After creating my stenciled backgrounds with the Pretty Pink Posh Half Stars stencil set, I took one of the ink pads (peach fuzz and peachy keen) and drug it across two card fronts so they color matched my ink blending.
Next, I hot foiled two “hip hip hoorays” from Spellbinders using gold hot foil and the coordinating die to cut them out. When I was looking for my hot foil plates, I found the Spellbinders Make a Wish Arch Labels and thought the tag in that set would be perfect to add to my design. I cut two of those from teal cardstock in my stash and threaded black twine through the holes.
You all know how I love my critters so it was inevitable that when I felt like my design was missing something, I went digging for a cutie to add. The Mama Elephant Hello Froggy set came out a year or so ago but I just recently ordered it so I was more than excited for the chance to use it! I stamped my dapper froggy and colored him with copics before using the coordinating die to cut him out.
With all my elements laid out and ready to go, I started assembling with foam tape, squares and liquid glue. Then I finished the design off with a bit of glossy accents on the froggy’s bowtie and buttons.
I forgot to take a picture but on the inside of each card I stamped a sentiment from Hello Froggy that says “You’re Froggin Awesome” because I thought it went so perfectly with the front.
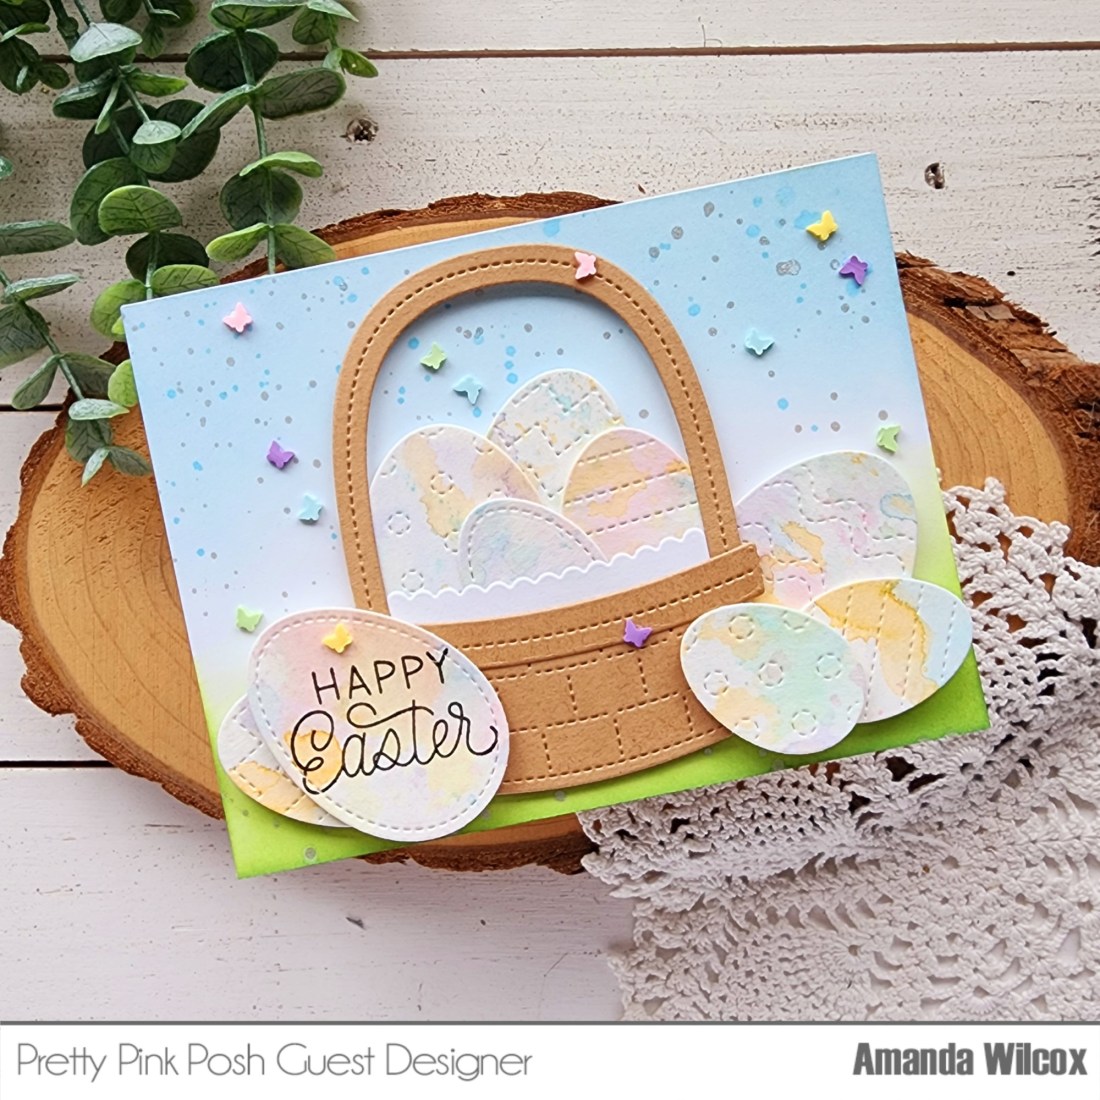
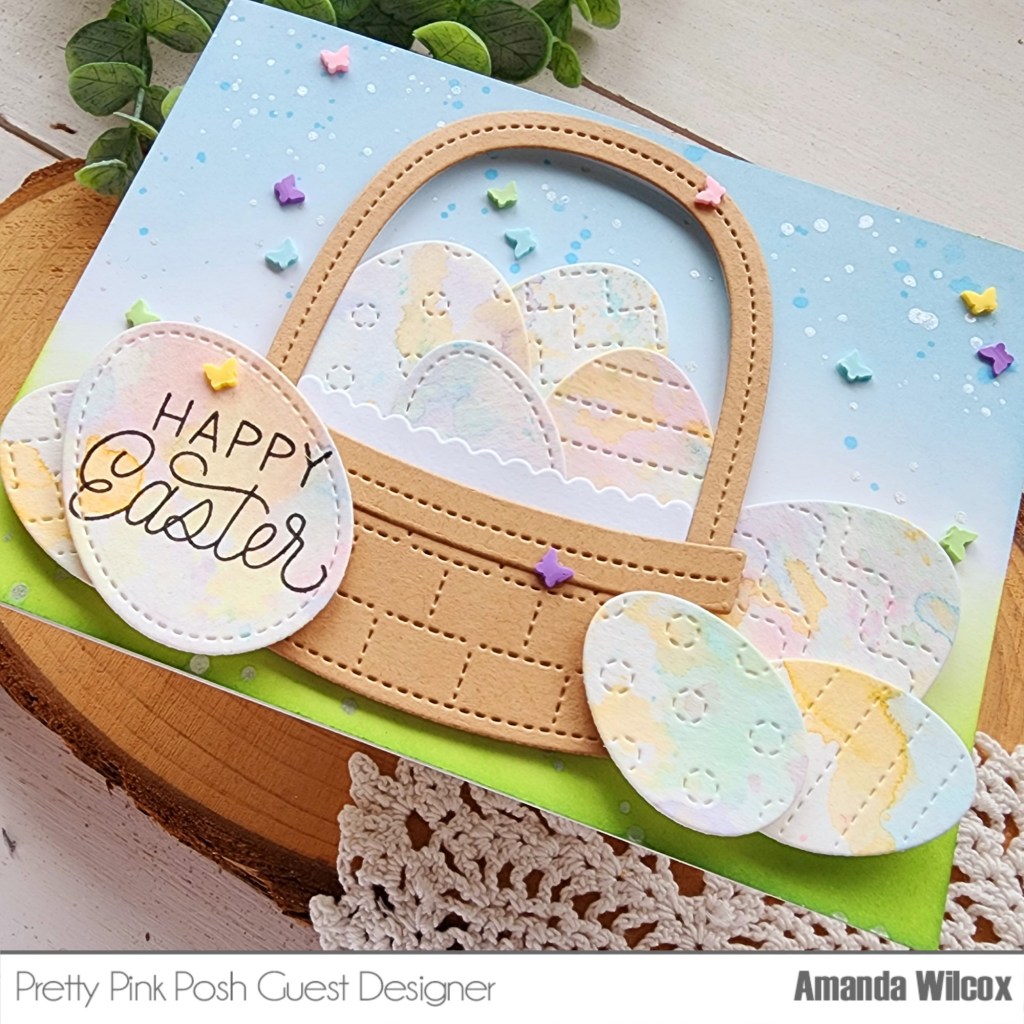
Hey friends! I’m excited to be participating in the Pretty Pink Posh March Release Blog Hop! I have a fun card to share with you today featuring the new Stitched Eggs dies and Spring Butterflies Confetti Mix!
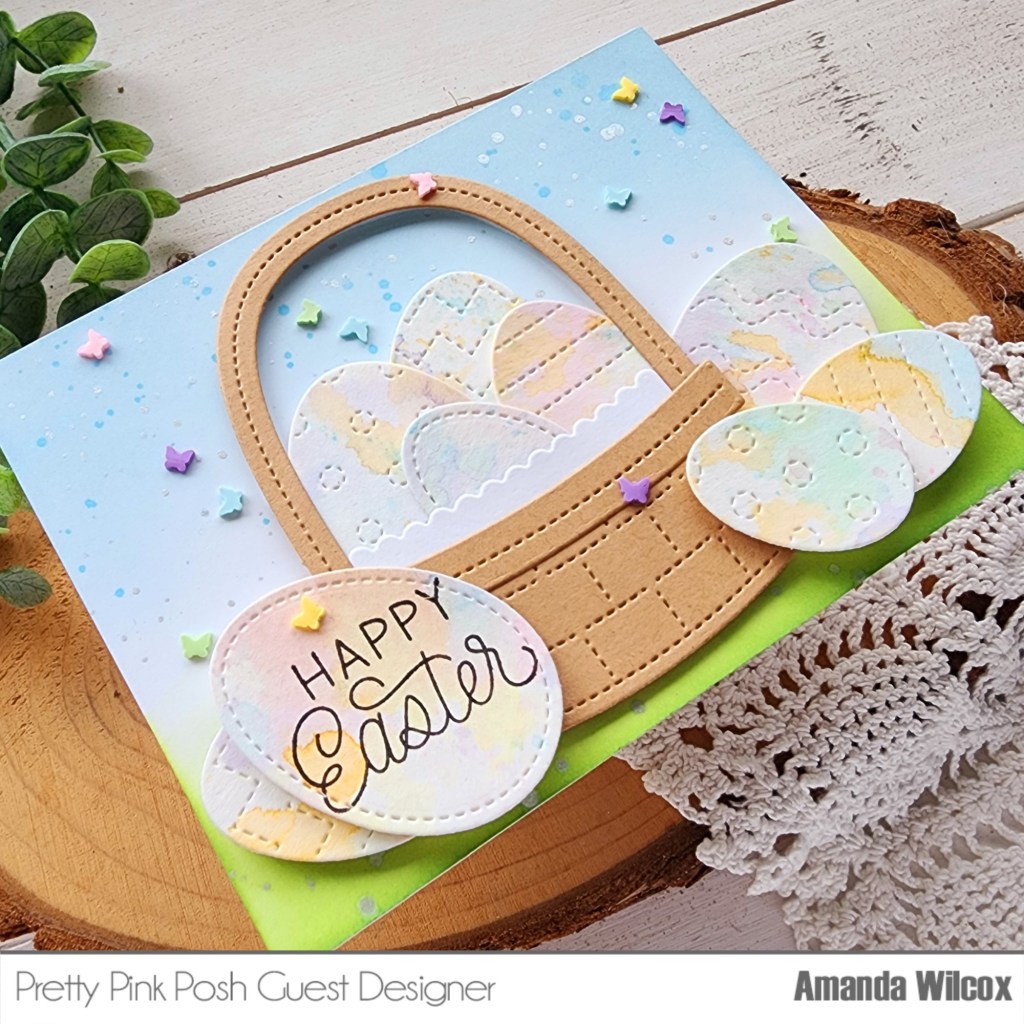
I started by taking a piece of watercolor paper and ink smooshed layers of pastel colors all over it. Then I used all of the stitched egg dies to cut out beautiful, unique Easter eggs! Next, I created a basket with the Easter Basket dies using kraft cardstock with a white scalloped insert. I layered my eggs inside and around and adhered them with liquid glue.
To create a scene for my basket, I ink blended distress oxide inks on a white panel. I used mowed lawn and a little twisted citron for the grass with tumbled glass and salty ocean for the sky. I splattered some salty ocean on the sky, along with pearl watercolor and let the panel dry.
To add a sentiment without adding more things to my card, I decided to stamp one on a plain egg. I popped it up with foam squares, along with another small one on the other side. Then I finished things off with a scattering of those sweet new clay butterflies.
There are three $30 gift certificates up for grabs (one winner each day). Winners will be picked randomly along the blog hop. Comments must be left by 11:59 PM PST on 3/13/2024. Winners will be announced on the PPP blog.
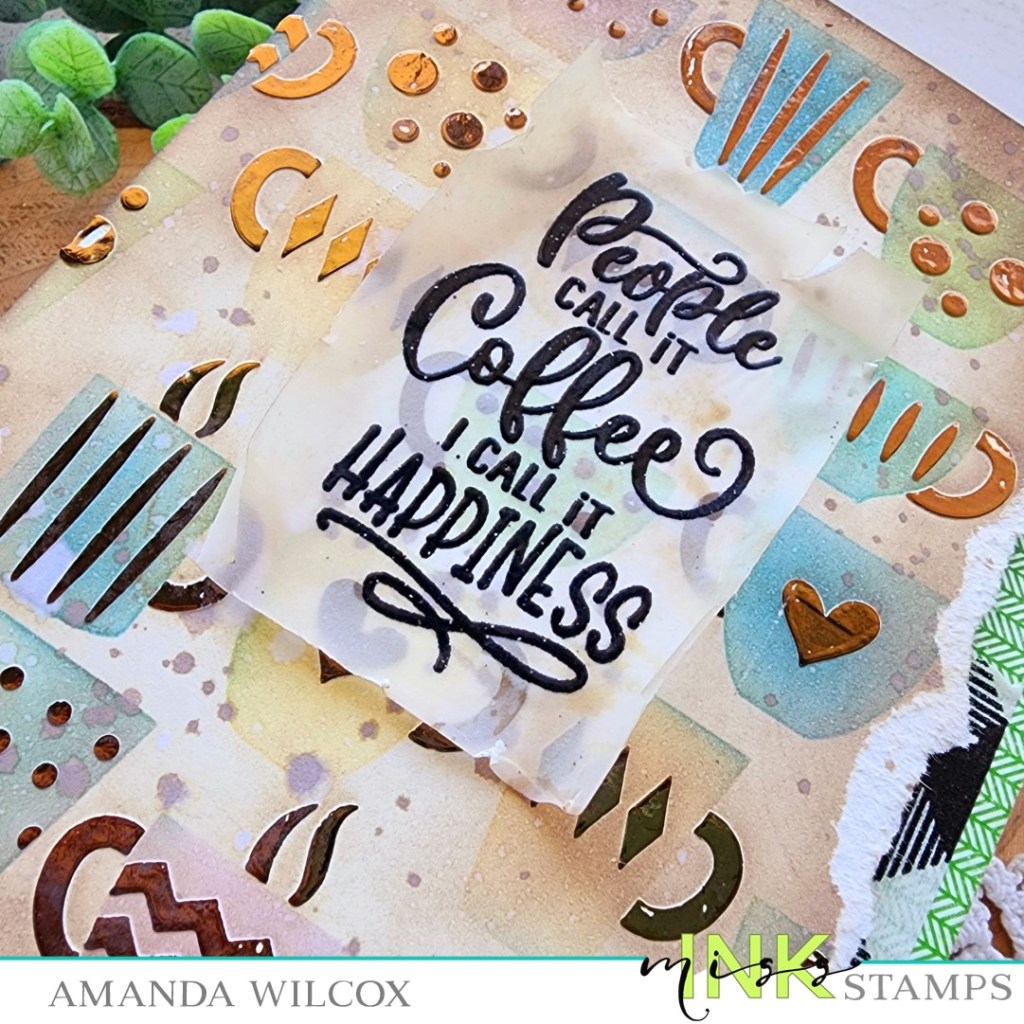
Hey friends! Happy Thursday and welcome do another dose of Miss Ink Stamps inspiration. Today I’m going a little mixed media and extra messy for you. It took me a couple of evenings but it was fun and I’m very happy with the outcome.
I started the process by inking up the mug layer of the Hug in a Mug stencil set with various bright colors. Then I added the layer with the handles and mug details and spread Thermoweb transfer gel blanco through it. While that was drying, I stamped and heat embossed a sentiment from the Coffee stamp set on vellum.
The next evening I trimmed out some Thermoweb bronze deco foil, layered it with the stenciled panel and ran it through my Minc machine. This is where I turned the tables from bright to grungy. I inked the edges of the panel with ground espresso distress oxide ink and faded in the center to tea dye. Then I spritzed the panel with a distress sprayer and flicked ground espresso ink all over it. After that dried, I tore the right edge off my panel and inked the edge a little to lessen the brightness of the white paper core.
Next, I added some washi tape to the edge of a white card base and popped my stenciled panel up on that with foam tape. Then used the edge of my scissors to distress the sentiment panel a little and adhered it with liquid glue.
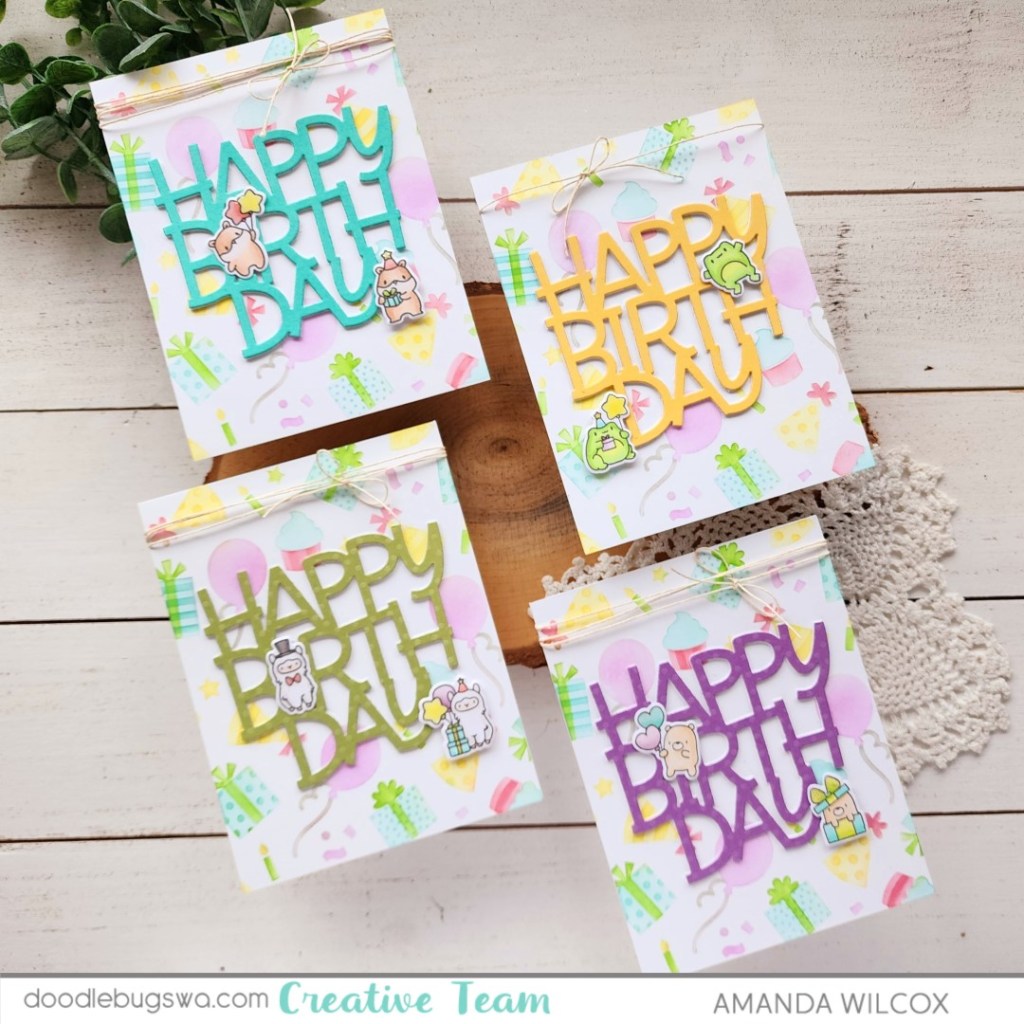
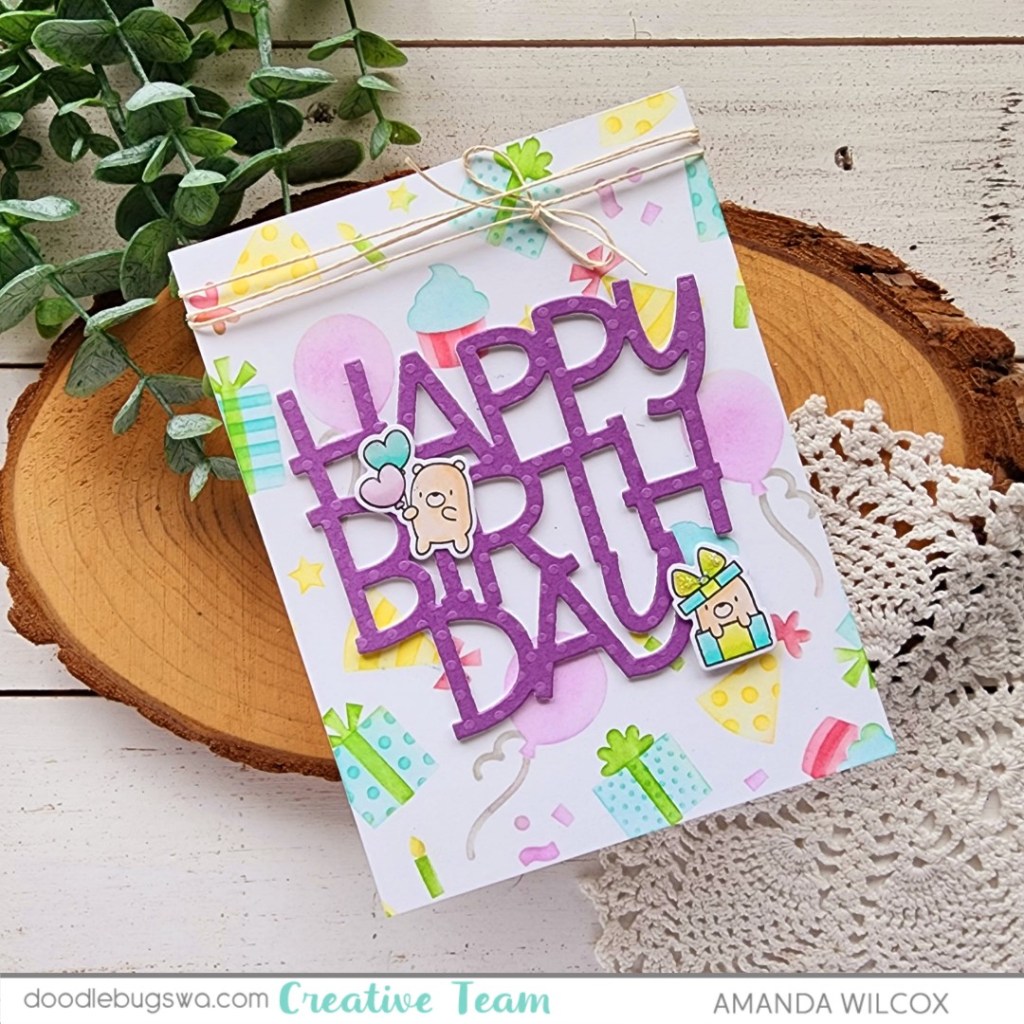
Hey friends! It’s Mix it up Monday on the Doodlebugs blog today. I’m mass producing some birthday cards because I need a bundle coming up soon. The way I did these made it easy to create a quick set of four cards but still gave them some individuality too.
I started with the new Pretty Pink Posh Birthday Wreath layered stencil set, blending brushes and pretty much the rainbow of my Lawn Fawn inks. These stencils were designed brilliantly so it was easy to ink the different parts in different colors with my regular blending brushes. I think the only small brush I used was for the candle flames. Anyhow, I inked up four backgrounds the exact same and set them aside.
Next, I pulled out the Mama Elephant Big Happy Birthday die. I cut four sets of three from white cardstock and glued each set together with liquid glue. Then I chose four colors of cardstock from my stash that went with the colors of the background and cut one from each, gluing those to the top of the stacked white die cuts.
Next, I went through all my Mama Elephant Little Agenda sets and found the ones with my favorite birthday images. I stamped two from each of the four that I chose and colored everything with copic markers. I used the coordinating dies to cut them all out and matched them with a different colored sentiment so I could start assembling my cards.
I used liquid glue to adhere each background to a card base and then added the sentiment dies to the center of each one. Then I added the two little agenda images to each card front with a combination of foam squares and liquid glue depending where they overlapped the sentiment.
Once everything was assembled I pulled some twine from the stash and tied it around the top of each card, tying them in a small bow. Then I added glossy accents and stardust Stickles to parts of the images on each card. Usually party hats, balloons and bows. Just a little sparkle and shine for each card front.
Voila! I have four completed birthday cards that are pretty much to same but really different because of the different critters on each. Everyone has their favorites and that makes it special for them.
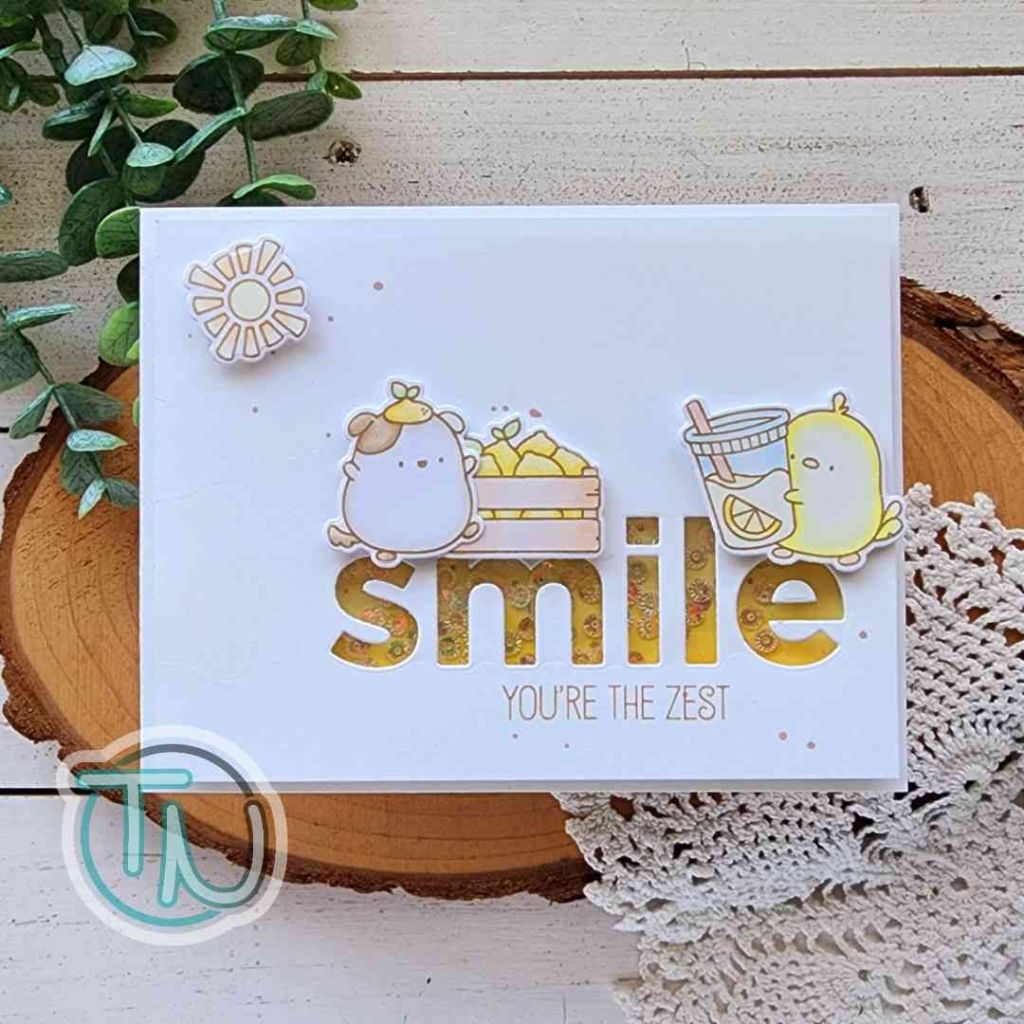
Happy Thursday friends! I recently picked up the MFT Stamps Squeeze the Day stamp and die set. I’ve been eyeing it for a while and decided to treat myself for the heck of it. I also recently picked up a brown ink pad for copic coloring and was very excited to test it out. So these two things together equaled a fabulous mini crafting session.
I randomly chose a few of the Squeeze the Day images to stamp with the new brown ink, then colored them with copic markers. I used the coordinating dies to cut everything out and then I had some playing/deciding to do for an actual card design.
After rooting around in my MFT Stamps bin, I found the Big Smile die and thought it would be fun to create a shaker with my critters sitting on top. So I went to work. I die cut smile from a white panel measuring 4×5.25 inches and used it as a guide where to ink blend the yellow inks on my card front. I stamped my sentiment below the die cut window, then turned the panel into a shaker.
For that you add acetate to the back of the letter windows and foam tape around the whole panel. Sprinkle your shaker bits in the center of the area, remove the release paper from the foam and adhere it all together.
I mini splattered some brown ink across the card front before popping up all my images with foam squares. OMG! Isn’t this the cutest?!? I’m very attached. It might have to live in the craft room.
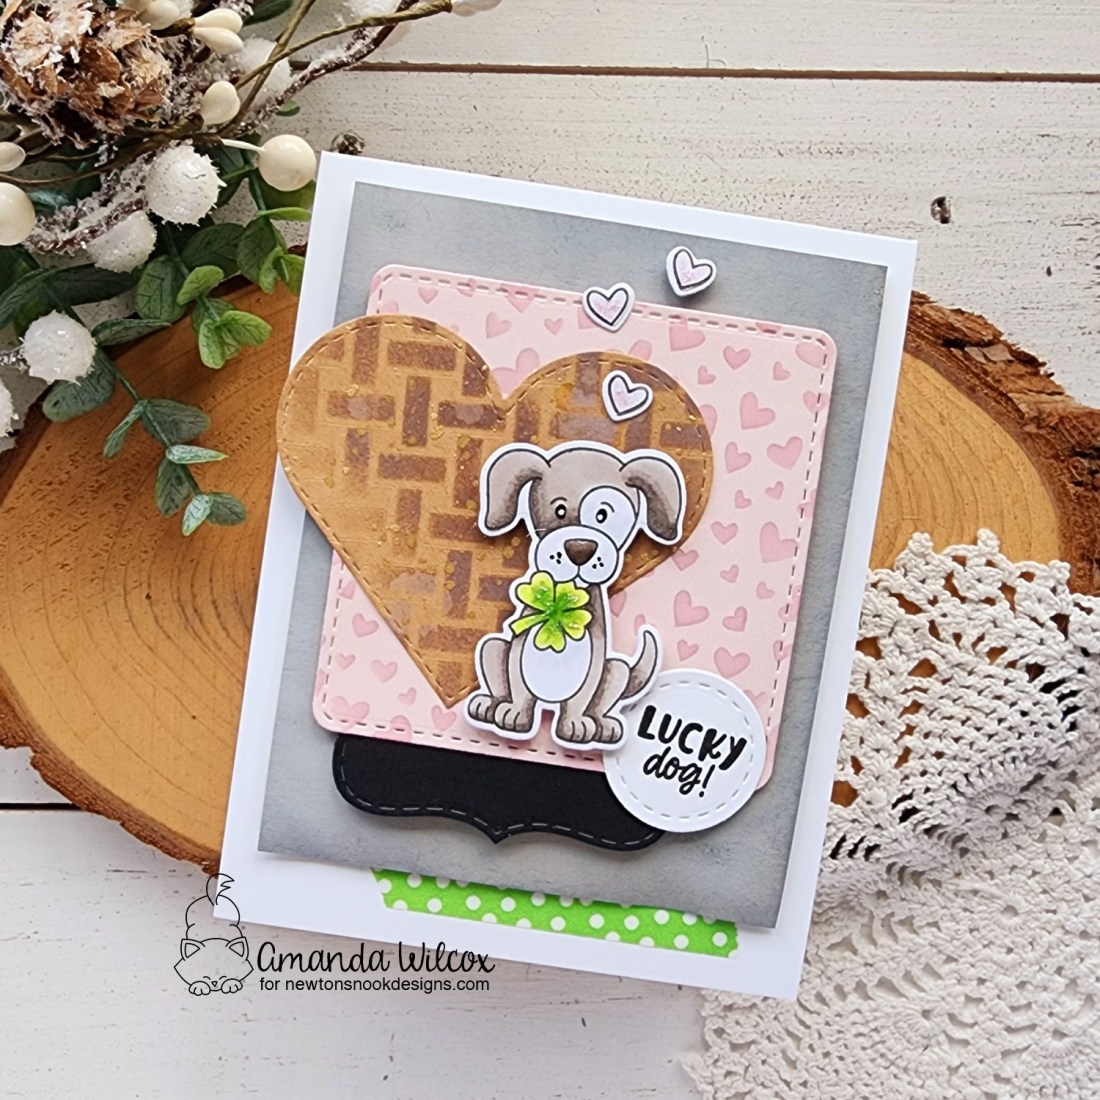
Hey friends! I’m over on the Newton’s Nook blog today with more inspiration from the February release. I adore the Newton puppies and this lucky dog set is now at the top of those! I wanted to share a fun card that shows how these new sets don’t have to be only for St. Patrick’s Day.
So I stamped and colored my sweet pup and some hearts with copic markers and used the coordinating dies to cut them out. Then, I had an idea for extra layers and shapes so I went to work with the Frames Squared die set.
I cut the rounded square from pink cardstock and used the petite hearts stencil on it. Then I cut half of the label die from black cardstock and glued it behind. I stamped my sentiment on the smallest circle on that set and glued it to the right of center where I knew I wanted the puppy.
Next, I ink blended distress oxide inks on a heart using the basketweave stencil and splattered it with gold watercolor. I glued that down before popping my puppy up with foam squares.
Working all the way backward, I trimmed a piece of gray cardstock down and ink blended the edges with pumice stone and a teeny bit of black soot distress oxide inks. This panel is popped up with foam tape on a card base with some green washi tape tucked under the bottom edge. Then I popped the other collection I already have glued together up with foam tape on that.
For finishing touches I went over the puppy’s eyes with black glaze pen, let it dry and added a white gel pen highlight back in. Then I added glossy accents to his nose and stardust Stickles to the floating hearts and clover.
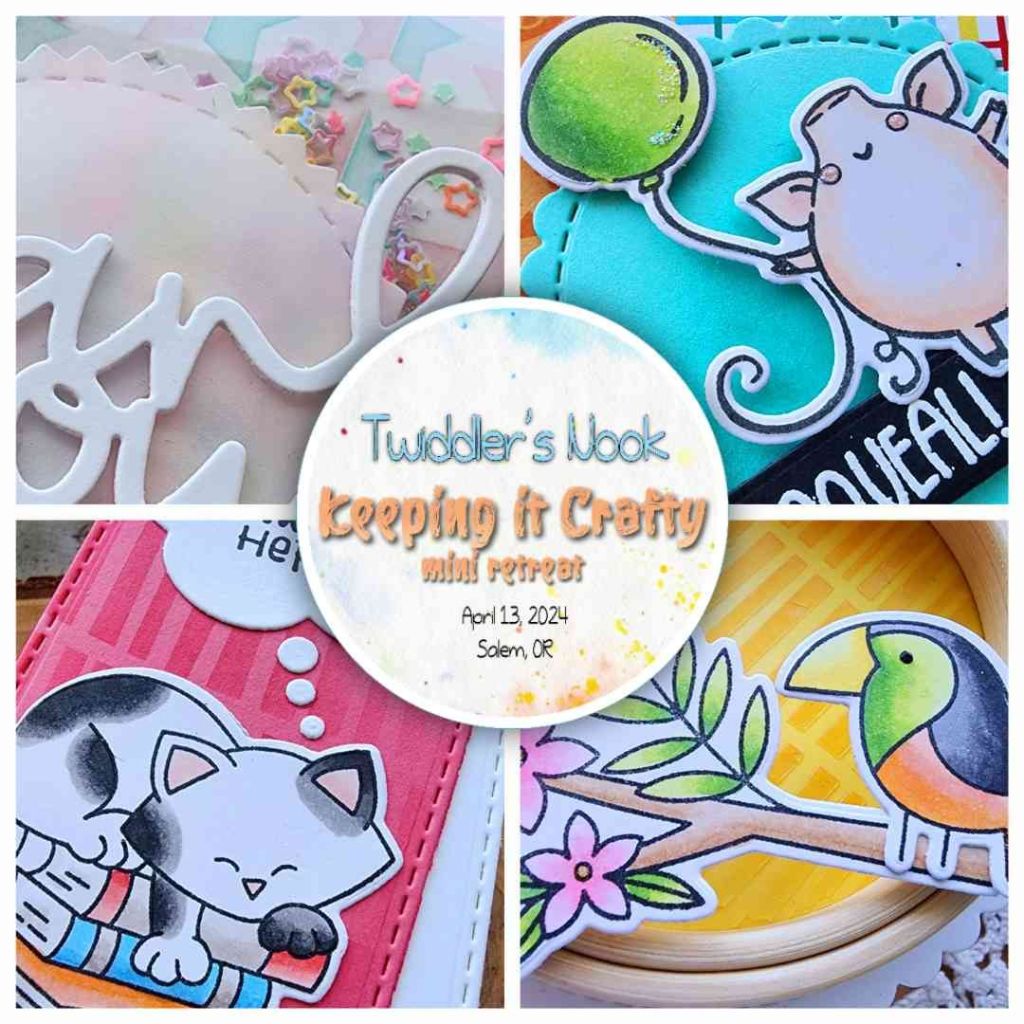
Happy Tuesday everyone! I’m popping in today to share some sneak peeks of the projects we’ll be creating at the Keeping it Crafty retreat in April. Hopefully, this will help you decide if you’re on fence about registering or not.
We’re showcasing products from Twiddler’s Nook along with Newton’s Nook, Pretty Pink Posh, Pink & Main and Thermoweb during the retreat. Your swag bags are already bursting with donated products that we’ll actually be using during the retreat, plus more fun!
There will be a Twiddler’s Nook pop-up shop on site for the day so you can see what we make and how it works in person too!
There are only a few spots left so don’t hesitate too long to register.
Click HERE for the registration form and get signed up today!
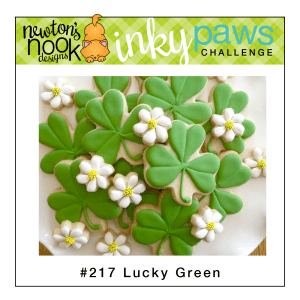
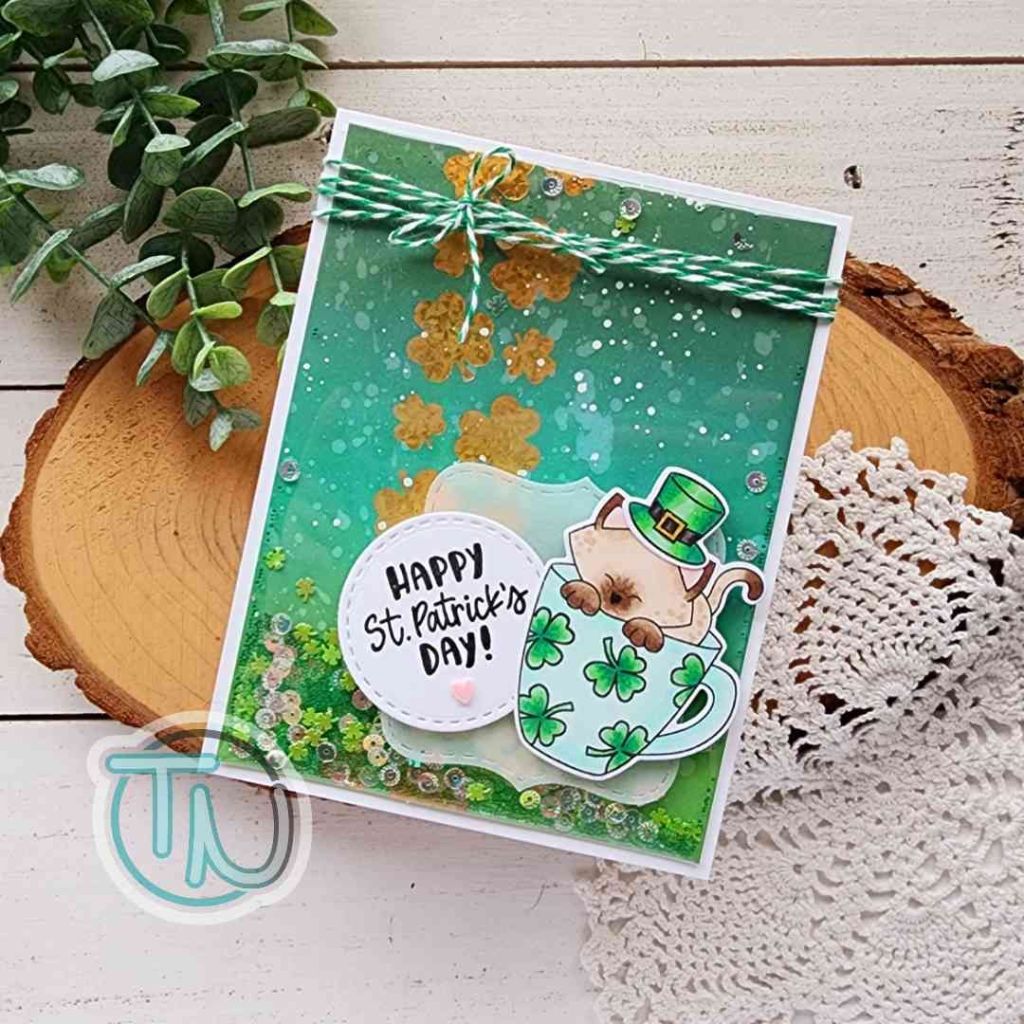
Hey friends! I’m super excited that my friend Shanna invited me to be her coffee date on the Coffee Loving Cardmakers blog today. We decided to play along with the Newton’s Nook Inky Paws Challenge, plus Twiddler’s Nook tools and embellishments. Oh boy did I have fun!
Here’s a peek at the card I created but all the details are on the Coffee Lovers blog HERE if you’d like to read more.
I appreciate you sharing your time with me. Have a fabulous day!