Newton’s Nook – September Release Day 2

For day 2 of the Newton’s Nook September Release reveals, we’ve got spooky fun with a new stamp and die set along with a new stencil. I’m sharing two cards with you featuring both!

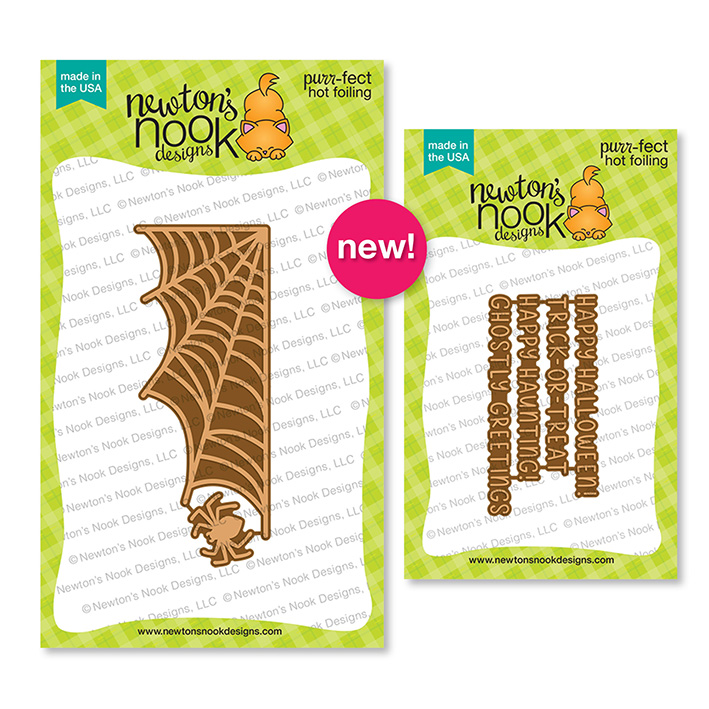
Ghostly Good Time stamps and dies
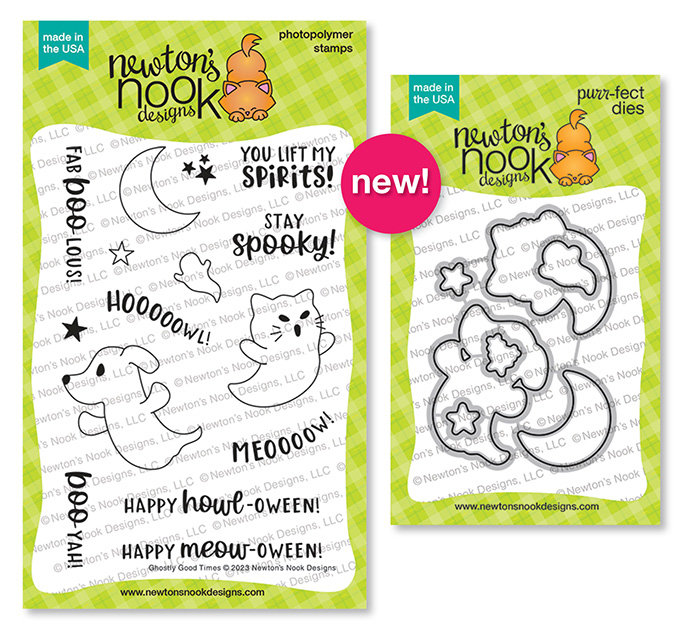
Spooky Line stencil

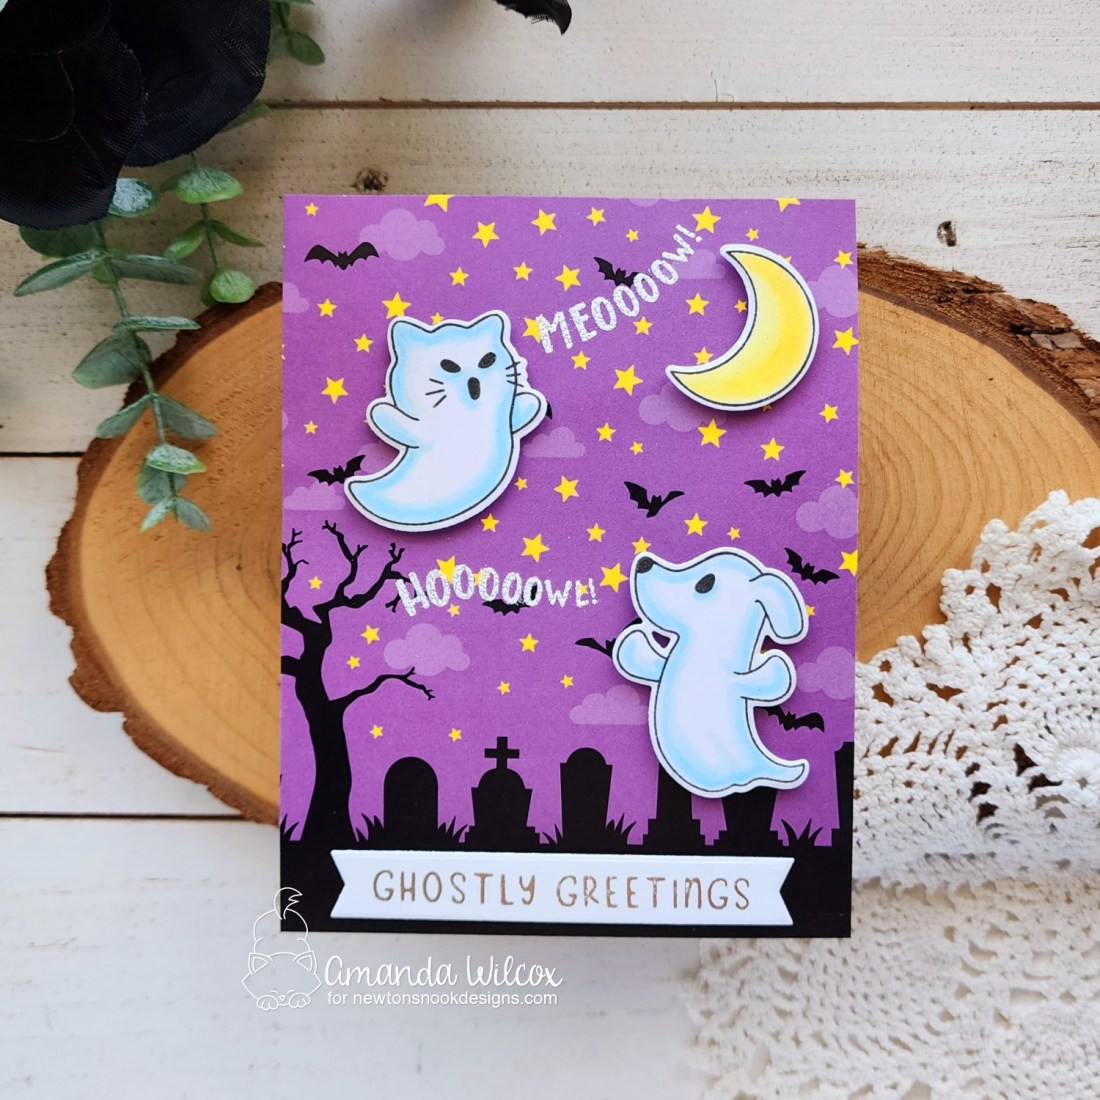
I couldn’t believe after creating both of my cards for today, how cool they turned out but how easy they were to create also! Let’s start with a Ghostly Good Time, shall we?

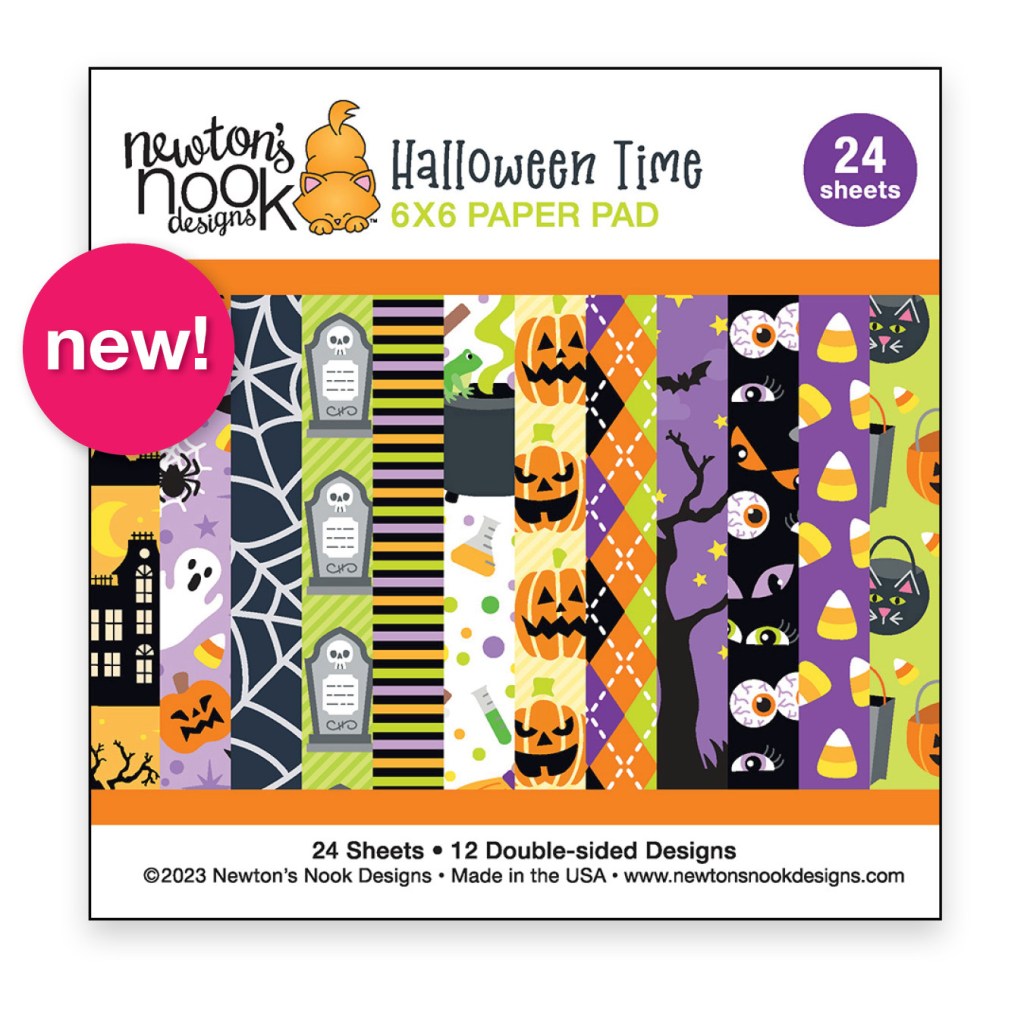
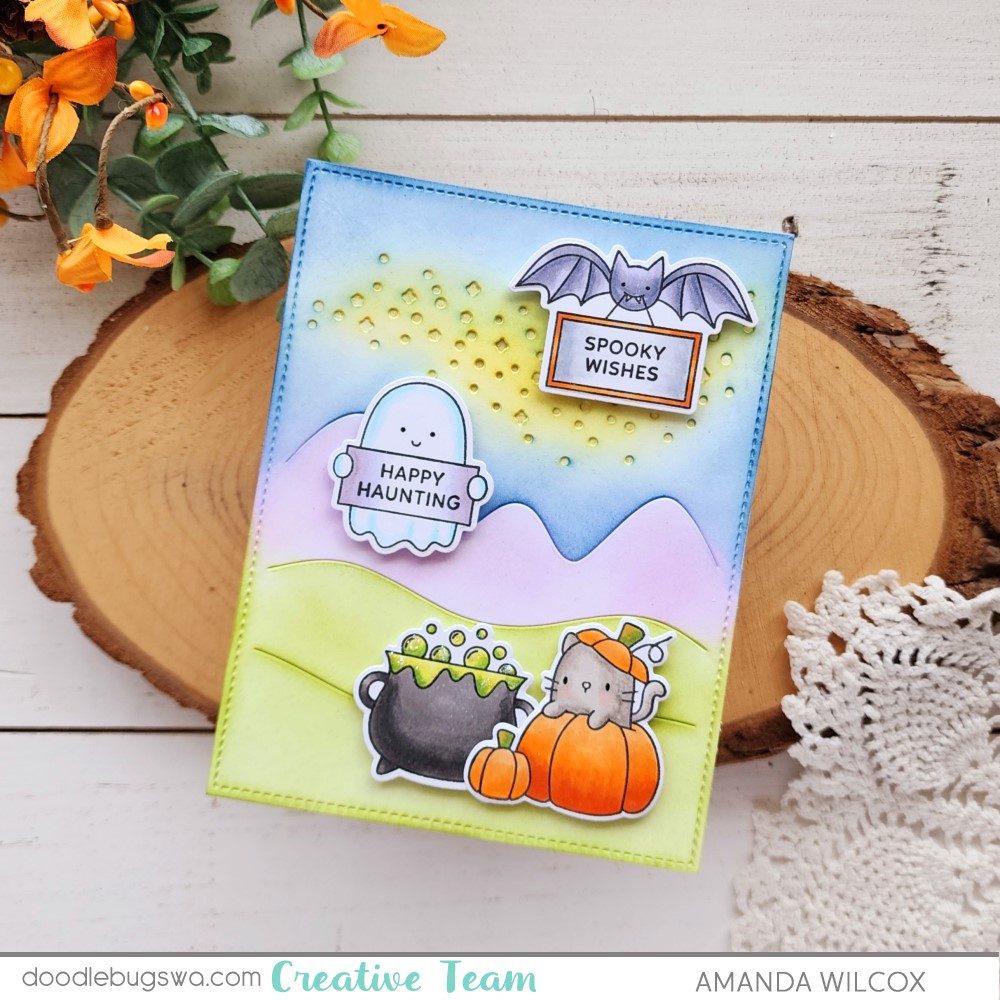
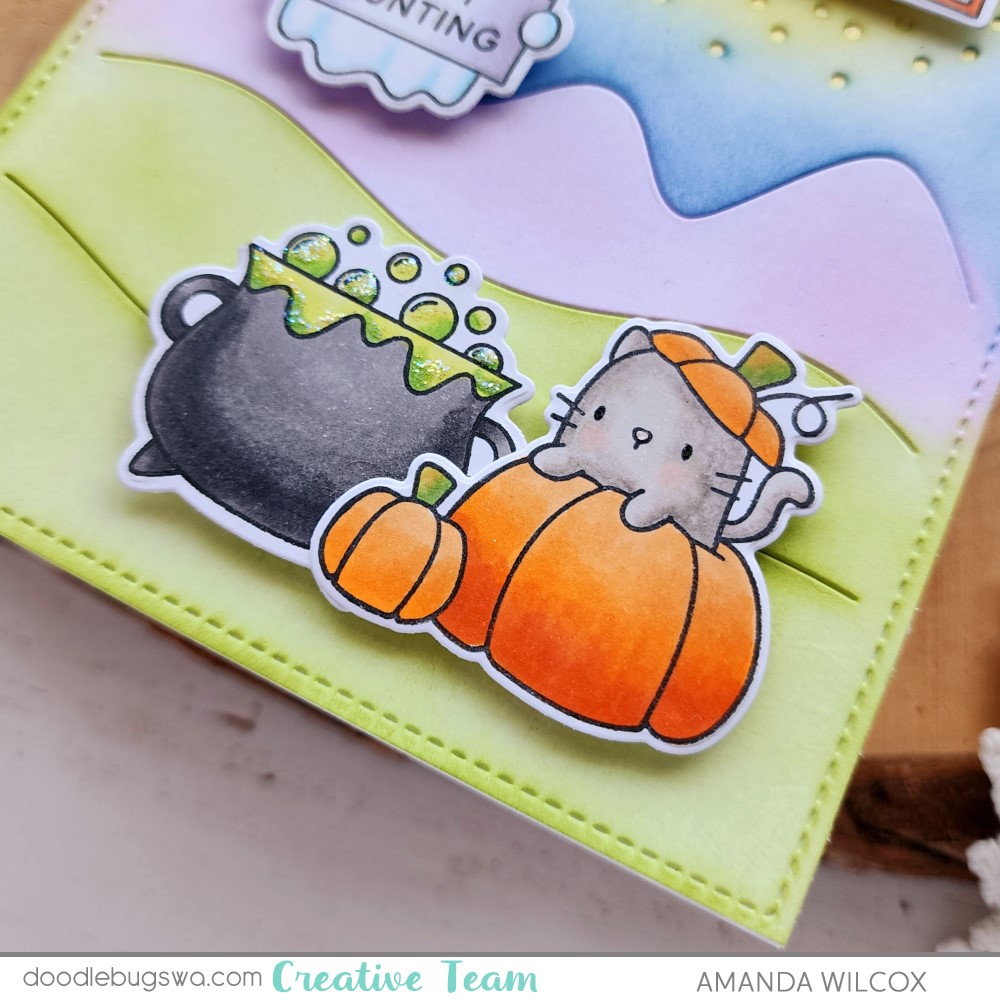
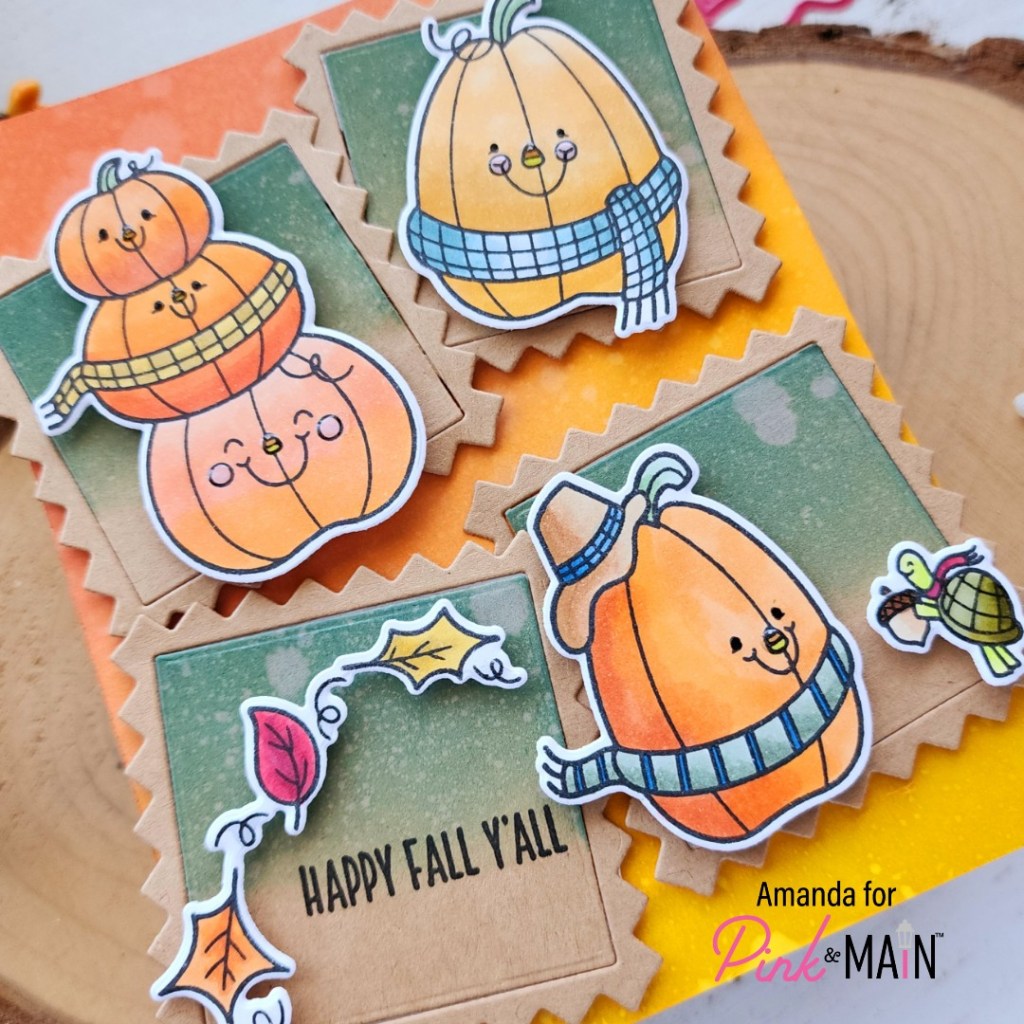
I stamped and colored my images with copic markers, with no design in mind at all but I thought the images were too cute and I wanted to see them both. After that, I went flipping through the new Halloween Time paper pad and stopped in my tracks at this amazing scene panel that’s in it. Too perfect not to try!

So, I used my images as a guide for where to stamp and heat emboss my spooky sounds. After the heat embossing was done, I popped the images up with foam squares and decided on this awesome sentiment from the new Spooky Sentiments hot foil plates. It’s die cut with a Banner Duo die.

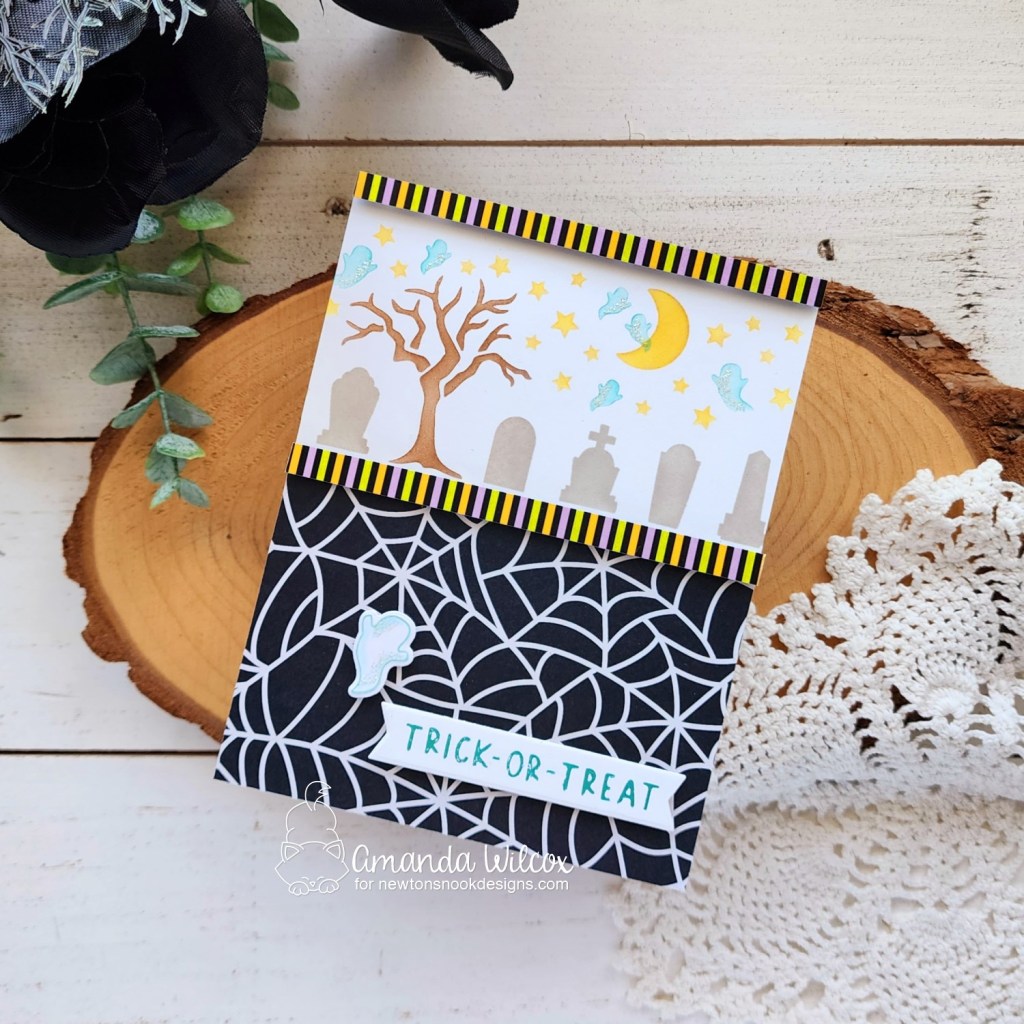
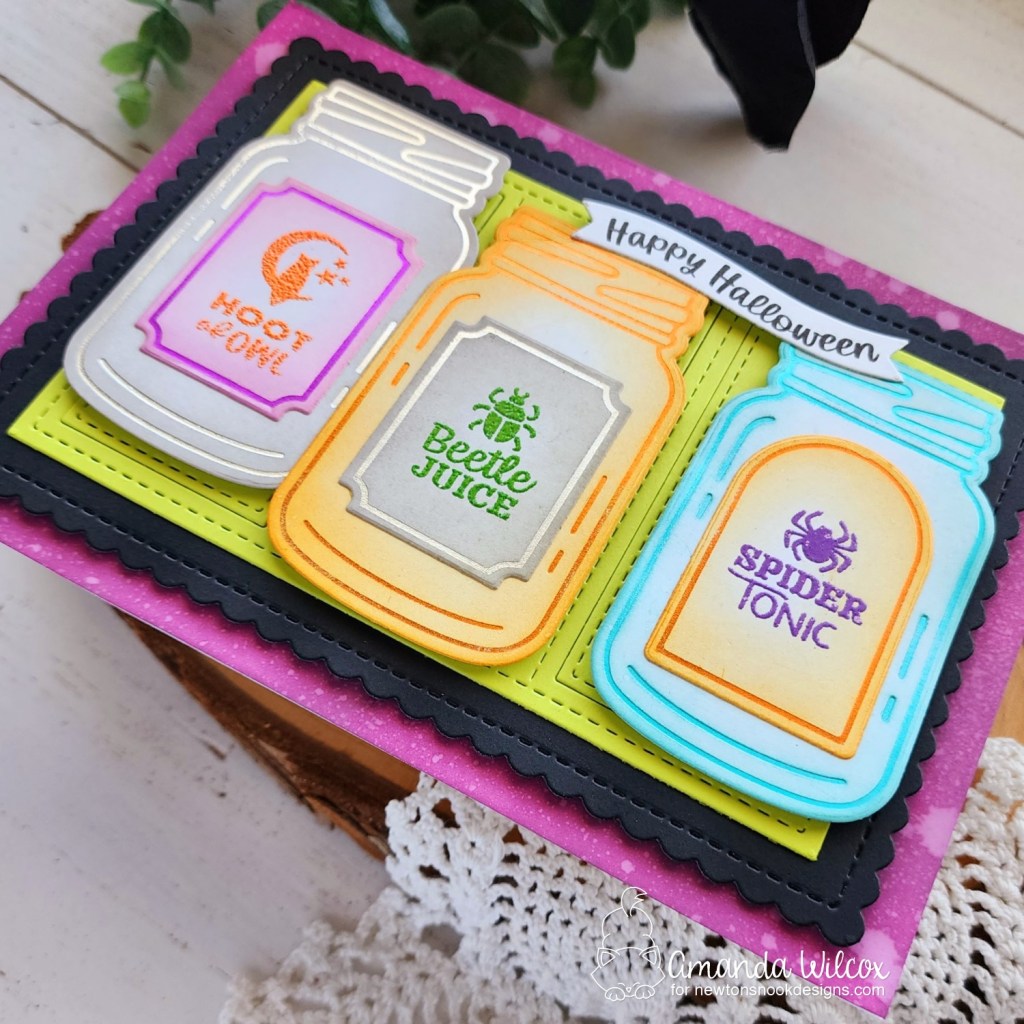
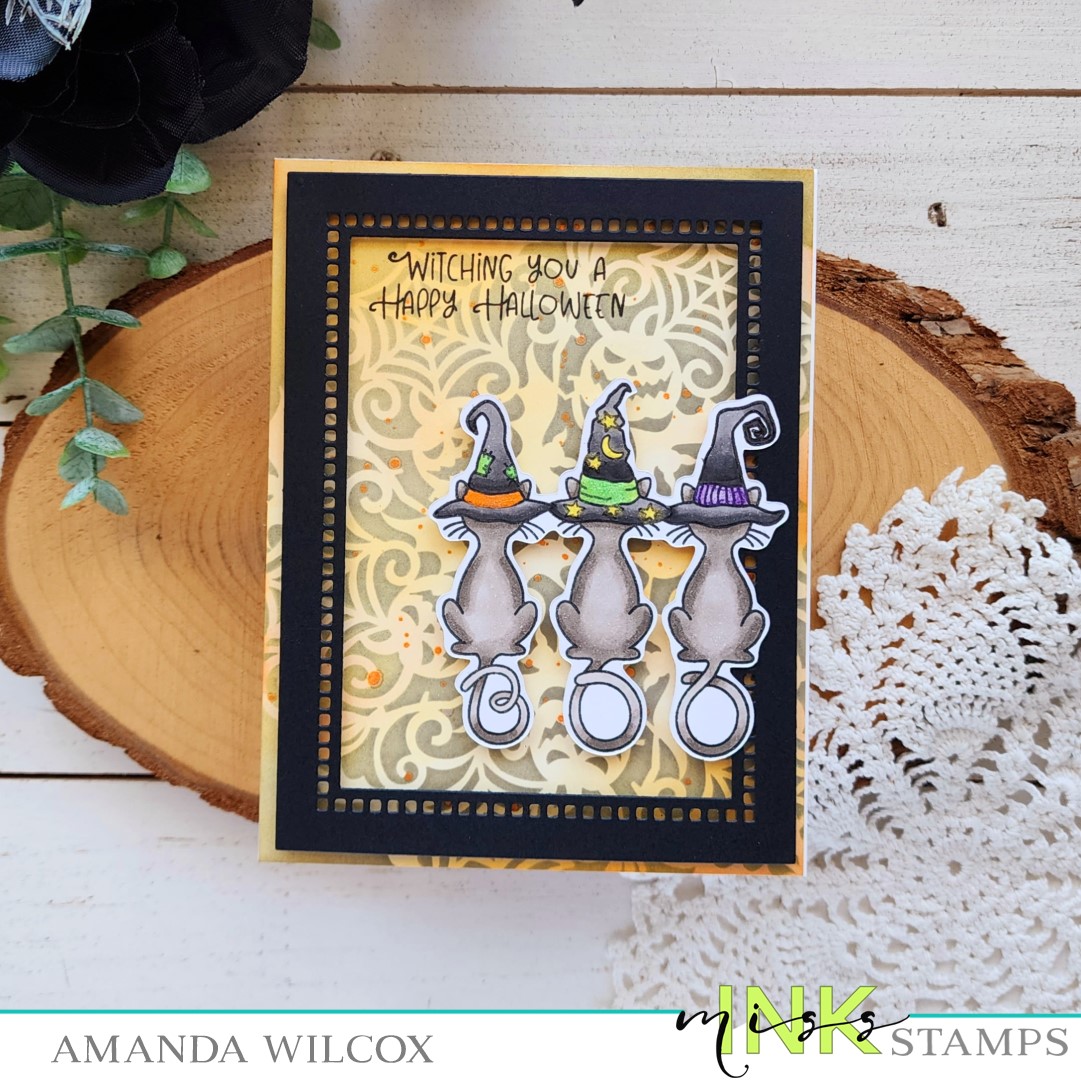
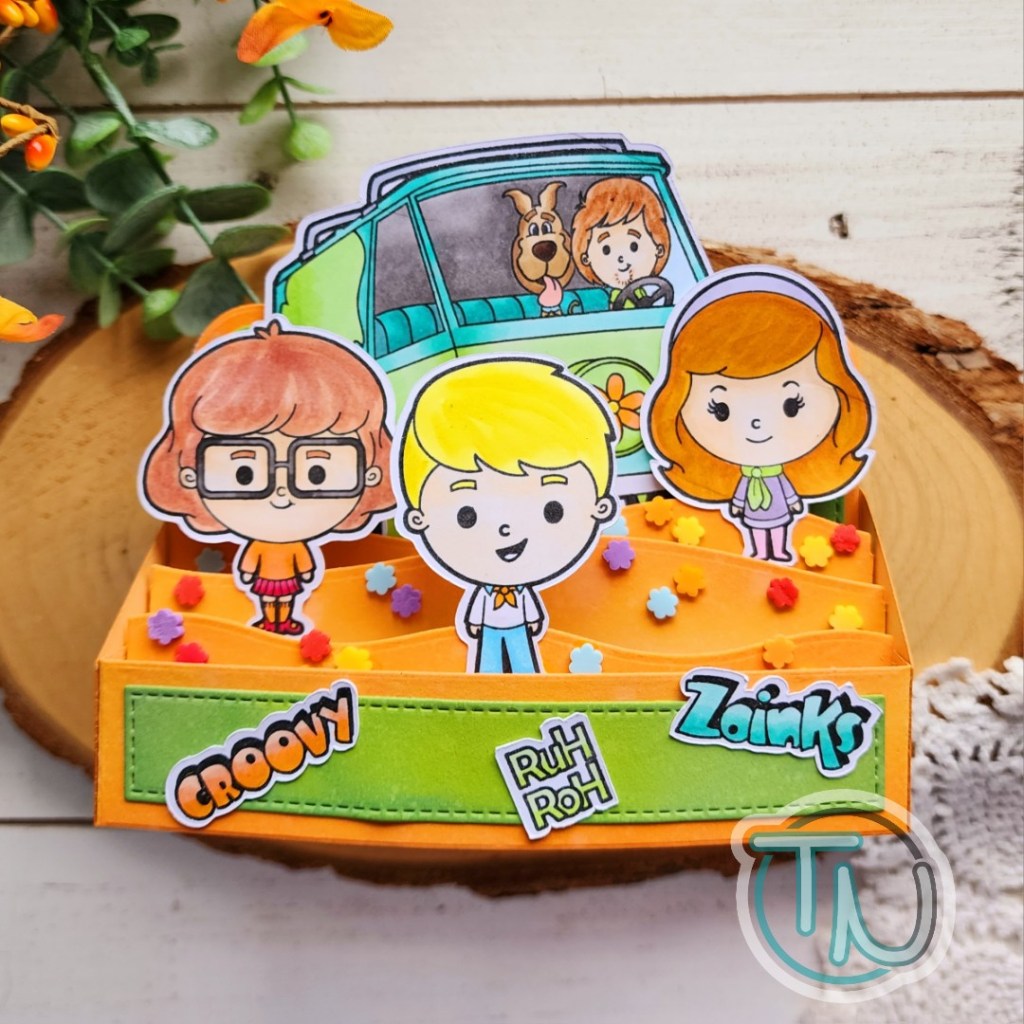
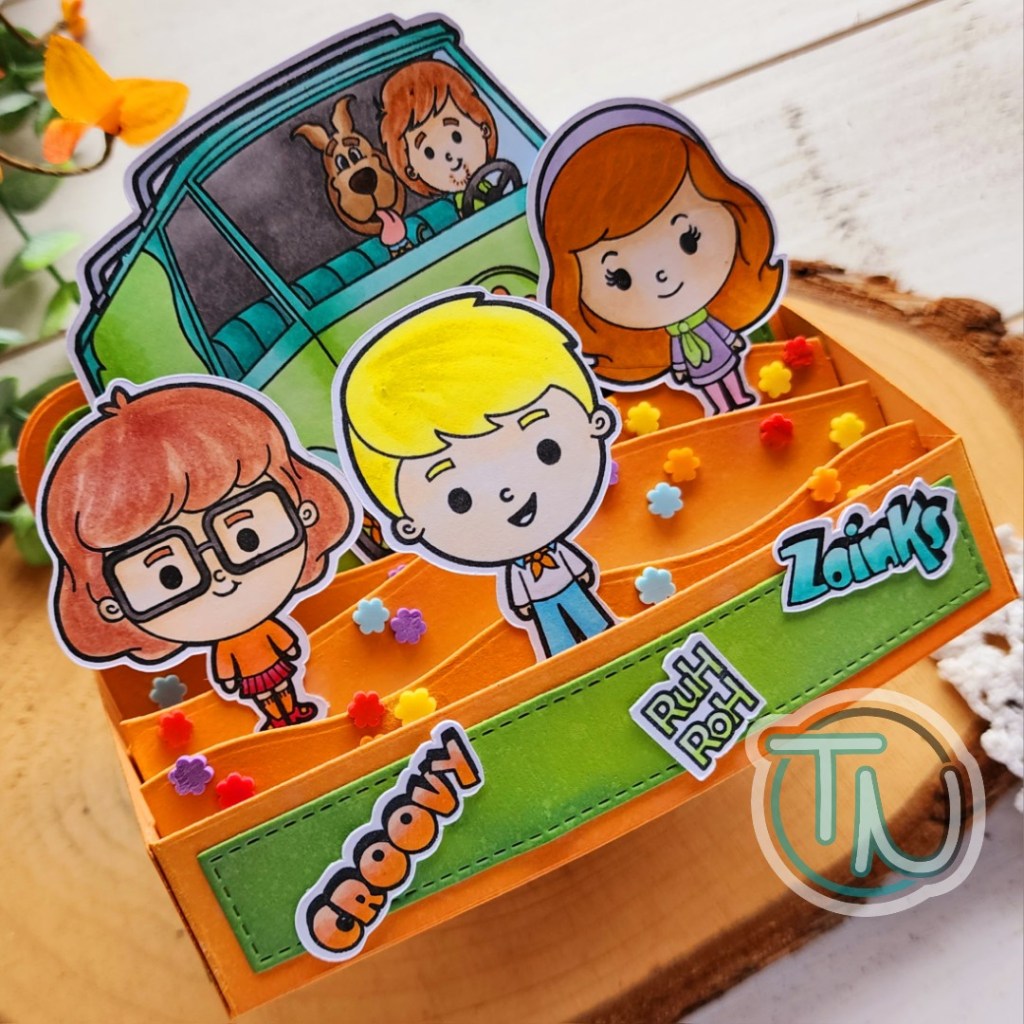
I really adore all of these awesome line stencils and truly enjoy making them the star of the show. so I inked up all the layers for this new one and then just framed it up with papers from the Halloween Time paper pad. I added another hot foiled sentiment banner and snagged that little ghost from Ghostly Good Time.

To add a little interest and sparkle because, well, it’s me, I added stardust Stickles to bits of each ghost. Isn’t this so fun!?!

Would you like to win the “Ghostly Good Times” Stamp Set? This stamp set will be given away to ONE lucky winner!

Here’s how to win: Comment on the NND blog and Design Team blogs (see list below)! Thewinner will be chosen at random from the collective reveal posts. Make sure to check out each of their blogs and comment for your chance to win. You will not know which blog has been chosen so the more you comment on the better your chances are of winning! You have until Thursday September 14th at 9pm ET to comment  — winners will be announced on the blog post on Friday, September 15th. 

Check out all the awesome Design Team Blogs below to enter:

Newton’s Nook Designs
Ellen Haxelmans
Larissa Heskett
Samantha Mann
Diane Morales
Farhana Sarker
Tatiana Trafimovich
Amanda Wilcox

Newton’s Nook – September Release Day 1

Hello everyone! Spooky season is my very favorite and I’m happy to be starting release reveals for the Newton’s Nook September Release and it’s full of spooky goodness! Today we’re revealing a bunch of great products that we’ll be using throughout the week.

Labels Hot Foil dies and Halloween Apothecary stamps (labels fit the jar hot foil dies perfectly)

Spider Web and Spooky Sentiments hot foil plates (sentiments work perfectly with Banner Duo dies)

Halloween Time paper pad

Isn’t this collection of goodies an incredible start to release week?!? I had so much fun creating with it all. Today I have a card focusing on the Halloween Apothecary stamps and Labels hot foil plates.

I had grand ideas for my card today so I hot foiled a few jars in different colors, then did the same with the new labels. Then I used the coordinating dies and cut everything out. I ink blended each piece to coordinate with the color of hot foil and then heat embossed a different image on each label in colored embossing powder.

I was very determined to get all three awesome jars on my card so I swapped my A2 size card base out for A7 and absolutely love the outcome! I cut the largest A7 Frames die from black cardstock and then the next size down from lime green. I kept the pieces that cut the windows because I wanted a solid panel and just embraced the extra stitching texture.

My card base is inked with distress oxide in seedless preserves and splattered with water. I popped the black panel up with foam tape, glued the green down with liquid glue and then popped all of the jars up with foam tape as well.

Last of all, I curved the sentiment in Halloween Apothecary to match the skinny banner in the A7 Frames die set and stamped it in black ink. I added this with a combo of liquid glue and foam squares to keep it level with the jars.

Would you like to win the “Halloween Apothecary” Stamp Set? This stamp set will be given away to ONE lucky winner!

Here’s how to win: Comment on the NND blog and Design Team blogs (see list below)! Thewinner will be chosen at random from the collective reveal posts. Make sure to check out each of their blogs and comment for your chance to win. You will not know which blog has been chosen so the more you comment on the better your chances are of winning! You have until Thursday September 14th at 9pm ET to comment  — winners will be announced on the blog post on Friday, September 15th. 

Check out all the awesome Design Team Blogs below to enter:

Newton’s Nook Designs
Ellen Haxelmans
Larissa Heskett
Samantha Mann
Diane Morales
Farhana Sarker
Tatiana Trafimovich
Amanda Wilcox

Doodlebugs – Spooky Scene with Mama Elephant and Pretty Pink Posh

Hey friends! I’m on the Doodlebugs blog today creating a fun spooky scene with Mama Elephant and Pretty Pink Posh stamps and dies. I had so much fun coloring and inking and I just love how this turned out. It’s so fun! Also, fall crafting is my favorite so that might have something to do with it too.

I started this card by deciding my layout on the Mama Elephant Stardust Trail cover plate and then stamped out all the images. I colored them with copic markers and used the coordinating dies to cut them out. The images are from a combo of Mama Elephant Hey Pumpkin and Pretty Pink Posh Halloween Signs.

Then I die cut the Stardust Trail cover plate from white cardstock and used blending brushes with Lawn Fawn dye inks to add my color. Then I used gold watercolor and painted a piece of white cardstock that would show behind the star cutouts. I used liquid glue to adhere them together and then to a card base.

Then I added foam squares to pop all my images up with foam squares. For finishing touches I added glossy accents to the kitty’s nose and black glaze pen to his eyes. I needed more sparkle so I also added stardust Stickles to the bubbling cauldron.

I think these spooky characters are just the cutest and can’t wait for Halloween to come. We’re already decorating at our house because we love it so much! That way we get two months of spooky before things switch to just fall and turkeys. Do you decorate for Halloween?

Products used:
Mama Elephant Hey Pumpkin stamps and dies
Mama Elephant Stardust Trail cover plate
Pretty Pink Posh Halloween Signs stamps and dies
Lawn Fawn Ink – artichoke, grape soda, deep sea, sunflower
Blending brushes
Gold watercolor
Liquid glue
Foam squares
Stickles – stardust
Glossy accents
Sakura Glaze Pen – black

I appreciate you sharing your time with me. Have a fabulous day! 

Destash Envelopes and Boxes

Hey friends! I have another huge assortment of products I need to destash to make room for all the new goodies coming in. I am prepped and ready to send envelopes stuffed full for $75 or boxes stuffed full for $150. You choose the size, USA shipping is included in these prices.

Remember that these envelopes and boxes are packed as full as I can get them, worth at least three times what they cost you. No duplicates, coordinating dies always included and lots of different brands.

Let me know if you have any questions. You can email me to claim at twiddlersnook@gmail.com, or message me on Facebook or Instagram. I’ll be going to the post office daily as packages are paid for so you’re not waiting for your goodies to come.

Thank you for all your love and support! I truly appreciate it! Have a fabulous day!

Miss Ink Stamps – Boo Cats

Happy Thursday everyone! I was so happy to pull out some of my favorite Halloween goodies from Miss Ink Stamps this week and play a little. I hope you like it too!

First thing I did was pull out a piece of cardstock and my Halloween Mandala stencil. I love this one so much and couldn’t wait to ink it up. I added light orange ink all over the panel leaving it unblended and variegated. Then I put the stencil over top and inked it up with dark gray ink, not black. I liked the softer, less bold background. Then I splattered the panel with orange watercolor and let it dry.

Next, I stamped Boo Cats and colored them with my copic markers. Y’all know I do not fussy cut, so out the scan-n-cut came to the rescue! After that I die cut a black frame from the Modern Typeset die set. I mocked up placement of everything and added foam strips to the frame and squares to the kitties.

After adhering the frame and images I placed my panel in my MISTI and stamped my sentiment in the upper left corner. If you want variety for spooky sentiments check out the Halloween Sentiments set but I do love this punny one that’s part of Boo Cats so I used it.

For finishing touches I pulled out the same watercolor set and painted the hats of all three cats with coordinating metallic watercolors. It adds shimmer to the kitties and in the background.

Products used today:
Boo Cats stamps
Halloween Mandala stencil
Modern Typeset dies

Foam strips and squares
LH Colors watercolor
Blending brushes
Lawn Fawn dye inks

I appreciate you sharing your time with me. Have a fabulous day!

Pink & Main – Happy Fall Y’all

Welcome, welcome! So glad you’re here!!! I’m on the Pink & Main blog today and I’m fully embracing all things fall. The new Pick of the Patch stamps are absolutely adorable. At first I was choosing one image to create with but when I saw that little turtle handing his acorn to the pumpkin, my heart melted and I switched gears.

So, I stamped my images from Pick of the Patch and colored them with copic markers before cutting them out with the coordinating dies. Next, I chose a frame from the Square Frames die set. This set has four frames, all the same size but with different borders to choose from. Today I’m going with zig zag. I kept the inside that cuts out and inked the top part with rustic wilderness distress oxide ink.

I lined the back of each frame with foam tape, using this to hold the frame and insert together. Then I added all of my images with foam squares. *Note, I did stamp my sentiment on one before adding any foam so it would stamp nice and clean.*

For my background, I blended distress oxide ink in ripe persimmon, rusty hinge and mustard seed at an angle across the panel. I spritzed it with water and blotted it dry before gluing that to a white card base. Next, I just removed release paper and added all of my pumpkin filled frames.

For finishing touches I added black glaze pen to all the pumpkin eyes and Touch of Gloss to the cheeks, noses, acorn and turtle shell. Then I felt like the sentiment frame was lacking shine so I added more Touch of Gloss to the swirls between the leaves too.

I’m so happy about the season change and the crisp mornings that are starting to arrive. How about you?

Products used:
Pick of the Patch stamps and dies
Square Frames dies
Foam Tape
Touch of Gloss
Distress Oxide – rustic wilderness, mustard seed, rusty hinge, ripe persimmon

I appreciate you sharing your time with me. Have a fabulous day!

Doodlebugs – Christmas Mix and Match Fun

Hi there! Have you gotten any early start on holiday crafting this year? I feel like it really became a thing with companies doing Christmas in July releases which helped my motivation. I also noticed that Christmas crafting now compared to later on, my color choices are brighter and different which is sort of cool and fun!

I recently picked up some new goodies from Doodlebugs with the intent of mixing them together for some holiday cards. This was the first result from that. I started by playing with the Spellbinders Christmas Bird Poinsettia die cutting pieces and arranging them different ways. I used liquid glue to adhere everything except I added the poinsettia with foam squares for some dimension.

Then I inked up a panel with the Pretty Pink Posh Argyle stencil set using mermaid and jalapeno Lawn Fawn inks. After stenciling, I glued the panel to a top folding card base and then glued my foliage down on that.

Next, I heat embossed and die cut a sentiment from Mama Elephant’s Everything Nice sentiment set. I love these bold sentiments and have all of the collections. They come in handy and are a fabulous font! I added the sentiment with foam squares and liquid glue.

Since my foliage has some pretty gold shiny pieces, I didn’t add any finishing touches. They were kind of built in when I added that shiny-ness everywhere as I went along.

Products used:
Spellbinders Christmas Bird Poinsettia dies
Pretty Pink Posh Argyle stencils
Mama Elephant Everything Nice stamps and dies
Lawn Fawn ink – jalapeno and mermaid
Blending brushes
Liquid glue
Foam squares
Embossing powder
Anti-static powder bag
VersaMark ink

I appreciate you sharing your time with me. Have a fabulous day!

The Sassy Club – Groovy Friends Box Card

Hi there! I have recently discovered a fun brand of stamps called The Sassy Club. She does a bunch of different fandom type sets plus some of her own and I just adore her artwork. I picked up a few sets that stood out to me and immediately ordered a second time once I played with the first order. Today I have a box card to share using a couple of sets I snagged.

I chose a combo of images from Groovy Friends and Groovy Van for my mini slimline box card. I colored everything with copic markers and used my scan-n-cut to cut them all out. I cut the parts of my box card from orange and green cardstocks and used distress oxide inks to give some shading.

I used liquid glue to assemble my box card and then also used it to add the images with some reverse tweezers to hold things in place for a minute or two.

I felt like things were sparse with just the images so I followed the groovy feel and glued some clay flowers to the hills with the characters to fill things in. I think it’s really fun and adds lots of interest to a pretty simple card.

Even with the little bit of embellishment bulk, the card folds flat and since I plan to hand deliver this card it won’t have to brave the USPS sorting machine so everything should work out just fine.

Products used:
Groovy Friends stamps
Groovy Van stamps

MFT Stamps Mini Slimline Outside the Box Card dies
Trinity Stamps Clay Flowers – Springtime Sugar Posies are closest to my old set
Distress Oxide Ink – mowed lawn and carved pumpkin
Bearly Art liquid glue
Scrappy Tape 1/4″

I appreciate you sharing your time with me. Have a fabulous day!

Spellbinders – Pop Up Snowflake Surprise Card

Welcome everyone. Thanks for stopping by. Today I have a card featuring some of the Spellbinders Bibi’s Snowflakes Collection. There’s a really cool layering stencil set and lots of beautiful snowflake dies.

I used the stencil on the front of my card with a poppin’ surprise on the inside!

I inked up the stencil with dye inks, except for the white snowflakes are pigment ink so it would show. Isn’t the ornament so pretty!?! Then I stamped a sentiment from Holiday Hugs Gnome Sentiments on a label and glued it on the front too.

Then, when you open the card you have this stunning snowflake pop out at you with a message even! It’s so pretty and was simple to put together. I used liquid glue so I took time to let the glue dry on each step but it wasn’t bad and reverse tweezers are definitely your friend.

Products used:
Bibi’s Snowflakes Collection
Holiday Hugs Gnome Sentiments stamps
Liquid glue
Reverse tweezers

I appreciate you sharing your time with me. Have a fabulous day!

Pink & Main – Hello Sunshine Circle Shaped Card

Hi crafty friends! I hope your week is going fabulously! I’m popping in today with a card I’m sharing on the Pink & Main blog. I absolutely love these sweet hedgehogs and their sunflowers and thought the sentiment went great with a previously release sentiment die so I tried them out together.

After stamping and coloring my images from Sunny Side of Life I used the coordinating dies to cut them out. Then I went back and stamped a sentiment inside one of the sunflowers. I love that these fit in there!

Next I cut the elements from Hello Sunshine and used liquid glue to adhere them all together. At this point I decided it would be so fun to create a circle shaped card so I arranged my sentiment and images to decide the right size circles to cut. I cut 2 zigzag circles and one regular one, all from white cardstock.

I ink blended with distress oxide inks on one zigzag and the regular circle to add color. I chose shabby shutters, tumbled glass and gathered twigs. Then I glued the flower stems to the hello and added everything to the smooth circle with foam squares and liquid glue. Then I popped that up on the ink blended zigzag circle.

With the second zigzag circle, I scored a line about an inch from the top and adhered them together only at this point. that way the fold doesn’t interfere with my card front at all but there’s lots of space to write a message still.

Products used today:
Sunny Side of Life stamps and dies
Hello Sunshine dies
Layered Circles dies
Zigzag Circles dies
Foam tape
Distress Oxide Ink – shabby shutters, tumbled glass, gathered twigs
Liquid glue

I appreciate you sharing your time with me. Have a fabulous day!