This month’s release is a little smaller than some so today is the final day of release reveals for the Newton’s Nook March Release! Today we have 2 more adorable stamp an die sets to share with you.
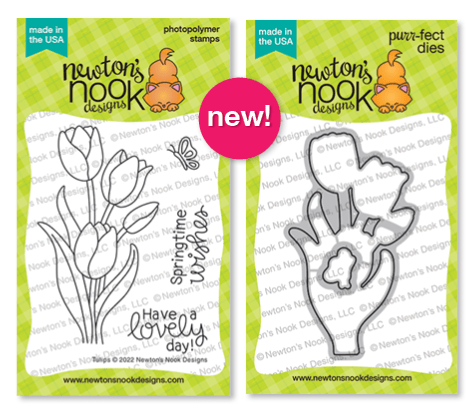
Newton’s Blooms stamps and dies

Tulips stamps and dies
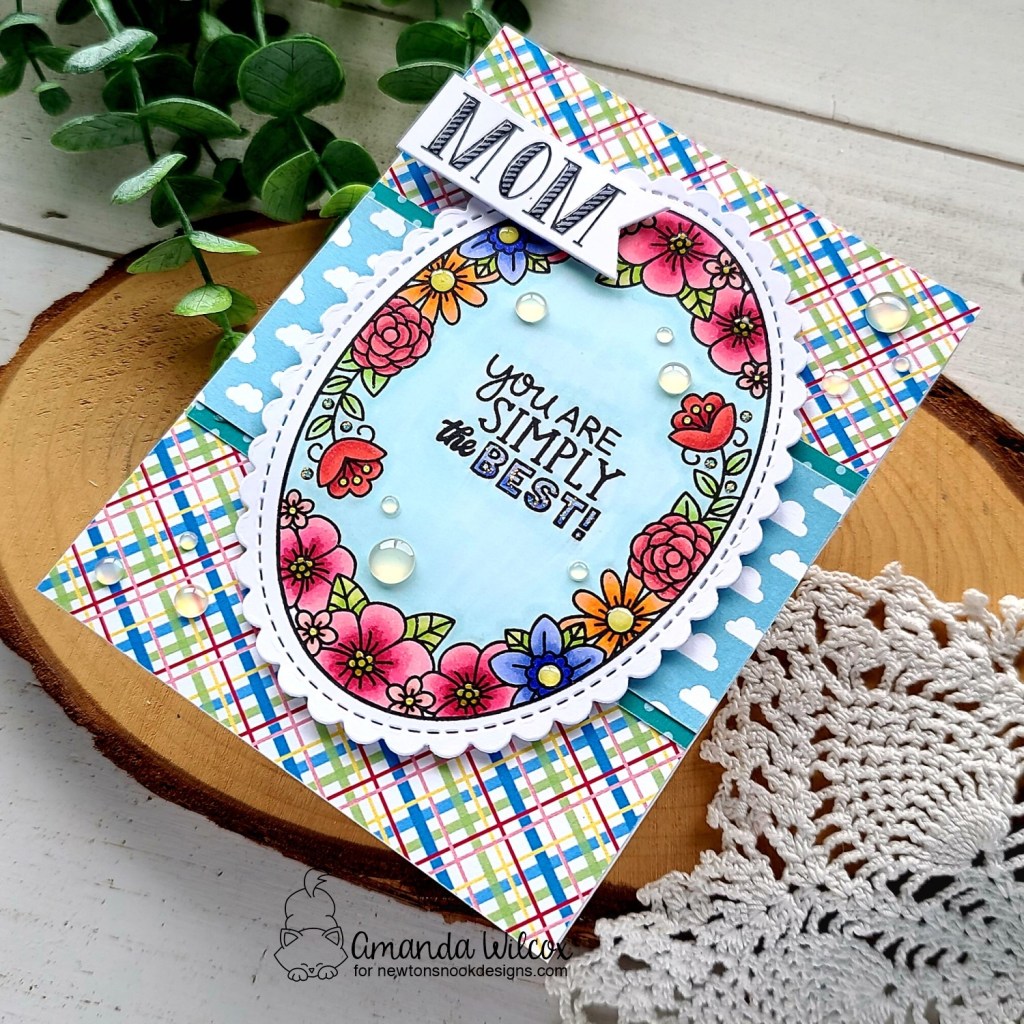
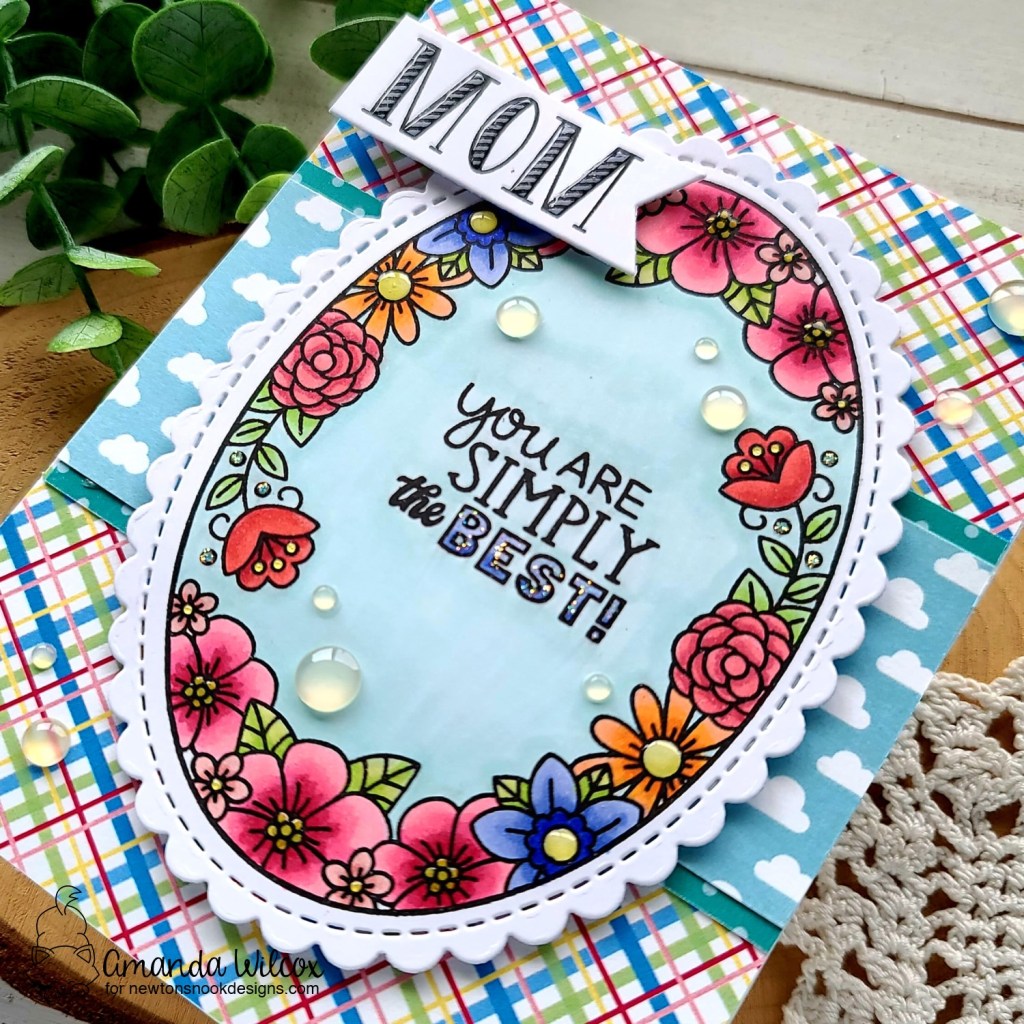
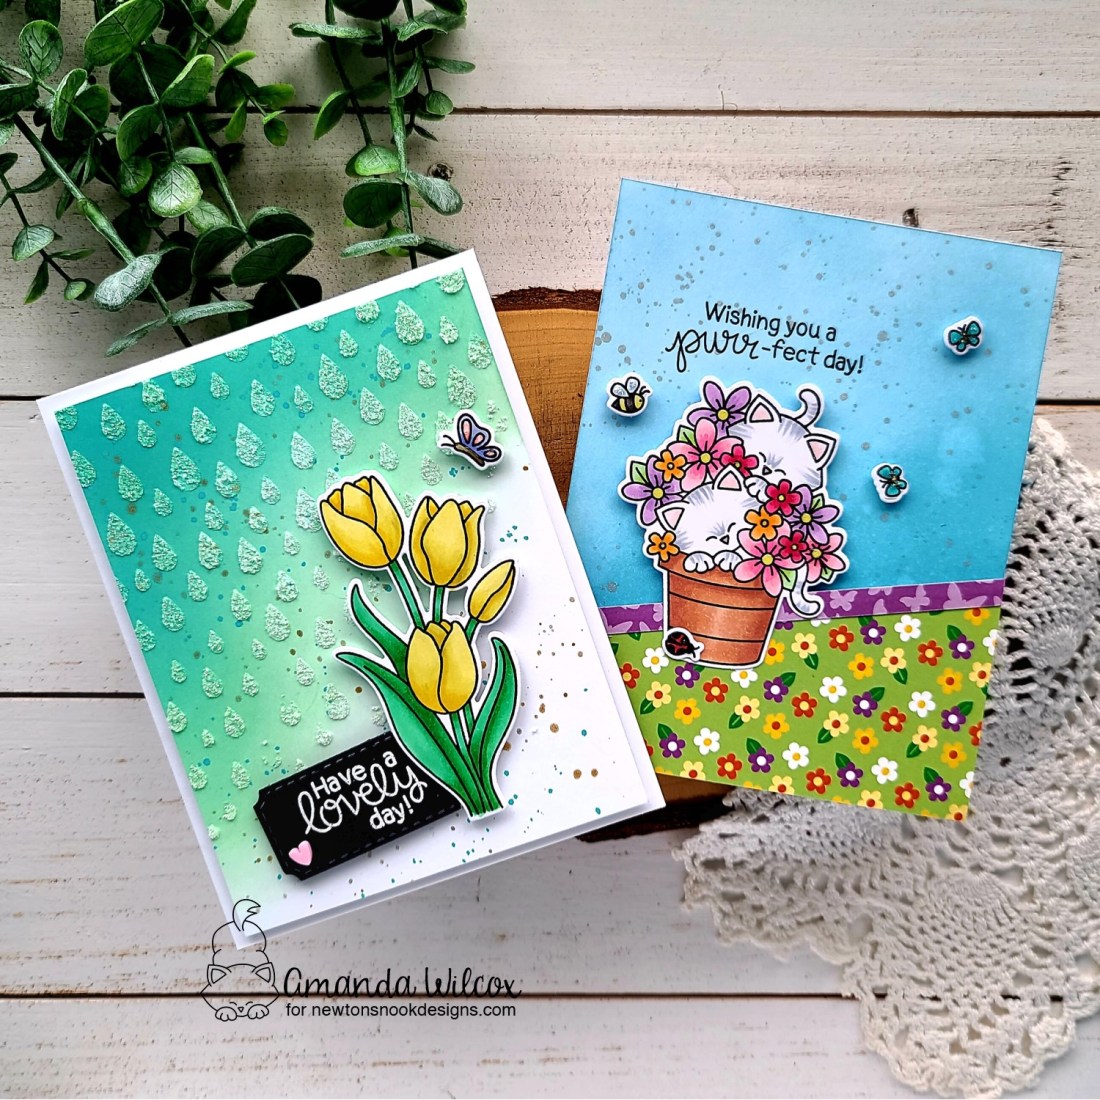
I have one card featuring both of these new sets to share with you. Let’s start with the Newton’s Blooms cuteness, shall we?
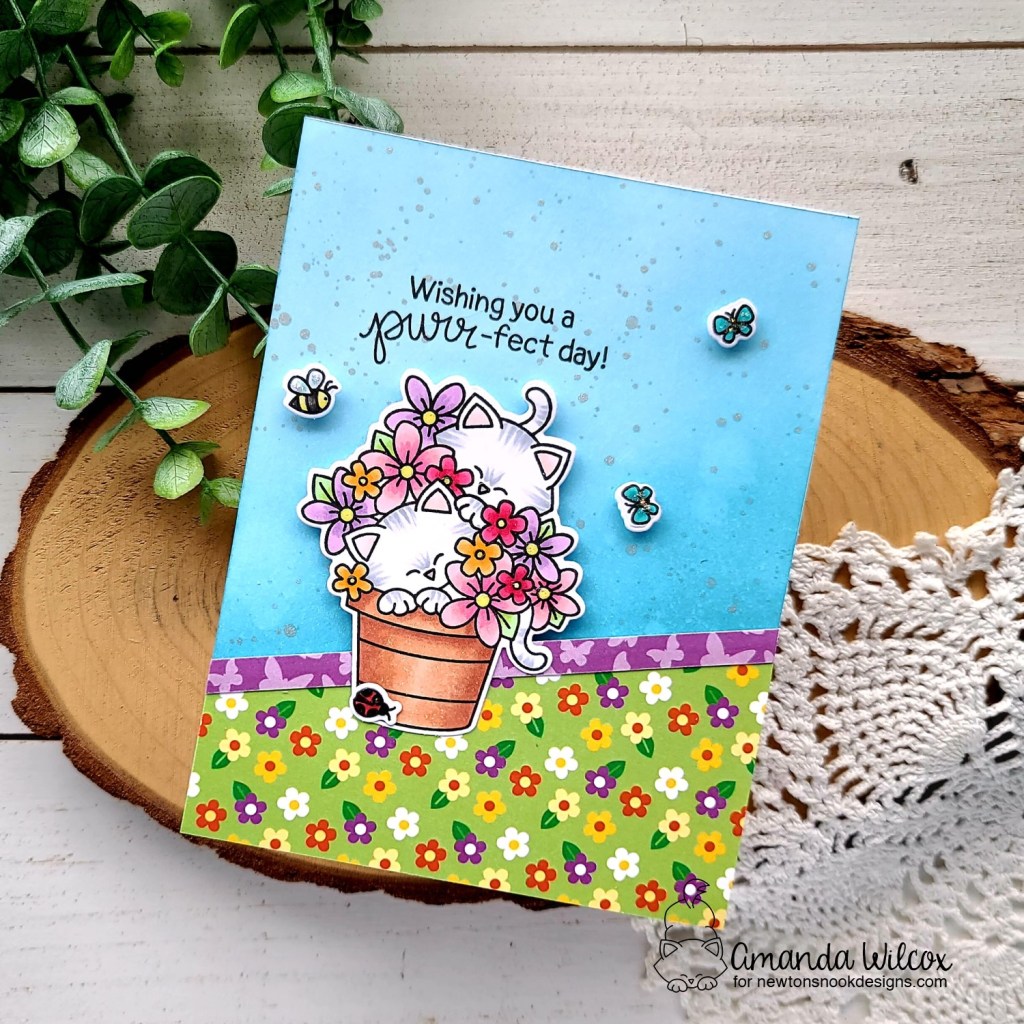
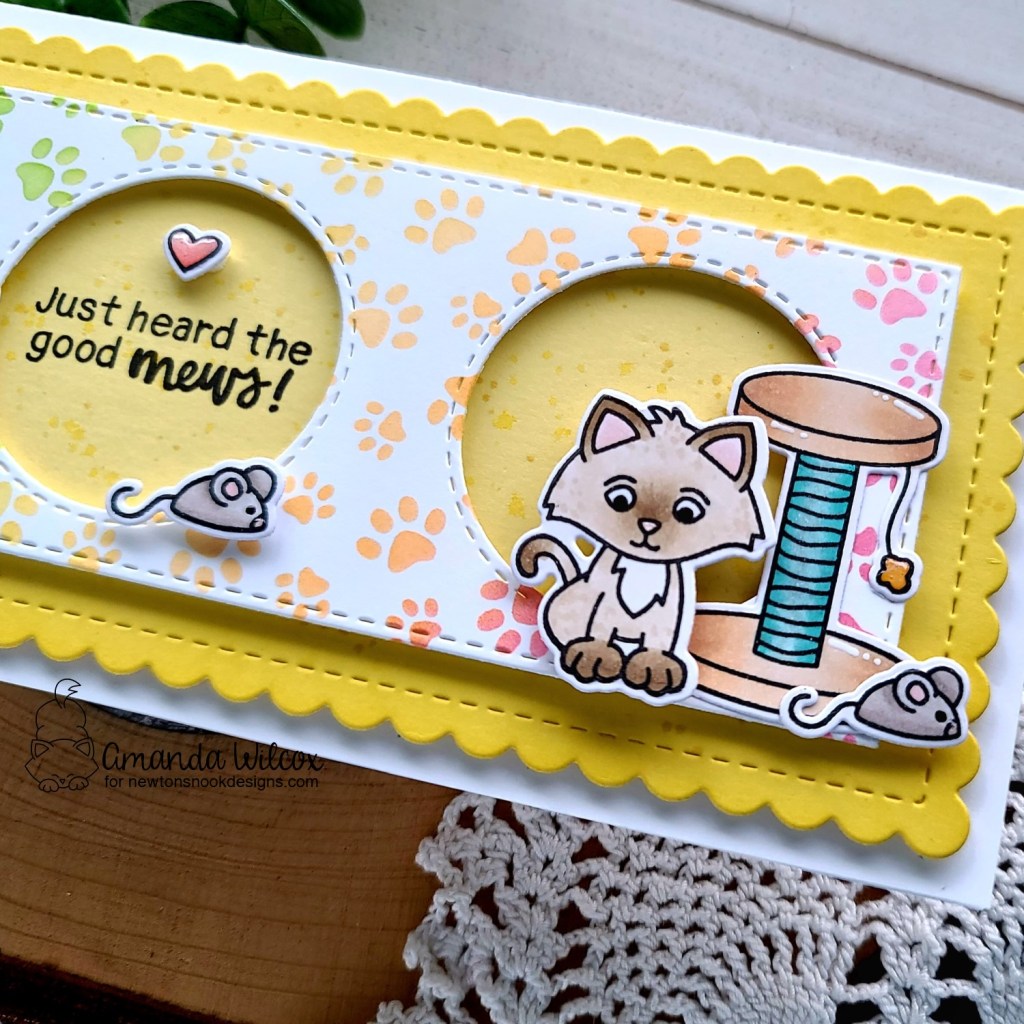
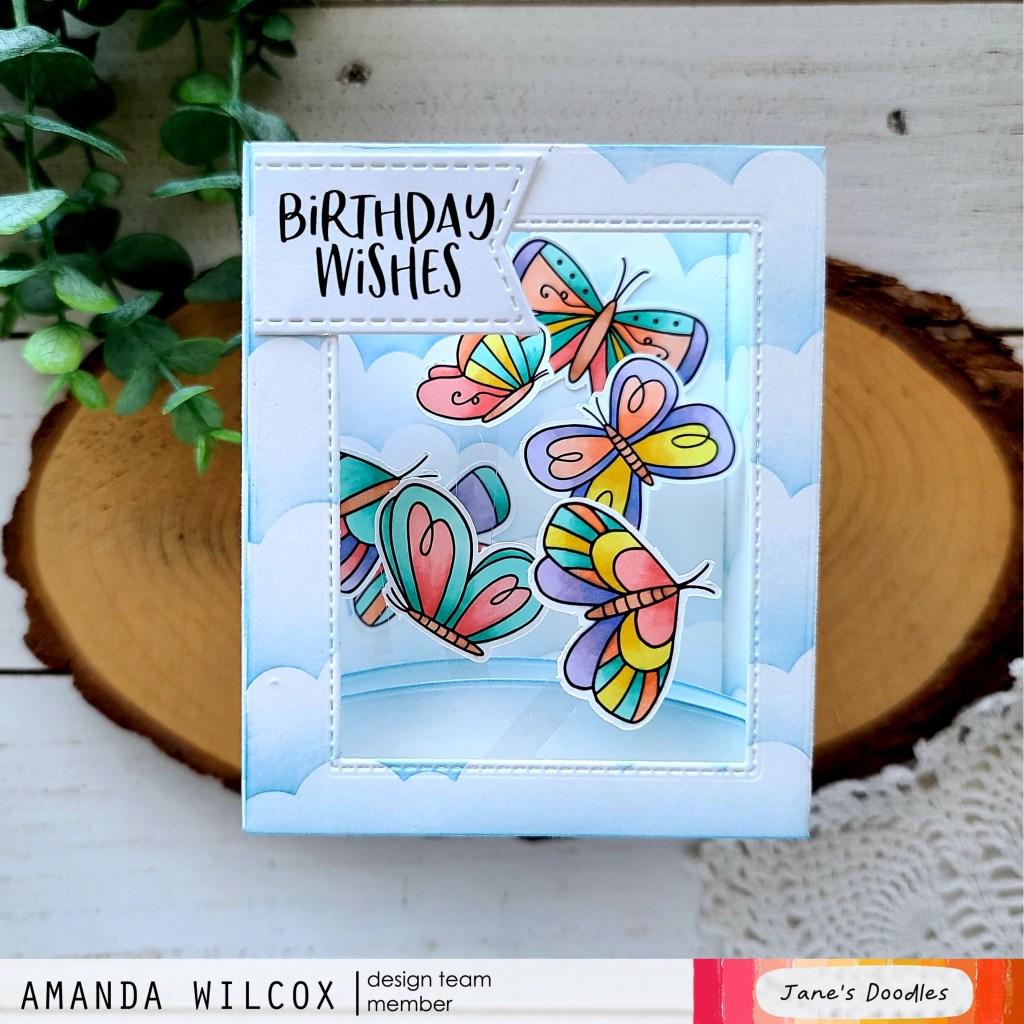
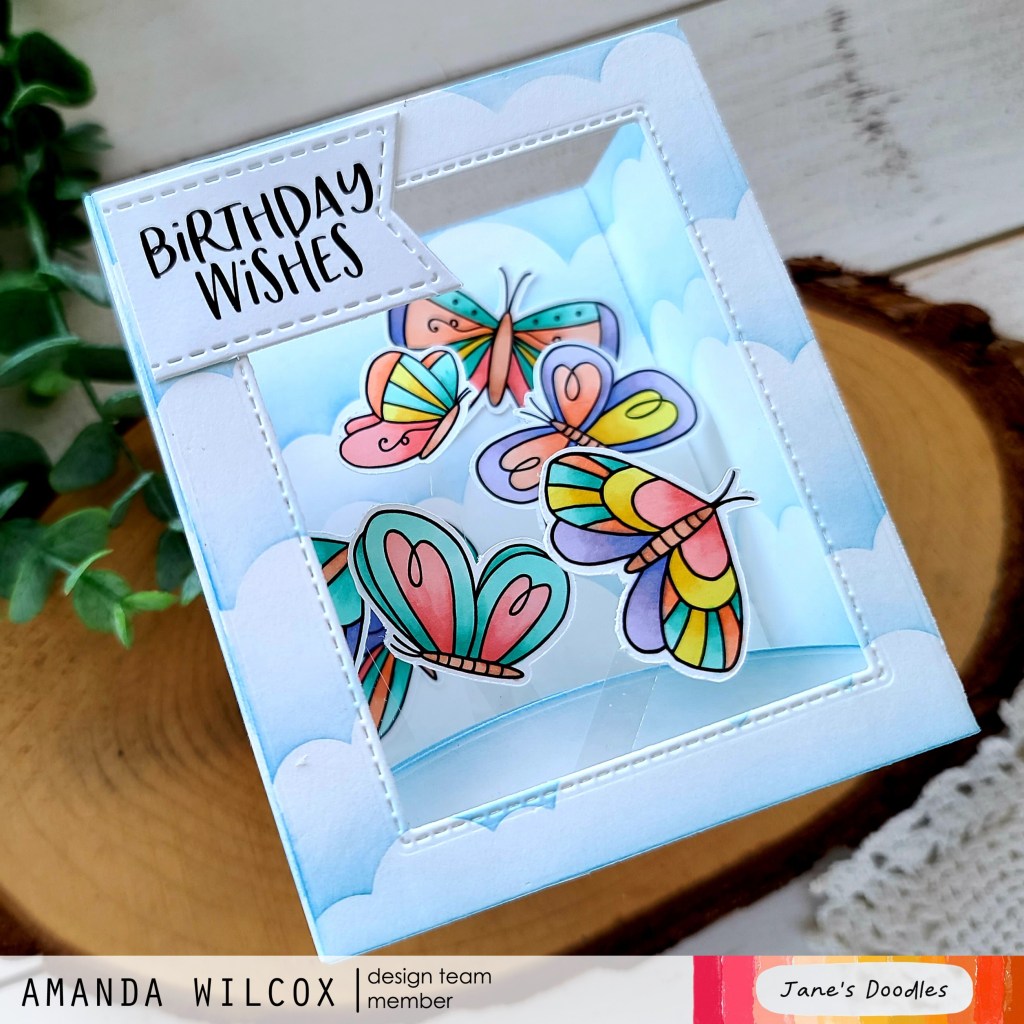
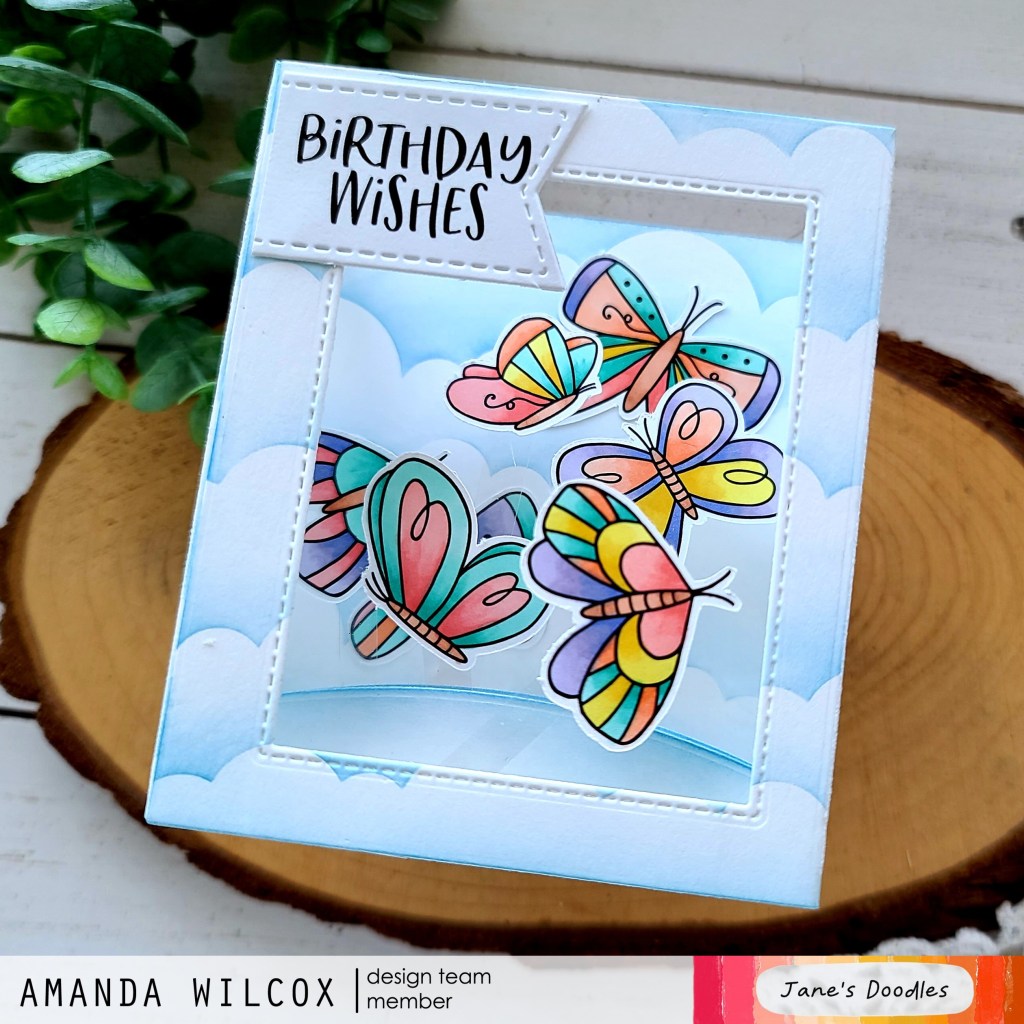
For this card, I stamped the images plus an extra butterfly and colored them with my copic markers. I used the coordinating dies to cut them out and set them aside to get inky on my background.
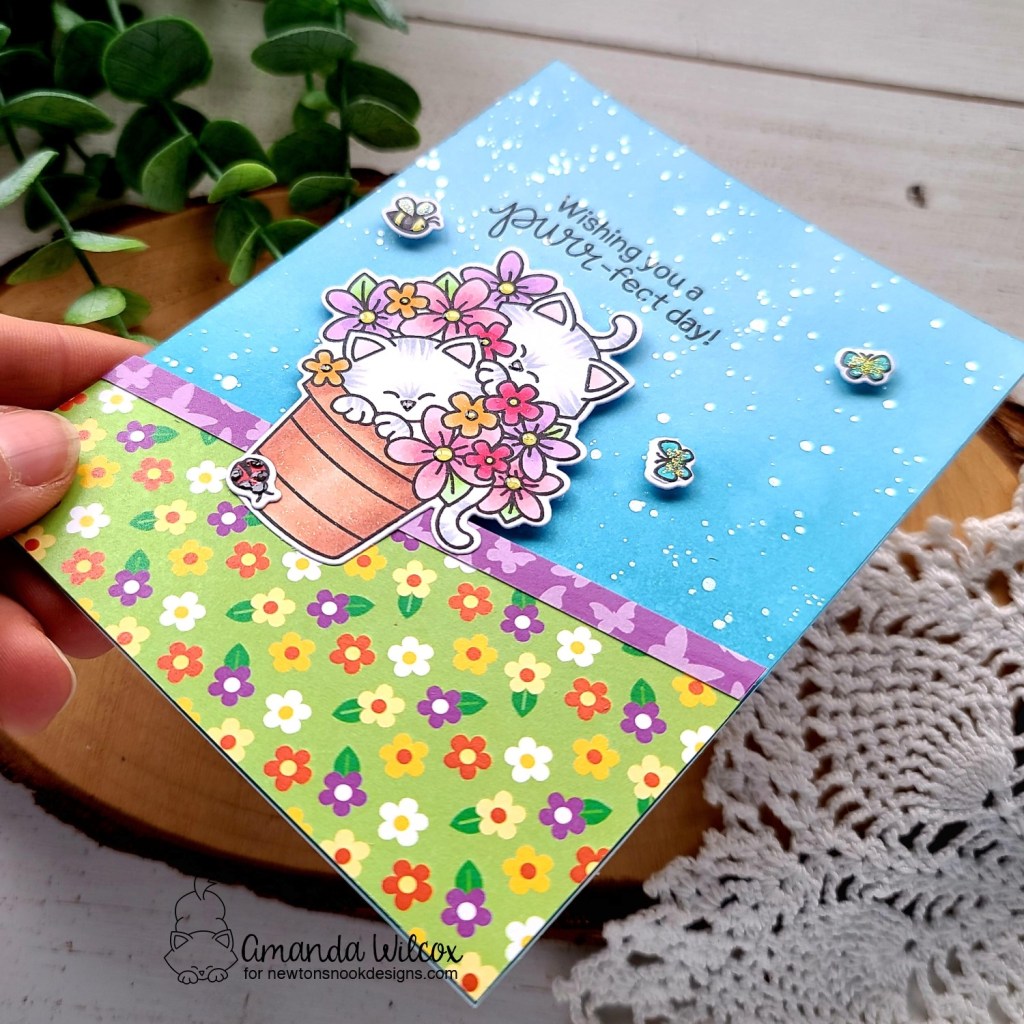
For that panel, I blended tumbled glass and salty ocean distress oxide inks on a white A2 size panel. I splattered it with water and flicked pearl watercolor all over it for some fun shimmer in the light. After it was dry, I added it to a white card base.
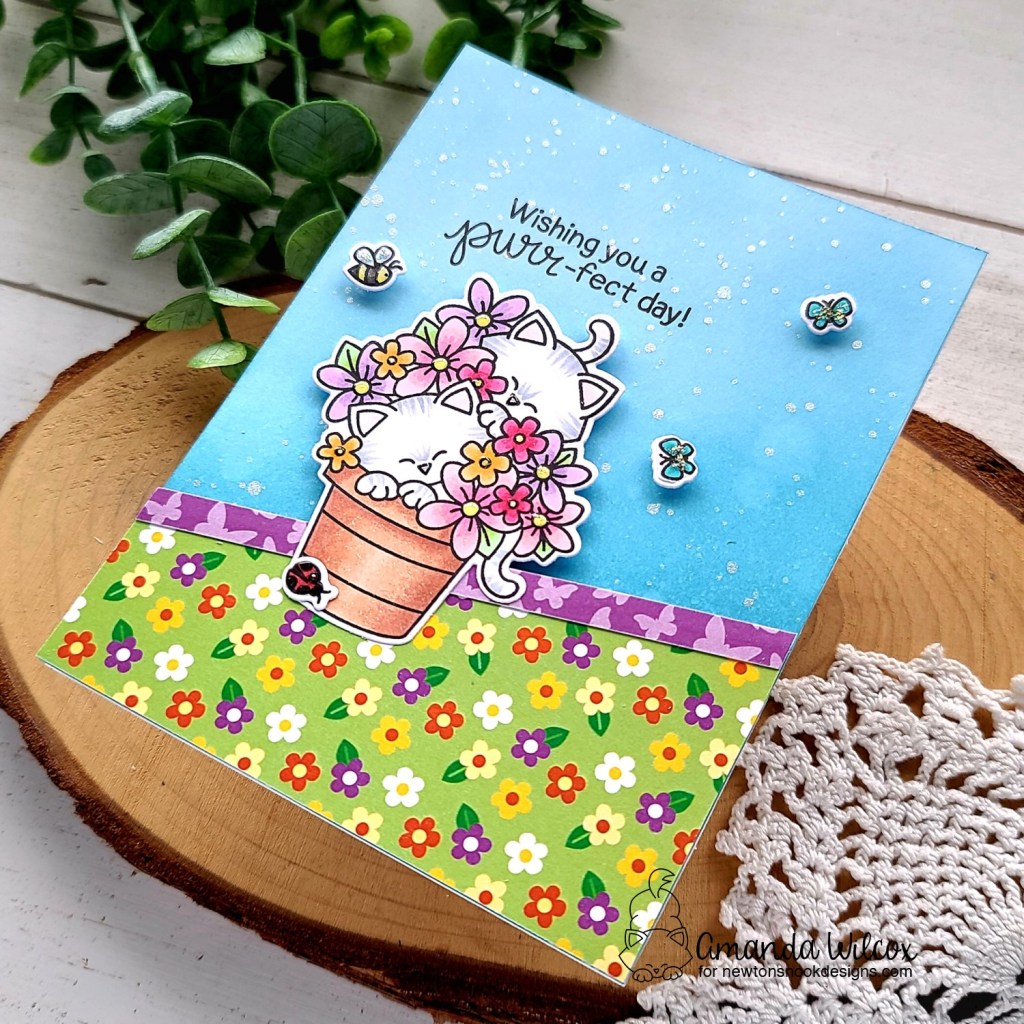
Next, I trimmed a couple pieces of patterned paper from the new Springtime paper pad and added them to the card base with foam tape. Finally, I added my images with a combination of foam squares and liquid glue. I placed the whole card in my MISTI and stamped the sentiment above those cute kitties and switched over to finishing touches.
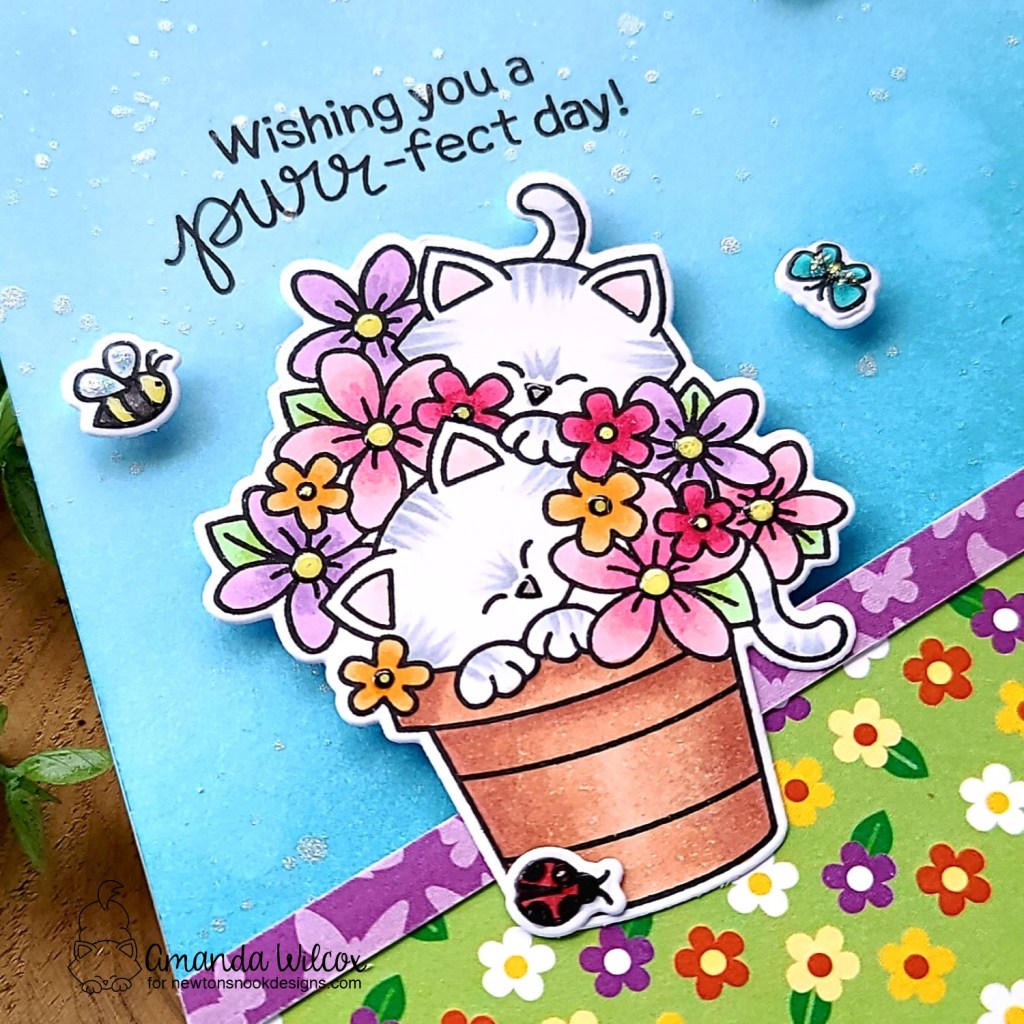
I added glossy accents to all the flower centers, kitty noses and ladybug dots. Then I added unicorn Stickles to the butterfly and bee wings and this adorable card is all finished!
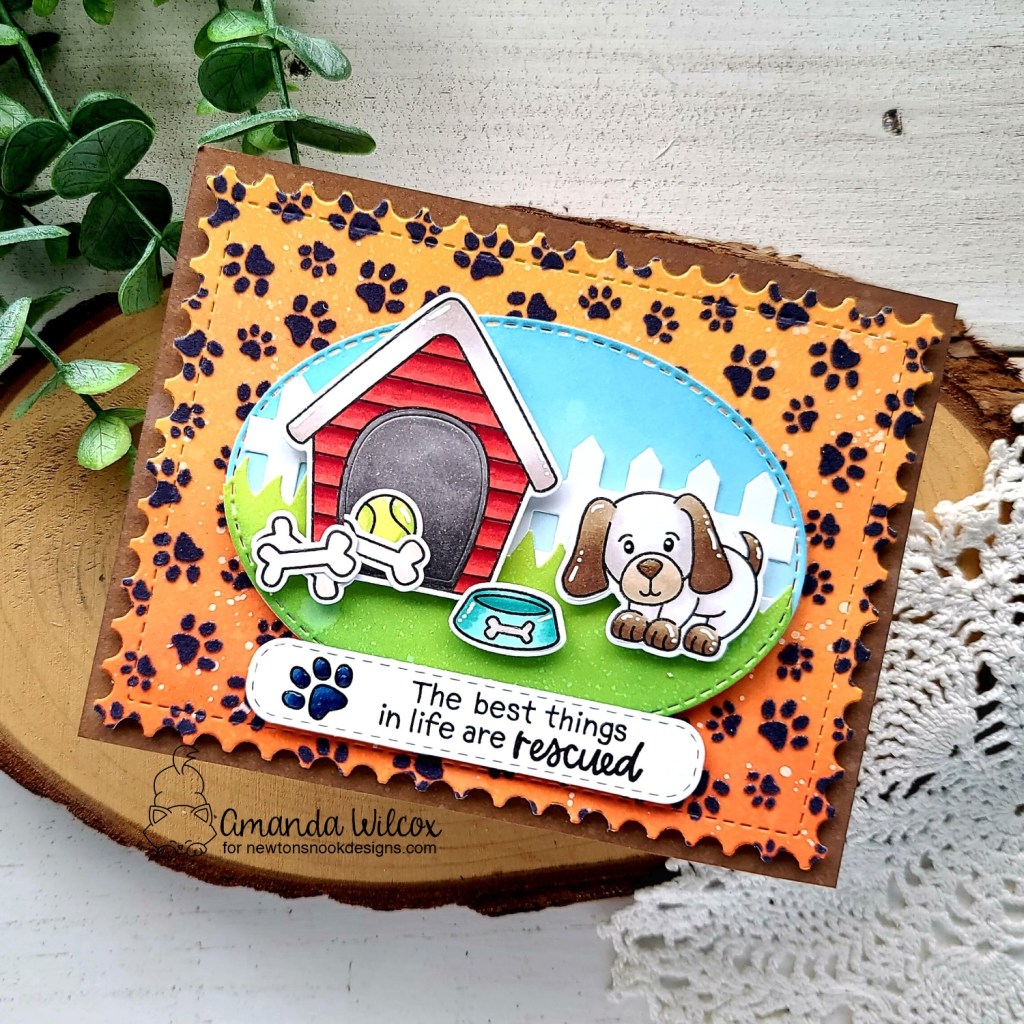
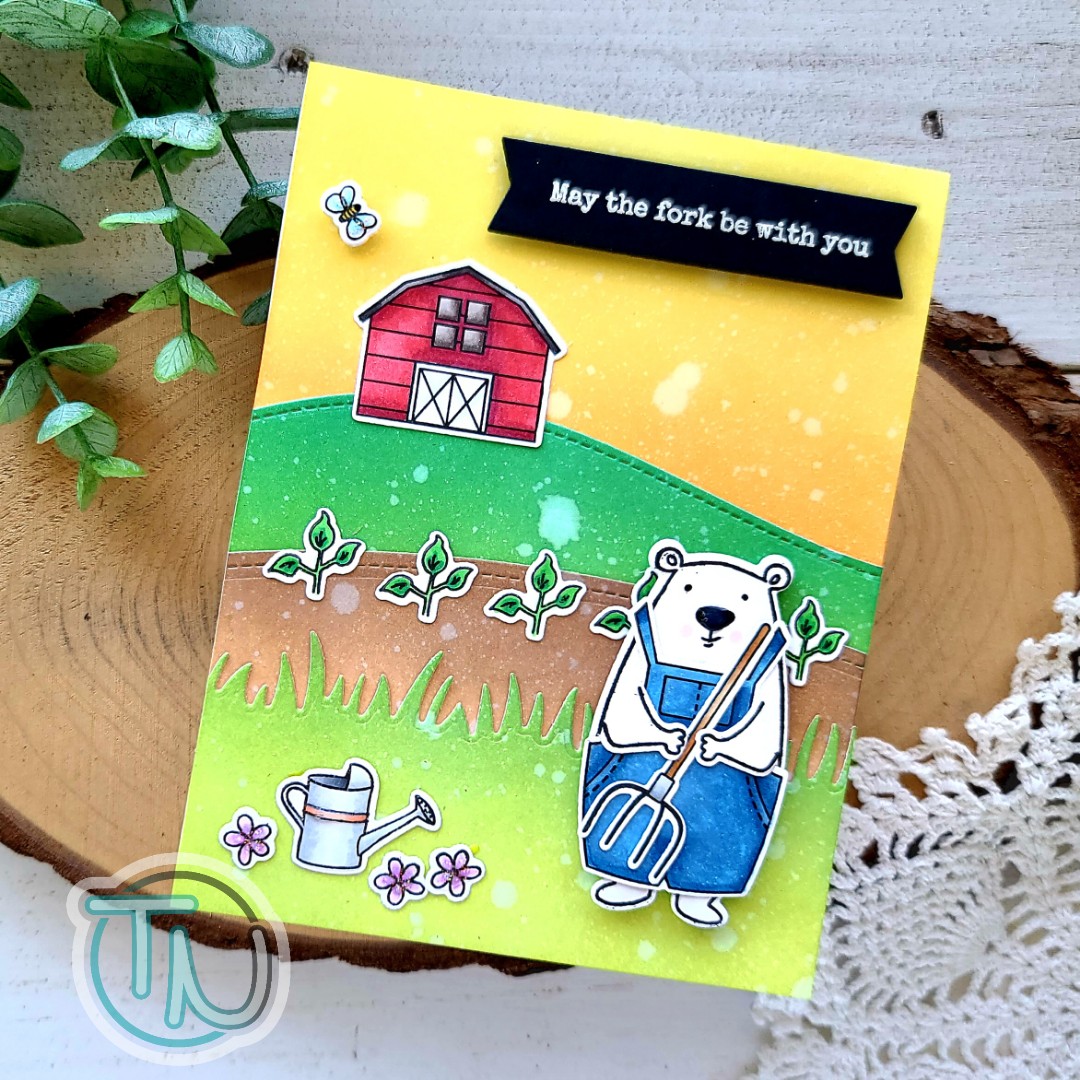
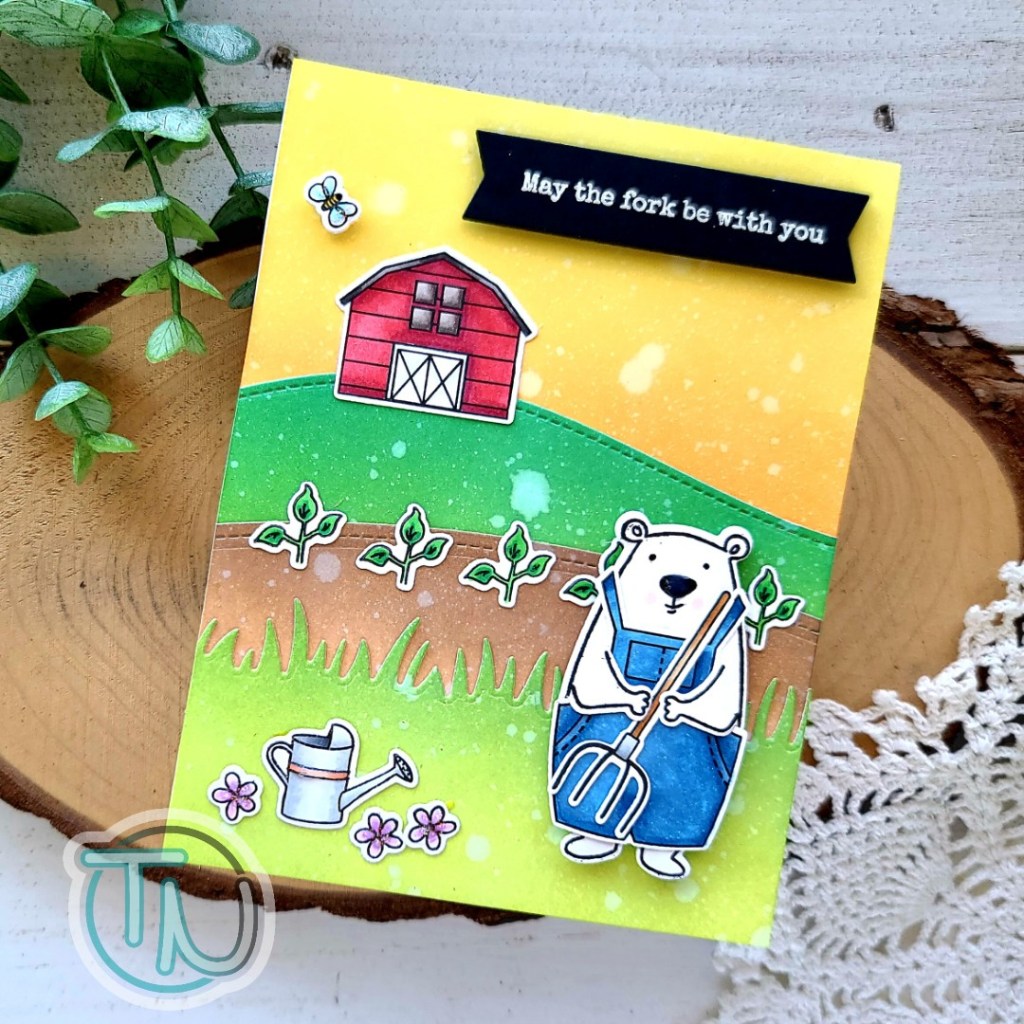
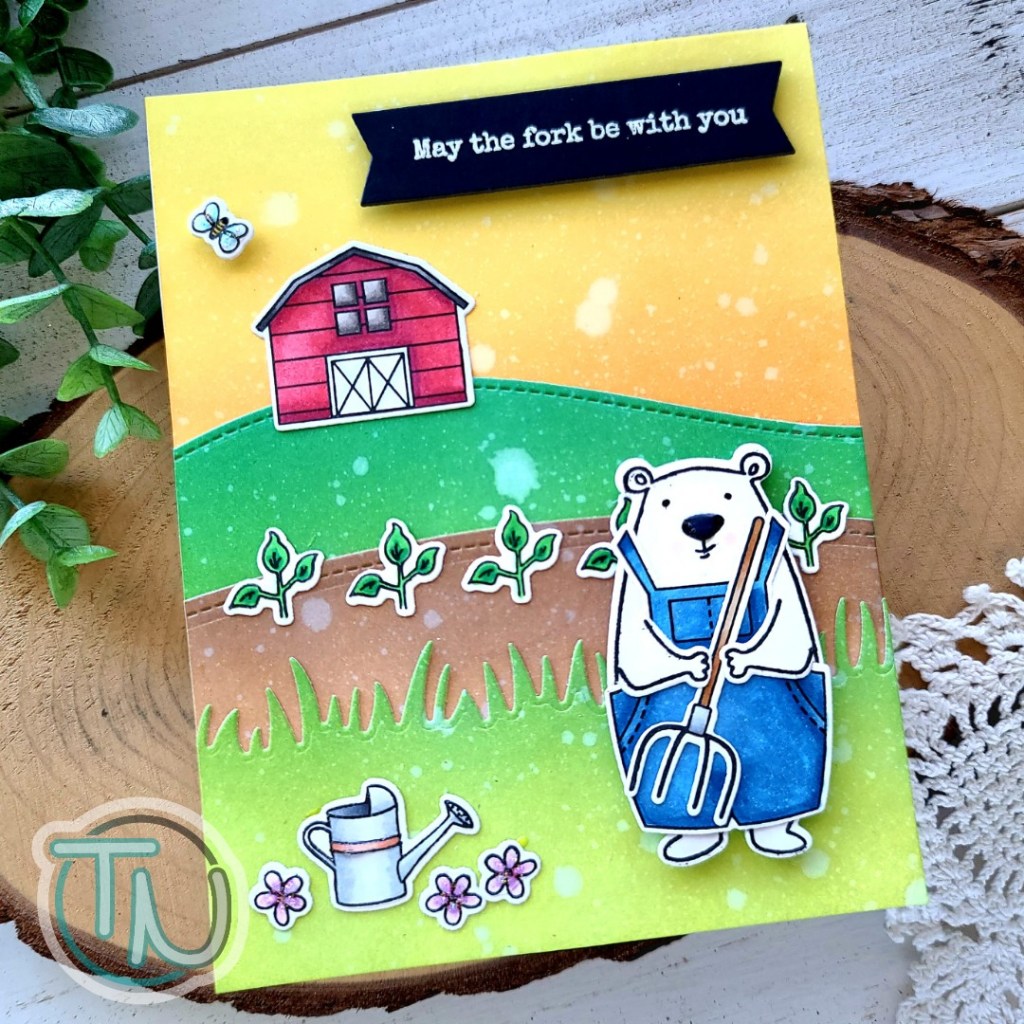
Sticking to my usual MO of getting inky and messy, I followed the same trend with my background for the beautiful new Tulips stamp set too.
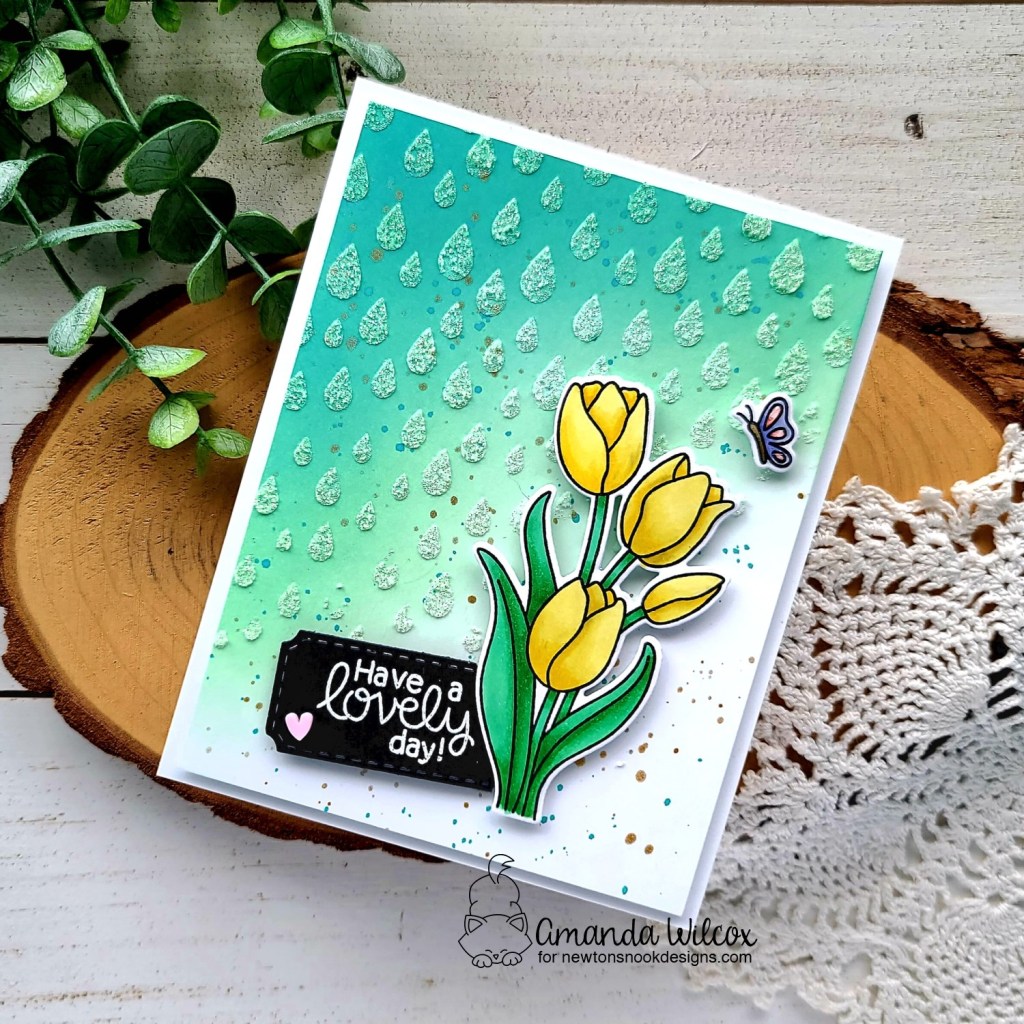
This time I inked peacock feathers and cracked pistachio at an angle fading out to nothing. Then I flicked watered down peacock feathers ink and gold watercolor on the whole panel and let it dry. After that, I taped down the Raindrops stencil and spread white glitz glitter gel through it fading that to nothing the same way I did the ink.

I stamped and colored both images from the set with my copic markers and cut them out with the coordinating dies. Next, I die cut the ticket shape from the Framework die set and heat embossed a sentiment in white. I added foam squares to everything and adhered it in place.
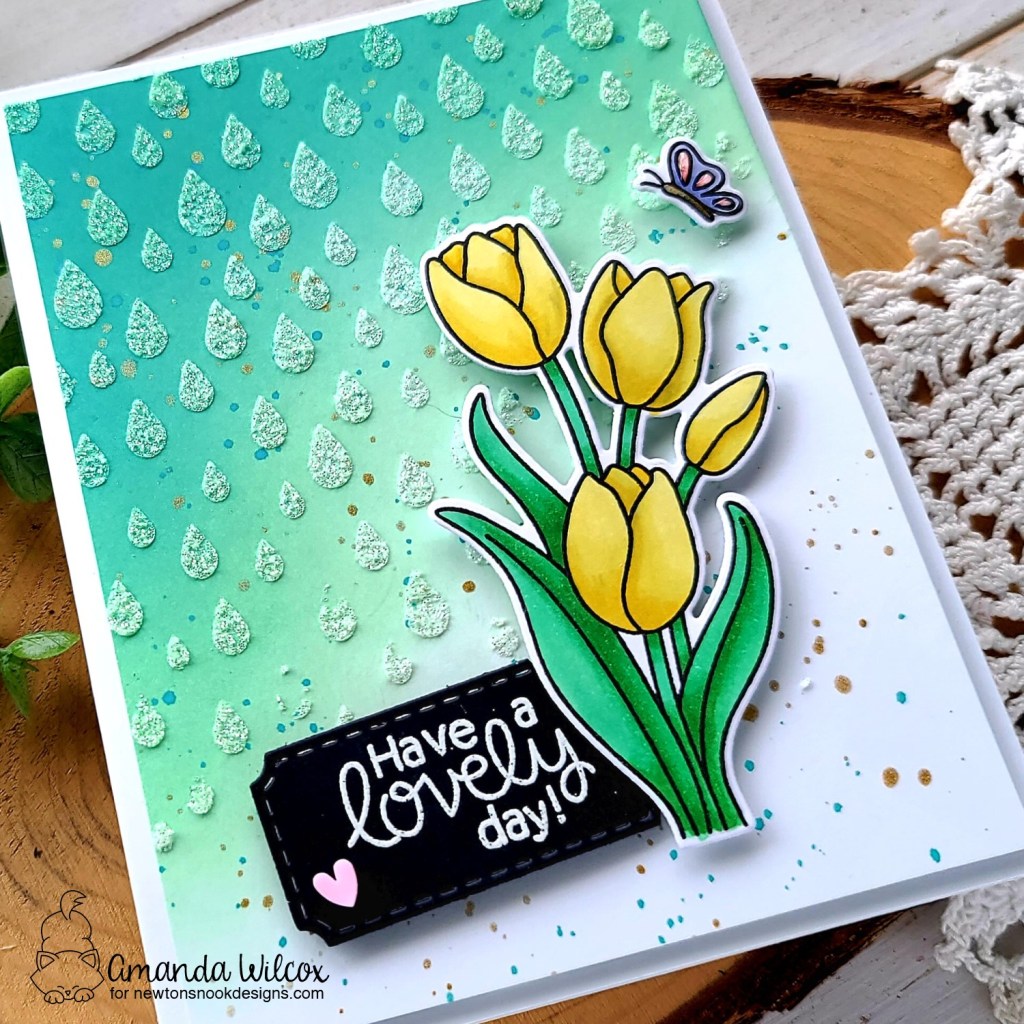
For finishing touches on this card, I added a pink clay heart by the sentiment and a little glossy accents on the butterfly wings.
Would you like to win the “Tulips” or the “Newton’s Blooms” Stamp Set? We will choose ONE lucky winner for each stamp set!
Here’s how to win: Comment on the NND blog and Design Team blogs (see list below)! The winner will be chosen at random from the collective reveal posts. Make sure to check out each of their blogs and comment for your chance to win. You will not know which blog has been chosen so the more you comment on the better your chances are of winning! You have until Wednesday March 16th at 9pm ET to comment — winners will be announced on the blog post on Thursday March 17th.
Check out all the awesome Design Team Blogs below to enter:
Newton’s Nook Designs
Donna Idlet
Ellen Haxelmans
Tina Herbeck
Larissa Heskett
Samantha Mann
Zsofia Molnar
Farhana Sarker
Tatiana Trafimovich
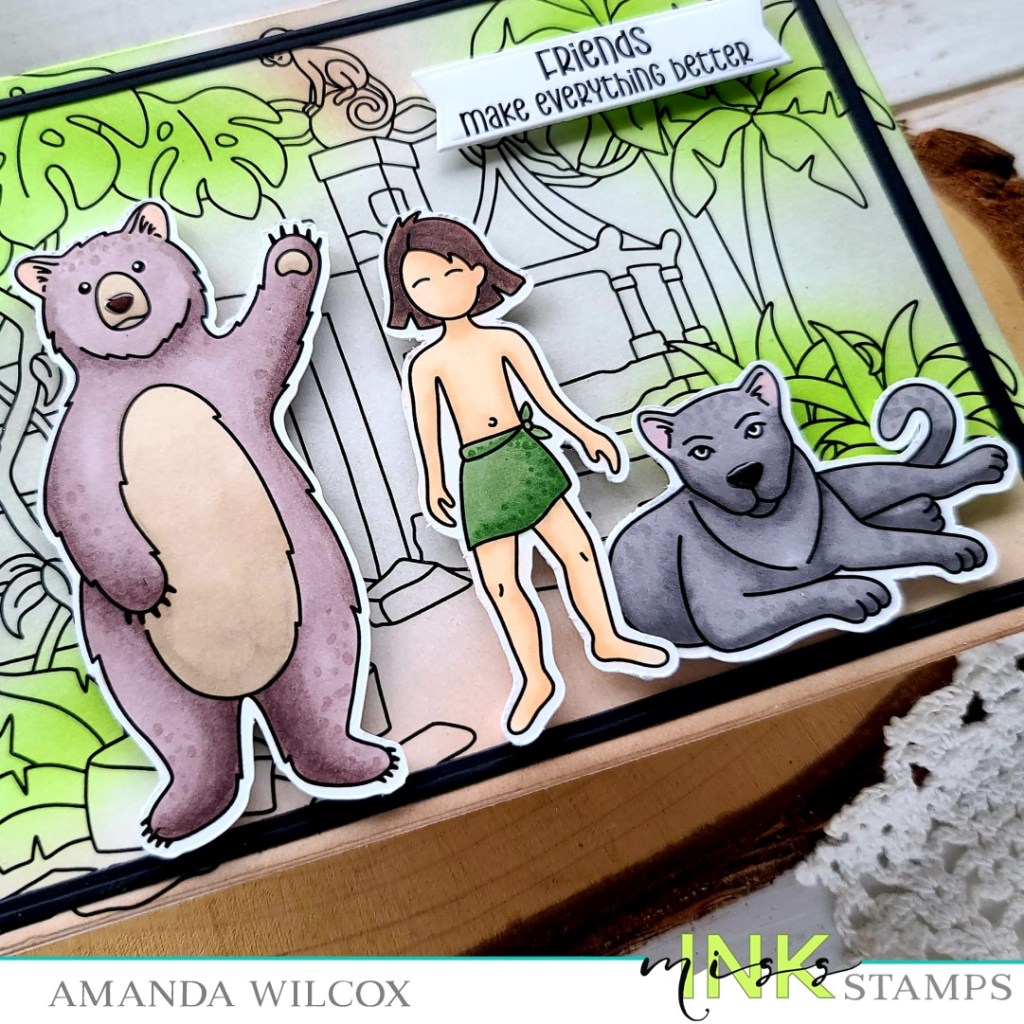
Amanda Wilcox