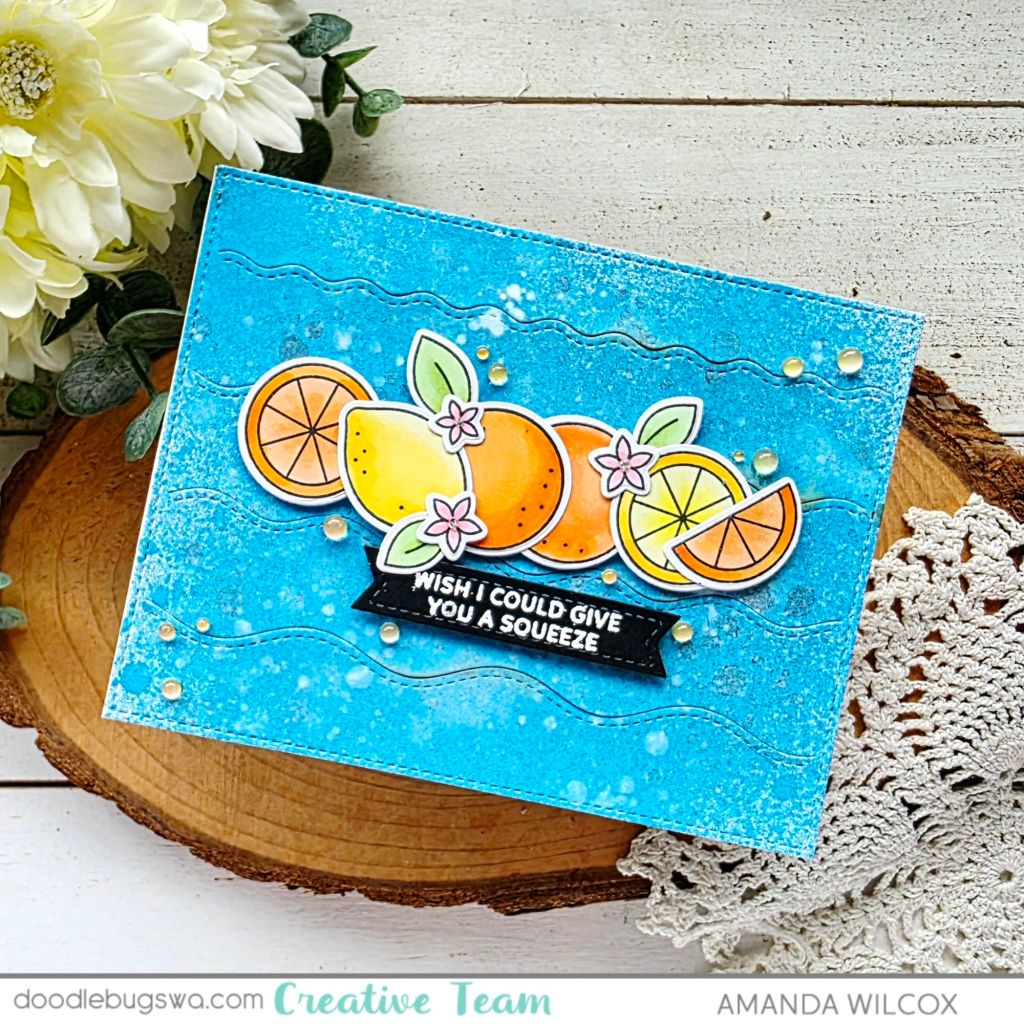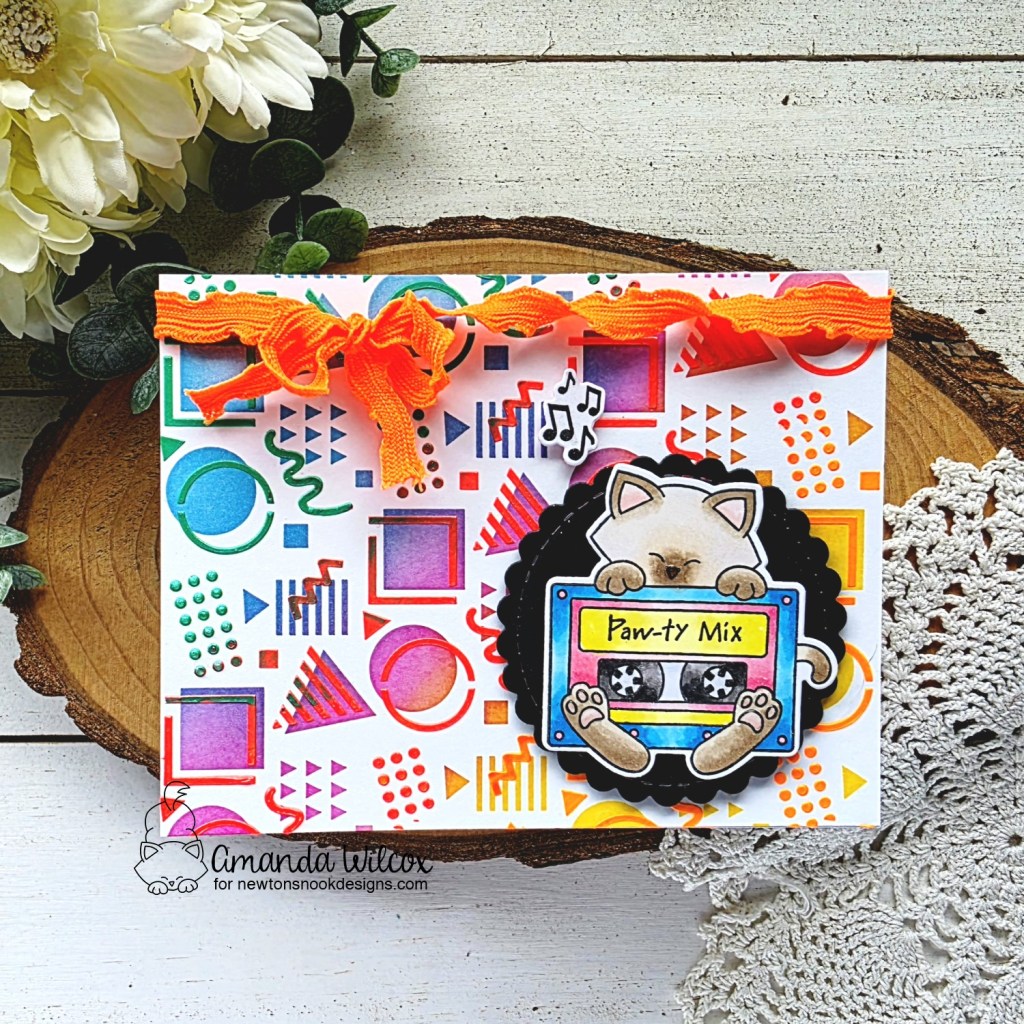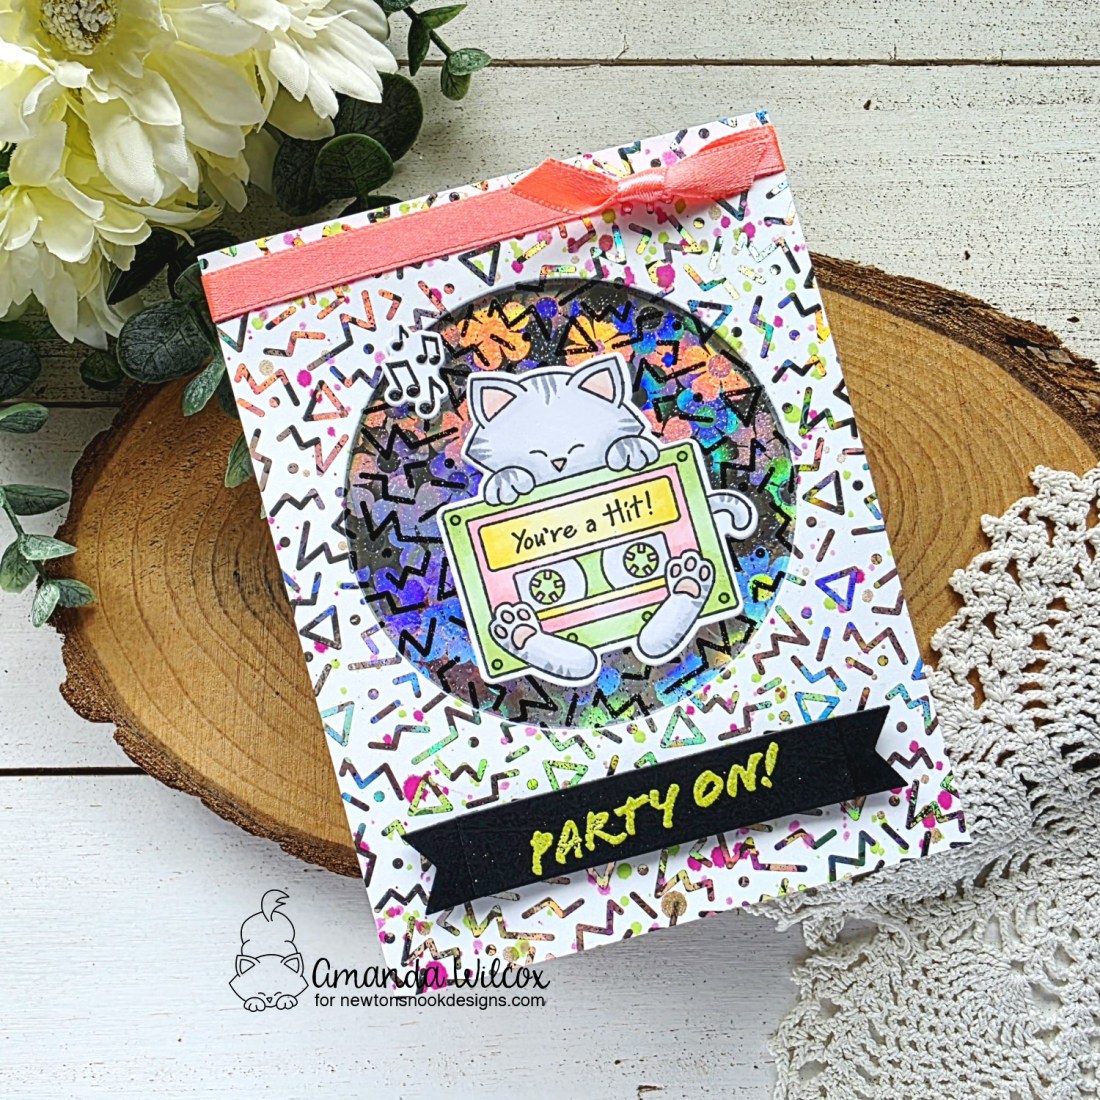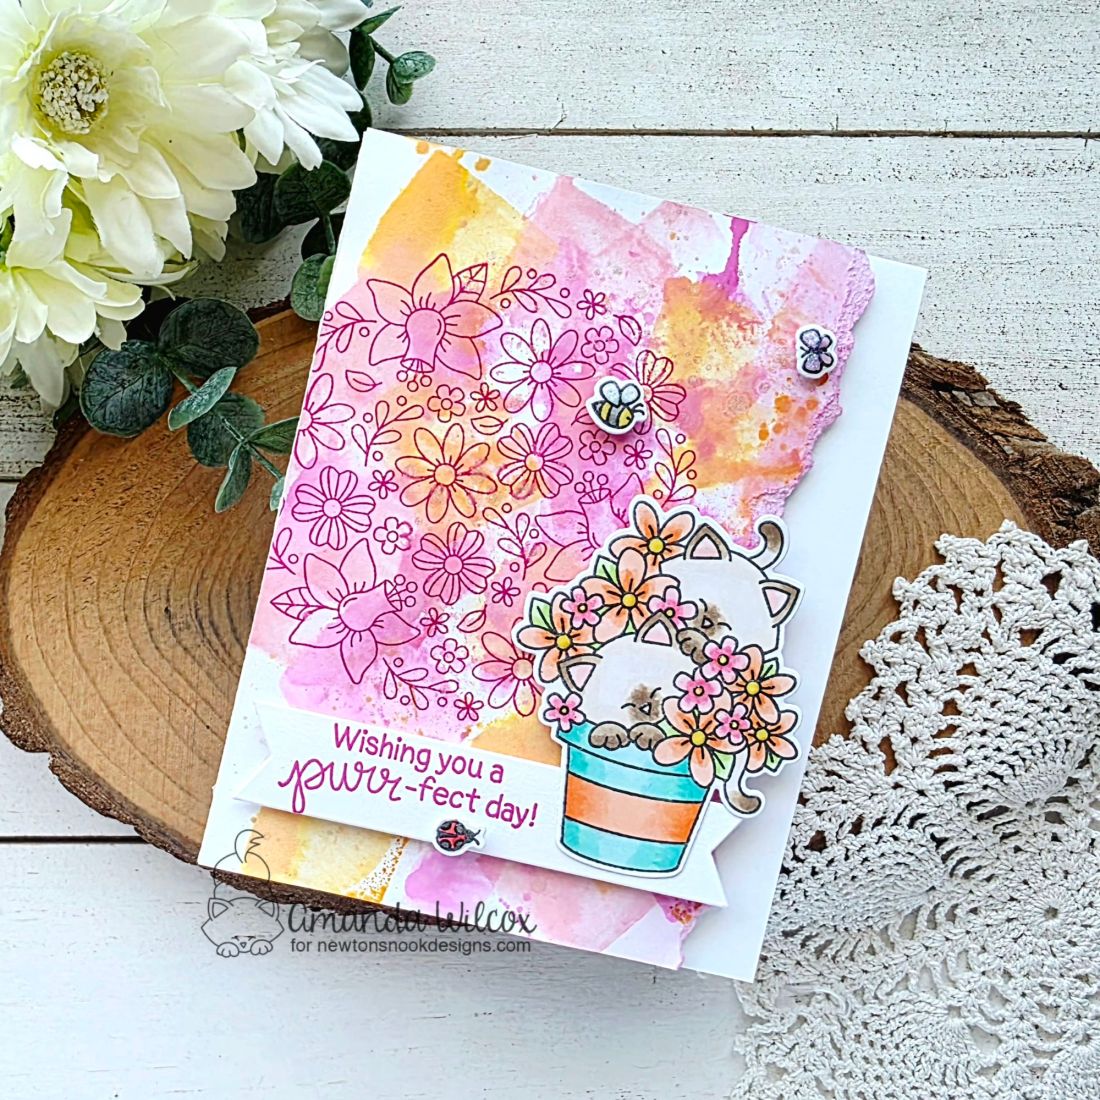
Hi friends. It’s been a while since I’ve been on here. Today I’m on the Newton’s Nook blog sharing this fun ink smooshed card featuring some sweet floral goodies from Newton’s Nook.
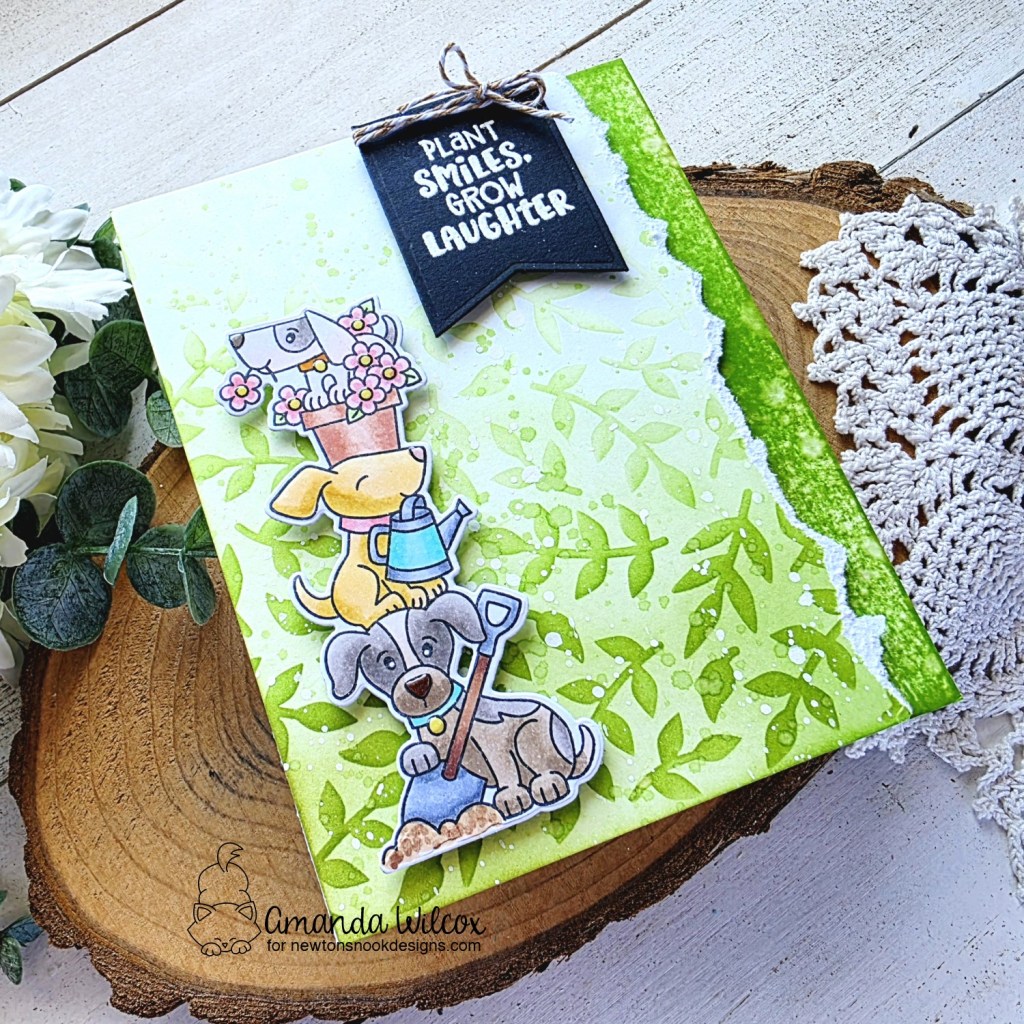
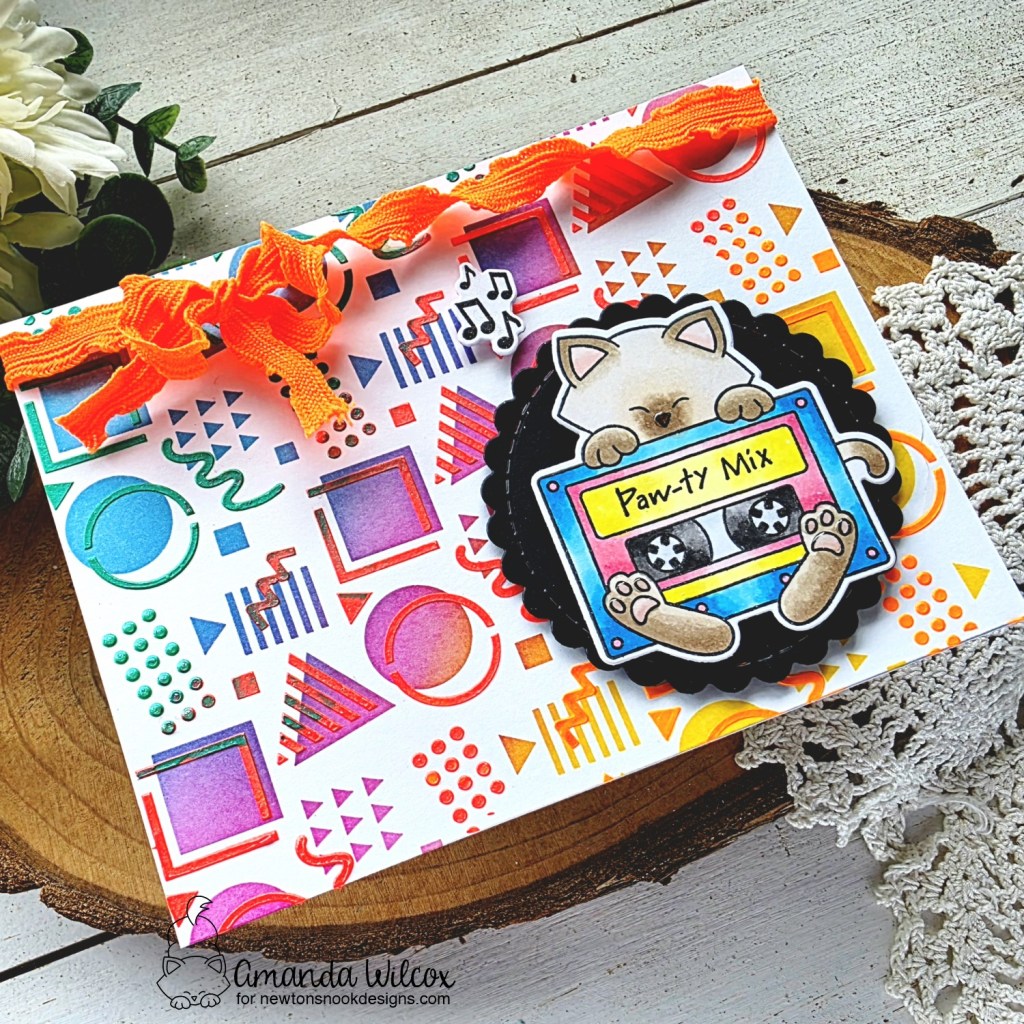
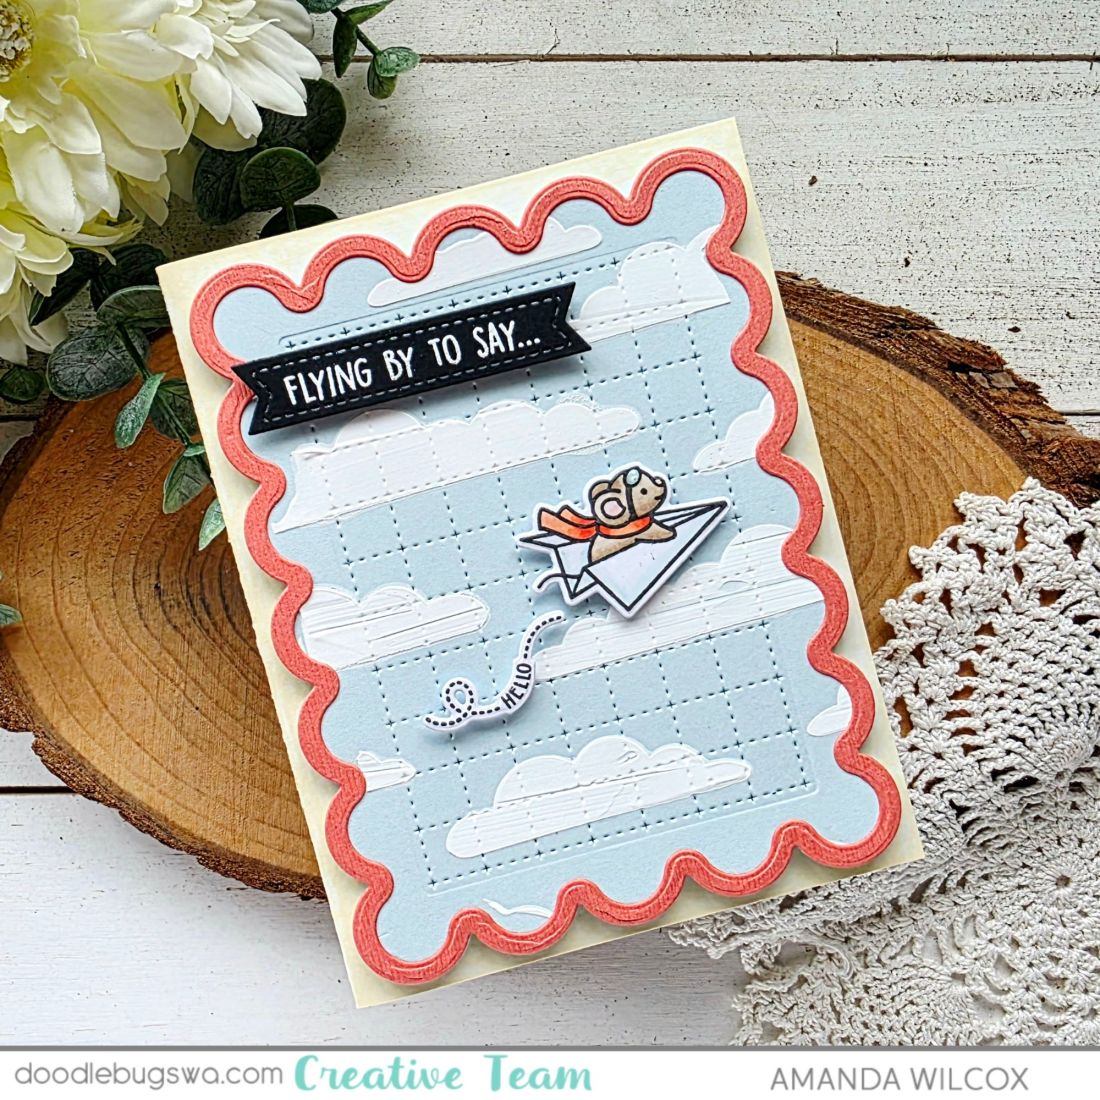
To start, I used the ink smooshing technique to create my background. You accomplish this by taking an acrylic block and inking it up with any ink pad you choose. Spritz that with water and smoosh it all over your paper. The less precise you are the better! Repeat until you have the color density you like. Use a heat tool between smooshes to help the ink layer instead of mixing together. It’s really fun. I highly recommend trying this if you haven’t before.
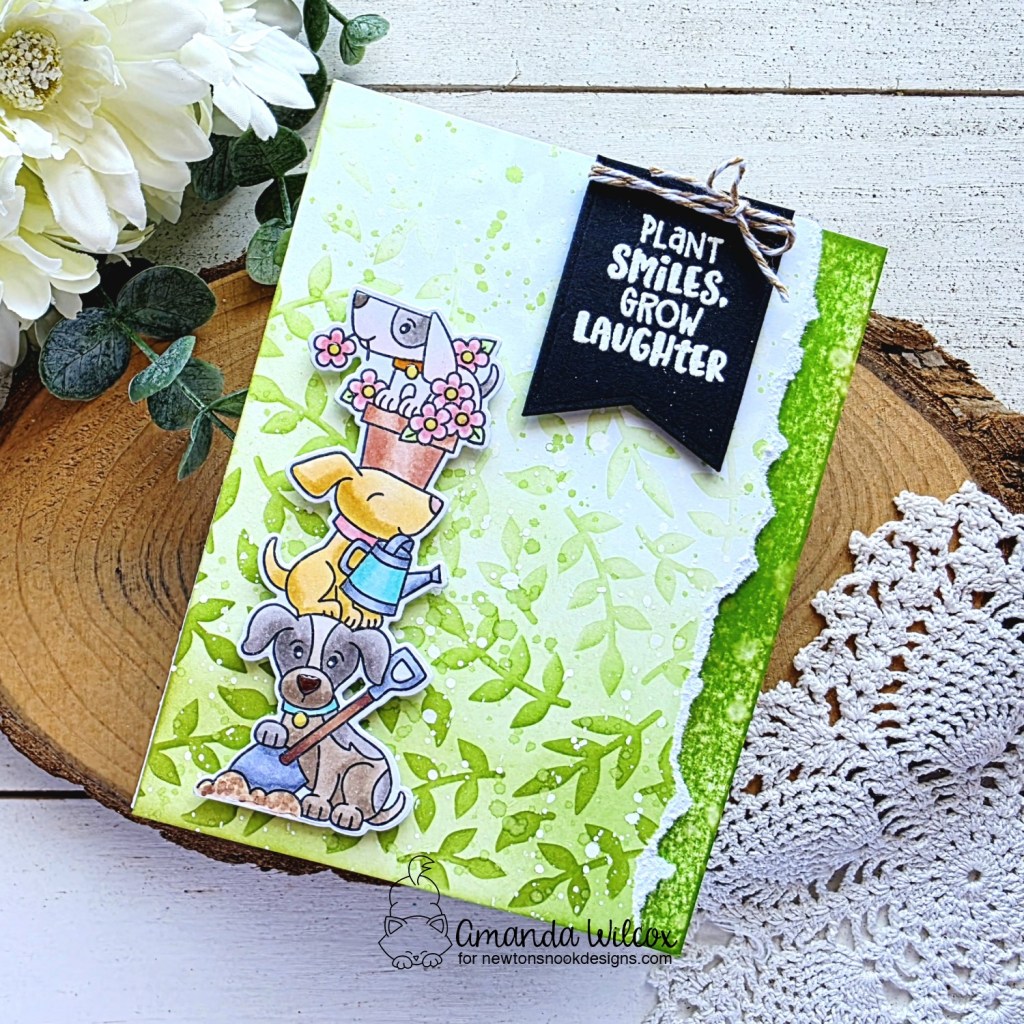
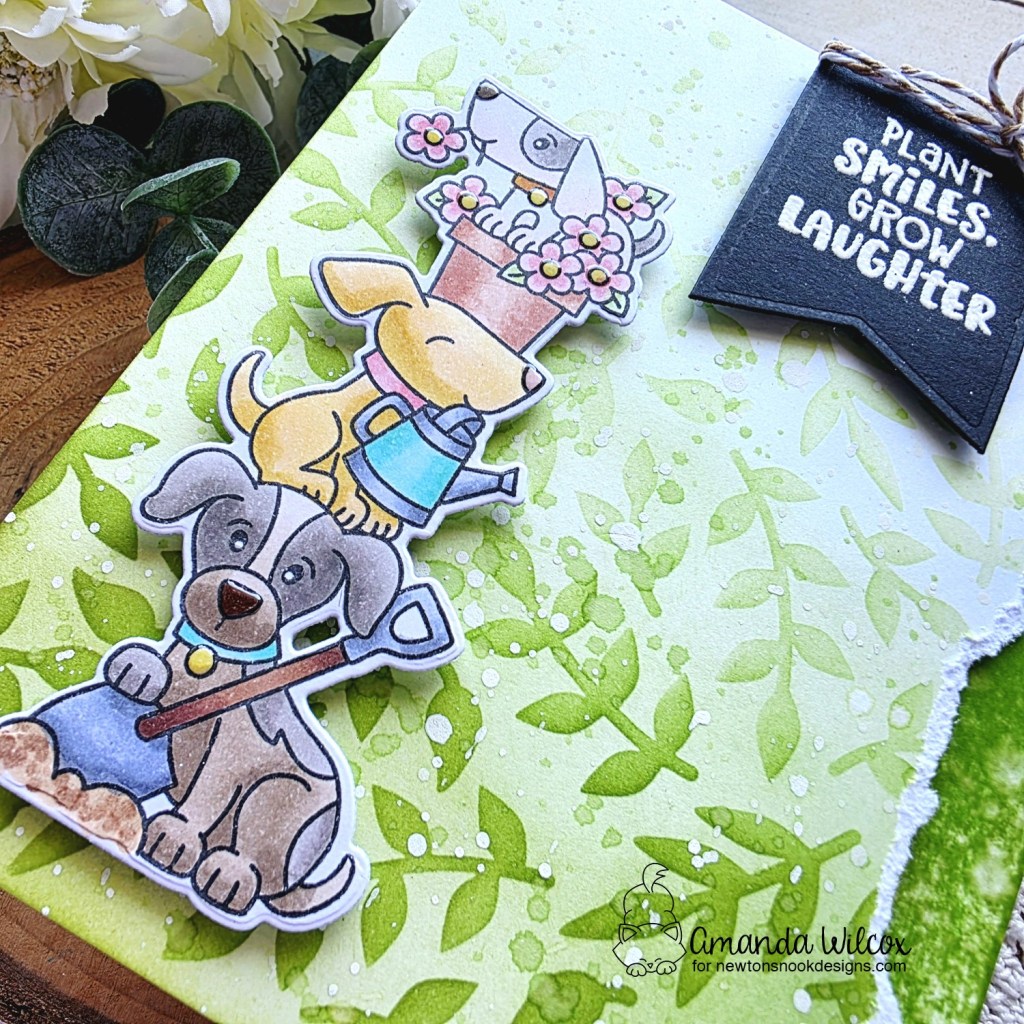
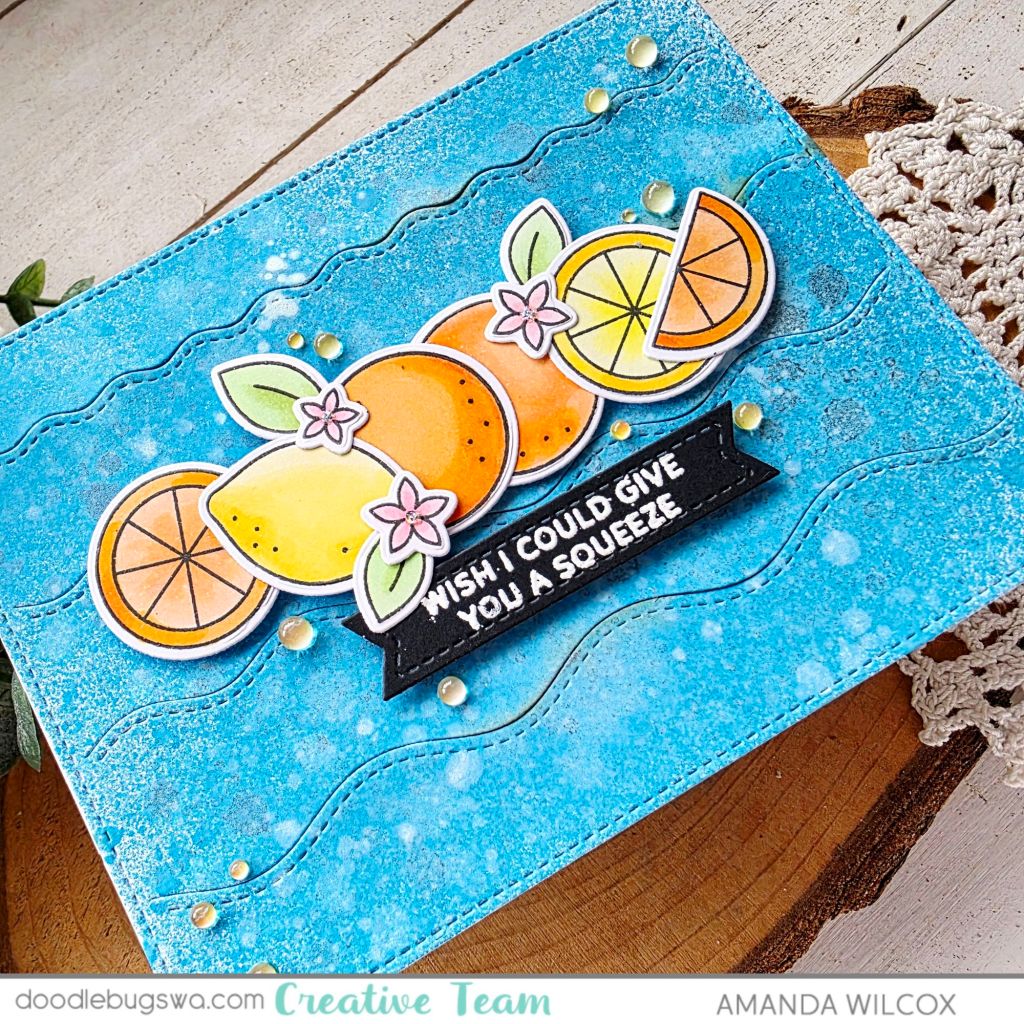
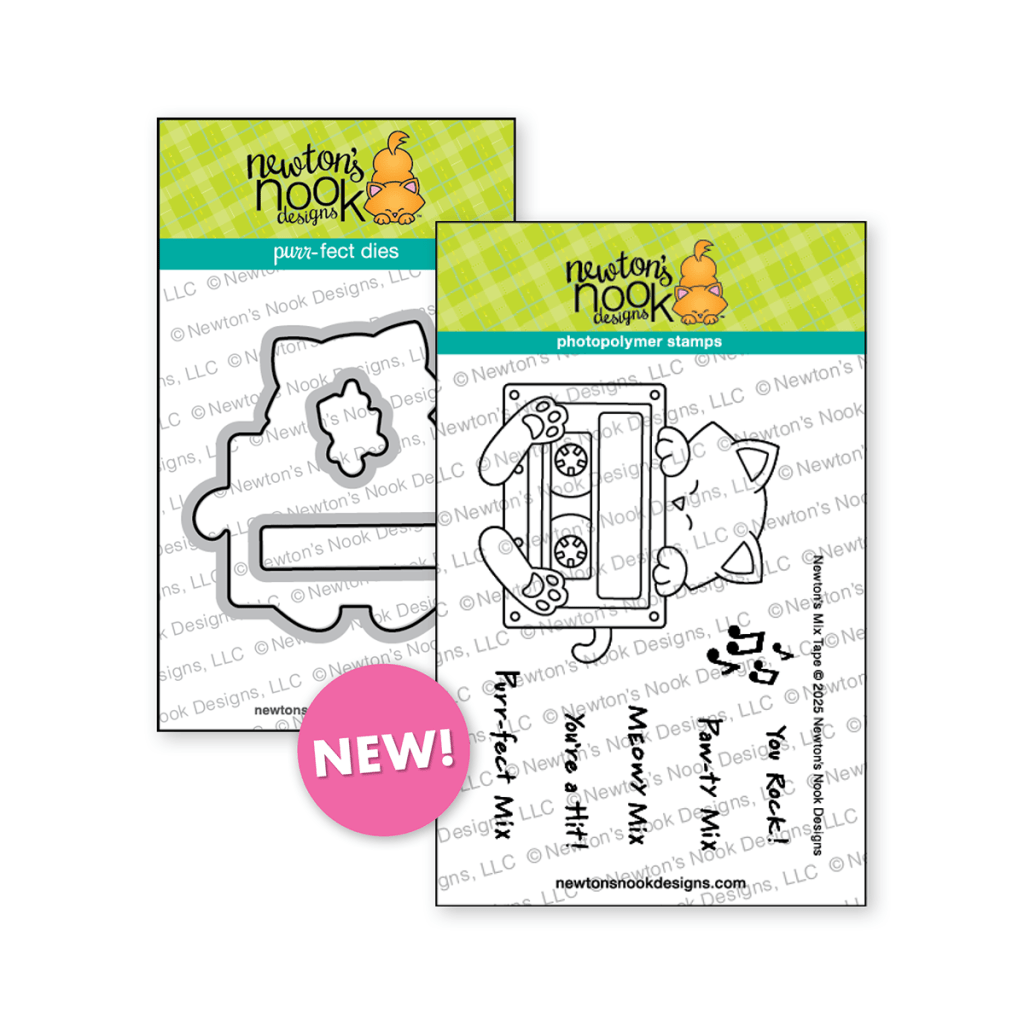
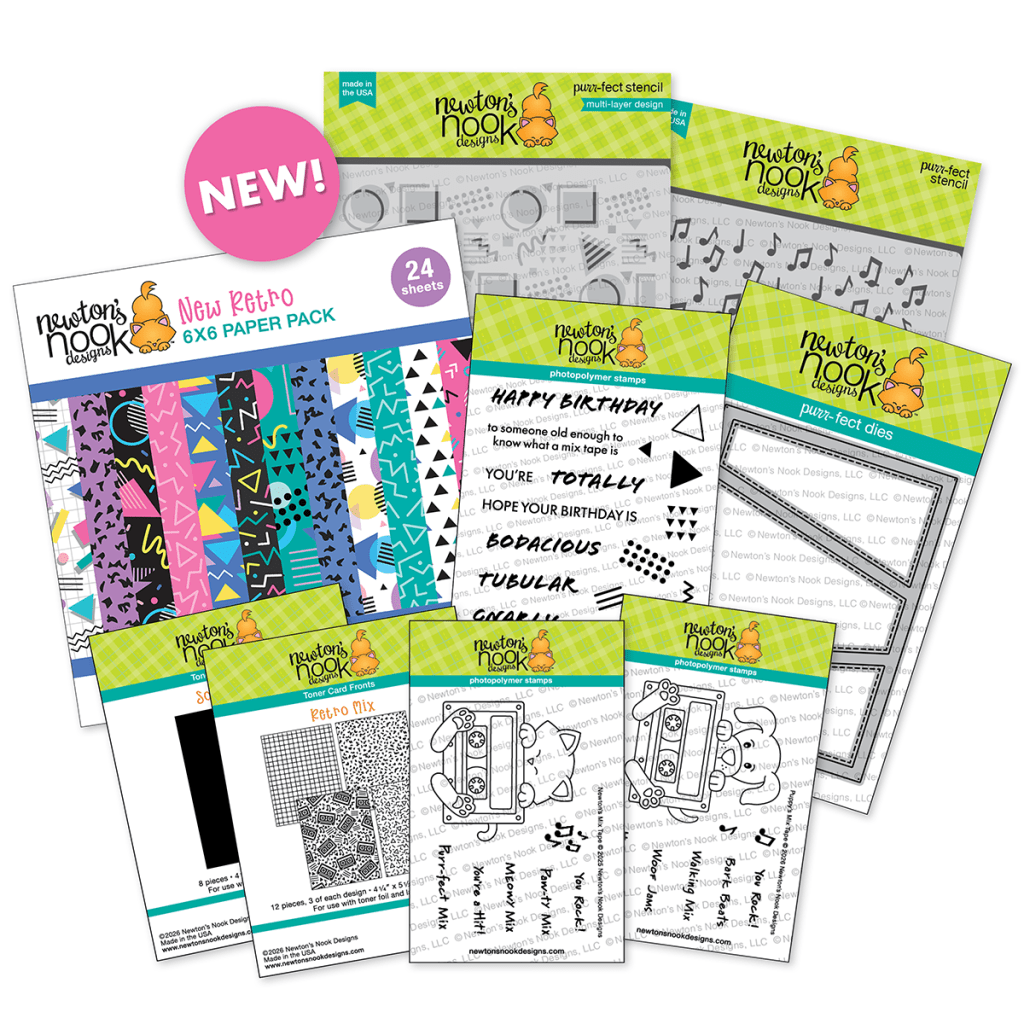
Next, I stamped images from Newton’s Blooms and colored them with my copic markers. I used the coordinating dies to cut them out and set it all aside. From the Frames & Flags die set I cut a banner to stamp my sentiment on the left side. This leaves room for the image to overlap the banner when the card is assembled.
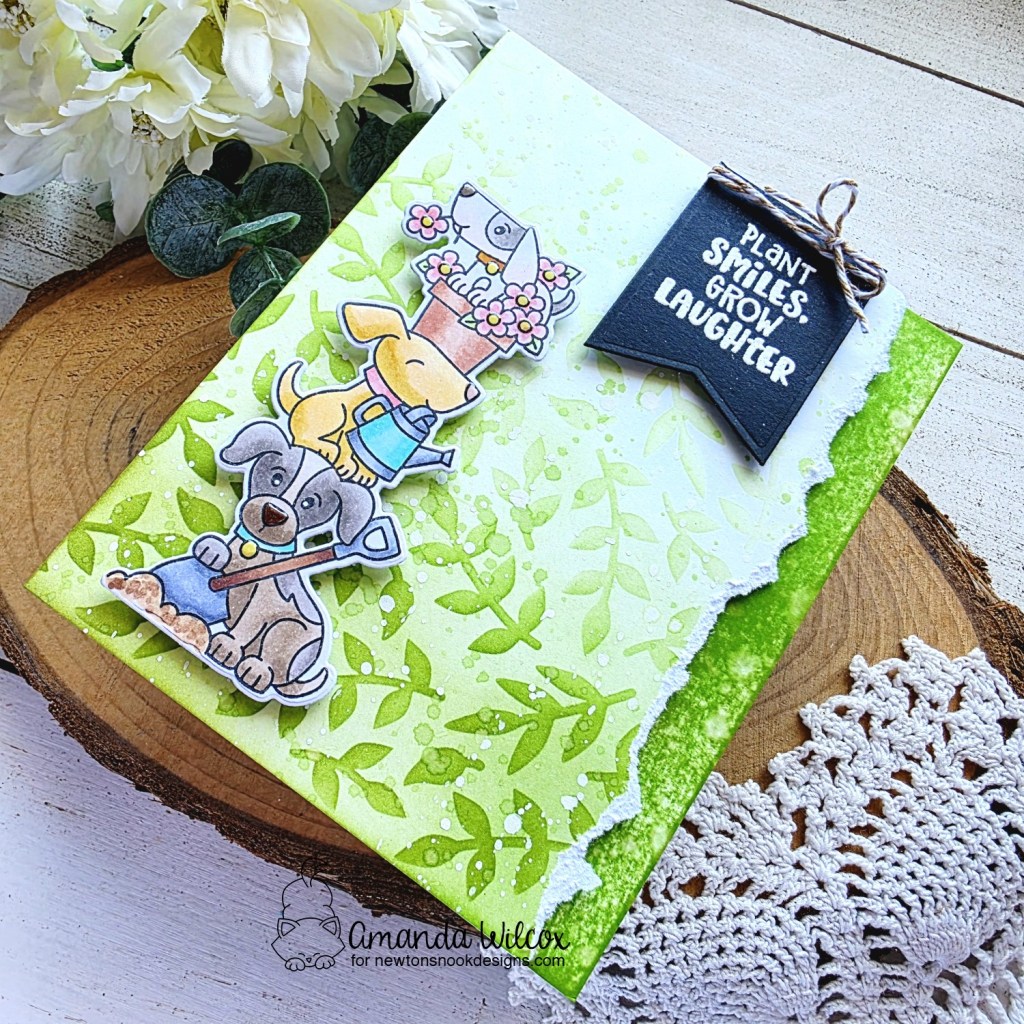
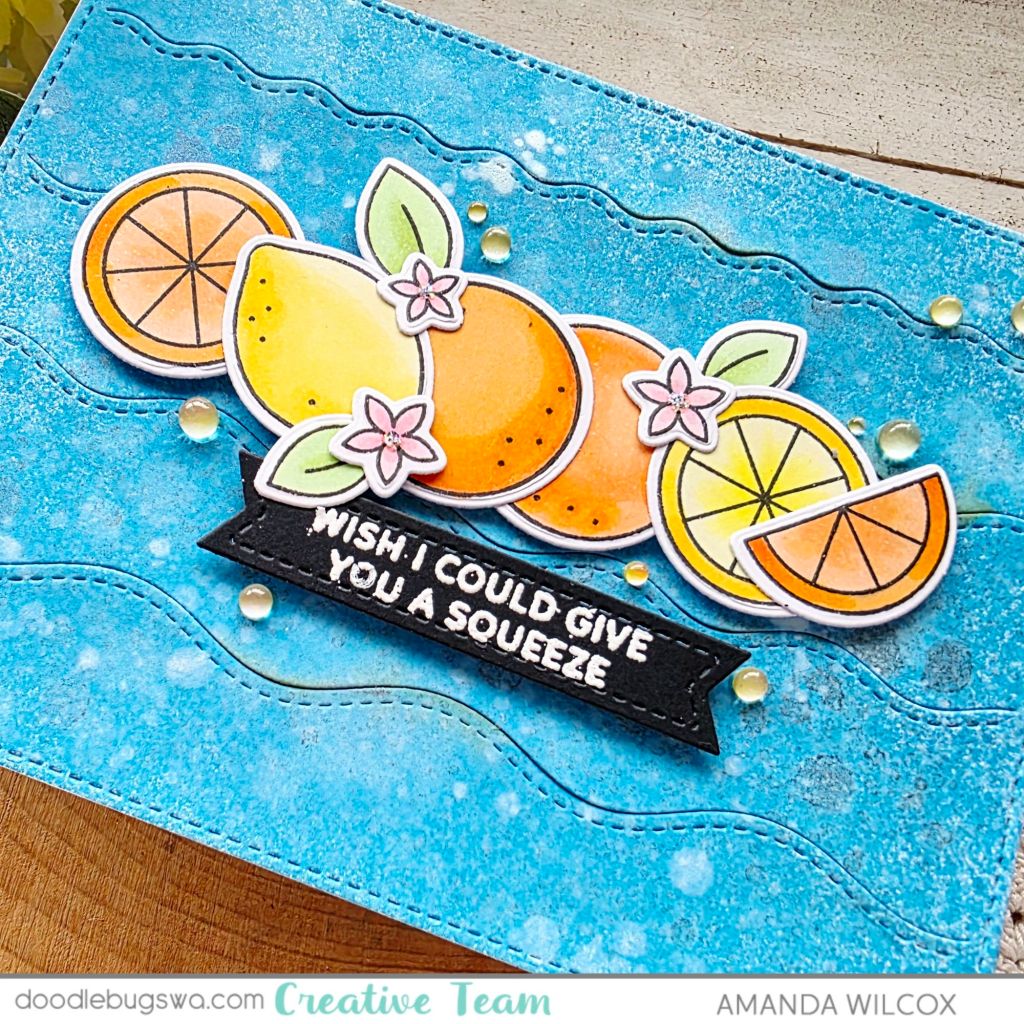
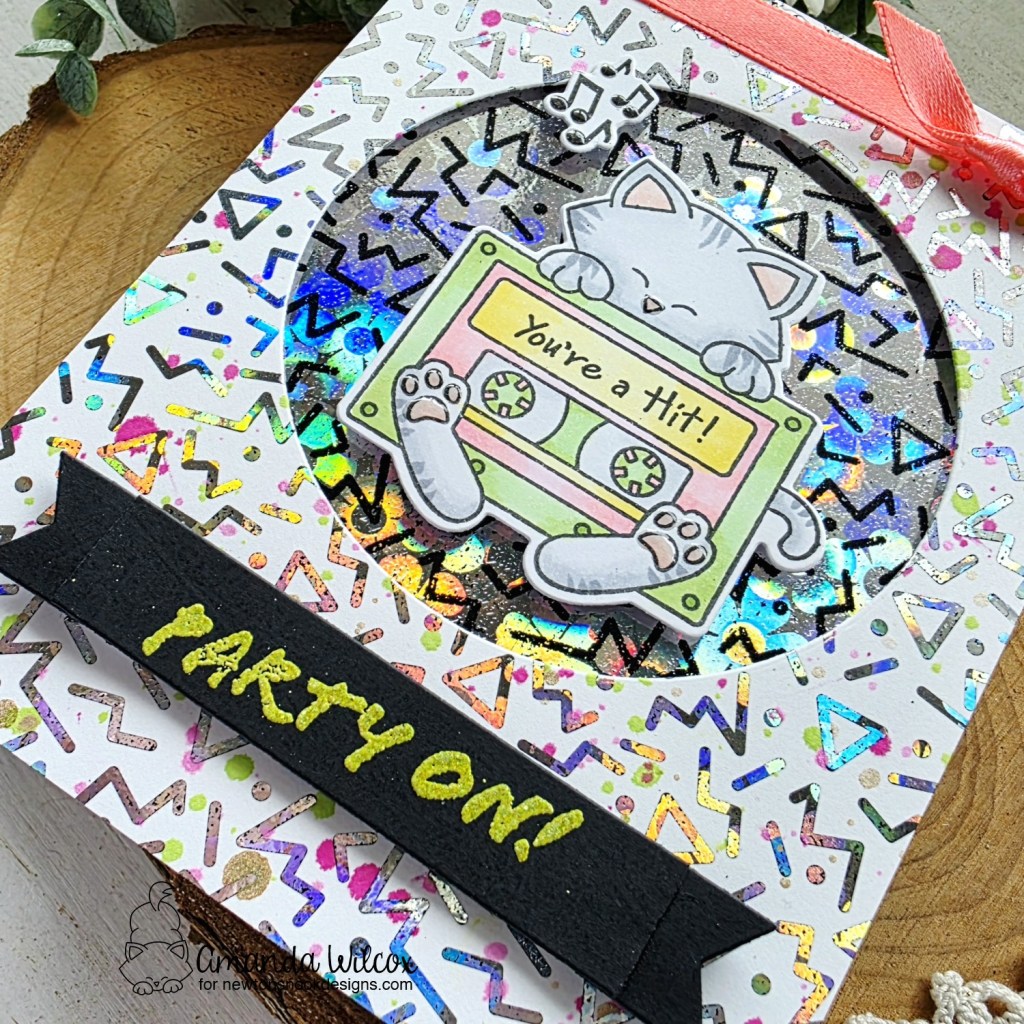
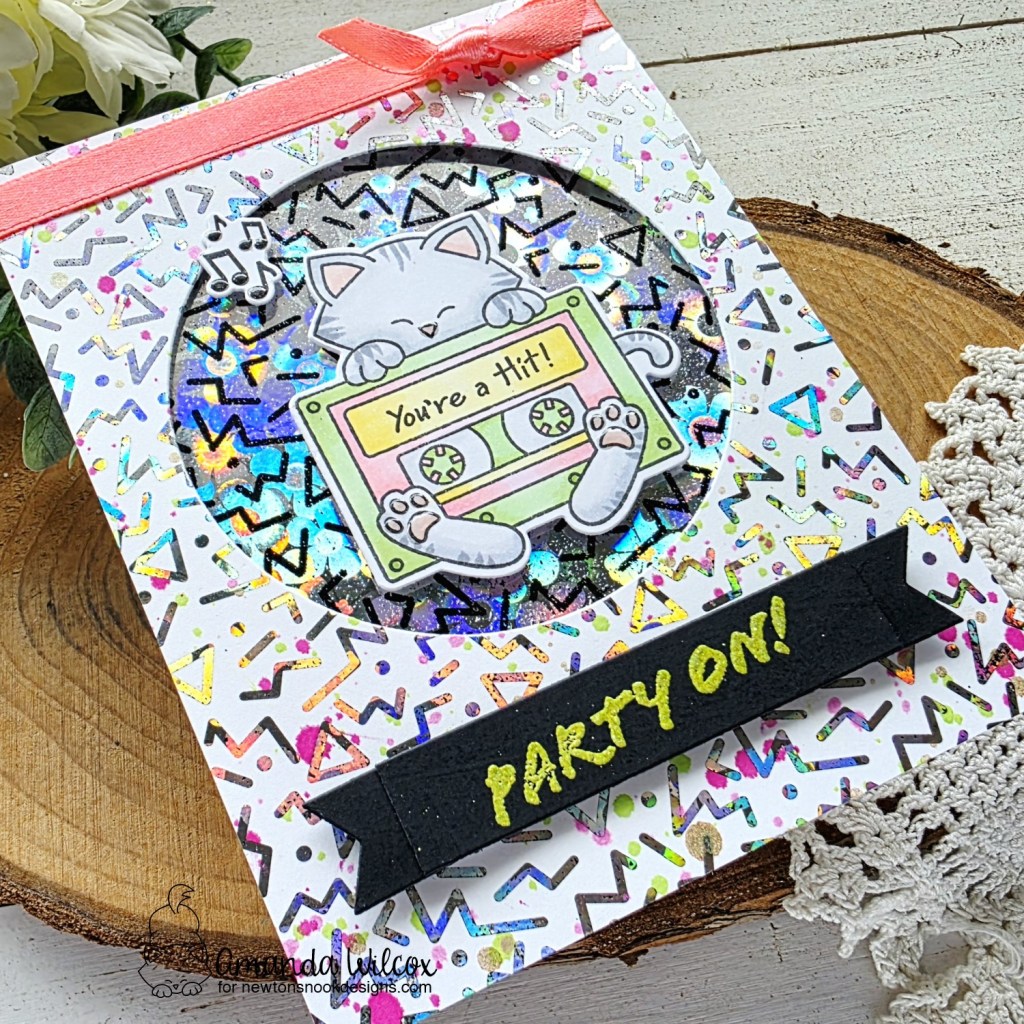
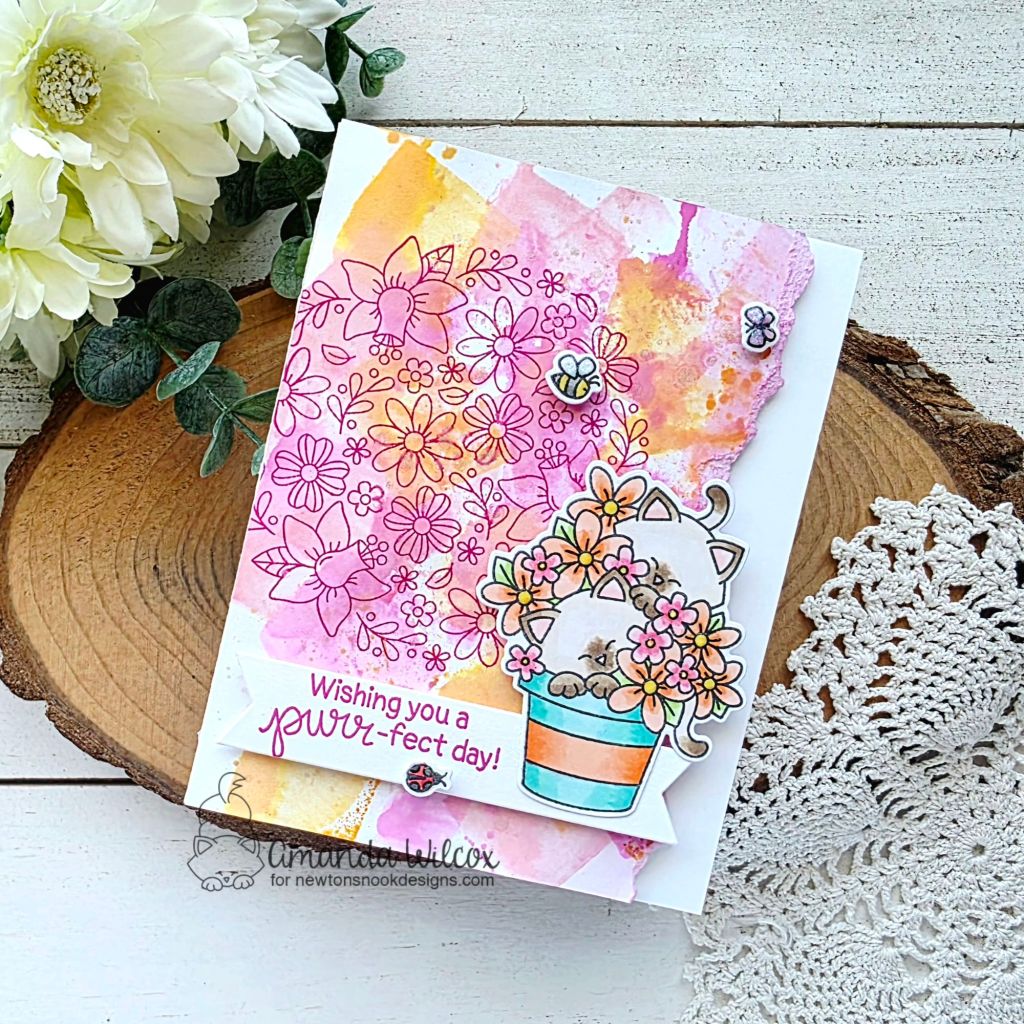
Last steps before assembly are to stamp the Floral Roundabout image using the same dark pink ink I used on the ink smooshed background and my sentiment. Then I tore the edge of the background panel for a more distressed look. I splattered the panel with unicorn watercolor for some sparkle and then popped the panel up on a white card base. To finish assembly I added the main image to the banner with liquid glue and then popped everything up with foam squares.
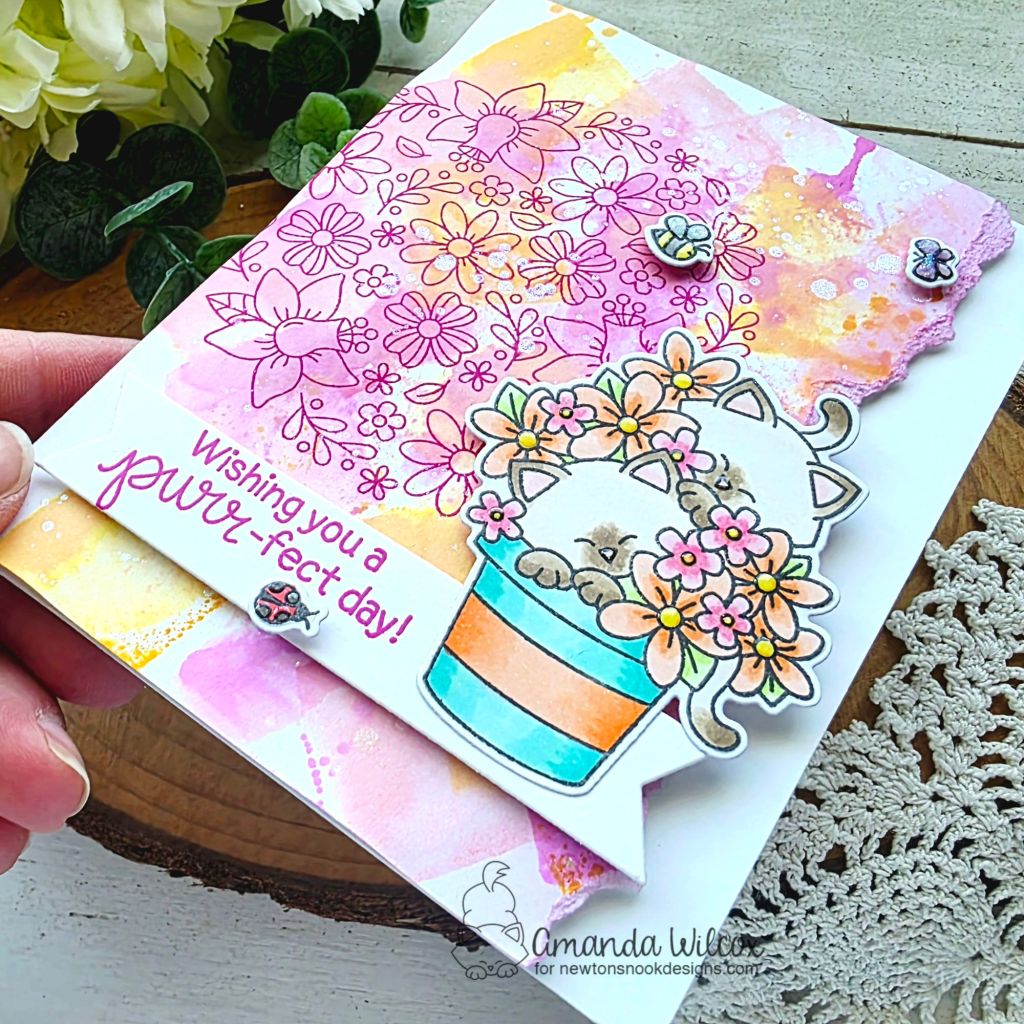
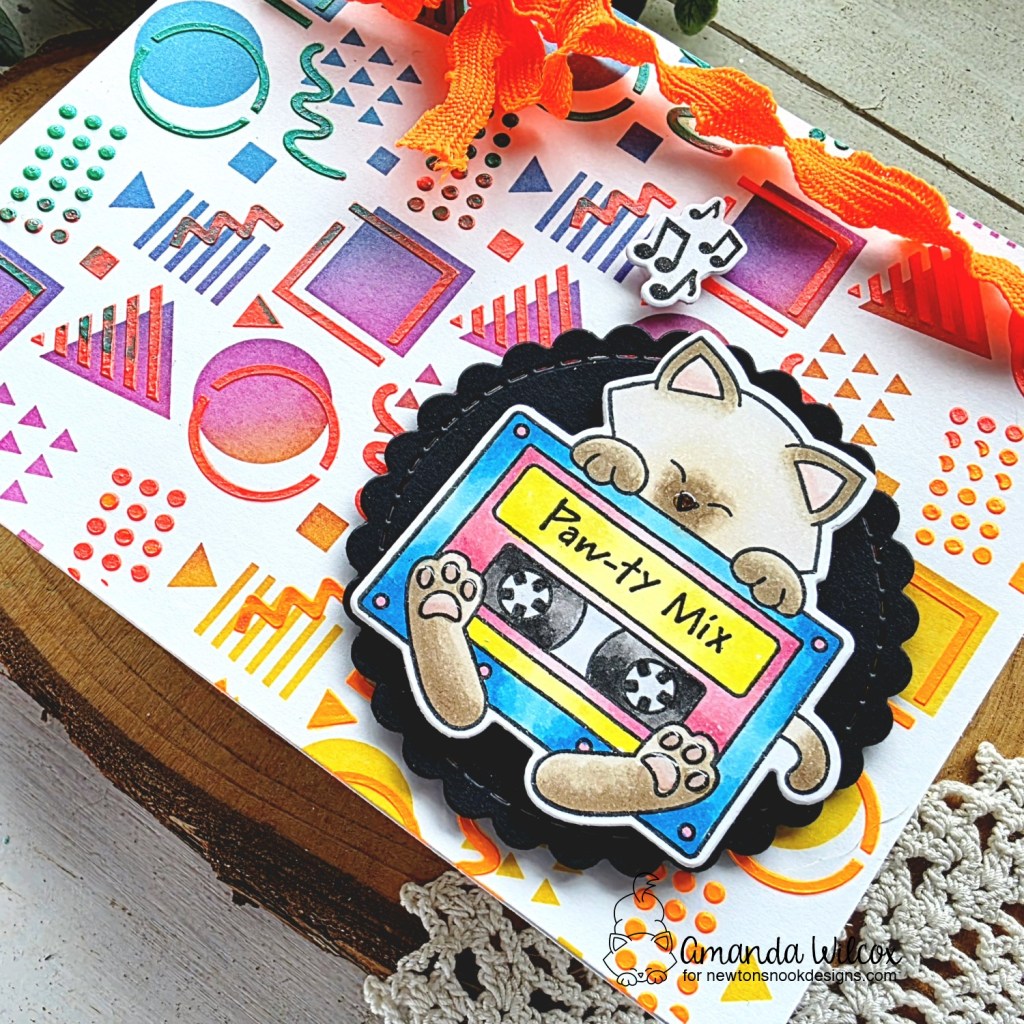
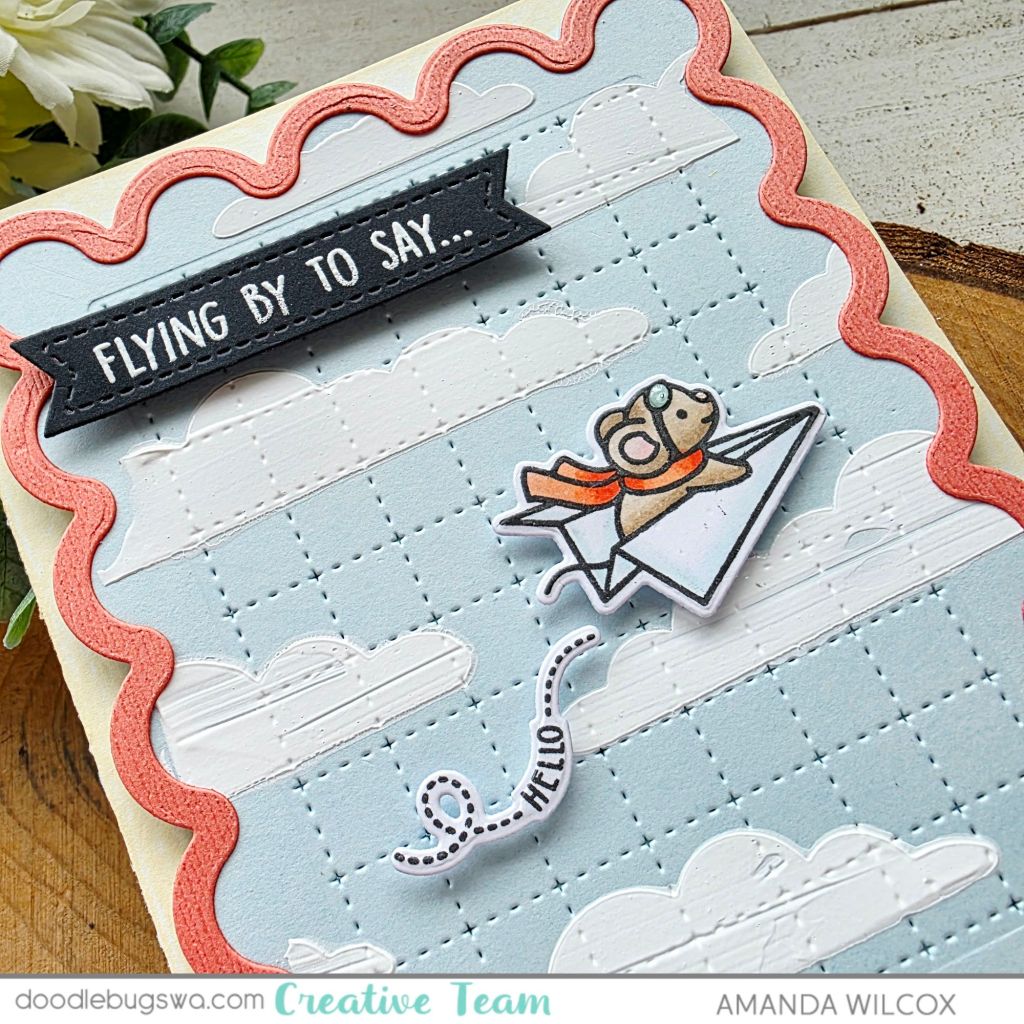
For finishing touches today I added a little glossy accents and stardust Stickles on different parts of the images. Things like ladybug dots, wings and kitty noses. These little things really make your card pop at the end. Totally worth the time.
I appreciate you sharing your time with me. Have a fabulous day!