Blog

Trinity Stamps – Summer Blooms Papercrafting Kit Sneak Peek

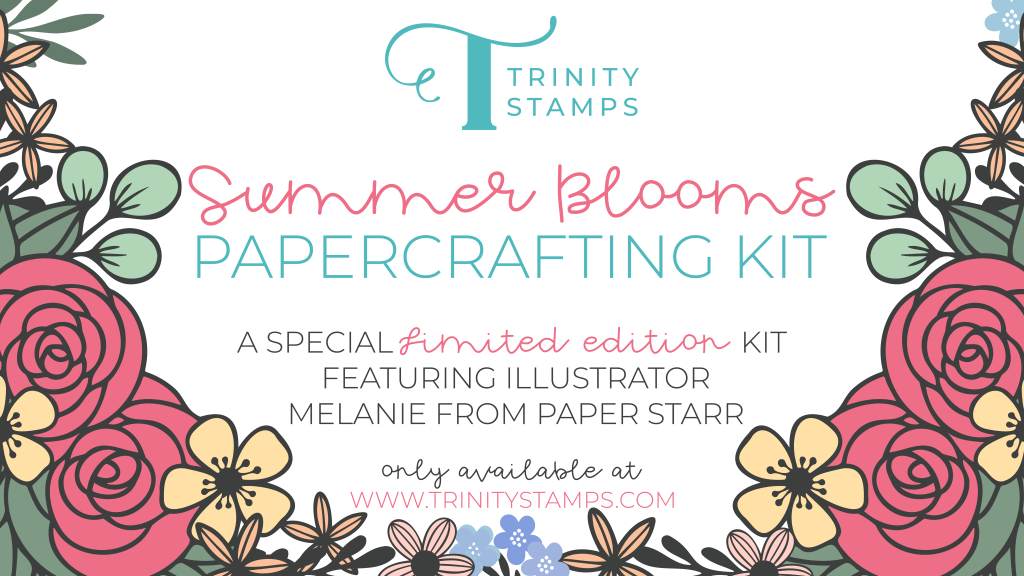
Hi there! I’m popping in today with a sneak peek from a brand new product hitting the Trinity Stamps shop this Friday. They are releasing their very first, very gorgeous, card kit! It comes with stamps, coordinating dies, paper pad, ink cubes and special embellishments! Soooo much fun!

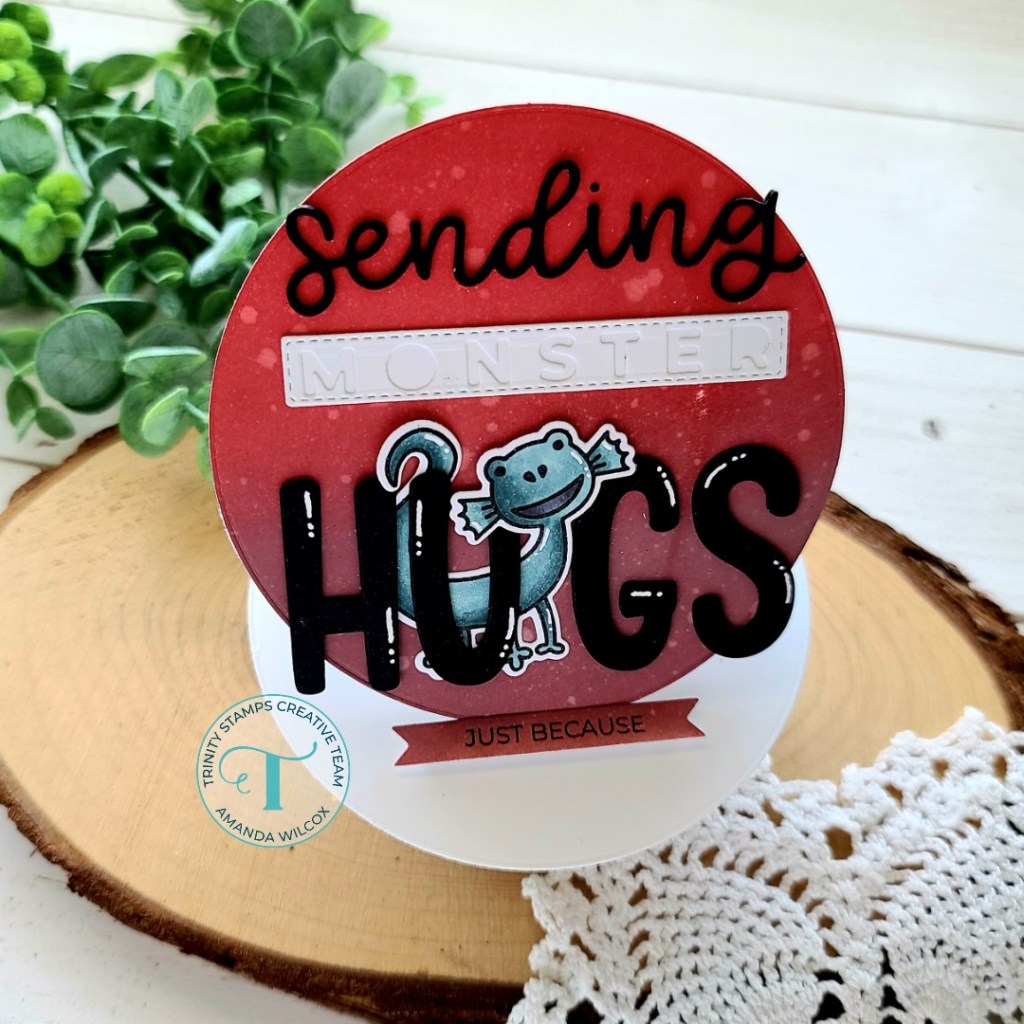
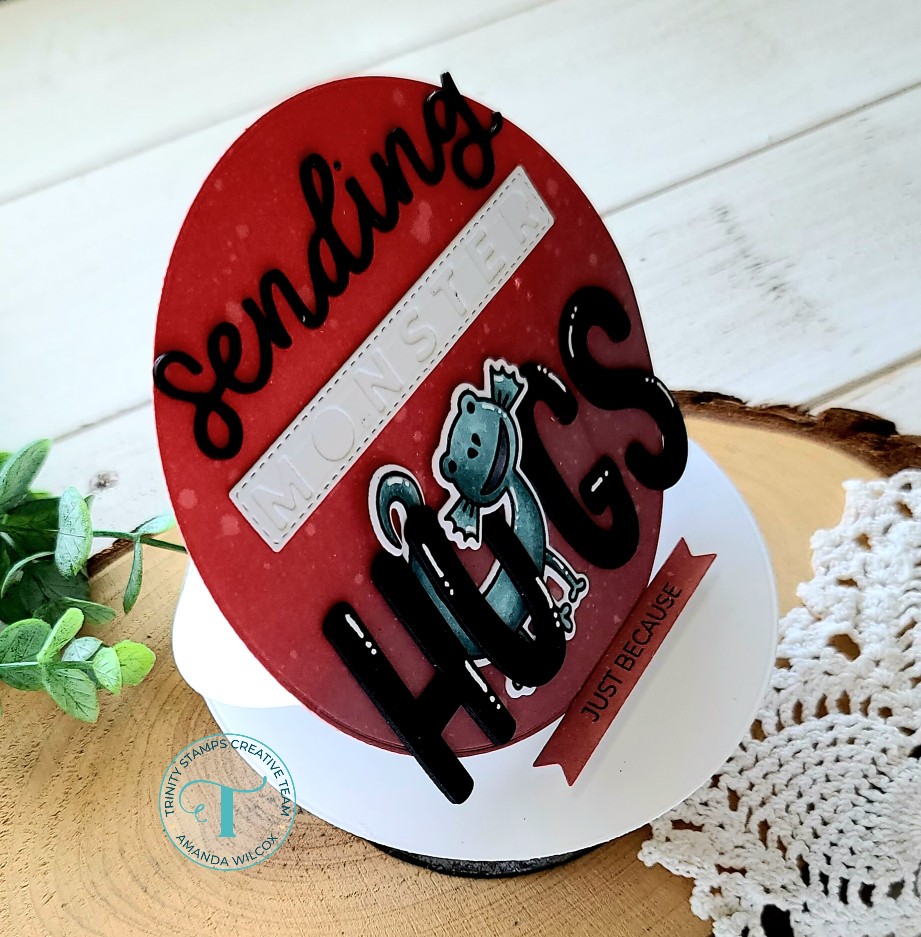
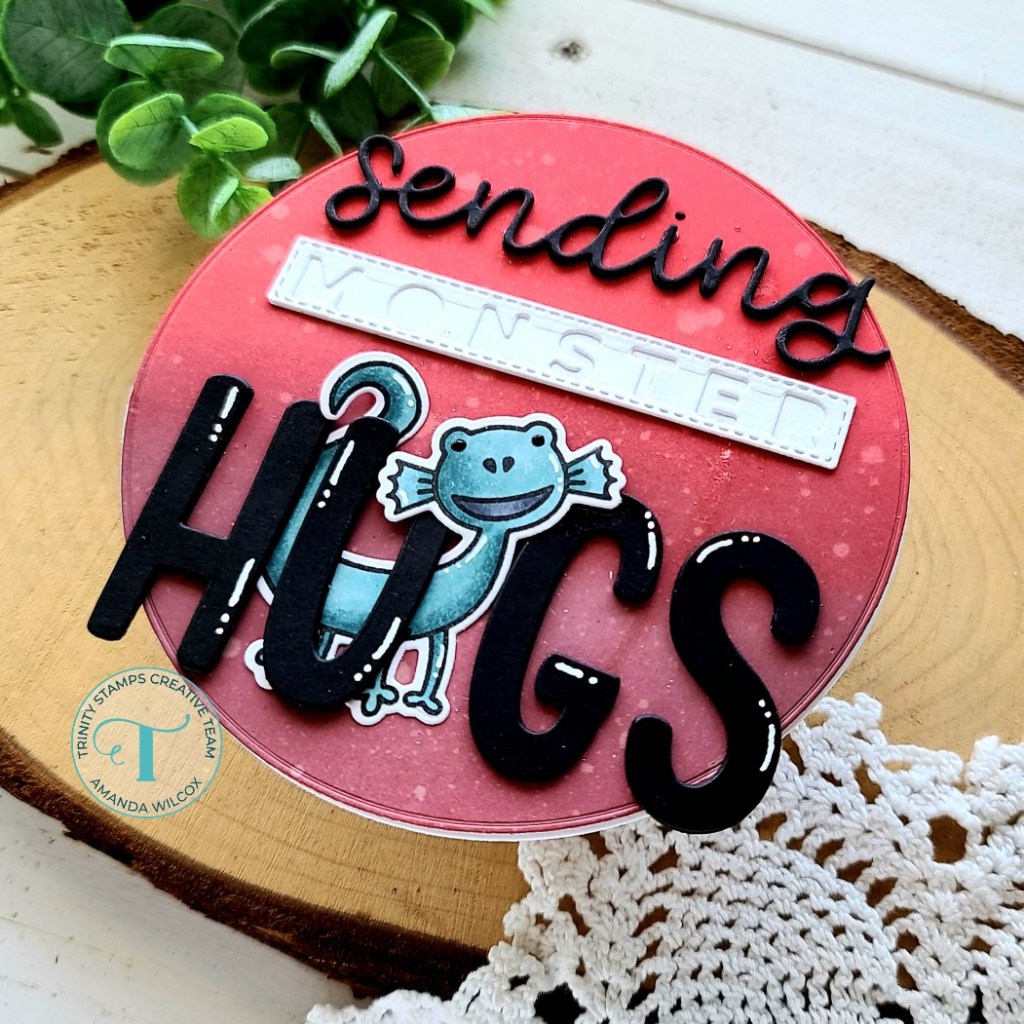
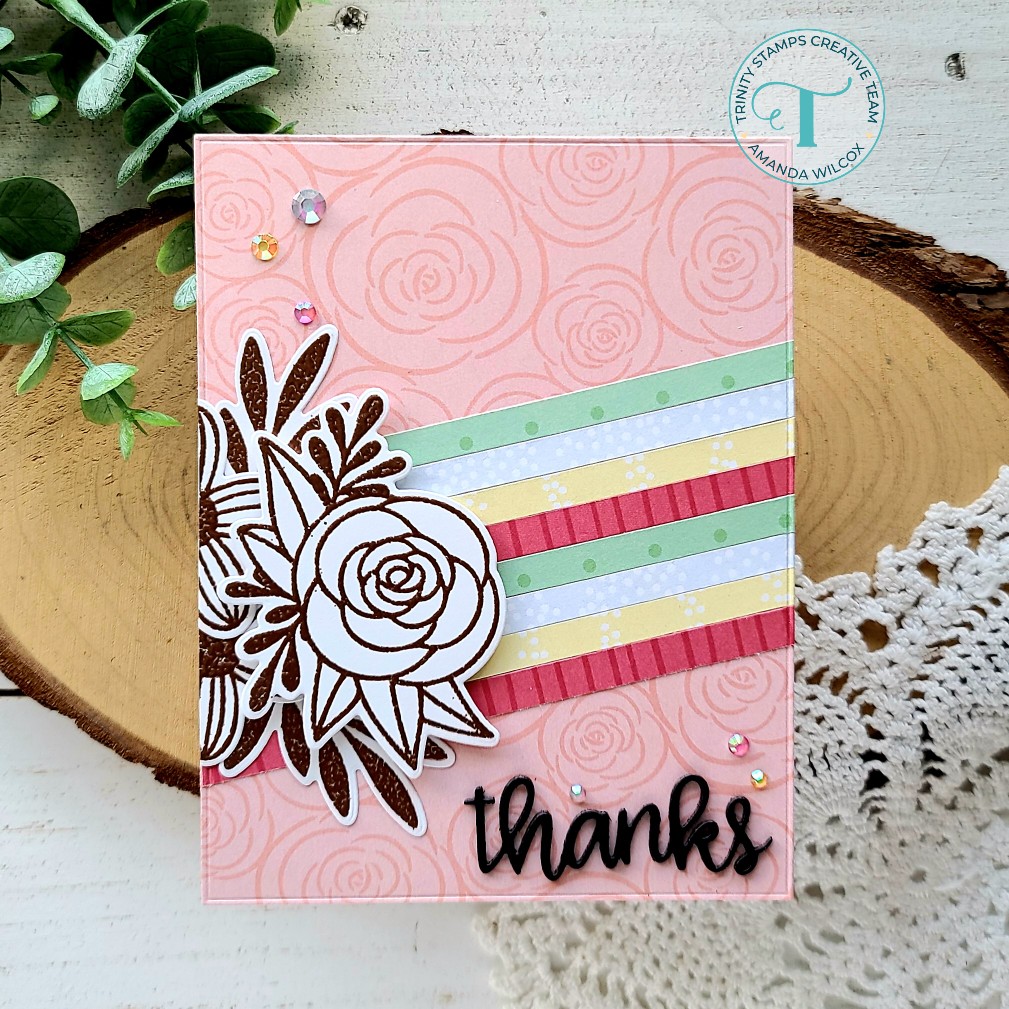
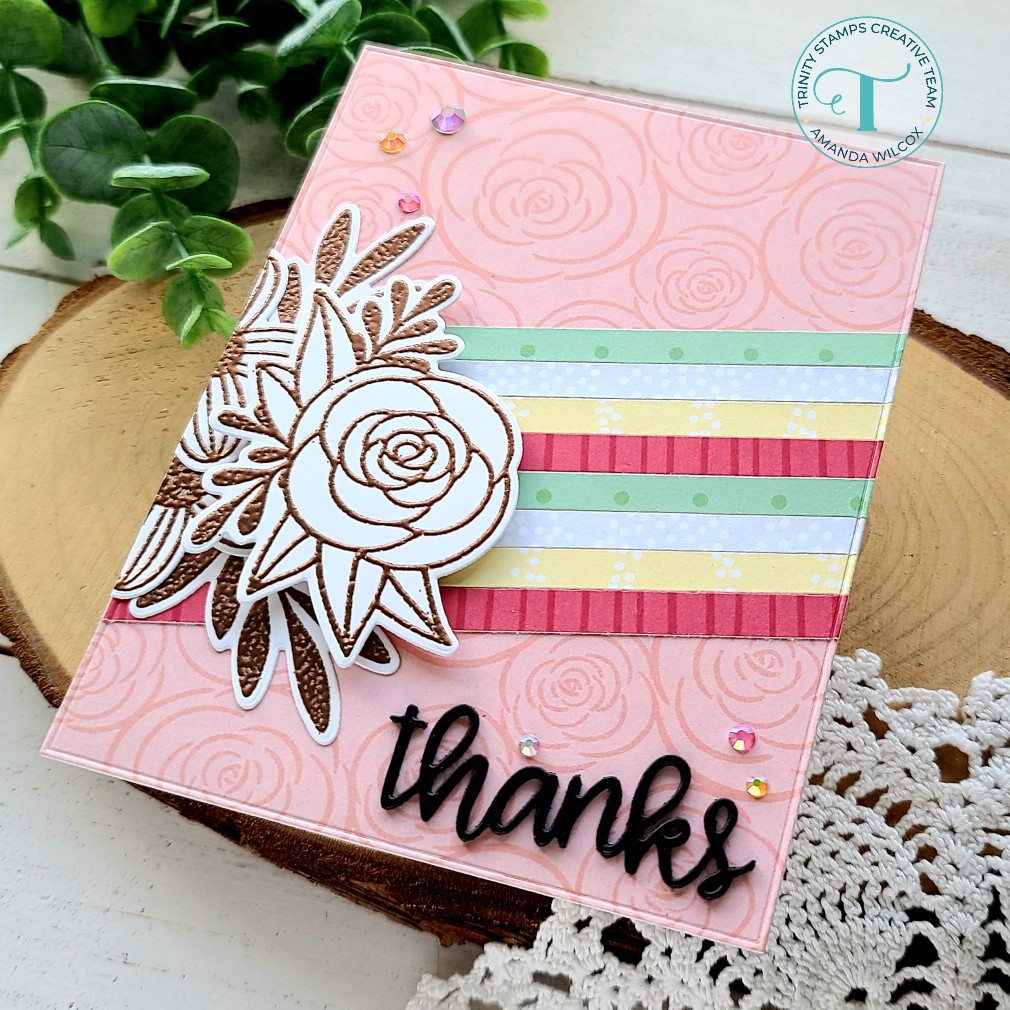
For my card today, I cut 1/4 inch strips of various papers in the kit and glued them to an A2 size piece of a different paper from the kit. Then I die cut it with the largest modern embossed rectangle stack die. Then I stamped and heat embossed a couple of images from the Summer Blooms stamp set in copper and used the coordinating dies to cut them out. I adhered some directly to the panel and the larger image I popped up with foam squares. Then I pulled the “thanks” die from thanks senti-mini set and cut it 4 times from black cardstock. I used a glue pen to adhere the layers and then glued it to my card front.

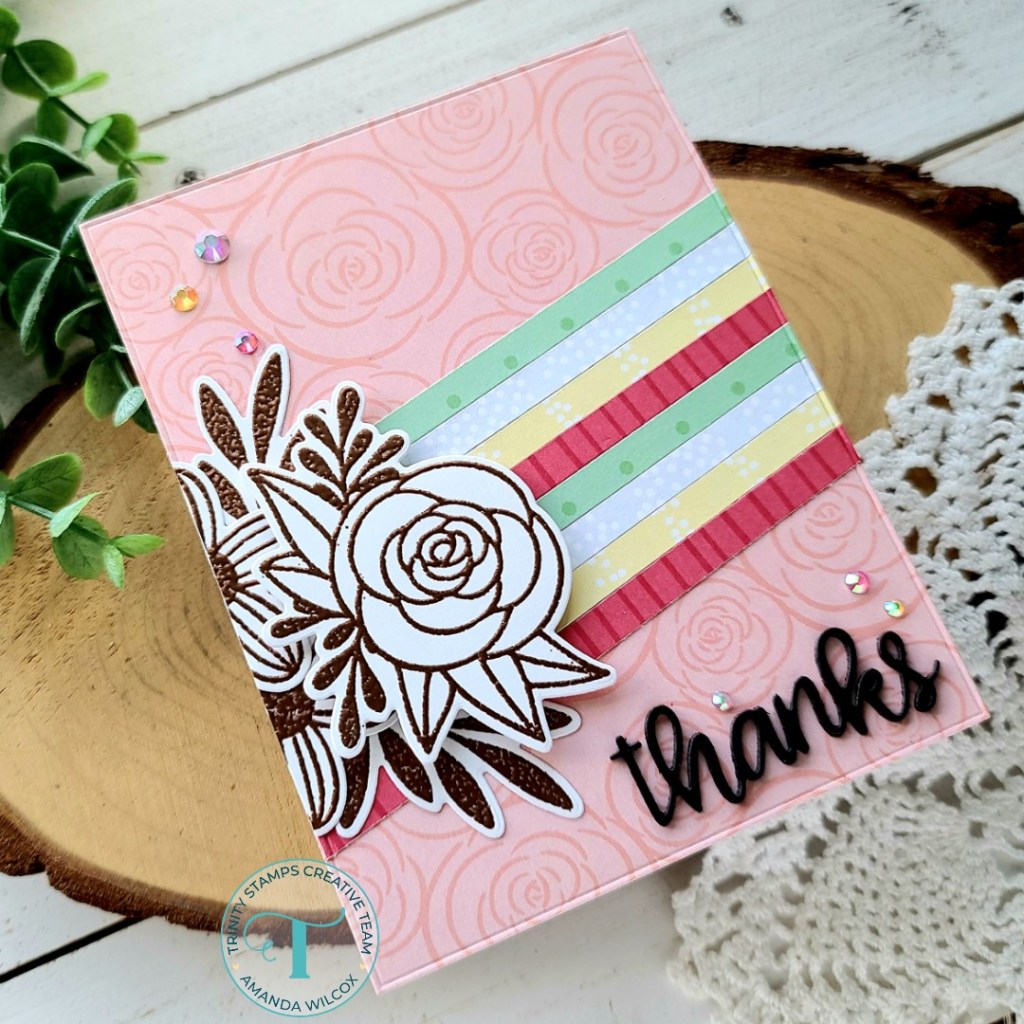
Last, I added a scattering of embellishments from the exclusive mix in the kit across my card design. These gems are just gorgeous and I thought they played well with the shiny copper heat embossing.

On Friday we’re having a fun Instagram hop to celebrate the release of the new kit. There will also be a sale on the First Bloom stamps and coordinating dies when you buy the new kit too! Stay tuned for all the details on Friday!

Products used on today’s card:
Summer Blooms Papercrafting Kit
Modern Embossed Edge Rectangle dies
Thank You Senti-mini dies

I appreciate you sharing your time with me. Have a fabulous day!

Miss Ink Stamps – Birthday Gnomes Part 1

Hello everyone! I’m over on the Miss Ink Stamps blog today sharing this super fun tri-fold birthday card featuring the Birthday Gnomes stamps and Diamond Fade stencil. Here’s a look at the card, but you can head HERE if you’d like to see a step-by-step how I created it.

What a fun, unassuming card front we’ve got going on here!?! Am I right??? But when you open it up…

These cuties are ready to celebrate!!! I love how large this image in the set is! So fun to color and easy to make the focal point of your card.

Then, when they open it up one more time we’ve got a final sentiment and plenty of room for a message or maybe some cash or a gift card too!

Here’s the link to the Miss Ink Stamps blog again in case you’d like to see how I created this card. Stay tuned later this week for Part 2 of the Birthday Gnomes where I use the other images from the set in a completely different birthday card.

I appreciate you sharing your time with me. Have a fabulous day!

Pink & Main – Sweet Greetings

Happy Friday friends! Today I have a fun interactive card to share with you featuring the new Pink & Main stamp set called Sweet Greetings. The hummingbird images in this set are beautiful and so fun to color! Today I just couldn’t resist keeping the design simple and putting my hummingbird on an action wobbler. It just seemed too perfect!

I stamped and colored my images with copic markers, then used the coordinating dies to cut them out. Next, I inked up a panel with distress oxide inks in peacock feathers, blueprint sketch and seedless preserves. I spritzed the panel with water and trimmed it down to 4×4.25 inches.

Next, I used EZ Squeeze liquid adhesive to glue the panel to a white card base and then used my MISTI to stamp a sentiment in the white space at the bottom. I added foam tape to the back of the hummingbird feeder and placed it down, trimmed off the excess hanging over the side. Then I added my wobbler to the hummingbird and placed it so it’s beak is just over the feeder.

For finishing touches, I glued down a scattering of the pink and green pearls from the Unicorn Pearls embellishment pack. Then I came in with my Wink of Stella glitter brush pen on the hummingbird’s wings, face and the liquid inside the feeder.

I love how this set comes with a few flowers that you could use instead of the feeder for a totally different look too! Such a sweet stamp set with lots of fun possibilities.

Products used on today’s card:
Sweet Greetings stamps and dies
Unicorn Pearl embellishments
EZ Squeeze liquid adhesive
Wink of Stella glitter brush pen
Distress Oxide ink – peacock feathers, blueprint sketch, seedless preserves

I appreciate you sharing your time with me. Have a fabulous day!

Miss Ink Stamps – For My Friend…

I just can’t resist this fabulous pup from Miss Ink Stamps in the Slim’s Whims stamp set. He’s too fun to color and the sentiments crack me up! So I’m back again today with another card I made featuring him.

I stamped Slim and colored him up with my copic markers. Then I used the scan-n-cut to cut him out. I chose a sentiment and trimmed it into a strip, then switched gears to stencil my background.

I wanted to play off the army green that I used for his glasses so I chose a dark orangey-red cardstock and my scallop stencil from the Miss Ink Stamps Basics Bundle. I used an ink from my stash similar to the cardstock for a tone-on-tone look. Once the inking was done I used liquid glue to adhere it to a white card base. Next, I die cut a piece of kraft cardstock with a Trinity Stamps Embossed Edge rectangle die and then took a die 2 sizes down and cut the center out creating a frame.

I added foam strips to the back of the frame and popped it in place. Then I added foam tape to the back of Slim and the sentiment strip and placed them on the card front too.

To finish things off I glued down a scattering of Trinity Stamps gold satin baubles around the design. I love how these colors play off of each other. Great for a masculine card if you needed one!

Products used on today’s card:
Miss Ink Stamps Slim’s Whims stamps
Miss Ink Stamps Basics Bundle -scallop stencil
Trinity Stamps Embossed Edge Rectangle dies
Trinity Stamps Gold Satin Baubles
Thermoweb Foam strips
iCraft liquid adhesive

I appreciate you sharing your time with me. Have a fabulous day!

Trinity Stamps – Sending Monster Hugs Easel Card

Woo-hoo! We’re half way through the week my friends! I hope you’re having a great day! I have a really fun easel card to share with you featuring stamps and dies from Trinity Stamps. Let’s start with a look at the front and then we’ll get into the steps to make it too!

I just love monster themed things so I find myself going back to these great stamps and dies! For this card, I started by stamping one of the monsters from Monster Love and colored it with my copic markers. Then I used the coordinating dies to cut it out.

Now to switch to the card front and base. It’s not really as difficult as it looks. I broke it down into simple steps. First, I ink blended a white panel with distress oxides inks – festive berries and aged mahogany. I spritzed the panel with water and let it dry. Then I die cut it with the largest Embossed Edge Circle die, plus 2 more white circles the same size. Then I scored one of the white circles at 1/4 inch and 2 1/2 inches.

I burnished the score lines and carefully glued the white circles together by just the small tab – this is where your card opens. Then I glued the red card front to the larger bottom tab. So the middle section of the scored white circle has nothing attached to it at all.

To decorate the front of my card, I used the Sending Hugs dies and cut the elements from black and white cardstock. I like to layer my letters for extra dimension so sending and hugs are cut 4 times and glued together. I adhered “sending” and “monster” to the card front, then carefully wrapped my monster between the “hugs” letters and glued them all together before gluing them to the card front.

Last, I took the scrap of inked cardstock and die cut the small banner from the 4-Bar Card die set and stamped “just because” from the Sentiment for (almost) Everything set on it. I added a foam strip to the back and adhered it to the inside of my card. This forms the stopper for the easel mechanism of your card.

For finishing touches on this card I added black glaze pen to the monster’s eyes and then white gel pen accents to the letters in “hugs” and on the monster too. Instead of trying to keep track of all of the little dots for the “i” in sending, I let them fly wherever they may and used Nuvo Crystal Drops in black ebony to add my own dot. So much less stress and you’d never know.

I hope you enjoyed this project and will give it a try sometime!

Products used on today’s card:
Monster Love stamps and dies
Sending Hugs dies
Embossed Edge Circle Stack dies
A Sentiment for (almost) Everything stamps
4-Bar Card die set
Distress Oxide ink – festive berries and aged mahogany

I appreciate you sharing your time with me. Have a fabulous day!

Thermoweb – Christmas Cards with Deco Foil Flock

Hello again! Thanks for stopping by. Today I’m over on the Thermoweb blog with a fun tutorial on making Christmas cards with Deco Foil Flock! This is one of my favorite products and I had a blast creating this pair of cards using just one piece of flock.

For my first card, I used transfer gel on a blue piece of cardstock through the Newton’s Nook snowflakes stencil, and white deco foil flock over that. Then on the second card I used the negative flock sheet with a little ink blending for the background! Literally two-for-one backgrounds!

For the first card, I added a snow bank and then the cute snowman from Newton’s Nook Snowman Greetings. I love this set with the fun greetings created to fit perfectly in the wood sign he’s holding!

On the second card, I chose the image from Newton’s Holiday Post as the focal image. I stamped a sentiment from the set on a stitched circle since this one wasn’t part of the main image.

If you’d like the details on these adorable cards, head over to the Thermoweb blog HERE where I’ve got a step-by-step to share with you!

I appreciate you sharing your time with me. Have a fabulous day!

Coffee Loving Cardmakers – Happy Camper

Welcome everyone! It’s time for Tuesday Tea with Twiddler’s Nook over on the Coffee Loving Cardmakers blog today. My family and I are headed camping so I made this super adorable card to celebrate the occasion! It’s been years since we’ve gone and to say I’m excited is a very giant understatement!

I bought this fun Avery Elle Camping Critters set last year but I hadn’t had a chance to play with it yet and this was the PERFECT excuse! I set up my scene to see how many of these cute critters I could fit all together. Then I stamped and colored them with my copic markers. I used the coordinating dies to cut them all out and started ink blending my background.

I ink blended a white panel with chipped sapphire, weathered wood, twisted citron and lucky clover distress oxide inks. Then I spritzed the panel with a distress sprayer and let it dry. I ran the panel through my die cut machine with the Avery Elle Ray cover plate die. I love how this die gives the cut line detail and the circle highlight that you can remove or just paper piece back in place. Today I removed it so that it looked like a big moon glowing in my camping scene sky!

I added foam tape to the back of the ink blended panel and adhered it to a white card base. Then I added foam squares to the back of my images and popped them in place next. I stamped a sentiment from the set and trimmed it into a strip. I added it with a foam strip and and used liquid adhesive to glue the fireflies around it.

For finishing touches I added glossy accents to things like noses and firefly bottoms. Then I came in with unicorn Stickles for the flames on the campfire for a little more sparkle.

Products used on today’s card:
Avery Elle Camping Critters stamps and dies
Avery Elle Ray cover plate die
Distress Oxide Ink – lucky clover, twisted citron, weathered wood, chipped sapphire
Copic markers
Foam tape, squares and strips
Glossy accents
Stickles – unicorn

I appreciate you sharing your time with me. Have a fabulous day!

Birch Press Design – The Best Things In Life…

Welcome friends! Thanks for stopping by! Today’ I’m over on the Birch Press Design blog sharing how to create this beautiful card featuring the Arista layering die set and a sentiment from the Classic Sentimental Wreath stamp set.

I cut everything from white cardstock this time and used my blending brushes with some dye inks to color everything in. It’s a simple way to have control over how much color your pieces have.

If you’d like to see the step-by-step for this card, head over to the Birch Press Design blog HERE and I’ll walk you through it all.

I appreciate you sharing your time with me. Have a fabulous day!

Pink & Main – Don’t Get Bent Out of Shape

Have you all checked out the most recent Pink & Main release yet? It’s got some different and really fabulous goodies in it! Today’s card is featuring a new set called Namaste. I love these sweet girls and the great sentiments that go with them!

For my card today, I chose 3 of the girls and colored them with my copics. Then I used the coordinating dies to cut them out and played around with a final design layout. originally I was thinking of a landscape slimline but when I stacked them vertically I really liked it.

Next, I took a slimline size panel and inked the edges up with my blending brush and yellow dye ink. For a little interest I used the Circle Spotlights 1 stencil to add polka dot highlights to the areas I was going to pop the girls up on.

I chose my favorite sentiment from the Namaste set, stamped it and cut it out with the next-to-smallest Layered Slim Line die. Then I added foam squares to the back of the images and sentiment and popped them in place.

I used EZ Squeeze liquid adhesive to glue my panel down to a white slimline card base. Then for finishing touches I arranged a scattering of yellow gems from the Crystal Gems embellishment pack on my design.

Do you do yoga? I totally don’t but these cute girls make me want to try! Haha!

Products used on today’s card:
Namaste stamps and dies
Layered Slim Line dies
Circle Spotlights 1 stencil
Ergonomic Blending Brush
EZ Squeeze liquid adhesive
Crystal Gems embellishments

I appreciate you sharing your time with me. Have a fabulous day!

Newton’s Nook – Hey, Gull Friend!

Happy Friday everyone! Today I’m over on the Newton’s Nook blog with an extra card to share! I feel like summer is winding down already so I’m clutching on with both hands enjoying all things beach, sun and fun!

For today’s fun card, I stamped the image from Gull Friends and colored it with my copics. Then I use the coordinating dies to cut them out. I too a white panel and inked up the Sunscape stencil with blending brushes and Lawn Fawn inks. When I removed the stencil I went over the whole panel with the light yellow ink to remove the harsh white and help the seagulls pop a little more.

Next, I took another white panel and die cut it with one of the Sea Borders dies for the top of my water layer. I used a blending brush to ink the top with a teal ink. Then I die cut both inked panels with the largest Framework die. I stamped my sentiment on the bottom right corner of the wave panel and lined the back of both panels with foam tape. I carefully lined up the two and adhered them together.

For a little extra contrast I took another panel, inked the edge up with seedless preserves distress oxide ink and splattered it with water. I adhered it to a white card base and then popped my scene panels in place. Then I used liquid adhesive to adhere my seagulls tucked underneath the edge of the water border.

For finishing touches on today’s card I used black glaze pen on the eyes and glossy accents on the bird’s beaks and feet.

These birds color up really quick and I always enjoy ink blending so this card could be fun to mass produce and send out to a group of friends. Or just have on hand when you need to send some happy mail.

Products used on today’s card:
Gull Friends stamps and dies
Framework dies
Sea Borders dies
Sunscape stencil
Seedless Preserves distress oxide ink
Trinity Stamps blending buddy brush
Lawn Fawn dye inks
Glossy accents
Foam tape

I appreciate you sharing your time with me. Have a fabulous day!