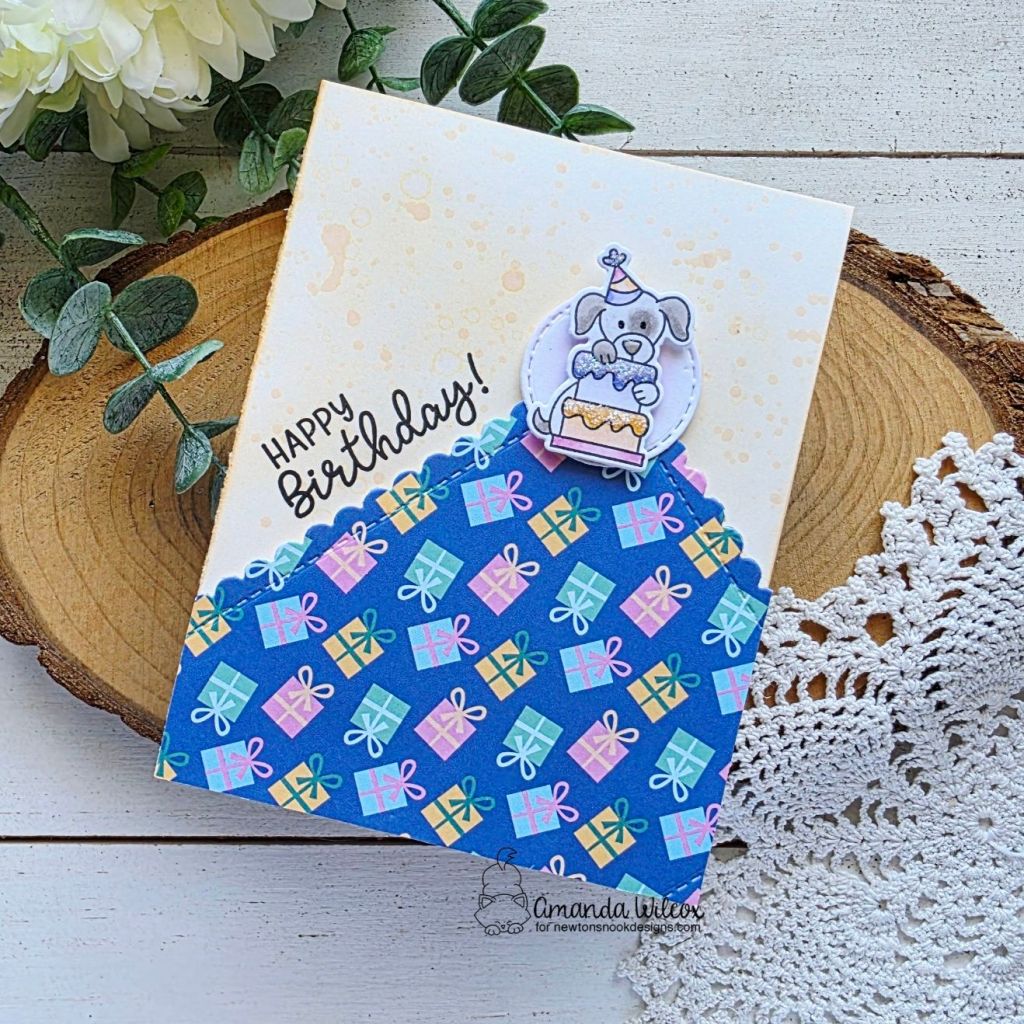
Yesterday we brought you some partying kitties to play with. Well, the puppies wouldn’t have it if we didn’t include them! So, let’s get a look at those yappers woofin’ it up!
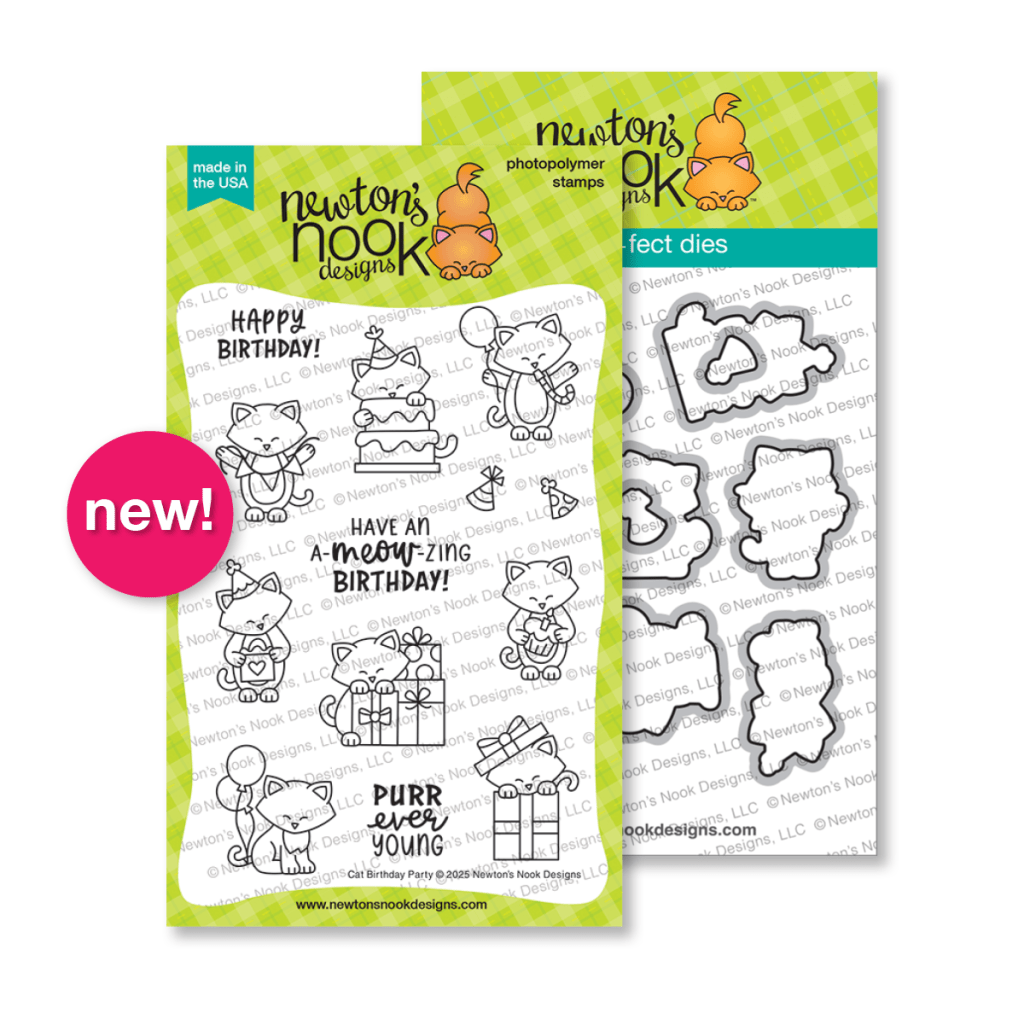
Dog Birthday Party stamps and dies

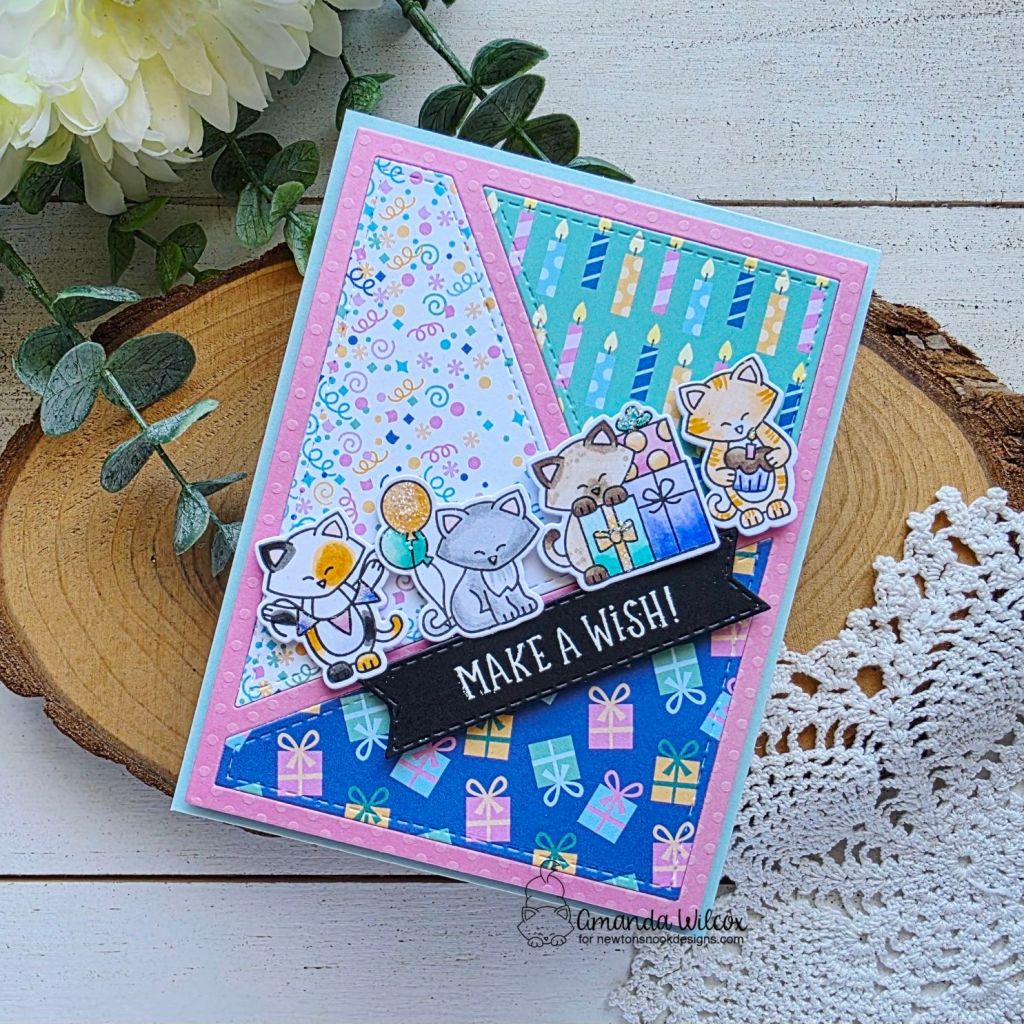
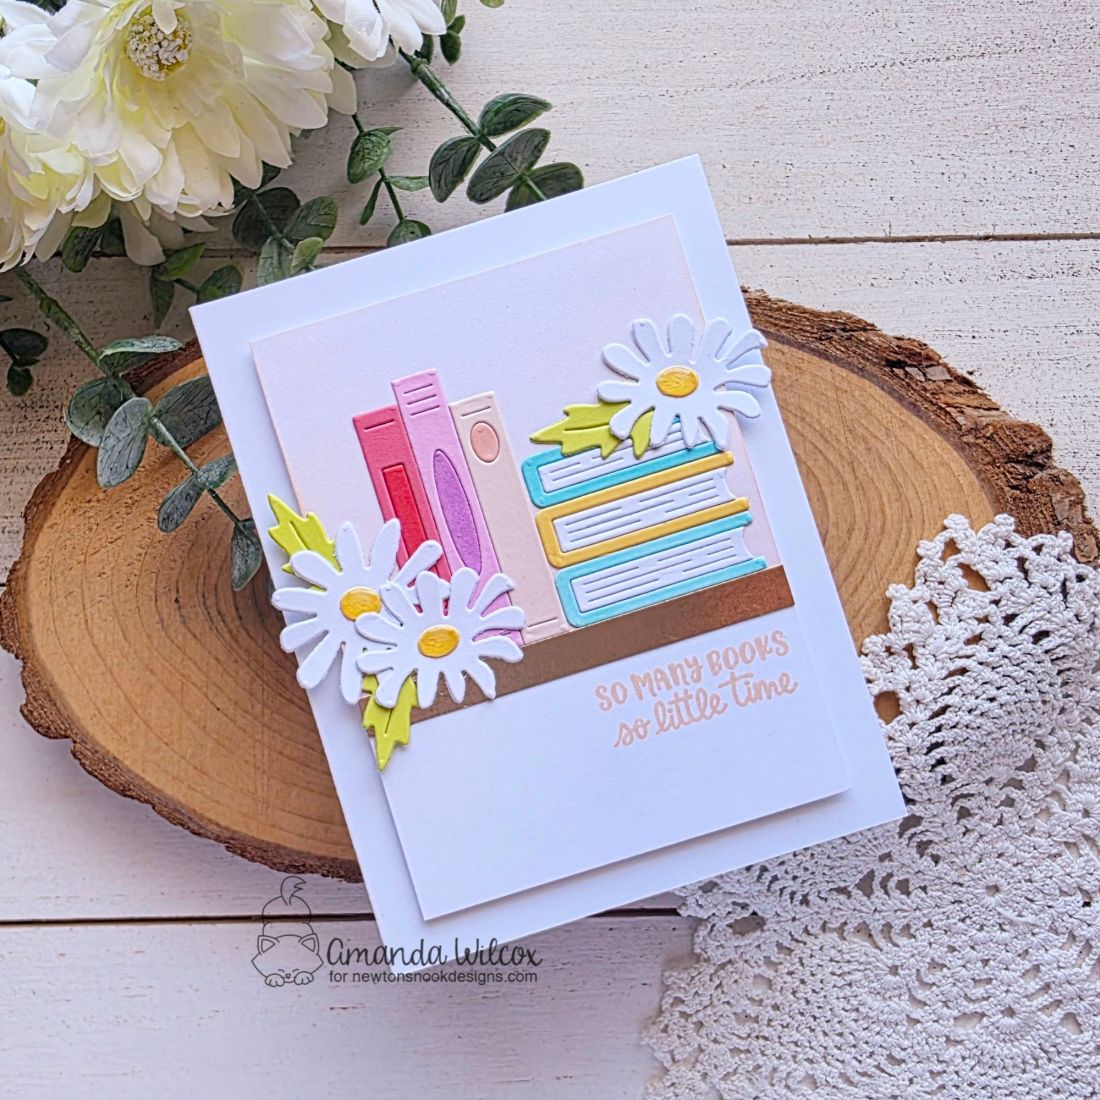
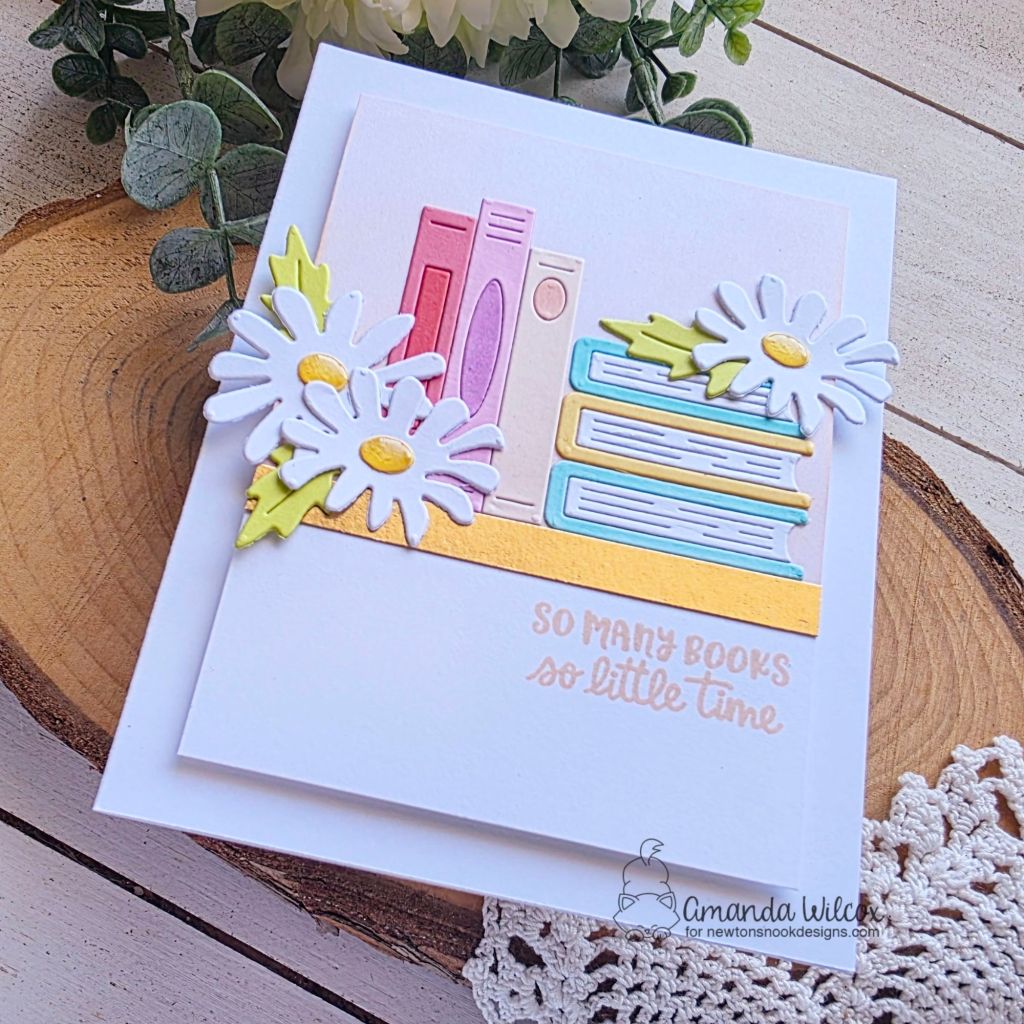
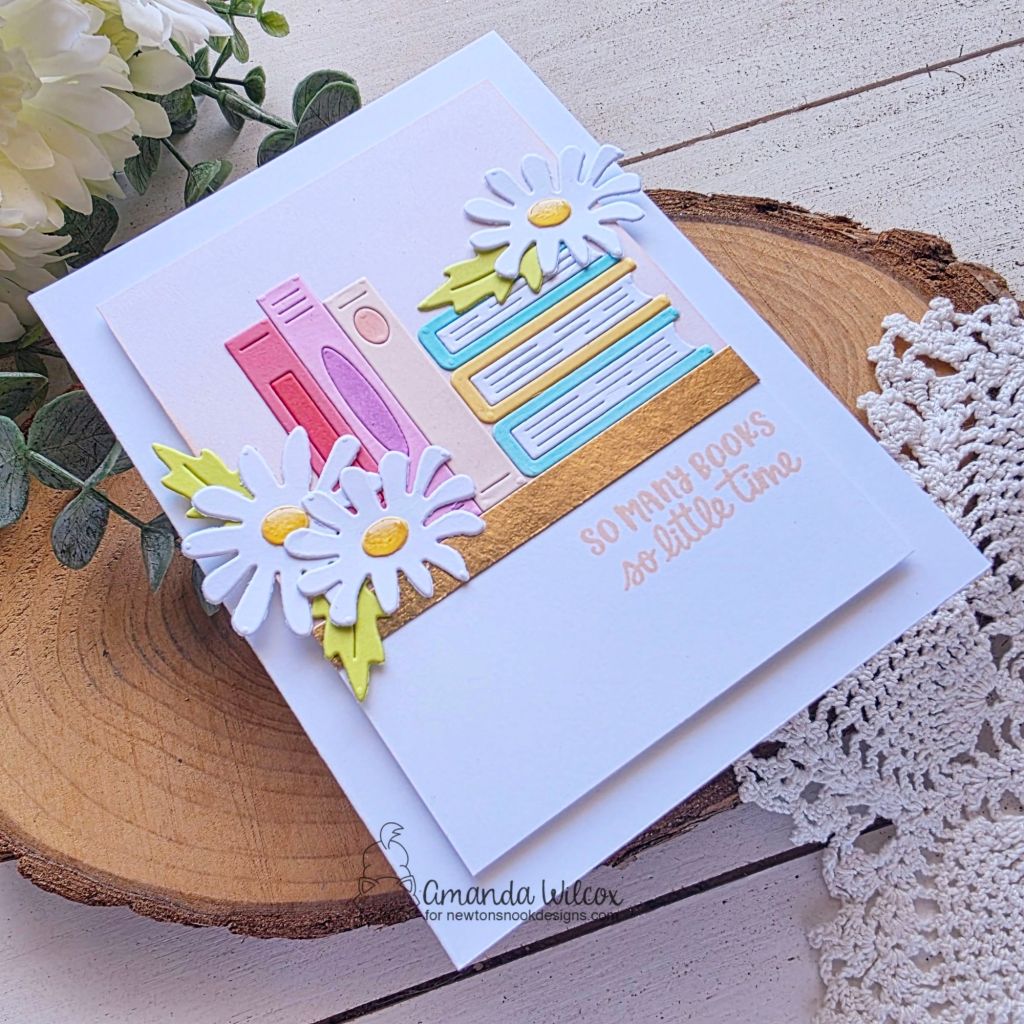
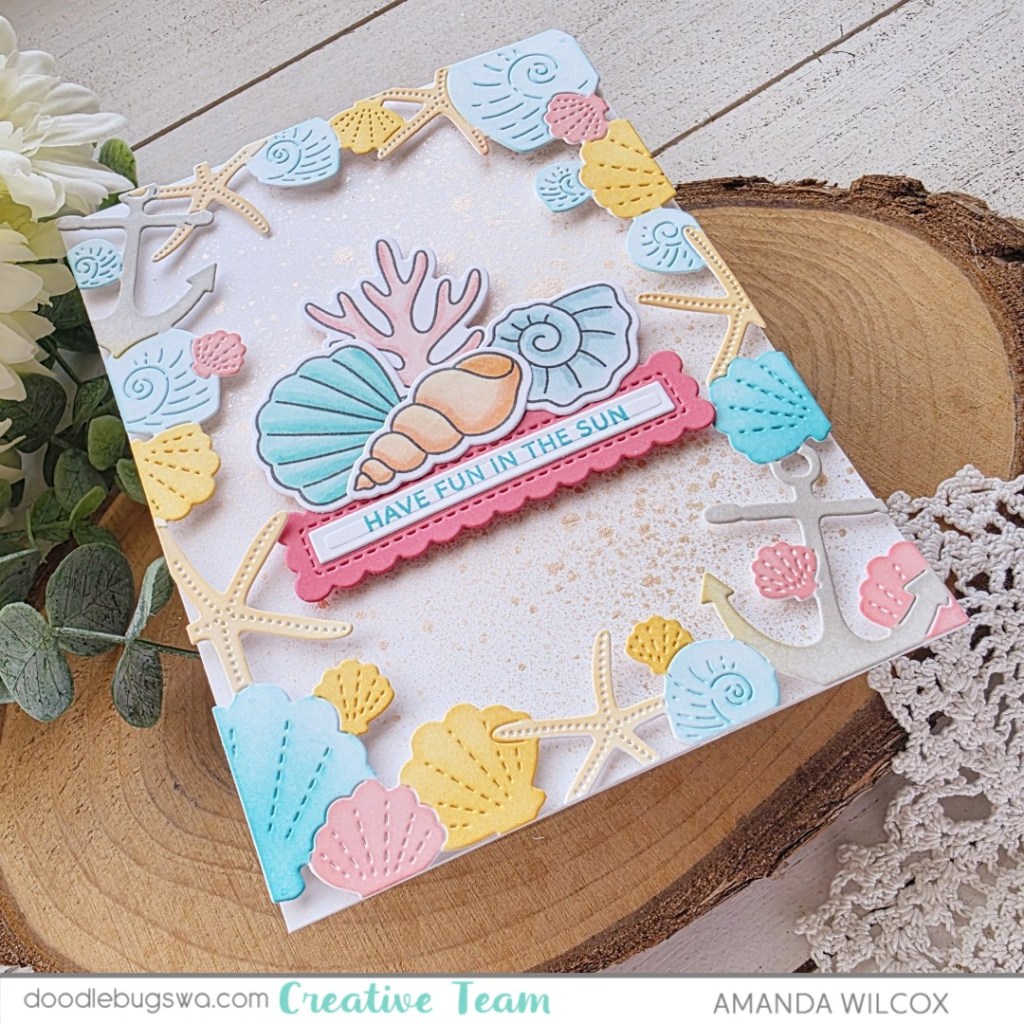
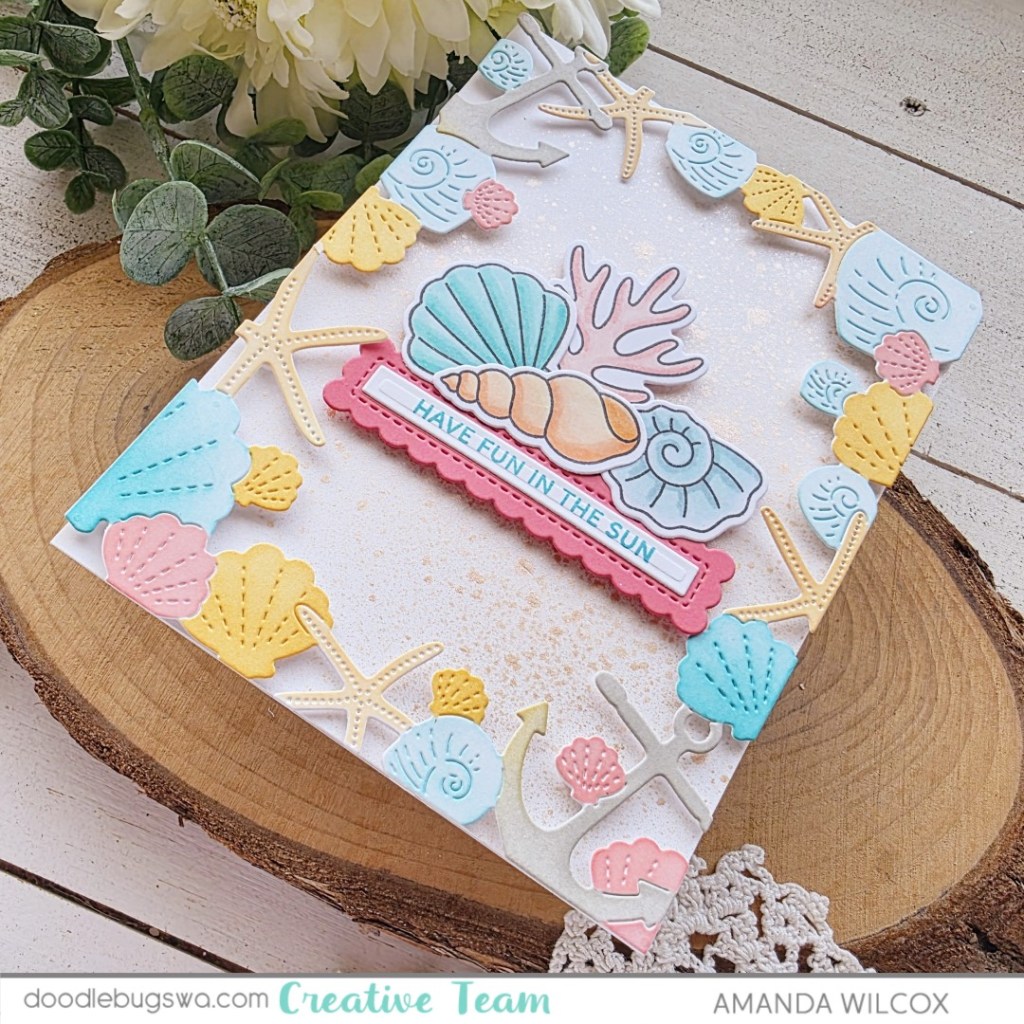
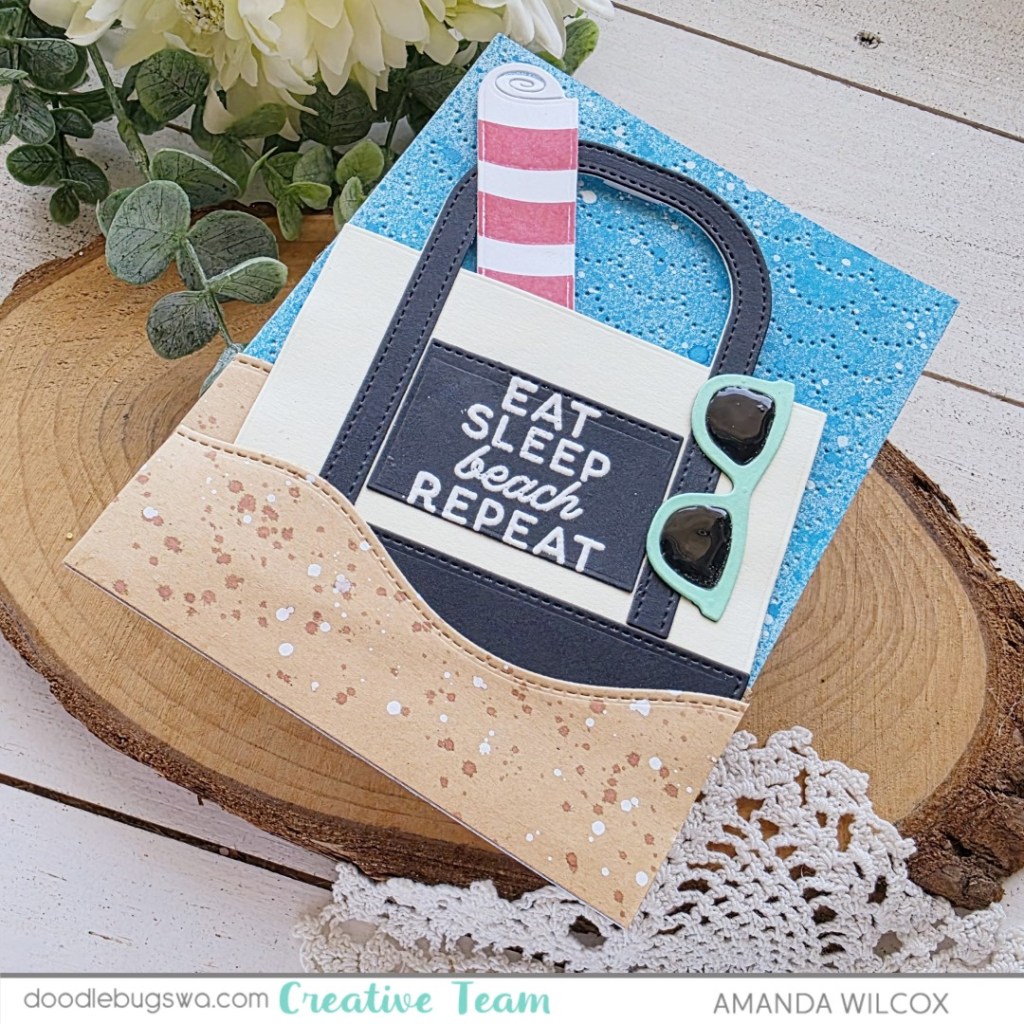
Yup, you guessed it…I’m smitten with these too! Although I went a little quicker and simpler today with a fun layout idea that only requires one image and I love it; although it was really hard to pick.
I cut one of the patterned papers from the new pad with the largest Frames & Flags die, angled it on the card front and popped it up with foam tape! To be fair, that happened after I inked up the card front and splattered it because you know I love that sort of thing.
Then I cut a circle from the Circle Frames dies and inked it up a little before popping my partying puppy up with a foam square. I added the card to my Misti so I could stamp the sentiment perfectly without stressing. Last, I finished it off with lots of sparkly Stickles on the party hat and cake frosting.
Enter to Win a $25 Prize!
One lucky winner will receive a $25 prize to spend at Newton’s Nook Designs online shop! The winner will be chosen at random from the collective blog posts featuring our new products this week. For a chance to win, leave comments on the Design Team Member Blog Posts (see list below) from Monday July 14 through Thursday July 17th. You will not know which blog has been chosen so the more you comment on the better your chances are of winning! You have until Thursday, July 17th at 9 pm ET to comment — winners will be announced on the NND blog on Friday, July 18th.
Check out all the awesome Design Team Blogs below to enter:
Newton’s Nook Designs
Donna Idlet
Larissa Heskett
Samantha Mann
Diane Morales
Farhana Sarker
Amanda Wilcox