Blog

Newton’s Nook Winter Release – Day 3

Yay!!! We’re already to day 3 of the Newton’s Nook Winter Release reveal week. It’s flying by and we’ve got more adorable things to share with you today. I hope you’re ready for more awesome roundabouts because that’s what we’ve got!
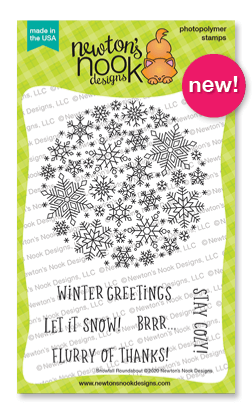
Snowman Roundabout

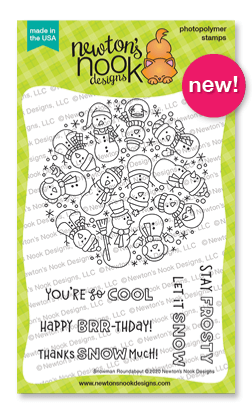
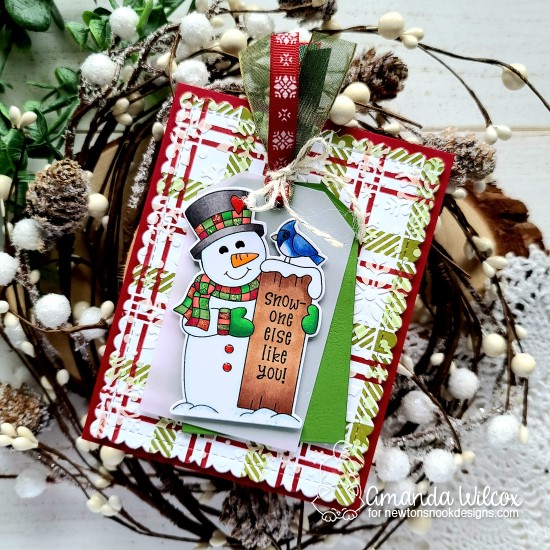
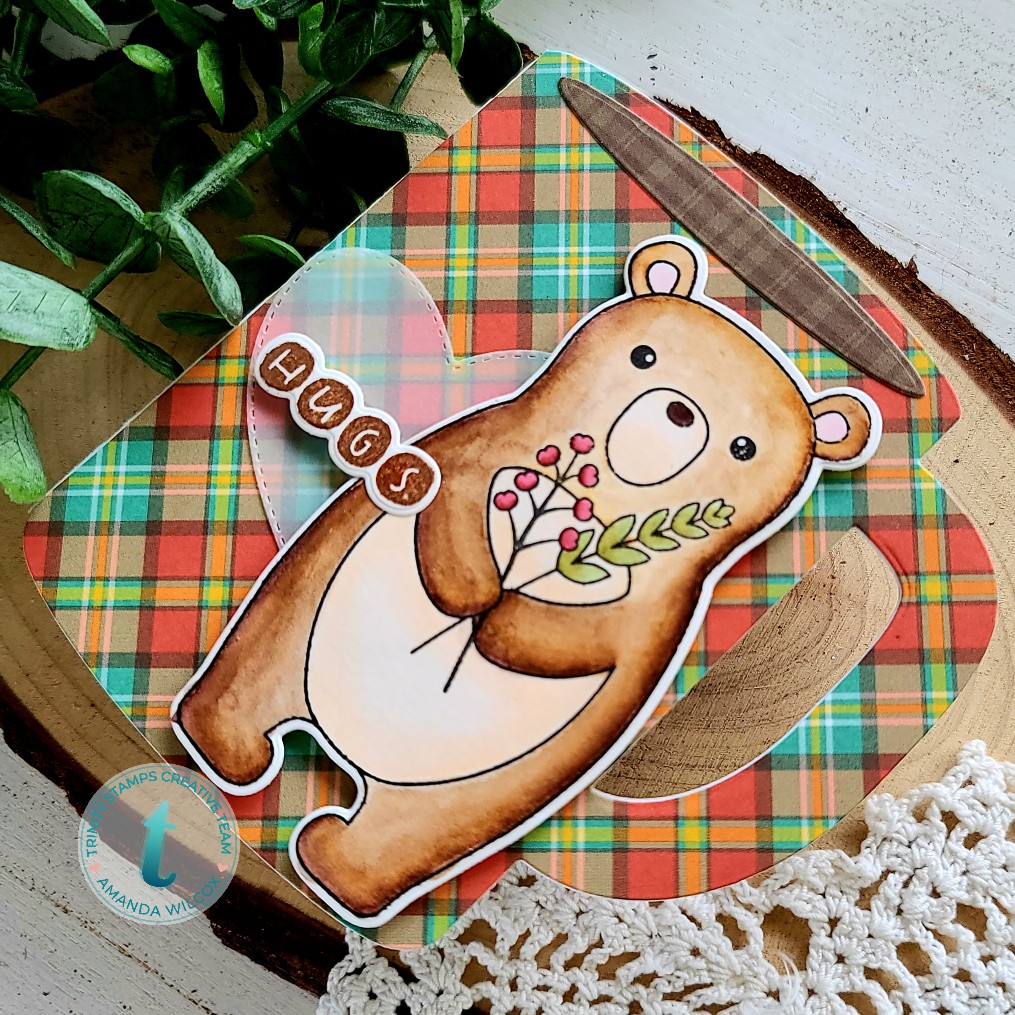
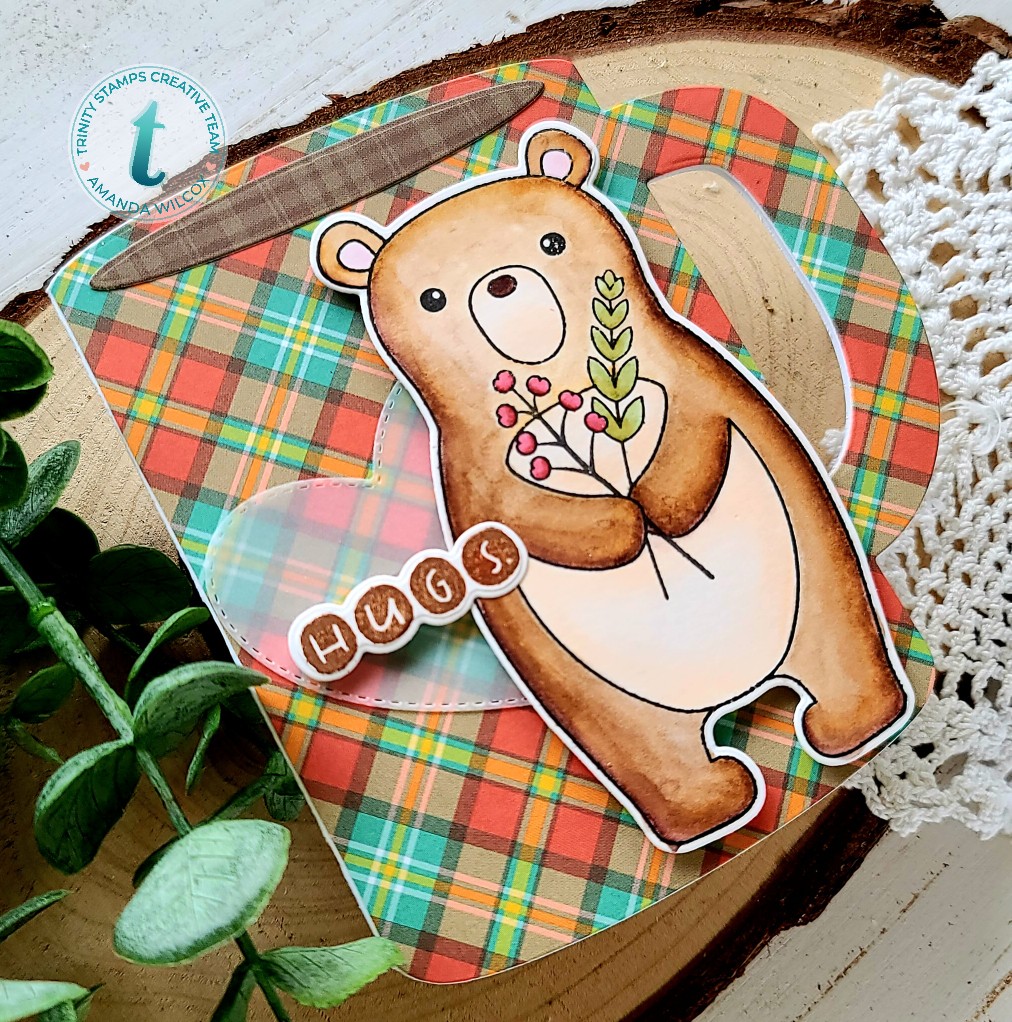
Look at all these cuties!!! They’re so fun and I love the different style of sentiments on this set too! Coloring some of the letters in is so much fun!

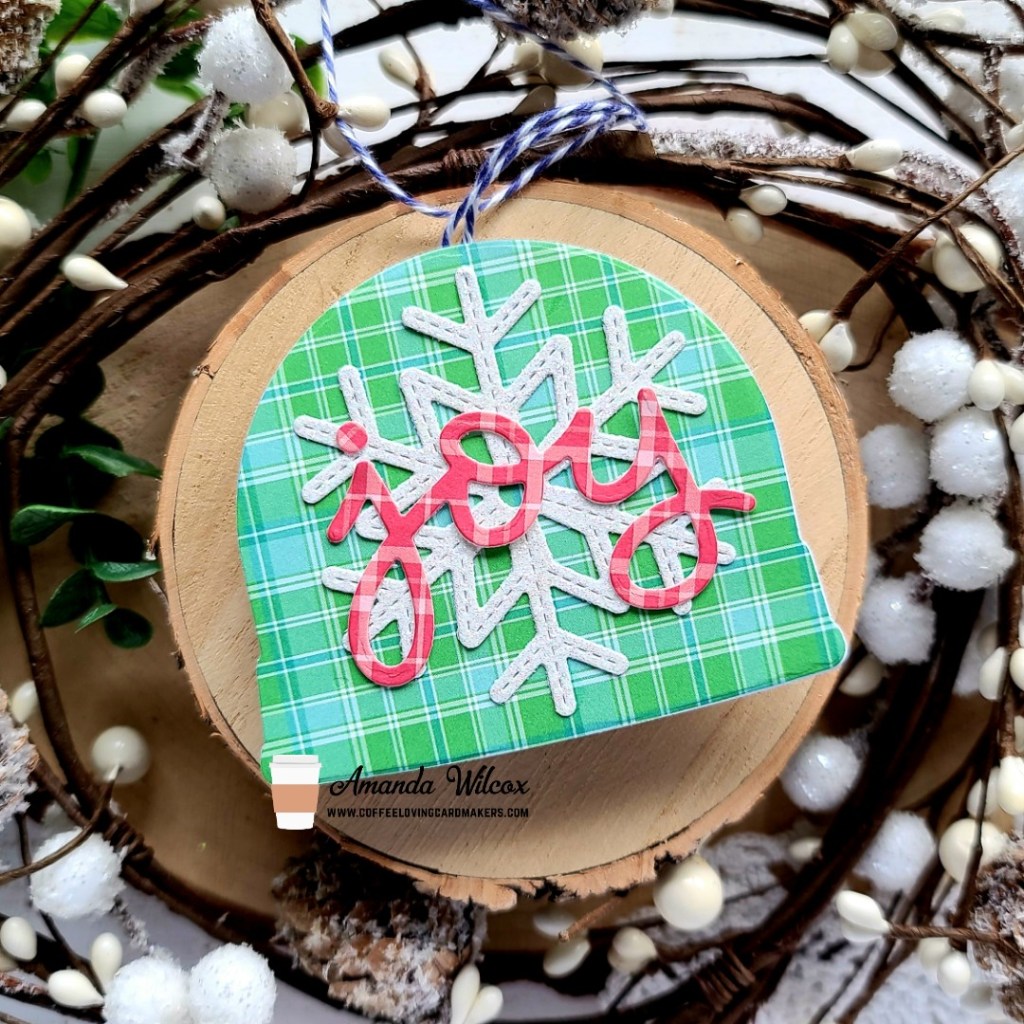
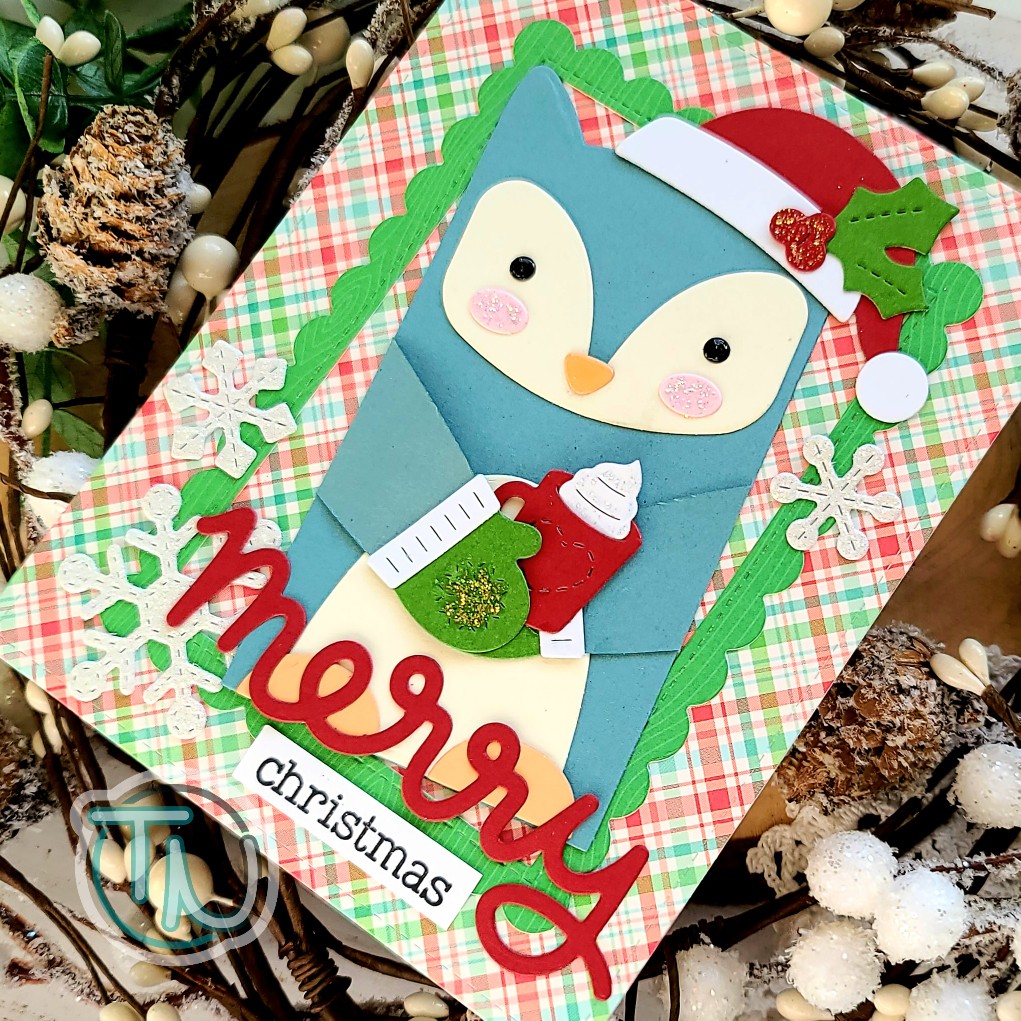
Today I decided to make a square card that really features these cute snowman images instead of using it as a background like the Snowfall Roundabout yesterday.

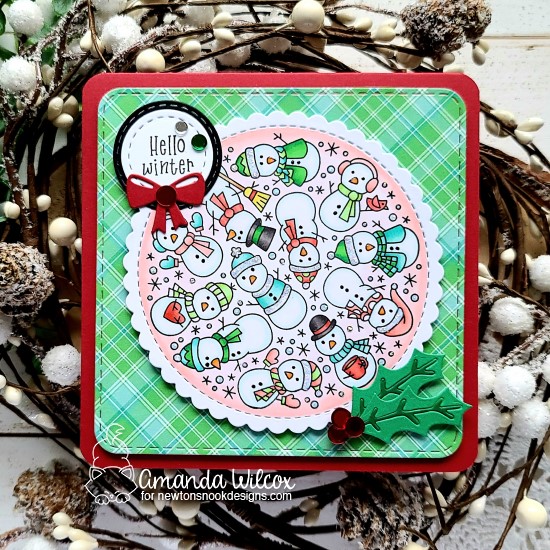
I have found that when I want to use the roundabout stamps like this, I like to die cut the scalloped circle first and stamp my image on that. I find it easier to center for some reason. Just thought I’d share that. 😉 After I did all that I colored the whole panel with copic markers and set it aside. I pulled out the Frames Squared dies and cut a plaid square from those. Then I took a circle from that and one from the Circle Frames and cut them out for my sentiment. The sentiment I chose is actually from Snowman Greetings on day 1. It went so well and fit perfectly inside the circle, I couldn’t resist.

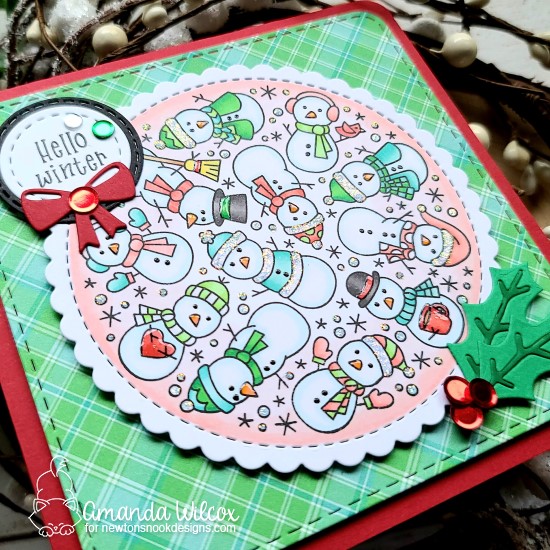
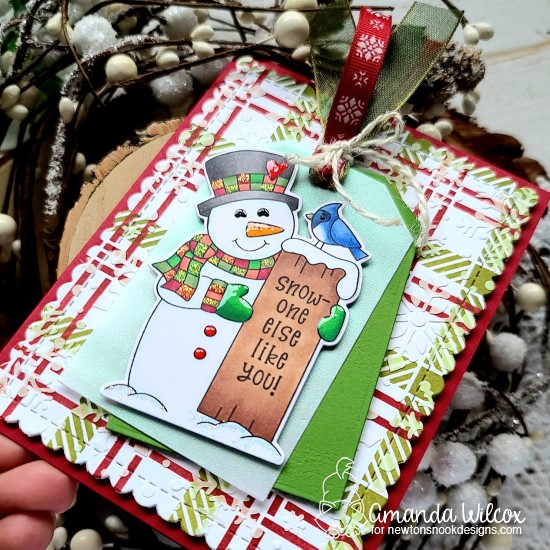
I also pulled out Pines & Holly and cut the holly and bow out. I used copics to color the veins in the holly a little darker and glued them together. Then I added some red flat sequins to the holly berried and center of the bow.

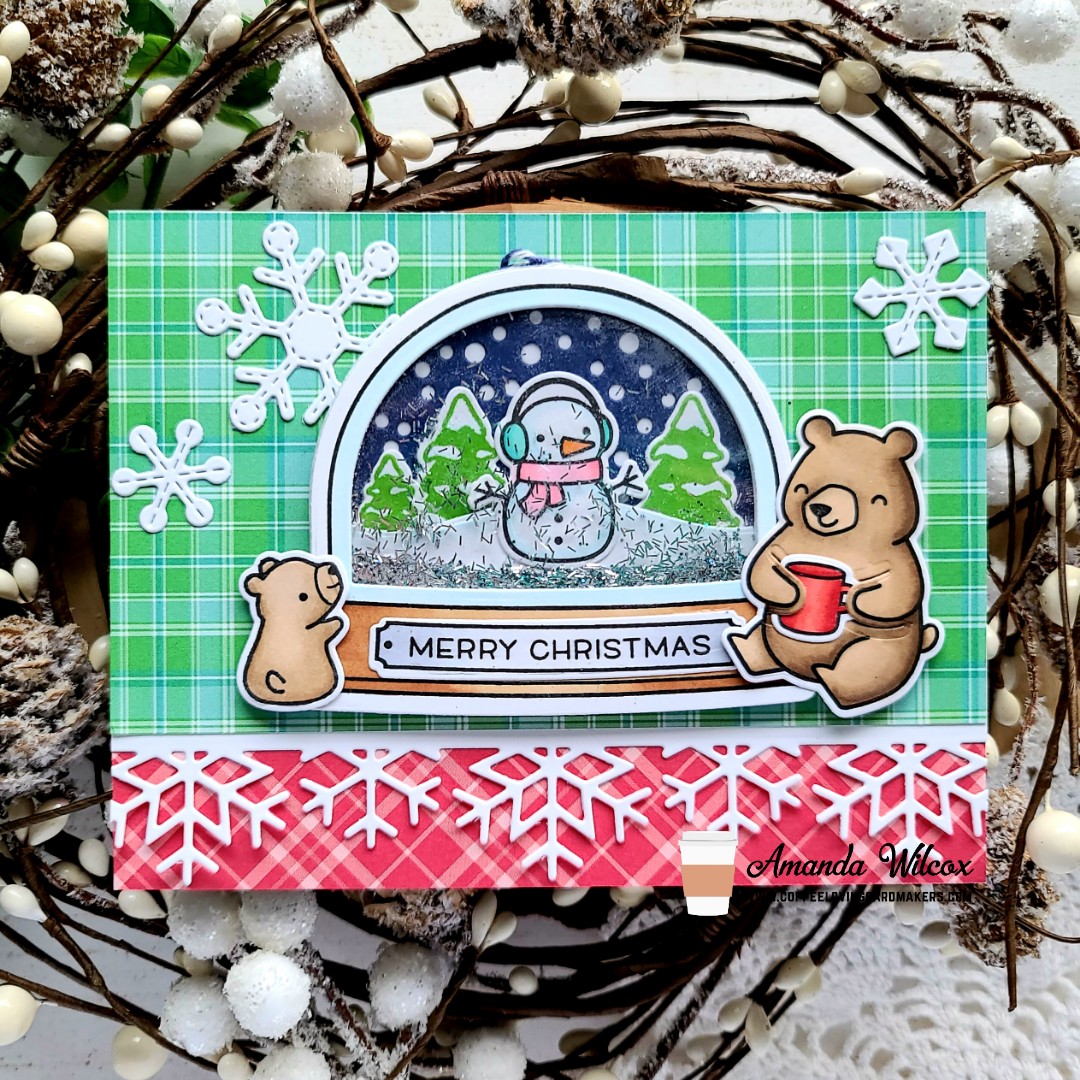
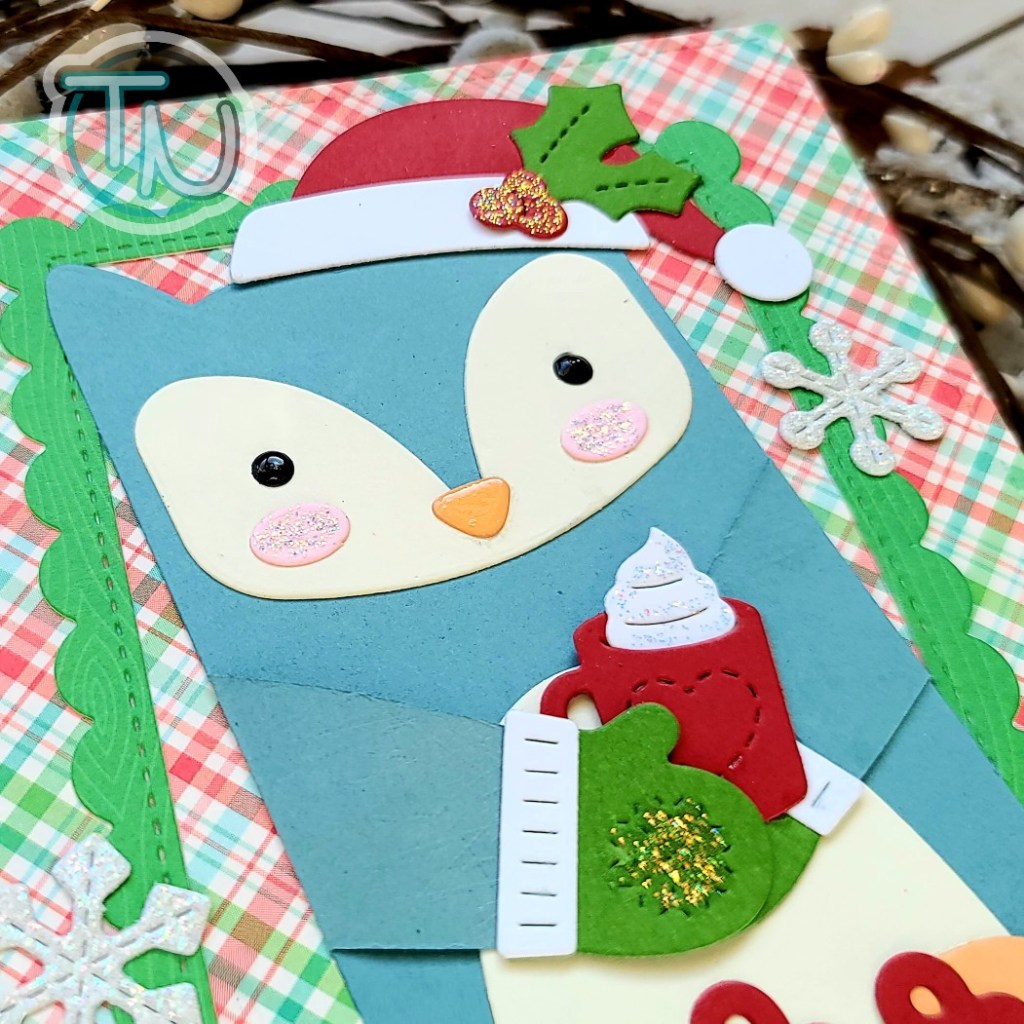
You all know I like dimension and glitter. There’s no shortage of either on this card. The plaid square is popped up on a red card base, which I rounded the corners on to match. Then the awesome Snowman Roundabout panel is popped up too. The sentiment is attached with a combo of liquid glue and foam squares to keep it level, just like the holly. Then the bow was attached with liquid glue beneath the sentiment circle.

For finishing touches I added a scattering of glossy accents on things like hat bands, coffee mugs and hearts. Then I added unicorn Stickles on things like the snow and hat brims. Finally I added black glaze pen to all the snowman eyes and buttons to give them a little shine and interest.

Would you like to win the “Snowman Roundabout” Stamp Set?This stamp set will be given away to ONE lucky winner!

Here’s how to win: Comment on the NND blog and Design Team blogs (see list below)! Thewinner will be chosen at random from the collective reveal posts. Make sure to check out each of their blogs and comment for your chance to win. You will not know which blog has been chosen so the more you comment on the better your chances are of winning! You have until Thursday November 19th at 9pm EST to comment  — winners will be announced on the blog post on Friday, November 20th. 

Check out all the awesome Design Team Blogs below to enter:

Newton’s Nook Designs
Ellen Haxelmans
Larissa Heskett
Samantha Mann
Zsofia Molnar
Maria Russell
Andrea Shell
Tatiana Trafimovich
Amy Tsuruta
Amanda Wilcox

Coffee Loving Cardmakers – Shaker Ornament and Card Combo

Hi friends! It’s time for Tuesday Tea and I’m really excited to share with you today so grab your cuppa and settle in. Today’s project is a card with a removable shaker ornament on it! I just love how it turned out!

I started my card thinking it would be a shaker snow globe with the cute bear and her coffee inside it. Once everything was colored and die cut I realized that she’s just a bit too big for my liking so I switched gears.

I used the Ready, Set, Snow set by Lawn Fawn to create the snow globe shaker and decided it would be fun to have the bears on either side. Even better, if I use foam tape behind the bears, they hold the ornament in place for a cute card front and removable ornament! I’m quite please with myself in this moment, you have no idea.

Here’s a little peeky peeky at the card and ornament separate too. I wanted to hide something behind but nothing I tried worked for me so I let go and left it how it is. I did, however, decorate the back of the shaker so it doesn’t matter how it hangs on the tree.

Simple but super cute and the glitter paper I used for the snowflake will catch the lights on the tree nicely I think.

How are your Christmas cards coming along? I still need to come up with one of those simple, mass produce-able designs but things like today’s card keep popping in my head and I can’t resist!

I appreciate you sharing your time with me. Have a fabulous day!

Newton’s Nook Winter Release – Day 2

Welcome to day 2 of Newton’s Nook Winter Release reveals! Eeeekkk!! So much fun in store to share with you today! I just love it! Today we’re sharing:

Snowfall Roundabout

These roundabout stamps are so much fun to create with! They make great backgrounds and focal points alike. They’re super versatile and the different themes are so much fun! I love all of these snowflakes and the sentiments are perfect too!

I decided to make a slimline card for today’s card. I started by inking my panel up with distress inks in chipped sapphire, blueprint sketch and salty ocean. Then I spritzed it with water and flicked pearl watercolor all over it. I am impatient so I hit it with my heat tool to help it dry. Then I put the panel in my MISTI and placed the stamp in the center. I stamped it with VersaMark ink and heat embossed it with white embossing powder. Then I moved it over and stamped each side too. Once those were done I trimmed the panel down to 3×8.

Next, I pulled out the new Dear Santa set, stamped one of the images and colored him with my copics. I used the coordinating dies to cut him out and moved on to my sentiment. I die cut one of the Banner Trio banners and stamped two sentiments from the Snowfall Roundabout together. The inked panel is popped up on a white card base with foam tape and then the image and banner are popped up on that.

For finishing touches on my card, I added glossy accents to Santa’s gloves and boots and white gel pen accents on other parts of the image. Then I finished the whole design off with a scattering of gems from my stash to add a little sparkle to those beautiful snowflakes.

Would you like to win the “Snowfall Roundabout” Stamp Set?This stamp set will be given away to ONE lucky winner!

Here’s how to win: Comment on the NND blog and Design Team blogs (see list below)! Thewinner will be chosen at random from the collective reveal posts. Make sure to check out each of their blogs and comment for your chance to win. You will not know which blog has been chosen so the more you comment on the better your chances are of winning! You have until Thursday November 19th at 9pm EST to comment  — winners will be announced on the blog post on Friday, November 20th. 

Check out all the awesome Design Team Blogs below to enter:

Newton’s Nook Designs
Ellen Haxelmans
Larissa Heskett
Samantha Mann
Zsofia Molnar
Maria Russell
Andrea Shell
Tatiana Trafimovich
Amy Tsuruta
Amanda Wilcox

Newton’s Nook Winter Release – Day 1

Hello everyone!!! It’s time for another fabulous Newton’s Nook reveal week! We’re celebrating the winter release and I’m really excited about all of it! There’s snow everywhere and I know you’re going to love it all! Today we’re sharing:

Snowman Greetings

I just love this set with that cute snowman holding his sign and how all the sentiments fit perfectly inside it! It’s genius and so much fun to color and create with.

For my card today, I colored stamped my snowman and then added the sentiment to the sign. I colored him with my copics and used the coordinating dies to cut him out. I die cut the fancy edge tag from green cardstock and iridescent vellum and popped my snowman up with foam squares on the vellum. I threaded some ribbons through the tag holes and tied them together with twine.

For my background, I used red and green dye inks and blending brushes over the plaid stencil. Then I put the snowfall stencil over that and used texture paste. Once it was dry I die cut it with the Frames & Flags scalloped rectangle.

The rectangle is popped up on a red card base and the tag is popped up on that. Then I moved on to finishing touches. There’s a lot going on but I like to add shimmer and shine where I can so I put glossy accents on the snowman’s eyes, carrot nose, heart and buttons. I used black glaze pen on the bird’s eye and glossy accents on his beak. Then I took unicorn Stickles to the snowman’s hat and scarf randomly.

Would you like to win the “Snowman Greetings” Stamp Set? This stamp set will be given away to ONE lucky winner!

Here’s how to win: Comment on the NND blog and Design Team blogs (see list below)! Thewinner will be chosen at random from the collective reveal posts. Make sure to check out each of their blogs and comment for your chance to win. You will not know which blog has been chosen so the more you comment on the better your chances are of winning! You have until Thursday November 19th at 9pm EST to comment  — winners will be announced on the blog post on Friday, November 20th. 

Check out all the awesome Design Team Blogs below to enter:

Newton’s Nook Designs
Ellen Haxelmans
Larissa Heskett
Samantha Mann
Zsofia Molnar
Maria Russell
Andrea Shell
Tatiana Trafimovich
Amy Tsuruta
Amanda Wilcox

Miss Ink Stamps – I Believe Sneak Peek

Hey friends! I hope your weekend is going well. I’m popping in today with a little silly sneak peek with goodies come from Miss Ink Stamps the end of this week. It ranges from silly to gorgeous, and there’s sure to be something for everyone!

I used the scene builder stencil to create my sky for this super fun card! I added my sentiment to the center because it’s really the focal point of this fabulous card! Then I added all those great undies to a clothes line.

I know the colors don’t lend themselves to a Christmas card so I thought it would be fun to accentuate that with some clay Santa embellishments. Aren’t they great? I just love this set so much!

Official sneak peeks of the new Miss Ink Stamps release start on Nov. 18 so be sure to watch their Instagram for those! The release will be available for purchase on Saturday, Nov. 21.

I appreciate you sharing your time with me. Have a fabulous day!

Pink & Main – Congrats! Sneak Peeks

Hey friends! I’ve got some fun sneak peeks for you from Pink & Main today! The new release is coming quick and it’s wonderful!

Check out that fantastic slim line plaid background die! It’s totally swoon worthy! There are also some gorgeous florals coming your way and lots of sentiments!

I heat embossed the florals today and watercolored them with my Zig markers and a waterbrush pen. It will forever be my favorite style for flowers. I used distress oxides on my background panel in abandoned coral and wild honey.

I hope you enjoyed today’s card! Stay tuned for the whole release from Pink & Main! You’re going to love it!

I appreciate you sharing your time with me. Have a fabulous day!

Trinity Stamps – Caffeinated Hugs

Hi again! I’m popping in one more time today for my final farewell for the 2020 Fall | Winter Coffee Lovers Hop! Today is the final day to link up your caffeinated projects for a chance to win one of the incredible prizes up for grabs!

For today’s card, I played with my Zig markers and watercolored this sweet Trinity Stamps Blessing Bear image. I used the coordinating dies to cut him out, then stamped the sentiment with some Lawn Fawn walnut ink and used the dies to cut that out too.

I die cut the coffee mug card from white cardstock and then cut the front half from plaid patterned paper as well. I just trimmed off anything over the fold like and adhered it to the white mug shaped card base. I cut the die that makes it look like the coffee in the mug from brown plaid and glued it down too.

There’s a great stitched heart in the Slimline Frame and Fold die set that I cut out of vellum too. Then I used a combination of foam squares and liquid glue to adhere all my pieces.

I just love this bear image. I think he’s the sweetest and was happy to include him in my collection of caffeinated inspiration for you all this week.

I hope you enjoyed all the inspiration and found a moment to craft along and link up some projects.

I appreciate you sharing your time with me. Have a fabulous day!

Birch Press Design – Fall Thanks

Happy Friday everyone! It’s been a long week and I’m so excited for the weekend. For today’s card, I’m sharing process photos on the Birch Press Design blog how to create this fall themed Thanks card. With Thanksgiving looking a lot different this year, I thought it would be nice to mail some thankful cards to friends and family to let them know I’m thinking of them.

I paired some fun ink blending with distress oxides with mirrored cardstock on this layered die cut card. For a little extra interest I even added spritzed water to the distress oxides and flicked gold watercolor too. Seriously people, I love making a mess in the craft room!

Here’s a different look at it tipped in the light. That mirrored cardstock is just fabulous and adds so much to the layers. Don’t you think?

How is Thanksgiving looking for you this year? I’m curious how many people are altering their celebrations and how creative are you getting. Please share in the comments.

I appreciate you sharing your time with me. Have a fabulous day!

Trinity Stamps – Holiday Cheer

Hey friends! I’m over on the Trinity Stamps blog today with a bit more caffeinated inspiration for the 2020 Fall | Winter Coffee Lovers Hop that’s still going on through tomorrow. So get your crafty fingers working and link up some projects for a chance to win one of the amazing prizes up for grabs!

I had a little relaxing time watercoloring with my Zig markers the other night and am so thrilled with how this card turned out. It’s much more subtle than my typical color palette…I’m amazed that I was able to keep it chill. Haha!

After I colored that sweet polar bear and her cup of coffee (or hot cocoa if you prefer) from Have an Ice Day, I used the coordinating dies to cut the images out. I die cut a curved banner from the Slimline Scalloped Panels and Banners die set and stamped my sentiment on it.

I used some Tombow brush markers and an acrylic block on a piece of watercolor paper to create my ink smooshed background in colors that went with the images I colored earlier. After that was dry, I trimmed it down to 4×5.25 and popped it on a blue card base with foam tape. I added foam squares to the back of my banner and images and popped them in place next.

For finishing touches, I added a few Rainbow Blizzard embellishments scattered around the scene and on the banner too. I love having them flank the sentiment.

Have you ever been ice skating? I used to go a lot as a kid but we don’t have a rink anymore. This card makes me wish we did. I just love it.

I appreciate you sharing your time with me. Have a fabulous day!

Lawn Fawn – Critter Christmas

Hey there! I’m back with my daily entry and inspiration for the 2020 Fall | Winter Coffee Lovers Hop! I had some fun die cutting last night and playing with my Lawn Fawn goodies, which I don’t do as often anymore.

This card is pretty straight forward, die cutting my critter hugger elements and the holiday add on elements too and then I glued it all together. I used the scalloped stitched frames in green woodgrain over the plaid stitched rectangle. Then I pulled out the stitched snowflakes in white glitter paper for a little extra interest. I finishing things off with scripty merry and stamped Christmas from Cheery Christmas and cut it into a strip.

For finishing touches I added Unicorn Stickles to the mittens, whipped cream, holly berries and owl’s cheeks. Then I added glossy accents to the owl’s eyes and beak.

You can guarantee I’ll be playing with these cuties again very soon! I think maybe some shaped cards for Thanksgiving place markers would be a blast! Writing a thankful message inside each one! Wouldn’t that be great?

I appreciate you sharing your time with me. Have a fabulous day!