This is so exciting! Newton’s Nook is turning 7 years old and we’re celebrating with a sale and a fun hop!
So go ahead and treat yourself…but first keep scrolling to check out my card share and then hop along and comment on all the rest of the design time for your chance to win too! Now, on with the show! Get your snorkel, you’re gonna need it!
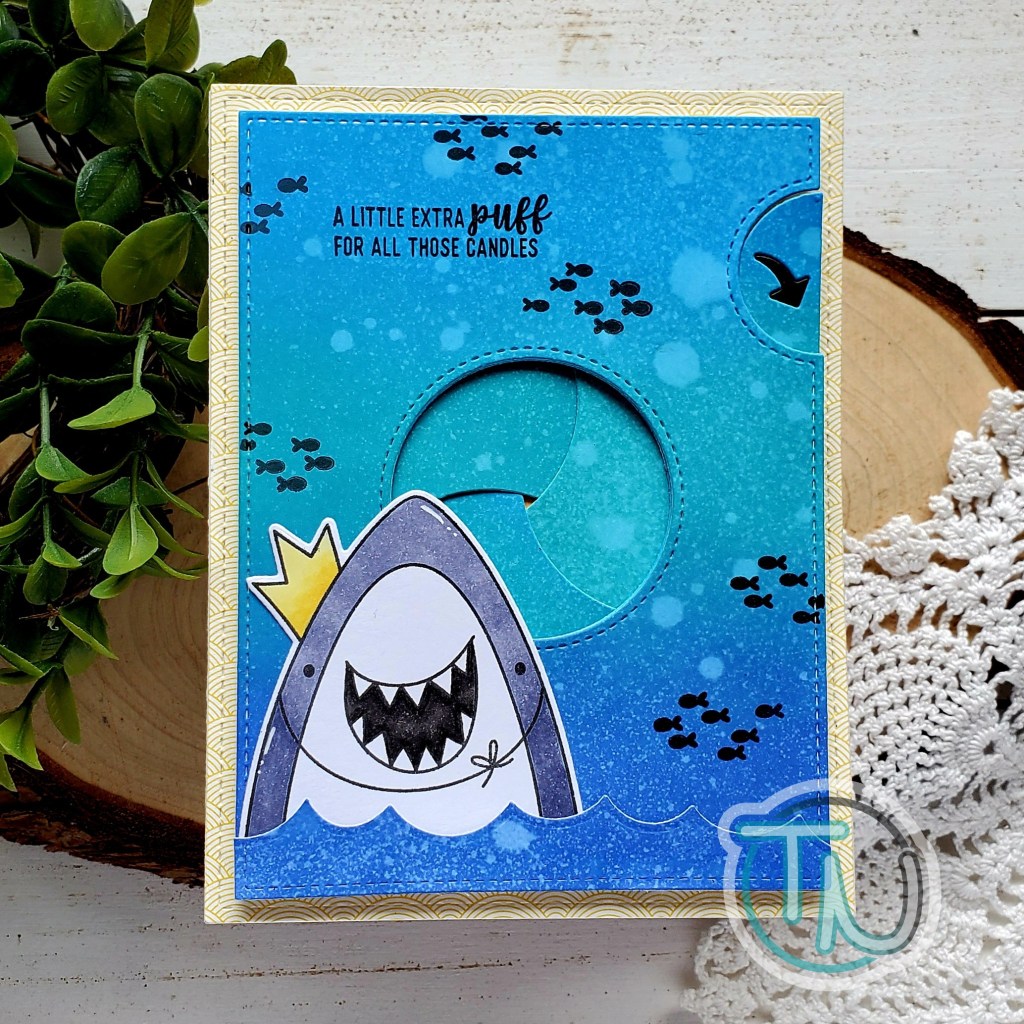
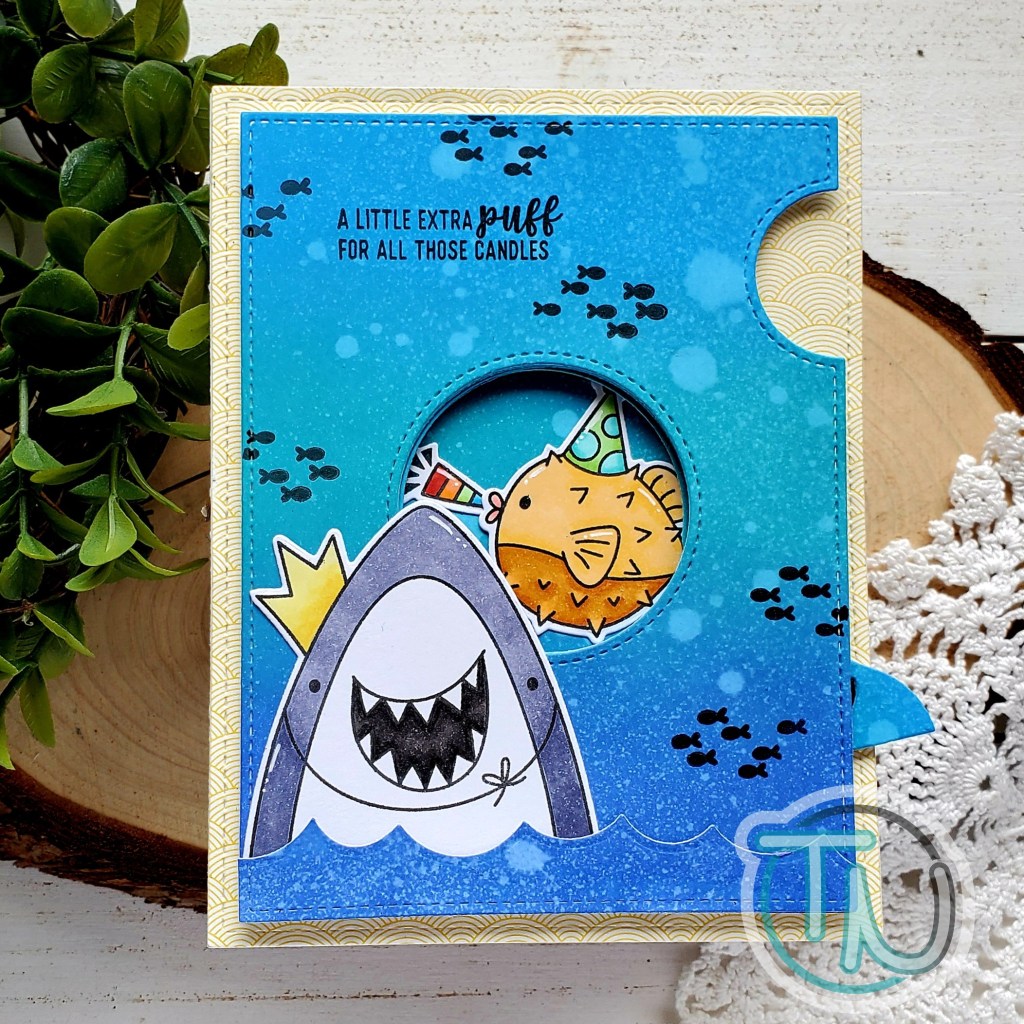
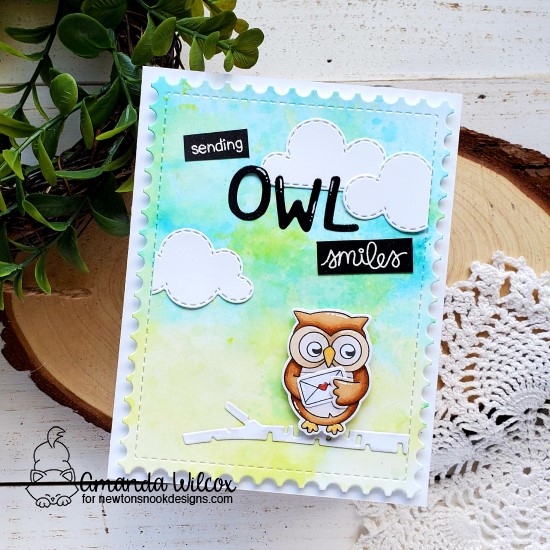
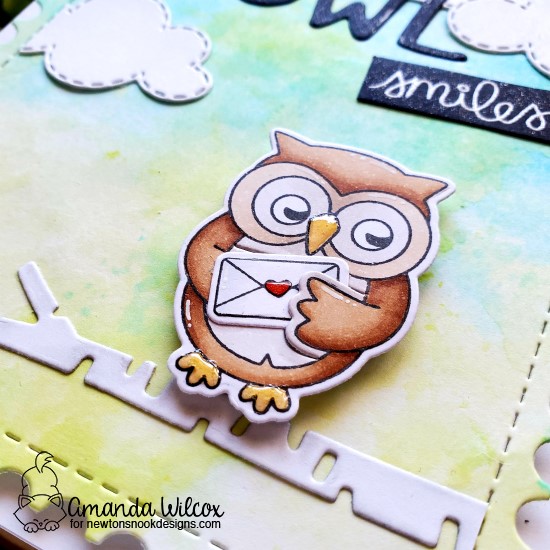
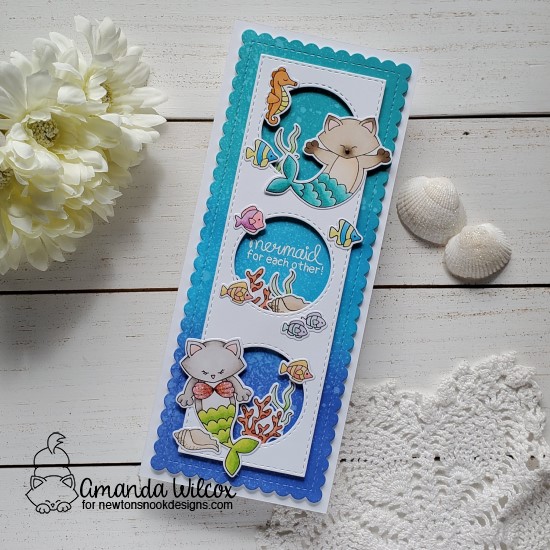
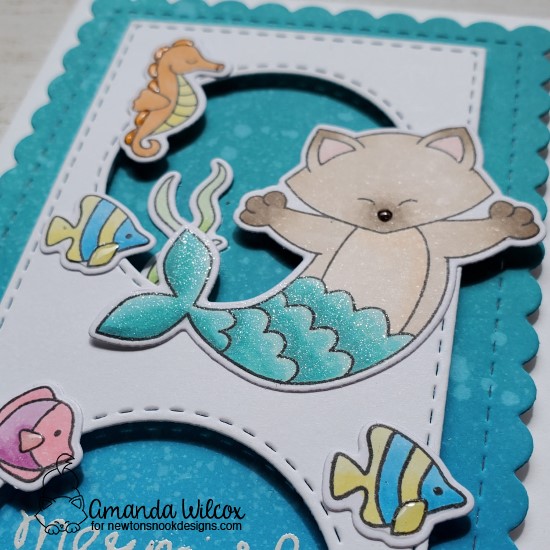
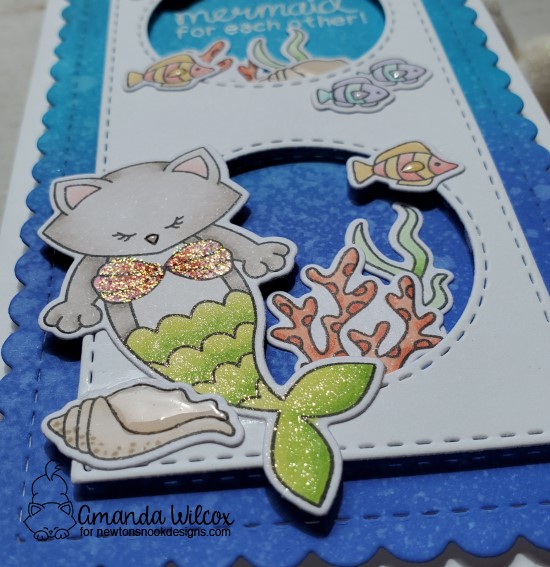
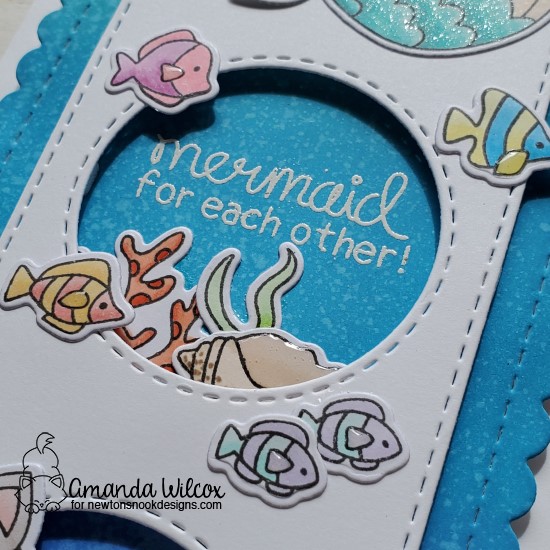
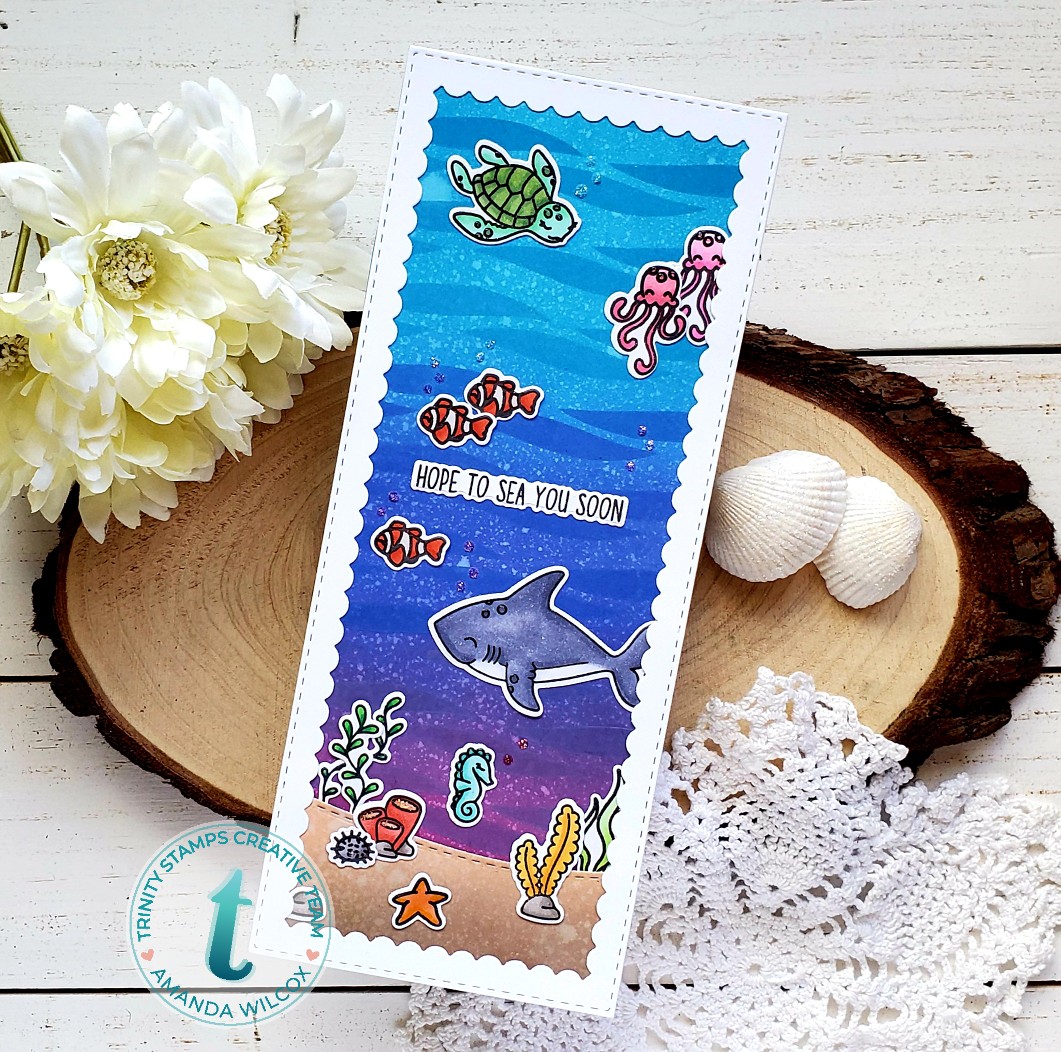
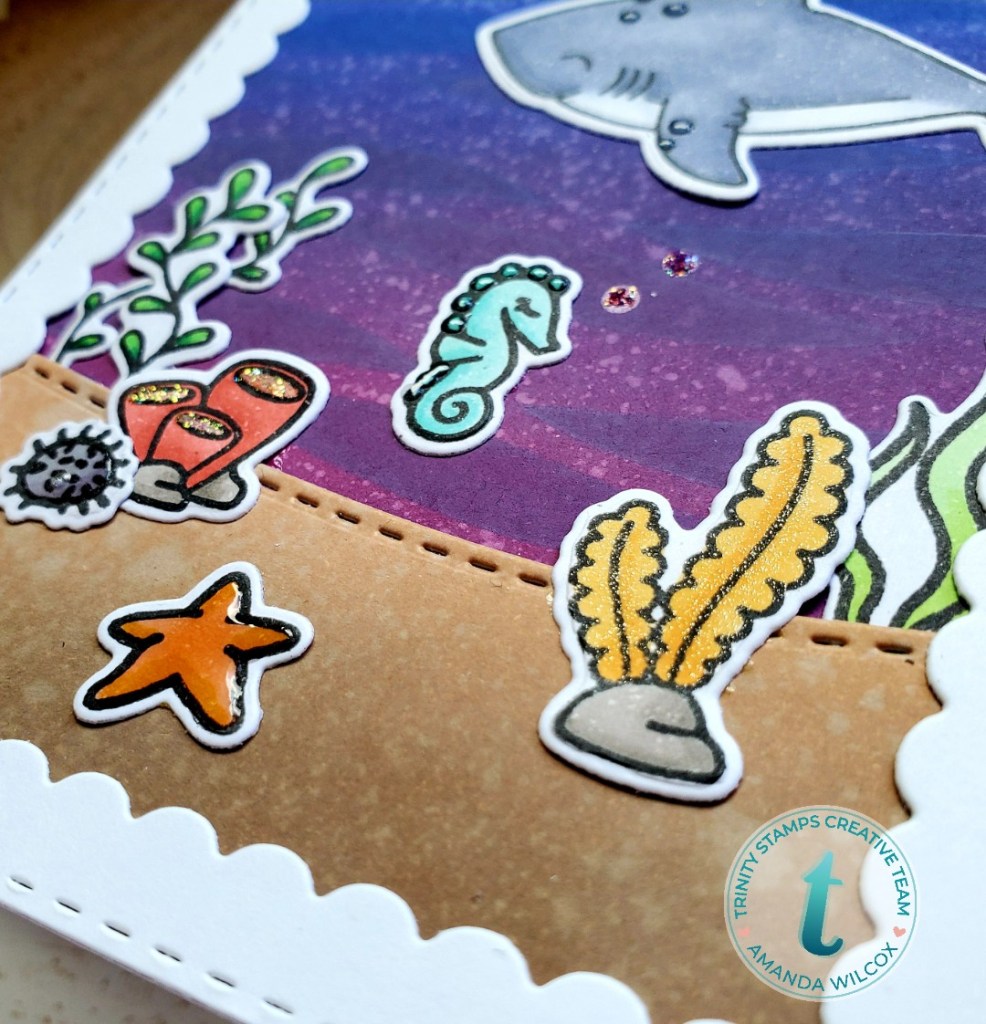
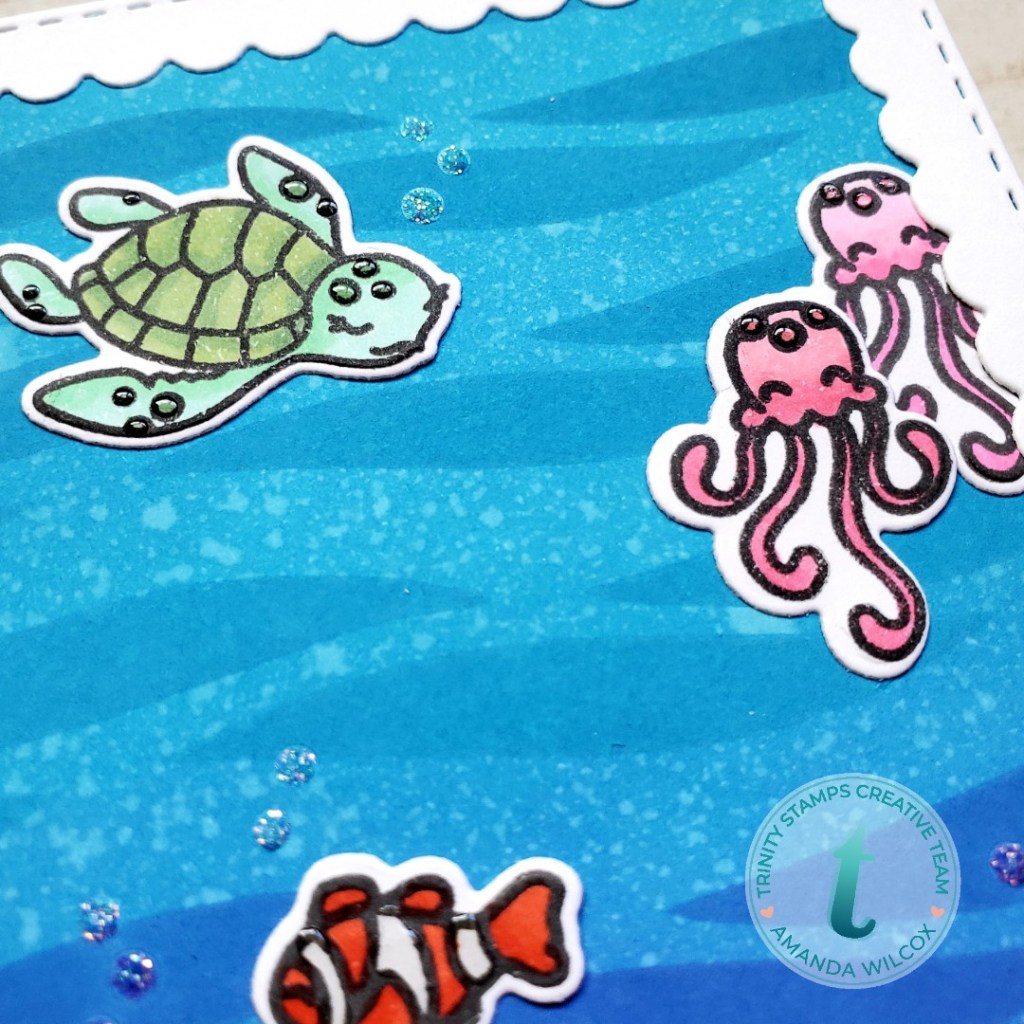
I knew that I wanted to create something summery and beachy so I grabbed my Scuba Newton and Purr-maid Newton stamp sets and started brainstorming. I thought a slimline would be extra fun so I die cut a scalloped panel with the Slimline Frames and Portholes set and inked it up with distress oxides in blueprint sketch, salty ocean and peacock feathers and spritzed it with water. Then I cut a white panel with the porthole portion and set both of those aside to work on images.
I chose my images from the 2 sets, inked them up and started coloring with my copics. Once those were complete I cut them out with the coordinating dies and arranged them on my card to make sure I had enough to fill in the scene.
Once everything was laid out, I used liquid glue to adhere it to either the white panel or the inked panel. After everything was in place, I flipped the white panel over and covered it with foam squares. Using this as a guide, I lined up my sentiment, stamped and heat embossed it before adhering the panel down. I took the whole thing then and added it to a 3.5×8.5 inch card base with foam tape for extra dimension.
Then I moved on to finishing touches. I used unicorn Stickles on the purr-maids seashells and Wink of Stella glitter brush on both of their tails. Then I added some glossy accents to the kitty noses, insides of the seashells in the scenes and the fins on the fish for just a little shine here and there.
I just love the colors and how bright and happy this turned out! They just make you smile.
Celebrate with us and enter to win!
To celebrate 7 years, Newton’s Nook Designs is giving away a $20 store credit to spend in their online shop to 7 lucky winners!
Here’s how to win: Comment on the NND Design Team blogs (see list below)! The winner will be chosen at random from the collective blog hop posts. Make sure to check out each of their blogs and comment for your chance to win. You will not know which blog has been chosen so the more you comment on the better your chances are of winning! You have until Monday, July 20 at 9 p.m. EST to comment. Winners will be announced on NND blog post on Tuesday, July 21, and will need to contact us to claim their prize so make sure you check back to see if you’ve won!
Check out all the awesome Design Team Blogs below to enter:
Newton’s Nook Designs
Ellen Haxelmans
Larissa Heskett
Samantha Mann
Zsofia Molnar
Maria Russell
Andrea Shell
Tatiana Trafimovich
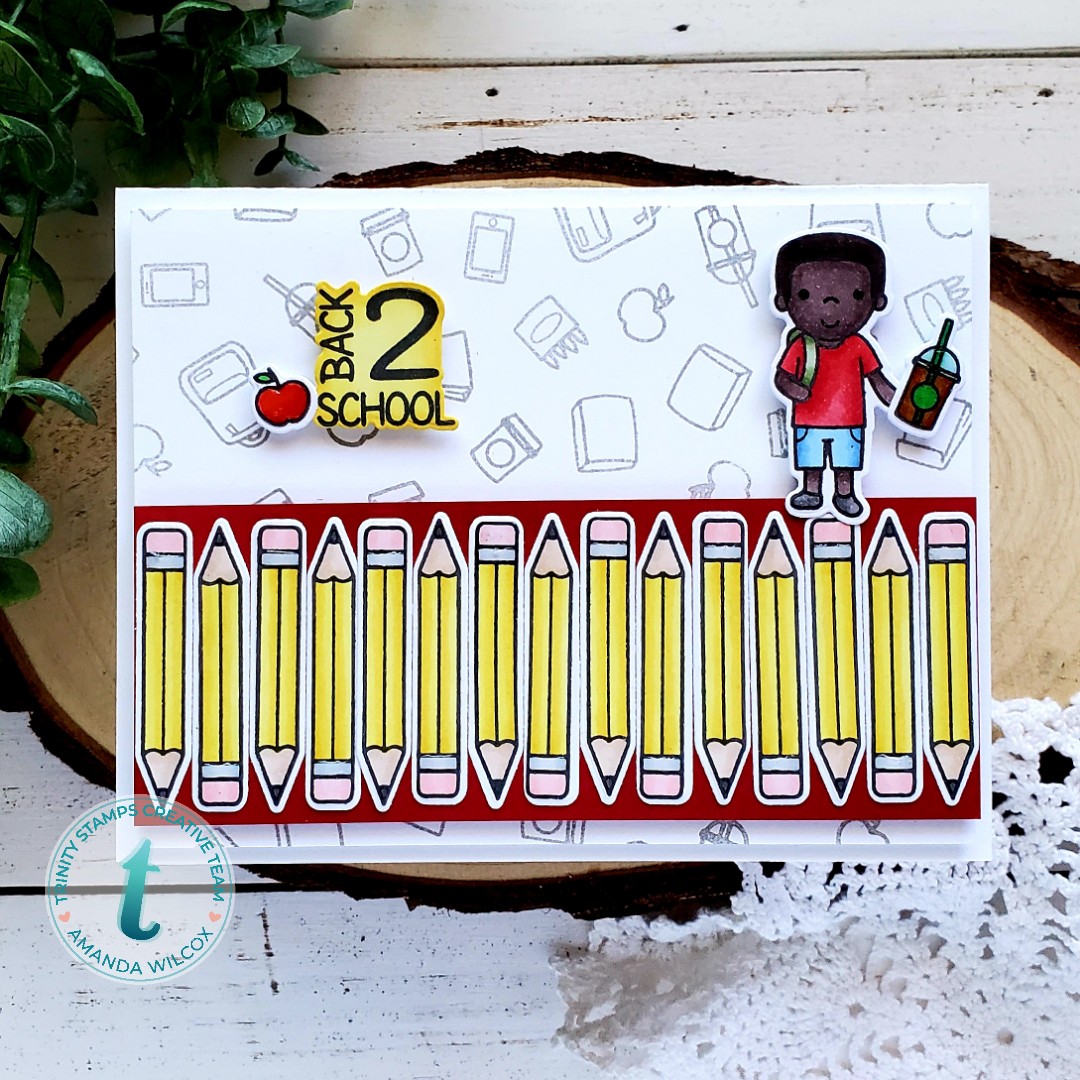
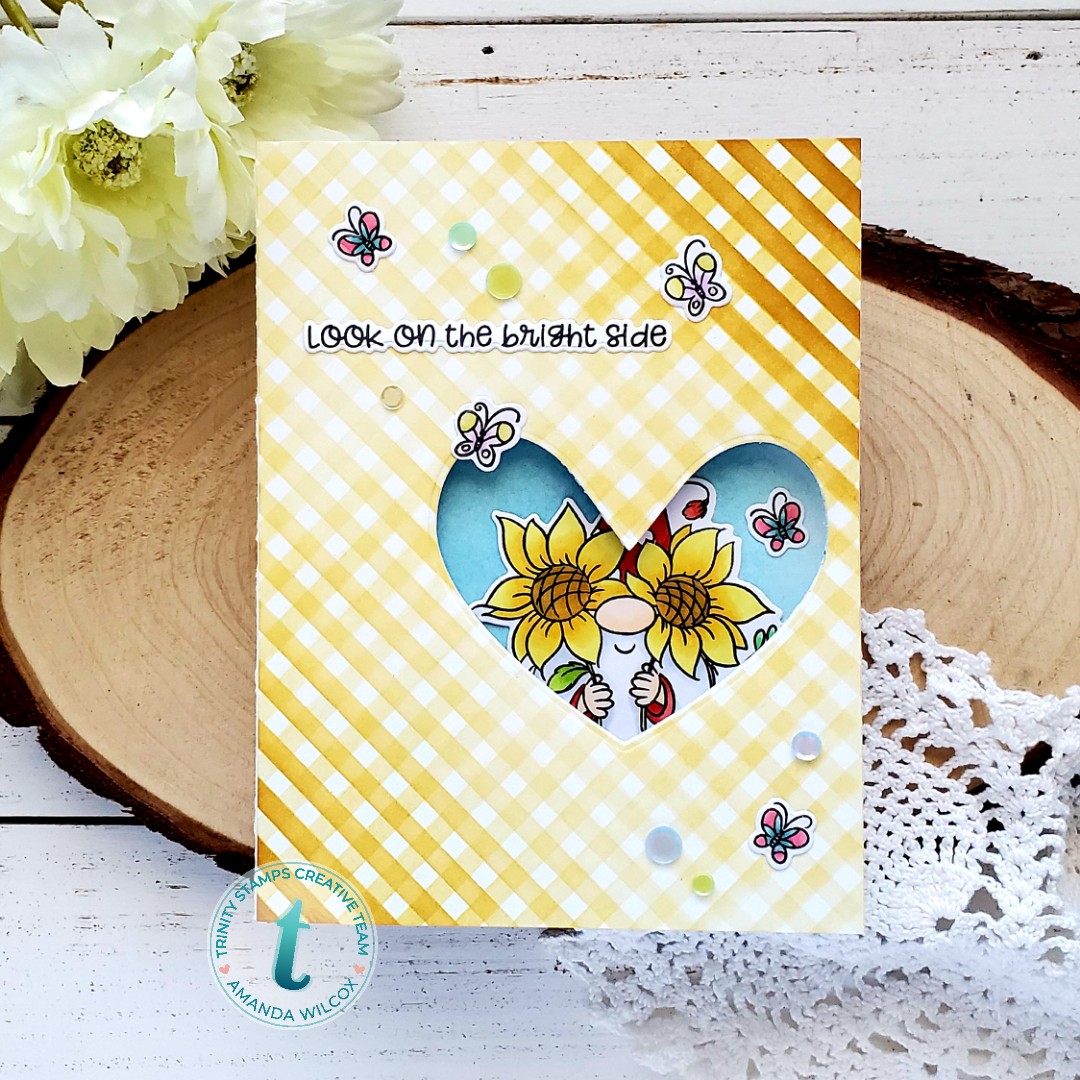
Amanda Wilcox