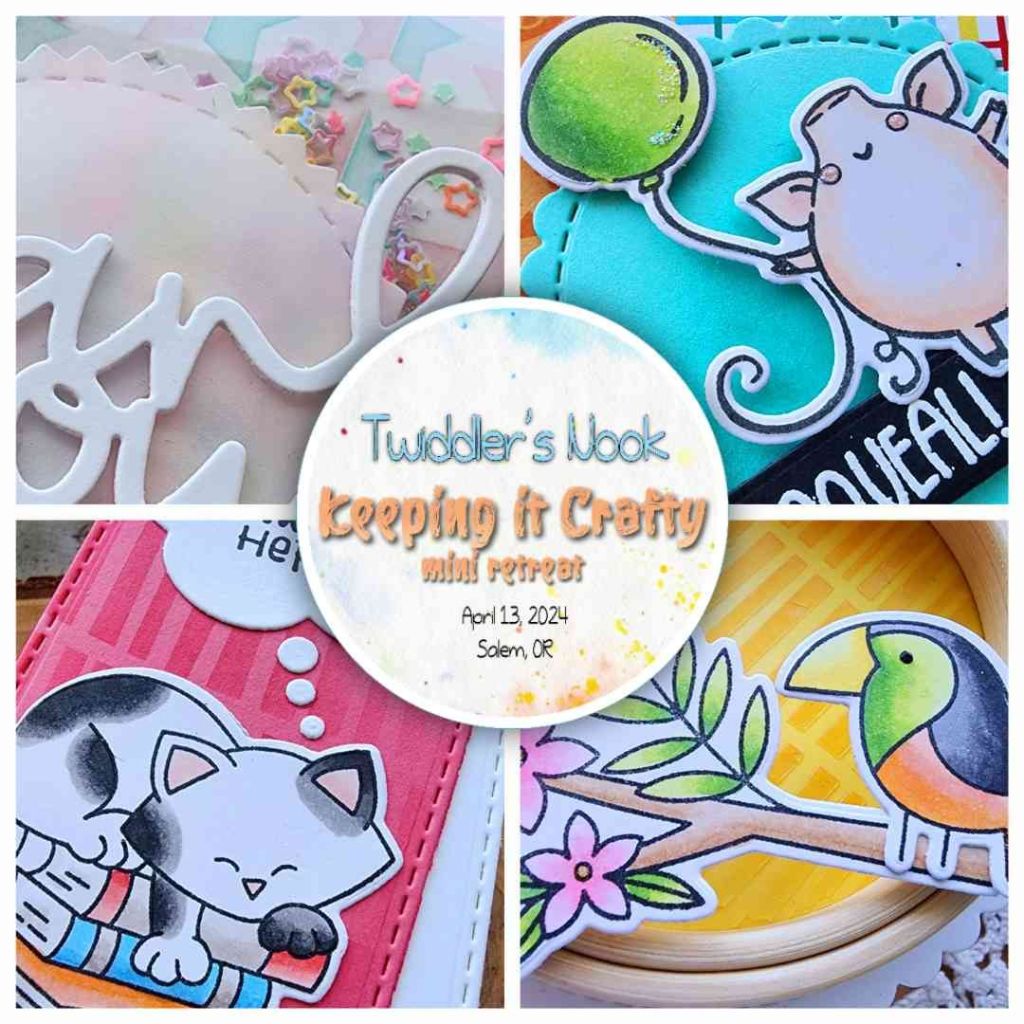
Hey friends! The Newton’s Nook Back to Basics release is available in the shop and we’re having an Instagram Hop to celebrate! I hope you’ll head over and join us. It’ll be packed with inspiration!

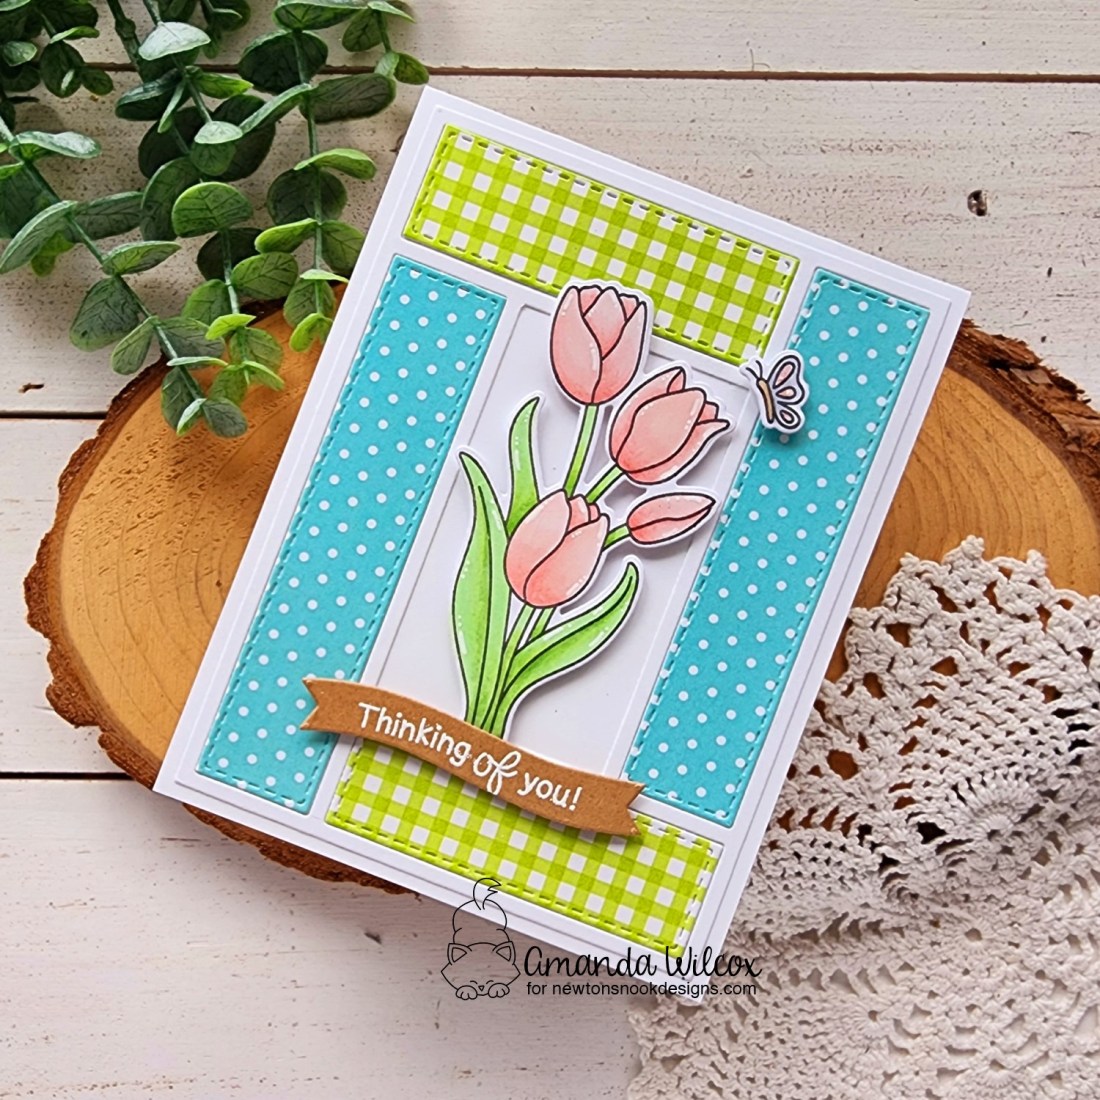
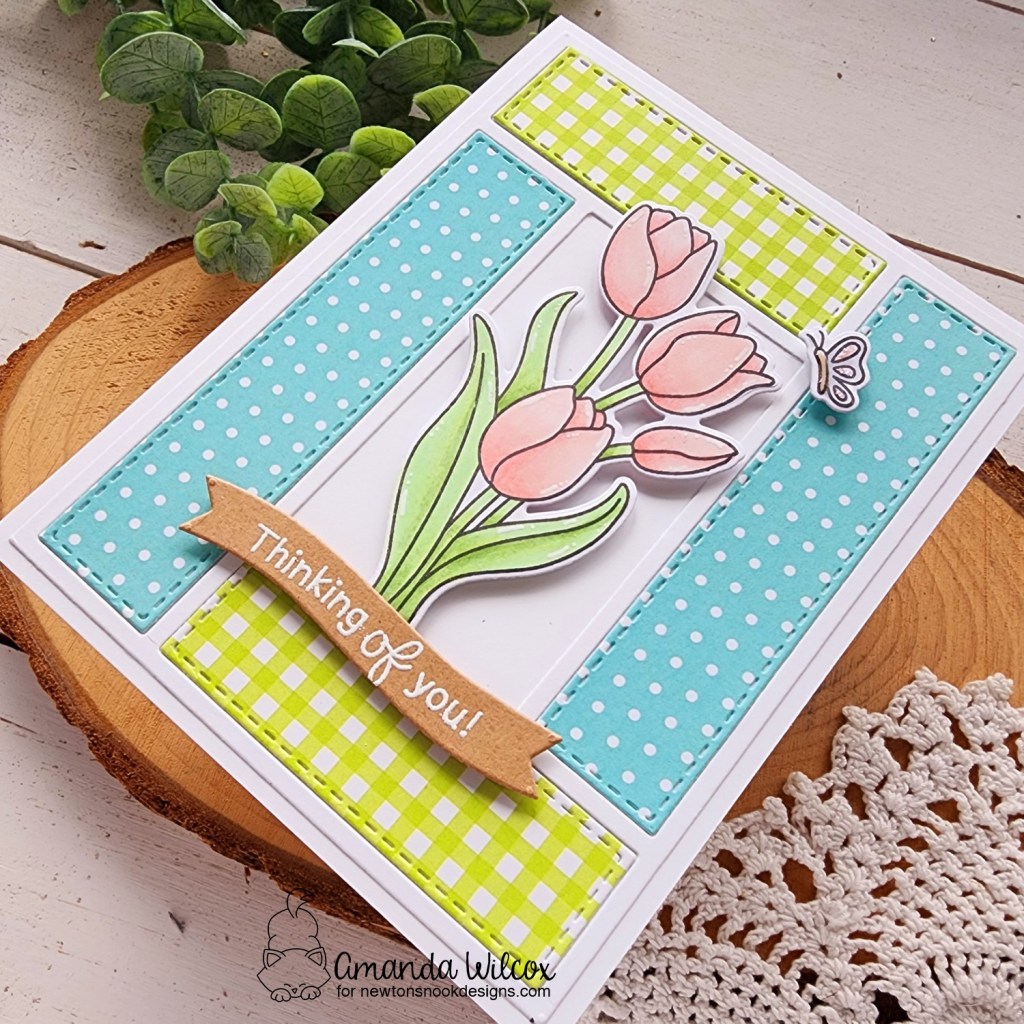
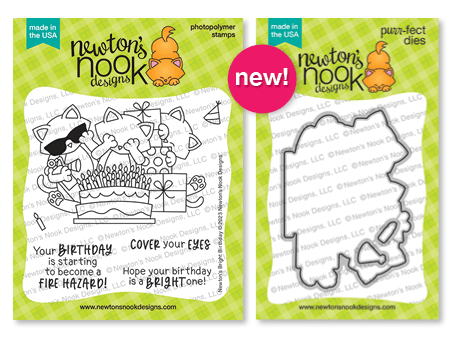
I always have fun finding medium size dies to create this type of layout with so when I found that the cool notched corner rectangle in this new die set was perfect, I had to test it out.
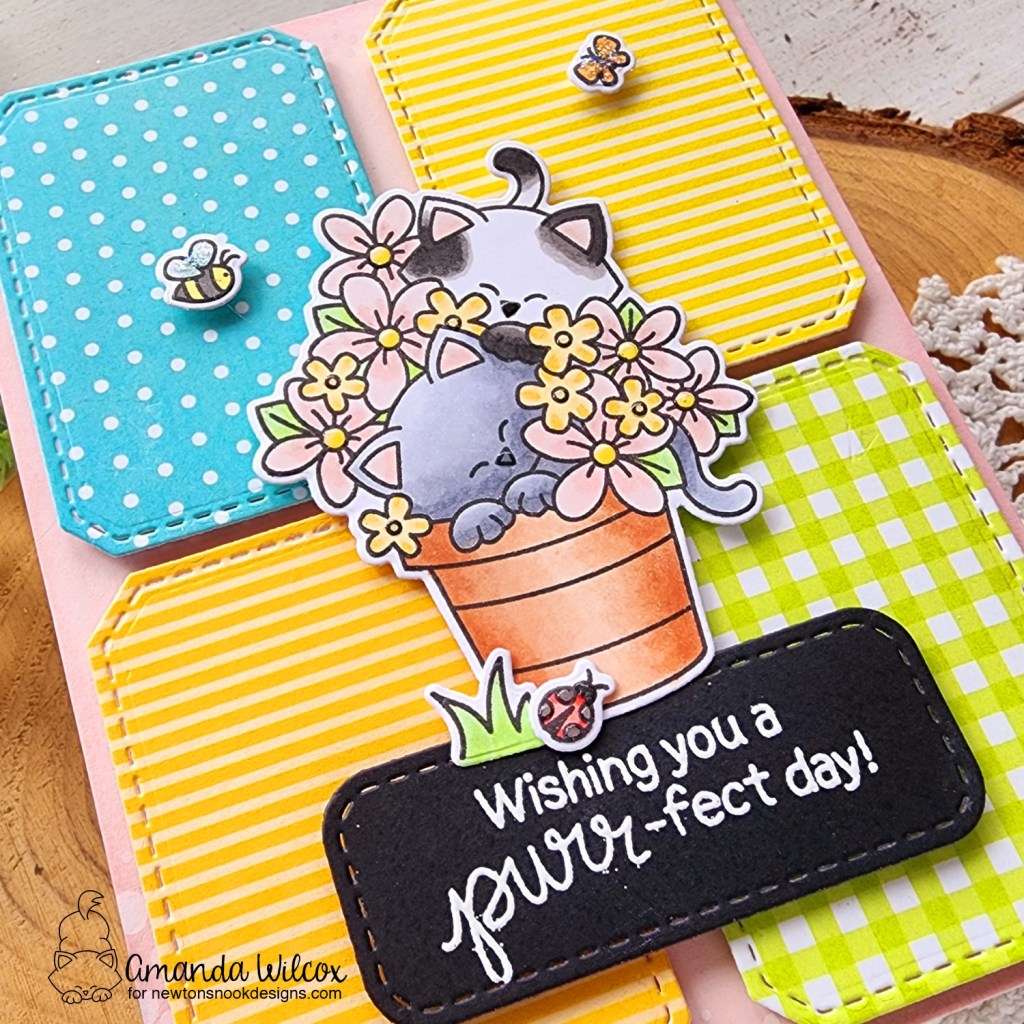
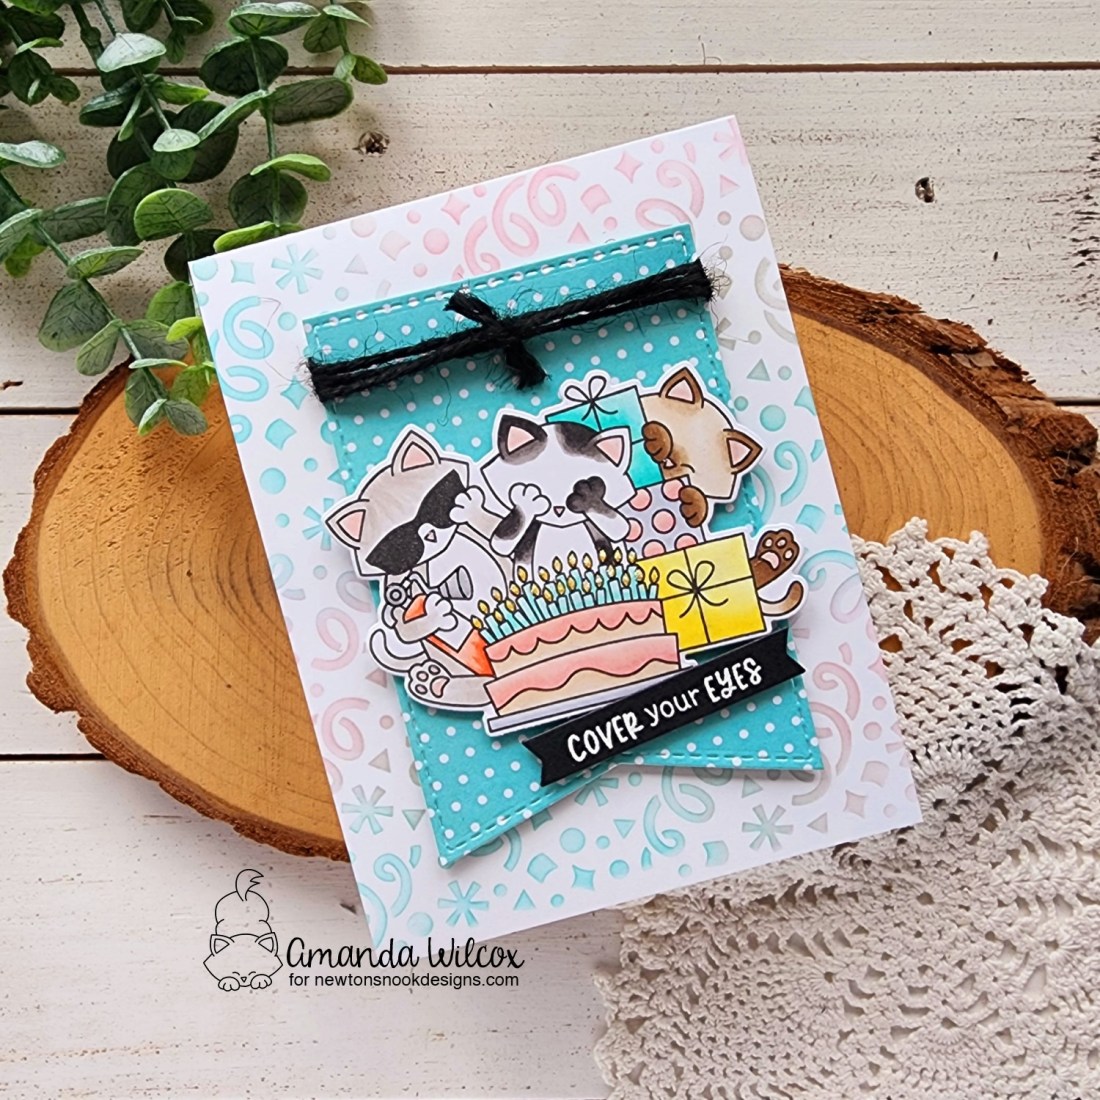
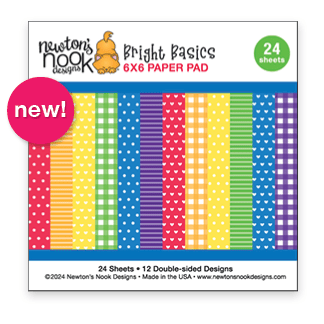
I started by choosing colors and patterns from the Pastel Basics paper pad and cut one notched rectangle from each one. Then I chose a coordinating but different color to ink my background panel up with. I think the soft pink rounds everything out pretty well. I inked the edges of that panel with pink and splattered it with white paint for texture.
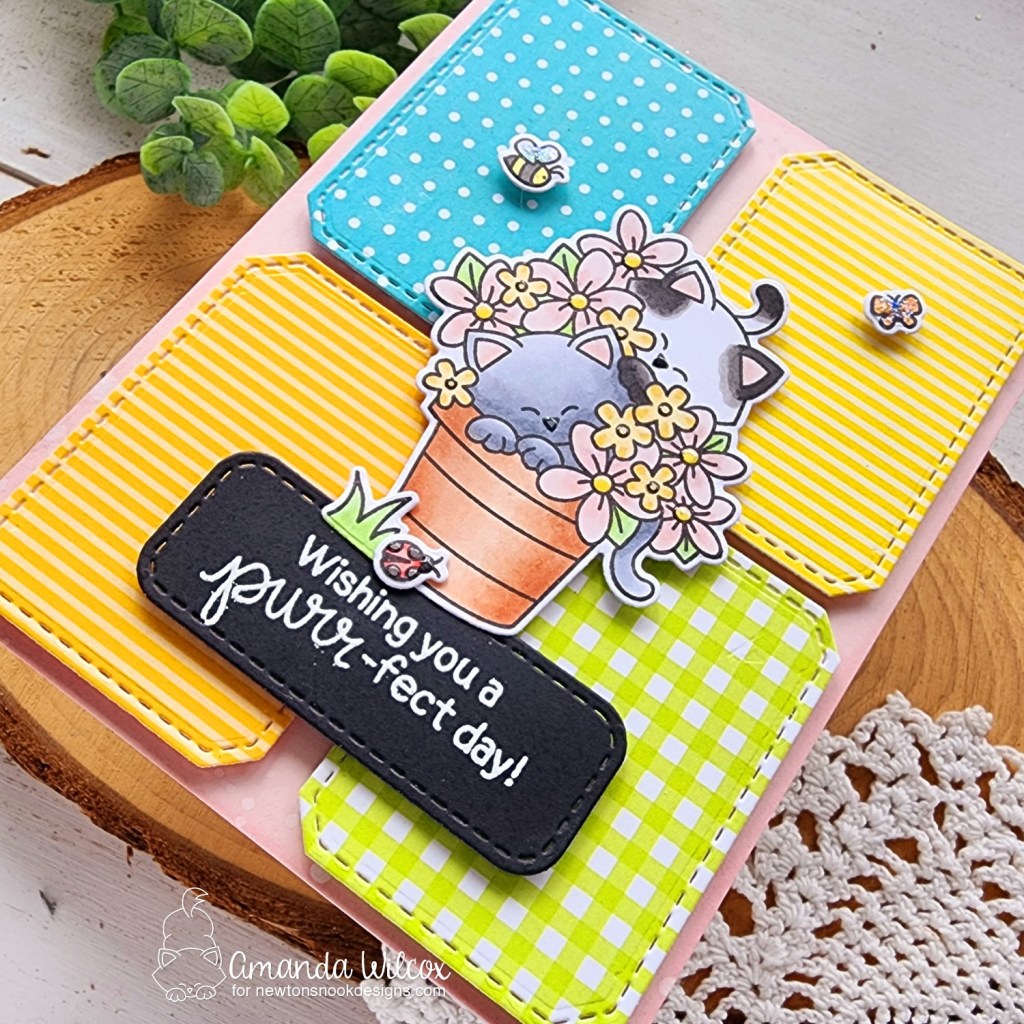
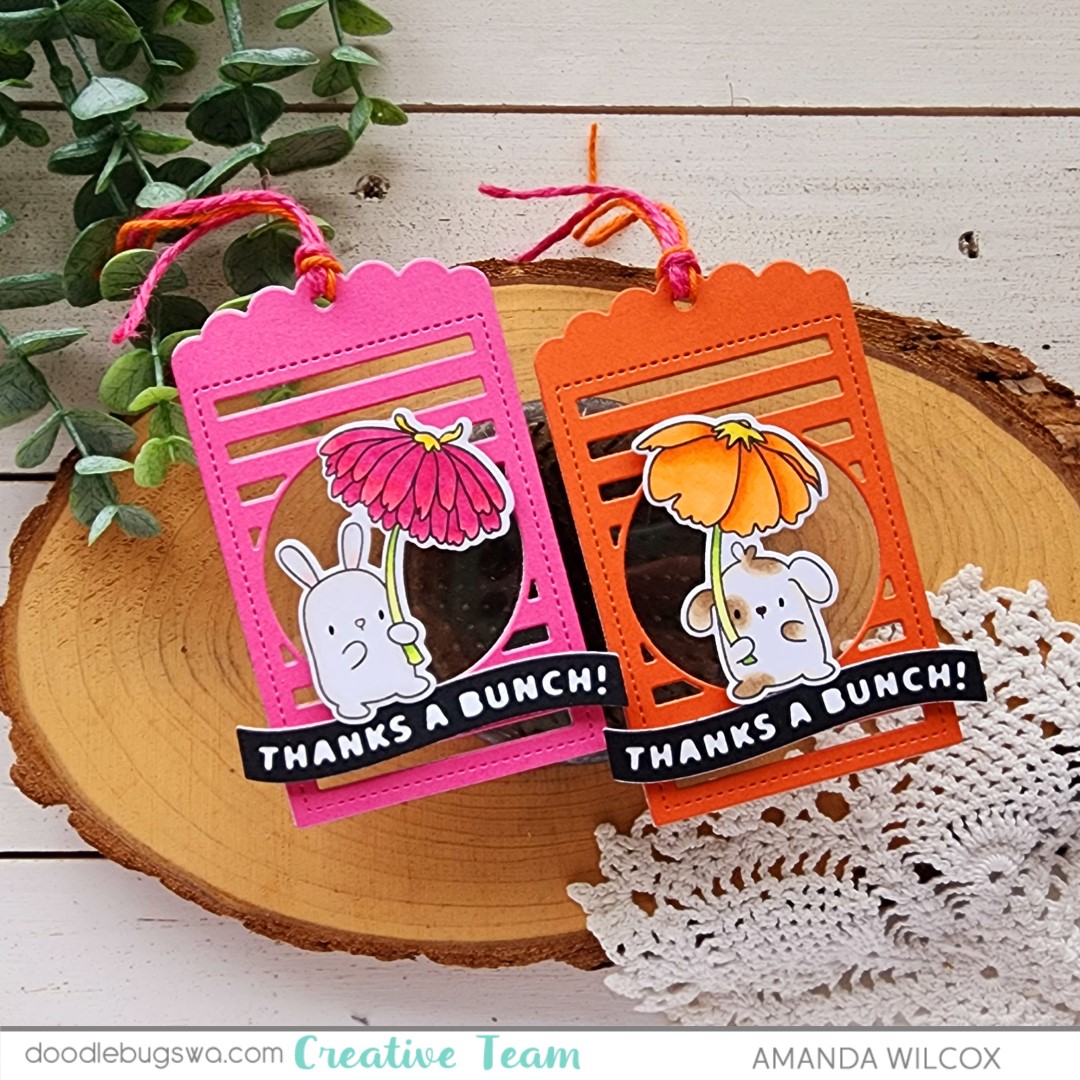
Next, I stamped images from Newton’s Blooms and colored them all with copic markers. I used the coordinating dies to cut it all out and then a little liquid glue to adhere the grass and ladybug to the pot. After arranging everything, I went digging for a shape to stamp my sentiment and ground the images. I found this rounded rectangle in the A7 Frames die set.
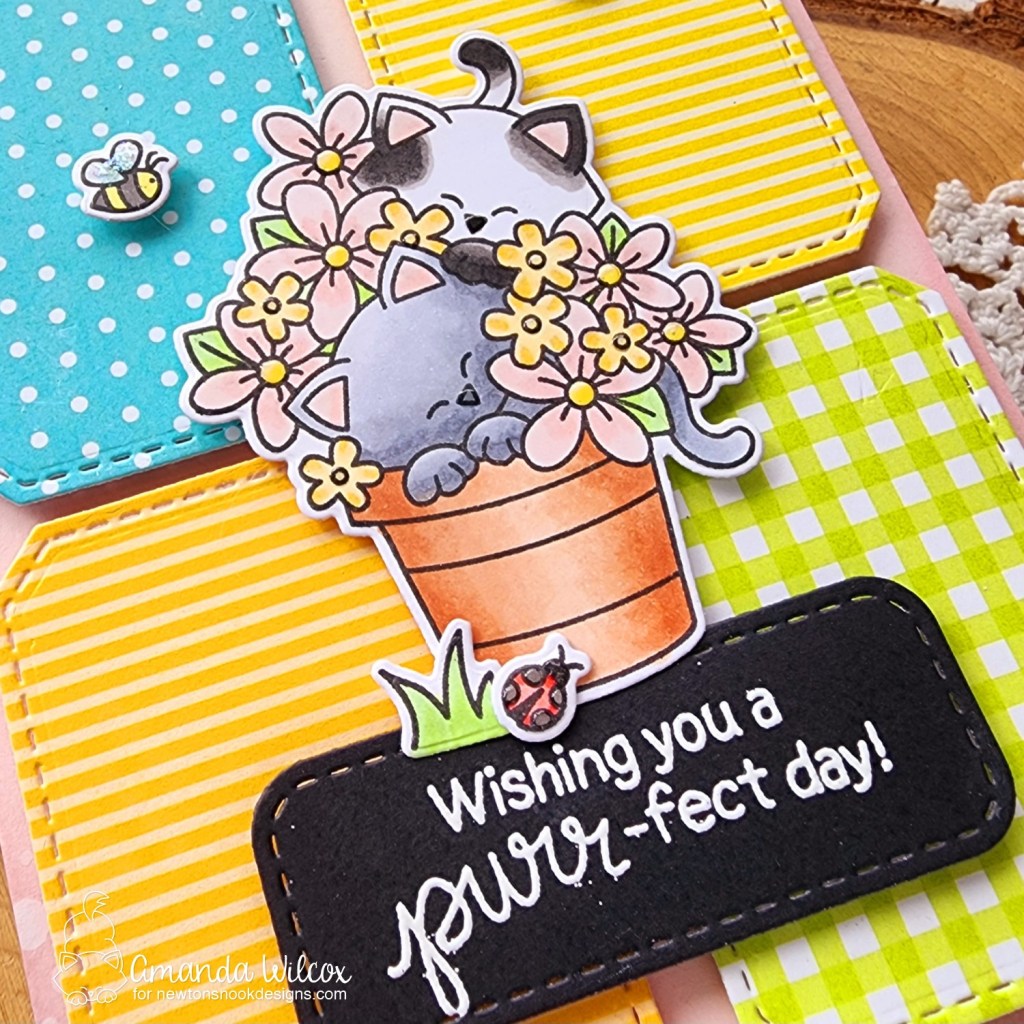
After adhering everything in place with foam tape and squares, I finished the design with glossy accents and stardust Stickles in various places.
Remember, Instagram Hop! Lots of inspiration. Lots of fun. Come join us!
Products used today:
Newton’s Bright Blooms stamps and dies
Basic Frames dies
A7 Frames dies
Embossing & Watermark ink
Magic anti-static brush
Embossing powder – frosting
Foam tape
Touch of Gloss
Stickles – stardust
I appreciate you sharing your time with me. Have a fabulous day!