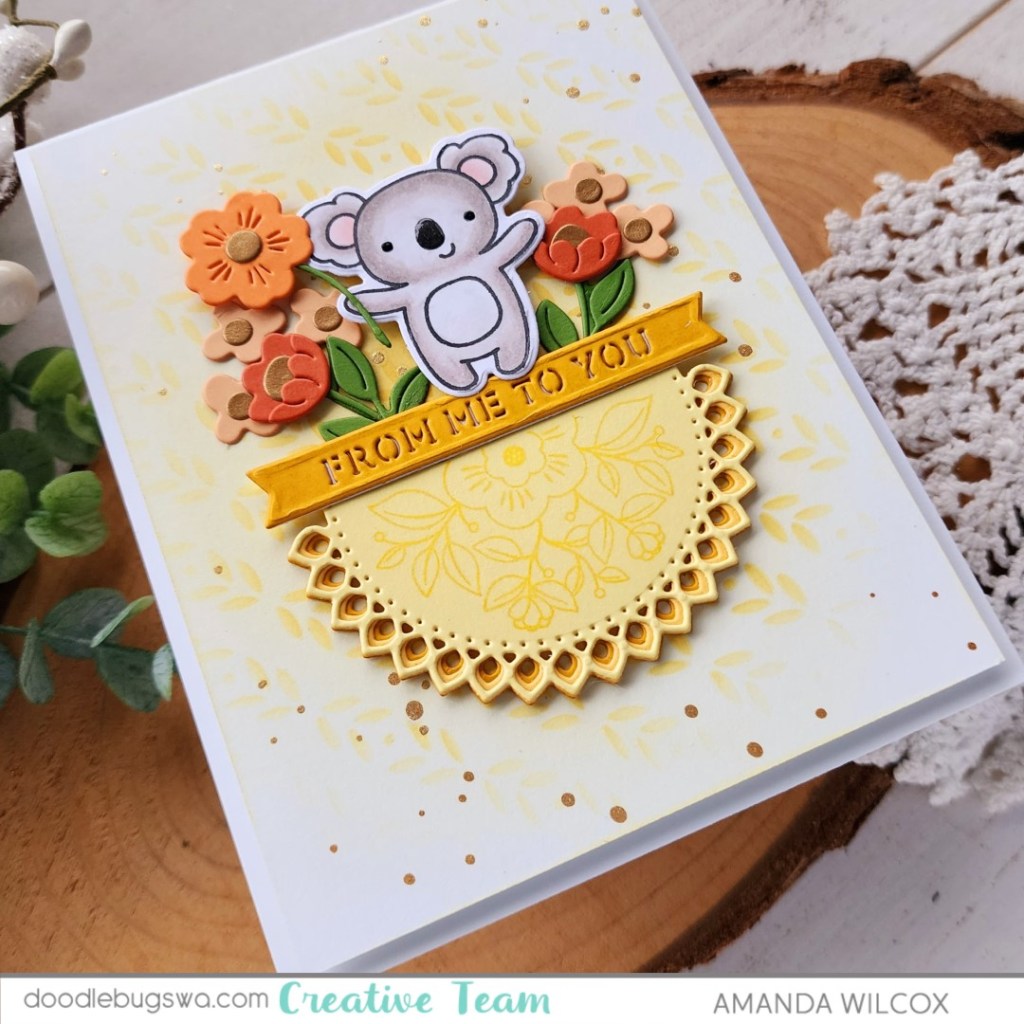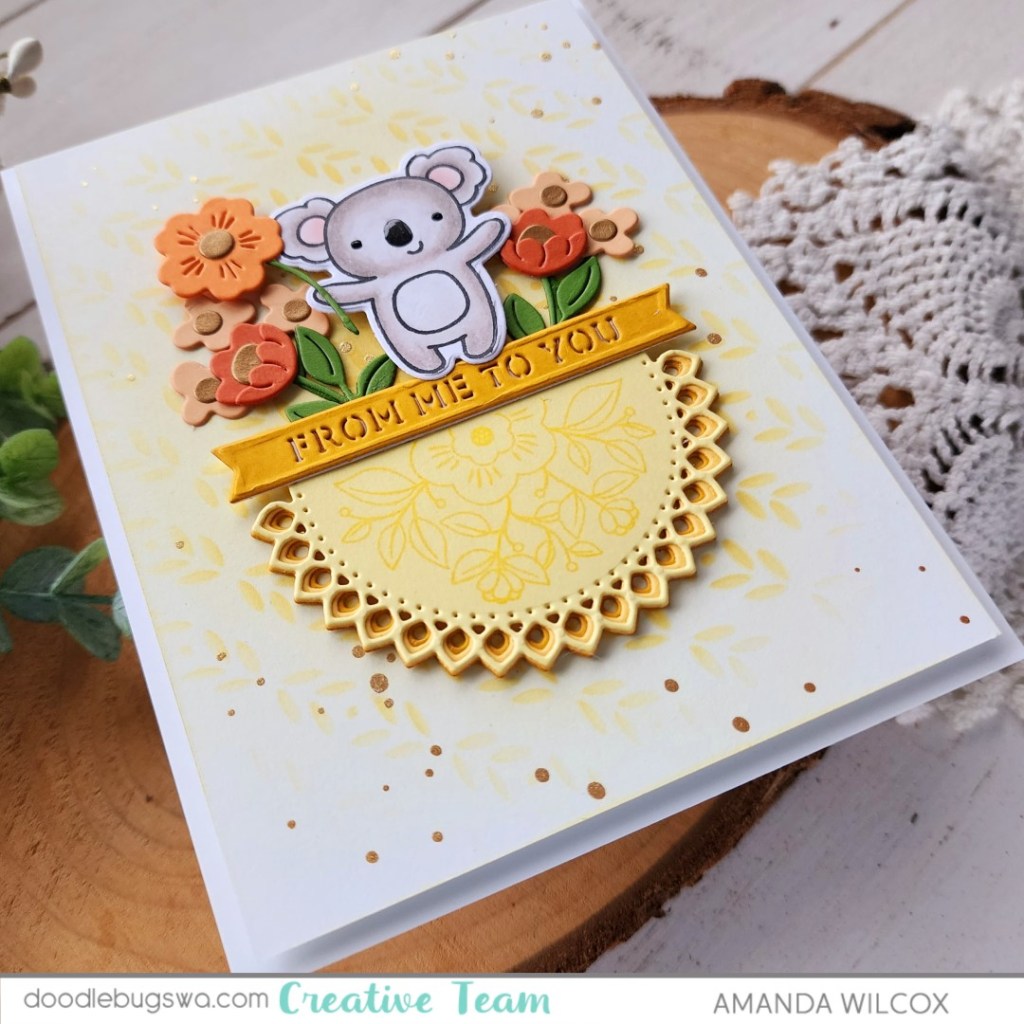
Welcome friends! Today I have another Spellbinders Saturday to share some inspiration featuring different Spellbinders products, new and old. Today I decided to add the stitching detail instead of skipping it. This card was a wing it as I go project and it was great for getting some creative juices flowing.

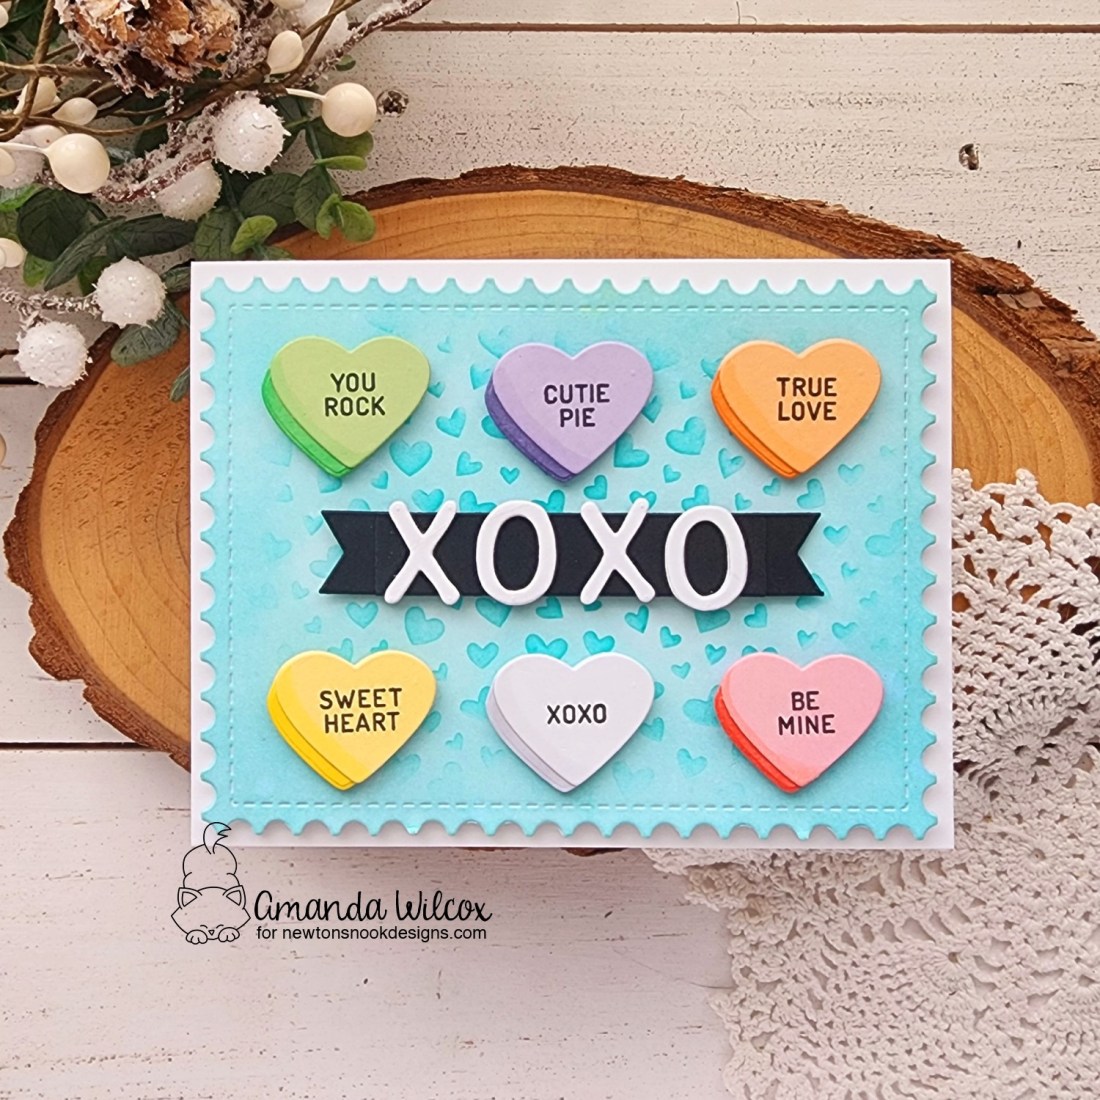
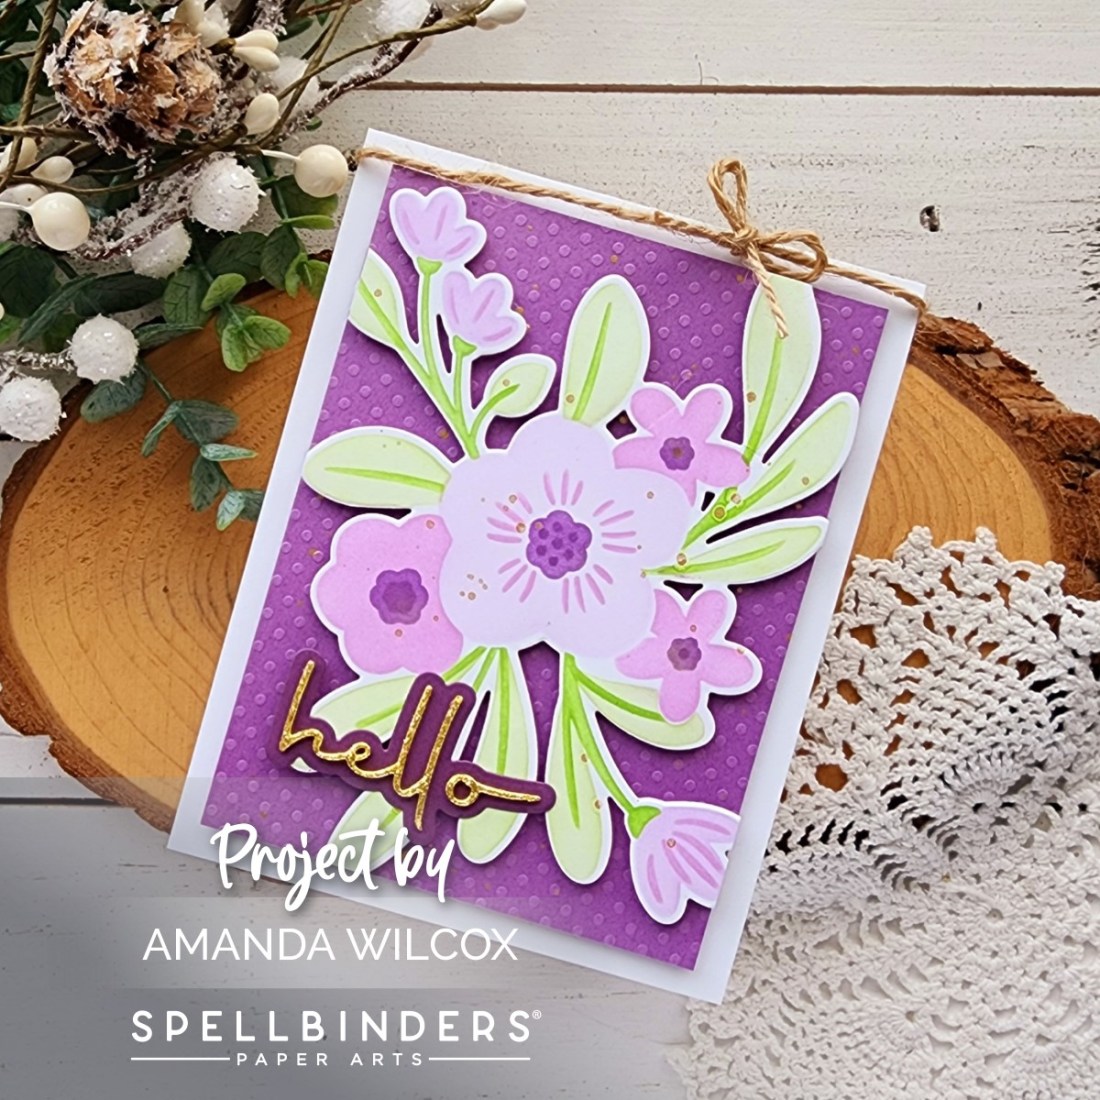
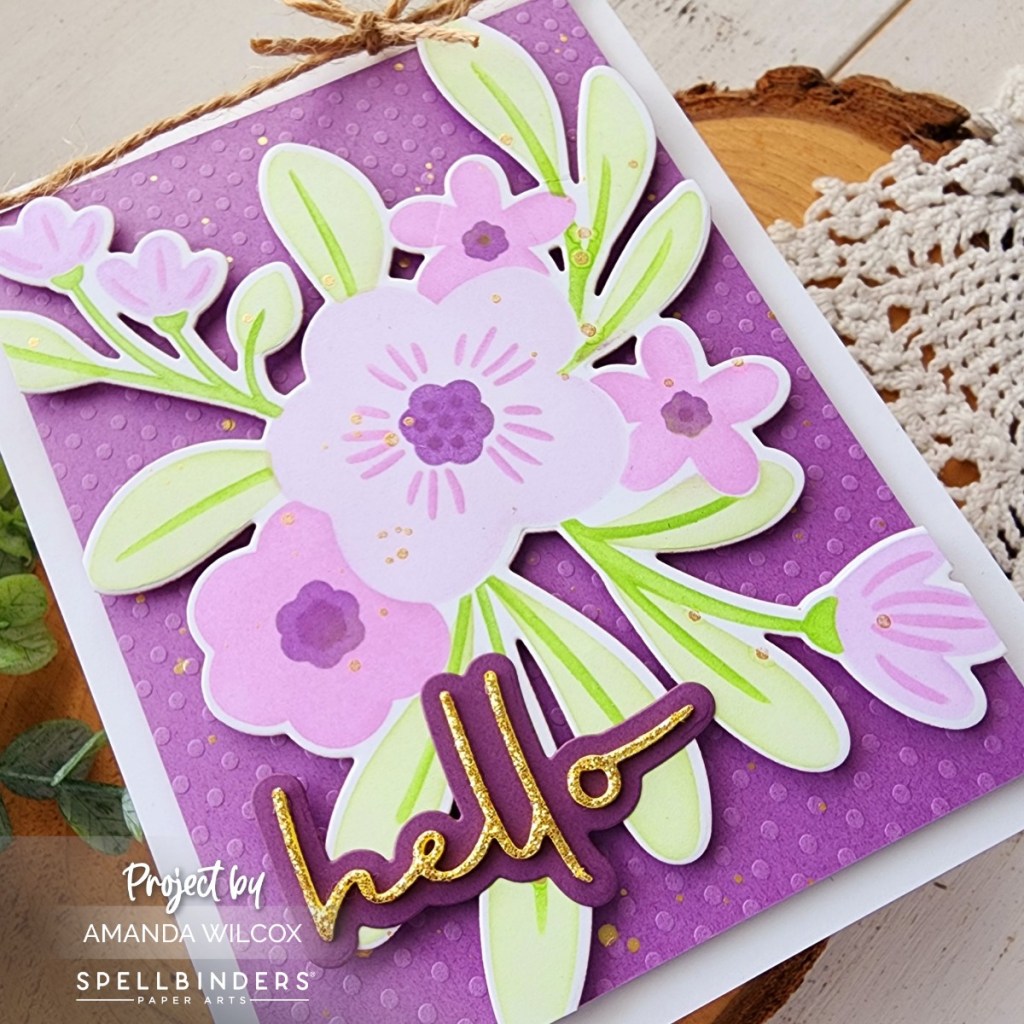
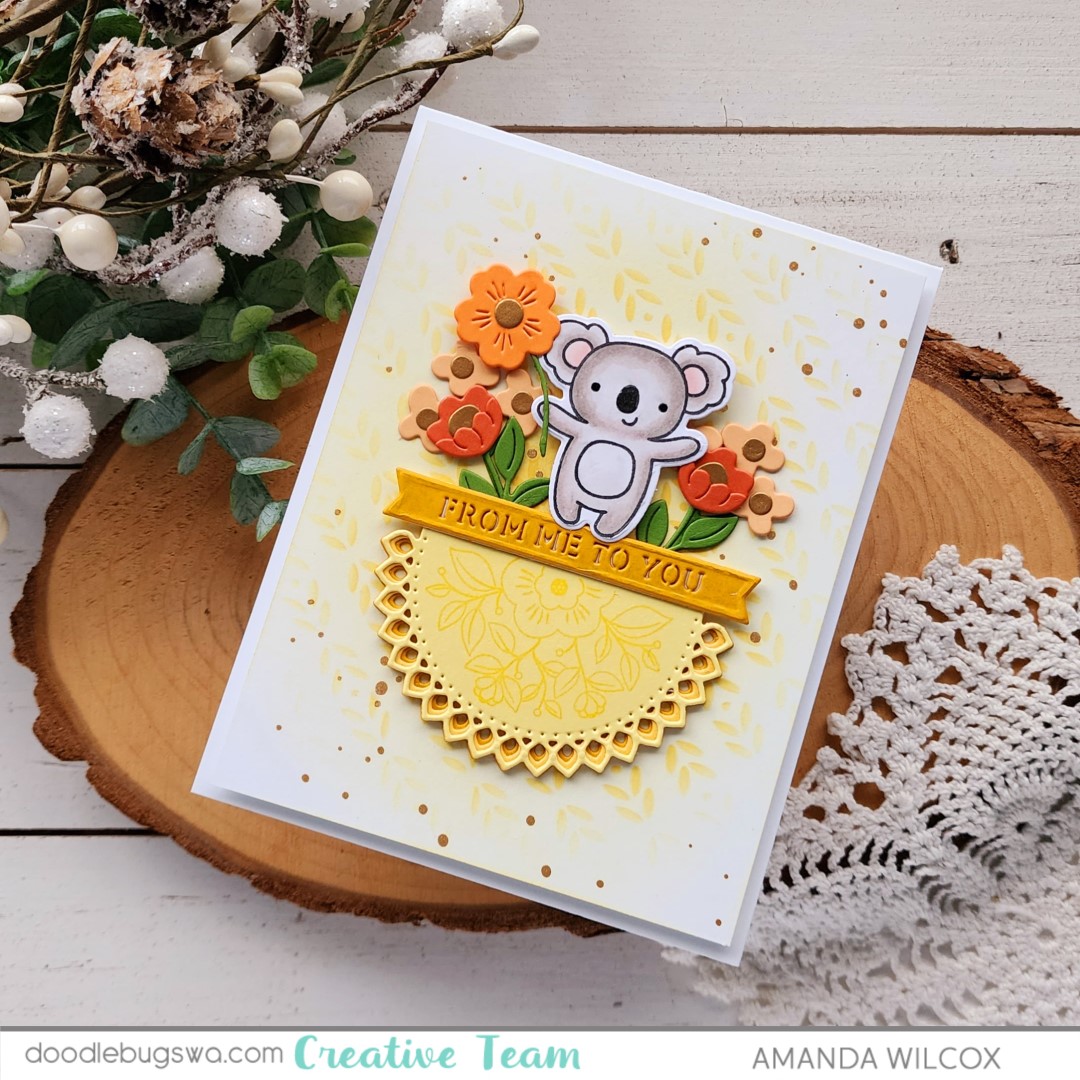
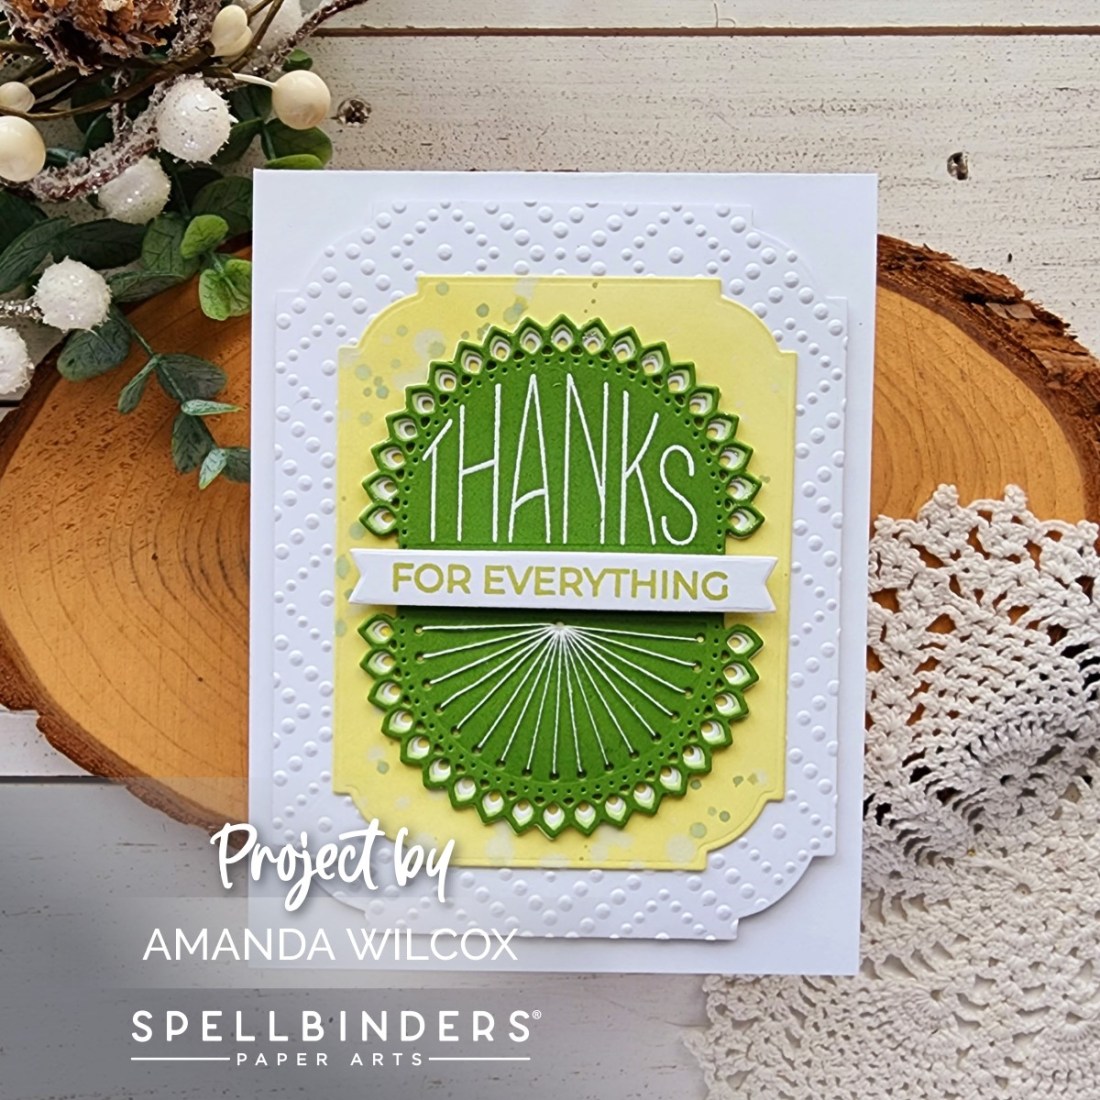
I started by die cutting the two half rounds from the Stitched Kaleidoscope Arch die set and the layers for the eyelet openings as well. I used liquid glue to adhere those on and then chose to heat embossed the top half of my sentiment in white and mirror the white on the bottom with my stitching. I’m loving these green hues!
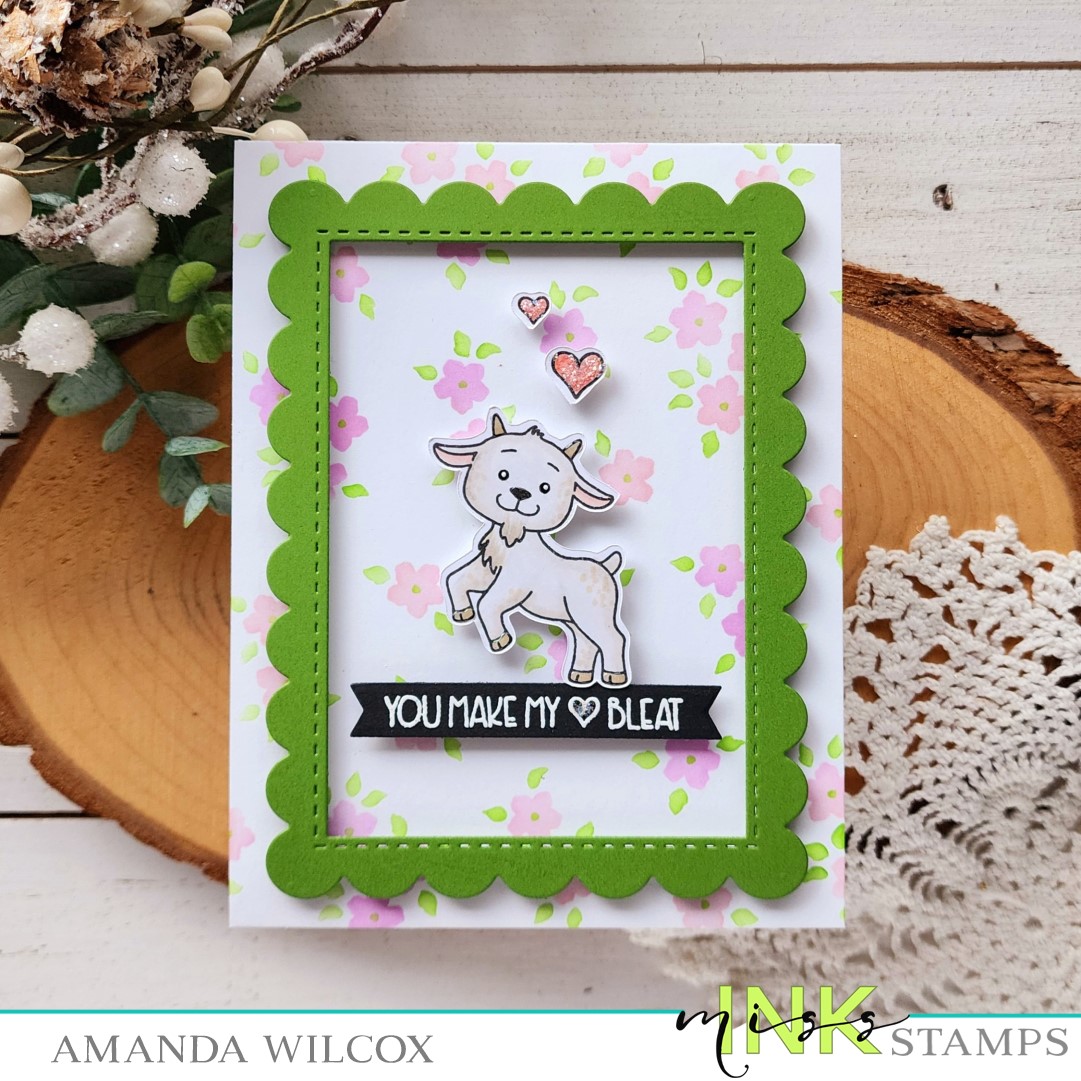
Next, I pulled out the Notched Corner Frames dies and cut one from white cardstock that I ink blended with distress oxide ink in peeled paint. I splattered it with water and flicked some watered down mowed lawn ink on it as well.
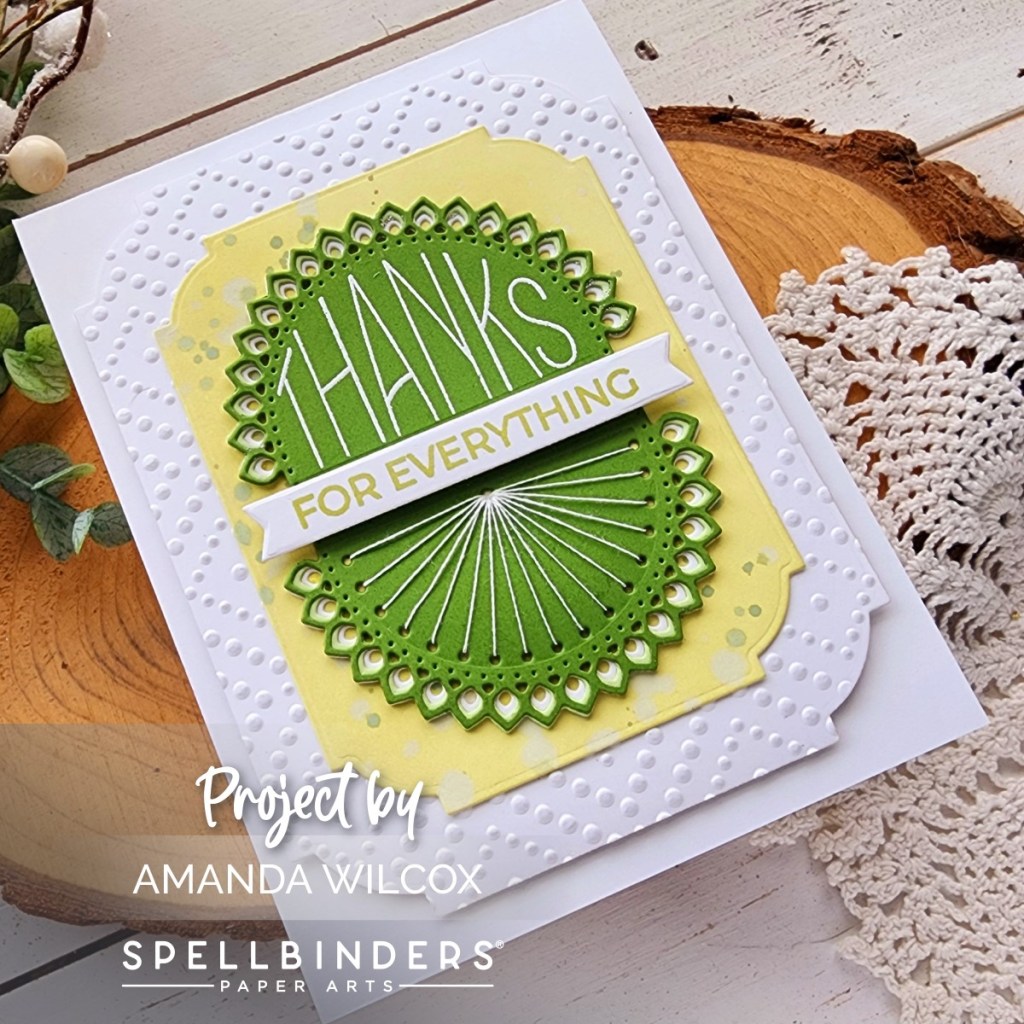
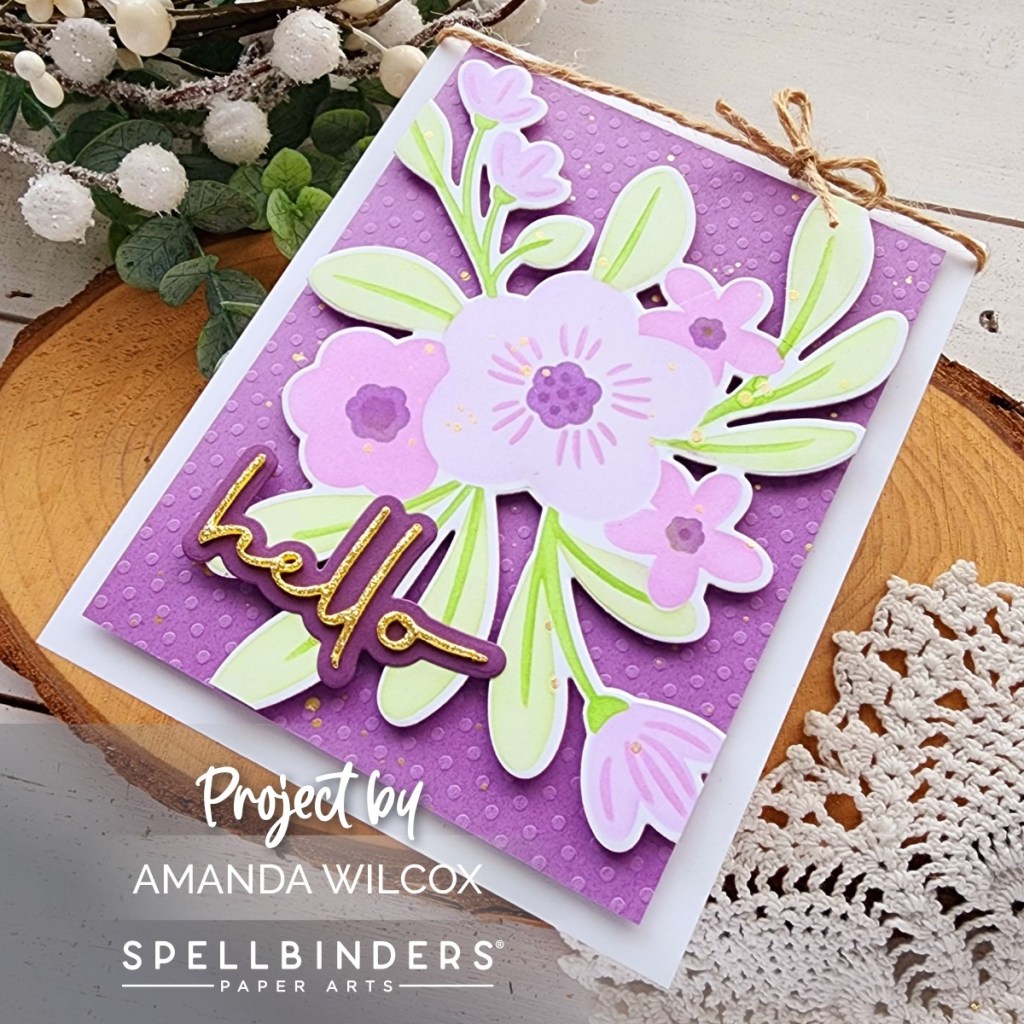
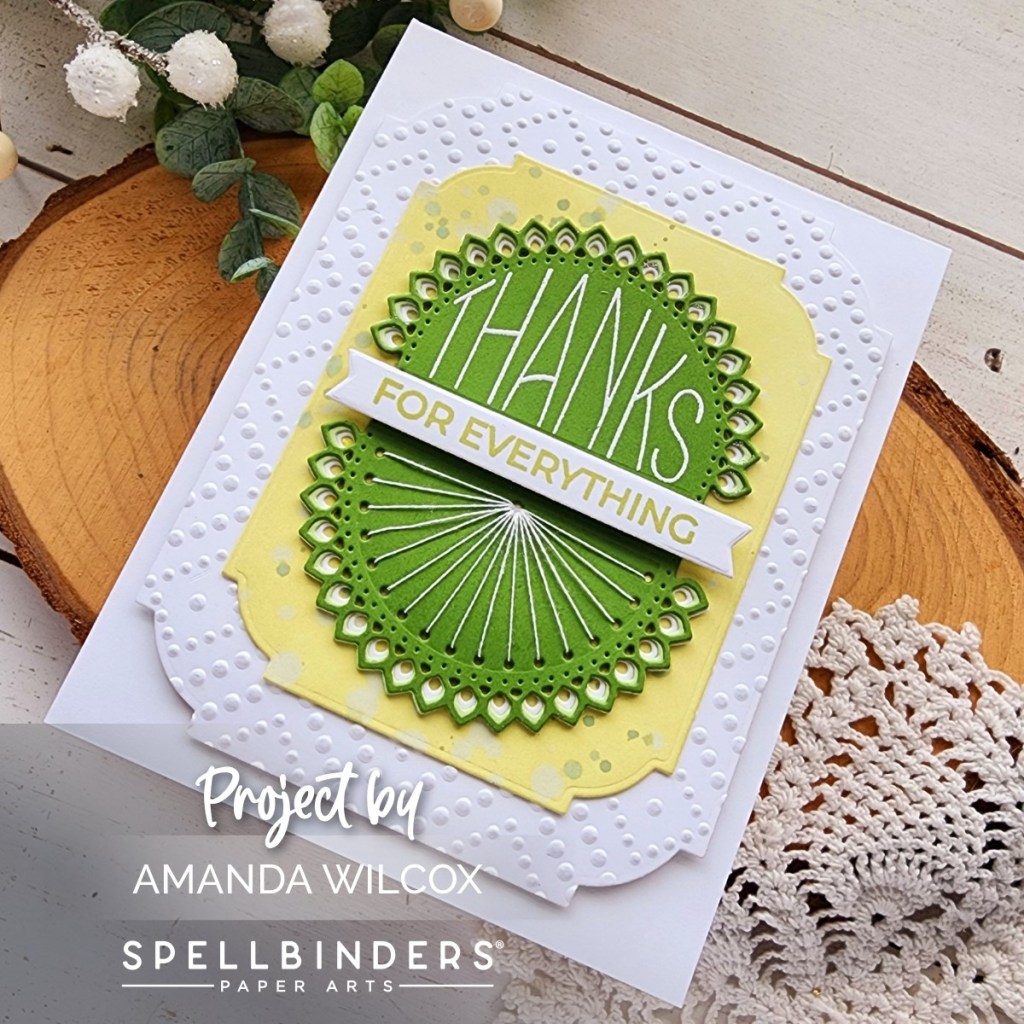
For my larger layer, I skipped a size and cut another white panel from the one two sizes up and ran it through my die cut machine in the Dazzling Dots embossing folder. Now that I had a better idea of the final look I needed to decide on my sentiment banner and ink color for that. I decided to go back to the peeled paint distress oxide ink so it went with the inked panel and those great green tones.
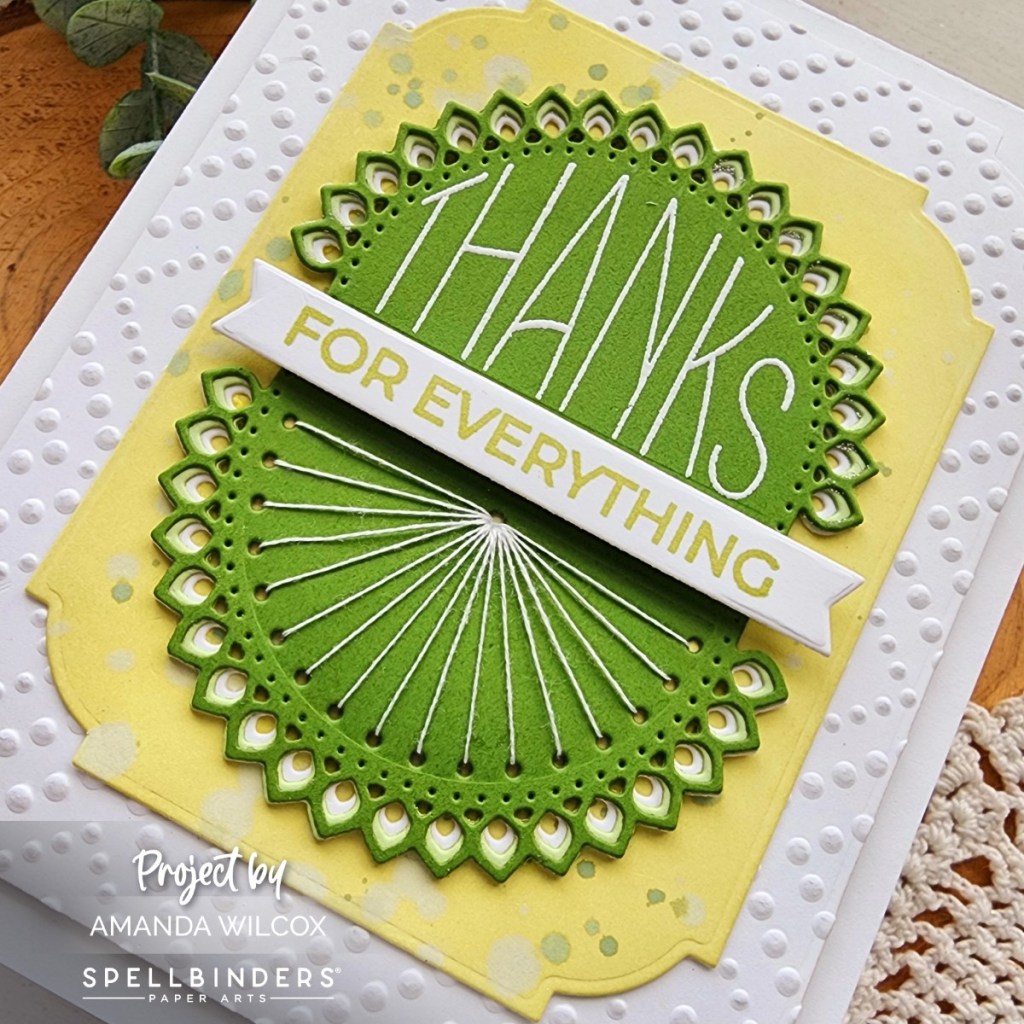
For assembly, I popped the embossed panel up with foam tape, glued the next panel with liquid glue along with my stitched kaleidoscope and then popped up the sentiment strip.
I absolutely love how this turned out! It was really fun to create and really helped me through a little creative slump.
Products used:
Stitched Kaleidoscope Arch dies
Notched Corner Frames dies
Dazzling Dots embossing folder
Distress Oxide Ink – peeled paint, mowed lawn
Foam tape
Liquid glue
I appreciate you sharing your time with me. Have a fabulous day!