Welcome to Mix it up Monday for Doodlebugs everyone! This week really switches gears to holiday inspiration from all directions so bear with me if you’re still in spooky mode.
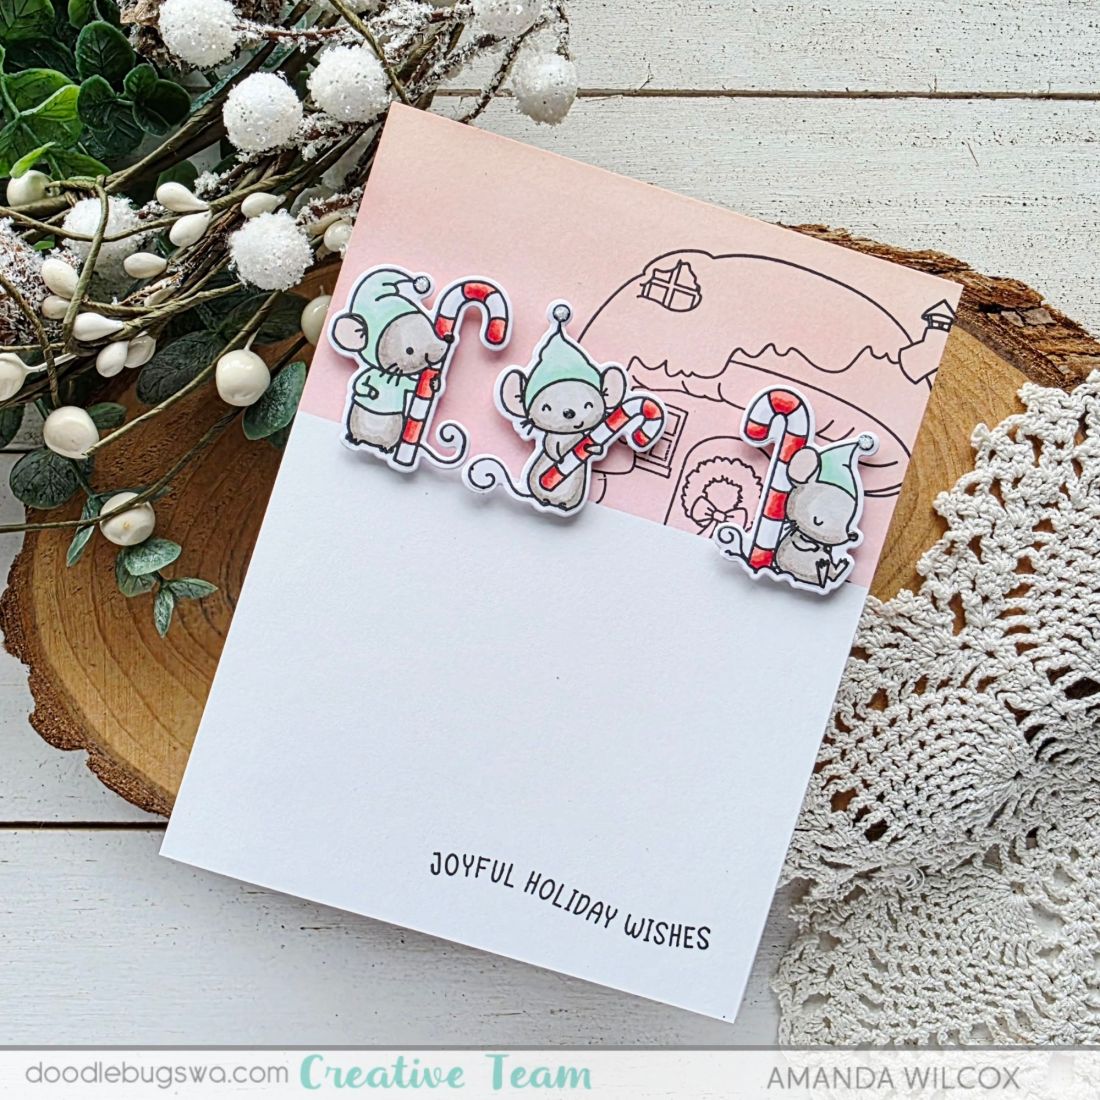
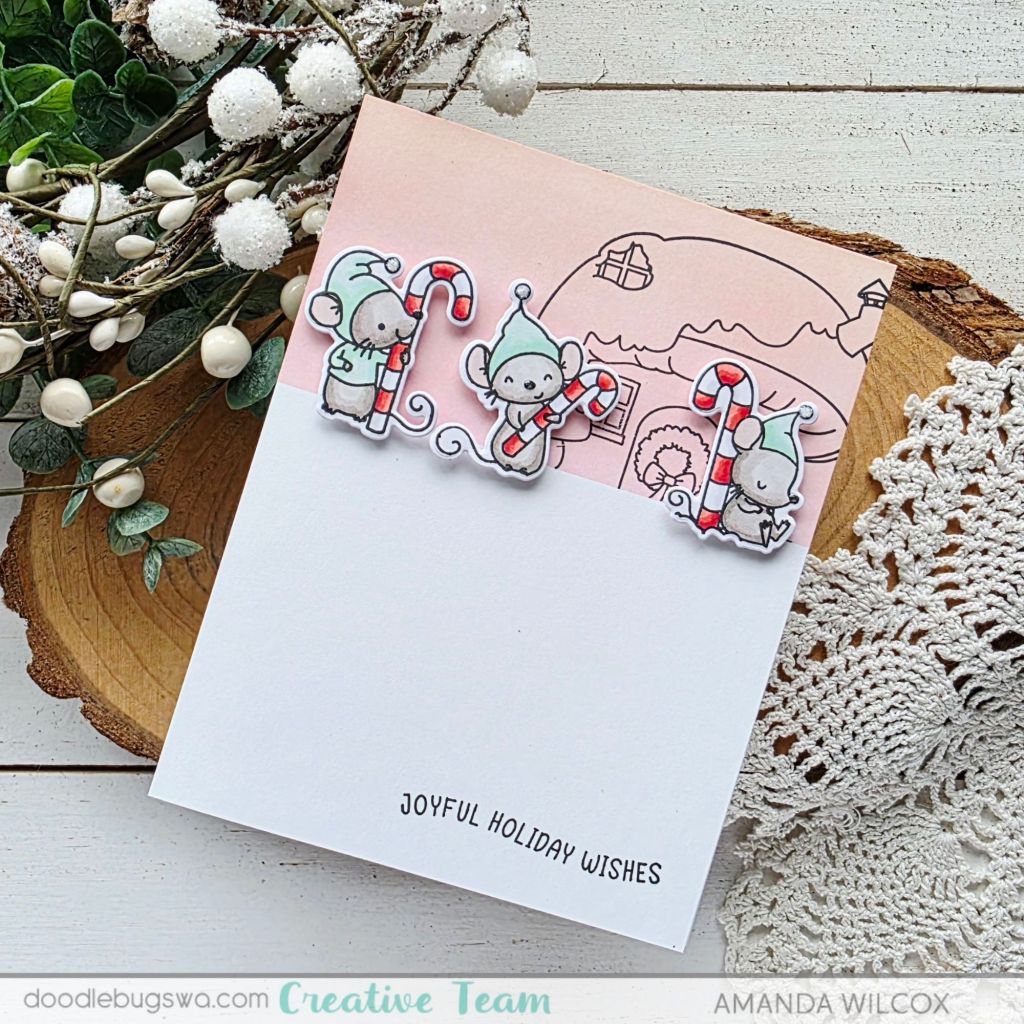
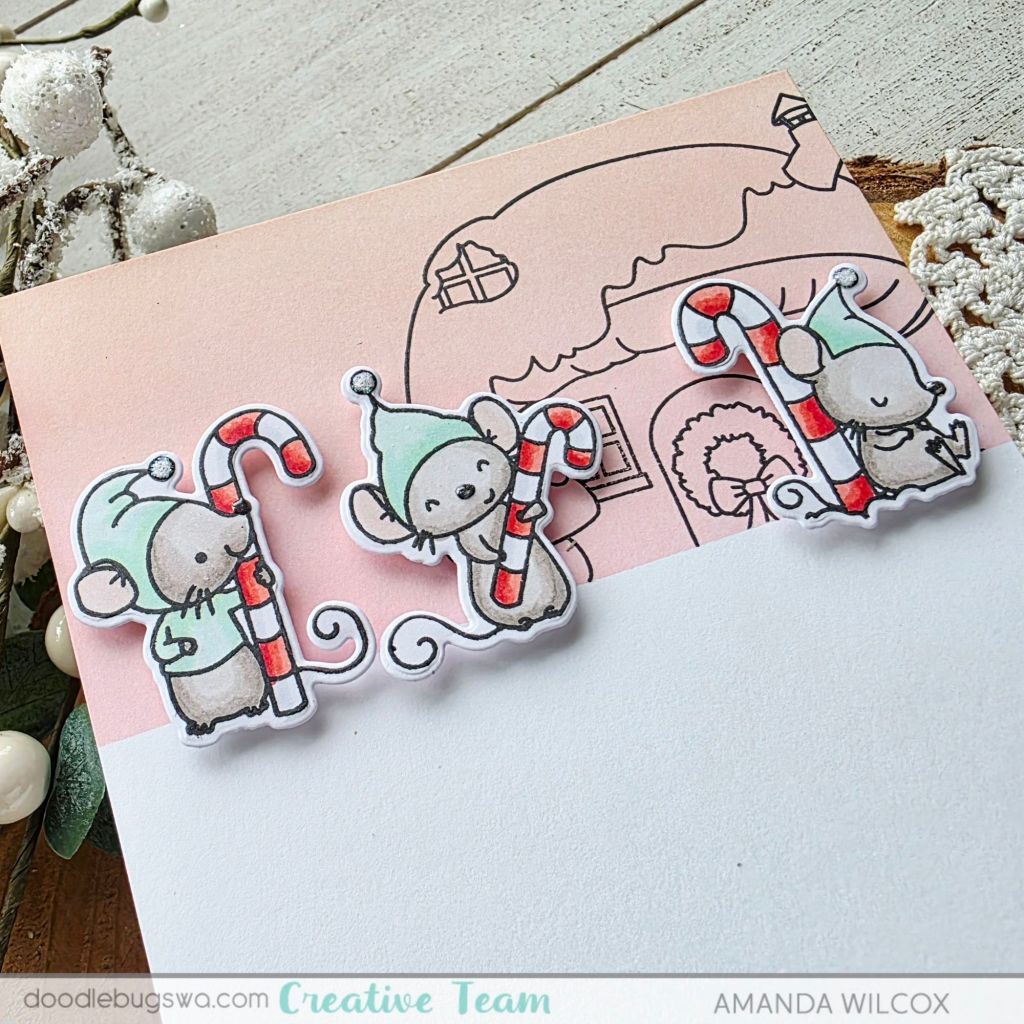
Today I created a simple card using the Mama Elephant Candy Cane Lane stamps and dies. I started by stamping and coloring three of the mice with copic markers. Then I used the coordinating dies to cut them out and set them aside to create my background.
Taking an A2 size white panel of cardstock, I used post-it tape to mask off the bottom portion of my card, a few inches from the top. I ink blended that section with Distress Oxide Ink in tattered rose and spun sugar for a soft peachy pink gradient. Then, leaving the mask in place, I stamped the mushroom house from Candy Cane Lane on the right side.
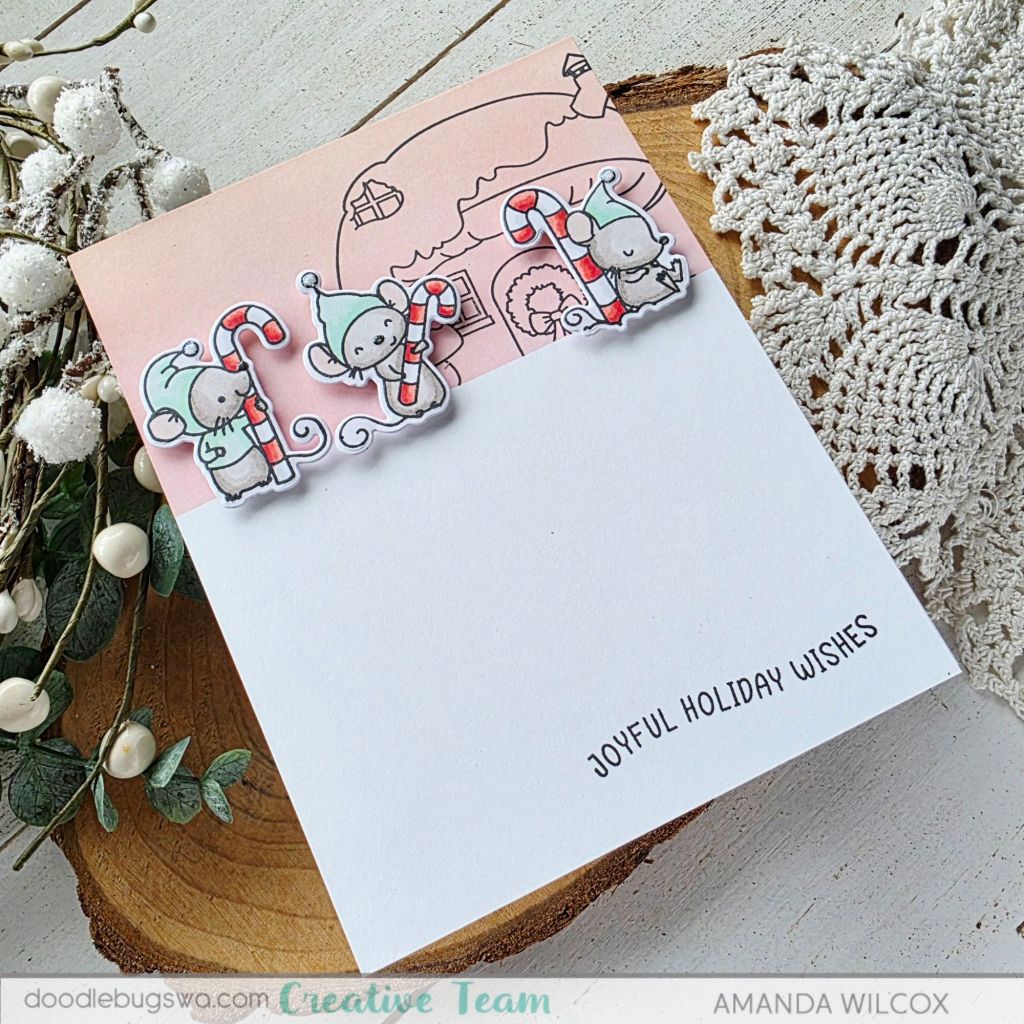
I also stamped my sentiment from the Pretty Pink Posh Wavy Christmas Greetings stamp set on the bottom before gluing the panel to a white card base. Last, I popped the mice up with foam squares and added stardust Stickles to the poms on each of their hats.
Isn’t this a sweet but simple Christmas card!?! I adore how it turned out!
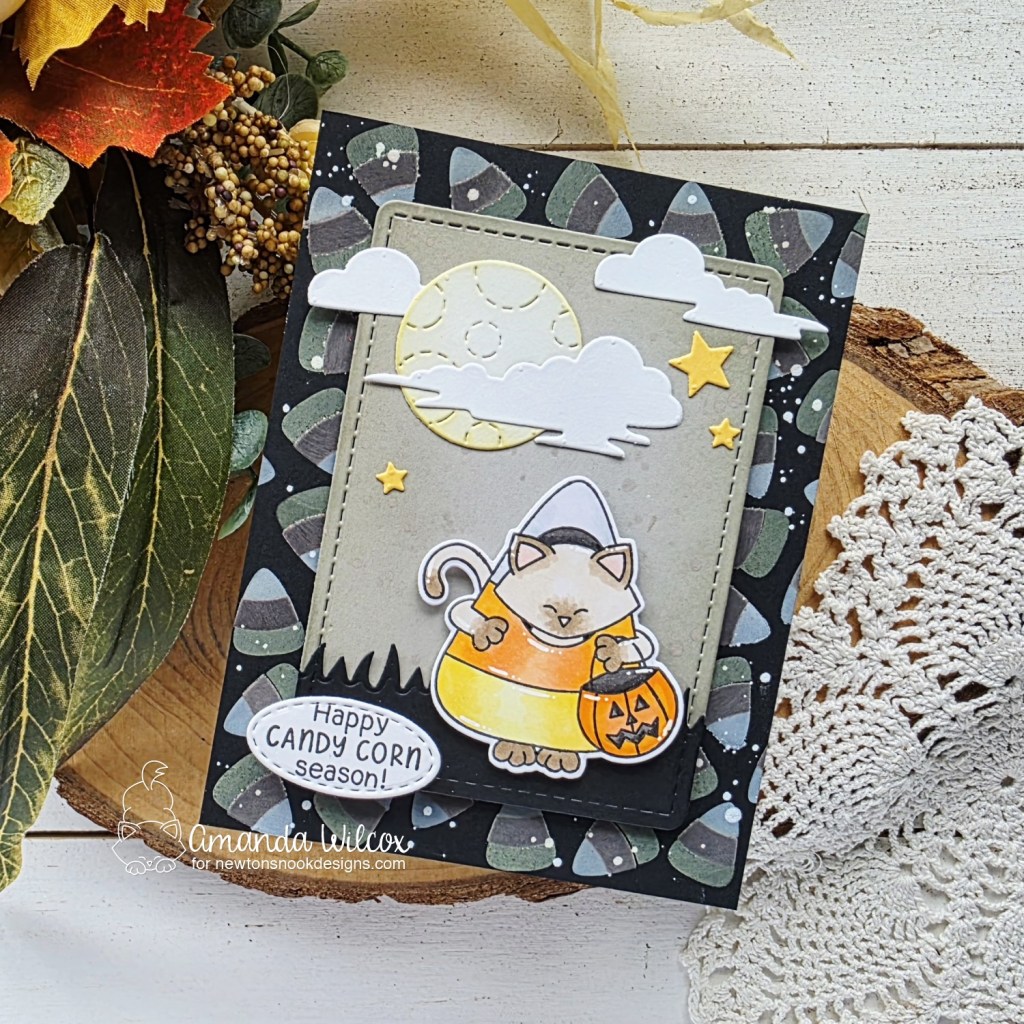
Okay, today it’s going to get a little controversial. Are you team candy corn or team no thank you? I live so far in the land of team candy corn, I can’t even hear you if you’re somewhere else. Lol!!! Hence, today’s fun Newton’s Nook card!
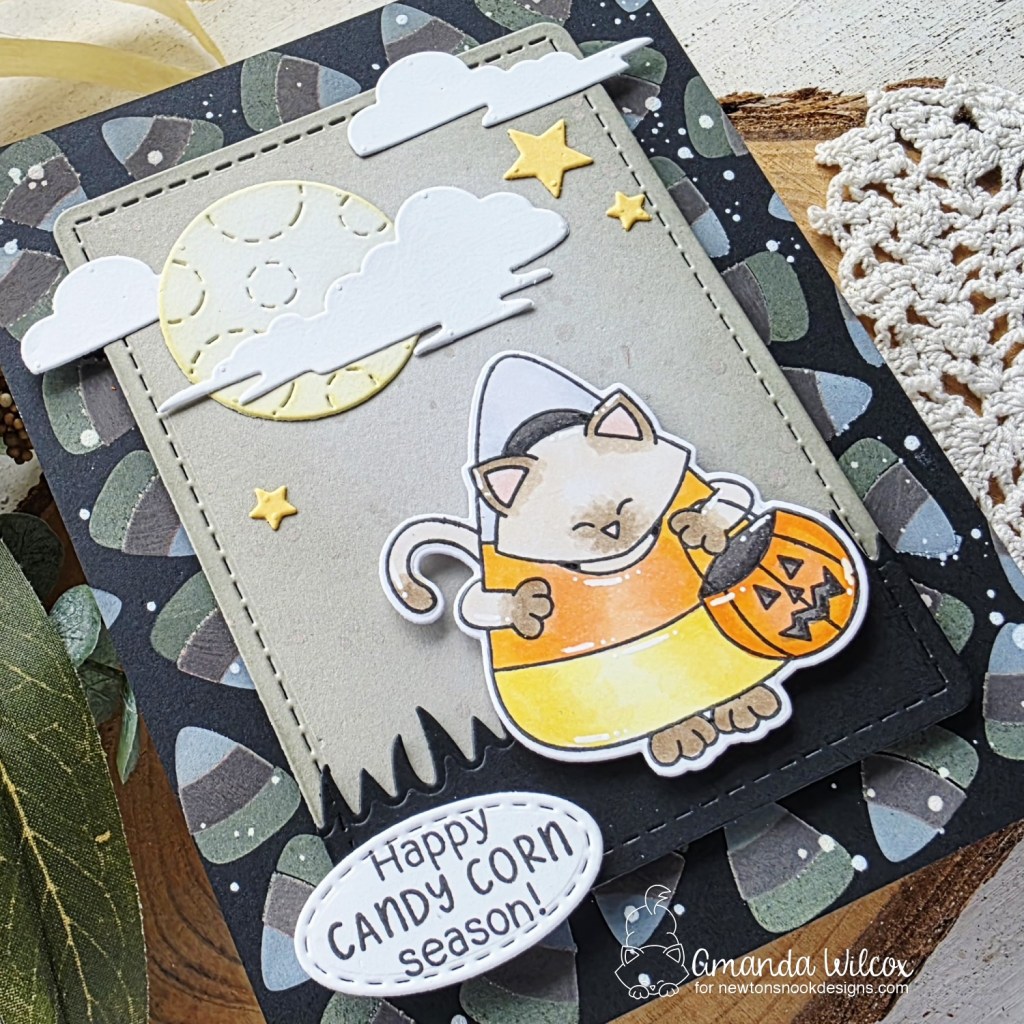
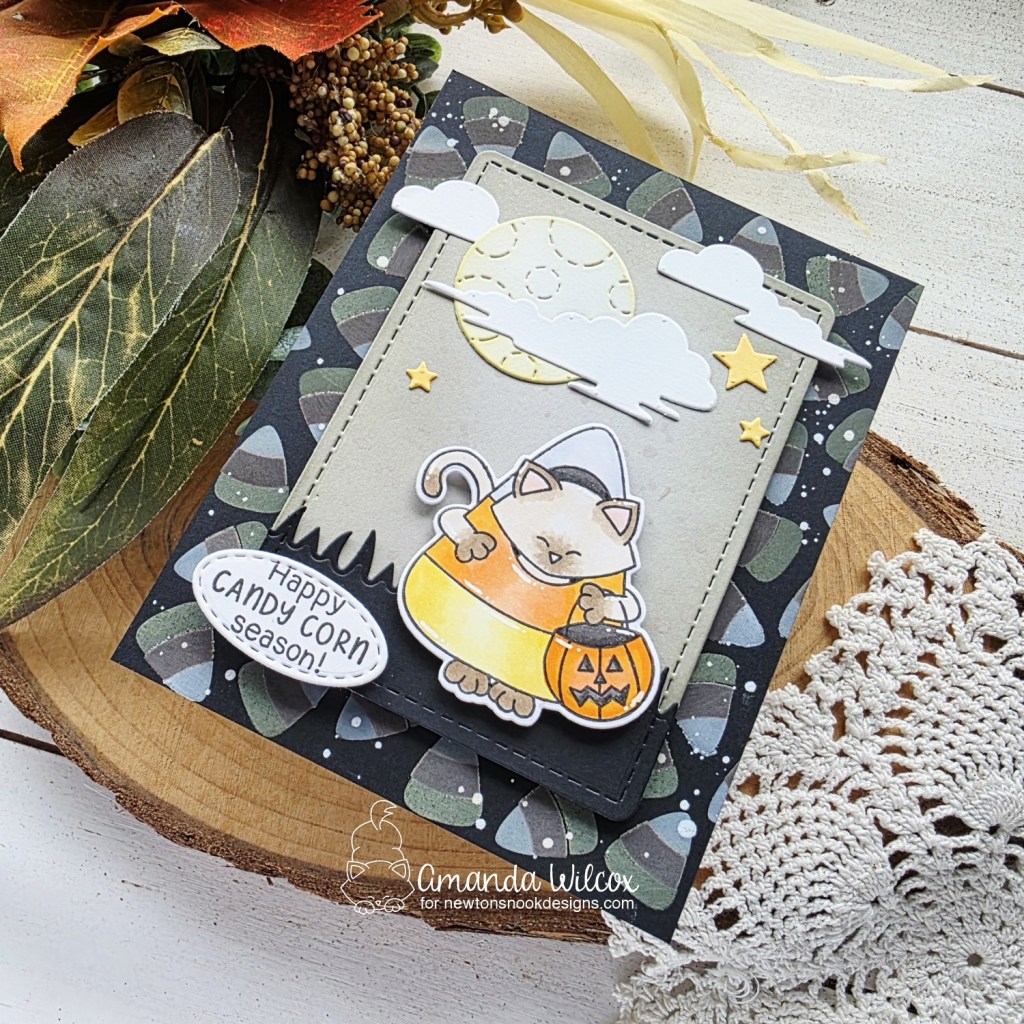
I used the candy corn stencil set on black cardstock with distress oxide inks for a toned down but cool background. Then I splattered it with white paint for some texture and interest.
Next I used a combo of Newton’s Candy Corn images, Spooky Sky dies, Land Borders dies and Frames & Flags dies to create a cool scene. My image is colored with copic markers and everything is assembled wit ha combo of liquid glue and some foam squares.
Then I stamped a sentiment from Newton’s Candy Corn on the smallest in the Oval Frames die set and popped it up with foam squares. Finally I popped the whole scene panel up with foam tape and glued the whole thing to a white card base. For finishing touches I just added some white gel pen accents to the Newton image.
***Sorry friends, I had this scheduled for the wrong day so it’s publishing a day late.***
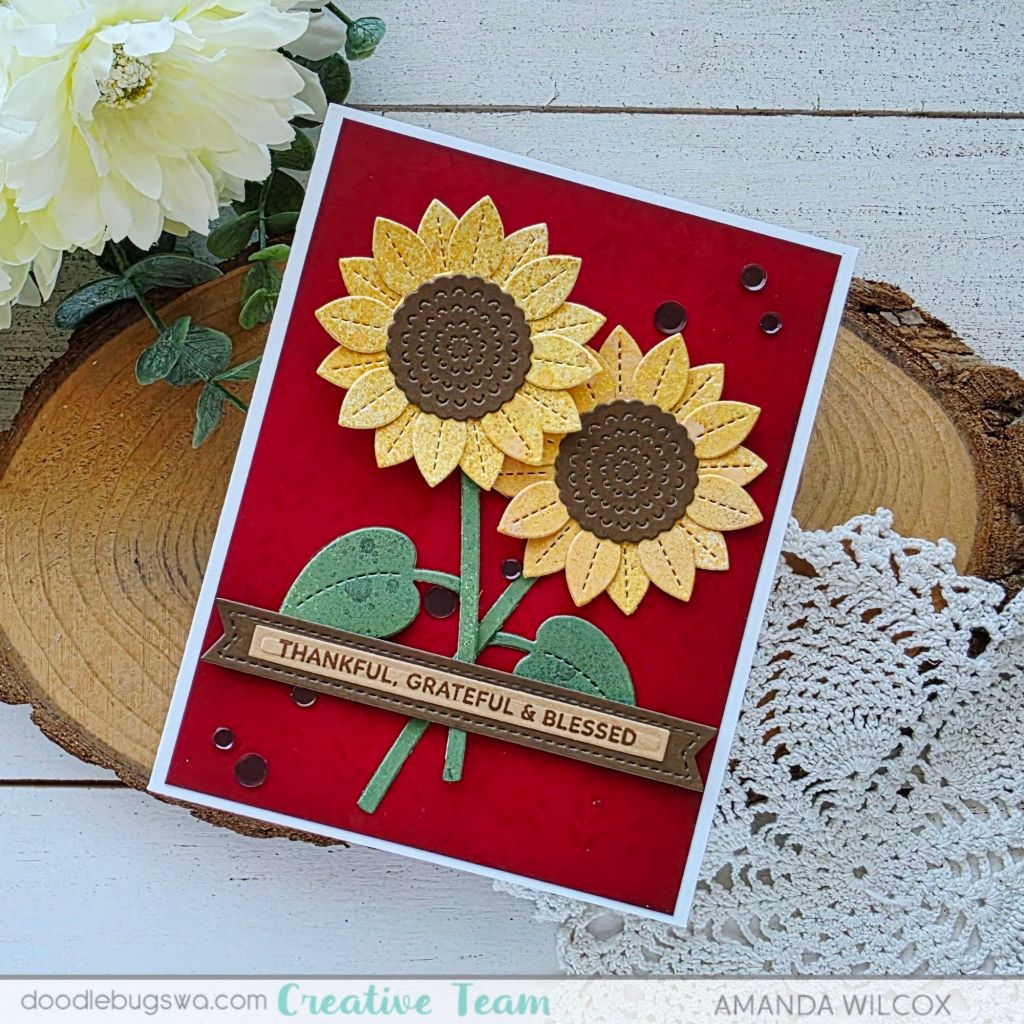
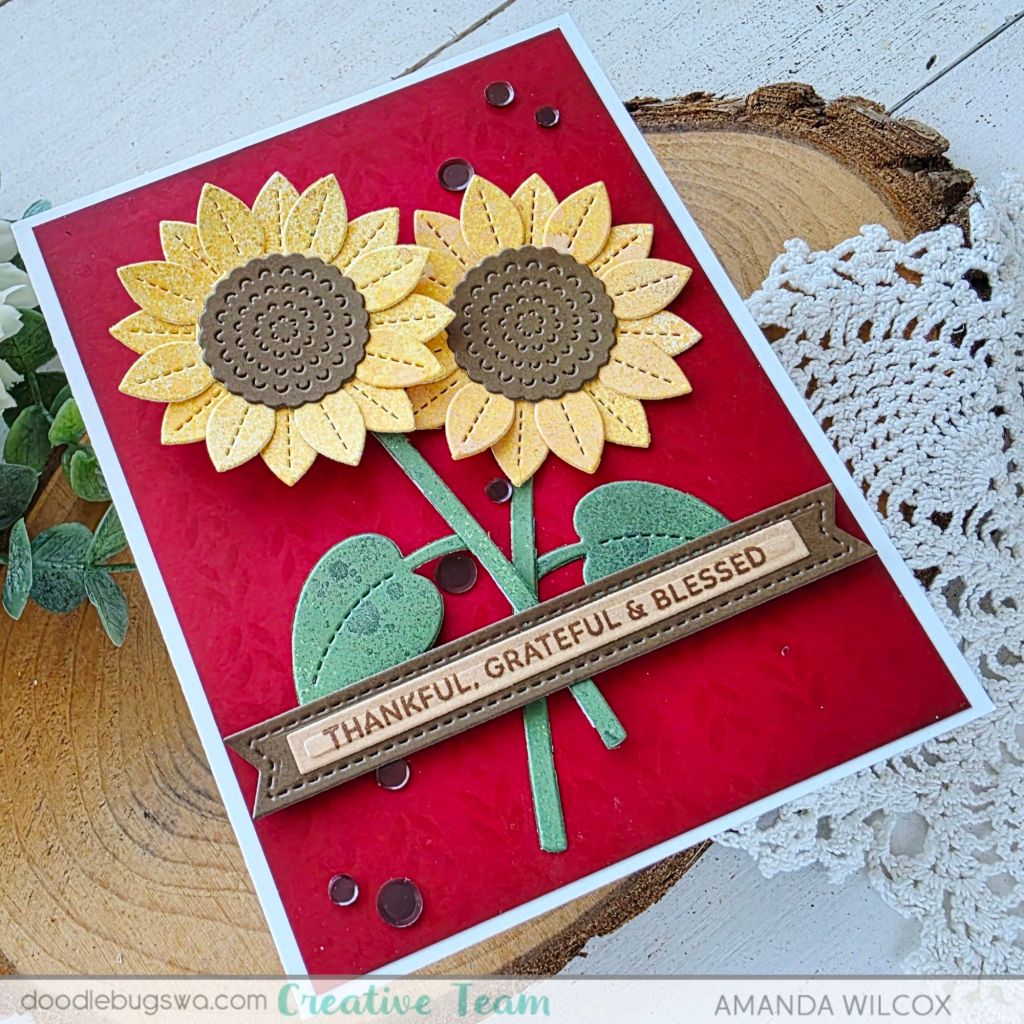
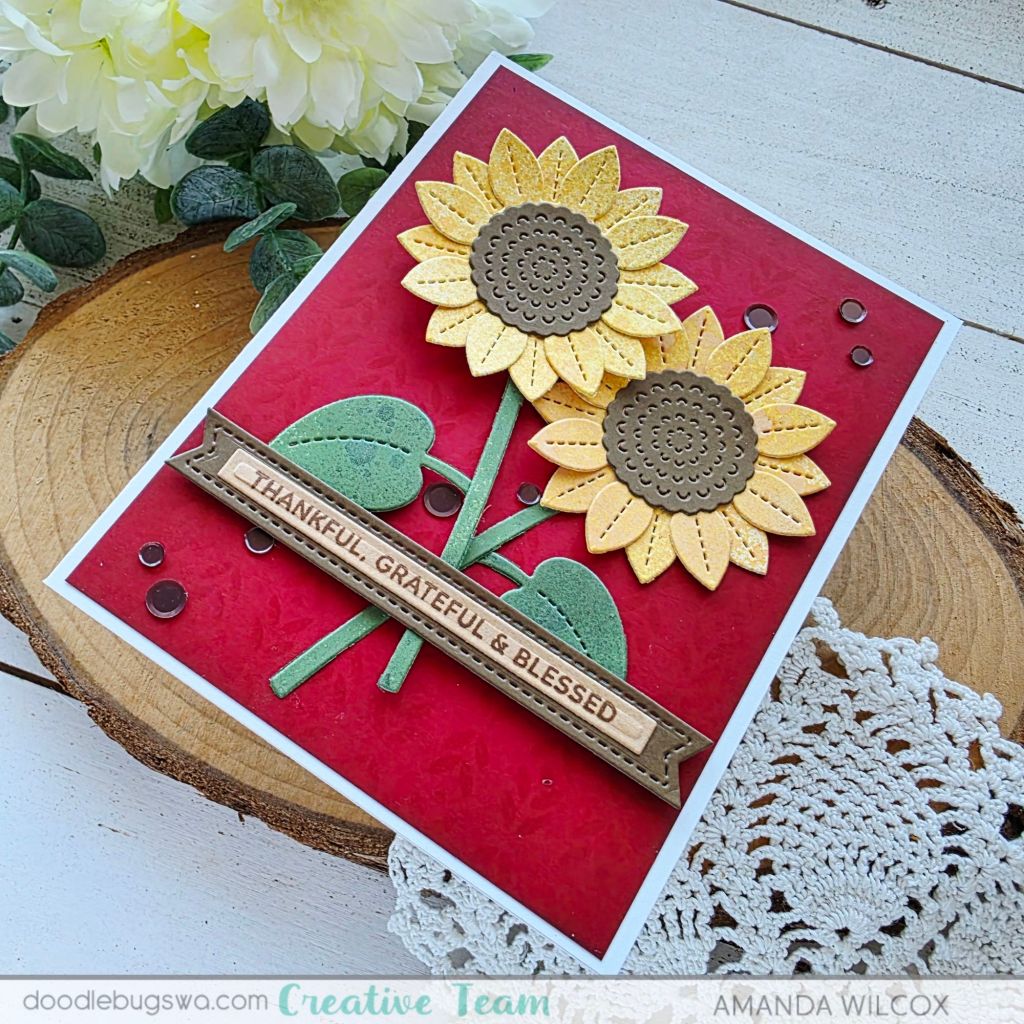
Hey friends! This week for Doodlebugs Mix it up Monday, I’m really feeling the fall vibes. I have been itching to play with these Lawn Fawn Sunflower dies since I got them and today it just felt perfect!
Instead of using colored cardstock for the petals, stems and leaves I used distress oxide and spritz sprays to add color to white cardstock. It gives great texture, shimmer and depth. After the panels were dry from spraying them, I cut out the pieces and used liquid glue to assemble everything.
I cut a red background panel at 4×5.25 inches and ink blended the Pretty Pink Posh Deco Leaves stencil over top with darker red ink. Then I ink blended the edges for depth before adding it to a white card base.
Next I popped up my sunflowers with foam squares. Then stamped and die cut a sentiment using the Pretty Pink Posh Sentiment Strips stamps and dies. I glued the layers together and popped it up over the stems with foam strips.
For finishing touches on the design I glued a scattering of brown flat sequins from Pretty Pink Posh.
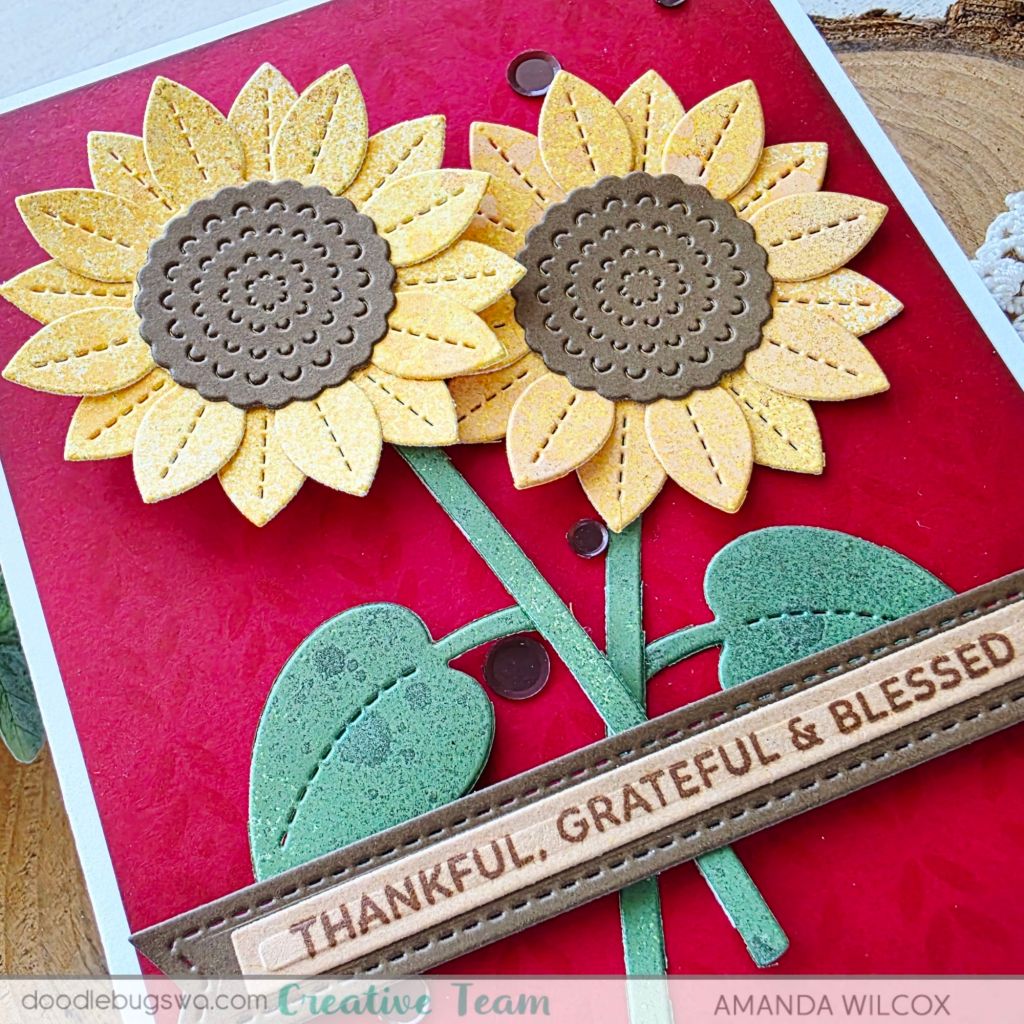
Here’s a close up look at the texture on the sprayed sunflower parts. I love them!
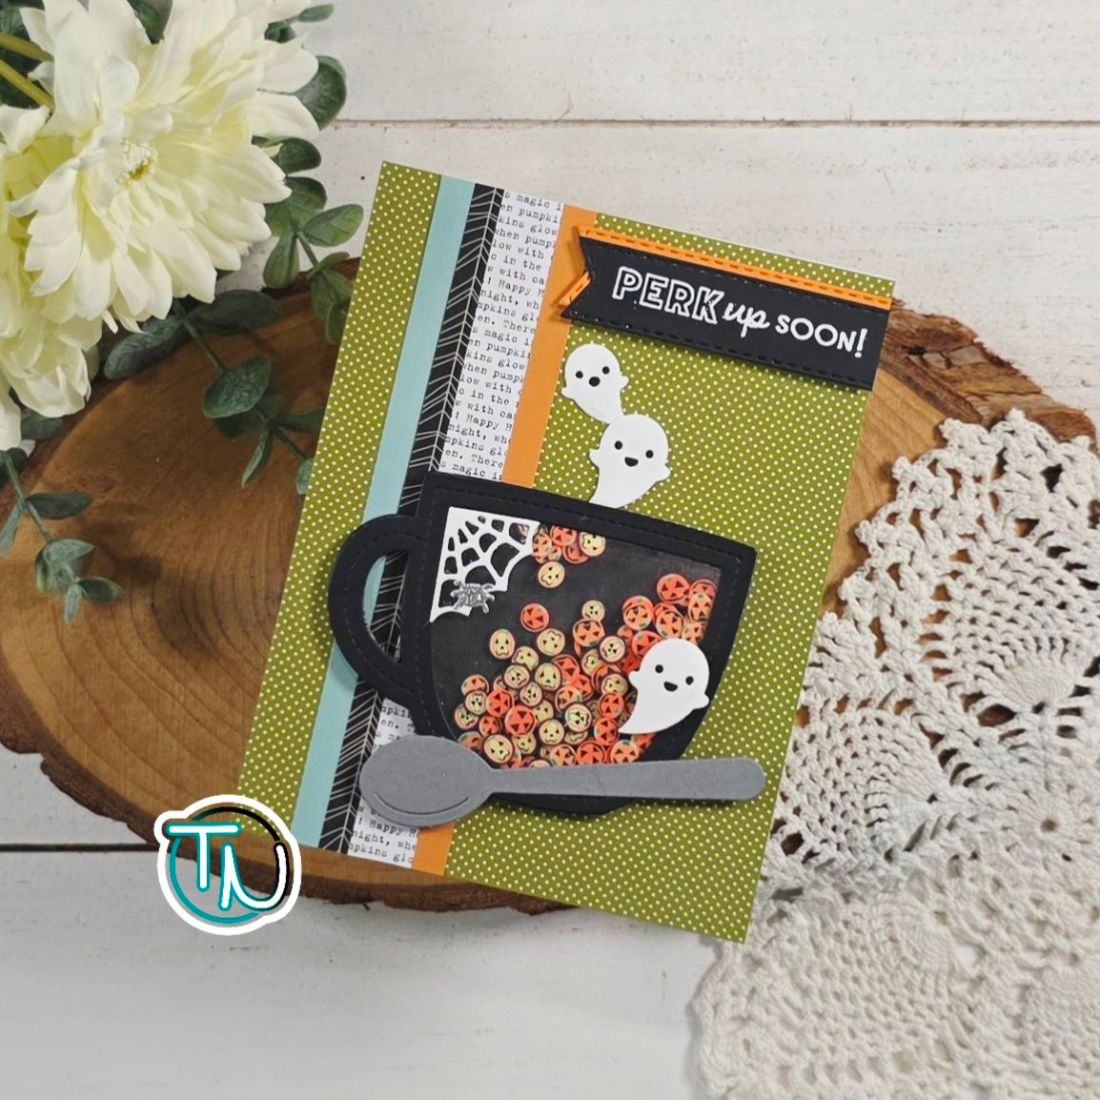
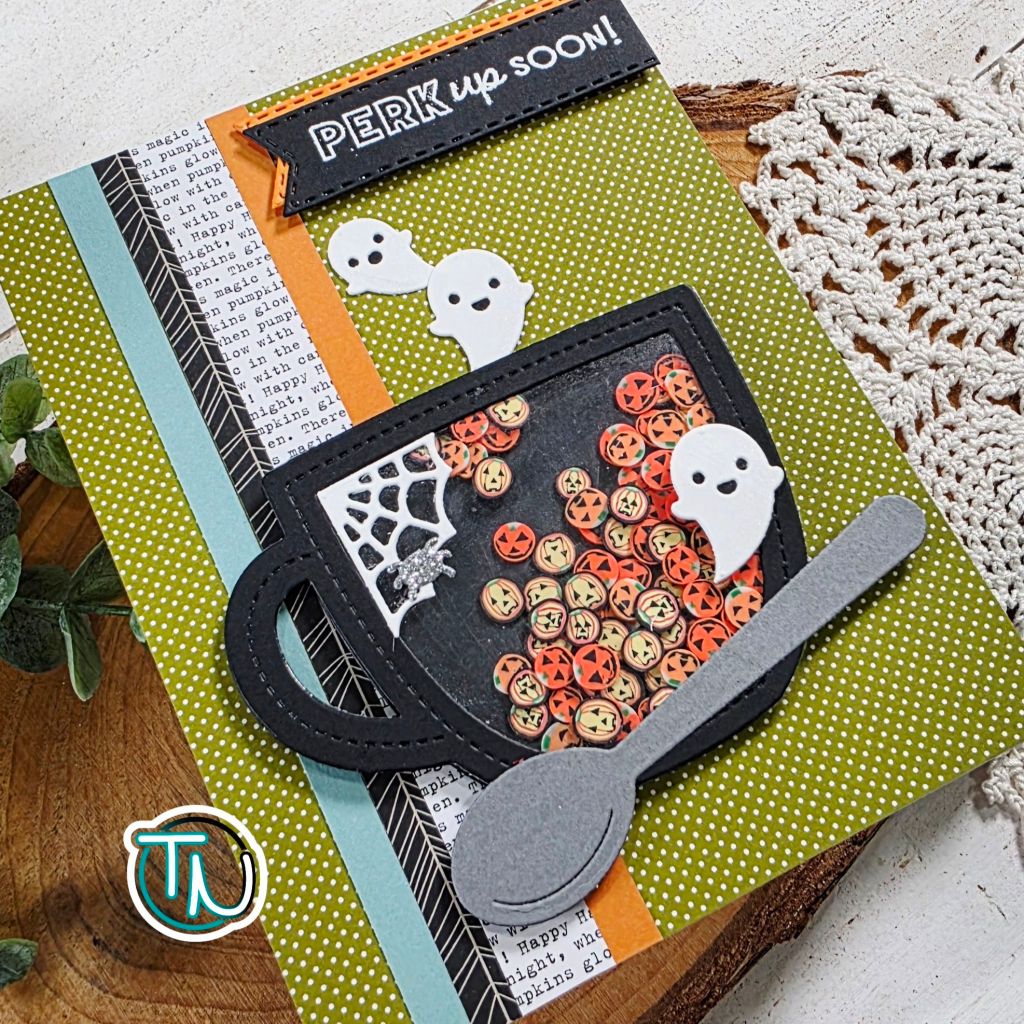
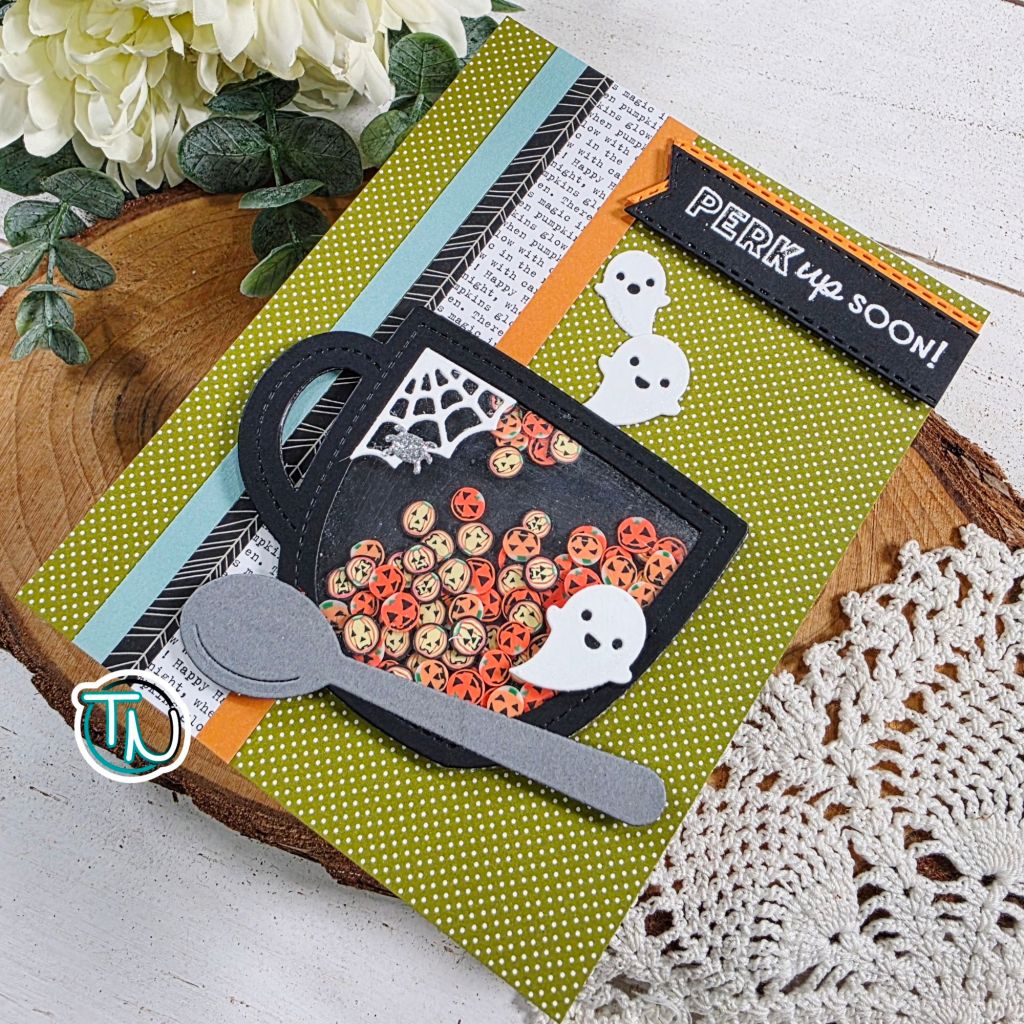
Hi friends! Today I’m here with a fun little shaker card to celebrate National Coffee Day with the Coffee Loving Cardmakers! The hop is over on Instagram so be sure to comment there! Below are some of the details on how I created my card.
I couldn’t help but go for a Halloween coffee shaker card to celebrate today. I used our Happy Jacks embellishment mix with a variety of Lawn Fawn dies and Newton’s Nook stamps and dies for my sentiment.
I rediscovered a fun paper pad in my stash to create the background. First I cut a 4.25×5.5 panel with the green polka dots and then gave life to some scraps in the pad with stripes for some contrast. Isn’t that fun!?!
I created my shaker and glued it in place with a few extra visitors in the form of ghosts and a spider on his web. Then I stamped and heat embossed a sentiment from Newton’s Nook on a banner and popped it up with foam squares.
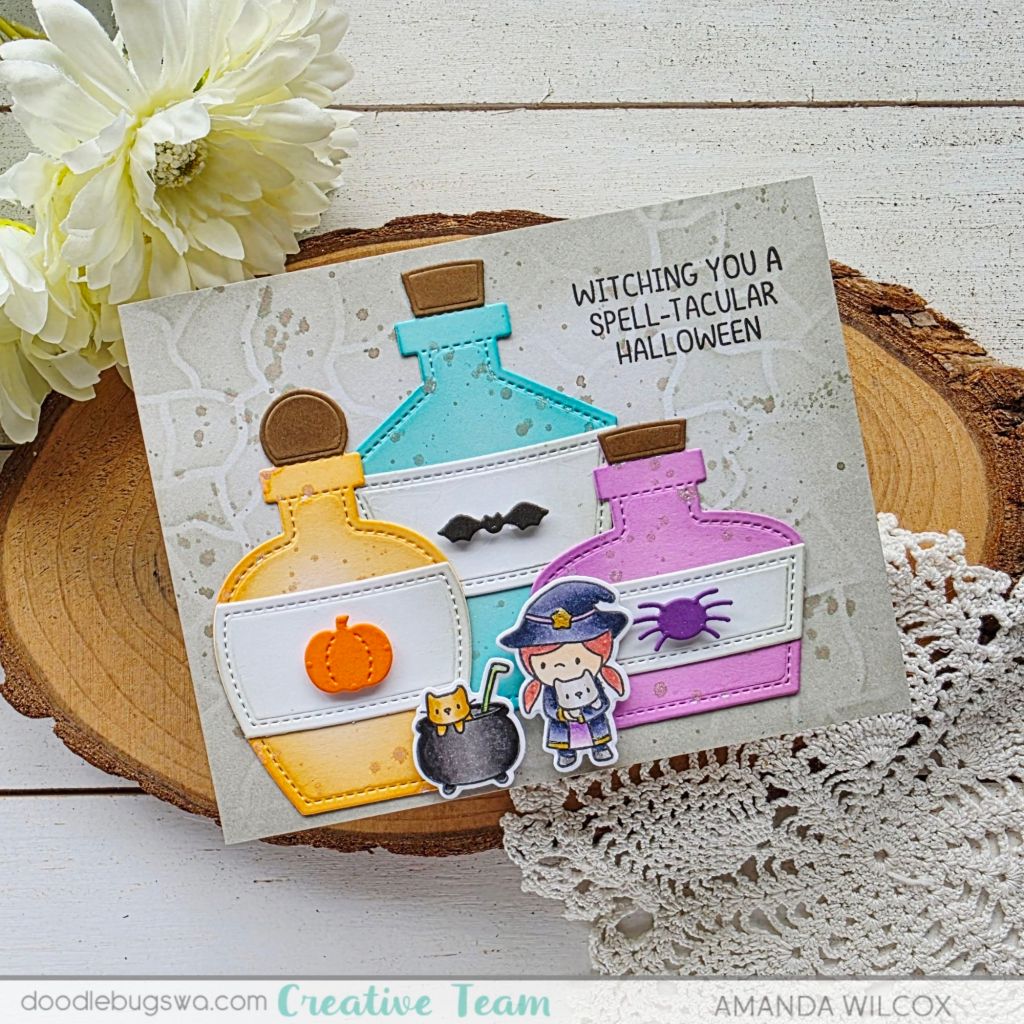
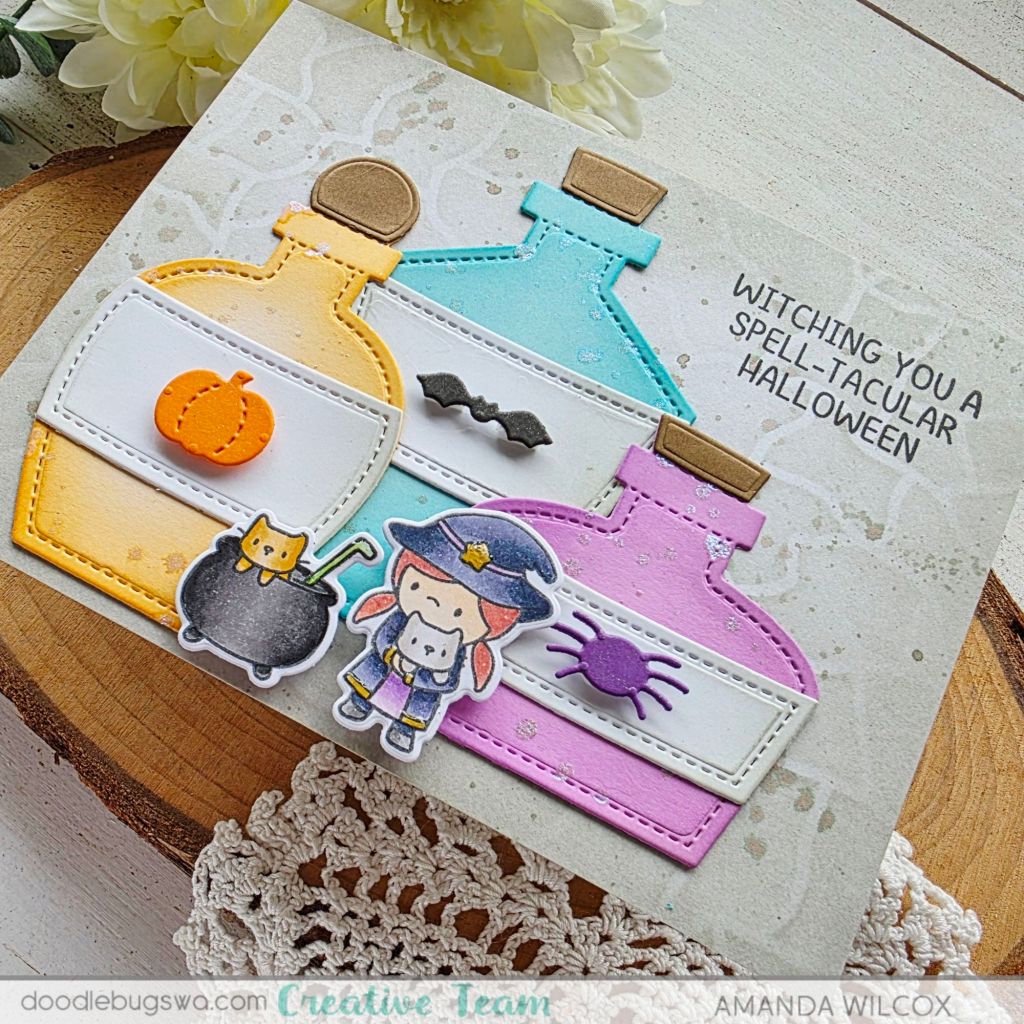
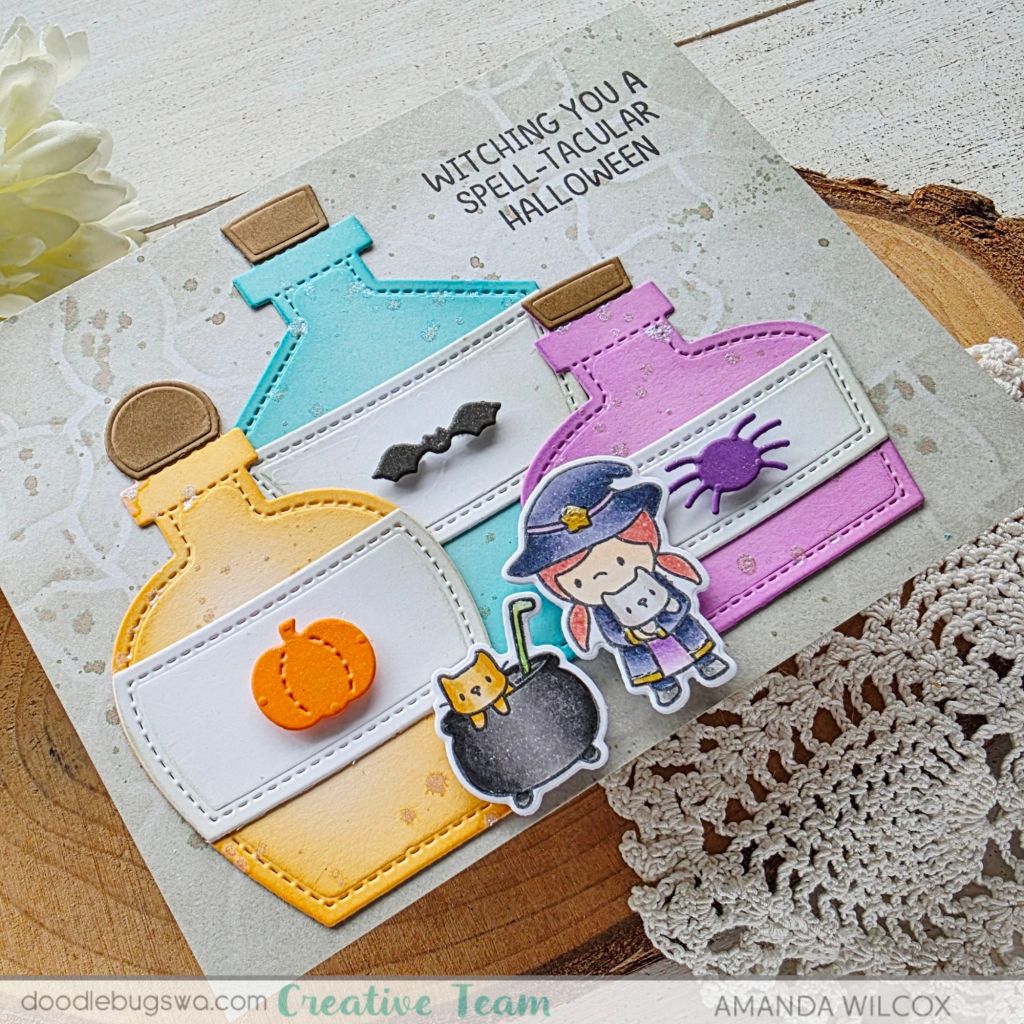
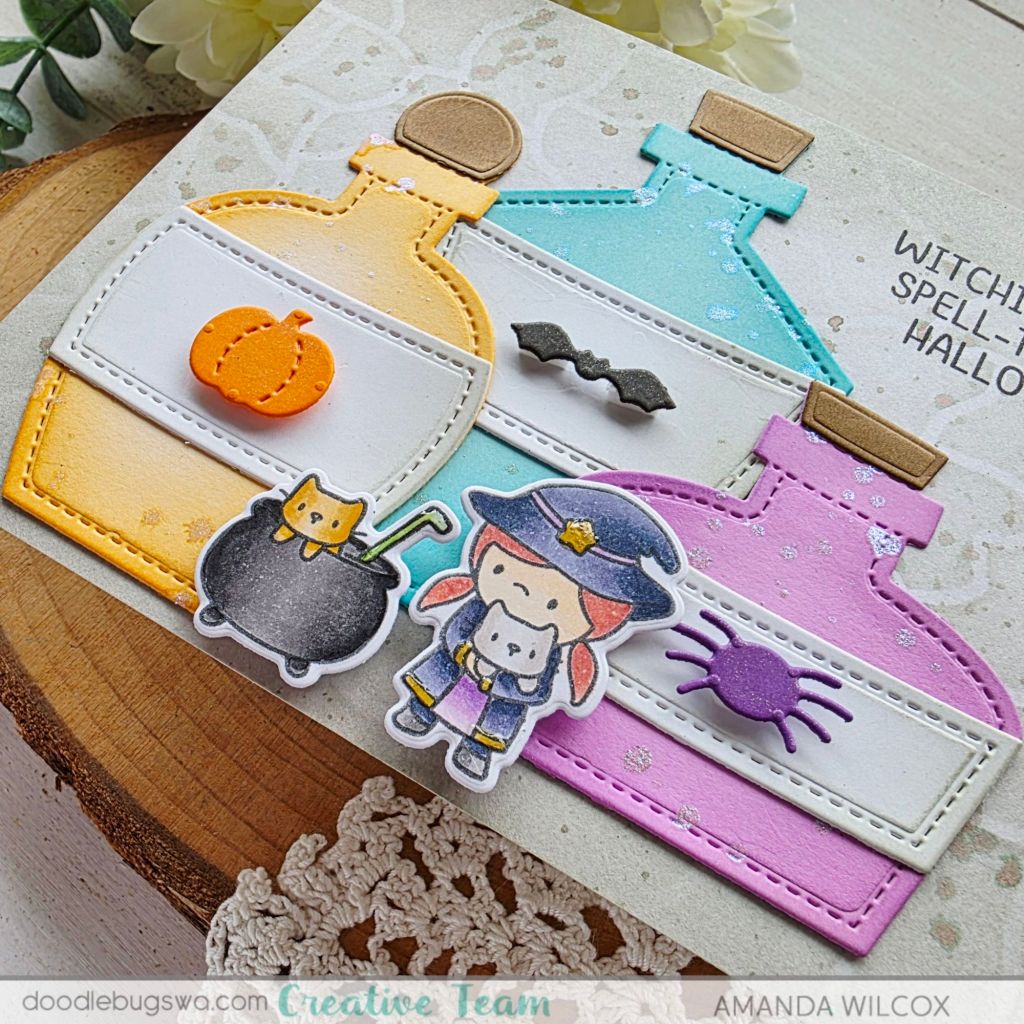
Hello again! I’m back with another Mix-it-up Monday for Doodlebugs and, of course, I’m back to my Halloween antics. This time we’ve got potions class. So grab your text books and turn to page 394 please.
I started this card by wanting to play with the Pretty Pink Posh Potions Shaker dies so I cut out all the bits and blending brushes to add shading and dimension. After that I splattered them with unicorn watercolor and let them dry.
While those were drying, I chose a couple of images from Mama Elephant Bewitched to stamp, color and cut out. Then I assembled my potion bottles, and decided on arrangement. I adhered them together with liquid glue and added foam squares to my images.
My gray background panel was too drab so I pulled out the Pretty Pink Posh Crackle Background stencil and inked it up. Then splattered the panel with darker gray ink for more distressing. We’re in the dungeon after all.
Finally, I adhered the panel to a card base, used liquid glue to adhere my potion bottles and popped my images on with their foam squares. I placed the whole card in my MISTI and stamped the sentiment in the upper right corner and finished the design off with just a bit of glossy accents on my witch and ladel.
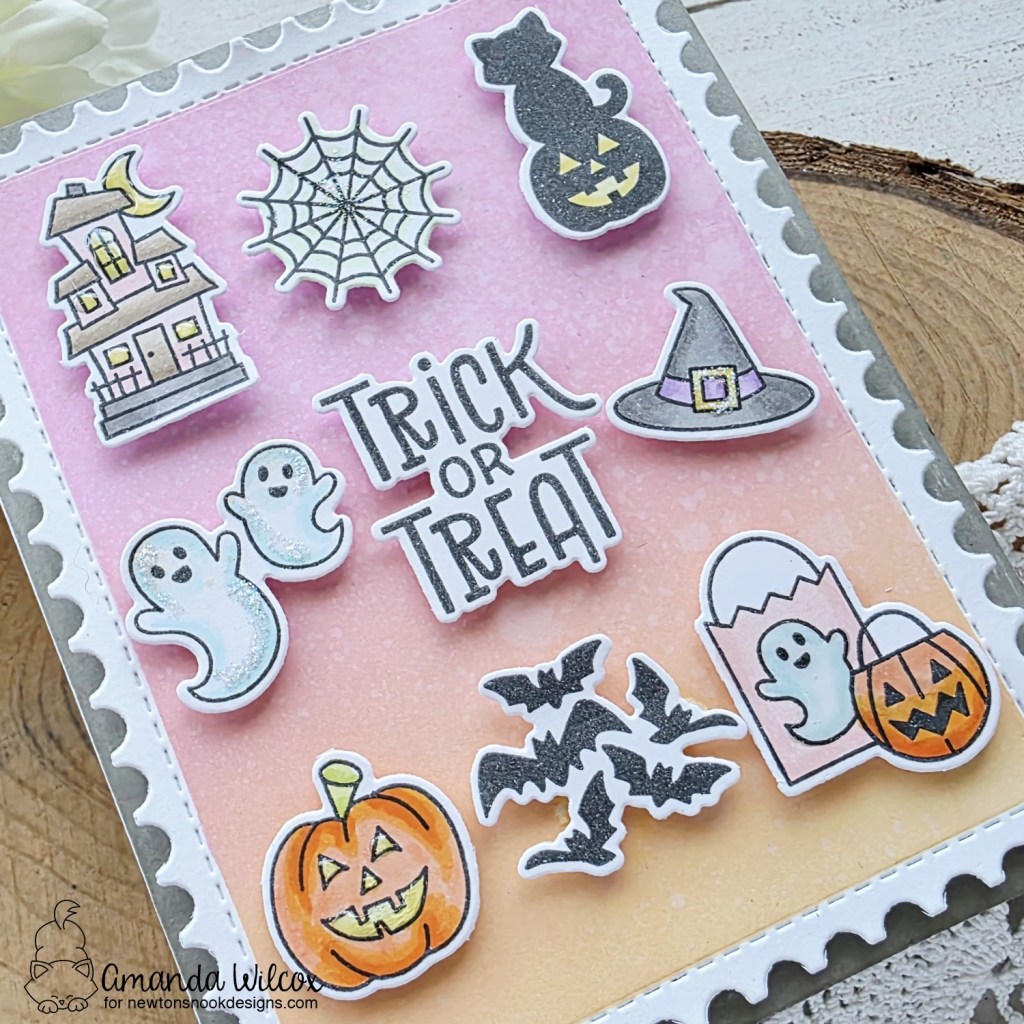
Hey friends! I’m excited to be on the Newton’s Nook blog today with a fun way to use the postage sampler collection, not as postage stamps! Those are fun but sometimes they get old or they aren’t what you’re in the mood for. These sets are good for so much more though!
This one really called to me with that great big sentiment! I knew it needed to be in the center of my icon grid. So I pulled it out plus a handful of others, stamped and colored everything. Next, I used the coordinating dies to cut it all out.
Taking my vibe from the colors I used on the images, I cut a piece of white cardstock with the largest Framework die and taped off the edges. Then I ink blended distress oxide inks from kitsch flamingo to scattered straw, that was light so I added a little carved pumpkin at the bottom and blended it back up. Then I spritzed the panel with water and blotted it dry. SO PRETTY!
Next, I arranged my images on the panel and popped each one up with foam squares. I took my gray ink pad direct to the edges of my card base and then popped the framework panel up on that with foam tape too.
To finishing things off I added bits of glossy accents and stardust Stickles to different images, not all but most of them.
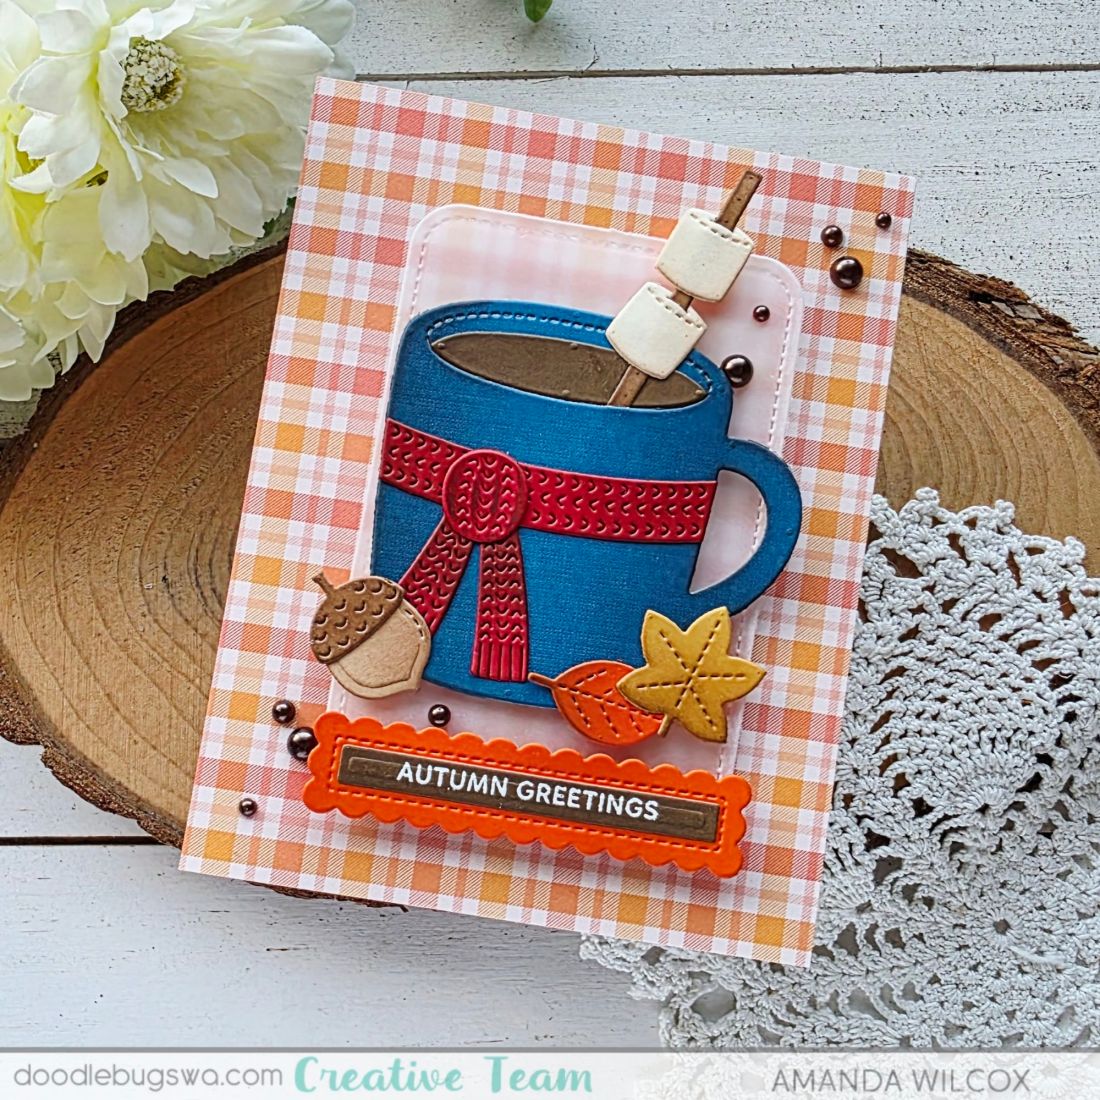
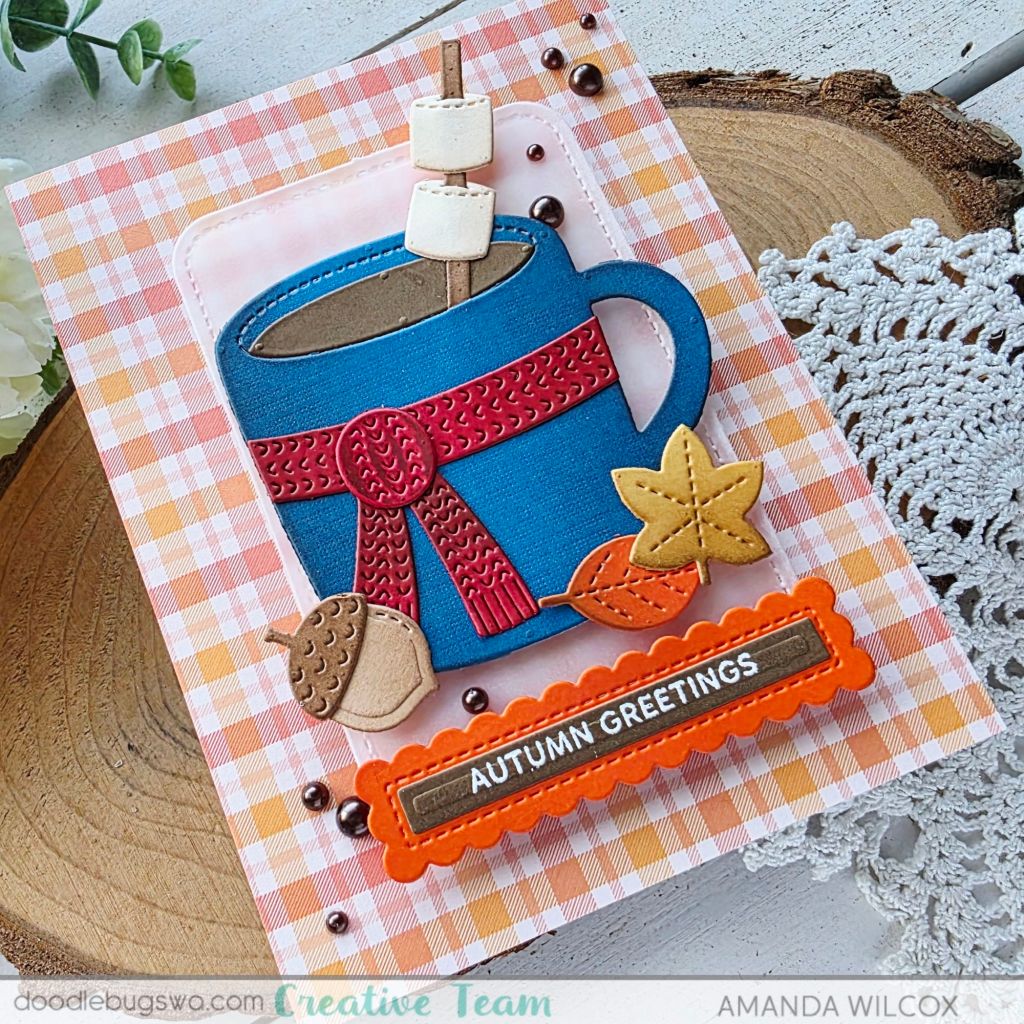
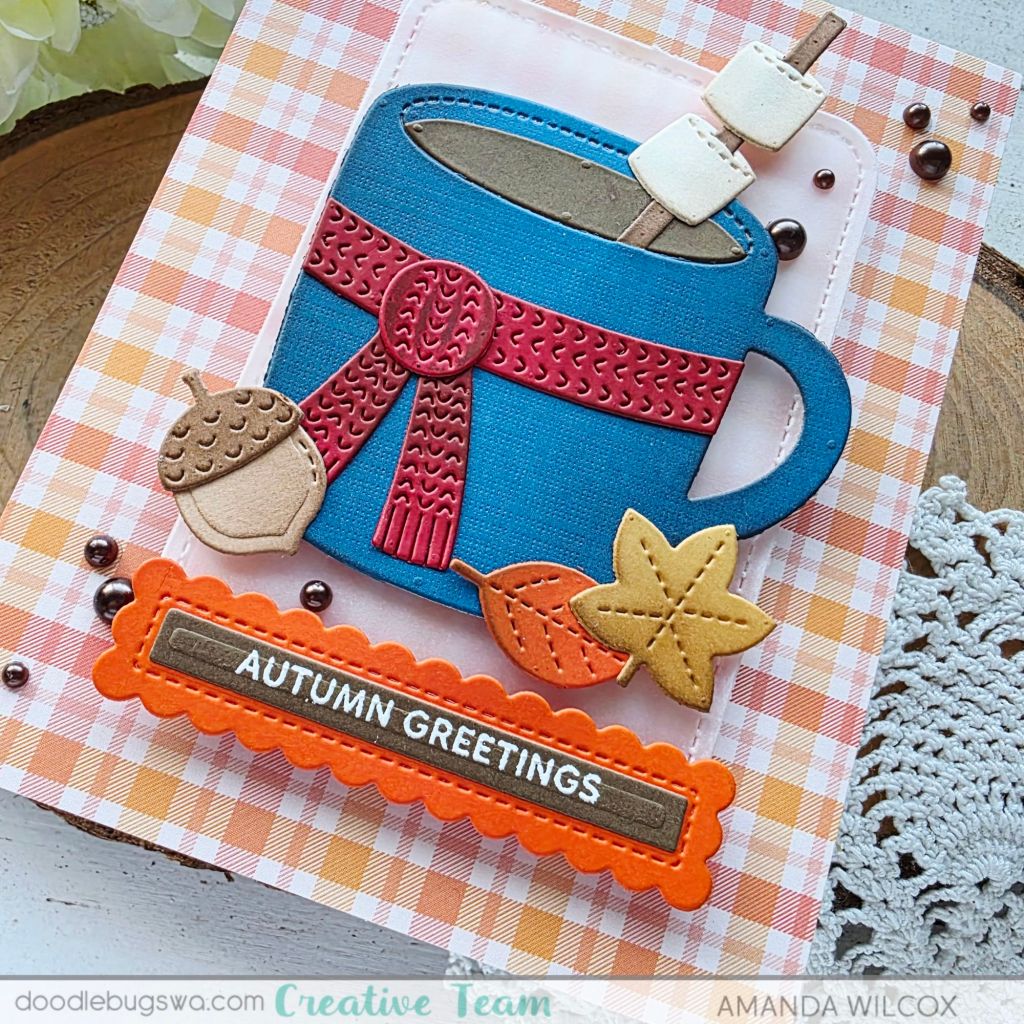
Welcome to Mix it Up Monday for the Doodlebugs shop! Today I’m falling into cozy fall vibes with a fun combo of Pretty Pink Posh and Lawn Fawn goodies new and older.
I started by die cutting all the bits from Pretty Pink Posh Winter Mug and Fall Mug Additions die sets. I used some ink blending to give the pieces depth and liquid glue to adhere them all together.
Next, I pulled a piece of the new Lawn Fawn Favorite Flannel Fall paper pad for my card front, and cut a rounded rectangle from vellum to center my images. Next I heat embossed my sentiment from Pretty Pink Posh Sentiment Strips Fall on brown cardstock and used the coordinating dies to cut the strip and scallop panel out.
Everything was adhered with foam tape on the vellum panel and then another layer of foam was added behind those to pop it up on the plaid card front. To finish things off I glued down a scattering of Pretty Pink Posh espresso pearls across the design.
Hey friends! It’s finally release day for Newton’s Nook and we’re having an Instagram Hop to celebrate! Below are details for my card but be sure to head to Instagram to hop along and comment there for chances to win today!
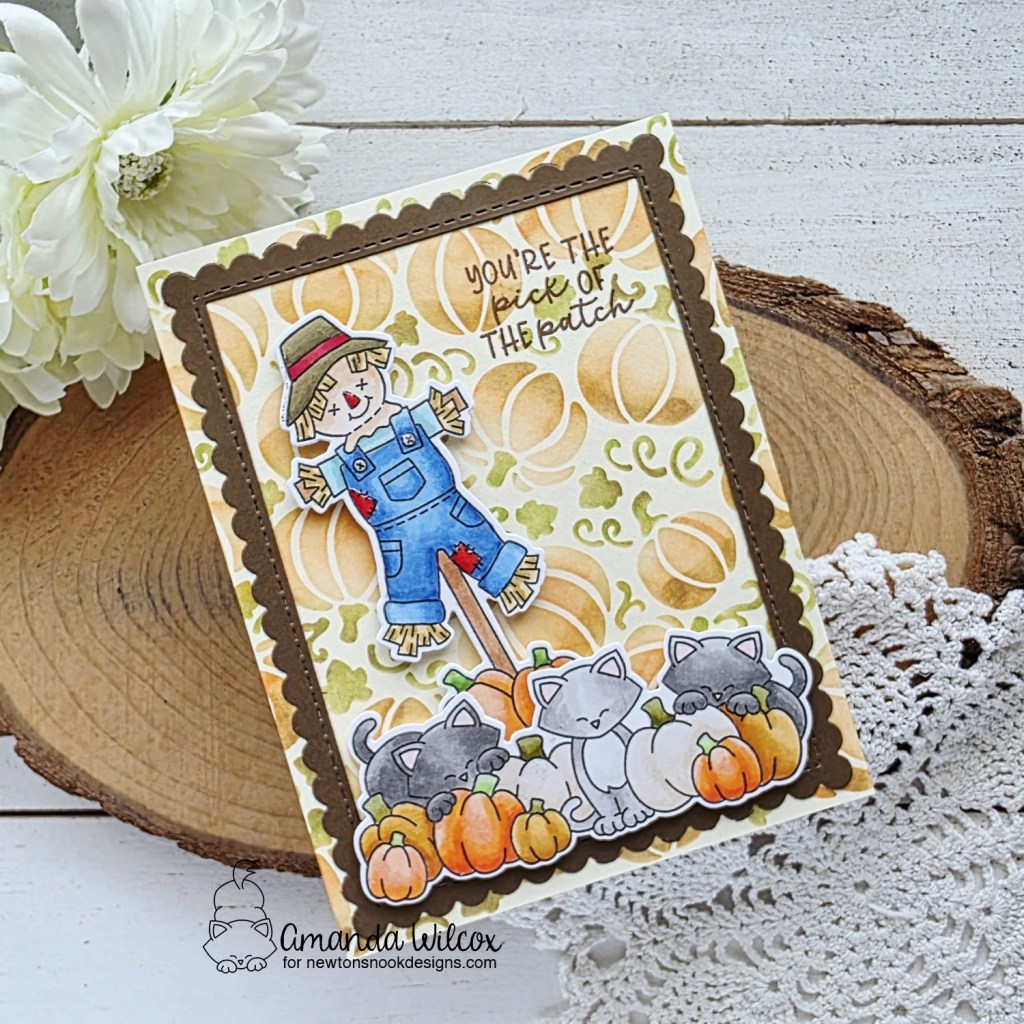
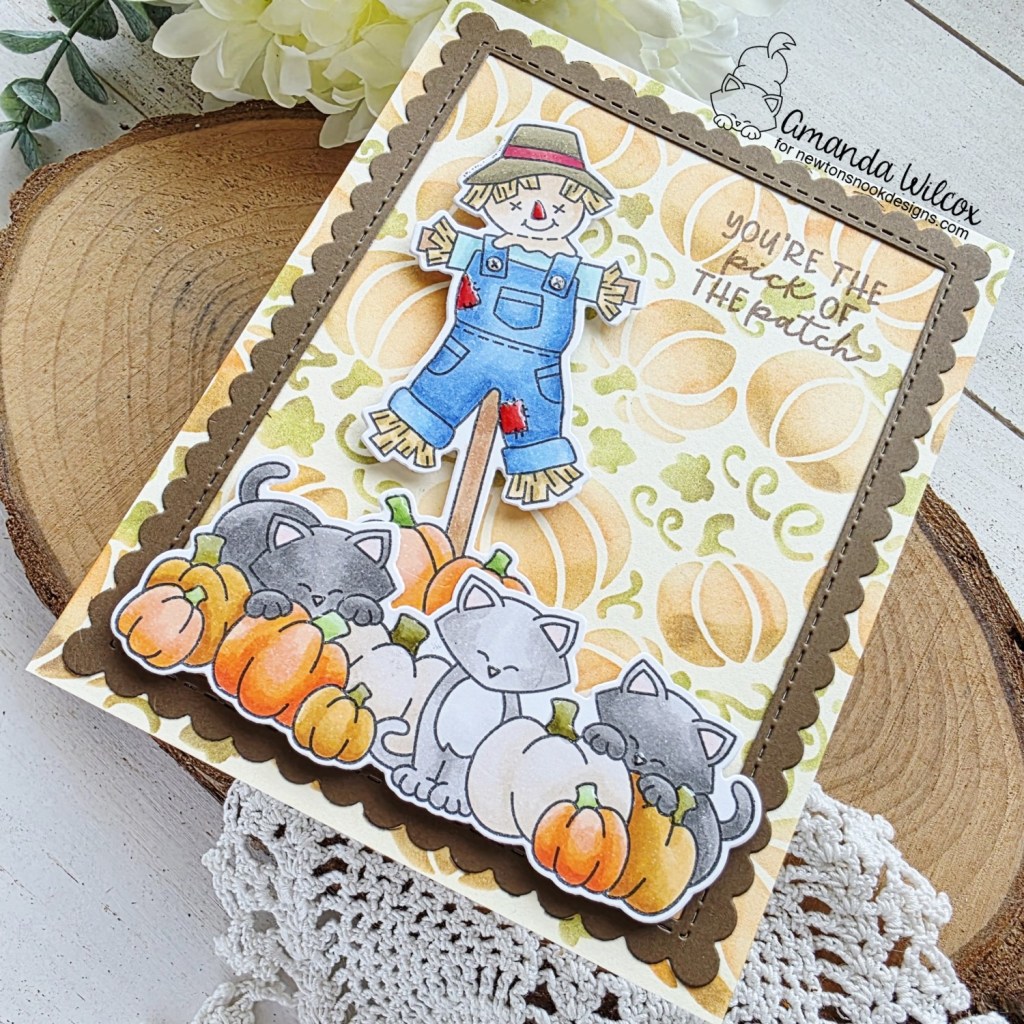
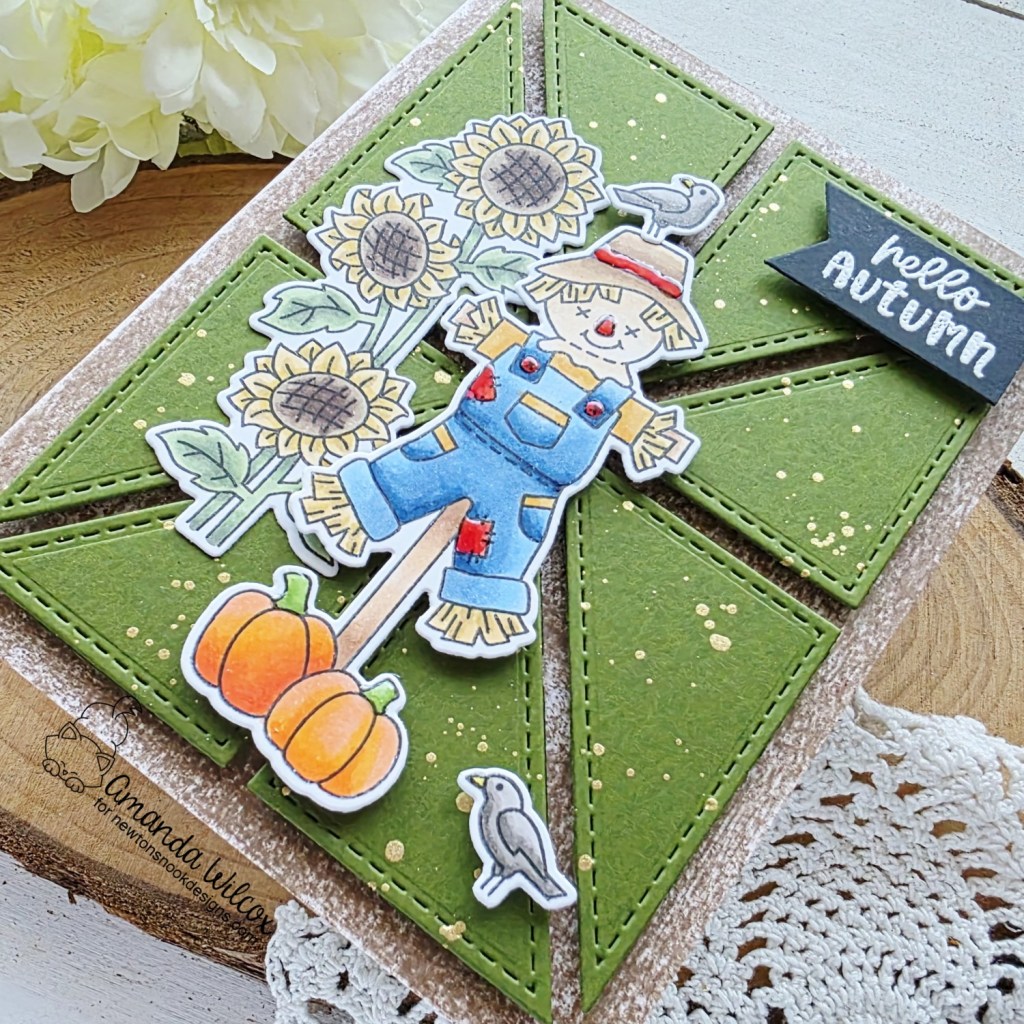
After I finished my cards using these two new sets – Autumn Fields and Pumpkin Tails – I absolutely had to try this design out with the scarecrow sticking out of the pumpkins! Isn’t it totally meant to be?!? I think so!
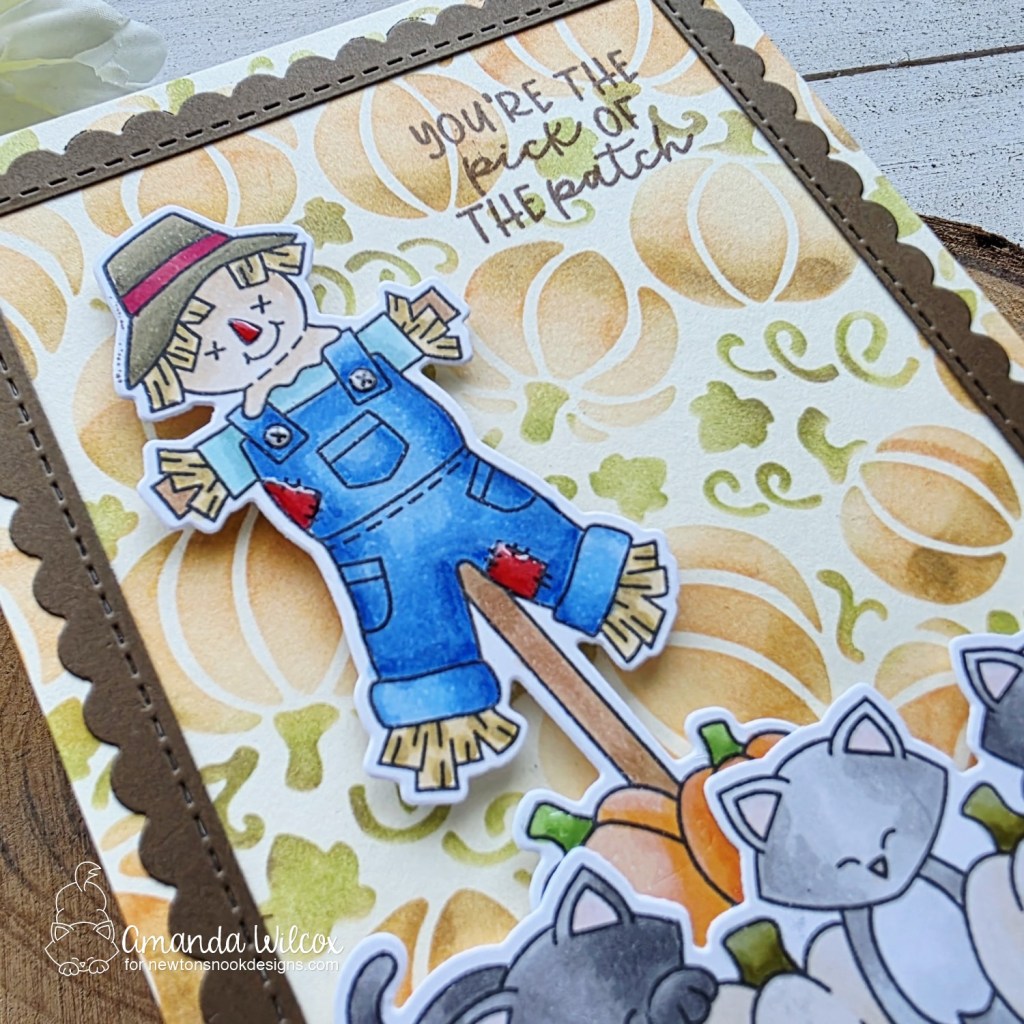
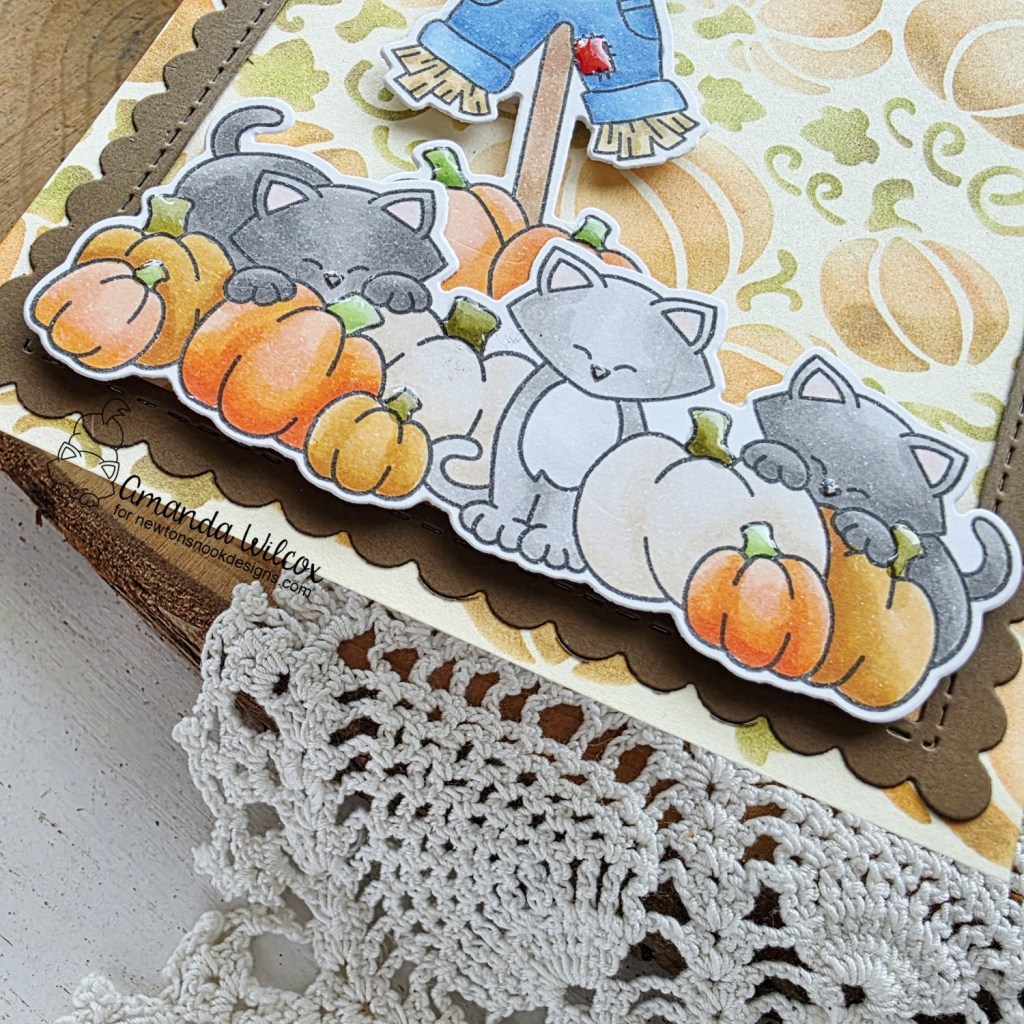
So, after stamping and coloring my images, I used the coordinating dies to cut them out and then inked up a sweet background with the Pumpkin Patch stencil. I used cream cardstock for the base and the mini blending brushes to get the different colors mixed in on this single stencil. I love that it almost has a watercolor look to it.
Next, I cut a piece of brown cardstock with the largest Frames & Flags die, then cut the center out of that panel with the largest Basic Frames die. It fits perfectly creating a great scallop border. I glued that to the stenciled panel and popped up my images with foam squares. Then I placed the whole thing in my MISTI and stamped my sentiment in the upper right corner.
For finishing touches I added glossy accents to all kitty noses, pumpkin stems and parts of the scarecrow too! I’m completely smitten with how this card turned out! It might just stay on my craft desk for the season.
Today is the last day of Newton’s Nook September Release reveals and it’s as cute as ever! I can’t stop coloring these images, they’re so sweet!
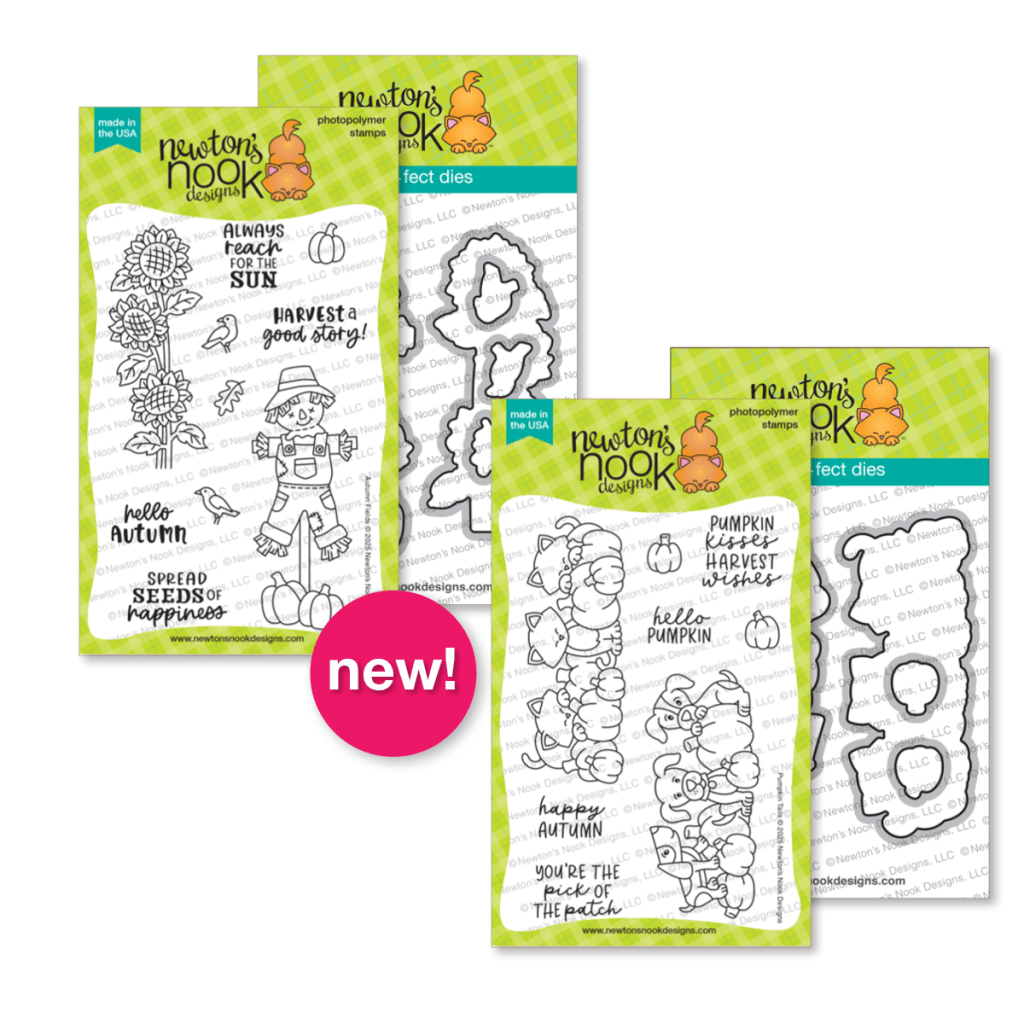
Autumn Fields stamps and dies and Pumpkin Tails stamps and dies
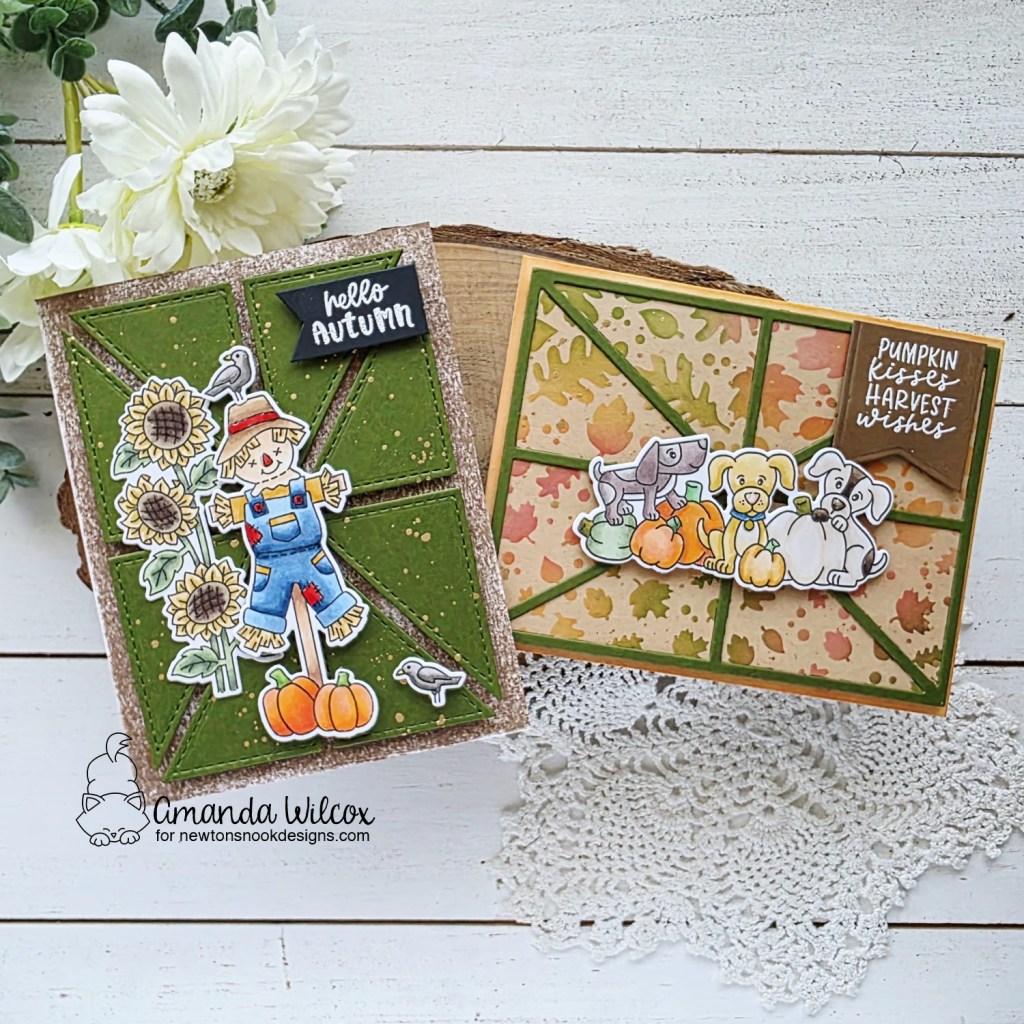
I’ve got another couple of cards to share with you today featuring both stamp sets but also a take on how to use the new Card Layout 5 die we revealed on Tuesday!
Given that both stamp sets are more fall vibe, it was easy to cut the Card Layout 5 die from a perfect green cardstock and use both elements on my cards.
I started with the frame on a kraft panel ink blended with the Falling Leaves stencil and splattered with gold watercolor. The pups from Pumpkin Tails fit perfectly as a focal point in the middle of the layout design.
Then I stamped my sentiment on a banner from Frames & Flags and popped it up with foam tape as well. I finished this design off with bits of glossy accents on the poppy noses and collar tag.
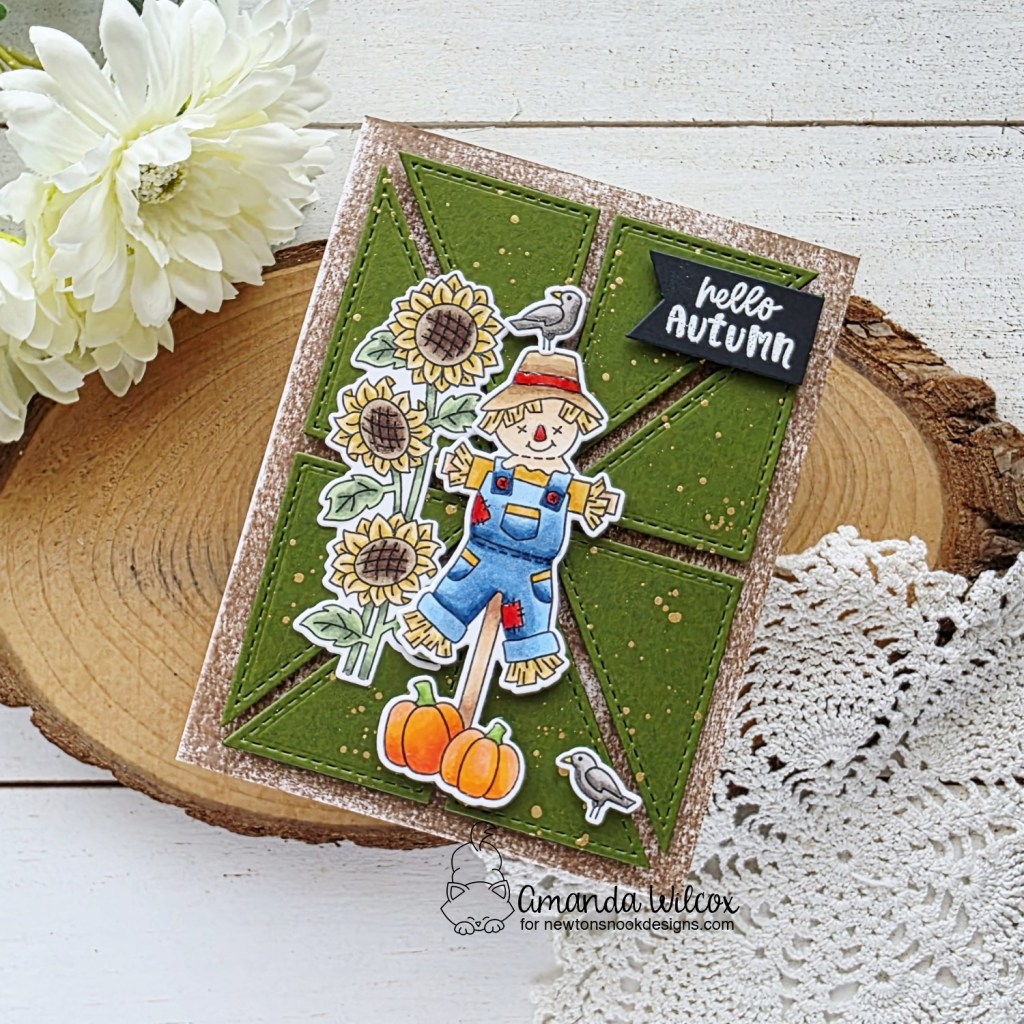
For the layout on this card, I drug my brown ink pad across a white cardstock panel for textured inking. Then I splattered the panels from the Card Layout 5 die with gold watercolor and let them dry while I colored my images from Autumn Fields.
With the panels dry, I added foam tape to the back of each one and placed them back in my die for alignment. I centered that on a grid mat and carefully pressed my inked panel into the panels that were sitting in my die. They picked up perfectly and I instantly had my background.
Next I added the sunflower image with liquid glue and popped everything else up. Then I stamped and heat embossed another sentiment on a smaller banner from Frames & Flags and popped it up on the upper right side of the design.
I finished this card off with some glossy accents on various parts of the images as well.
Enter to Win a $25 Prize!
One lucky winner will receive a $25 prize to spend at Newton’s Nook Designs online shop! The winner will be chosen at random from the collective blog posts featuring our new products this week. For a chance to win, leave comments on the Design Team Member Blog Posts (see list below) from Tuesday September 9 through Thursday September 11th. You will not know which blog has been chosen so the more you comment on the better your chances are of winning! You have until Thursday, September 11th at 9 pm ET to comment — winners will be announced on the NND blog on Friday, September 12th.
Check out all the awesome Design Team Blogs below to enter:
We’re back for day 2 of release reveals on the Newton’s Nook September Release! More fall fun to share with you today. Let’s take a look.
Autumn Postage Sampler stamps and dies and Halloween Postage stamps and dies
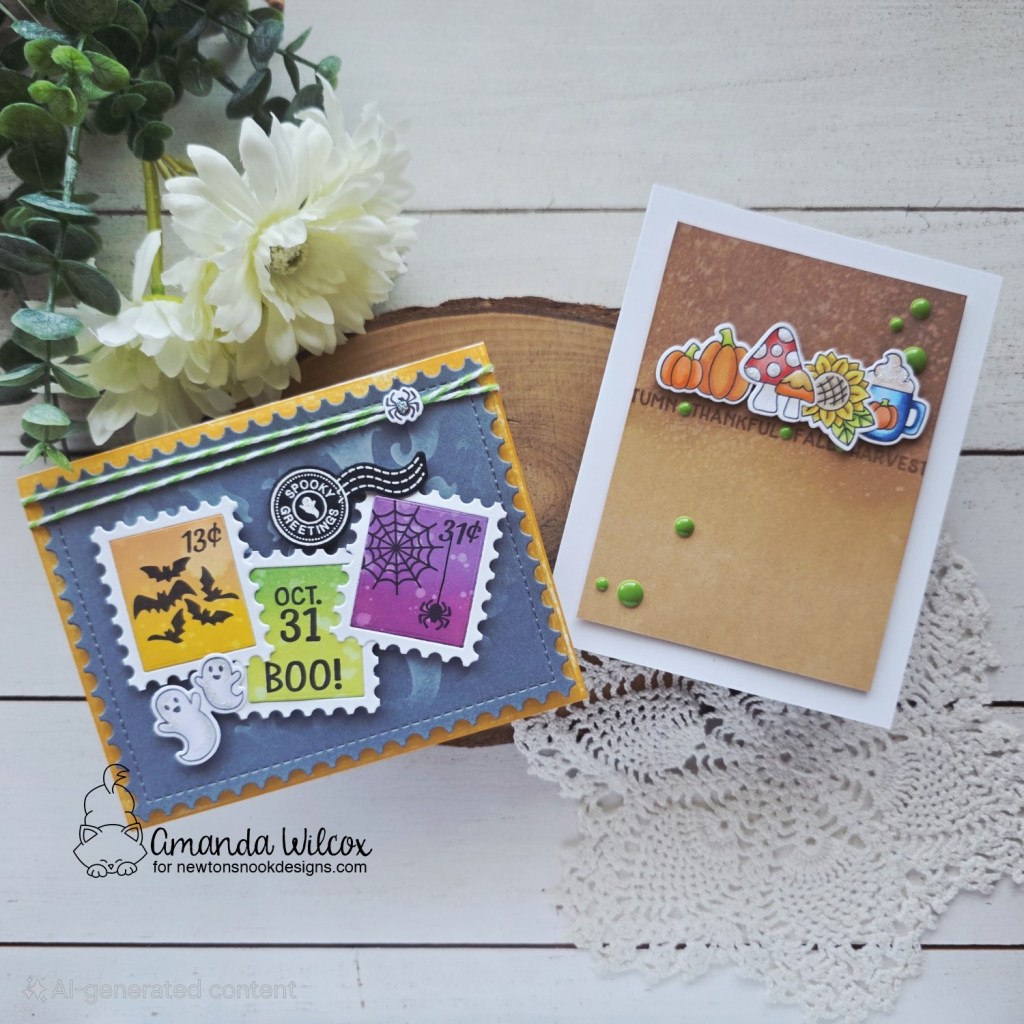
Today I have a card featuring each stamp set to share with you. One using the postage vibe and one showing how you don’t have to use them that way at all!
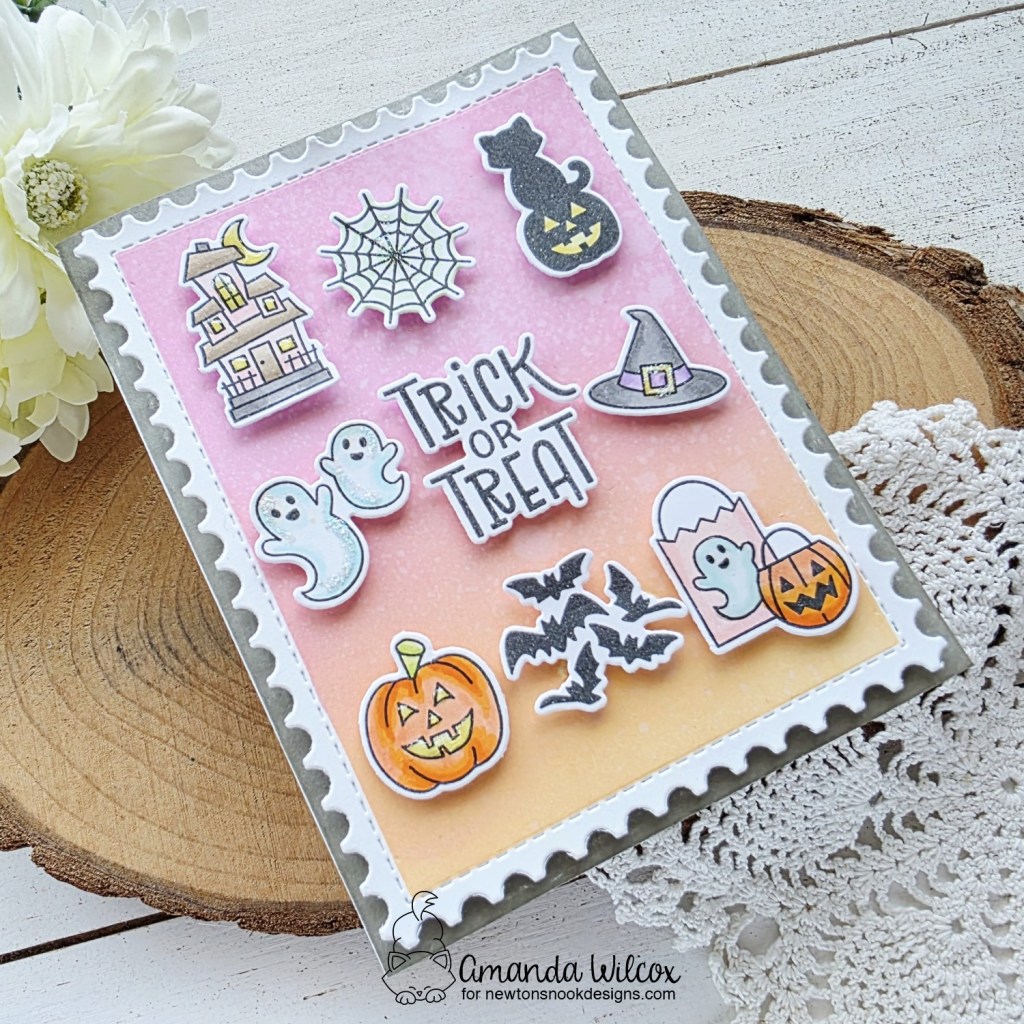
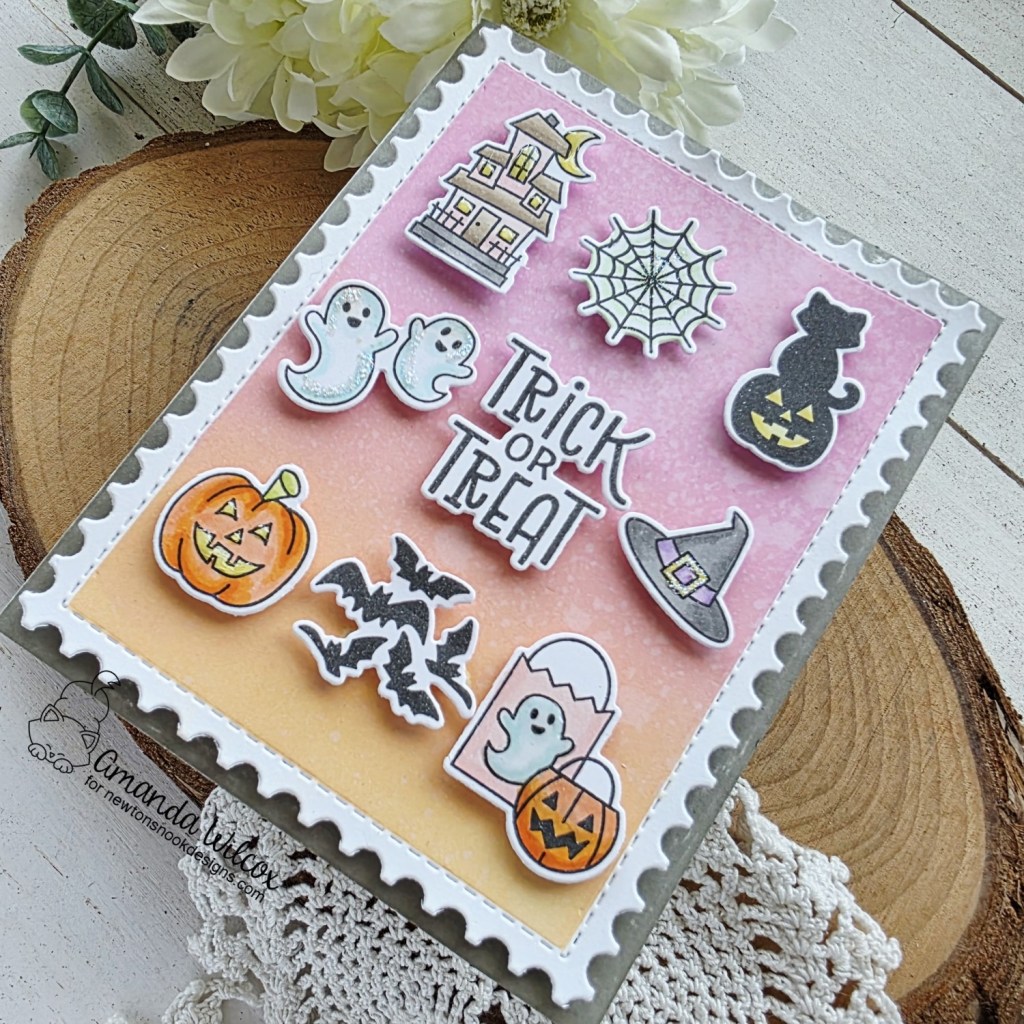
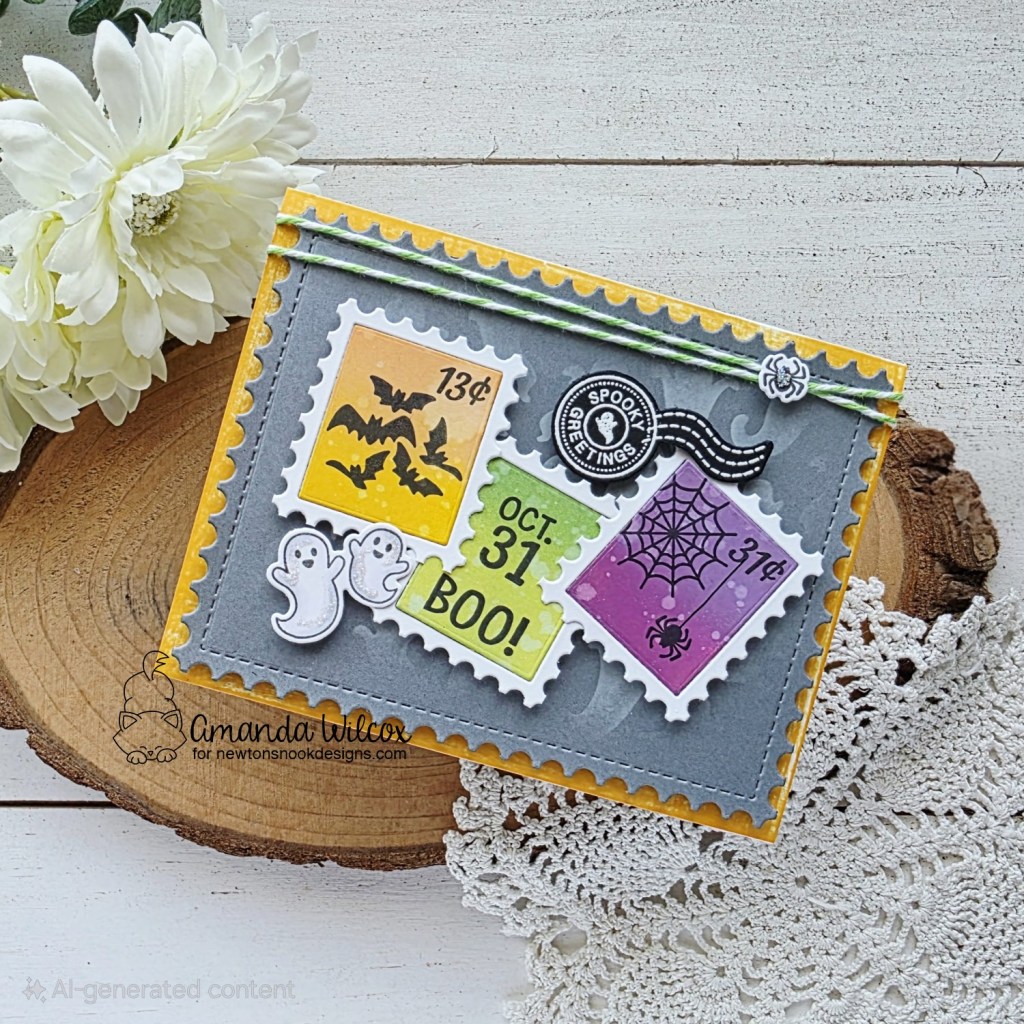
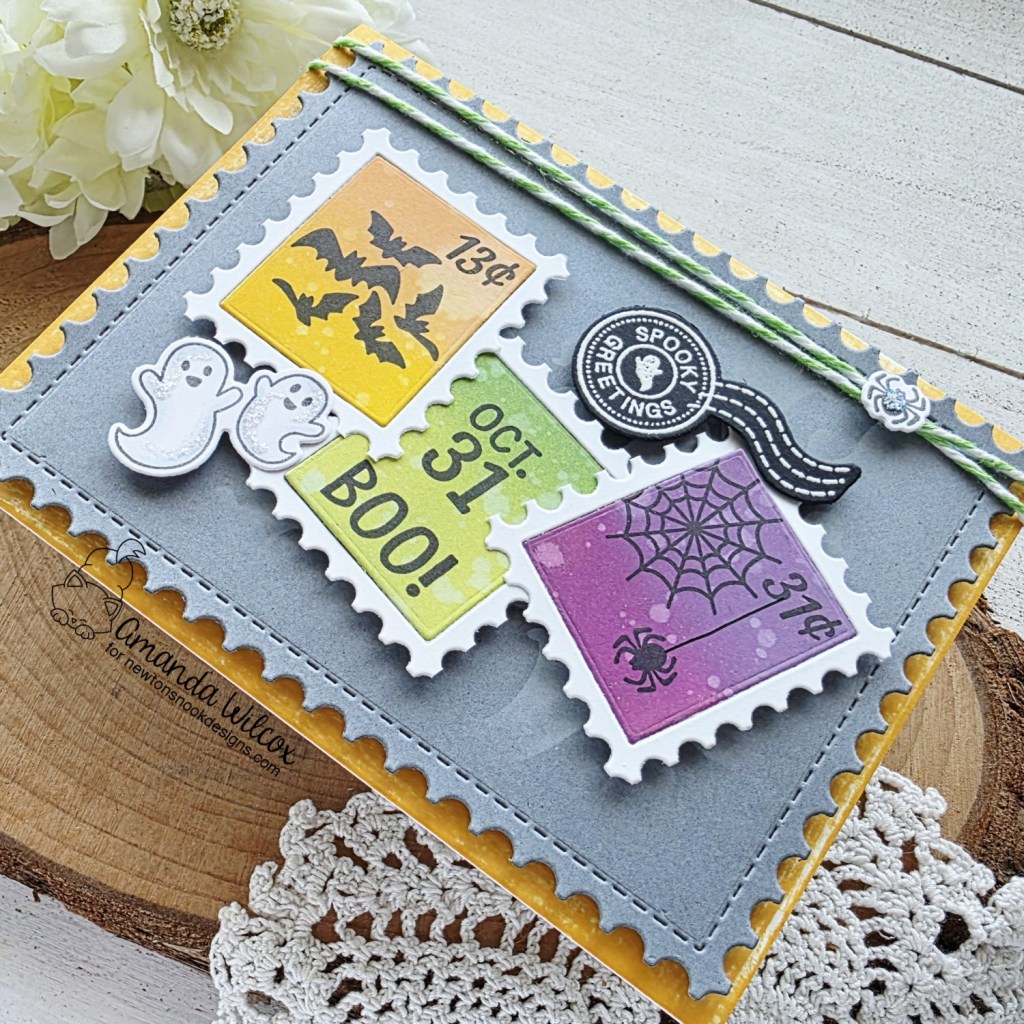
My first card features the Halloween Postage Sampler stamps and the coordinating Postage Stamp Layout die together.
For this card, I inked up the postage stamp centers with distress oxide inks and then stamped images from Halloween Postage Sampler on each one. I used a little washi tape on the back of each to hold the center into the frame and then liquid glue to adhere them together how I wanted. After that was dry, I added foam tape and set them aside.
I cut a gray panel with the largest Framework die and inked it with the Ghosts stencil using white pigment ink. I inked up the edge of my card base with that tried and true direct to paper technique using orange ink. Then I popped gray panel up with foam tape and added the stamps on that. I thought things were a little lacking so I went back and added ghosts, the postmark and a little spider on my baker’s twine.
To finish things off I added some stardust Stickles to the ghosts and spider.
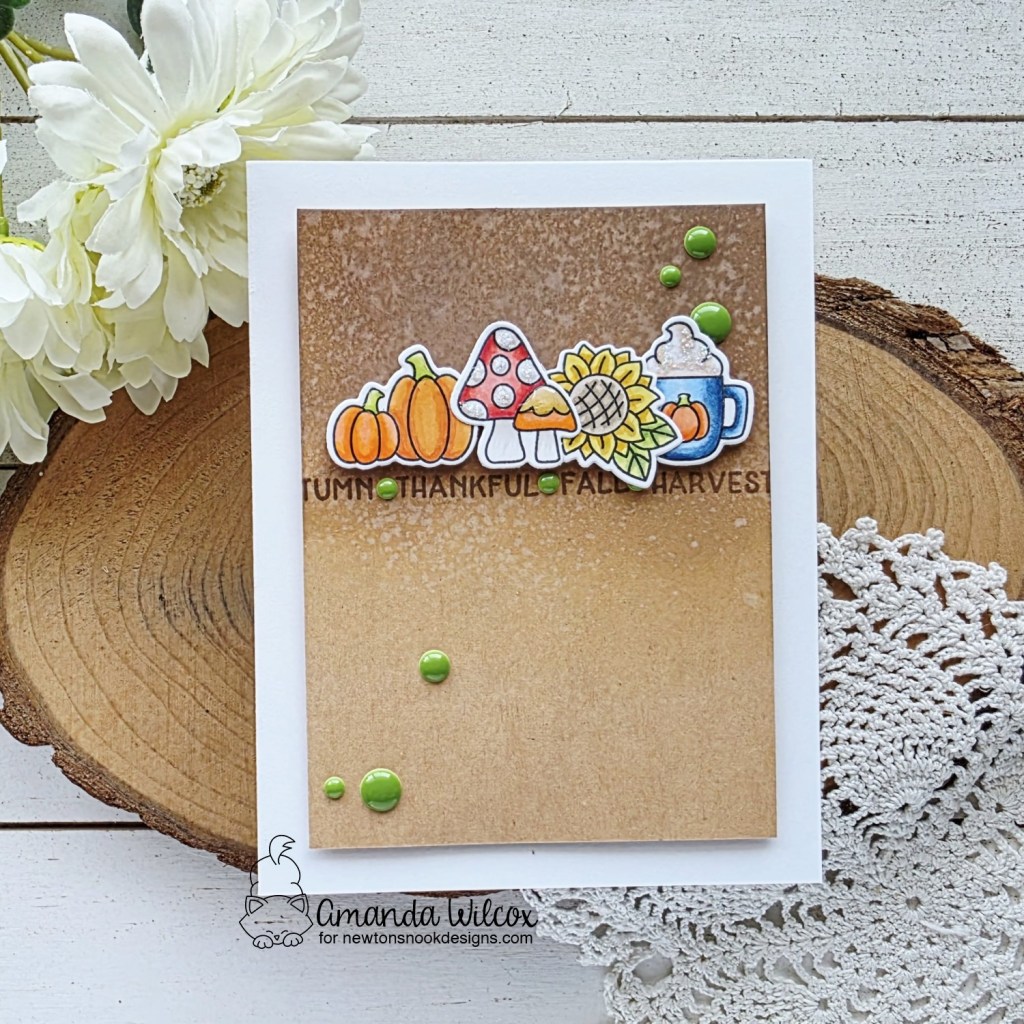
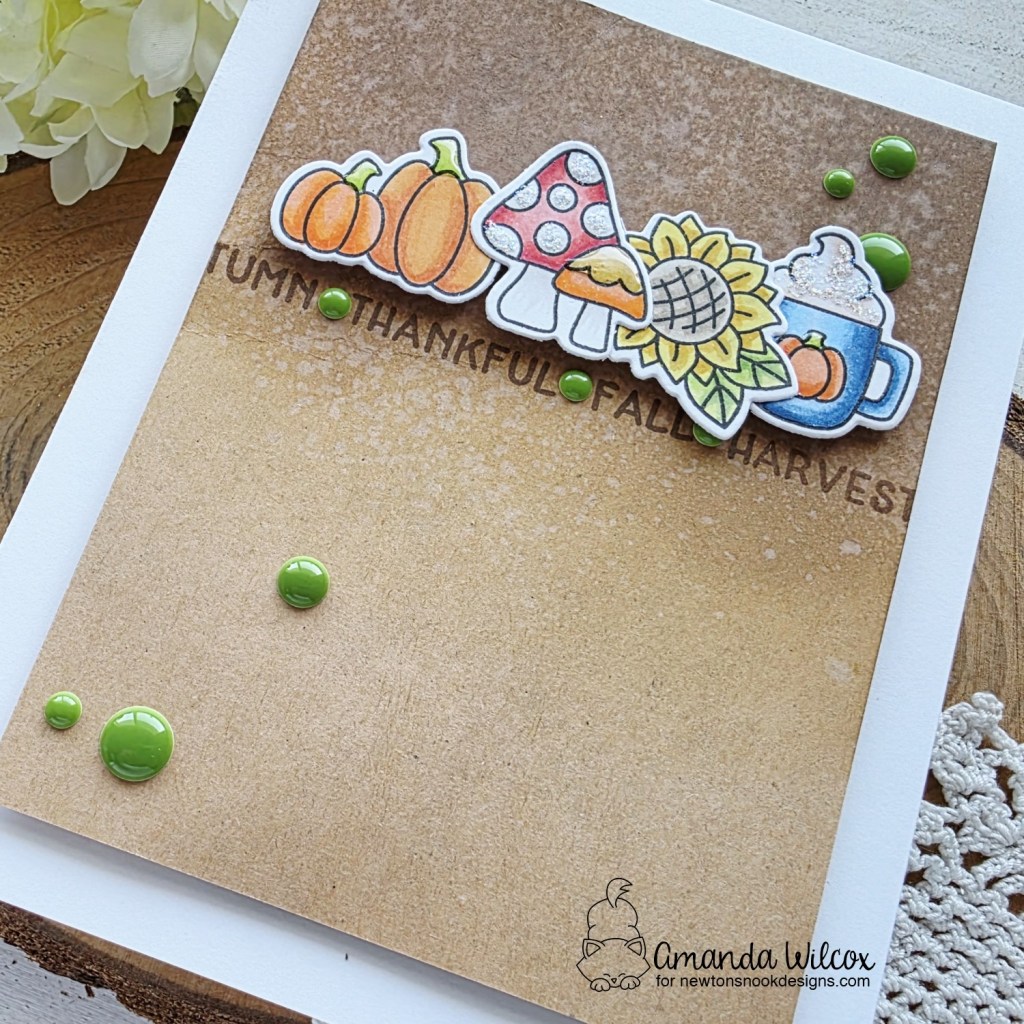
Now, for my Autumn Postage Sampler card, I chose an assortment of my favorite images to stamp, color and die cut. Then I trimmed a kraft panel down to 3.75×5 inches and ink blended it from the top fading out. I spritzed it with water and blotted it dry before stamping sentiments from the stamp set across the panel.
Once that was done, I added my images with foam squares and popped the whole panel up on a white card base with foam tape. For finishing touches on this card I added stardust Stickles and glossy accents on the images with a scattering of enamel dots across the design.
Enter to Win a $25 Prize!
One lucky winner will receive a $25 prize to spend at Newton’s Nook Designs online shop! The winner will be chosen at random from the collective blog posts featuring our new products this week. For a chance to win, leave comments on the Design Team Member Blog Posts (see list below) from Tuesday September 9 through Thursday September 11th. You will not know which blog has been chosen so the more you comment on the better your chances are of winning! You have until Thursday, September 11th at 9 pm ET to comment — winners will be announced on the NND blog on Friday, September 12th.
Check out all the awesome Design Team Blogs below to enter: