Hi friends! I’m so excited to bring you sneak peek reveals of the Newton’s Nook September release! It’s full of all things fall and Halloween so you know my heart is full and ready to share! Let’s look at today’s reveals.
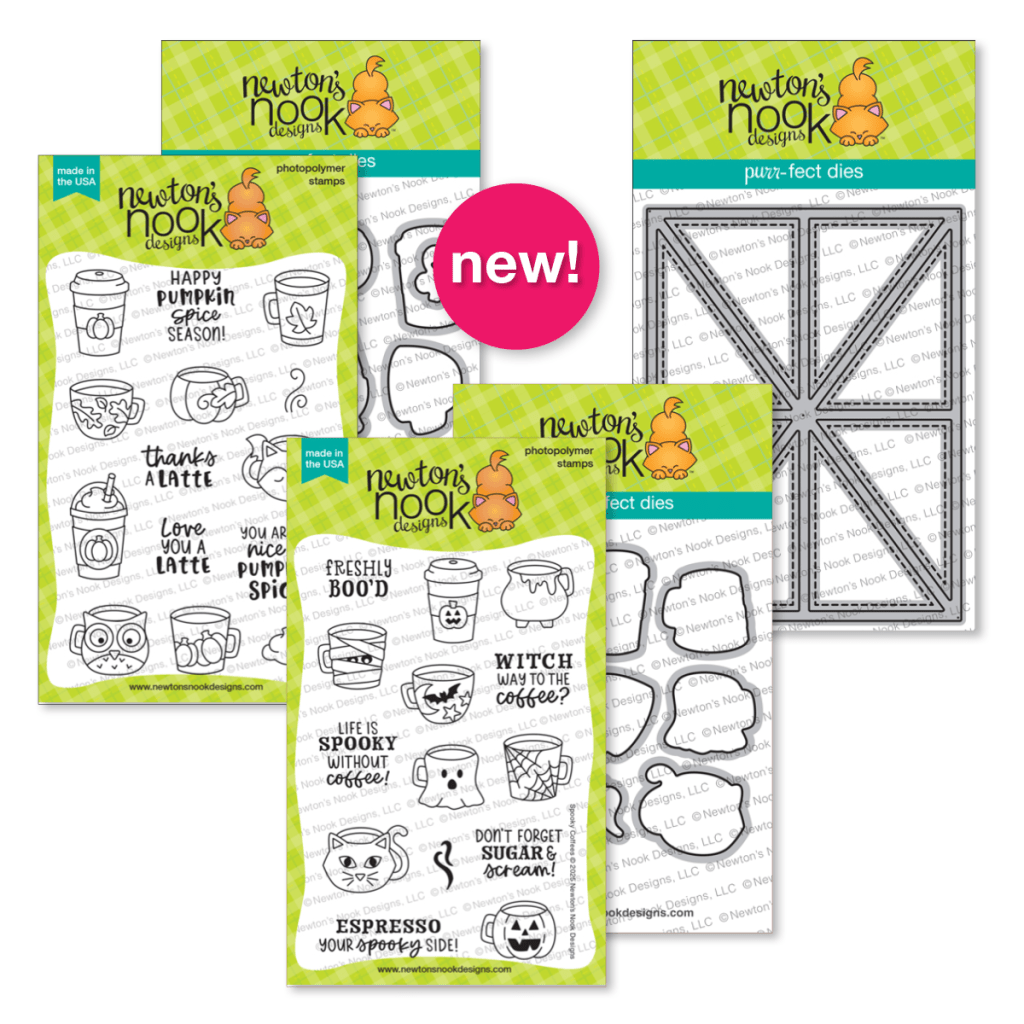
Card Layout 5 Die, Autumn Coffees stamps and dies, and Spooky Coffees stamps and dies
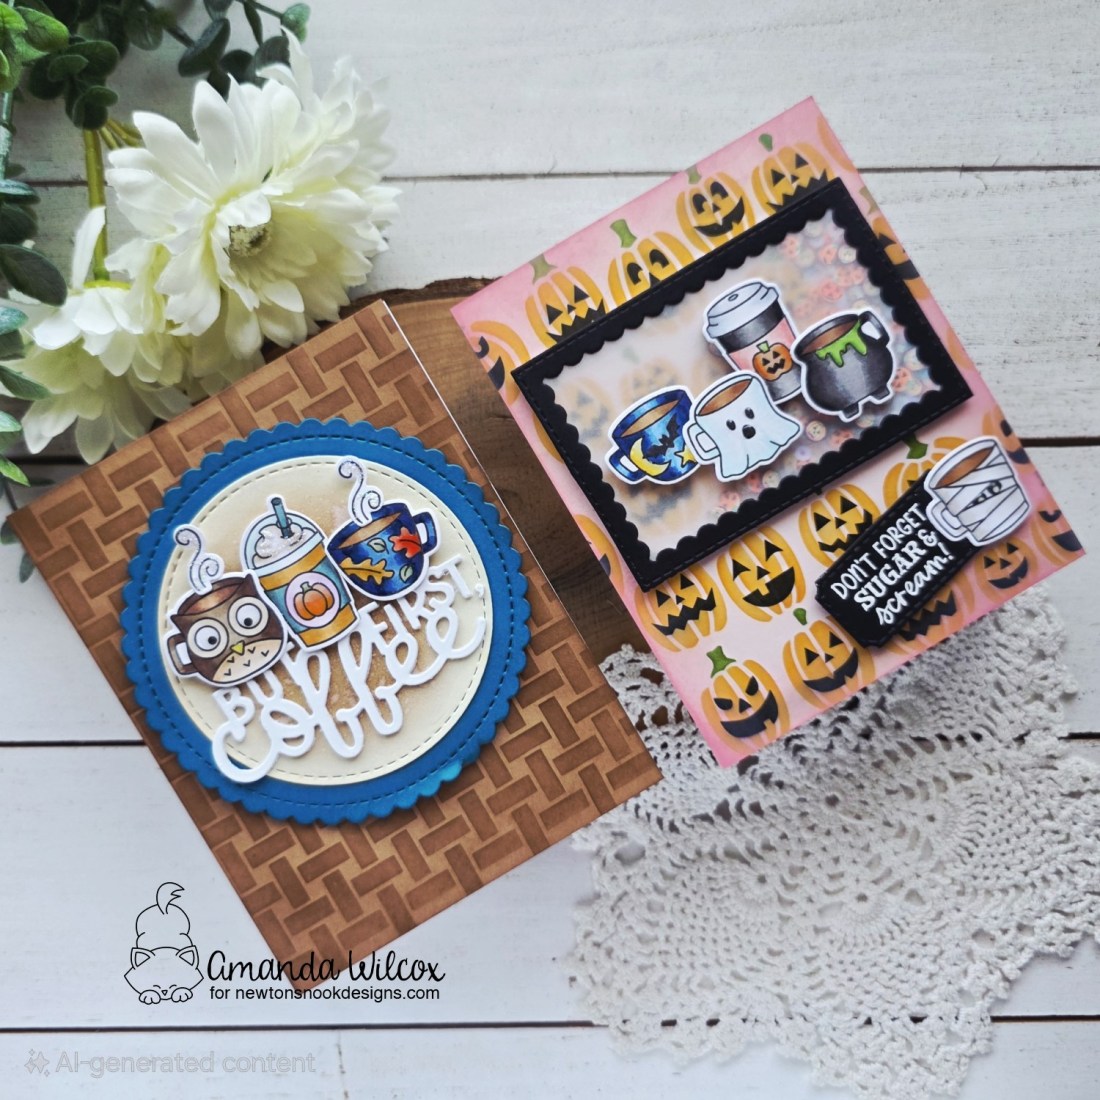
I have two cards to share with you today so let’s not waste any time!

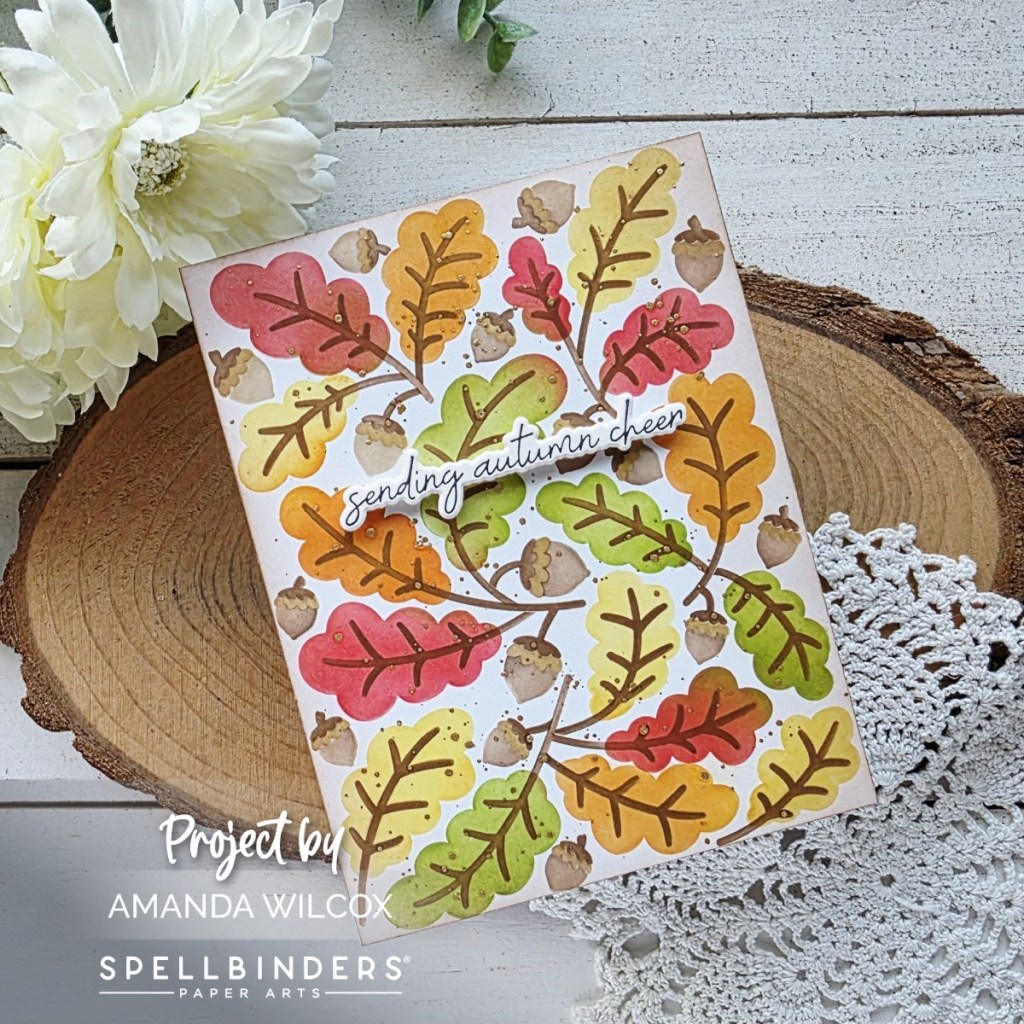
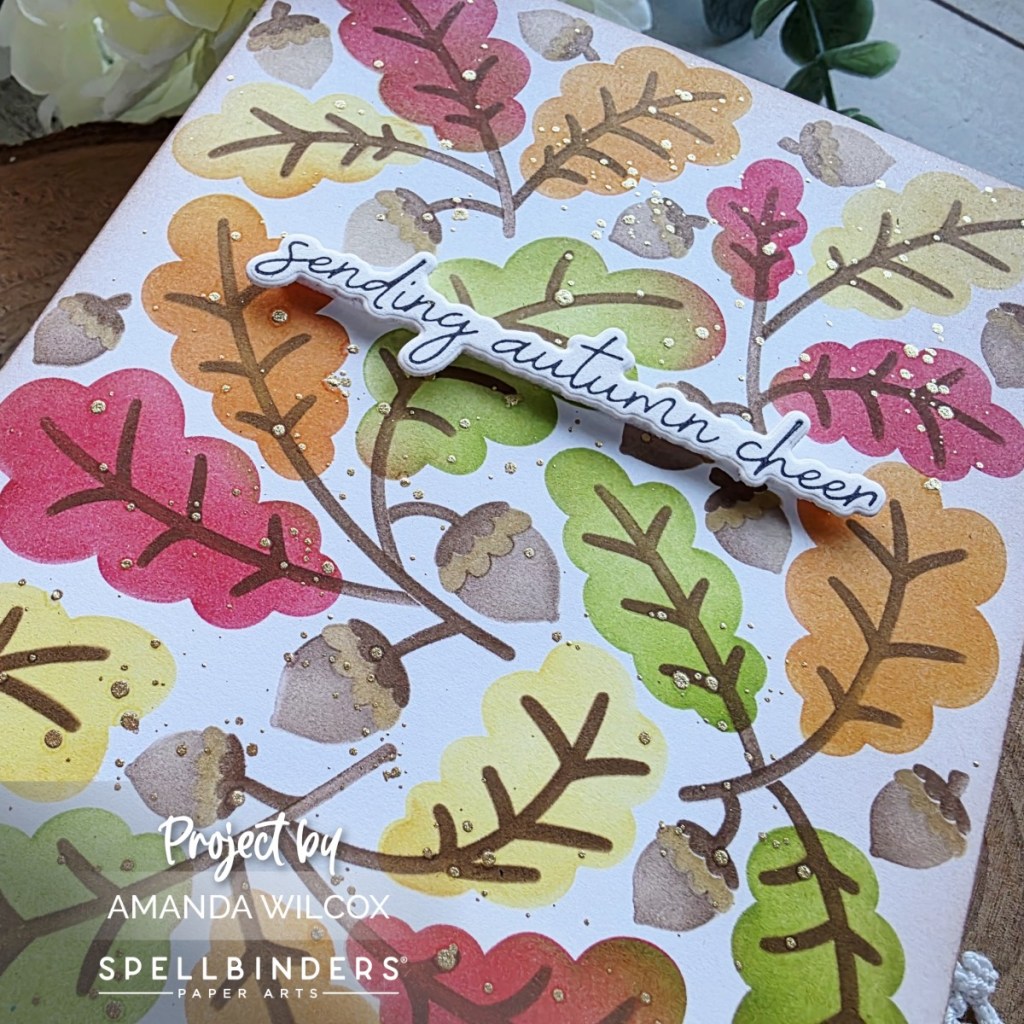
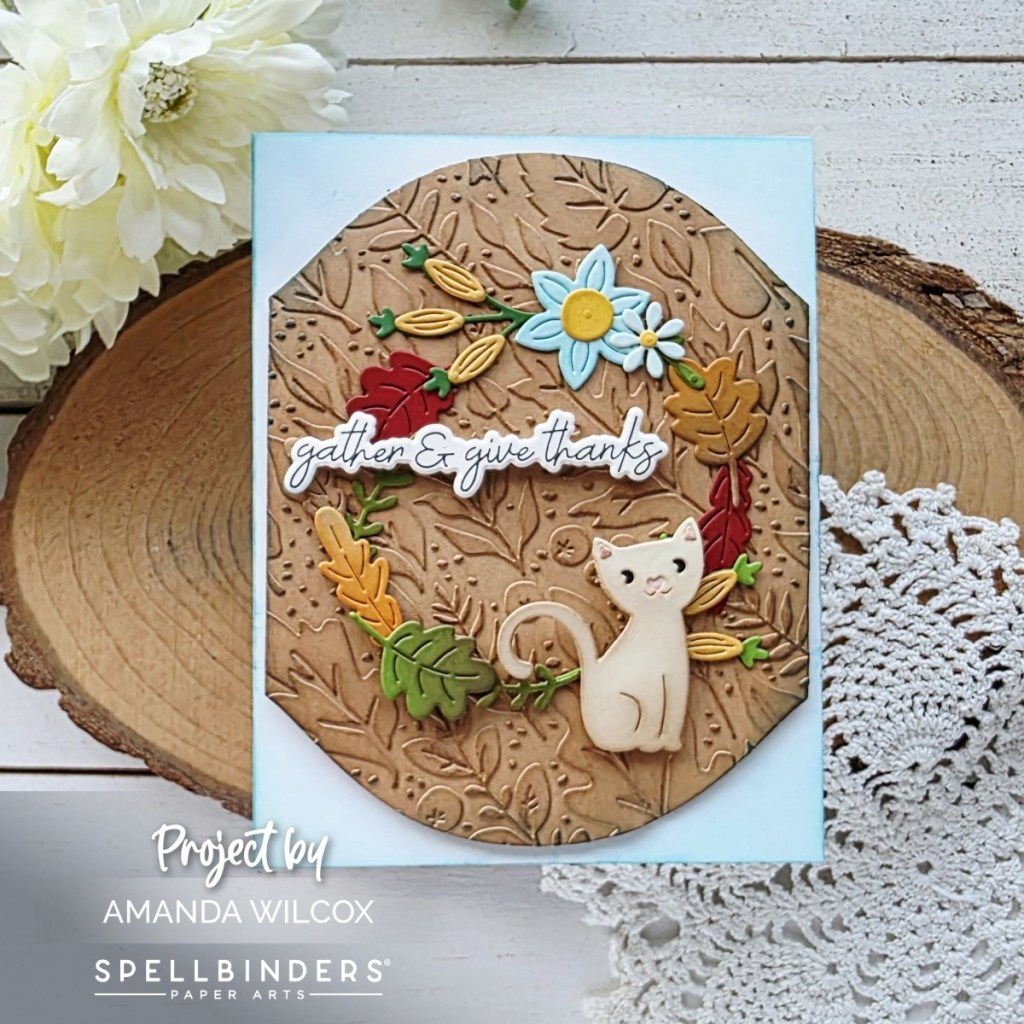
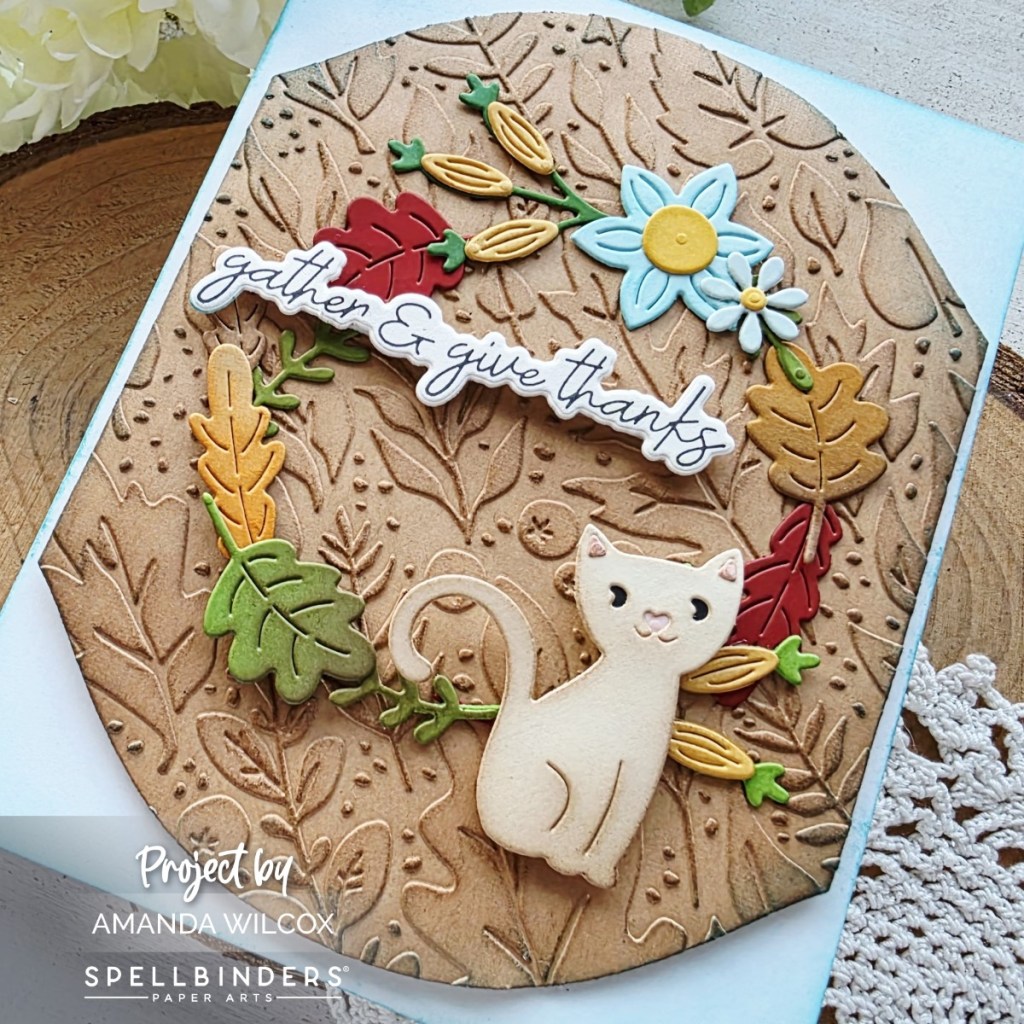
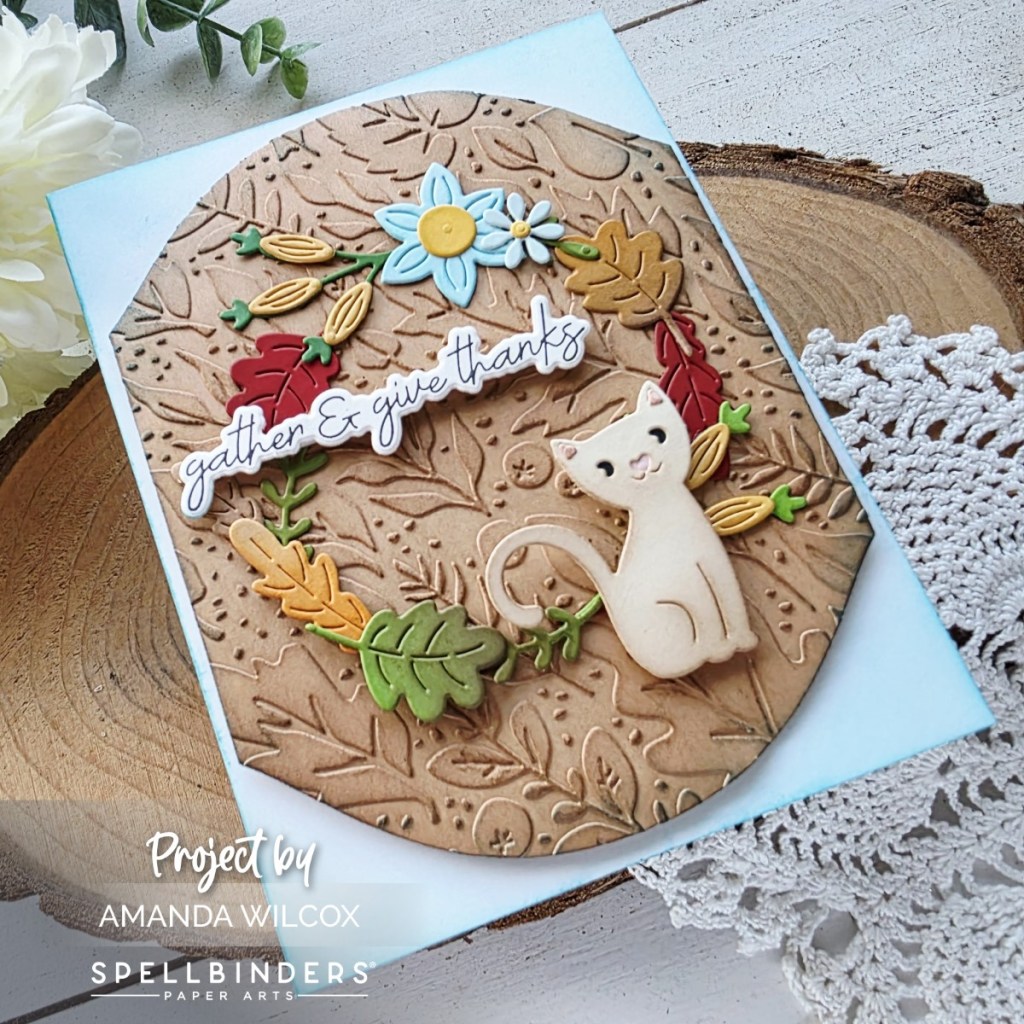
First up, I have a card featuring Autumn Coffees, paired with a few older dies and stencil.
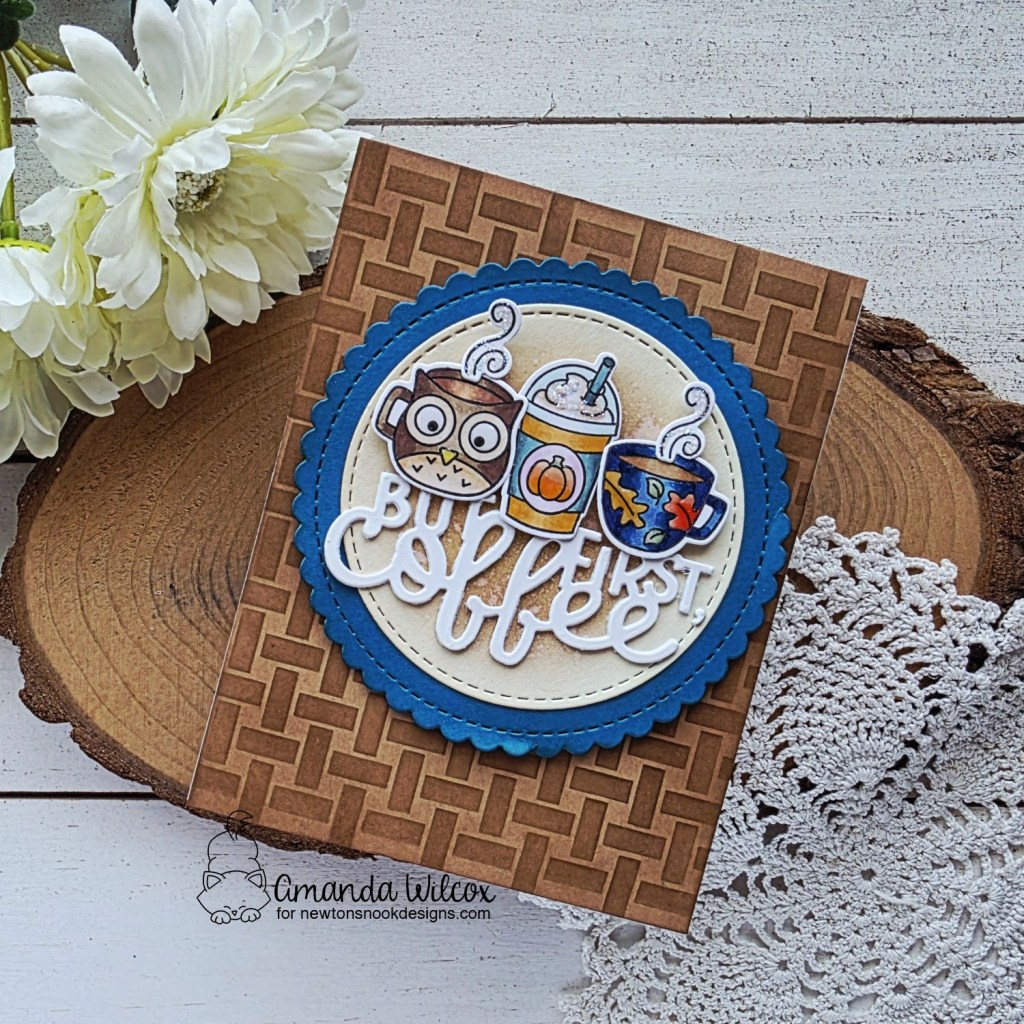
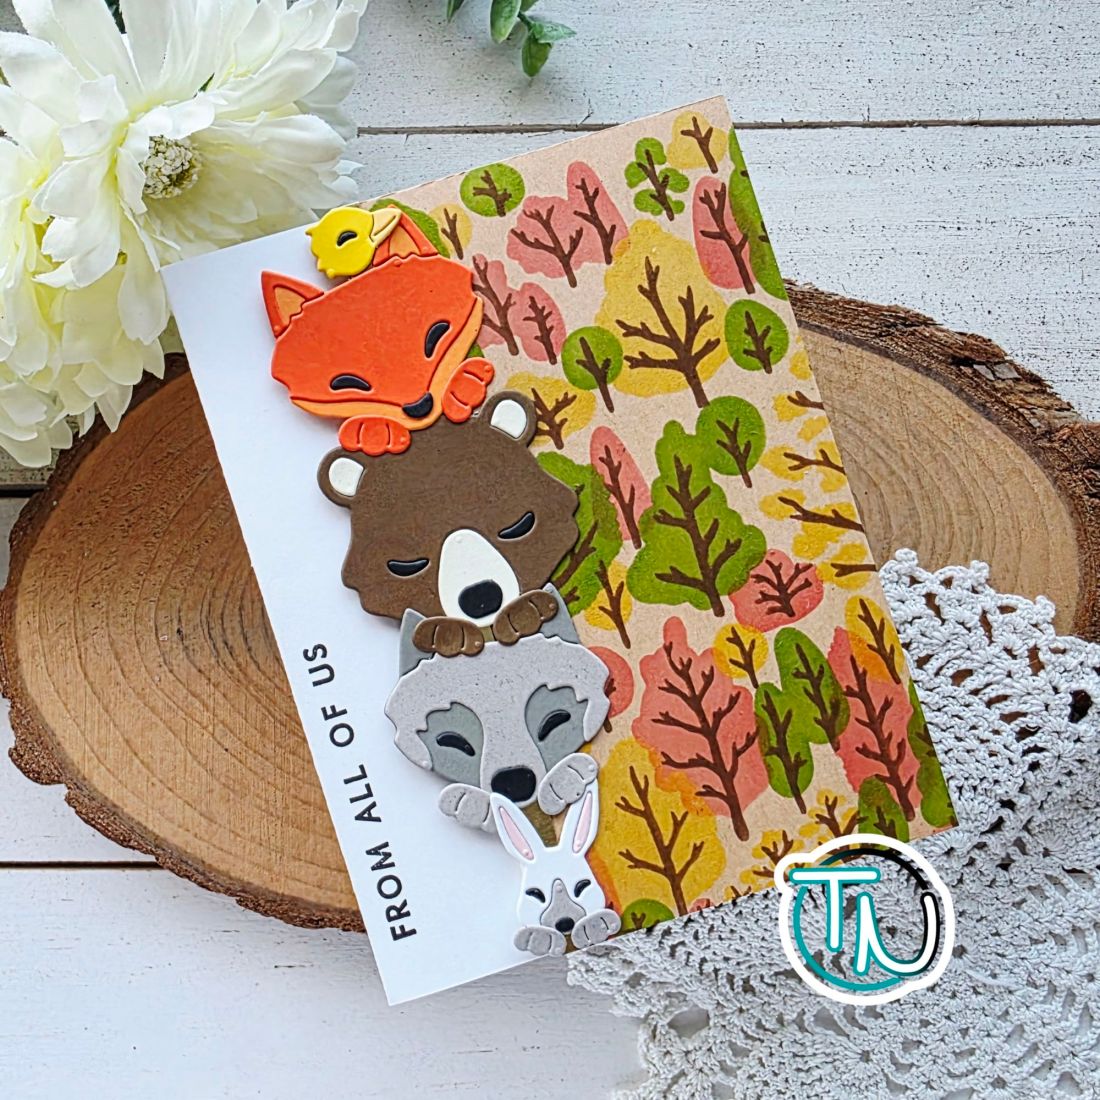
I chose a few adorable images from Autumn Coffees to color and die cut out. Then I cut the sentiment from Coffee Frames dies three times from white cardstock and glue them together. Next, I pulled out the Circle Frames dies and cut the largest from blue cardstock and the next one down from cream. I ink blended the center of the cream panel with brown ink and splattered it with water. Then I adhered the sentiment with liquid glue and mugs with foam squares.
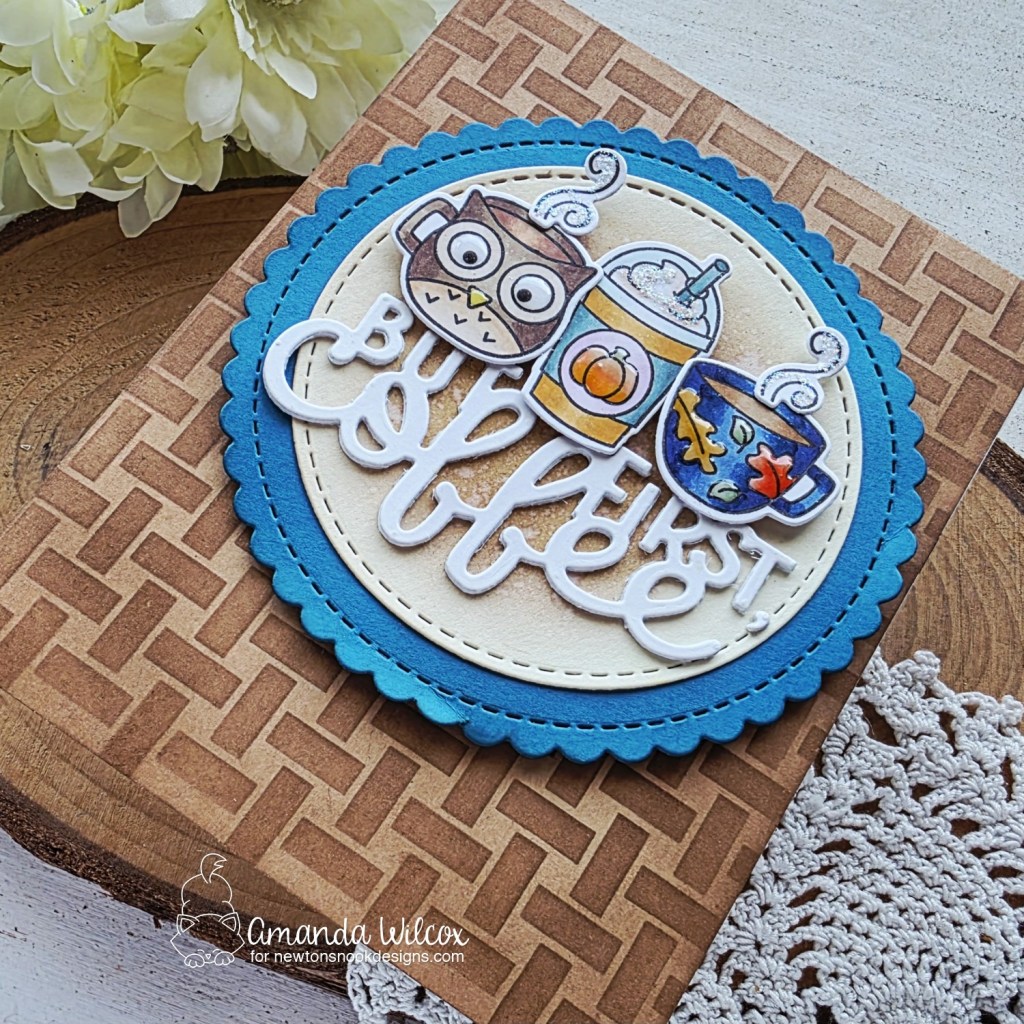
Next I ink blended a kraft panel with the Basketweave stencil, going around the edges with more ink after removing the stencil for a little depth. I glued that to a card base and popped my circle panels up on that with foam tape.
I finished things off with glossy accents on the mugs and stardust Stickles on the whipped cream and steam.
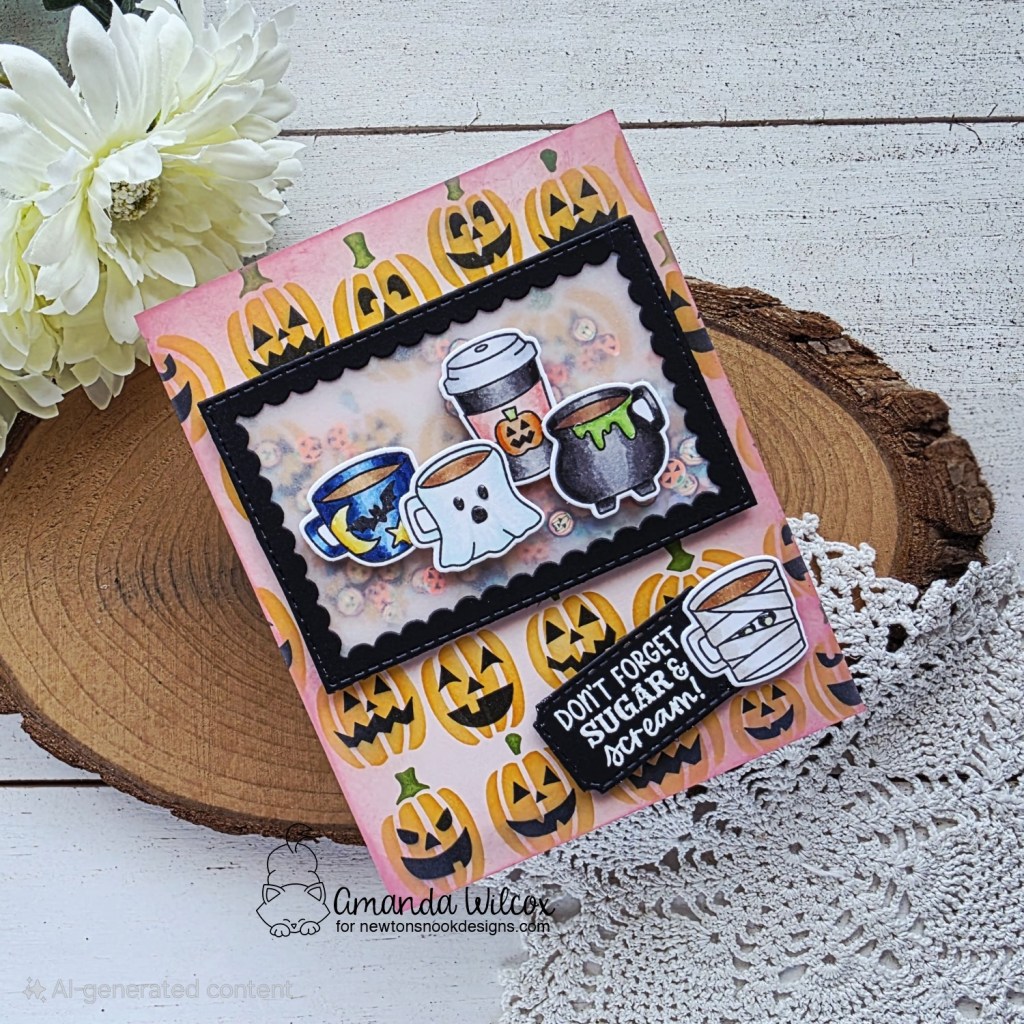
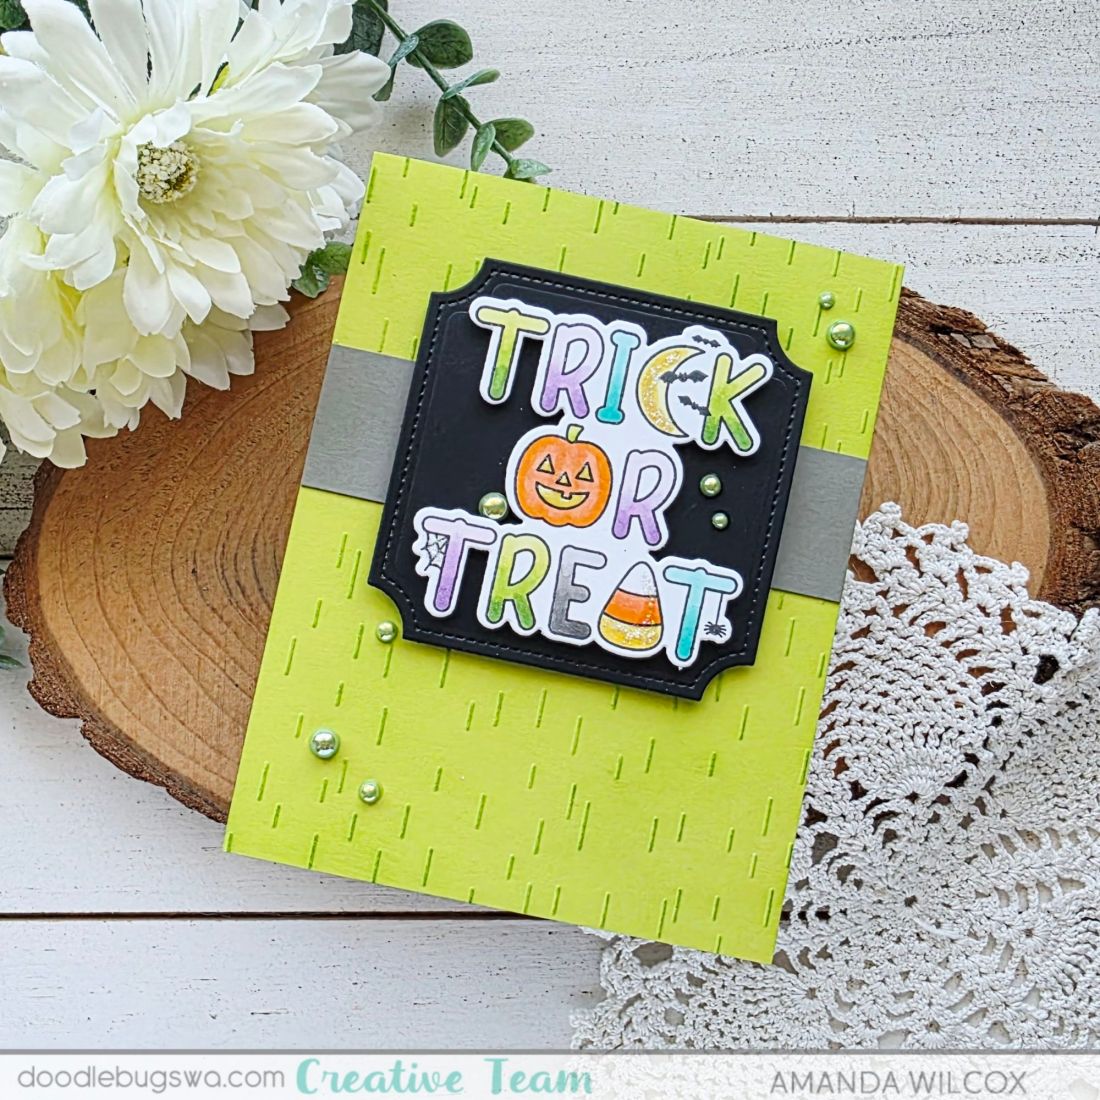
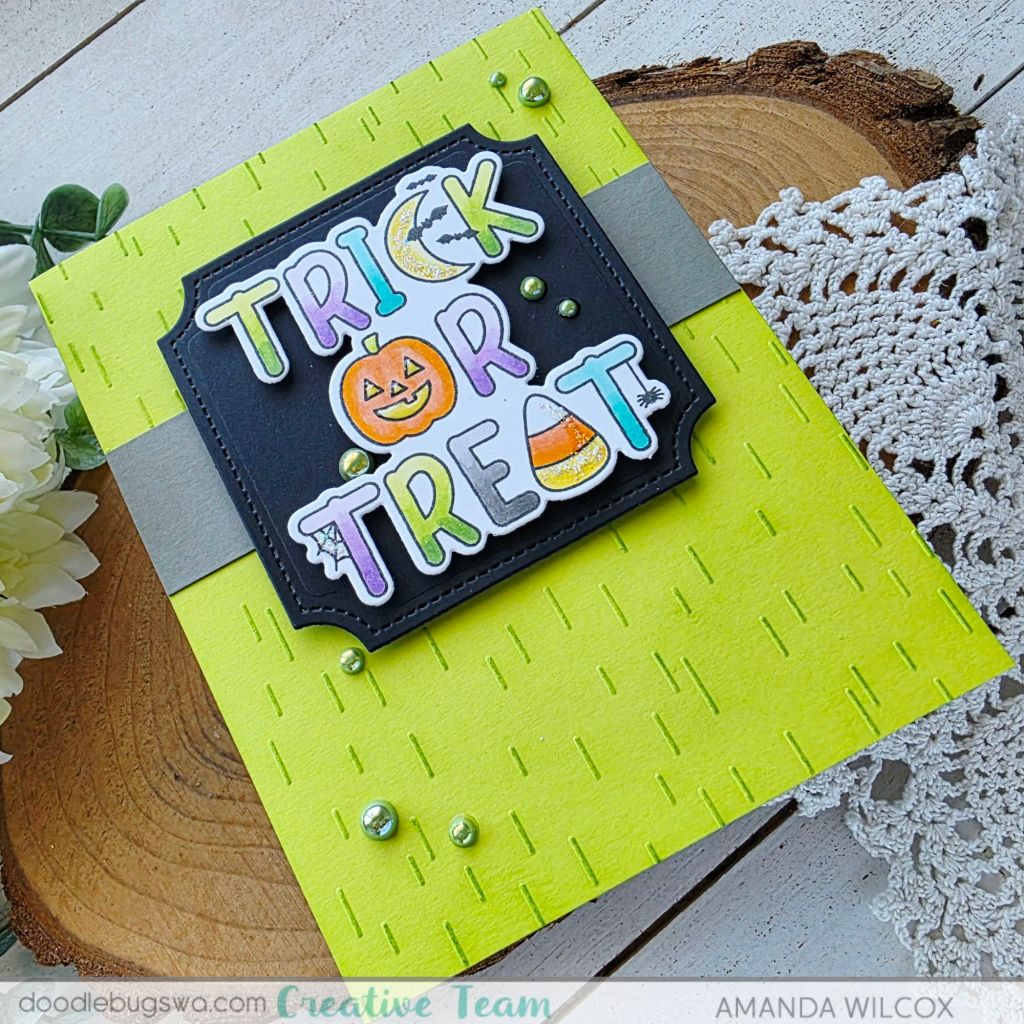
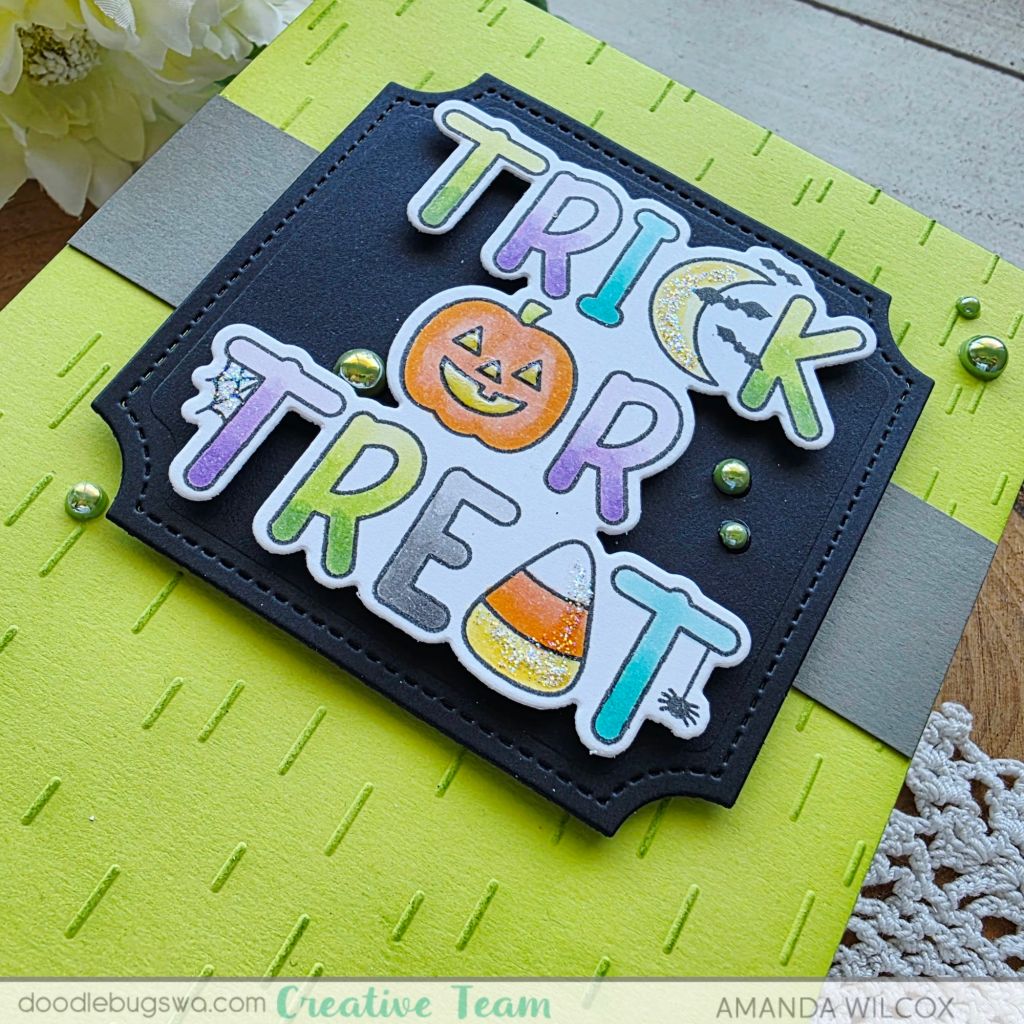
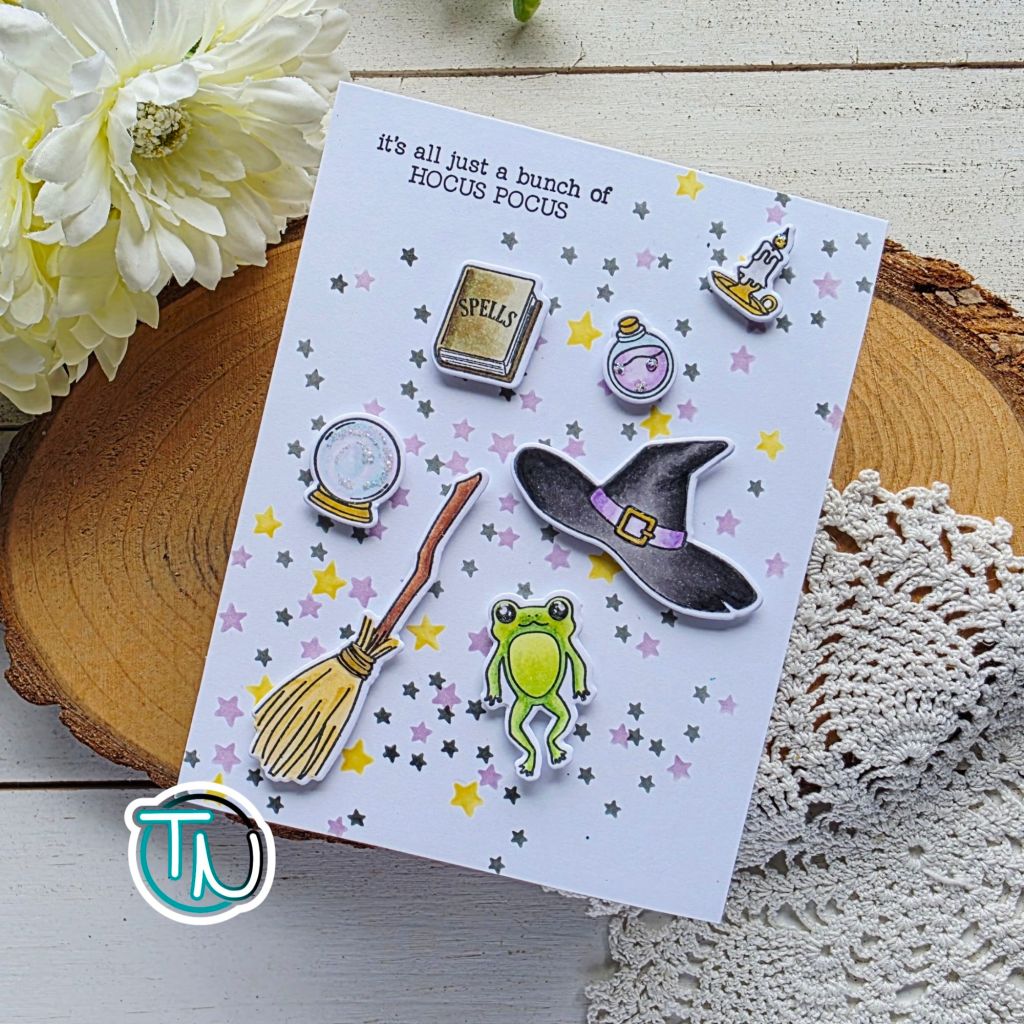
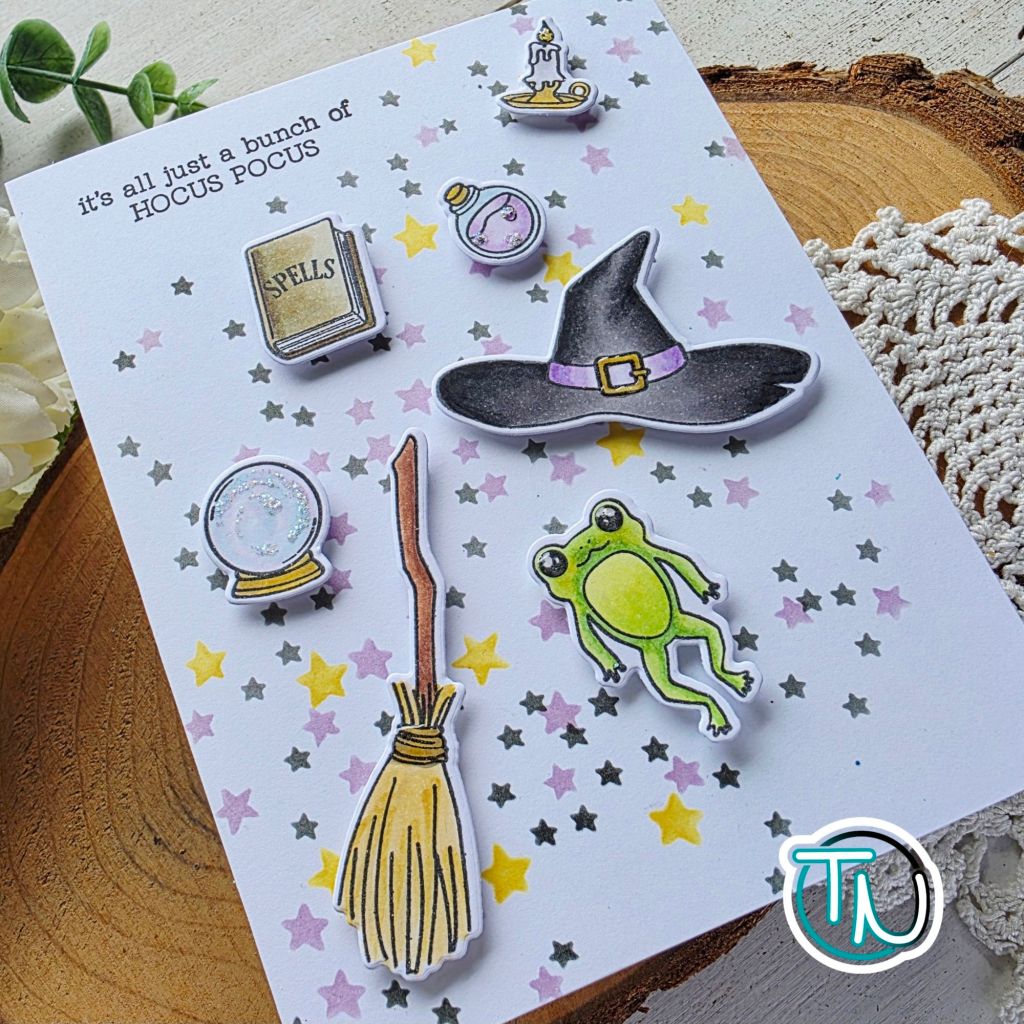
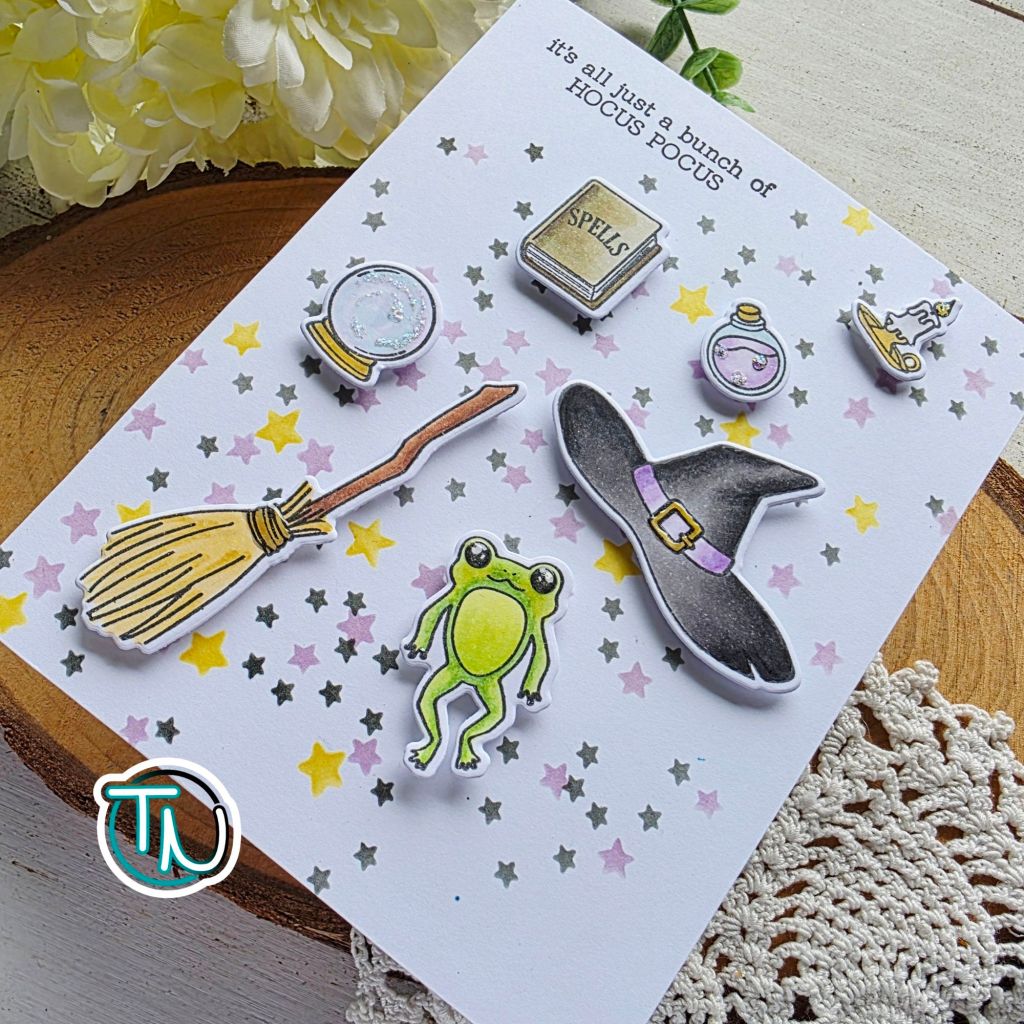
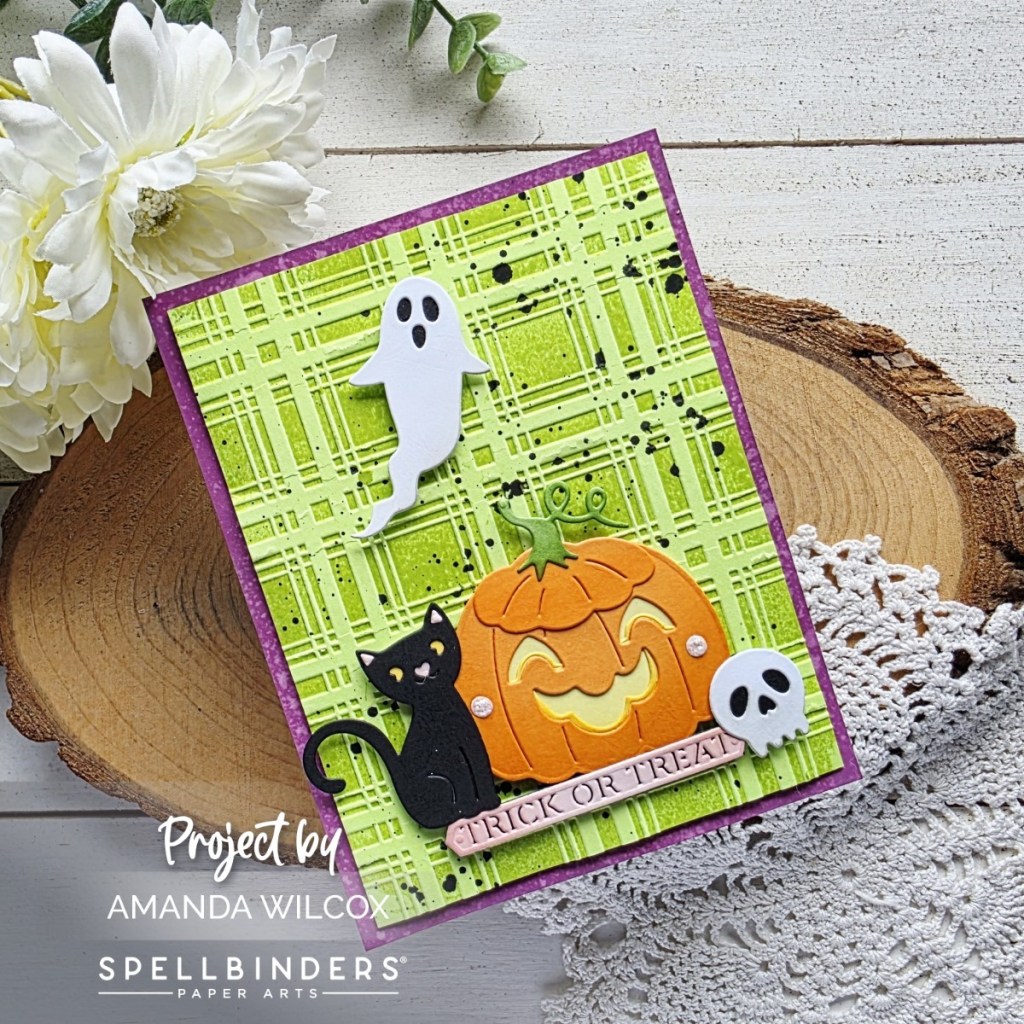
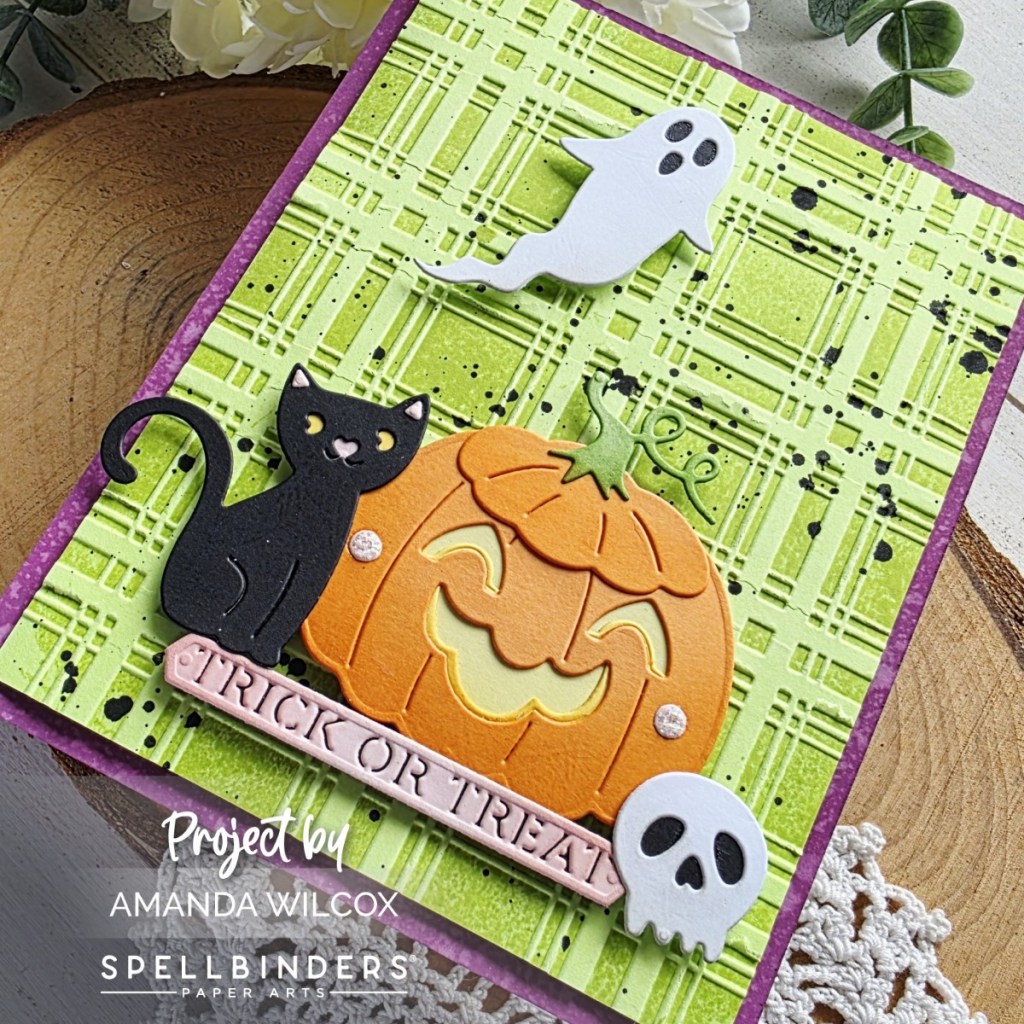
Now let’s get spooky with a fun shaker card! I started by stamping and coloring a handful of mugs and then used the coordinating dies to cut them all out. Then I ink blended the Jack-o-Lantern stencil set on pink cardstock, going around the edge with more pink for depth and interest at the end.
Next I cut the inverted scallop rectangle from Frames & Flags from black cardstock and lined the back with vellum. I added foam tape and sealed in some shaker bits on my stenciled panel.
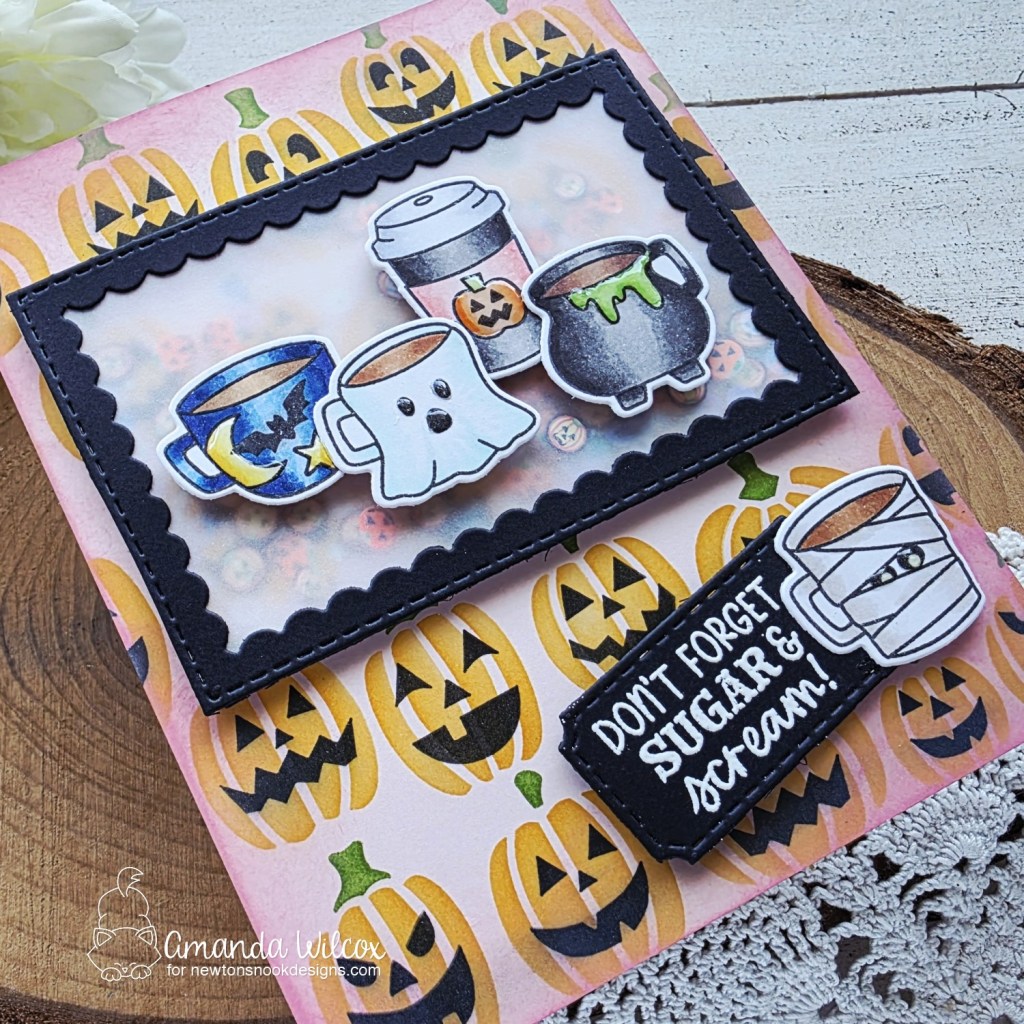
Next I popped some mugs up on the shaker panel with foam squares. Then I stamped and heat embossed a sentiment on the smallest Framework die and added a mug to one end. This is popped up on the card front with foam squares as well.
I finished everything off with glossy accents on different bits of the mugs.
Enter to Win a $25 Prize!
One lucky winner will receive a $25 prize to spend at Newton’s Nook Designs online shop! The winner will be chosen at random from the collective blog posts featuring our new products this week. For a chance to win, leave comments on the Design Team Member Blog Posts (see list below) from Tuesday September 9 through Thursday September 11th. You will not know which blog has been chosen so the more you comment on the better your chances are of winning! You have until Thursday, September 11th at 9 pm ET to comment — winners will be announced on the NND blog on Friday, September 12th.
Check out all the awesome Design Team Blogs below to enter:
Newton’s Nook Designs
Donna Idlet
Larissa Heskett
Samantha Mann
Diane Morales
Amanda Wilcox