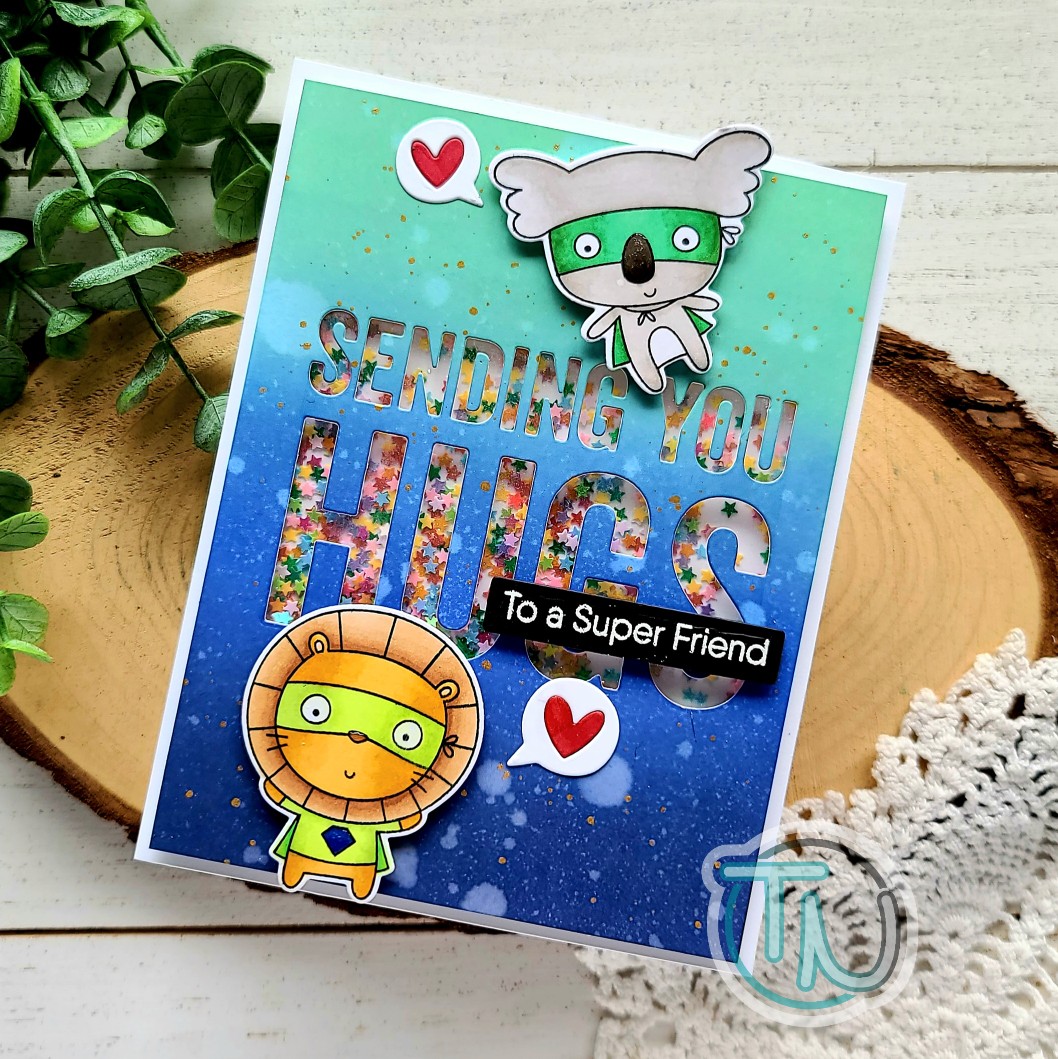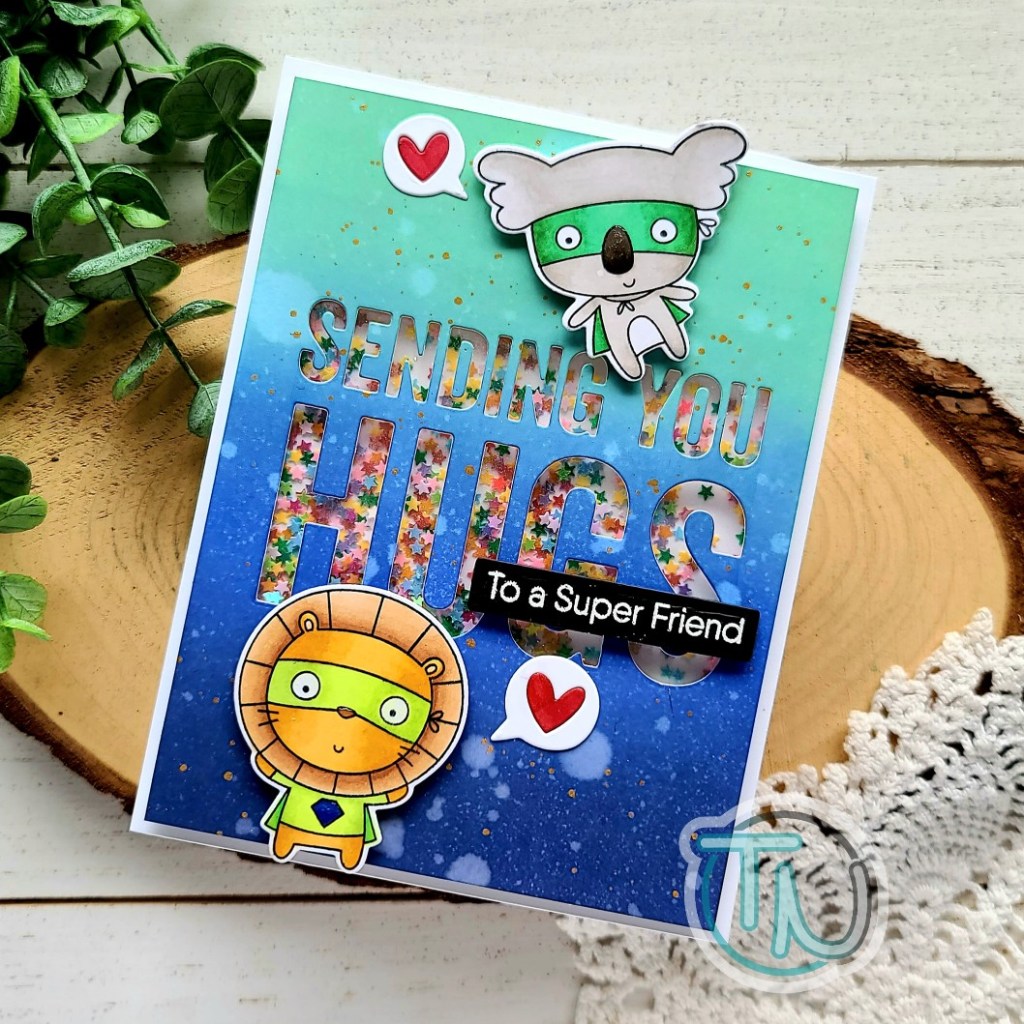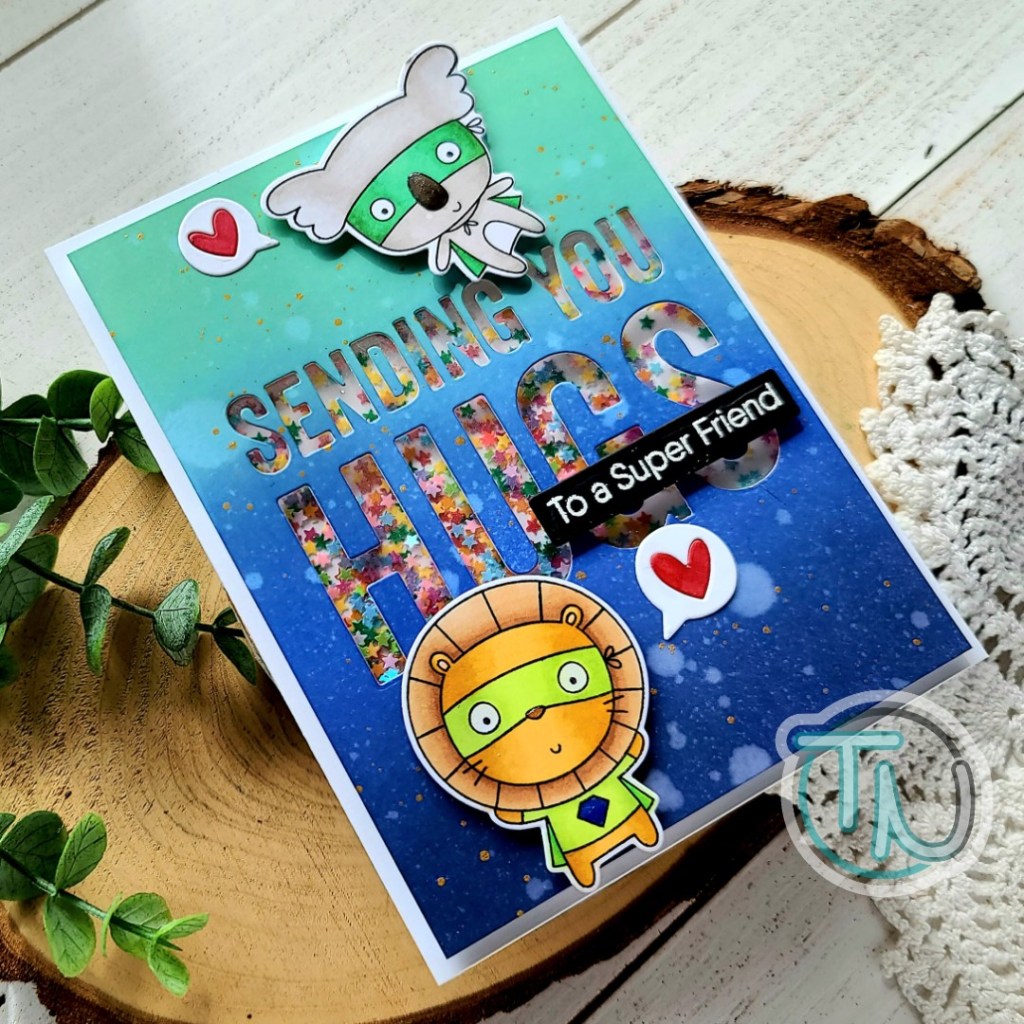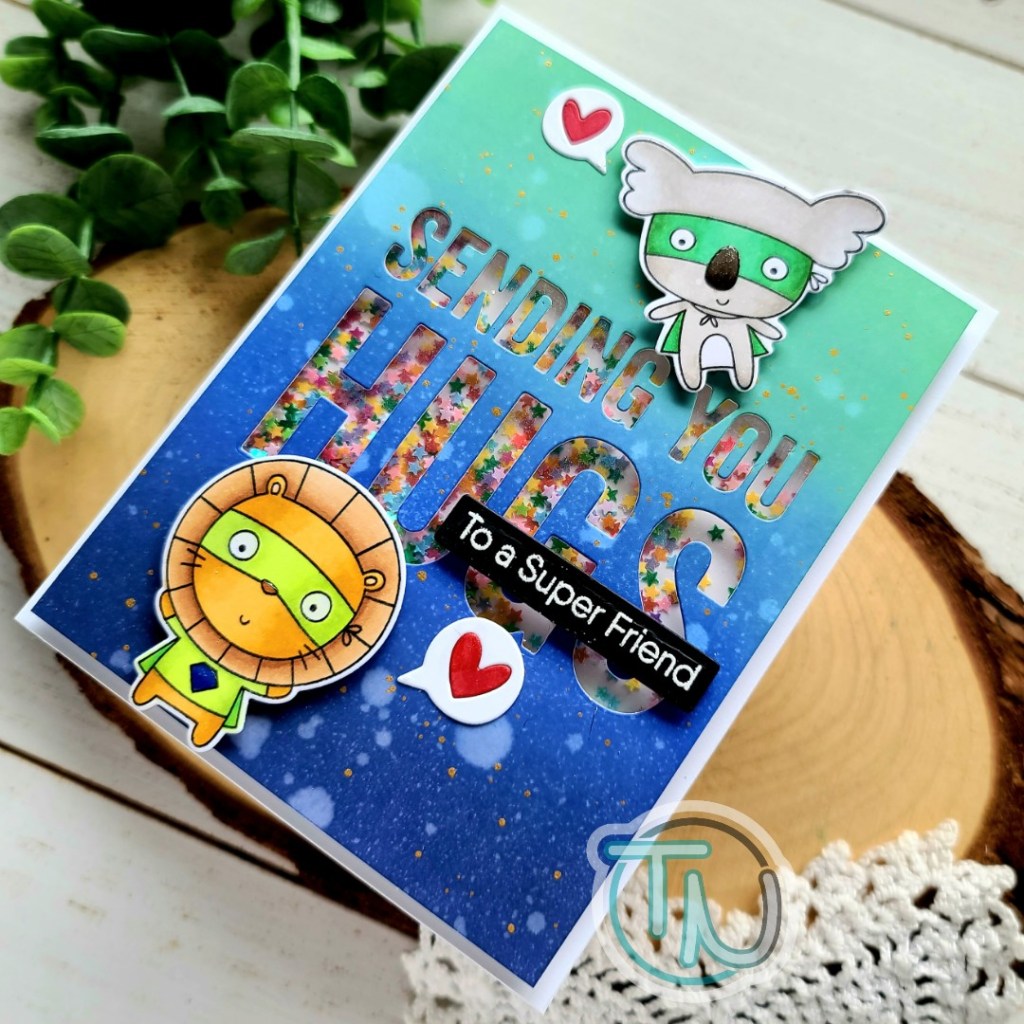
Trinity Stamps – Hopping By…

Hey friends! I have a really fun Trinity Stamps interactive card to share with you today! Sometimes it’s just so fun to dig in your stash and play with whatever suits your fancy…and that’s exactly what I did for this card!

I started by stamping and coloring the images from Puddle Jumpers with my copic markers. Then I used the coordinating dies to cut them out. Then I took a 3.5×8.5 inch panel and inked it up with a couple of blue inks and my blending brushes. I also inked up a shorter panel with brown inks. Then I started die cutting my pieces. I cut the top of the brown panel with the great outdoors hill die and a white panel with the slimline scenic borders cloud border. I glued these to the inked up blue panel and then ran die cut the whole panel with the slimline surprises die.

I adhered the frogs to strips of acetate and adhered them to the back of the puddle jumper image. Then I used liquid glue to adhere it to the slider panel, being careful not the glue the top portion down so it still slides up. I also stamped the happy birthday sentiment from one of the blue inks I used on the panel and cut it out with the coordinating die, gluing it down with liquid glue.

Next, I took a slimline card base and used my panel as a guide to stamp a surprise when you slide the mechanism up. Then I die cut the pull tab card that makes the mechanism move and stamped images on the top of it that will show when you pull the tab up. I tied some fun ribbon through the hole to add to the whole overall look. I love this touch!

To assemble my whole card, I added 1/4 inch scrappy tape to the bottom of the folding mechanism and adhered the pull tab tag to it. Then I added 1/8 inch scrappy to the sides, 1/4 inch to the bottom of the panel and added it to the card front. I pulled it up and down a few times and it works perfectly! Time to move on to finishing touches.

I added unicorn Stickles to the raindrops and parts of the water puddle. Then I added glossy accents to the frog’s eyes, including the froggy hood too! I also added them to the rain boots and finished things off with black glaze pen to the kiddo’s eyes.

Isn’t this card just sooo cute?!? I love it!!!

I’m trying something new today and am going to list all the products used on this card below with links so you can find them easily. I’m also using affiliate links now that help fund this blog at no additional cost to you.

Trinity Stamps Puddle Jumpers stamps
Trinity Stamps Puddle Jumpers dies
Trinity Stamps Slimline Surprises dies
Trinity Stamps Slimline Scenic Border dies
Trinity Stamps Slimline Great Outdoors Border dies
Trinity Stamps Blending Buddy brushes
Stickles – unicorn
Glossy Accents
Scrappy Tape
Lawn Fawn dye inks

I appreciate you sharing your time with me. Have a fabulous day!
Newton’s Nook – April Release Day 2

Welcome to day 2 of release reveals for Newton’s Nook’s April release! Today we have a SUPER ADORABLE stamp and die set to share with you!

Captivated Kittens

I can’t get over how adorable these playful kittens are with their different buggy critter friends!

For today’s card, I started by stamping and coloring an image from the set with my copic markers. Then I used the coordinating dies to cut it out. Next, I cut a blue panel with the Frames & Flags scalloped rectangle die and inked up the petite flowers stencil for a tone-on-tone look. I trimmed the top off and added foam tape to the back. Lining it up with the top of my white card base, I adhered it down.

Next, I die cut the label shape from Frames Squared from orange and a flag from Frames & Flags from melon cardstock. I stamped my sentiment at the bottom of the flag, added foam squares to the label shape and adhered them together. Then I adhered it to the top center of my card front with liquid glue. Finally, I popped the kitty up with foam squares in the middle of the label shape.

For finishing touches on this cute card, I added a strip of the same melon cardstock to the very bottom edge, added glossy accents to the kitty’s eyes, nose and toe beans, and finally, some unicorn Stickles to the butterflies’ wings.

Would you like to win the “Captivated Kittens” Stamp Set? This stamp set will be given away to ONE lucky winner!

Here’s how to win: Comment on the NND blog and Design Team blogs (see list below)! Thewinner will be chosen at random from the collective reveal posts. Make sure to check out each of their blogs and comment for your chance to win. You will not know which blog has been chosen so the more you comment on the better your chances are of winning! You have until Thursday April 22nd at 9pm ET to comment  — winners will be announced on the blog post on Friday, April 23rd. 

Check out all the awesome Design Team Blogs below to enter:

Newton’s Nook Designs
Ellen Haxelmans
Tina Herbeck
Larissa Heskett
Samantha Mann
Zsofia Molnar
Maria Russell
Farhana Sarker
Tatiana Trafimovich
Samantha VanArnhem
Amanda Wilcox

Newton’s Nook – April Release Day 1

Hello everyone!!! It’s the start of a really fun week! I hope you’re ready because it’s Newton’s Nook release week which means starting today we have reveals through Thursday with the release available for purchase on Friday! We’re kicking things off today with 2 new stamps and coordinating dies, along with a new fabulous stencil!

Gnome Garden Stamps and Dies

Bleeding Heart Stamps and Dies

Petite Clouds Stencil

Phew! That’s a whole lot of goodness for you all up front! Plus I have 2 fun cards to share with you featuring these goodies.

For my card featuring the bleeding heart image, I used texture paste with the new petite clouds stencil on a blue panel. I trimmed a yellow panel to A2 size and also die cut a circle frame from the same yellow. Then I inked up the edges of both with an orange ink for a little texture. I heat embossed the sentiment in black on a vellum strip and wrapped it around the cloud panel. For assembly, I used liquid glue to add the yellow panel to a white card base, then glued the vellum strip around the cloud panel and adhered it down. Last, I popped my image up on the circle and popped that up on the card.

Isn’t this image beautiful?!? I’m not a floral person but I really enjoyed coloring it and when I looked them up to see what colors I should use, found that there are lots of variety which is super fun as well.

Oh my goodness, this adorable Gnome Garden set is just too cute for words! I managed to choose one sweet image from the set, colored him up and used the coordinating dies to cut him, an extra butterfly and ladybug out. Then I inked up the sunscape stencil and used the framework die to cut it out. I also cut some clouds with the sky scene builder set and started assembling everything.

I added a red panel to a white card base and popped the stenciled panel up with foam tape. I used liquid glue to add my clouds to the sky, then foam squares to add my gnome, butterfly and ladybug to the scene. And I’m not even going to fudge that I hadn’t planned a sentiment so I placed my whole card in my MISTI and stamped it at the very end. For finishing touches, I added glossy accents to the mushroom dots, butterflies and ladybug. Then I added a little Wink of Stella glitter brush pen to the clouds in the sky.

Would you like to win the “Gnome Garden” or the “Bleeding Heart” Stamp Set? We will choose ONE lucky winner for each stamp set!

Here’s how to win: Comment on the NND blog and Design Team blogs (see list below)! Thewinner will be chosen at random from the collective reveal posts. Make sure to check out each of their blogs and comment for your chance to win. You will not know which blog has been chosen so the more you comment on the better your chances are of winning! You have until Thursday April 22nd at 9pm ET to comment  — winners will be announced on the blog post on Friday, April 23rd. 

Check out all the awesome Design Team Blogs below to enter:

Newton’s Nook Designs
Ellen Haxelmans
Tina Herbeck
Larissa Heskett
Samantha Mann
Zsofia Molnar
Maria Russell
Farhana Sarker
Tatiana Trafimovich
Samantha VanArnhem
Amanda Wilcox

Reverse Confetti – Hippo Birthday

Hi again! I’m back today with a really fun Reverse Confetti birthday card celebrating all this sun we’ve been having where I’m at.

For today’s card, I started by stamping the images I knew I wanted to use from Hippo Pool Party and colored them with my copic markers. Then I used the coordinating dies to cut them out and switched gears to figure out my background.

I also knew that I really wanted to create a little scene in the middle of the Center Circle Cover Panel so I pulled that out and ultimately cut it from yellow cardstock. Then I used my Trinity Stamps embossed edge circle stack to cut a couple circles that fit inside. The larger one from white which I inked up orange, and another from light blue which I inked up with the Newton’s Nook waves & splashes stencil for a little texture.

Moving in to assembly, I cut another blue panel to cover my white card base that matches the blue waves circle. I popped the frame up with foam tape. Then I glued the circles together and added them to the frame with foam tape as well. Last, I added my images with a combination of foam squares and liquid glue. I stamped a wonderfully punny sentiment from the Hippo Pool Party set and cut it with a Pink & Main sentiment strip die and added it to the card front with foam squares.

I finished my card off with some glossy accents on all the necessary places, like the beach ball, glasses, umbrella dots and, last but not least, the hippo’s eyes.

This is such a fun card and just perfect for summer birthdays that you might have coming up very soon!

I appreciate you sharing your time with me. Have a fabulous day!

Pink & Main – April Sneak Peek

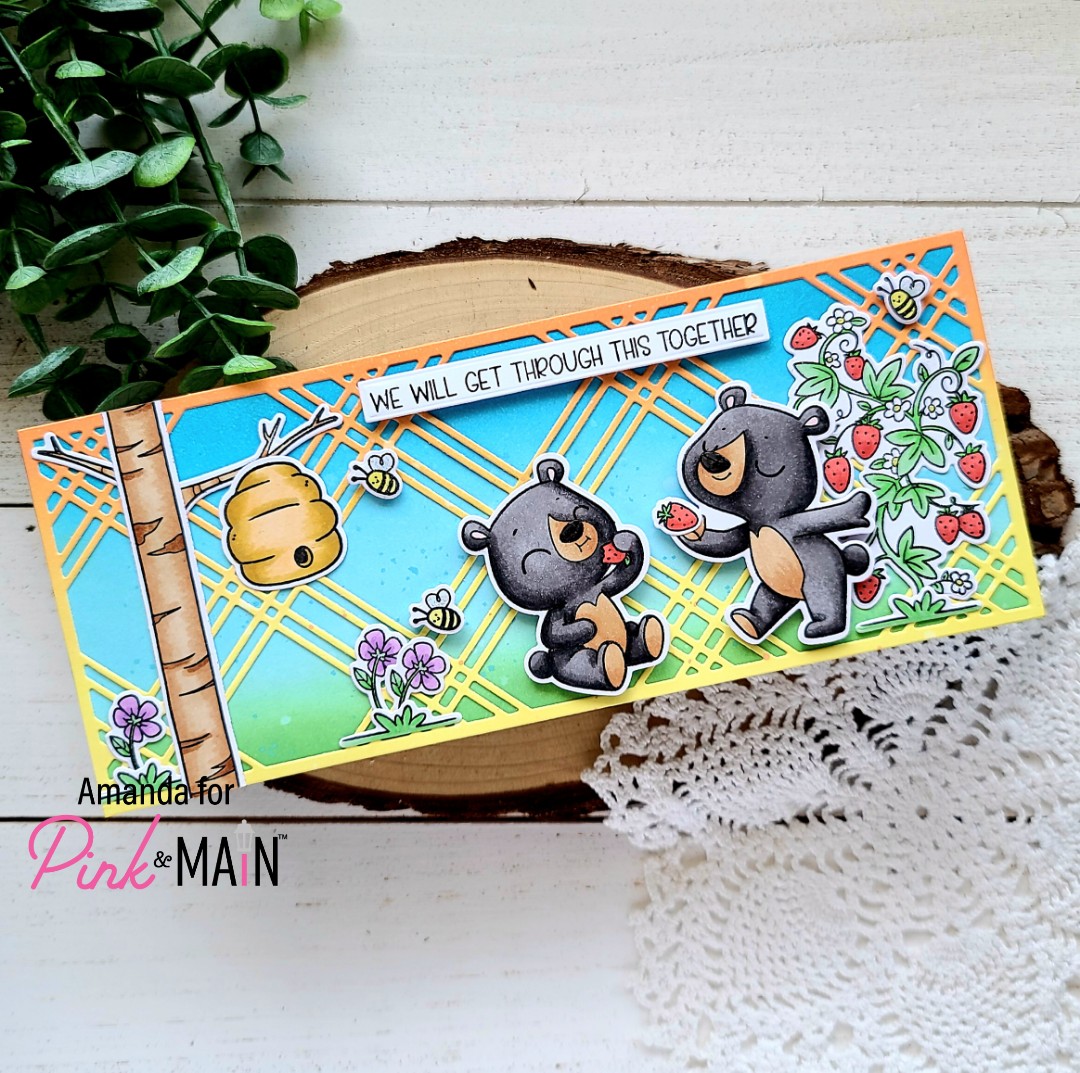
Hey everyone! I’m over on the Pink & Main blog today with a fun sneak peek of one of the upcoming sets in the April release! It’s called Missing You and it’s beautiful! I had some fun watercoloring with reinkers, which I had never done before.

Having no idea what I was doing, I added a few drops of ink on my glass mat and then added some water to it. I kind of loose watercolored blobs all over my paper, drying it in between layers, and then stamped the floral images with VersaFine onyx black ink once they were dry. Next, I used the coordinating dies to cut the shapes out and moved on to die cutting my background.

I cut the plaid slim line panel from kraft card stock and used the EZ squeeze glue to adhere it to a white card base. Then I laid my images out how I wanted, gluing the leaves down and popping the flowers up with foam squares. I trimmed the excess off the edges with my scissors and decided on a sentiment.

For that, I stamped it, then found a perfect size oval from the Layered Oval set to cut it out with. To help it pop a little, I cut the next size up from kraft cardstock and glued them together. Then I popped them up with foam squares.

Keeping things simple, I finished this card off with some gold Wink of Stella on the flower centers. I love the shimmer this gives in the light.

I can’t wait for you all to see the entire release this month. It’s another show stopper!!! Be prepared! Check back tomorrow for more sneak peeks all the way up until the release goes live on April 20!

I appreciate you sharing your time with me. Have a fabulous day!
Reverse Confetti – Bear Hugs

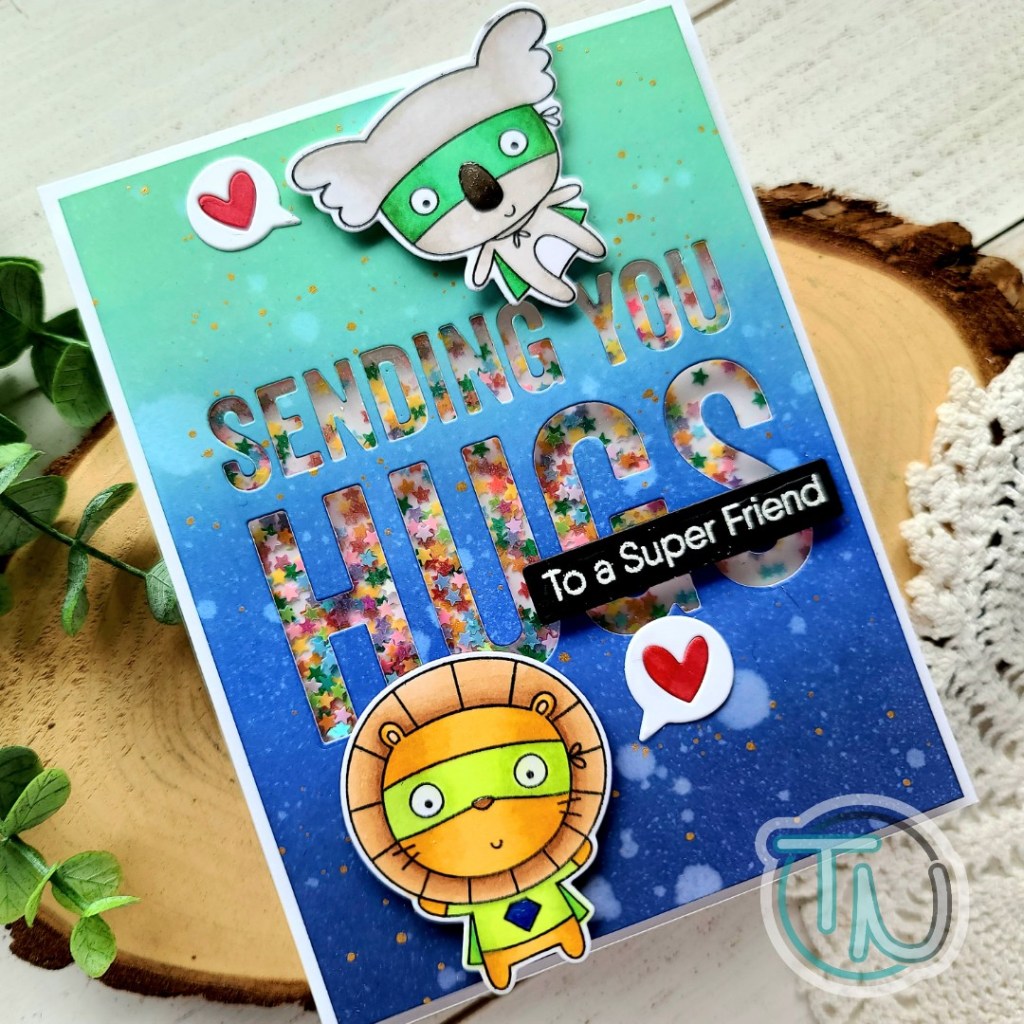
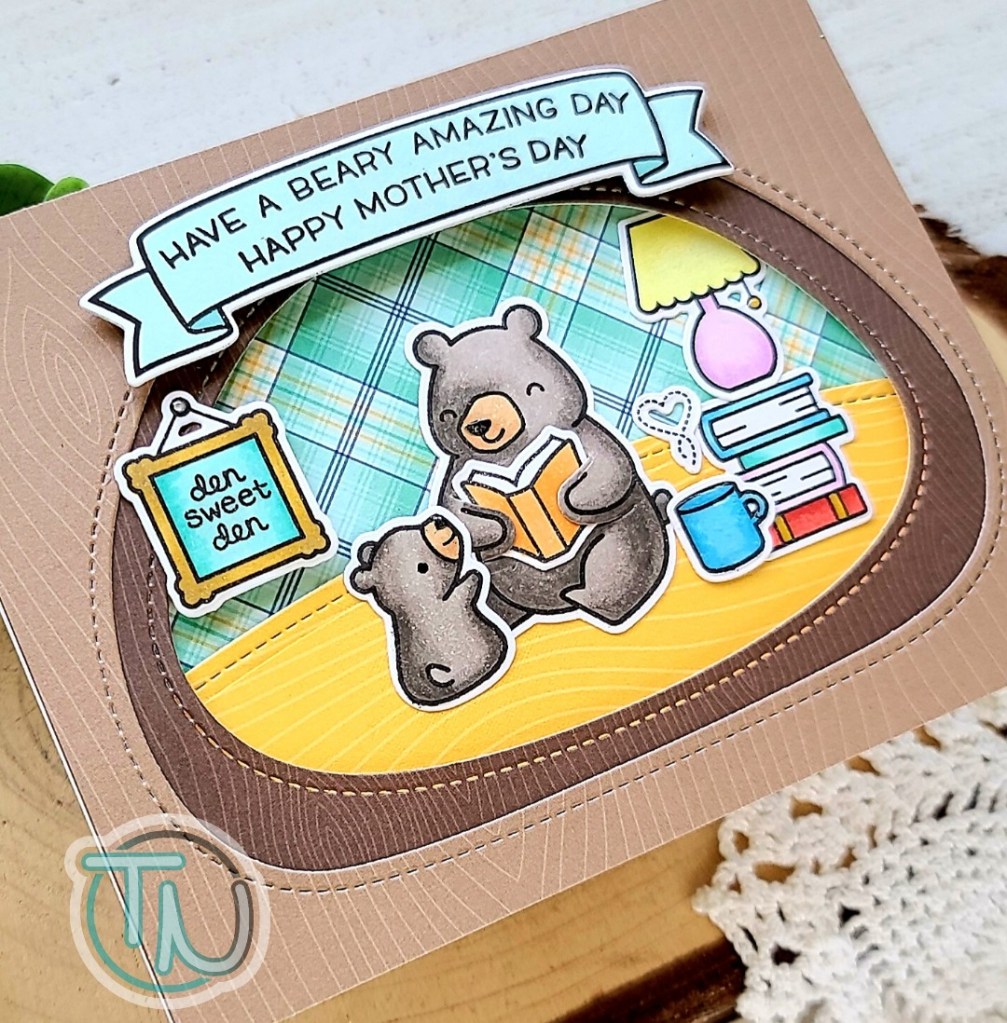
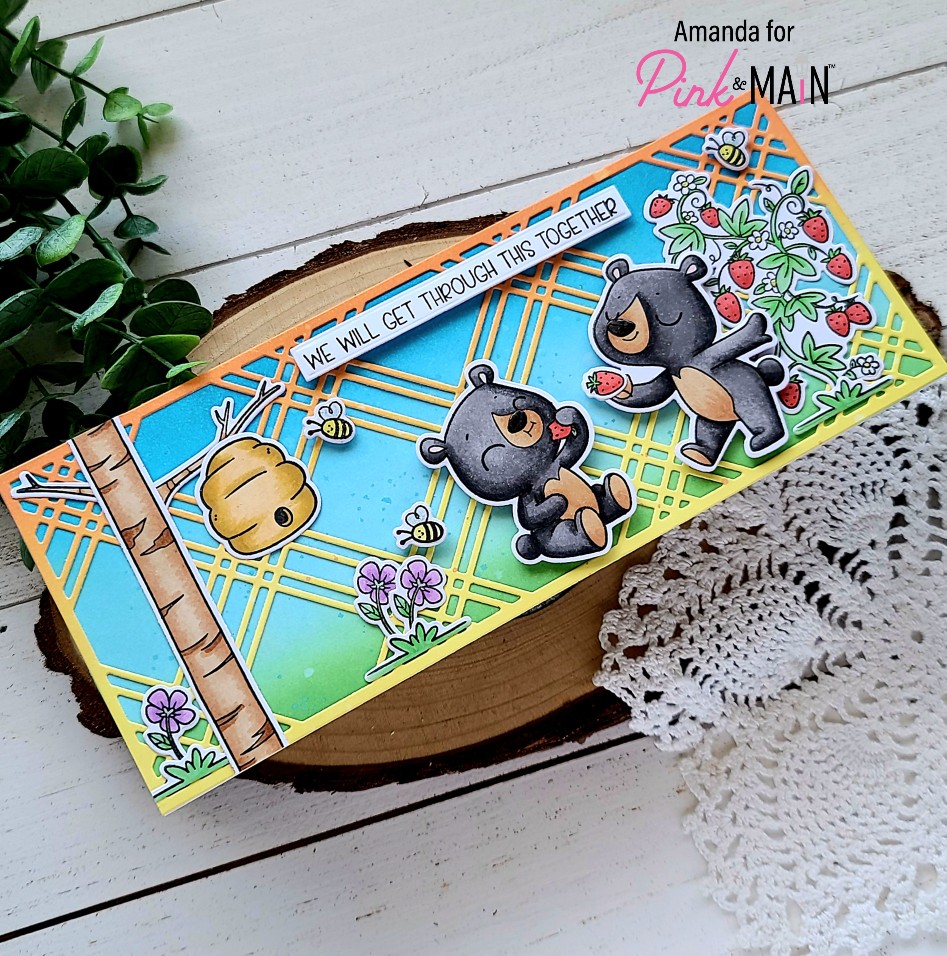
Happy Friday everyone!!! It’s super sunny here and we’re looking at fabulous weather all weekend. I hope most of you can relate and get to enjoy it! Today I’m sharing a couple of adorable cards I made to stock my stash for occasions that I don’t need often but sometimes don’t have time to make a card for either. This adorable Reverse Confetti set called Bear Hugs is super versatile with the sentiments included but the images are also great for just about any other sentiment you might want to pair with it too!

I had so much fun, once again, getting super inky to create these great backgrounds and am absolutely in love with all the cover plate background dies that Reverse Confetti has to offer. Today I used the Wonky Stripes Panel and See Through Tag to help ground my images. I love them both! So many options!

For this first card, I blended cracked pistacchio and scattered straw distress oxide inks on a panel and the spritzed it with water. Then I flicked watered down ink from both colors over the panel too. Setting it aside to dry, I die cut the see through tag from white card stock, stamped and colored my images, and then used the coordinating dies to cut them out.

I stamped and heat embossed my sentiment, then used a Trinity Stamps banner die to cut it out. Moving on to assembly, I added some black striped washi tape to the edge of a white card base. Then I trimmed the inked panel down to 4×5.5 inches and added foam tape to the back, adding it to the card base so the stripes showed on the right side. I used liquid glue to adhere the tag to the inked panel and popped my image up with foam squares. Last, I smeared a little liquid glue on the back of the vellum sentiment banner and adhered it to the tree trunk.

For finishing touches on this sweet card, I added glossy accents to the koala eyes and noses. I love that beautiful gender-neutral color palette for a baby card. Perfect for people not finding out what they are having or maybe a congratulations card for someone who just found out they are expecting.

Get well cards are often the ones I don’t have time to make just when I need one so it’s wonderful to have something I love to share ready to go.

For this card, I blending wilted violet and seedless preserves distress oxides on a panel and spritzed it with water. Then I flicked some watered down milled lavender on the panel for a little color contrast in the speckles. I set the panel aside to dry and die cut the Wonky Stripes Panel from kraft cardstock and added foam strips to the back of it.

I stamped and colored my image with copic markers, then used the coordinating dies to cut it out. I stamped a sentiment from the set and trimmed it into a strip. Now, we can assemble everything. I trimmed the inked panel down to 4×5.25 inches, added foam tape to the back and popped it on a white card base. I used liquid glue to added my image and sentiment to the wonky stripes panel and then put more foam squares behind them for added stability. I removed the release paper and put it in place next.

Moving on to finishing touches for this card, I added glossy accents to the koala’s eyes and nose again, plus the flower centers this time.

This set is just too cute and I’m so glad that I finally snagged it after eyeing it for so long.

I appreciate you sharing your time with me. Have a fabulous day!

Miss Ink Stamps – Hip Hippo Hooray

Hello again! Today I’m back with another Miss Ink Stamps card but this one is extra fun and totally adorable too! These hippos are so super cute! Plus today’s card is interactive which makes it even better!

I started by die cutting the parts to my interactive card which come from the Mama Elephant Wiper Surprise die set. Then I cut the tops of the panels with the Lawn Fawn ocean waves border. I inked the top of the waves with a blending brush and Lawn Fawn forget-me-not ink. Next, I took the solid fish images from Hippo Hooray and stamped them in narwhal ink.

I stamped my images from Hippo Hooray and colored them with copics, then used the scan-n-cut to cut them all out and then it was time to start assembling everything. I adhered my wiper mechanism to the back of the front panel and then the panels together. Next, I added my images and moved on to a sentiment.

For that, I stamped and heat embossed it, then trimmed it into a thin strip. I glued it to just part of the card front so that it didn’t inhibit the moving motion needed to let the wiper flip up and down. Just stay to the right of the embossed lines and you’re good. Look at that cute hippo popping up to say hooray! This is too cute!

I don’t ever want finishing touches like glossy accents or Stickles to get in the way of moving pieces on these type of cards, so I left everything to just a few white gel pen highlights and decided this cute card was finished!

I hope you enjoyed it and find a little inspiration to create something wonderful.

I appreciate you sharing your time with me. Have a fabulous day!
Trinity Stamps – Gnome Bunny Loves You

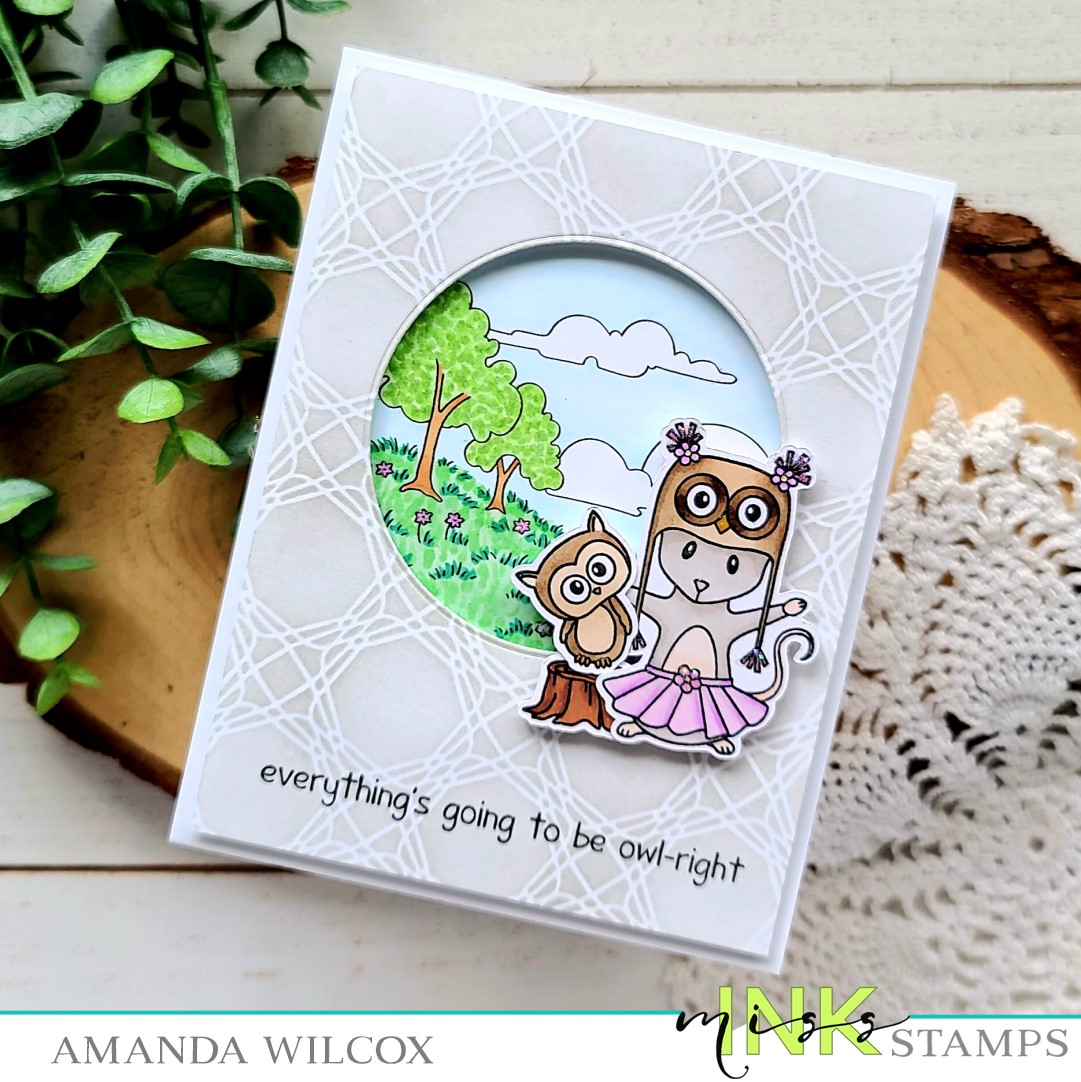
Hi again! I’m over on the Trinity Stamps blog today too and wanted to share the sweet gnome bunny card that I made. I tried to take the Easter sets and give them a different feel for more use throughout the year. So if you have a gnome lover, this just may work for you too!

I started my card by cutting a white panel to A2 size and pulled out my oval foundations stencil and a blending brush. I taped on the largest oval and inked up the edges with a light teal ink.

I removed that stencil and lined up the next smallest oval along with the first layer of the heartburst stencils and inked up a darker teal ink.

After that, I left the oval in place, removed the first layer of heartburst and lined up the second layer to add a blue ink to the mix and finish off my stenciling.

Next, I stamped and colored the images from Gnome Bunny and cut them out. I chose my sentiment, stamped and heat embossed it in white on a strip of black cardstock and started assembling my card.

First, I trimmed 1/8 inch off each side of my stenciled panel and popped it up with foam tape on a white card base. Then I added foam squares to the back of my gnome and popped him in the center of the oval. I also added foam squares to his hands holding the chick and put him in place. Last, I added foam strips to the back of the sentiment and placed it toward the bottom of my panel.

For finishing touches on my card, I added glossy accents to the chick’s beak and feet, white gel pen accents to the gnome and chick and a little Wink of Stella glitter brush pen to both of their cheeks. The last things I did was glue a scattering of boiled sugar jelly drop hearts around the card design for a little extra love.

I appreciate you sharing your time with me. Have a fabulous day!

Newton’s Nook – Time to Celebrate

Welcome! Welcome! Today I’m over on the Newton’s Nook blog sharing a REALLY FUN spring card that would be amazing for a bunch of different occasions. I specifically chose the generic sentiment so I had flexibility later on when I am ready to use it. Do you ever do this with your cards?

I had been wanting to play with the butterflies stencil for a while so I finally pulled it out and inked it up. I inked the first layer black and when over the spots layer with Thermoweb transfer gel. I let it dry and ran it through my laminator with orange sketch deco foil. I love the texture this foil has! It’s so cool! Then I chose an image from Newton’s Flower Garden and colored it with my copics. I used the coordinating dies to cut it out.

Playing off the colors I chose for the image, I inked up a white panel with distress oxide inks in seedless preserves and dusty concord. I spritzed the panel with water and let it dry. While I was waiting I die cut the scalloped rectangle from Frames & Flags and a vellum heart from the heart frames set.

For assembly, I adhered the purple panel to a white card base with liquid glue. Then I added the black scalloped panel with foam tape. I trimmed the foiled butterfly panel down to 3.5×4.75 inches and added it with foam tape as well. I popped my Newton image up on the vellum heart with foam squares, then I hit liquid glue behind that portion to adhere it to the butterflies.

For my sentiment, I die cut the rounded banner from the banner trio set and stamped a sentiment from Birthday Roundabout in the same purple ink as the background panel. I trimmed off one end, added foam squares and popped it in place.

For finishing touches, I added glossy accents to the flower centers, Newton’s nose and parts of the butterflies.

This bold fun card is sure to make the recipient smile. I just love the dark and bright together with the happy Newton image. It’s all so wonderful!

I hope you find some inspiration to create something wonderful. I appreciate you sharing your time with me. Have a fabulous day!

Coffee Loving Cardmakers – CAS-ual Fridays Hop Prize Card

Hey friends! It’s time for another Tuesday Tea over on the Coffee Lovers blog today and I’m super excited to share a card I made with my prize from the Spring|Summer Hop that just finished in March! It was so much fun and I was lucky enough to win a fantastic prize pack from CAS-ual Fridays. They were so generous and I was very excited to jump right in and start creating with everything.
I started by cutting a strip of kraft cardstock and inked up the by the beans stencil with brown ink. Then I left my stencil in place and went over the whole thing with VersaMark ink and added clear embossing powder for cool shiny coffee beans! I took some tea dye distress ink and inked up the top and bottom of my strip for some added interest. Then I watered down ground espresso distress oxide ink and flicked it all over the panel.

Next, I took the sentiment from the Coffee Days stamp set and heat embossed it in copper on a white panel. Then I went over the top with ground espresso, gathered twigs and tea dye distress oxide inks. I wiped off the residue from the heat embossing and spritzed the panel with a distress sprayer. I flicked watered down ground espresso distress oxide on this panel too.

I trimmed a half inch strip of black cardstock and added it to the sentiment panel. Then I lined the back of that whole panel with foam tape. I adhered the coffee bean panel to a white card base with liquid glue and then popped my sentiment panel on as well.

This card was so much fun to make and I absolutely LOVE the sentiment. It’s so fun and cracks me up every time I read it.

I appreciate you sharing your time with me. Have a fabulous day!