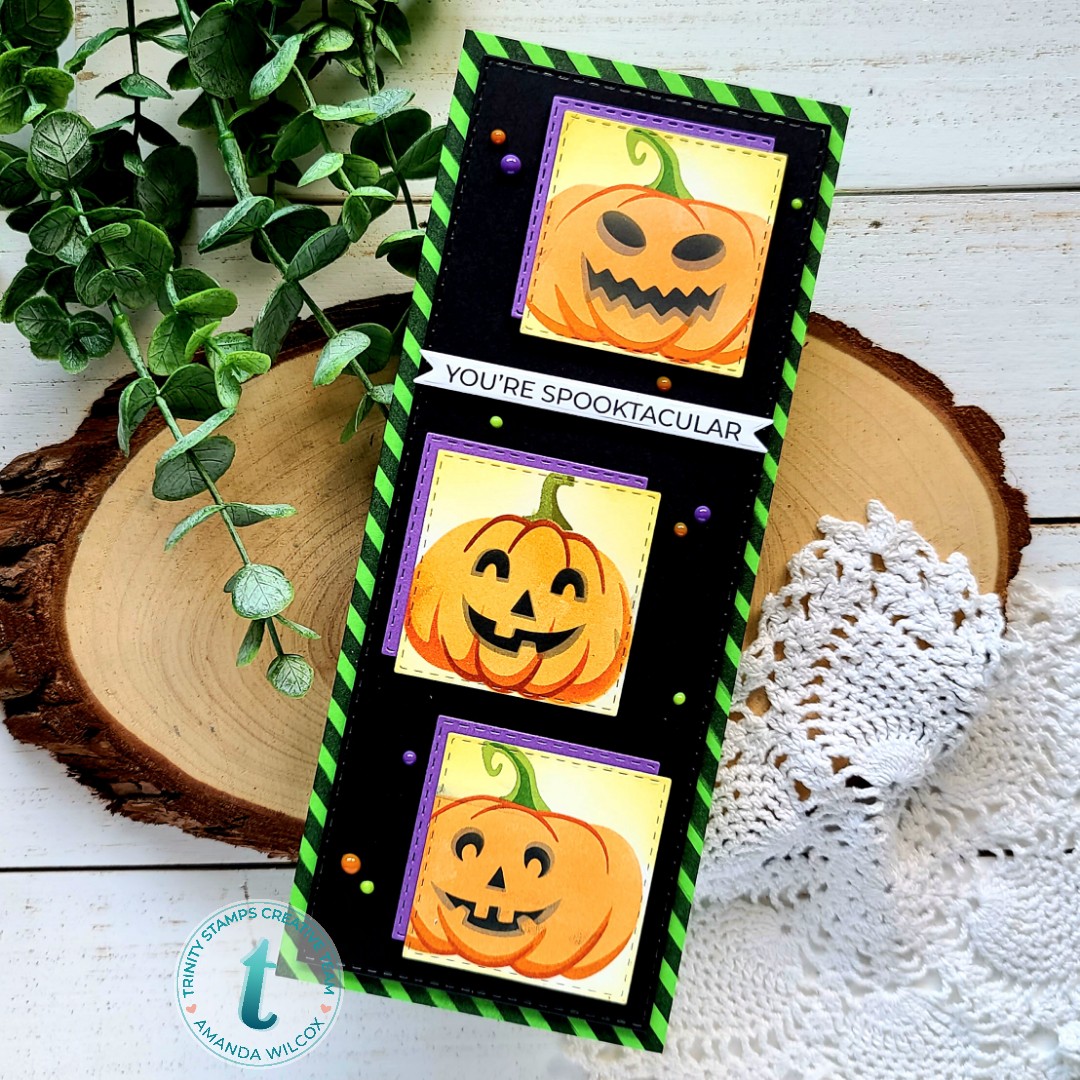
Hi everyone! I wanted to pop in today to remind you that the new Trinity Stamps release is live and full to the brim with amazing goodies! I played with one of the new stencils yesterday – pumpkinhead layering – and had so much fun, I wanted to share my cards with you.
I had some extra squares from cutting stitched slimline windows on previous cards and thought it would be fun to stencil the new pumpkins on them. You can mix and match between the 2 different pumpkin sizes and a bundle of faces! I had a blast. I also used the slimline stripes stencil on the background panel for a little texture there too. Isn’t it so fun?
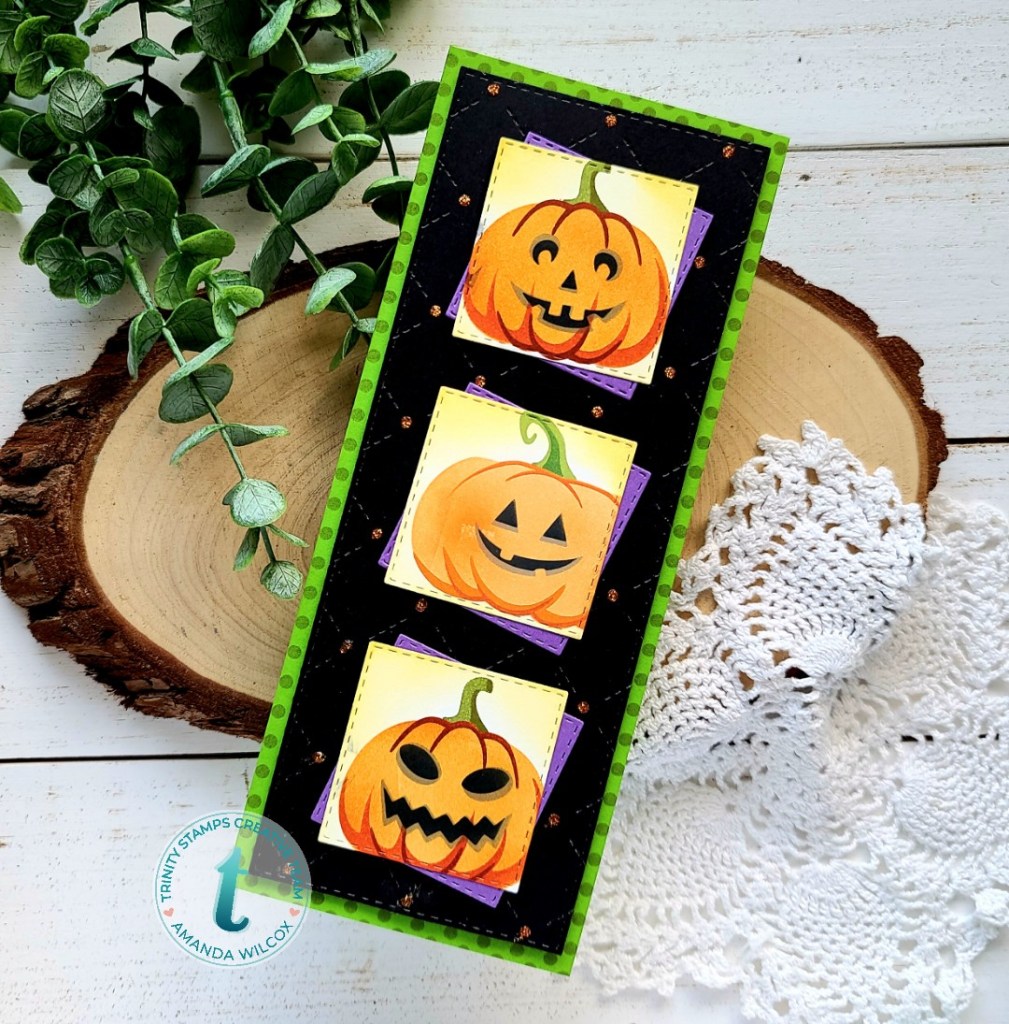
I happened to have 6 of those squares so I couldn’t just stop at 3, I used them all and created a second card as well! This time I used the slimline lots of dots stencil on the background and also tested out the new slimline quilted background die and stencil combo. It was SO COOL!!!
I hope you have an amazing weekend! Head to the Trinity shop and treat yourself!
I appreciate you sharing your time with me. Have a fabulous day!
Happy Thursday everyone! We’ve got some major fun happening over on the Trinity Stamps Instagram page today and tomorrow. We’re having a 2-day Instagram hop with chances to win each day.
Today I’m sharing another sneak of some fun products coming your way, available for purchase tomorrow!
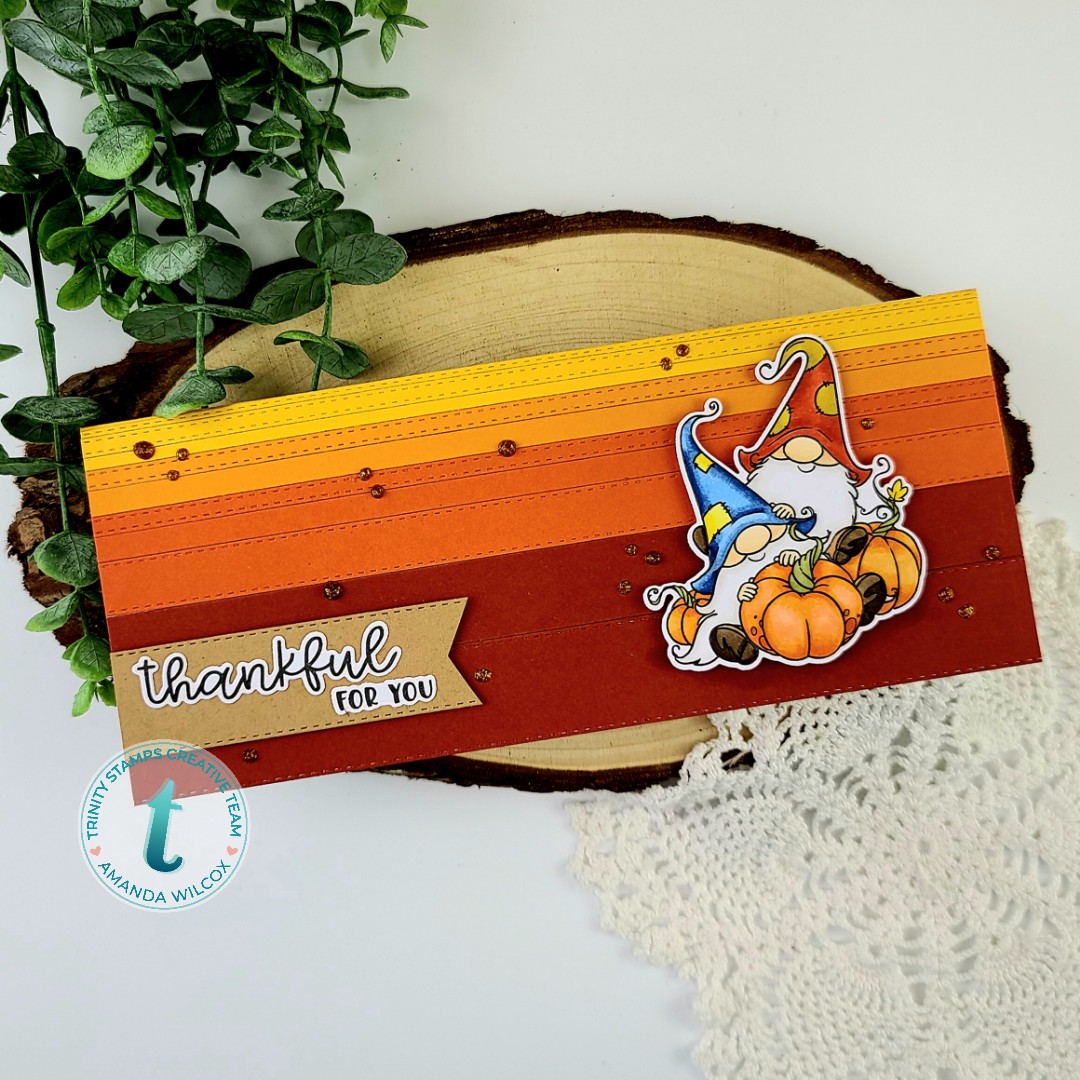
What’s this I see??? Slimline stitched and solid strips! And another batch of those too cute gnomes! Sooo much fun to be had!
I just love this whole line of gnomes and was so happy to see more added to he mix. So fun and festive, these guys will be great all the way through November!
And those slimline strips are perfect for making sentiment banners too! Tons of versatility and fun to play with.
I appreciate you sharing your time with me. Head over to Instagram and hop along for some more inspiration and comment for chances to win.
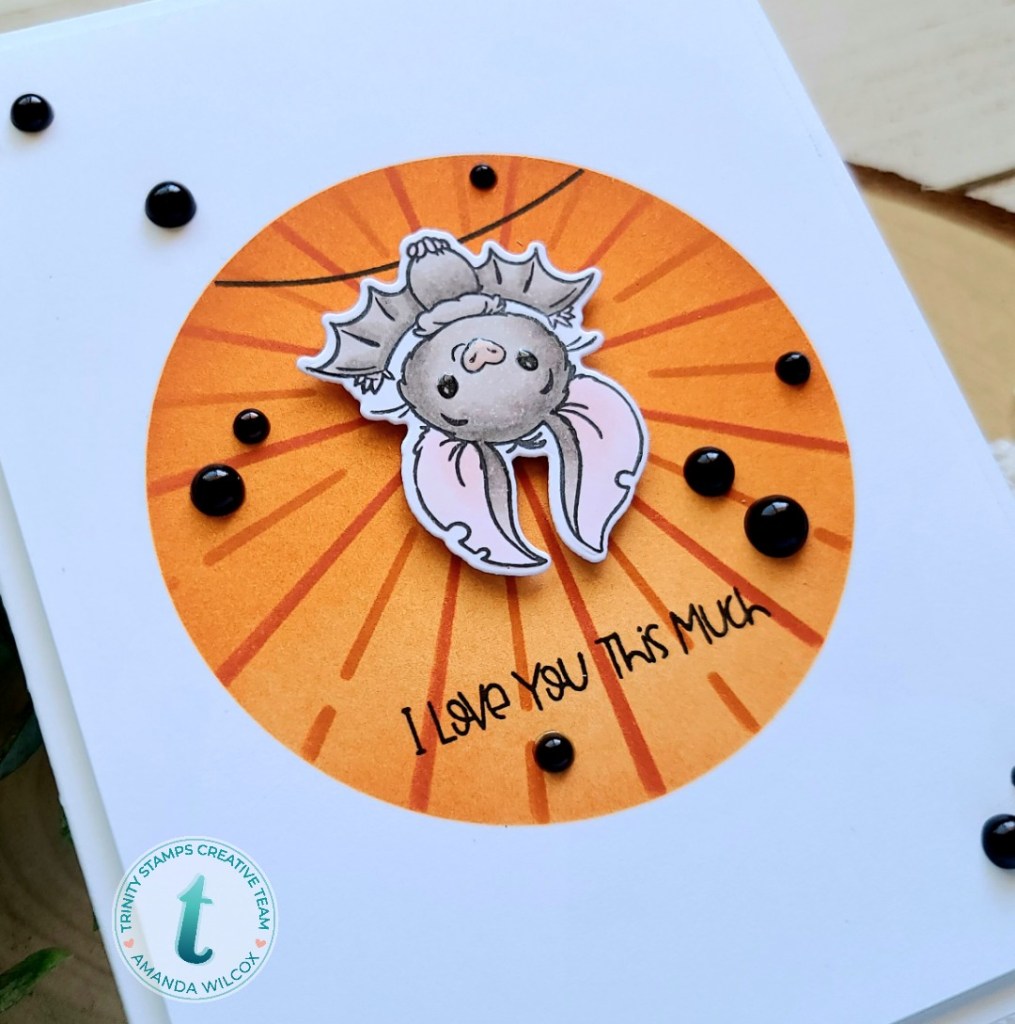
Hey friends! I’m back today with another sneak peek of the Trinity Stamps release that goes live on Friday! It’s absolutely incredible and I’m over the moon in love with so much of it. I can’t wait for you all to see it and see what you create with it too!
I’m just batty for this card! It couldn’t have turned out more perfect and those that know me, know how much I love bats! I can’t wait for you to see the whole set. It’s amazing and so much fun!
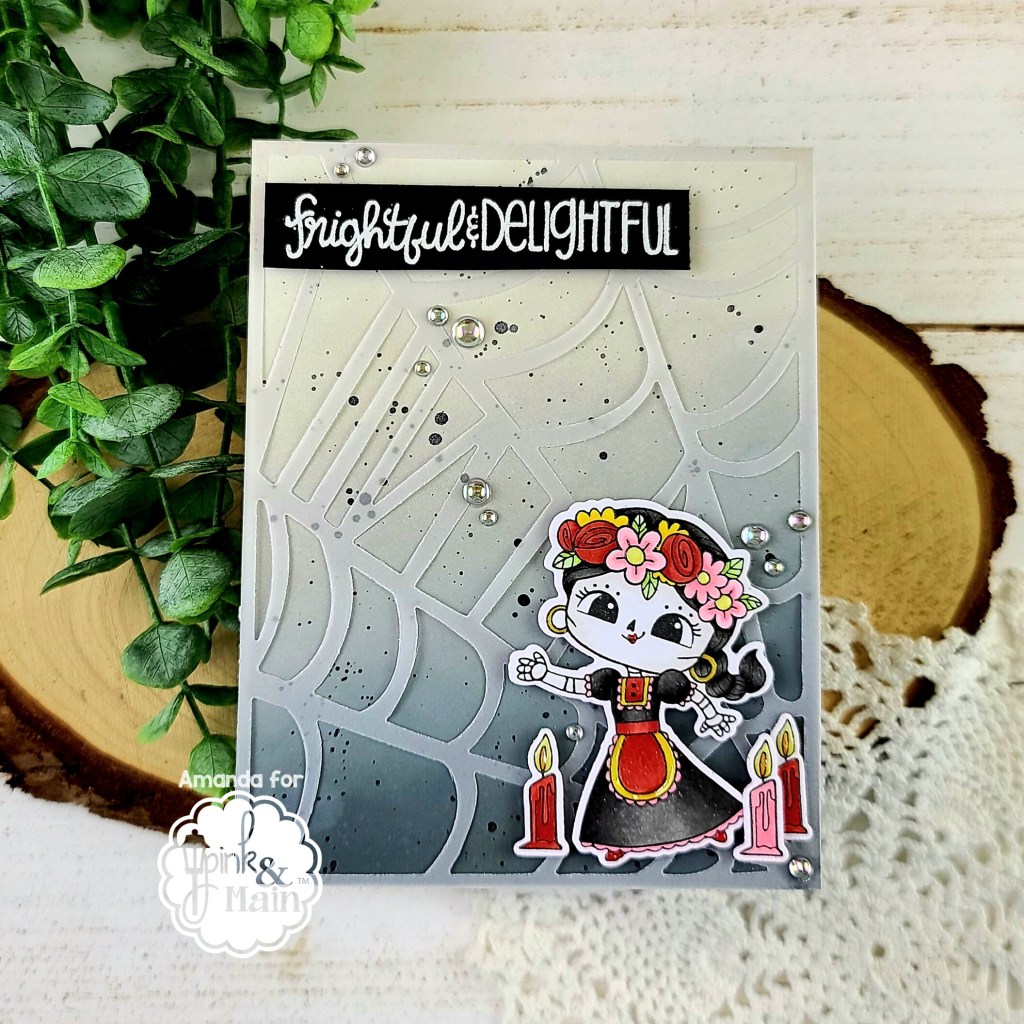
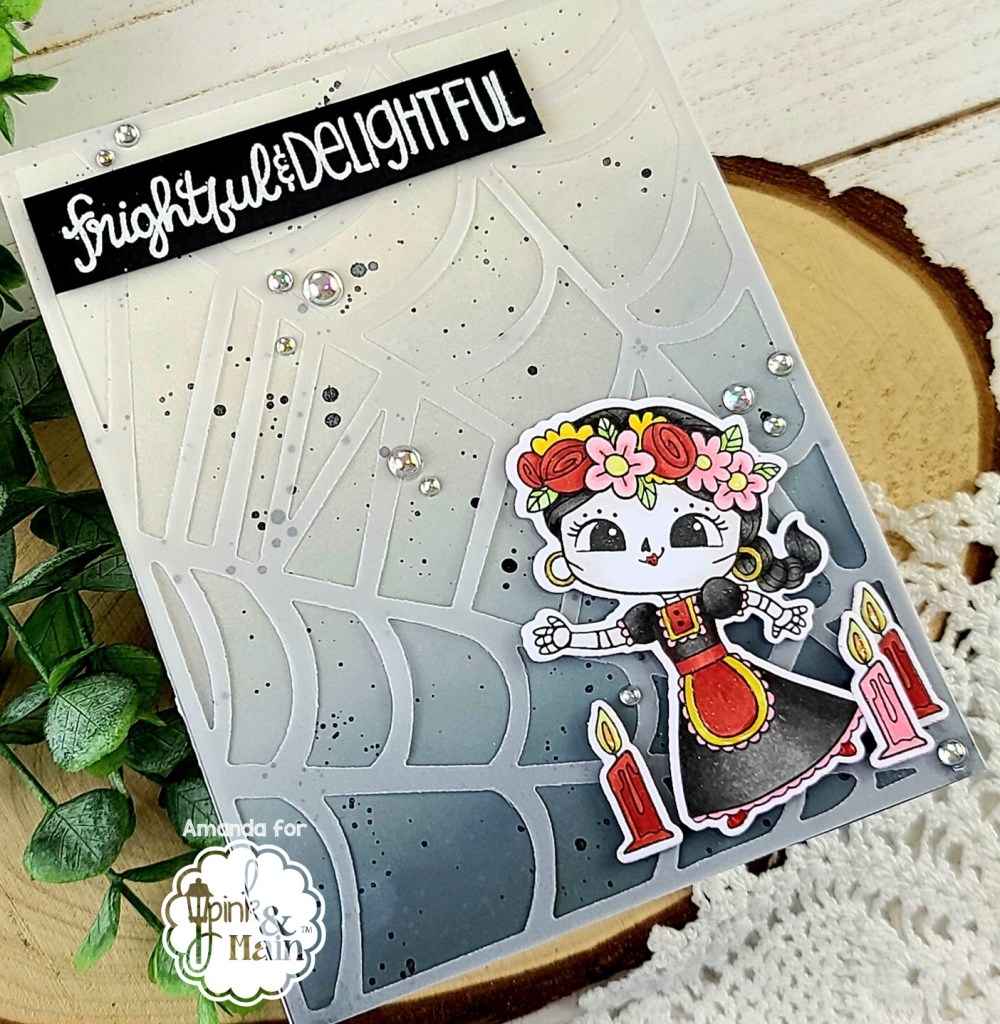
Hi there! I’m over on the Pink & Main blog today with this fantastic and fun Day of the Dead Halloween card. As soon as I saw this stamp set, I wanted to try it out with the awesome Spider Web cover die. I just think they’re fun together.
For this card, I started with the background first. I die cut the spider web from vellum and cut a white A2-sized panel to blend some distress oxide inks. I used black soot, hickory smoke and pumice stone in an ombre effect. Then I splattered it with water and some watered down black acrylic paint. I set it aside to dry and stamped out my Day of the Dead images. I colored them with my copics and used the coordinating dies to cut them all out.
Moving on to assembly, I added foam squares to the back of my images and adhered them to the vellum spider web. Then I hid liquid glue behind those to adhere my spider web to the inked panel. Carefully, I spread a super thin layer of liquid glue on the corners of the spider web and adhered them to the inked panel as well. If your glue is thin enough, it holds but you can’t see it through the vellum. Then I glued the panel to a card base.
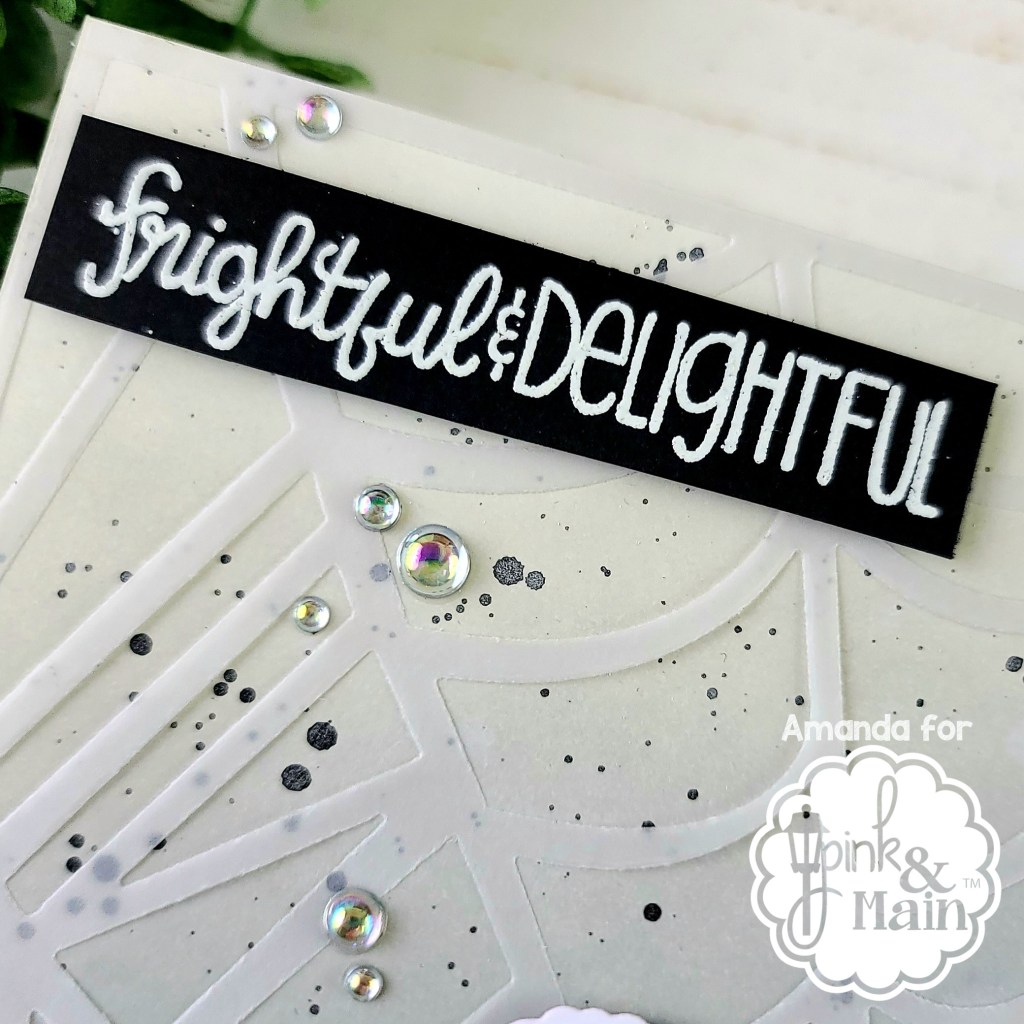
I decided to change things up and use a sentiment from Fall Sentiments this time. I stamped it with VersaMark and heat embossed it in white on black cardstock. I trimmed it into a strip and popped it up with foam squares.
Then I moved on to finishing touches which were some glossy accents on the candle flames and parts of the girl. Last, I decided to add a little shine with some baubles from my stash.
I just love when a card comes out even better than I imaged in my head. I just love this design and how the bright colors on the girl pop against the gray tones.
I appreciate you sharing your time with me. Have a fabulous day!
Hey friends! What a better way to start the week off than with some super adorable and fun sneak peeks of the upcoming Trinity Stamps release!
We’re ending the week with 2 days of Instagram hops (Thursday and Friday) and the release going live on Friday. It’s super fun and full of all the great fall feels.
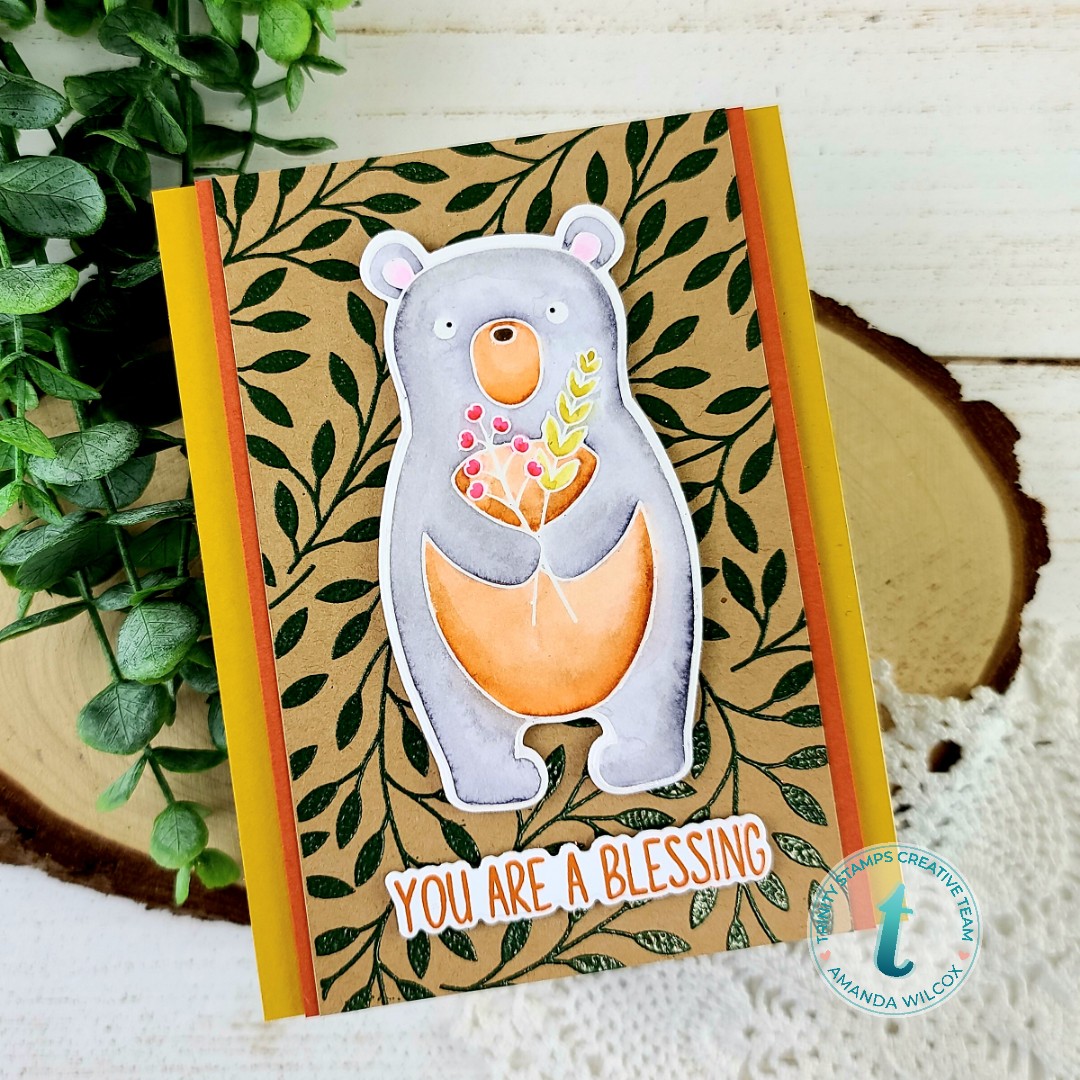
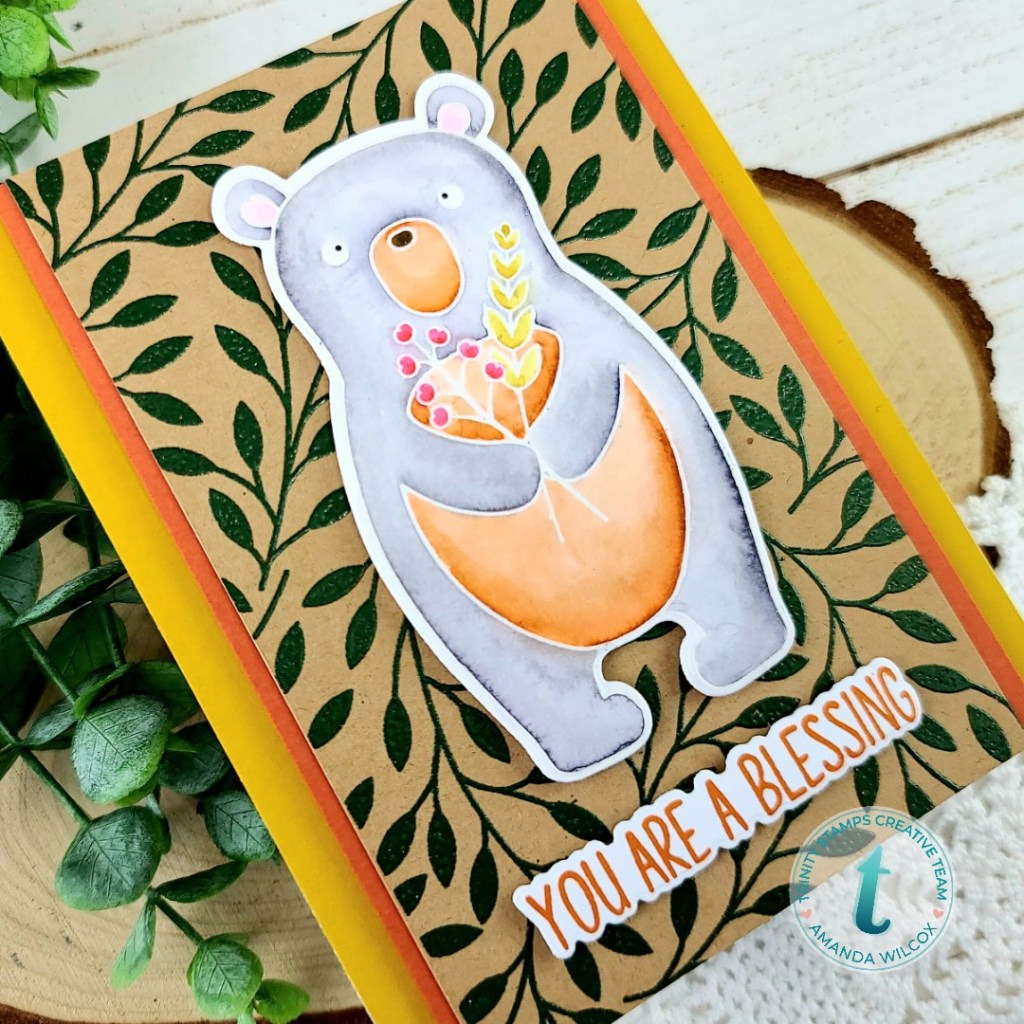
I’ve been in a heat embossing phase again so I did that with this cute bear and used my Zig Clean Color Real Brush markers on him for a watercolor look. Isn’t he the sweetest! And check out that super fun foliage background I heat embossed too! I
I just love these rich, deep fall colors. They make me soooo happy and ready for all things pumpkin and fall! So fun!
Is there anything you’re hoping to see in this release? I’ll be back with a couple more sneak peeks before you see it all on Friday so stay tuned!
I appreciate you sharing your time with me. Have a fabulous day!
Thank you for hopping along with us for the Pink and Main & Pear Blossom Press Collab Hop! For more inspiration, check out all of the stops in the hop!
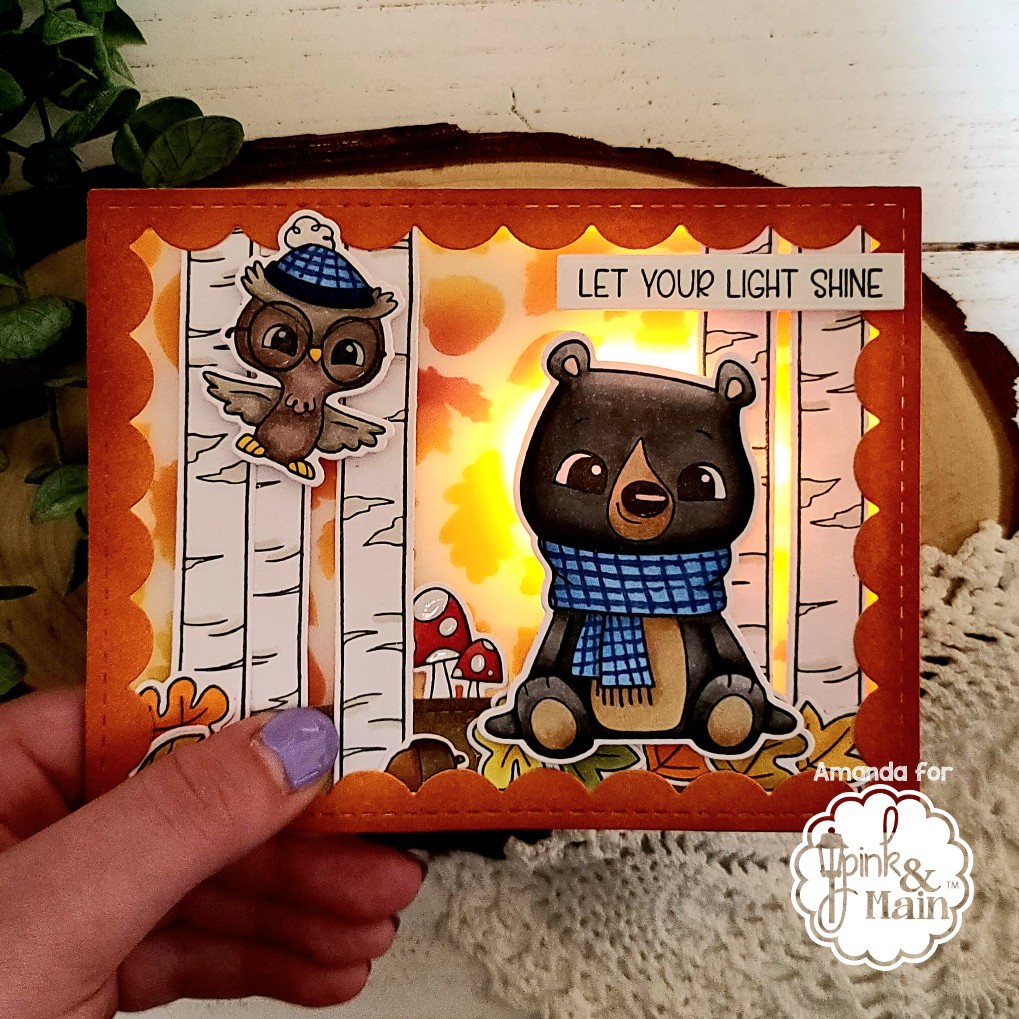
To create my card, I started by stamping and coloring my images from Happy Fall. Then I used the coordinating dies to cut them out and set them aside. I cut a piece of vellum to A2 size and used my leafy stencil with mini blending brushes and dye inks. This takes a bit to dry so I took a break and came back later.
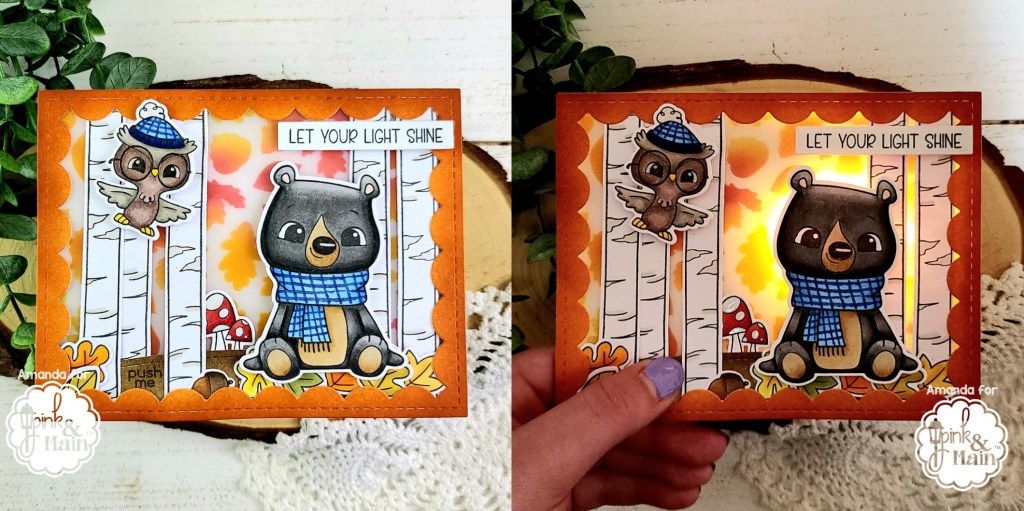
Next, I inked up a panel with my blending brush and orange ink and die cut it with the largest Reverse Scallop Rectangles. I laid the images out and started adhering the tree trunks with liquid glue and the scalloped panel over it. Now it’s time to add the EZ light from Pear Blossom Press.
As you can see from the photo, I decided where I wanted my button to be, stamped a “push me” sentiment and then with the front panel as I guide, I traced the battery pack so I would know where to glue it down. I used tear tape to adhere it so it was really stuck in place without waiting for liquid glue to dry.
This is when I added my images with a combo of liquid glue and foam squares. Then I lined the panel with foam strips to allow room for the battery pack and wires.
With a lot of back and forth and some temporary tape, I placed the lights where I thought I wanted them and put my front panel over top, pushed the light to test it and moved them around until I liked it.
I didn’t like how the lights showed through the bear though. So, as you can see in the picture above, I die cut another bear from white cardstock and glued it directly behind the other for an added layer. Then I taped my lights in place with tear tape. I just didn’t remove the top release paper. It holds them really well.
Finally, I popped my panel in place on my card base and tested it all out. Then I found a fabulous sentiment in Sunny Greetings. I stamped and die cut it and popped it up with foam squares.
Last, for finishing touches, I added some glossy accents to the bear’s nose, owl’s glasses and mushroom dots. This card is so sweet and fun! These EZ-Lights make this process and complete snap and totally stress free! So much fun!
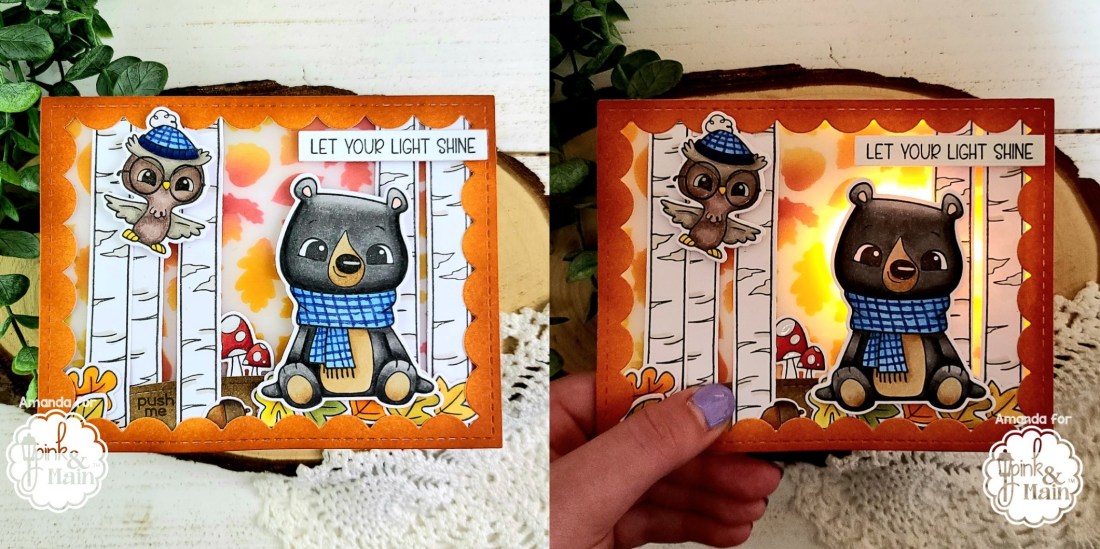
And here’s a fun side-by-side look at the card on its own and all lit up! Isn’t it sooo much fun??? I just love how it turned out!
Now for the hop line up so you can continue on and keep the inspiration flowing.
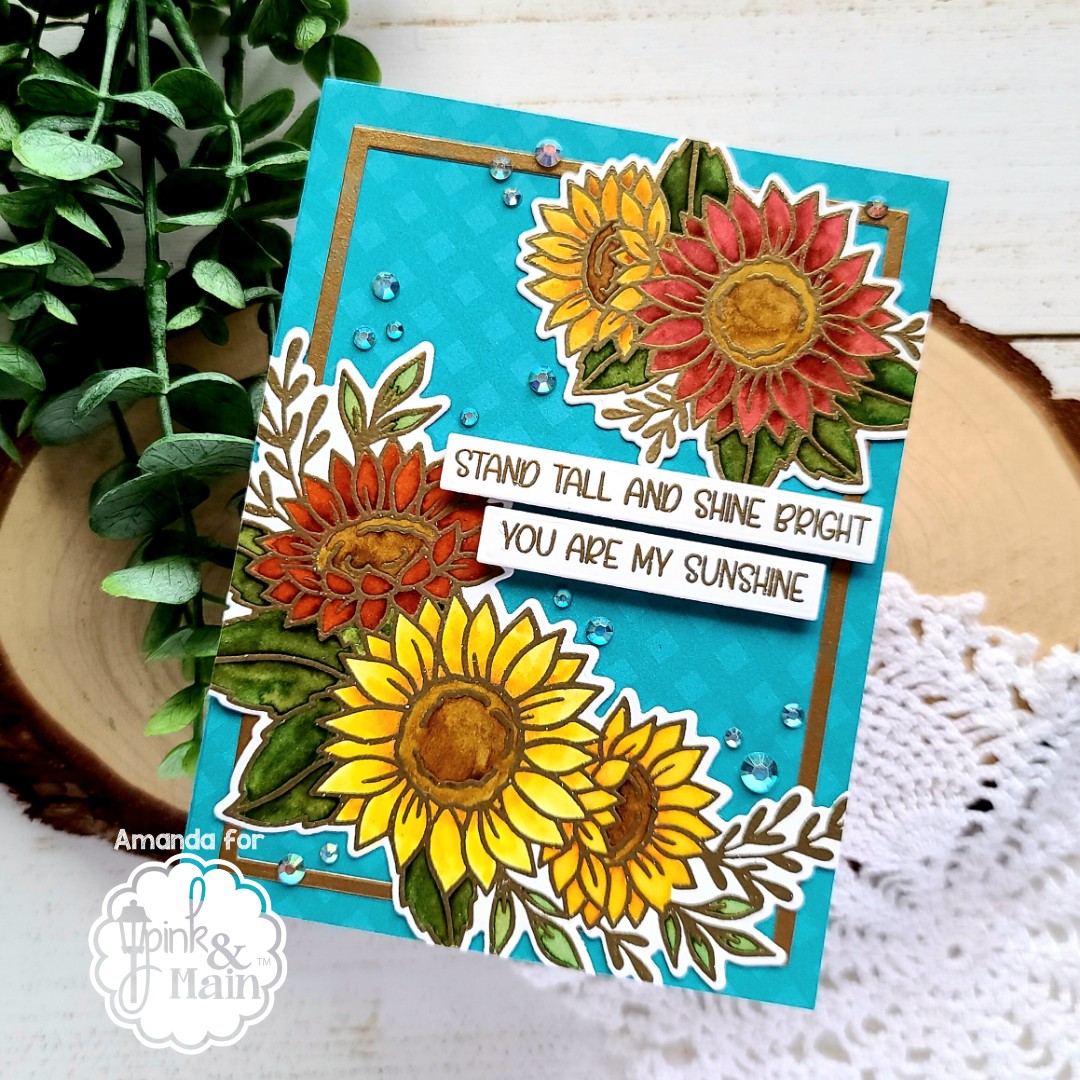
Hello everyone. I’m over on the Pink & Main blog today with this beautiful fall sunflower card. I always love watercoloring florals and couldn’t resist trying it with this new Sunny Greetings set.
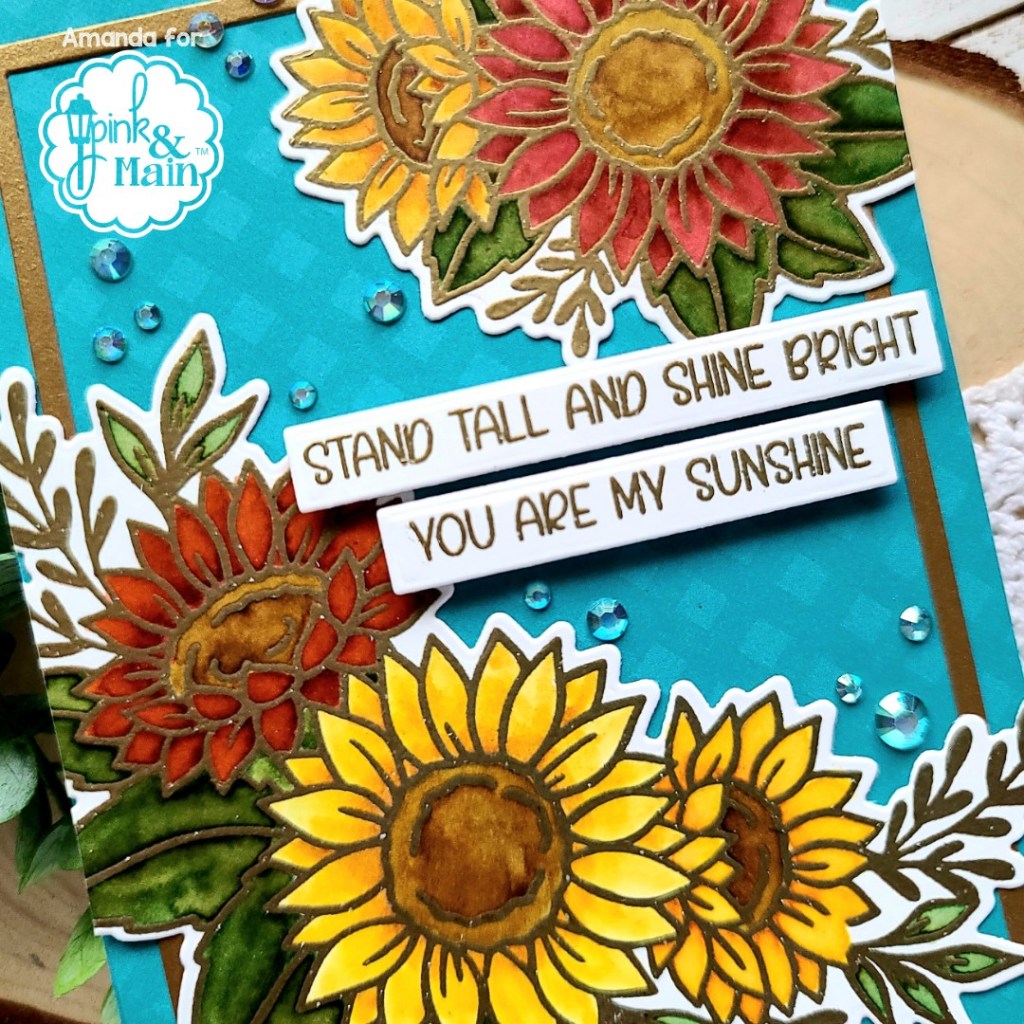
I started this card by stamping and heat embossing my images from Sunny Greetings in gold on Bristol smooth cardstock. Then I set to watercoloring with my Zig markers and a water brush pen. Next, I used the coordinating dies to cut them out and decided on a final design for my card. I chose 2 sentiments from the set, heat embossed them in the same gold and die cut them with the sentiment strip dies in the coordinating die set.
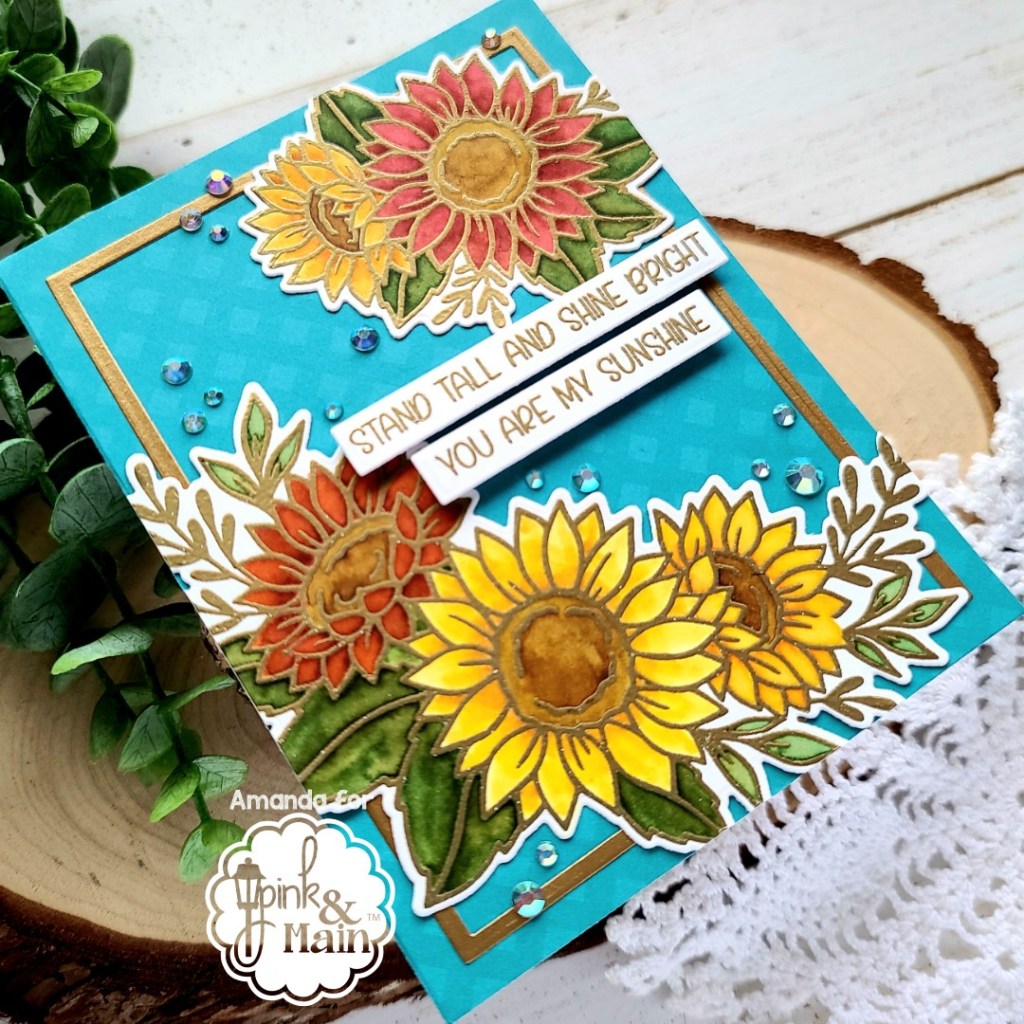
I pulled out my sweater weather paper pad and used the largest layered rectangle die to cut it out. Then I took gold paper from my stash and used the third and forth from the largest layered rectangles together to create a frame. I glued these to my card base and arranged my flower images how I wanted them and glued them down as well. I trimmed the excess off the edges once the glue was dry.
Next, I popped my sentiment strips up with foam tape and decided I wanted a little extra sparkle. I pulled out some gems from my stash and glued them around the florals to round the design off.
I just love this set and have so many ideas with it. They are just screaming to be used all together on a slimline card next, I think. Stay tuned for that one.
I appreciate you sharing your time with me. Have a fabulous day!
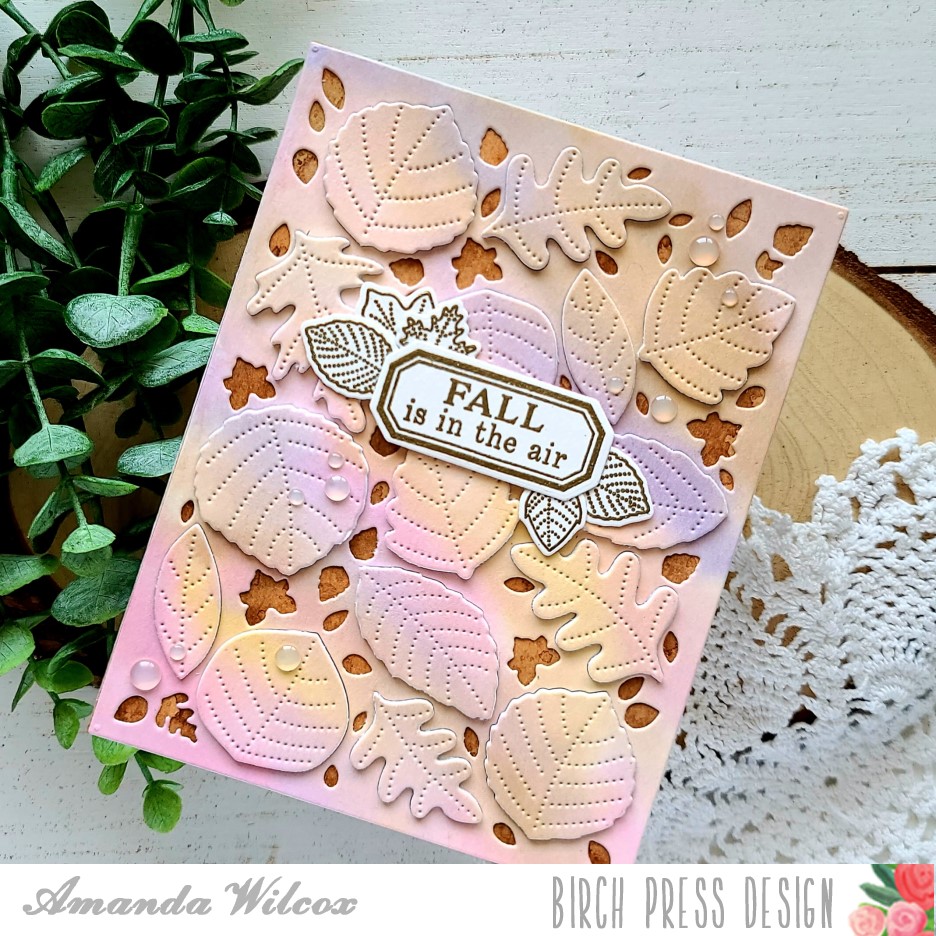
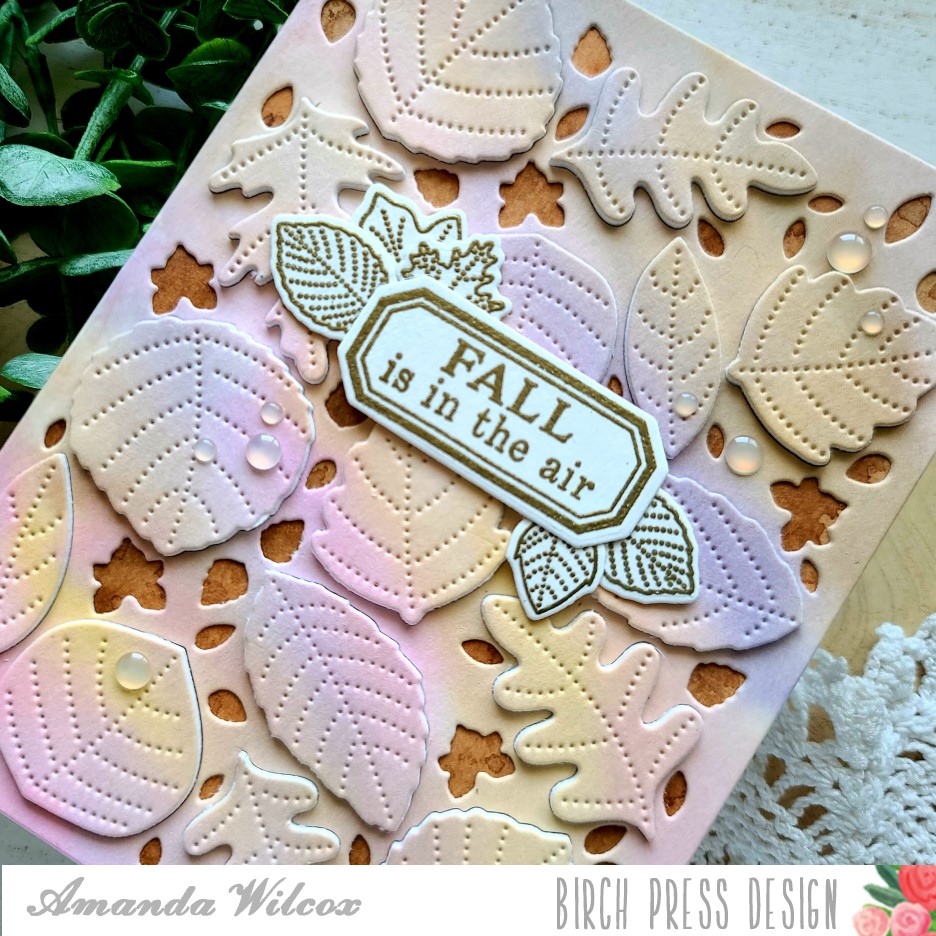
Hello again! I’m over on the Birch Press Design blog today with this soft, watercolor fall card featuring some goodies from the new mini release.
I had fun watercoloring with my Tombow markers and then die cutting one of the coverplates from the Autumn Breeze set. If you’d like to see how it all came together, head to the Birch Press blog for a photo tutorial.
The layers of this add so much interest and the different colors are just wonderful for a light fall feeling. I also love gold heat embossing for that fall feel! Don’t you?
I appreciate you sharing your time with me. Have a fabulous day!
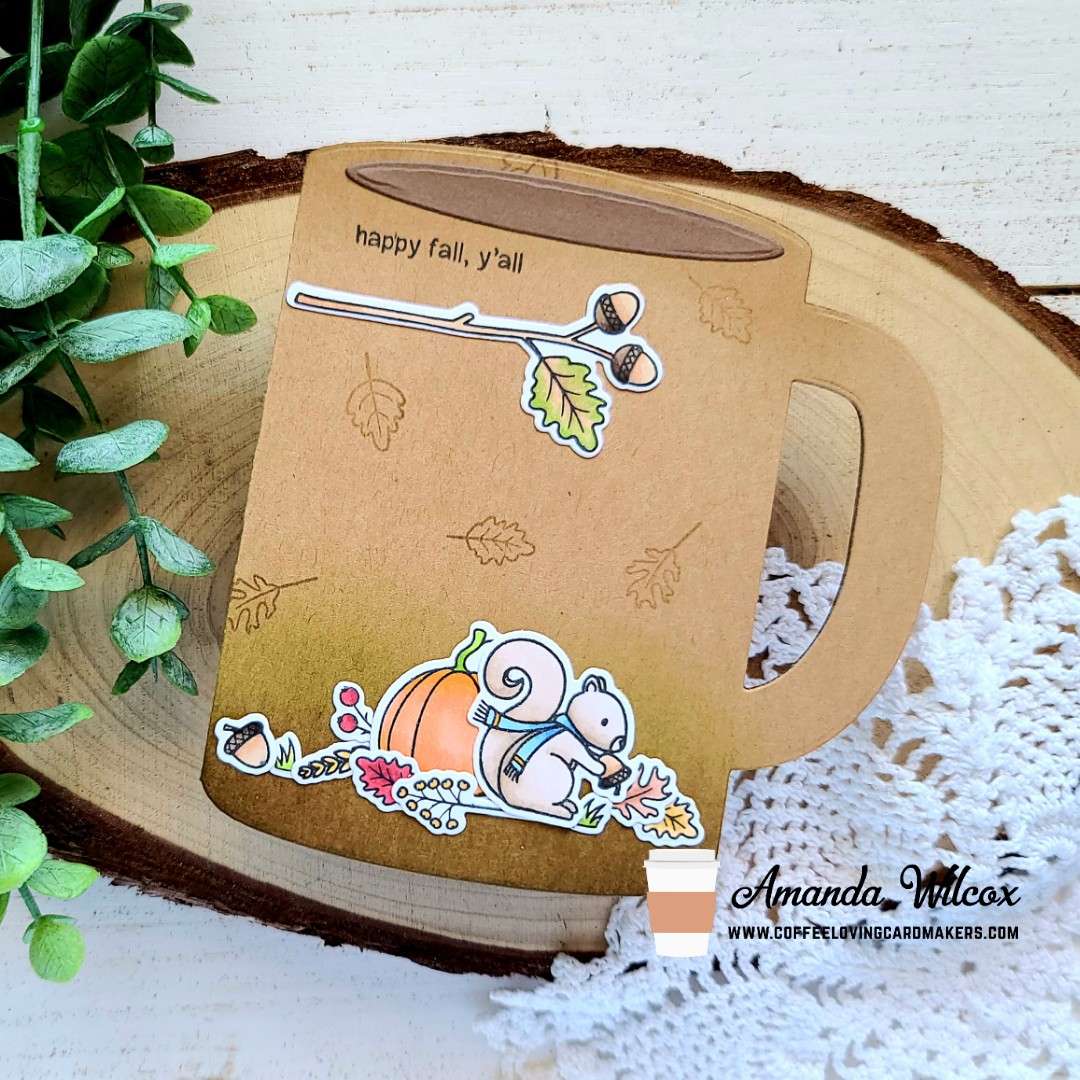
Hey there! It’s time for Tuesday Tea once again and I’m sharing some super fun fall inspiration over on the Coffee Loving Cardmakers blog.
I hadn’t played with my Trinity Stamps coffee mug die for a while so I pulled it out and started going through my stamps for inspiration and landed on this little set, Nutty Squirrel, from Trinity Stamps last fall that I just love.
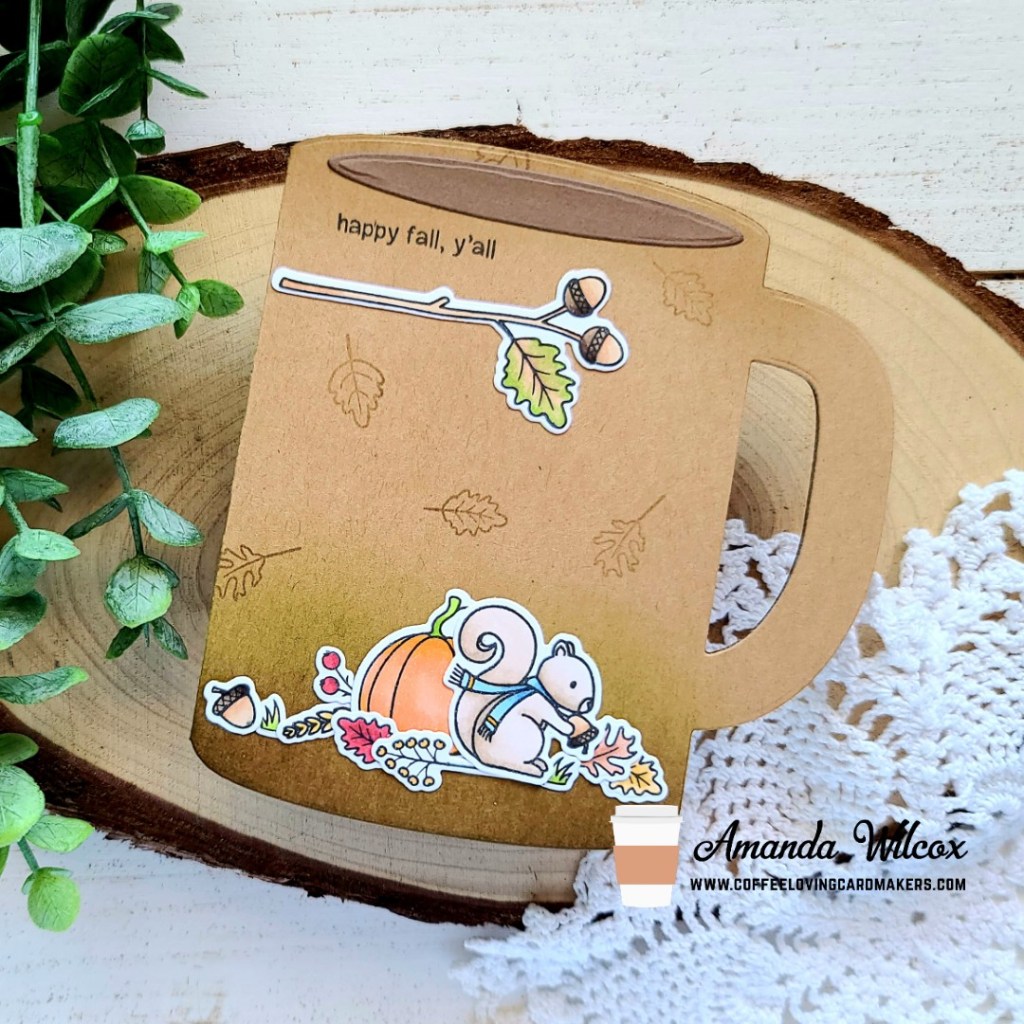
I stamped out my nutty squirrel images and colored them with my copics, then I used the coordinating dies to cut it all out. I die cut my mug and used blending buddy brushes with some dye inks to ink up the bottom with brown and green and I rounded out the top with some brown shading too. I took the leaf images and stamped them in the background with light brown ink and started adhering my images with liquid glue.
I decorated the front and back of my coffee mug since I had enough images and thought it would be extra fun. After those were all adhered I stamped my sentiment above the branch on the front using my MISTI and this fun card is all done.
I am very ready for all things fall which made this card extra fun to create. I also added the extra layer to the inside of the mug that makes it a gift card holder so we can share a little pick-me-up with whoever the recipient ends up being.
I appreciate you sharing your time with me. Have a fabulous day!
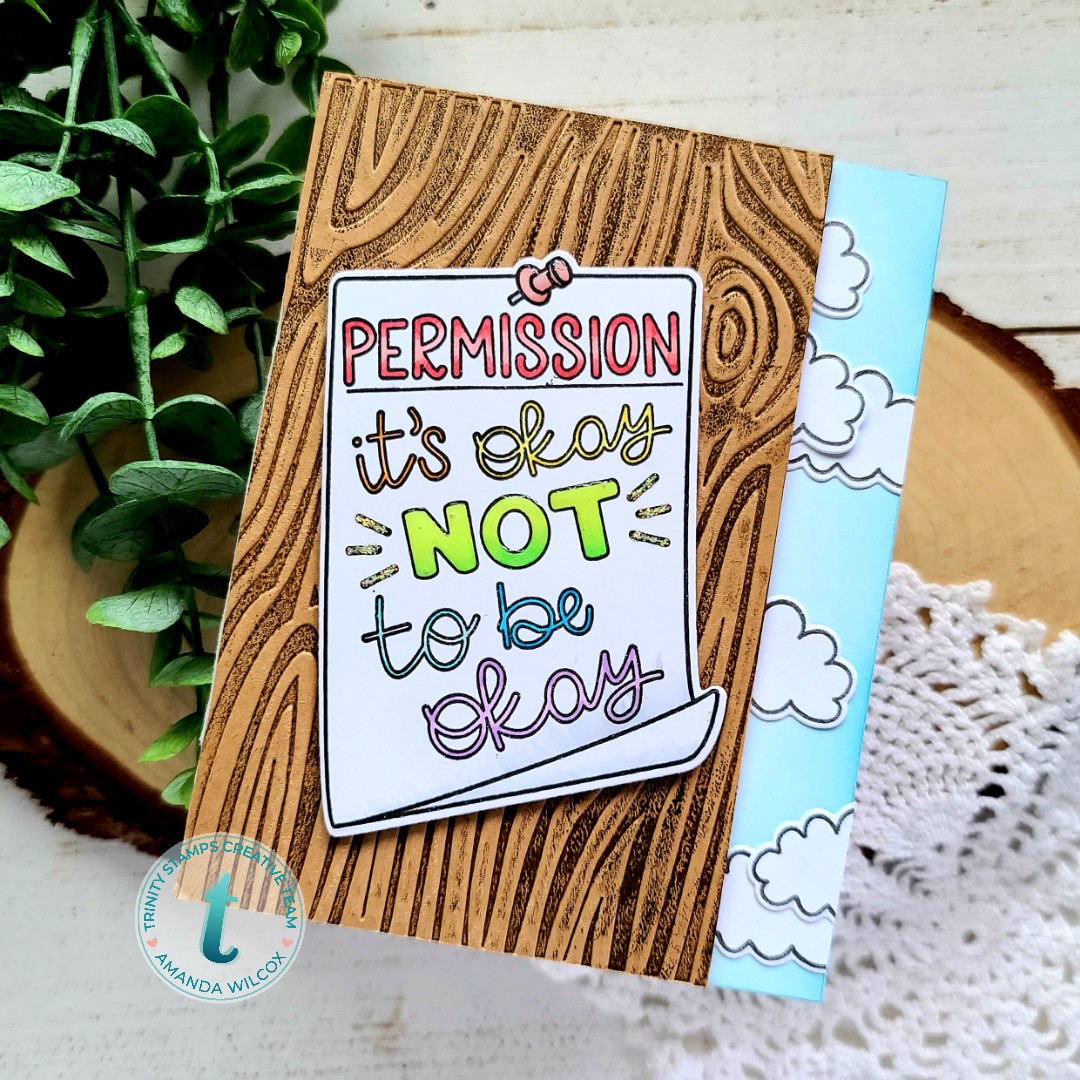
Hi there! Thanks for stopping in today. I’m sharing a really fun card using a technique I’d never tried before with one of my embossing folders. I hope you enjoy it! Let’s go!
I started by stamping the image from Trinity Stamps It’s Okay, colored it with copic markers and used the coordinating dies to cut it out. Then I took a kraft panel and my wood-grain embossing folder. I blotted brown ink on one side of the folder and ran it through my die cut machine to emboss it. It inked up the raised portion of the embossing and left this really cool look! I just love how it turned out! Don’t you?
I used my blending buddy brush and a light blue ink to give a little color to the edge of a white card base and then pulled out the cloud image from Hang On. I stamped and die cut a handful of those and glued them in place, trimming the excess off the edge. Then I trimmed the embossed panel to 3.5×5.5 inches and popped it up with foam tape. I wanted this to look like a tree in the park or maybe a telephone pole on the street with a message for anyone passing by.
For finishing touches I added a little glossy accents to the pushpin and the word “not” and some Stickles to the dashes for a little glimmer.
This card fits perfectly with the Trinity Stamps Crafty Troop Challenge. Have you checked it out this month yet? Be sure to grab your goodies and play along too! There’s always a gift certificate to the Trinity shop up for grabs!
I appreciate you sharing your time with me. Have a fabulous day!