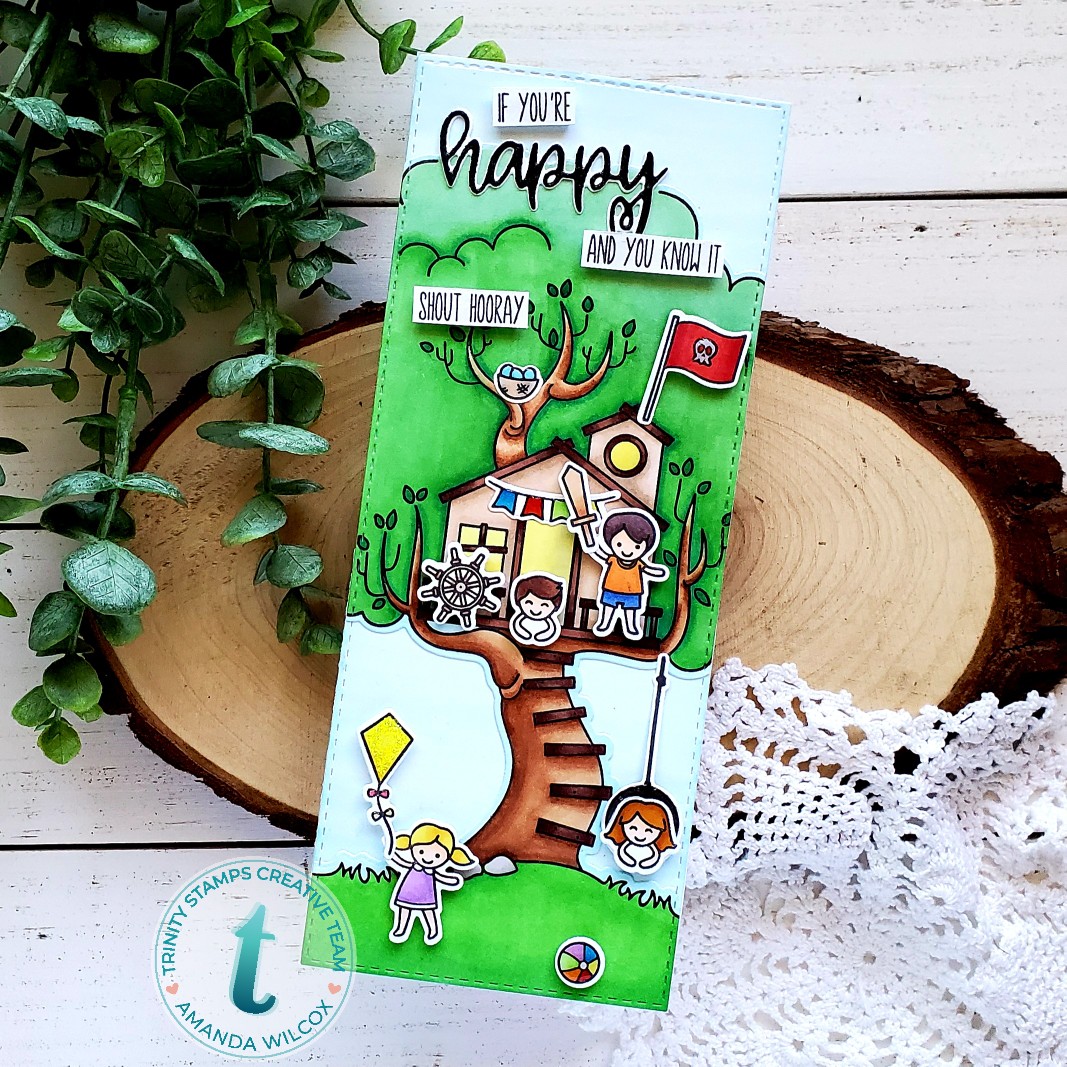
It’s finally here and I’m over the moon excited to share with you an epic card with so much fun, sparkle, and happy you’re going to shout hooray!!!
I’m introducing to you today, the Treetop Adventure stamps and dies! Isn’t this absolutely fabulous?!?!? Yeah, it really is! So many fun things these kiddos can do and the tree fits on a slimline. However, it’s also wide enough and portioned so it can fit a regular A2 card as well! Super versatile and full of fun!
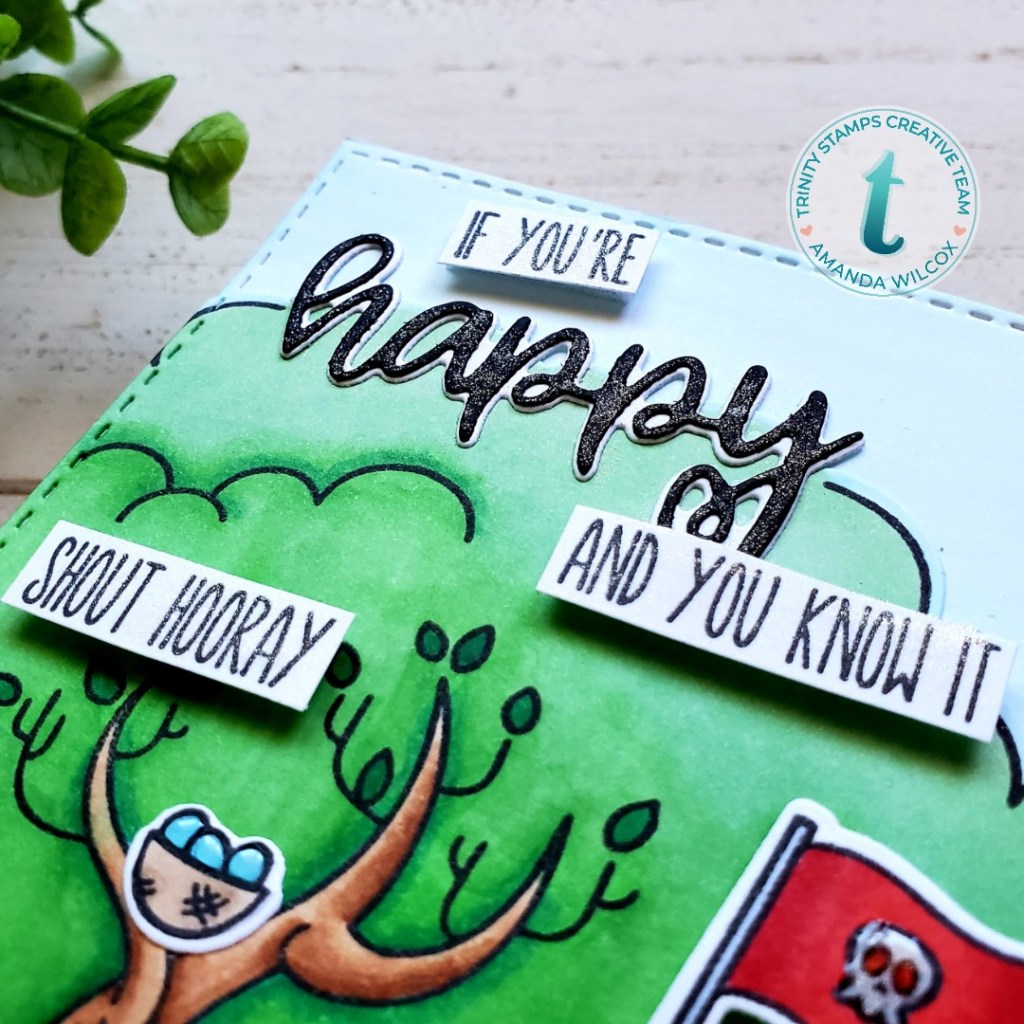
I couldn’t help but pull this fun sentiment from the Happy Senti-mini stamps and dies. If I had a treehouse like this, I’d be shouting hooray all the time! Wouldn’t you?
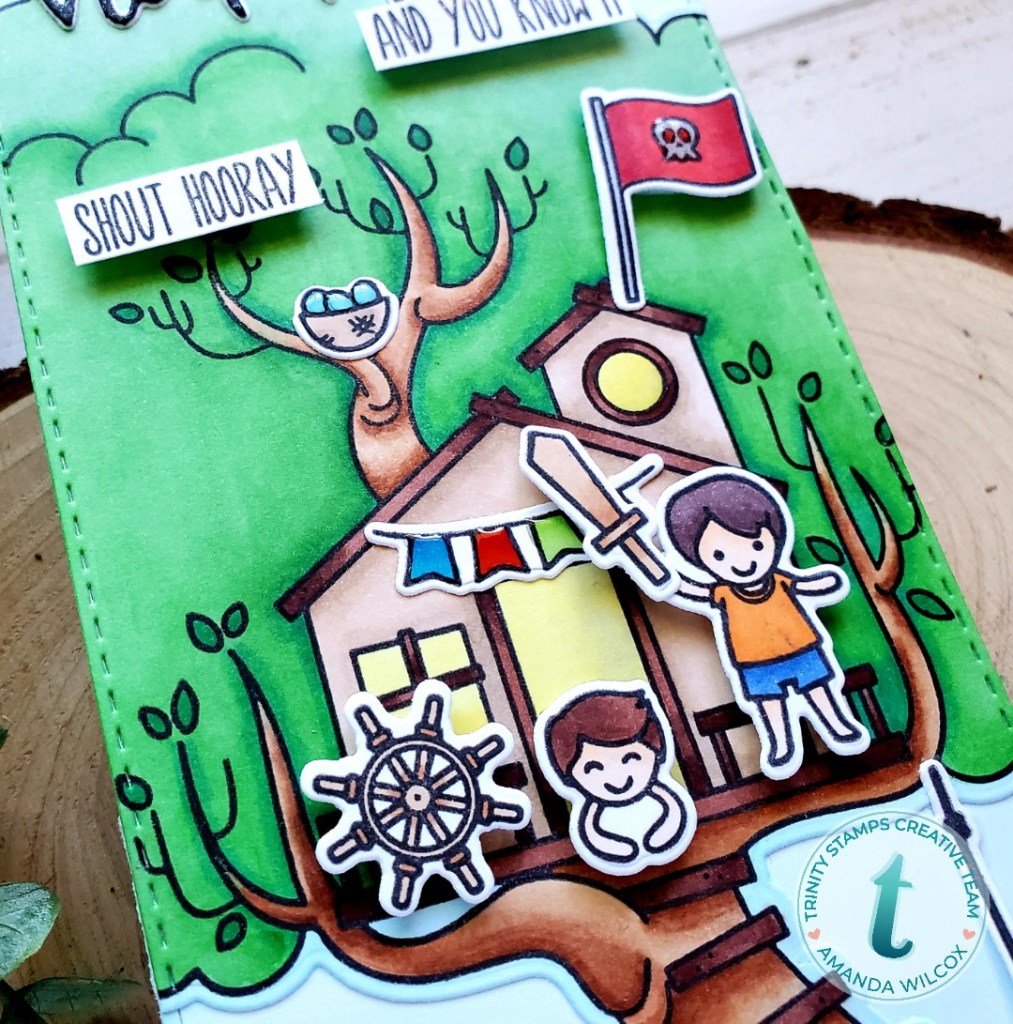
Looks like the boys have taken the treehouse for now…but I’m sure the girls are scheming their way up there in a bit!
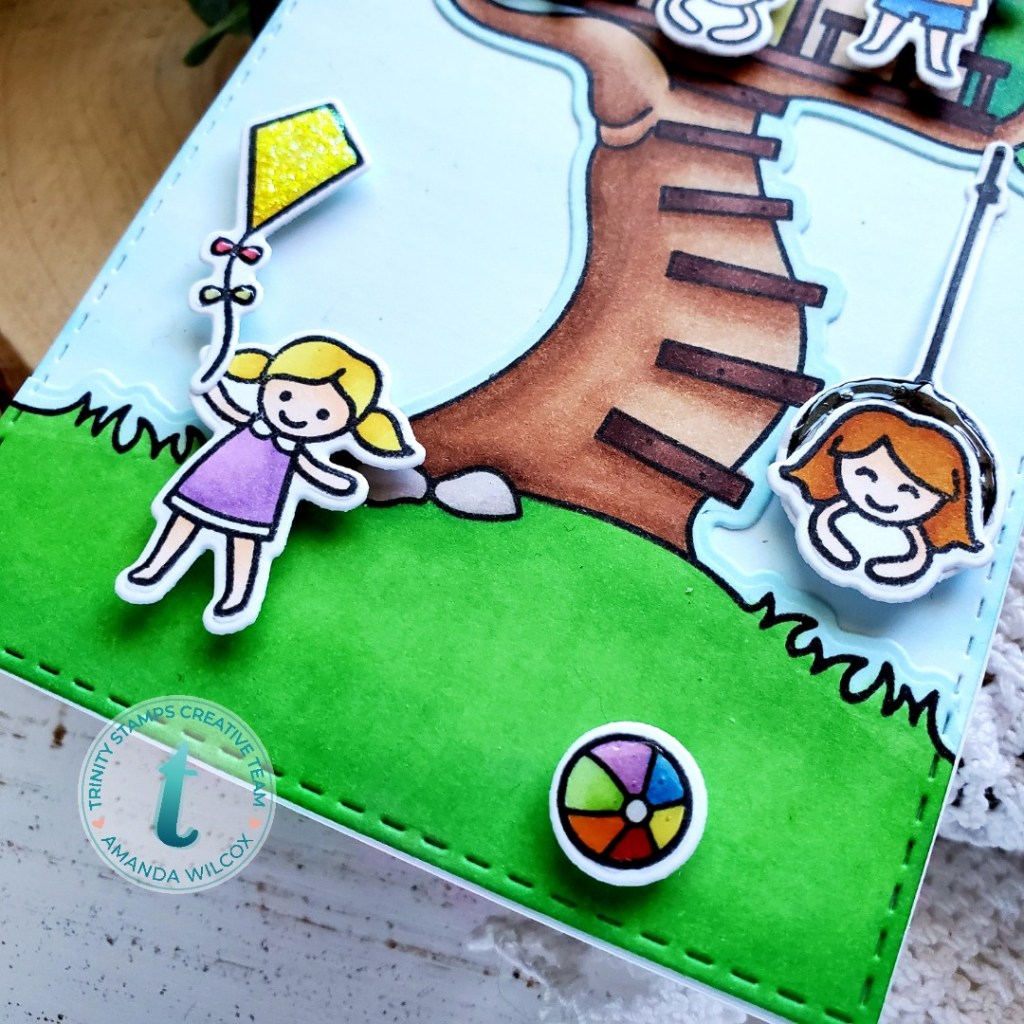
For now a little tire swing and kite flying looks to be absolutely perfect! Be sure to check out the whole set and the rest of the release on the Trinity Stamps site.
Once you’re done there, head over to Instagram and hop along with us. Comment for a chances to win and everything!
I appreciate you sharing your time with me. Have a fabulous day!
Oh my goodness, only one more sleep until the new Trinity Stamps release is live! There’s going to be an Instagram hop again with tons of inspiration and a chance to win so be sure to join us for that tomorrow. Until then, let’s share a fun, almost all die cut card!
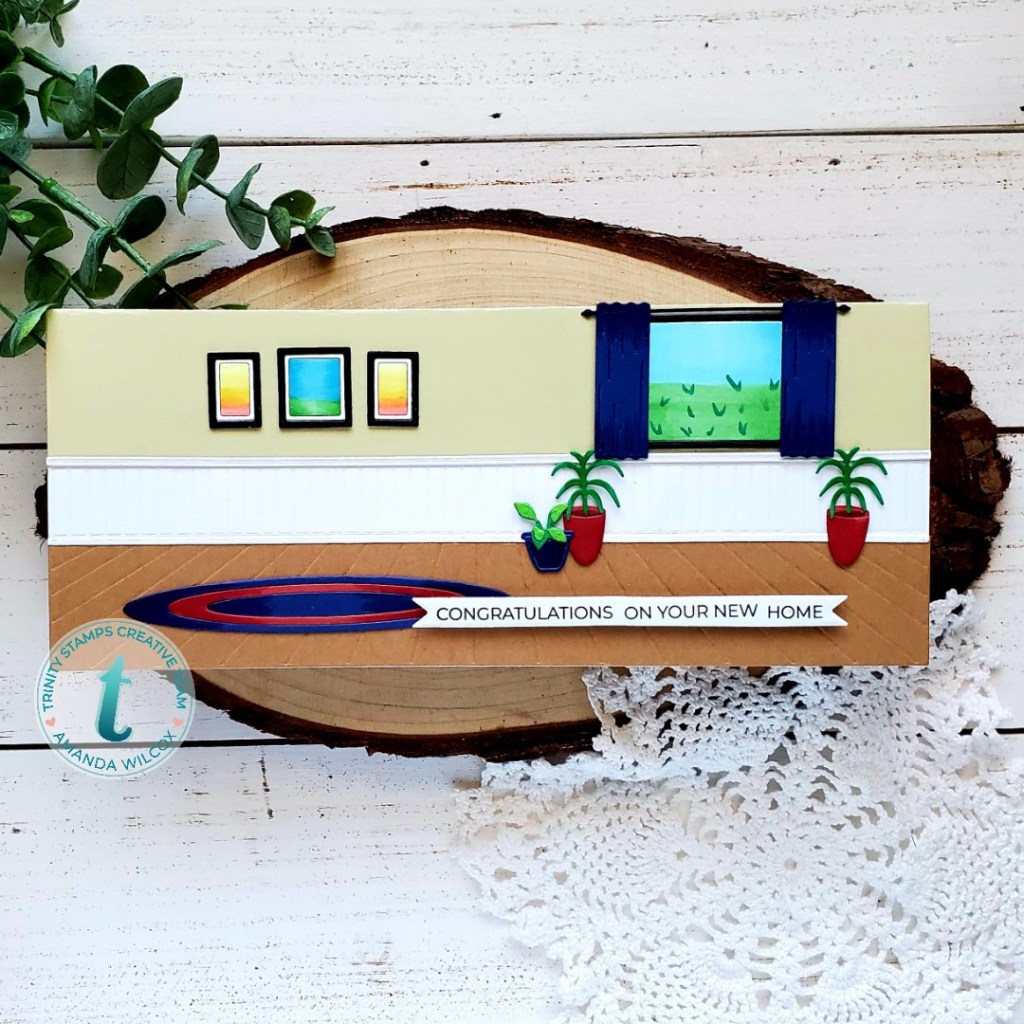
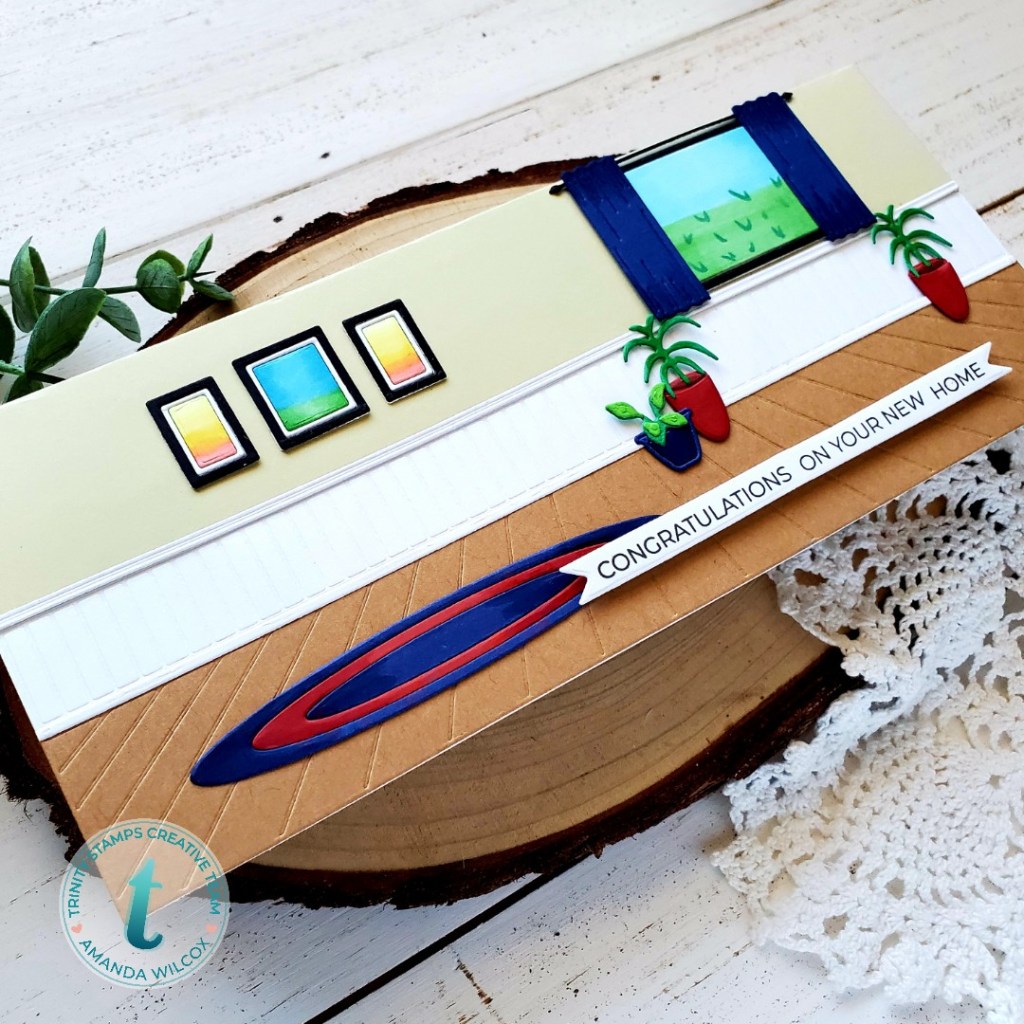
There’s a new die set coming out to create a room setting, slimline style! Isn’t this going to be so great!!! Look at all those elements to set your scene!
I kept my card really simple to showcase some of the awesome elements available but think of the parties and scenes you can create with this as your backdrop? It’s going to be so much fun!
I appreciate you sharing your time with me. I hope to see you tomorrow for another card share and a link to the Instagram hop too!
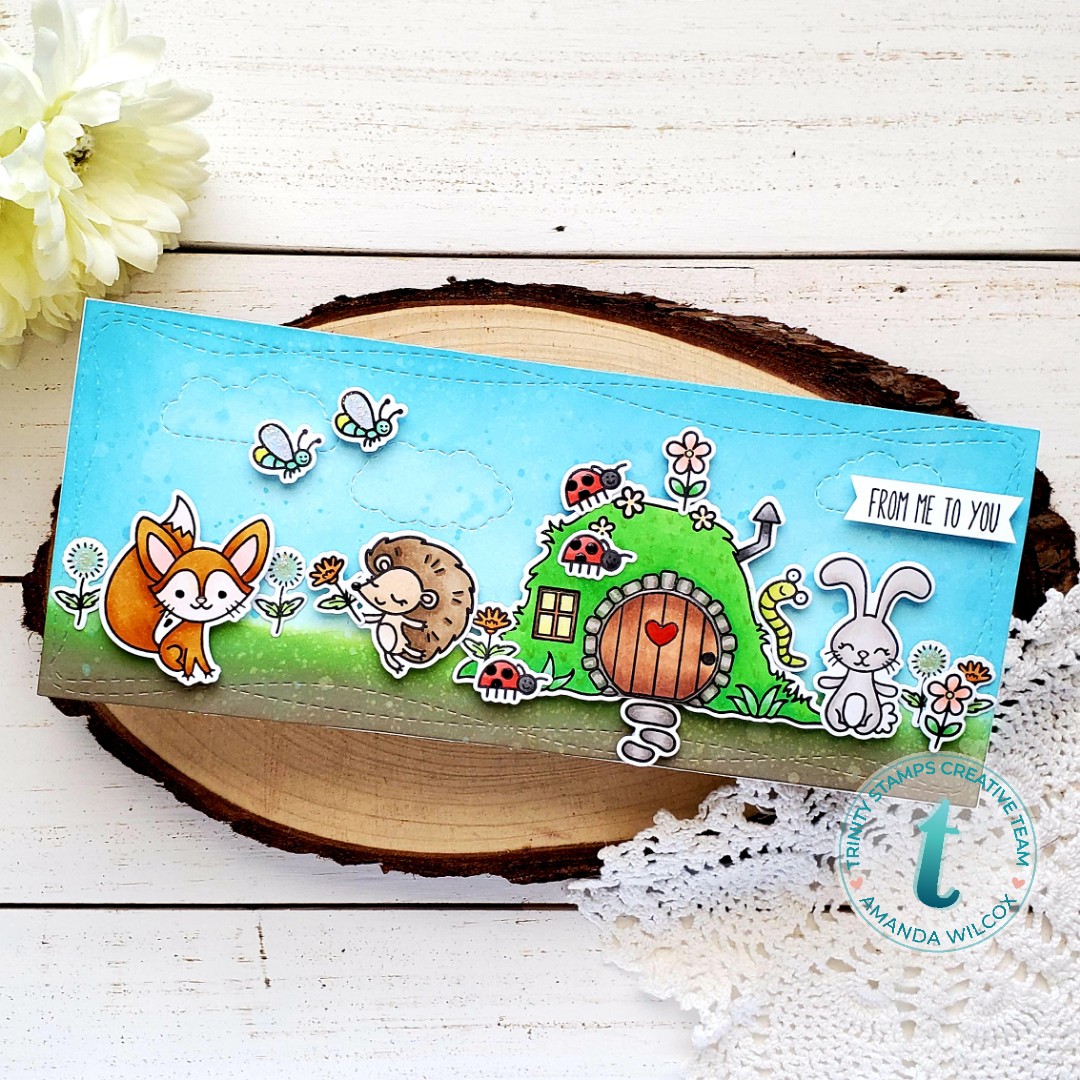
Oh, you’re back for more sneaks, are you??? Well, you’re in luck! I’ve got serious cuteness to share with you today! Remember those mice that I’m absolutely in love with? What if I told you there are more fun critters coming? Eeeekkk!!! There are! I’m so excited!
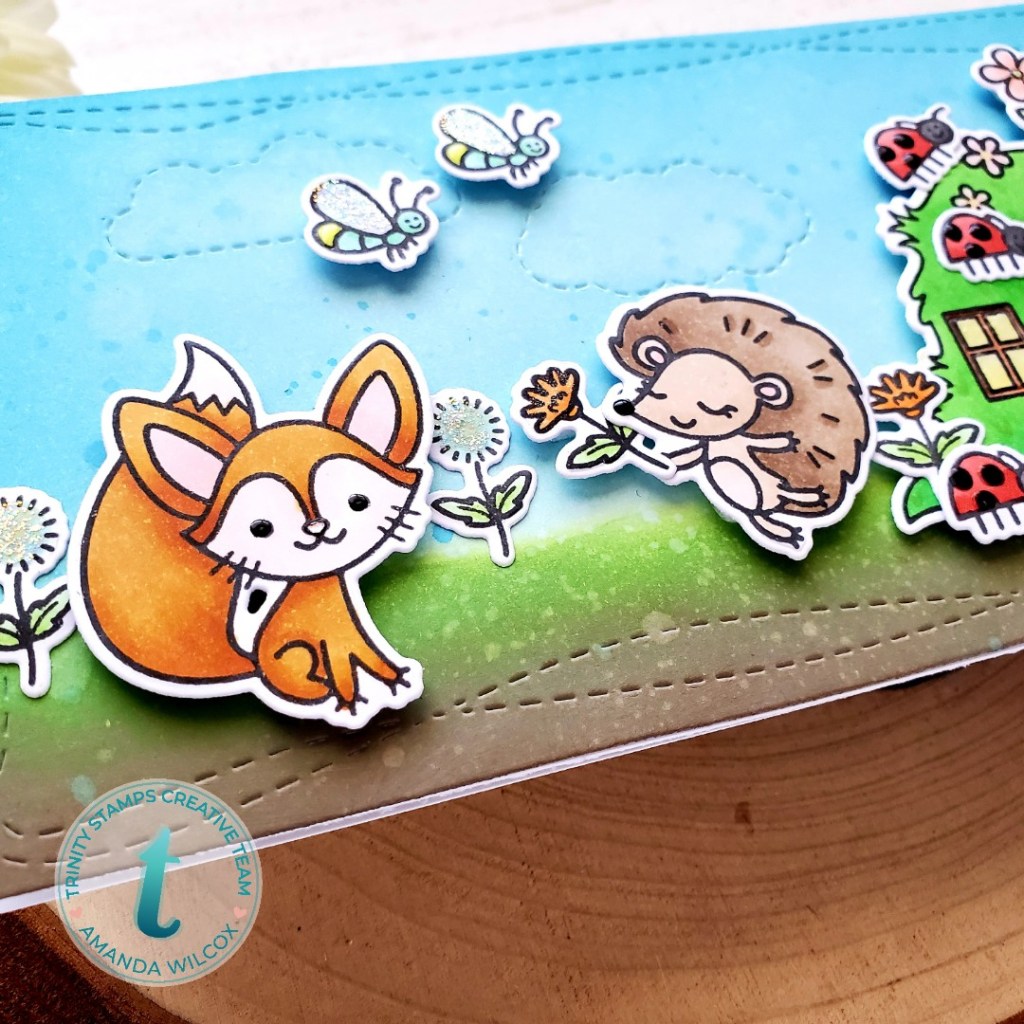
I used the Wonky Stitched Wilderness dies to create my background, including those cool cloud dies that are just stitching. I love this! Then I used distress oxides to create my scene.
Look at the new burrow and critters! There’s even bugs and flowers to fill in your scene! They’re so great!
Believe it or not, this isn’t even everything in the set! It’s so much fun! I can’t wait for them to meet up with the mice from Mouse House! It’s going to be a serious party!
I hope you enjoyed today’s sneak peek of Bunny Burrow! You’re going to love it all and I really can’t wait to see what you all create with it! It’s going to be so much fun!
I appreciate you sharing your time with me. Have a fabulous day!
Hey there! I’m up on the Coffee Loving Cardmakers blog today with another Trinity Stamps sneak peek! I had so much fun creating this card. I hope you like it.
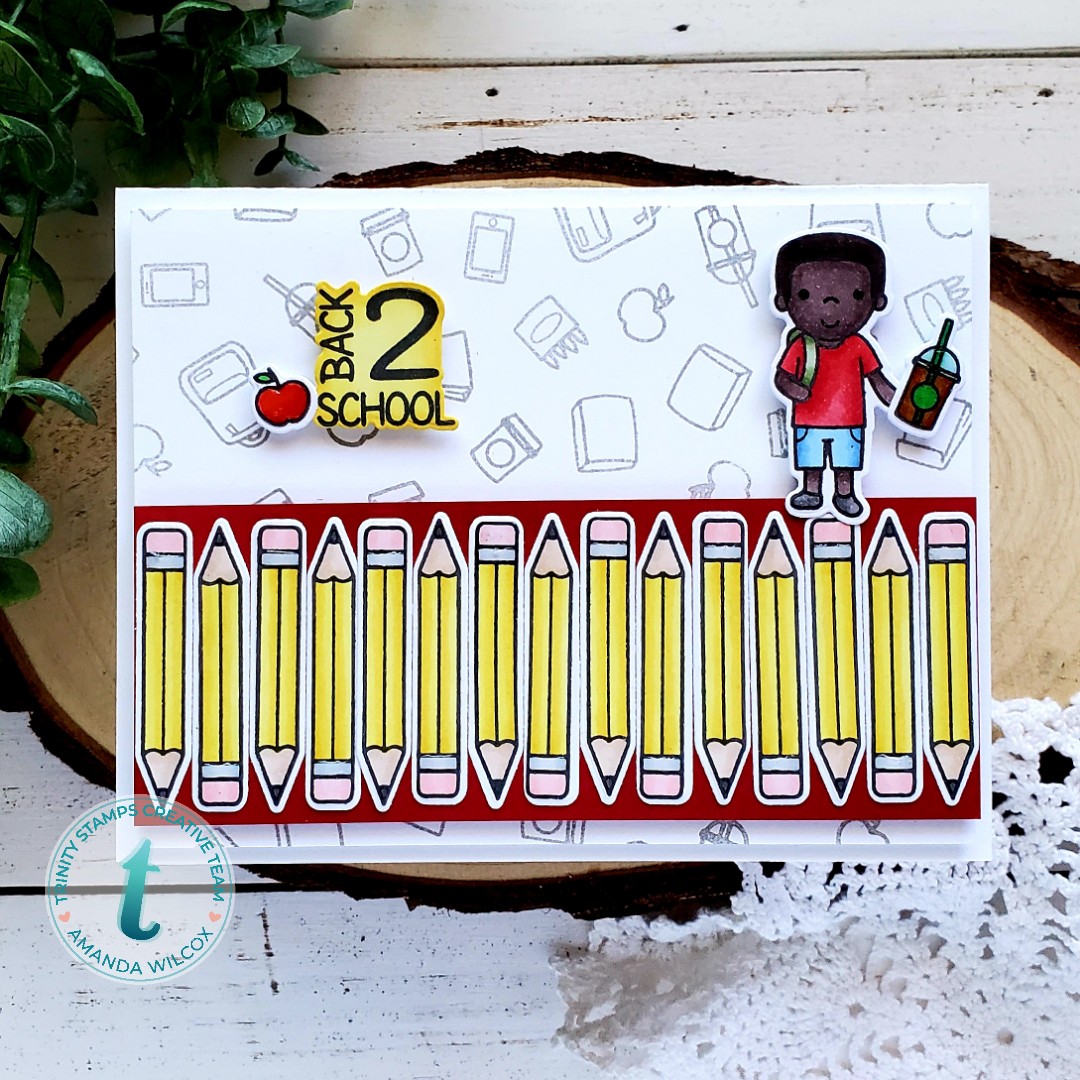
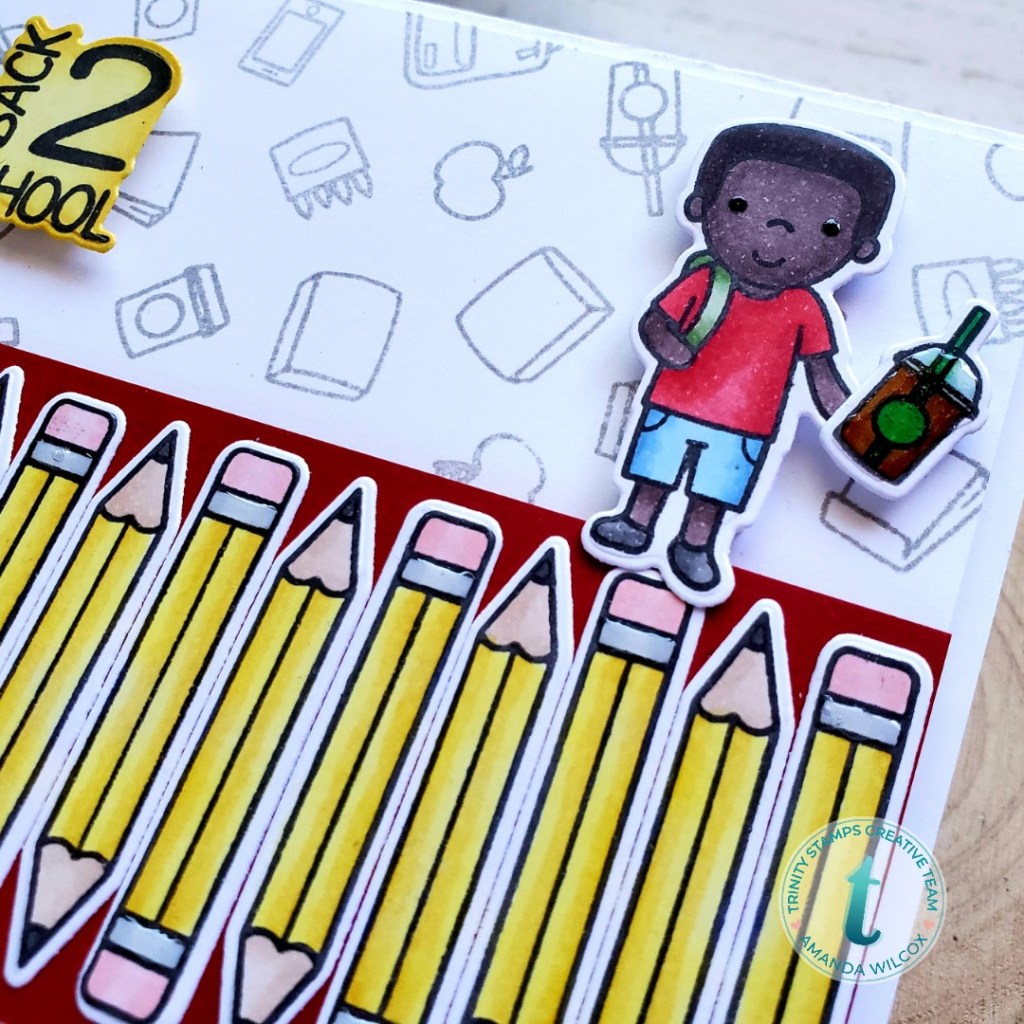
Everything from this card came from the upcoming set called Classroom Cuties…plus so much more! This set is packed with fun that is super versatile for so many occasions! I’m excited for you to see the whole thing!
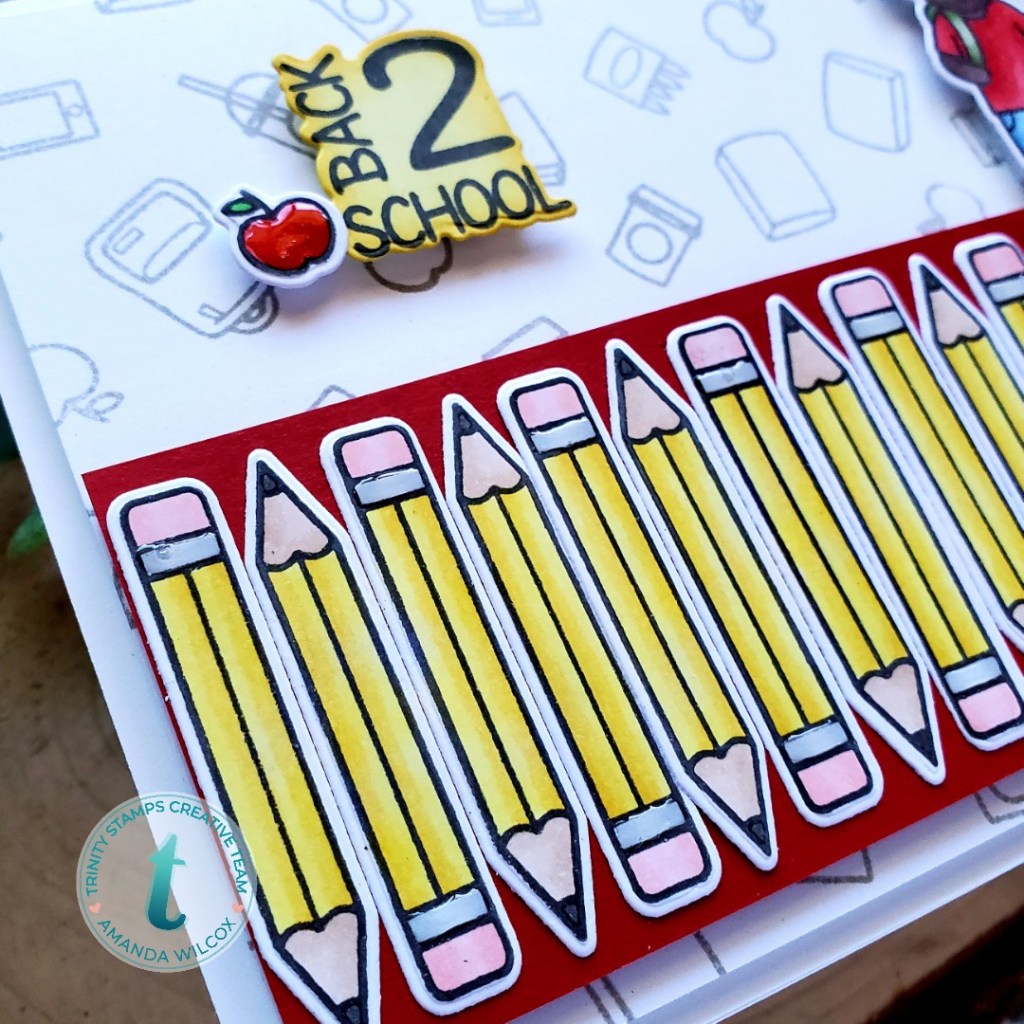
Gotta love that kiddo with his frap, ready to tackle the day! And that row of pencils was so much fun to put together! Trust me, I have many a plan for that pencil image. You’re going to see a lot of it!
This was a simple design but the added dimension between layers adds a lot of interest to the design. I always love doing that.
I hope you enjoyed today’s sneak. Check back tomorrow for more!
I appreciate you sharing your time with me. Have a fabulous day!
Welcome to another fabulous sneak week featuring amazing new products coming to the Trinity Stamps store on Friday!!! Eeeekkk!!! I’m so excited for you all to see everything! It’s so fun!
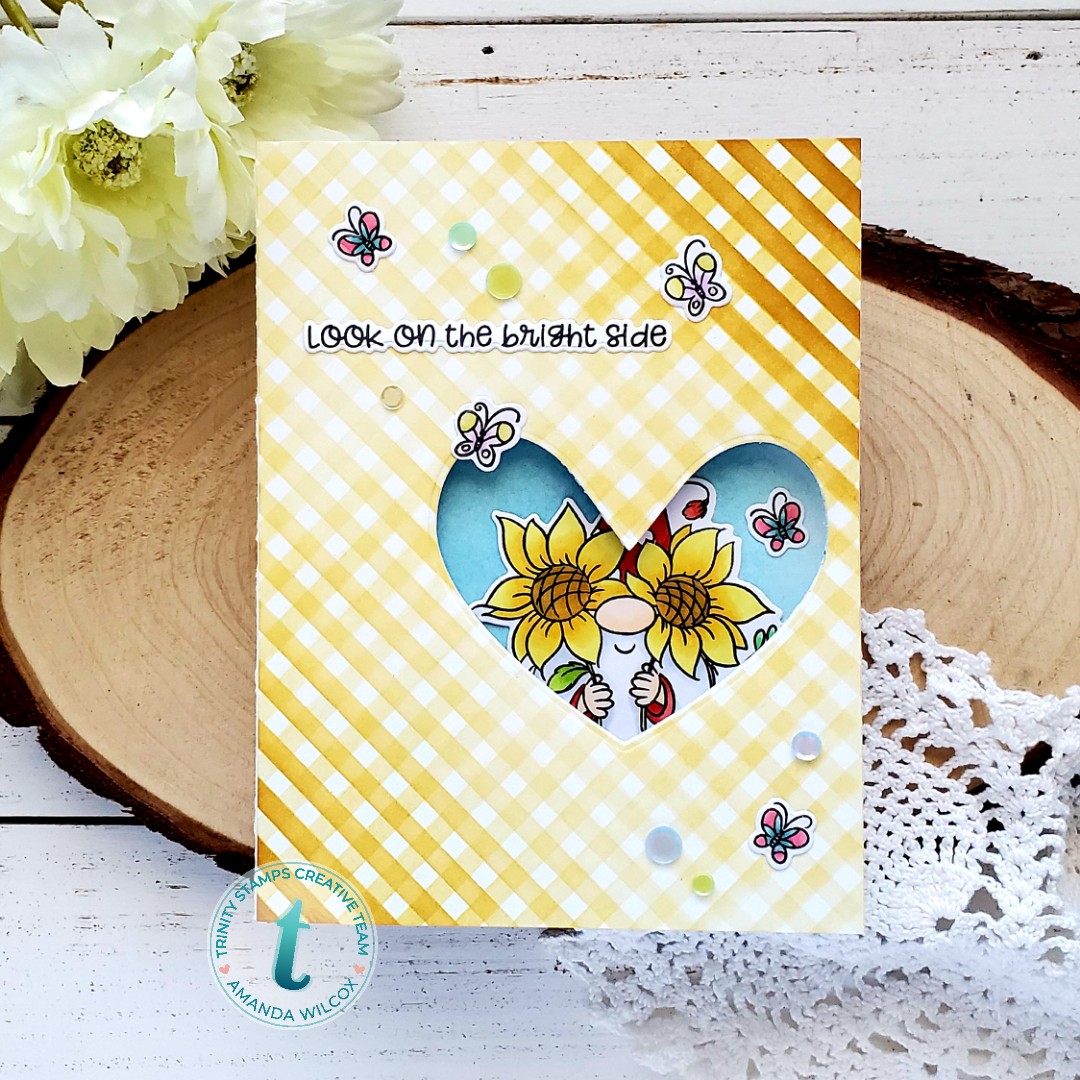
Today I’m going to start with an upcoming set called The Bright Side. I think you’ll see the reoccurring theme from last release…and it’s adorable!
To create my card, I inked up a panel with the diagonal stripes slimline stencil, flipped it over and did it again. I went a little heavier with the ink on the bottom left and top right corners for some added interest. I adhered it to a card front and used the smallest nested hearts die to cut a window in my card.
On the inside of the card, I inked up a little sky and ground for my images. These are colored with copics and I used the coordinating dies to cut them out. I thought it was fun to have the scene on the front and inside of the card so I brought some of the butterflies to the front of the card along with the sentiment.
Let’s look at the front again for fun. ❤ It’s too cute not to!
For finishing touches, glued some Scuba Dive confetti bits around and added glossy accents to the flower centers that are in front of the gnome’s eyes. I also added glossy accents to bits of the butterflies for extra interest.
Isn’t this guy just the cutest! And I absolutely love him peeking through that heart window! Can’t wait to share more with you! Stay tuned for more fun through the week!
I appreciate you sharing your time with me. Have a fabulous day!
Hello everyone! I have been enjoying playing with the Lawn Fawn Magic Iris dies. They are so fun to create with. It seems like each time I create a card with them it spurs another idea I’m excited to try out.
Here’s a look at today’s card in all the stages from closed to open.
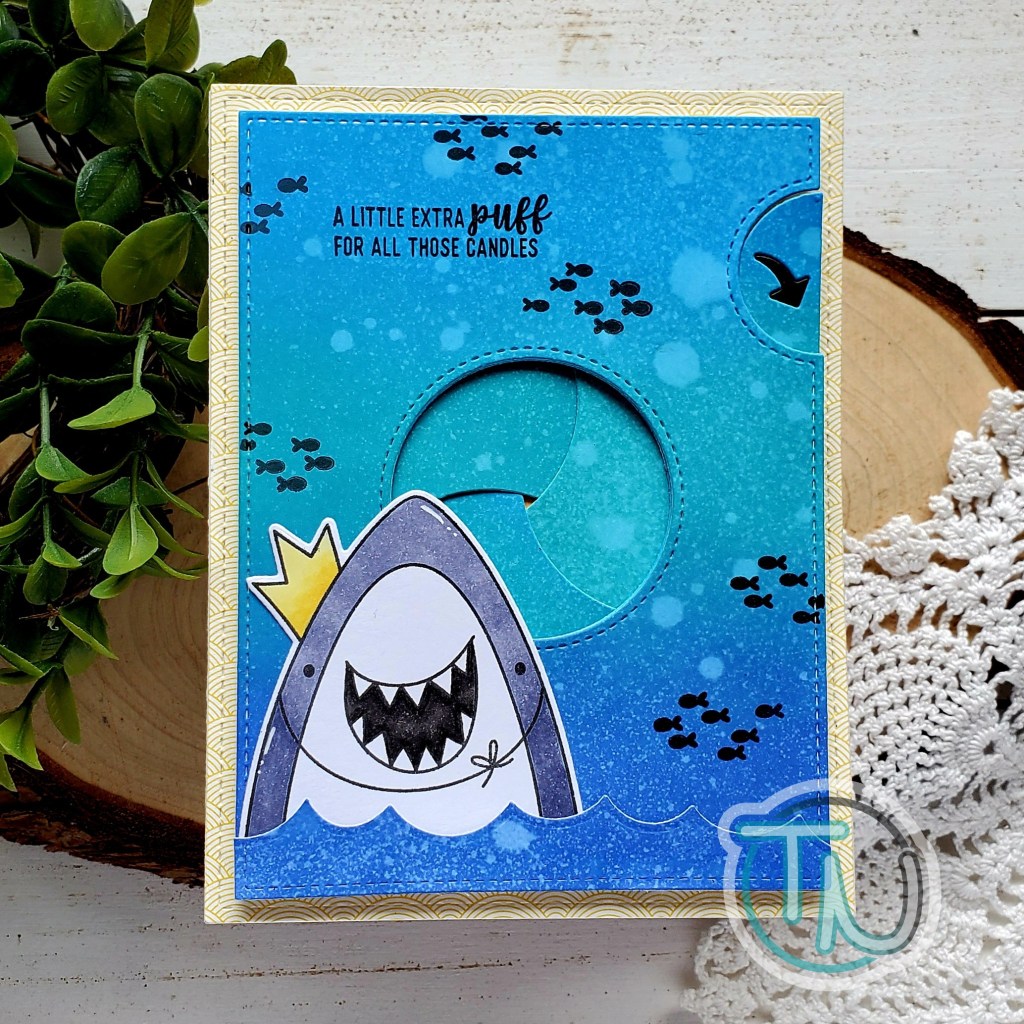
To create this card I started by inking up 3 panels with distress oxide inks in mermaid lagoon, peacock feathers and salty ocean. I spritzed them all with water and started die cutting the pieces to my magic iris, including the magic iris add-on.
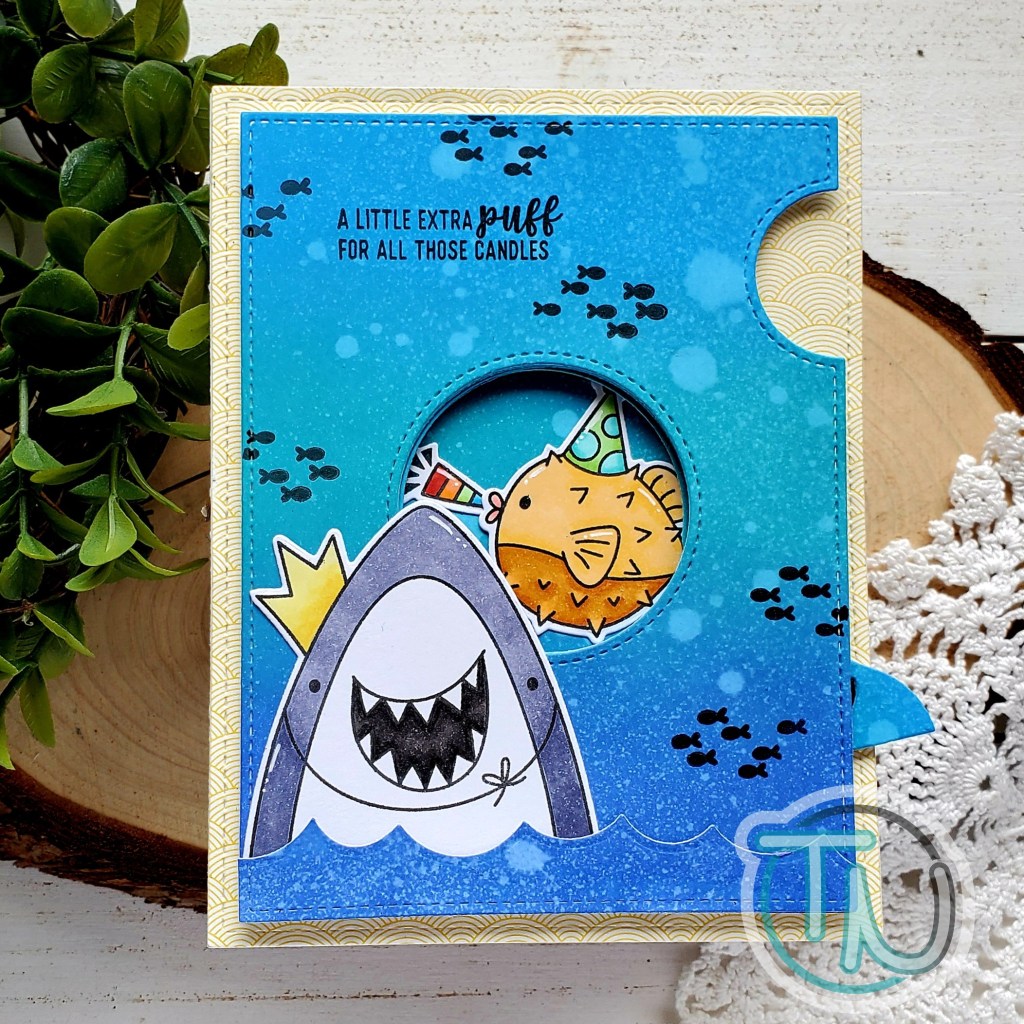
Next I stamped, colored and die cut my images from Avery Elle’s Sea-prise. Then I took the cover to my magic iris and stamped the solid fish image from the stamp set randomly on it along with the sentiment.
I moved on to assembly by following the Lawn Fawn Intro to Magic Iris video on YouTube. Once that was complete, I die cut a large stitched rectangle from Really Rainbow Scallops paper in yellow and adhered it to a cardbase. Then I used my magic iris for placement and glued the inside pieces in place, including my fish and his party blower.
Next, I die cut waves from one of the panels I inked earlier and adhered them with my shark to the front of the card. For finishing touches I just added a few white gel pen accents to the images and stamped the second sentiment from the stamp set on the inside.
This was a birthday card for my sister-in-law and I’m so excited that I finally got to give it to her the other day and that now I can share it with all of you. I hope you enjoyed it!
I appreciate you sharing your time with me. Have a fabulous day!
Hello everyone! I’m up on the Trinity Stamps blog today sharing this absolutely awesome card featuring some new and some older stamps and dies. This card started as a simple idea and completely grew a mind of its own. And I’m so glad it did. It’s so much fun!
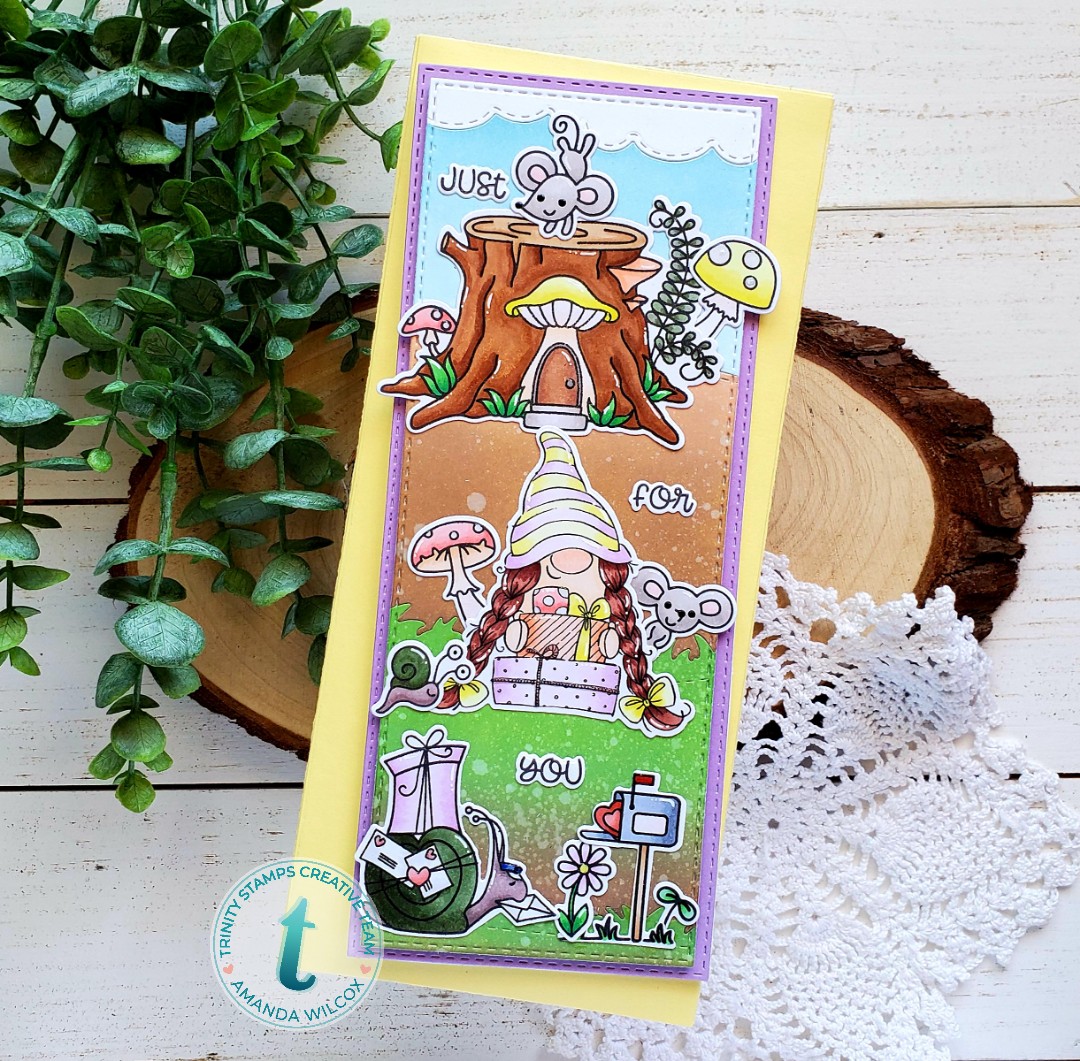
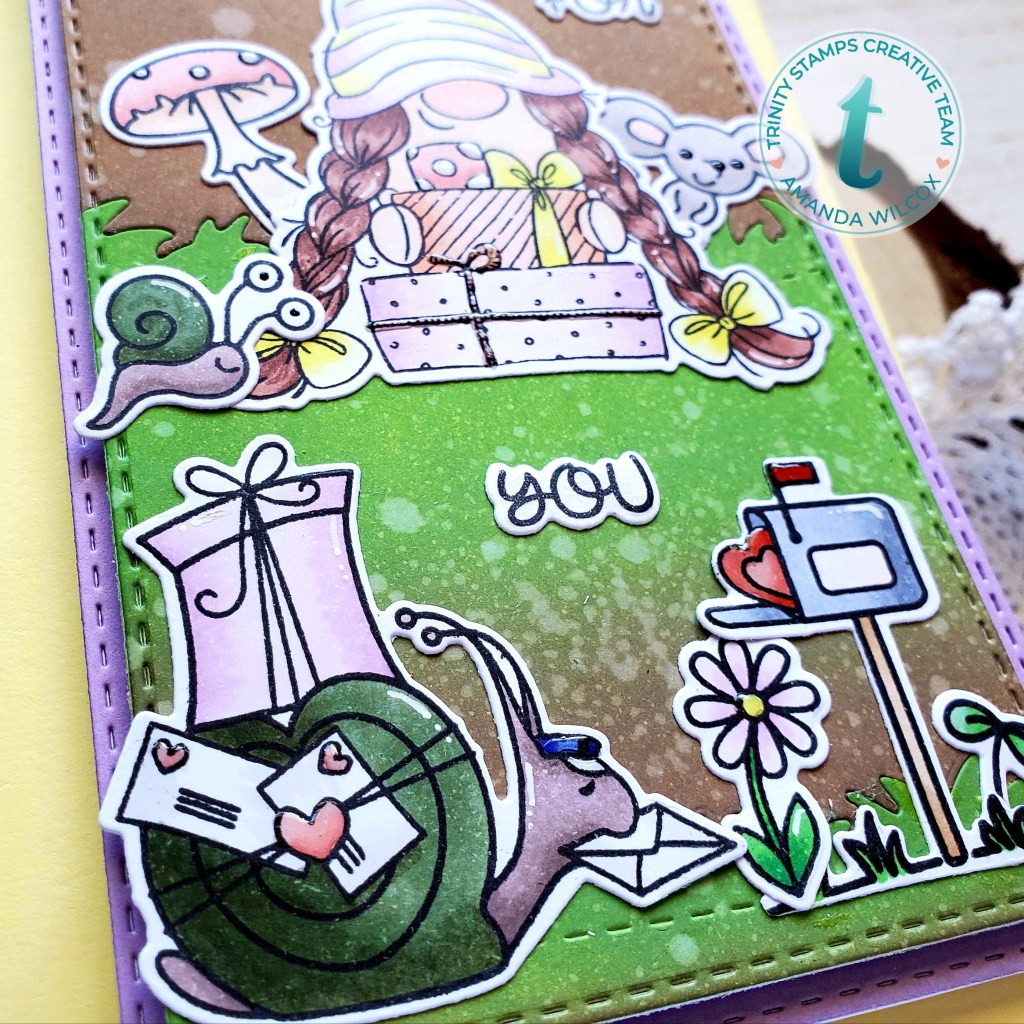
Originally, my idea for this card included the Just For You gnome and Mr. Snailman but it quickly grew to include my favorite Mouse House too! I stamped my images out and spent some time coloring. It was wonderful! Then I used the coordinating dies to cut them all out and moved to the background.
For that I cut the middle Slimline Stitched Panel die from a white panel and then cut that panel into sections with the Slimline Scenic Borders. According to each panel, I inked them up a little differently with distress oxide inks and spritzed it all with water. I die cut a second panel and adhered all my levels to that for stability.
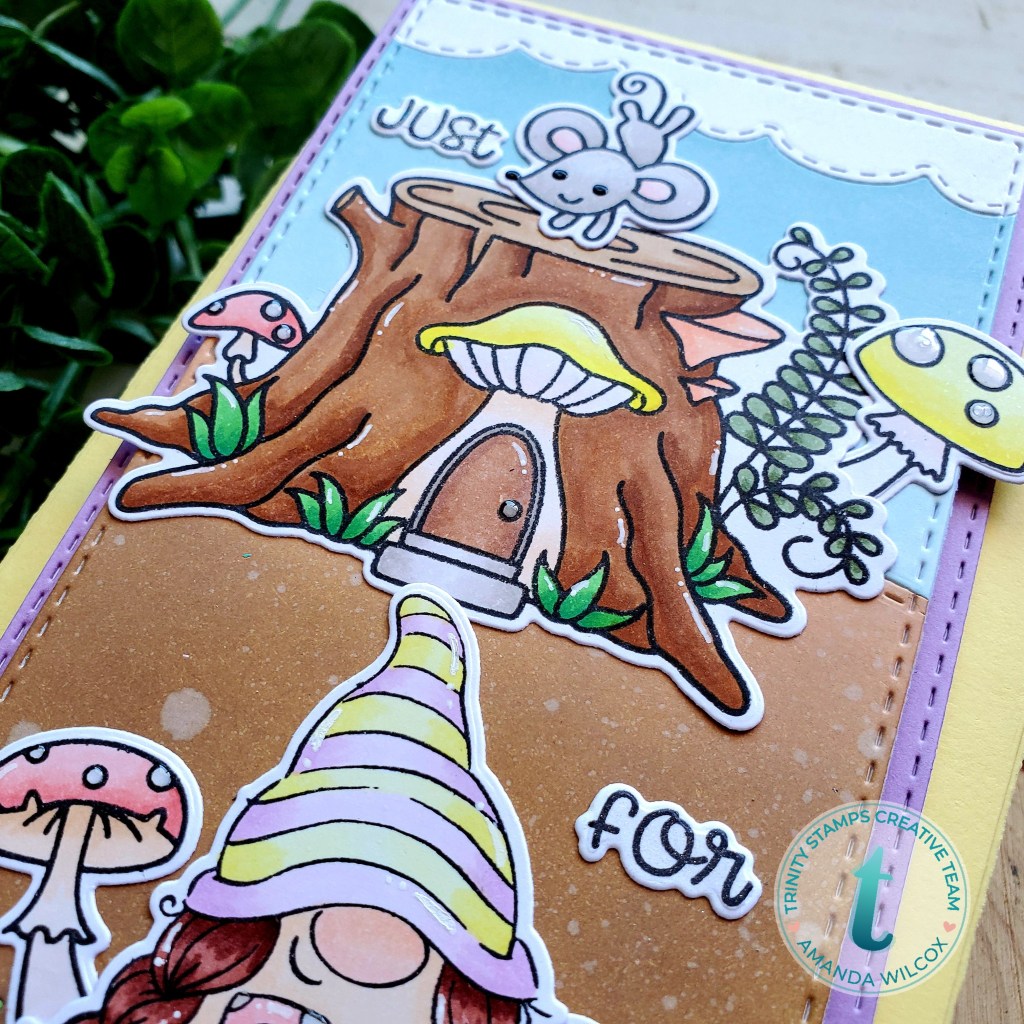
Then, using liquid glue I adhered all of my images to the background and moved on to finishing touches. I added white gel pen accents to most of the images and then moved in with my glossy accents.
Those are scattered about on things like the hearts, package bows, mushroom spots…kind of random but throughout the whole design. Then I thought it would be good to bring in the black glaze pen on the mice eyes and noses. I love what this little bit of dimension and glossy does for them.
Seriously, all the way up until now, I hadn’t actually planned out my sentiment placement. Totally winging it! Since the awesome Trinity Stamps sets almost always die cut the sentiments too, I decided to trail my sentiment throughout the card design, hoping it would draw the recipient to enjoy the whole design. Then I added a little Wink of Stella glitter brush pen to the words.
Finally, I die cut the largest Slimline Stitched Panel in purple and adhered it to a white card base that measures 3.5×8.5 and popped my scene panel up with foam tape. I also decided to pull from the fun colors I used and make a coordinating envelope in yellow with the Slimline Envelope Builder dies.
If you’ve followed me for very long, you know I like full cards…and I LOVE THIS ONE! It’s got so many fun things to see. Those playful mice and that sweet gnome bearing gifts, finishing it off with Mr. Snailman delivering some happy mail! I hope you enjoyed today’s card and find some inspiration to create something wonderful!
I appreciate you sharing your time with me. Have a fabulous day!
Hello again! I’m over on the Birch Press Design blog today with this fantastic set of slimline cards featuring a few stencils, the Cora layering dies and the new Jumbo Lingo word dies! They are fantastic and I thought slimline cards were the perfect way to showcase them!
The whole set started with the thanks card and I just kept going with ideas, so I kept creating. They were so fun to put together. Here’s a close up of each one.
After this one, I thought I would make 3 of the same card, just different colors and switch out the sentiment but that last .2 seconds and I had other ideas I wanted to try.
I thought it was so fun to try this other stencil, inking it up lightly and moving it around the panel. I love how it turned out. And that happy sentiment is perfect for the brightness of this card.
And for this last card, I knew I wanted to try some masculine colors which turned out so cool! By the time I had created 2 landscape cards, I thought it would be fun to break the sentiment free of the shadow part and use it vertically. I love it!
For process photos and description, head over to the Birch Press Design blog!
I appreciate you sharing your time with me. Have a fabulous day!
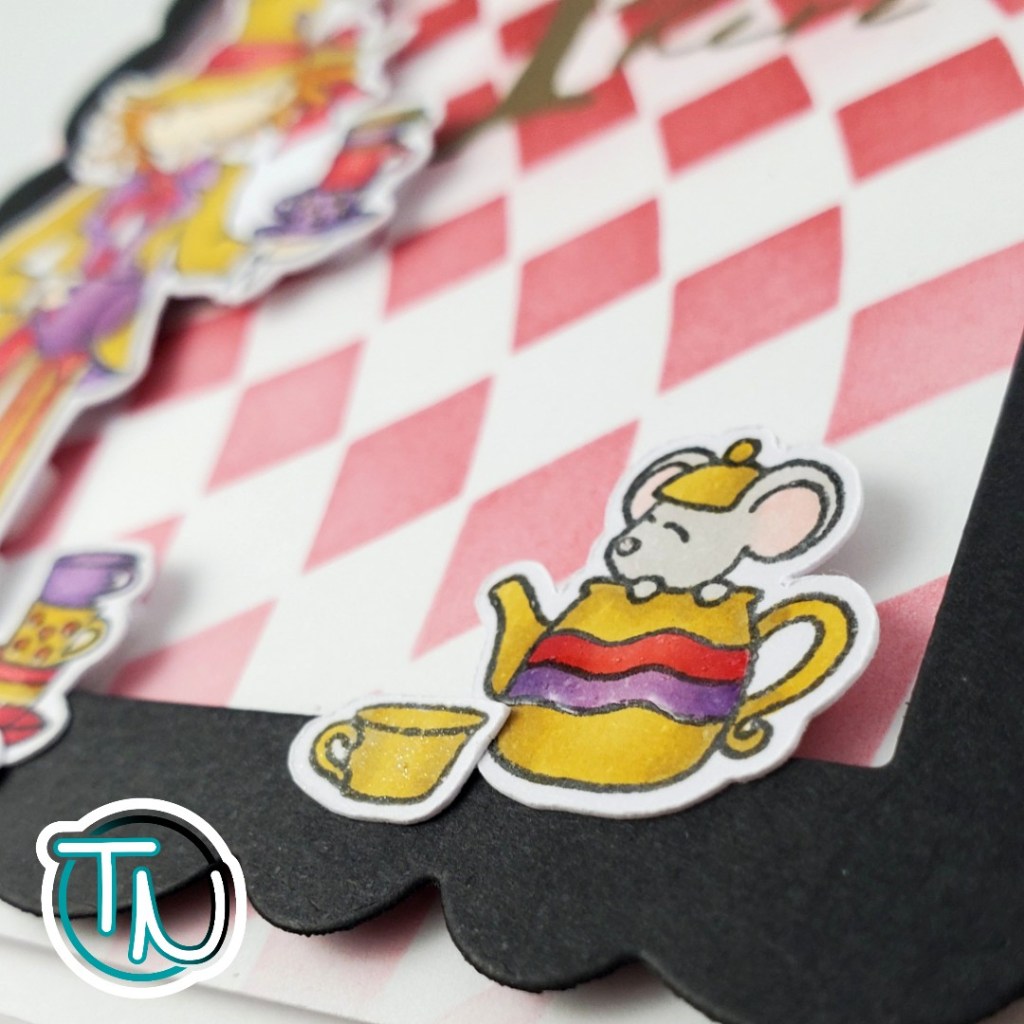
Welcome back everyone! I hope your week is off to a wonderful start. Today I’m playing with one of my very favorite stamp sets from the Miss Ink Stamps Alice release. The Mad Hatter is one of my very favorite characters so I wanted to color him up in some fun, different colors.
I started this card by stamping and coloring my images with copics. Then I used my scan-n-cut to cut them all out and set them aside to start on the rest of my card. I die cut an Avery Elle wonky frame in black for some contrast. Then, using that and my images as a guide, I stamped and heat embossed my sentiment from Madness in gold. I used the Wonky Checker stencil with some red ink to match the colors I used on the Hatter. This panel was trimmed to 4×5.25 and popped up on a white card base with foam tape.
I buffed away any ink on my embossed sentiment with a clean rag. Then the wonky frame was popped up with foam strips and I started adhering my images. They are all attached with a combination of foam squares and liquid glue where they overlap the frame.
For finishing touches on my card, I used a combination of glossy accents and Wink of Stella glitter brush pen to bring interest to various parts of the images.
I was afraid that I would be rigid about the colors I used on these images but it was really fun to color them all in a limited palette that is completely different from anything I’ve previously imagined before.
Also, I just got a new light box to take photos in and tried it out on this card. I’d love to hear what you think about cards on a plain white background versus backgrounds like I typically use with the wood panels, doilies and foliage. I’m trying to find a happy medium and further myself along the way.
I appreciate you sharing your time with me. Have a fabulous day!
Hello there! I’m popping in really quick to give you a sneak peek of my Designer’s Nook newsletter post that will be hitting inboxes tomorrow!
It’s so much fun! I hope you’ll take a moment to subscribe to the exclusive newsletter if you haven’t already! Click HERE to do that today so you don’t miss another week of awesome inspiration from the Newton’s Nook design team!
I appreciate you sharing your time with me. Have a fabulous day!