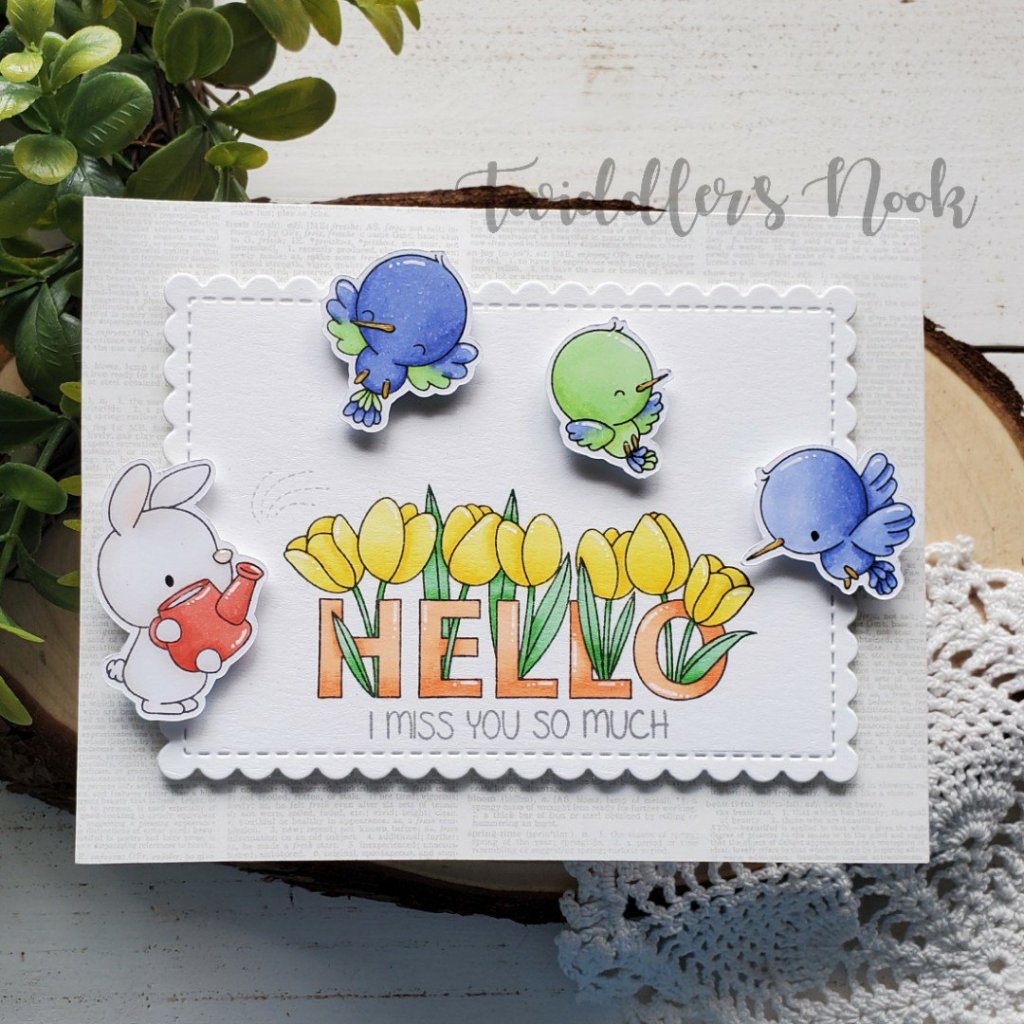
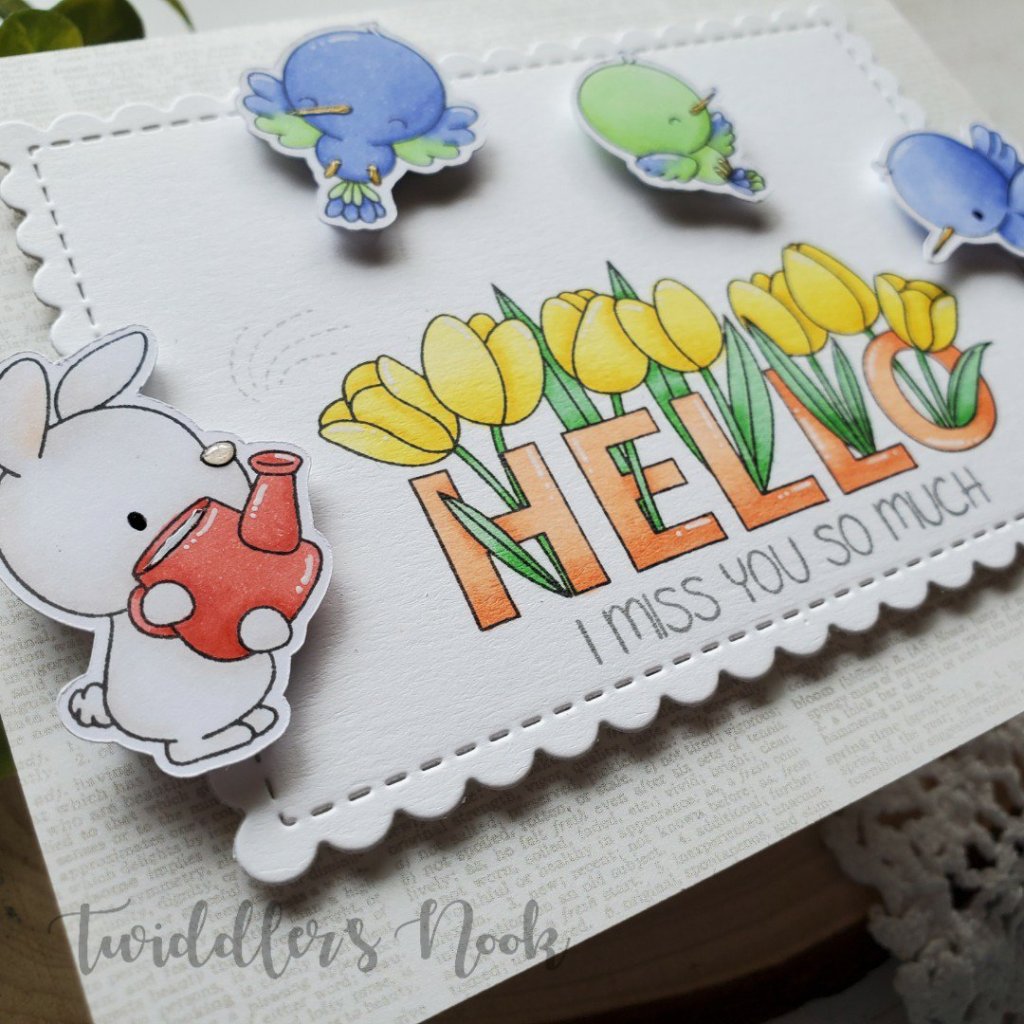
Miss Ink – Java Joe’s

Hello everyone! I’ve got a couple of super fun slimline cards featuring the Miss Ink set called Java Joe’s and the fabulous Trinity Stamps slimline dies.

This first card had been floating around in my head since I bought this set. I just had to put ink to paper and make it happen. I love how it turned out soooo much!!!

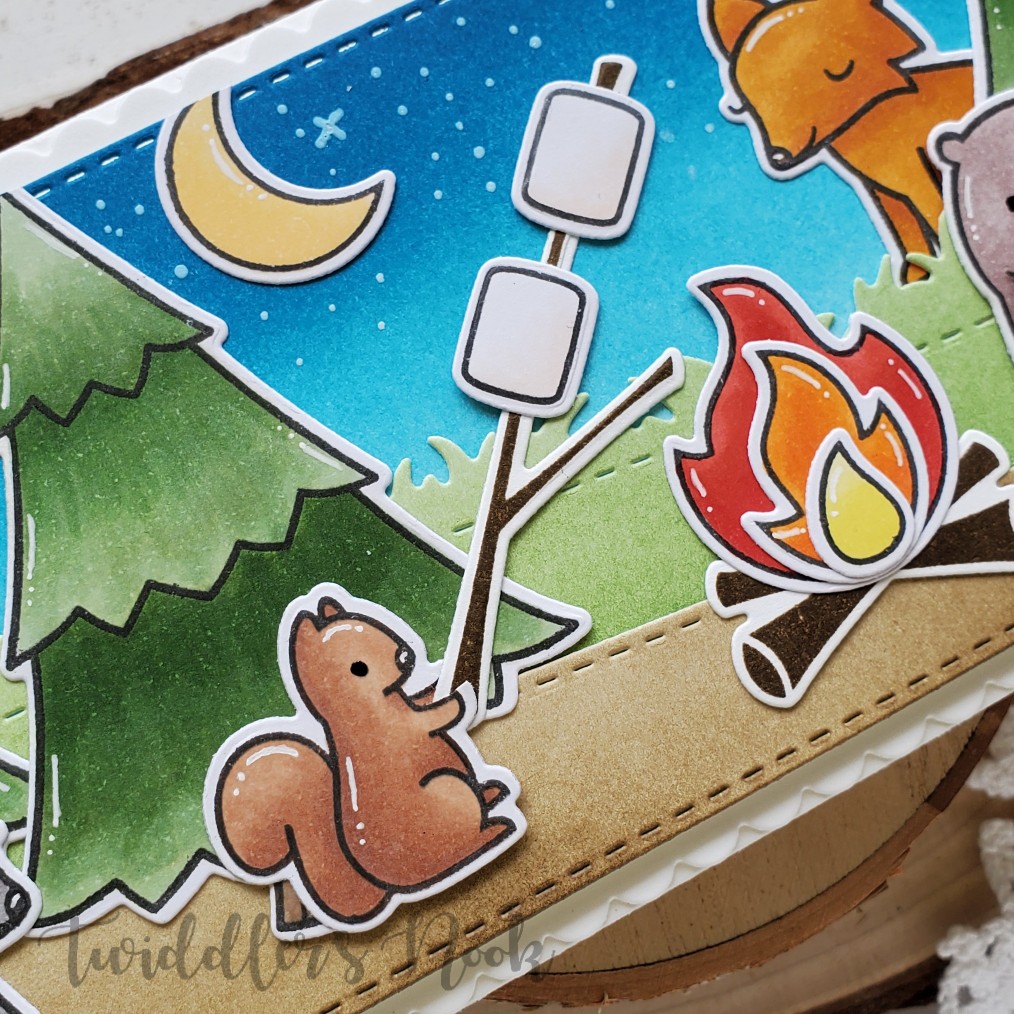
To make it, I die cut 2 white slimline panels from the Trinity Stamps Stitched Panel and Windows set. I ink blended 2/3 of one with pumice stone and gathered twigs distress oxide. Then I used the slimline scenic borders to cut it. Then I inked the rest of that panel up with twisted citron and mowed lawn distress oxides and cut the top with the same scenic border die. For the second panel I inked the top up with tumbled glass and stormy sky distress oxides. Then I spritzed the panels with water and blotted them dry. I adhered all of these panels together and mounted them on a card base.

I stamped and colored my Java Joe’s images with copics; then used my scan-n-cut to cut them all out. I arranged everything how I wanted it and added foam squares to them all and stuck them in place. At this point I carefully stamped and head embossed my sentiment with black embossing powder next to Java Joe.

For my next card, I originally planned it to be a regular A2 size card but something hit me when I was laying it out that it might look cool as a more simple slimline. I’m still baffled at how awesome this turned out! I used the new Trinity Stamps slimline wonky stitched wilderness die for this one. Don’t you love that extra texture?

I had my images already colored and cut out from the round of coloring I did for the first card so I immediately set to figuring out my general layout. I grabbed my distress inks for this one – walnut stain, tea dye and antique linen. Starting from the bottom right corner and working my way lighter I blended them together. Then I pulled a fun Bo Bunny set out called Distress Textures which has a coffee cup ring stain and some splatters in it. I love using this for backgrounds on all kinds of cards. I stamped it in 3 different brown inks – darker to lighter following the shade of the distress inks.

Then I popped up my images and used a dark brown ink to stamp my sentiment on the left side of the card.

I almost forgot to mention that for both of the sandwich boards I head embossed white hearts on them for a bit of a chalkboard look. I love this little detail.

I hope you enjoyed today’s fun cards!

I appreciate you sharing your time with me. Have a fabulous day!

Paper Smooches – Bee Hi

Thanks so much for sticking through all four days of my super fun Paper Smooches Happy Hellos series. Today features the final image in the stamp set – the adorable upside down bee! He’s the cutest and I was extra excited to plan something out with him.

This card was the biggest struggle out of them all but I think I love it the most! I started by stamping, coloring and cutting out my bee image. Then I had an idea that he would be fun on a tag so I started playing around with the design but it was too simple. That’s where distress oxides and some heat embossing played a big part!

I die cut the Newton’s Nook Fancy Edges Tag from yellow and black. Then I used the zig zag die to cut the bottom of the black off. I cut a yellow hole reinforcer from the same set and used some gathered twigs distress oxide on all the of the yellow for a little depth. I adhered all the pieces, strung some ribbon through the hole and tied it with baker’s twine. Then I popped the bee image up with foam tape and set it aside to work on this plain background.

I took a teal panel and inked the edges with peacock feathers distress oxide ink. Then I stamped the double hexagon image from Happy Hellos repeatedly around the panel with VersaMark and heat embossed it with yellow embossing powder. I trimmed this panel down to 4×5.25 and popped it up on a black card base with foam tape. Then I also popped the tag up with foam tape.

For finishing touches on this card I added Unicorn Stickles to the bee wings, black glaze pen to his eyes and some white gel pen accents to the whole image including the letters.

This is such a fun, bright card with the contrasting colors, I just love it!

This is my final link up for the HAPPY – Paper Smooches Challenge this month. I look forward to playing along with the next challenge as well.

I appreciate you sharing your time with me. Have a fabulous day!

Paper Smooches – Kitty Hello

Welcome back to day 3 of my Paper Smooches – Happy Hellos series. This was totally unintentional but you all know that I have a hard time choosing which images to use from a stamp set. So I stamped and colored them all. And when the cards just started flowing, who was I to stop it??? No way!

So on to today’s fabulous card. It’s a feminine feline hello featuring some fun ink blending and more Zig coloring.

I started by coloring and cutting out my kitty image from Happy Hellos. Then I chose some distress oxide inks that matched the colors of the letters and inked the bottom 2.25 inches of a white panel. I took my new diagonal stripes stencil from Trinity Stamps and inked it up with black soot distress oxide on the edge of a card base. I trimmed .25 inches off the purple/blue panel and popped it up on the card base with foam tape. I love the contrast this gives!

I popped the kitty image up with foam squares and added some morning dew Nuvo Crystal Drops to her nose. Then I finished the card off with a scattering of Crystalized Unicorn Tears embellishments from Trinity Stamps.

This is such a pretty card and that striped contrast adds so much to a simple design. It’s so great! I’ll be using the heck out of that stencil, I know it.

I’m linking this fun card up to the HAPPY – Paper Smooches Challenge as well.

I appreciate you sharing your time with me. Have a fabulous day!

Paper Smooches – Hola

Hi again! Today is day 2 of my Paper Smooches fun! Let’s shake things up a bit – Spanish-style! 😉 I love avocados and my husband hates them. This leaves so many opportunities for teasing both ways. It’s great fun and our daughter loves to instigate it.

As you can guess, I was super excited to use this fun stamp from the Happy Hellos set to show my love for what my husband calls – dirt fruit.

For this card, I stamped my image on Bristol Smooth Cardstock and pulled out my Zigs again. Then I cut out the two parts that I colored and set them aside.

I grabbed my Trinity Stamps Catching Some Rays stencil and did a two-tone with it. The skinnier stripes are mustard seed to squeezed lemonade distress oxides while the thicker stripes are twisted citron. I just faded the ink the farther our I got from the center. Then I heat embossed the image near the center area and popped the colored images on top of that with foam squares.

I took my panel and popped it up with foam tape on a lime green card base that played off the colors on the avocado well and moved on to finishing touches. I scattered Nuvo Crystal Drops in ripened pumpkin, dandelion yellow and apple green across the design.

This is such a spicy, fun card! I love how it turned out! It’s fun and also easy enough to mass produce if you wanted to send a bunch of happy mail out!

I’m linking this card up to the HAPPY themed Paper Smooches challenge this month too. Stay tuned tomorrow for another installment of Happy Hellos fun!

I appreciate you sharing your time with me. Have a fabulous day!

Paper Smooches – Hey, Hi Slider Card

Hello again and Happy Friday everyone! Not that days of the week have much meaning to most of us anymore. I do appreciate not being tied to a laptop during the weekends though.

I recently took advantage of an amazing sale from Paper Smooches and grabbed a couple of fun things I’d been wanting. Over the next few days I’m going to share some super fun card, all using one stamp set – Happy Hellos. It’s so much fun and has tons of possibilities. I hope you enjoy!

For this fun card, I stamped my image from Happy Hellos on Bristol Smooth Cardstock with VersaFine ink and set to coloring with my Zig Clean Color Real Brush Markers. I love how the bright colors pop on this image. I cut out the image and set it aside to build my card.

I used my Spellbinders slider card and cut the pieces from gray and white cardstock. On the front panel I stamped My Favorite Things Lined Up Dots background stamp in gray ink for a tone-on-tone effect. Using this as a guide, I stamped the “hi” with the heart from the Happy Hellos stamp set on a card front and colored it pink. I adhered the white slider card to the mechanism and adhered this panel to my card front.

I used tape runner to adhere my bird to the slider mechanism and slipped some rainbow ribbon through the hole, tying it with black and white baker’s twine. This just finishes the card of perfectly!

I love that because this is just the front of a regular card, you still have the whole inside of the card to write a really fun message to the recipient!

Paper Smooches has a challenge going on right now with the theme – HAPPY – that I plan to link this awesome card up to!

I appreciate you sharing your time with me. Have a fabulous day!

Trinity Stamps – Rainbow Mix Up

Welcome! I hope you’re having a great day. I’m super excited to share today’s fun card! Not only is it so happy and fun but it’s an awesome way to use scraps and not have to throw your precious cardstock away!

I’ve fallen in love with the Trinity Stamps rainbow dies, as I’m sure you can tell from my posts lately using it every chance I can! (Don’t worry, there are more to come too!) Today’s card came from the “extras” of a card I made a bit ago which used the rainbow in the “correct” order. But really, is there a correct order? Rainbows are just fun in any order! Hence, today’s card!

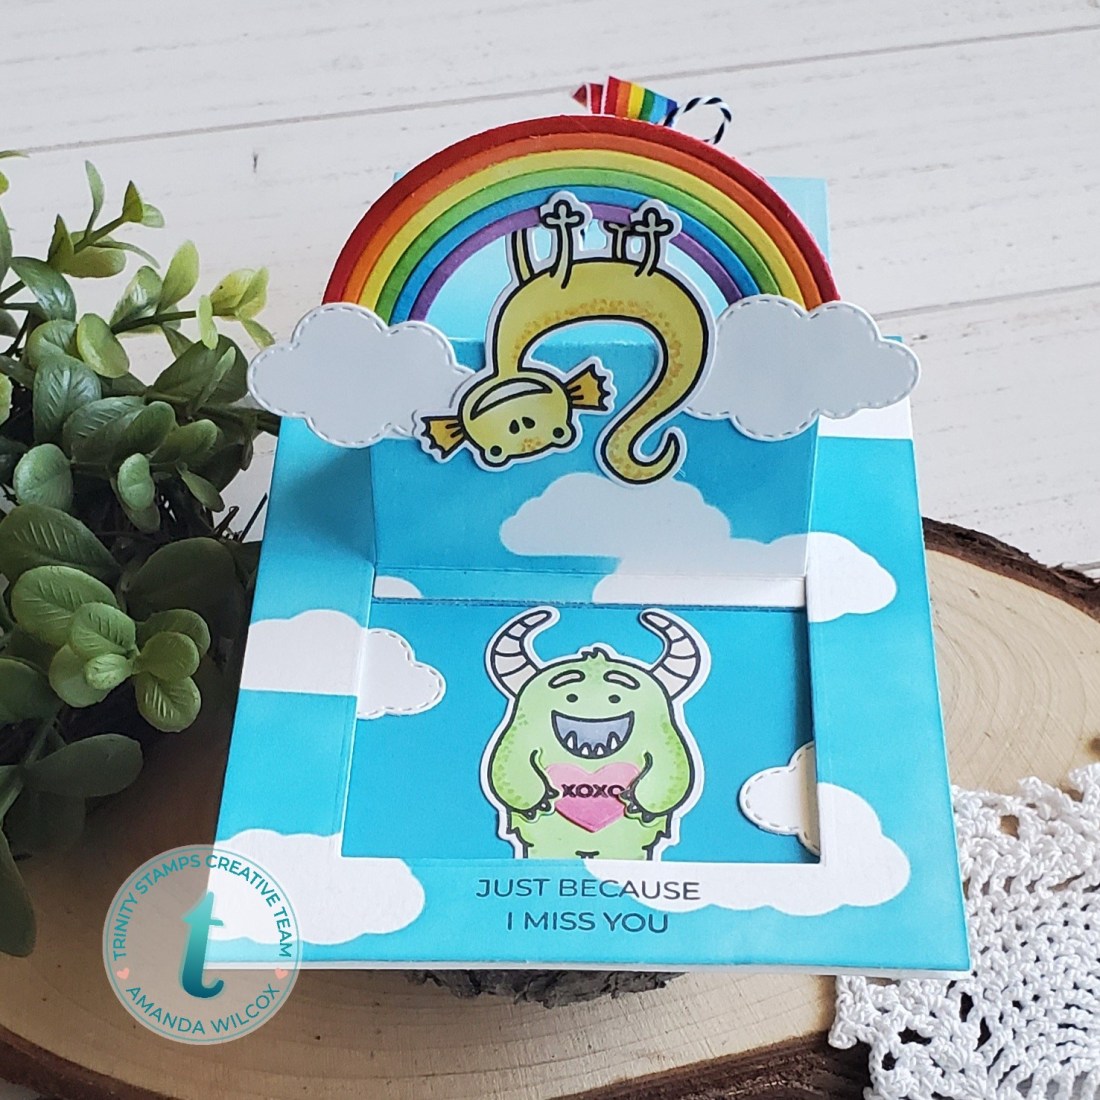
I die cut some more of the “base” to build the rainbows and mixed the colors all up from what I had left. Then I die cut more clouds and glued them to the bases of the rainbows. I started arranging them on a teal textured panel starting with one whole rainbow and filling in space around it. Then I trimmed off the excess – but don’t throw that away! I used the other half of all those rainbows and arranged them on the rest of my card. I trimmed away the final excess and fell in love with all this happy!

For the sentiment I stamped one from a sentiment for (almost) anything set in teal ink and then used the straight banner from the slimline scalloped card panels and banners set and glued it all together. I popped it up on the panel with foam tape and attached the whole thing to a white card base.

This card was so fun to put together! You could totally switch out the sentiment for any occasion and it would be great!

I appreciate you sharing your time with me. Have a fabulous day!

Newton’s Nook – Underwater Slimline Scene

Oh my goodness, I’m so excited about today’s card! I’m up on the Newton’s Nook blog today with this fabulous underwater scene slimline card featuring a bunch of awesome Newton characters!

To start things off I laid my stamps out on the white panel I wanted to use for my background to make sure everything would fit. Then I stamped them out. I’ve got Scuba Newton, Purr-maid Newton and Gull Friends all represented here. So much fun! I colored them with copics and used the coordinating dies to cut them all out.

Then I moved on to distress oxide inks on my background. I used a little tea dye with ground espresso for the sand and mermaid lagoon with tumbled glass for the water. Then I die cut the top of the panel with the sea borders die. I spritzed the panel with water and then flicked the darker of the colors on each section for extra texture. I cut another background panel and used squeezed lemonade with the clouds stencil for the sky. I glued these two together and slipped my seagulls in between so it looks like they’re peeking out of the water.

Next, I arranged all of my images and started adhering them down with liquid glue. Scuba Newton and Purr-maid Newton are both popped up with foam squares though.

I stamped my sentiment on the top left area of the sky and adhered the panel to a white scalloped background with foam tape. This whole thing was then adhered to a white card base.

Finally I moved on to finishing touches. I added glossy accents to the seashell, bubbles, kitty noses, goggles and seagull beaks. I put black glaze pen on the the eyes and white gel pen accents throughout. Last, I added unicorn Stickles to the purr-maid tail for that extra fun shimmer.

I hope you enjoyed today’s card and find some inspiration to create something beautiful.

I appreciate you sharing your time with me. Have a fabulous day!

Coffee Loving Cardmakers – Kitty in a Cup

I’m up on the Coffee Loving Cardmakers Blog today featuring these sweet kitty in a cup box cards from Doodlebug Designs on the Lori Whitlock shop. I just love their artwork and couldn’t resist buying the cut files for my Cricut when I saw them available.

These fun cards fold up flat and fit in an envelope to be mailed. Isn’t that awesome!?!

I simply used my Cricut to cut out all the pieces in different colors and assembled them with a combination of liquid glue and tape runner. I stamped the sentiment on the tea bad from the Newton’s Nook Cup of Cocoa stamp set. I thought it was just too perfect of a sentiment and it fit great too!

I made this first card to look like our cat Hercules with my favorite teal and melon color combo for the mug. I did some distress ink blending on the edges of the pieces for added dimension and a little pink chalk for his cheeks.

For this second one, I really wanted to try fun patterned paper for the mug and decided on a dark gray/black kitty to give good contrast. One of my hearts got demolished by the Cricut so it’s only got 4 but I like it.

I plan to pop these fun cards in the mail with a tea bag or two for some of my tea loving friends. This project inspired me to try some other things so stay tuned for variations of this project in the future.

I appreciate you sharing your time with me. Have a fabulous day!

Newton’s Nook – Designer’s Nook Sneak Peek

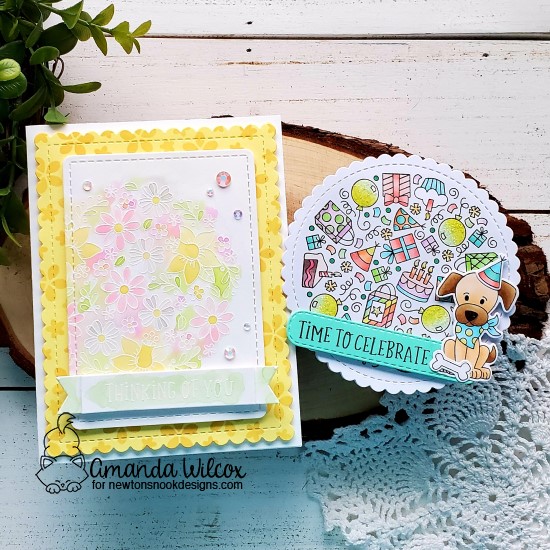
Hi there! I’m up on the Newton’s Nook Designer’s Nook Newsletter again tomorrow. It’s going to be totally out of this world!!! You won’t want to miss it so be sure to subscribe!

Here’s a little peak at what we’re creating.

If you haven’t done it yet, head to Newton’s Nook and subscribe to the different newsletters they have available…especially Designer’s Nook. This is a special, subscriber only newsletter that goes out Tuesdays with added inspiration and special tutorials from the design team. It’s full of amazing tips, tricks and ideas to spark your creative side!

I appreciate you sharing your time with me! Have a fabulous day!
Newton’s Nook – Sending Uplifting Smiles Blog Hop

Today the Newton’s Nook Designs and Inky Paws Challenge Team members are hopping along to Send Uplifting Smiles! Our goal today is to help brighten your day with uplifting and encouraging cards that will make you smile! We know that many of you are under stay home orders to help fight the spread of the Coronavirus and during this time of social distancing it’s more important than ever to keep in touch with family and friends! We encourage you to spend some time creating and sending cards to those who matter to you! Check out all the stops in this hop to get inspired on ways you can send uplifting smiles!

 
Leave comments at all the stops on the hop for a chance to win a store credit to our shop (details at the bottom of this post). 

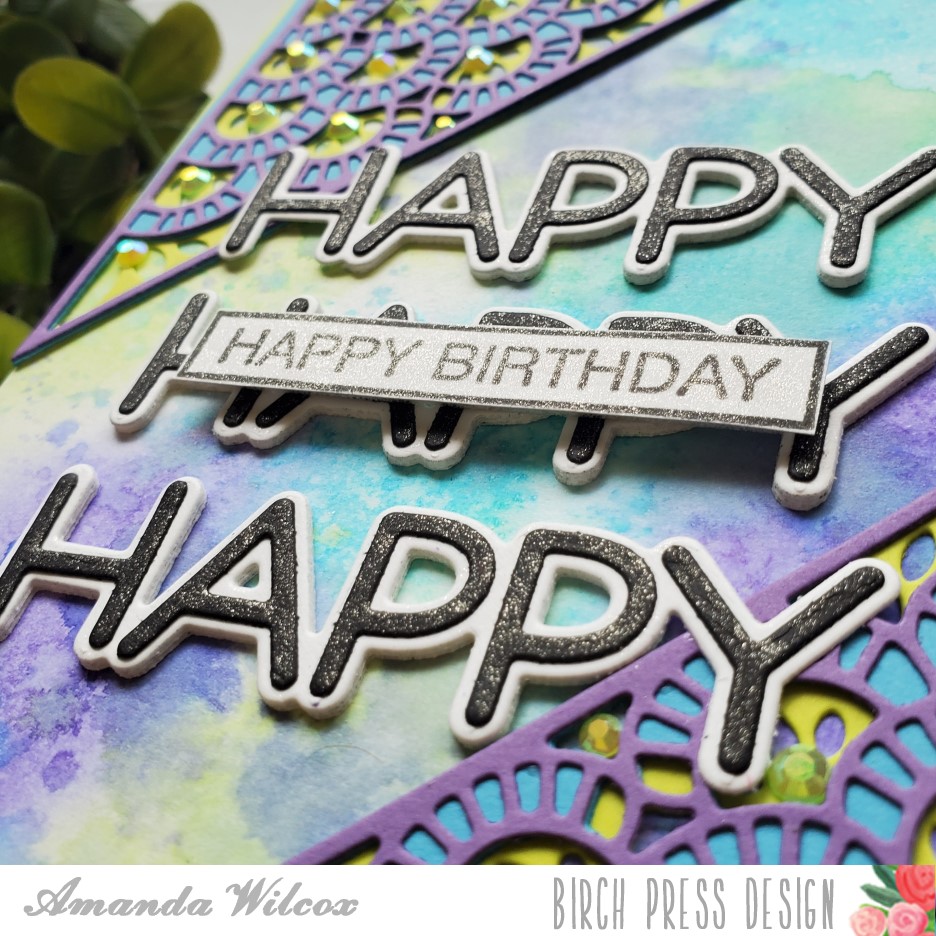
To make this card, I started by die cutting my slimline panels. On the smaller one I stamped and heat embossed the small donut and a sentiment from Newton’s Donut in white. Then I took distress inks in picked raspberry and spun sugar and blended them over the embossing. I buffed away the excess ink and my background is finished.

I popped it up on a slimline card with foam tape for some dimension and moved on to coloring my image. I stamped Newton and colored him with copic markers. Then I used the coordinating dies to cut him out. He’s popped up with foam squares and I moved on to finishing touches.

For this card, I used glossy accents on the donut sprinkles and Newton and then added some clay heart embellishments throughout the background of the design.

Inspired?
What will you create? Newton’s Nook Designs is having a sale this weekend too so you can stock up on your favorites to make some cards today! Check out their shop at www.newtonsnookdesigns.com for details! 
Send Uplifting Smiles Hop Giveaway!
Would you like to win a $25 store credit to Newton’s Nook Designs online shop?
We are giving them out to TWO lucky winners!

Here’s how to win:
Comment on the NND blog and Design Team blogs (see list below)! The winner will be chosen at random from the collective reveal posts. Make sure to check out each of their blogs and comment for your chance to win. You will not know which blog has been chosen so the more you comment on the better your chances are of winning! You have until Monday, April 20th, at 9 pm EST to comment — winners will be announced on the blog post on Tuesday, April 21st.

Check out all the awesome Design Team Blogs below to enter:

Newton’s Nook Designs
Ellen Haxelmans
Larissa Heskett
Samantha Mann
Zsofia Molnar
Maria Russell
Andrea Shell
Tatiana Trafimovich
Amanda Wilcox <— YOU ARE HERE! 🙂
Debbie Owens
Diane Morales
Becky Noelle
Crystal Komara