Miss Ink Stamps – Capy-cino Makes Everything Better

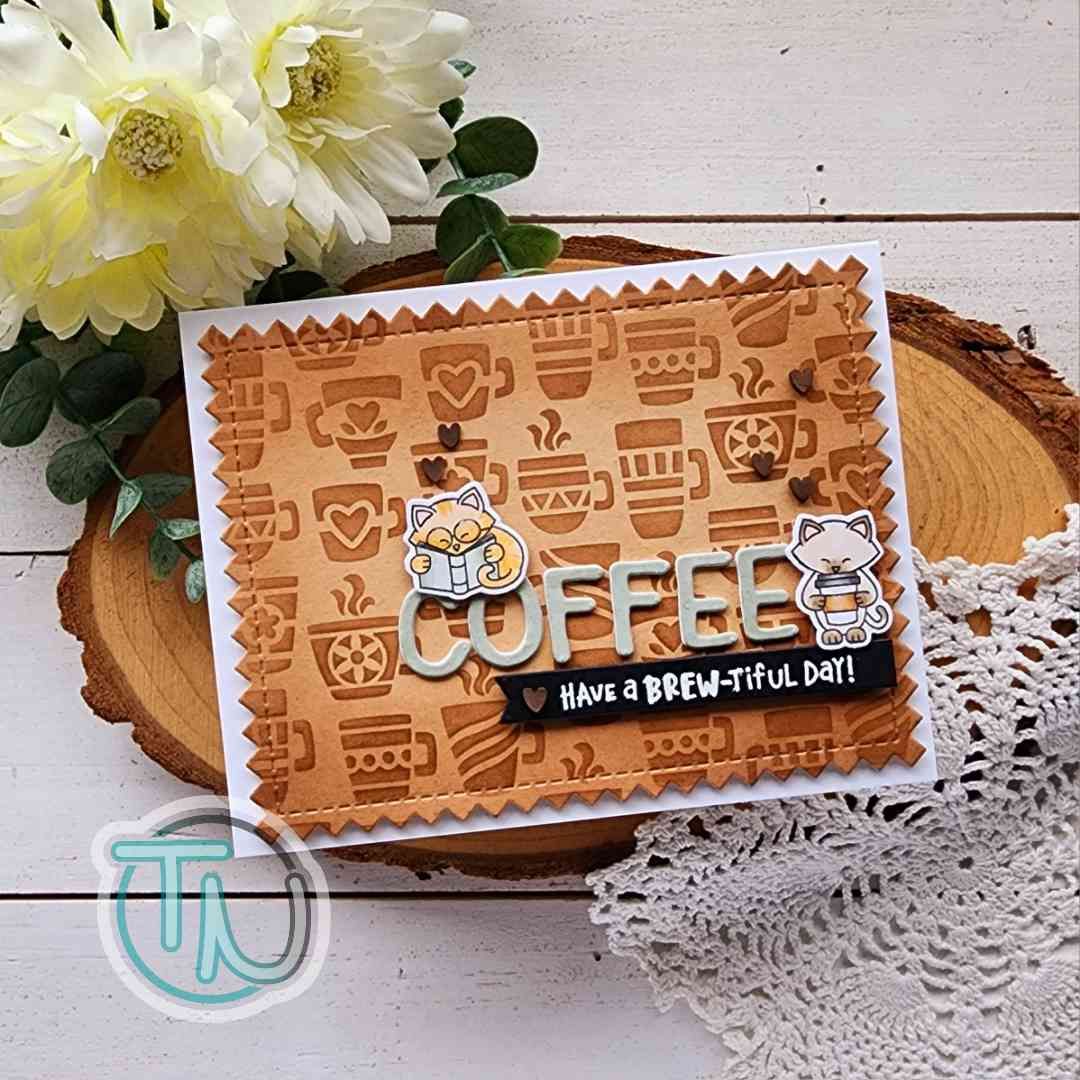
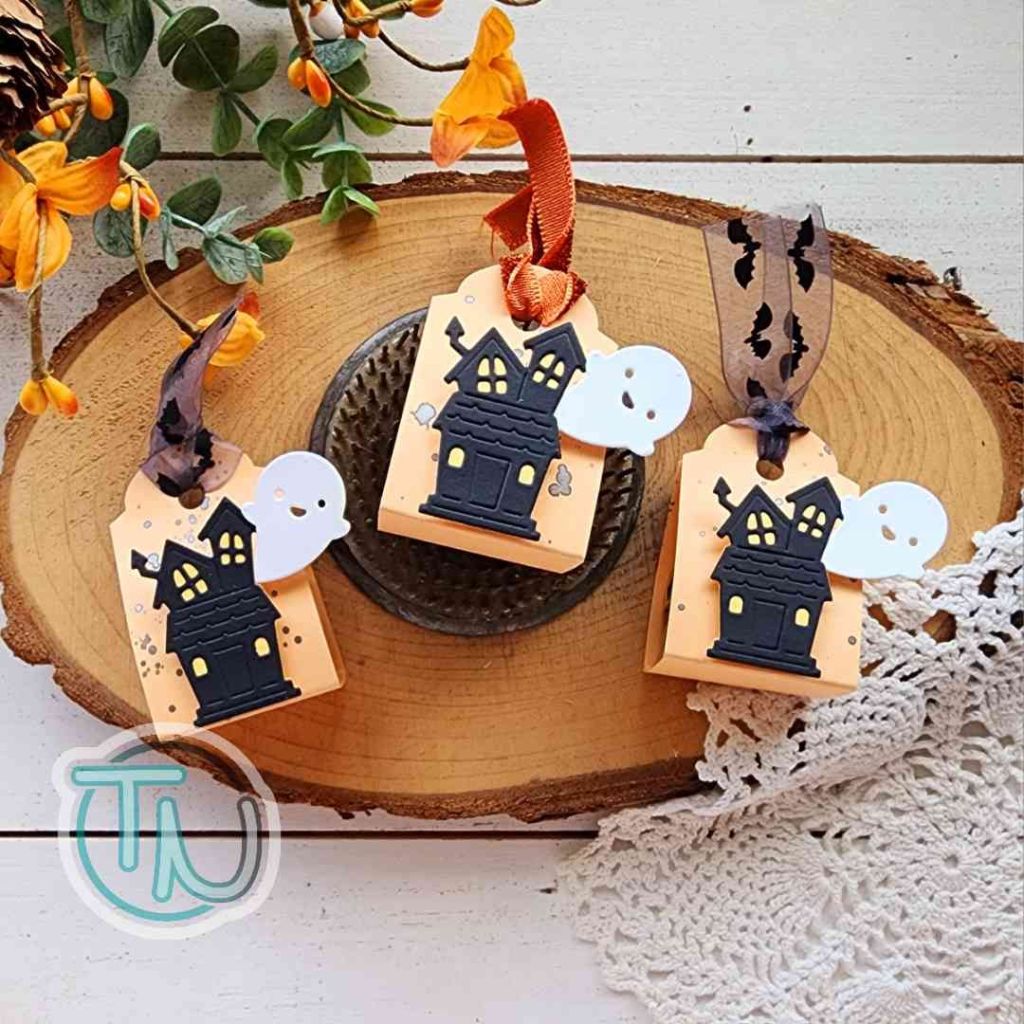
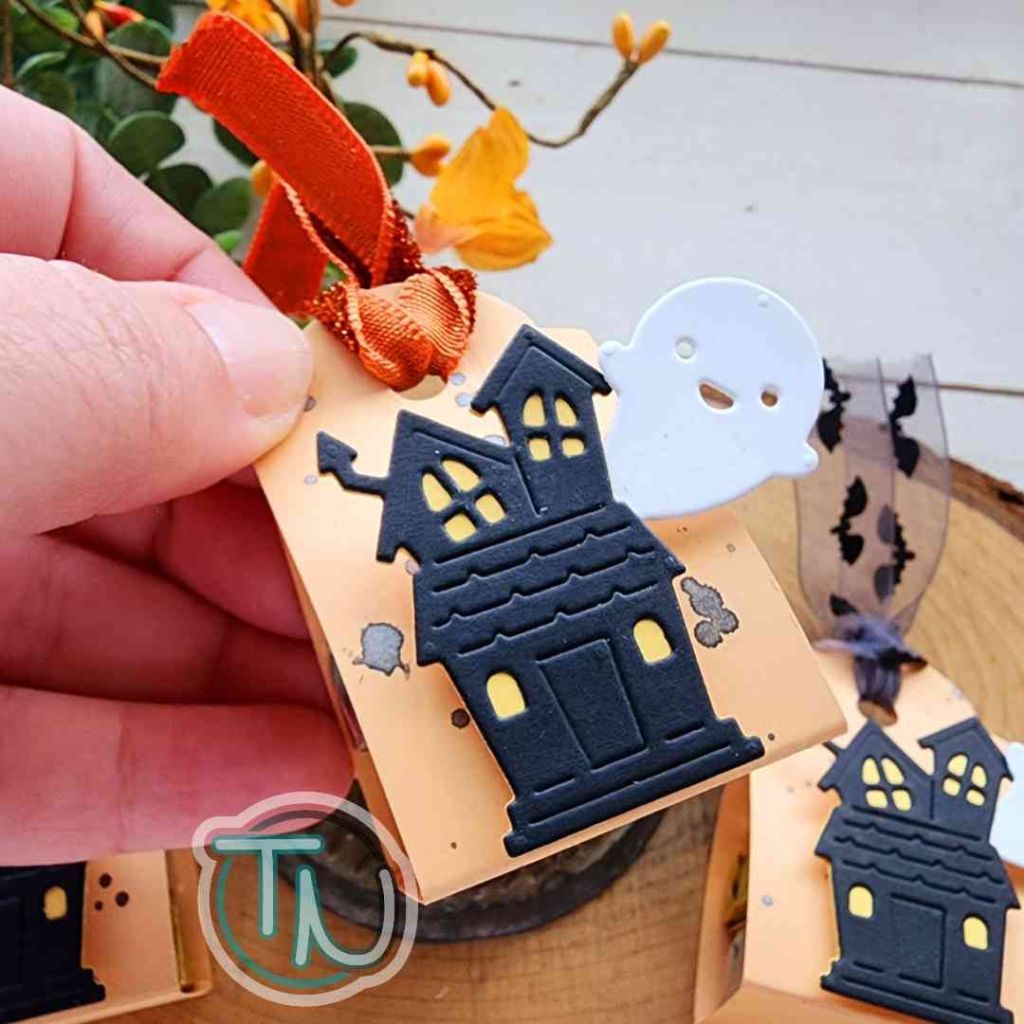
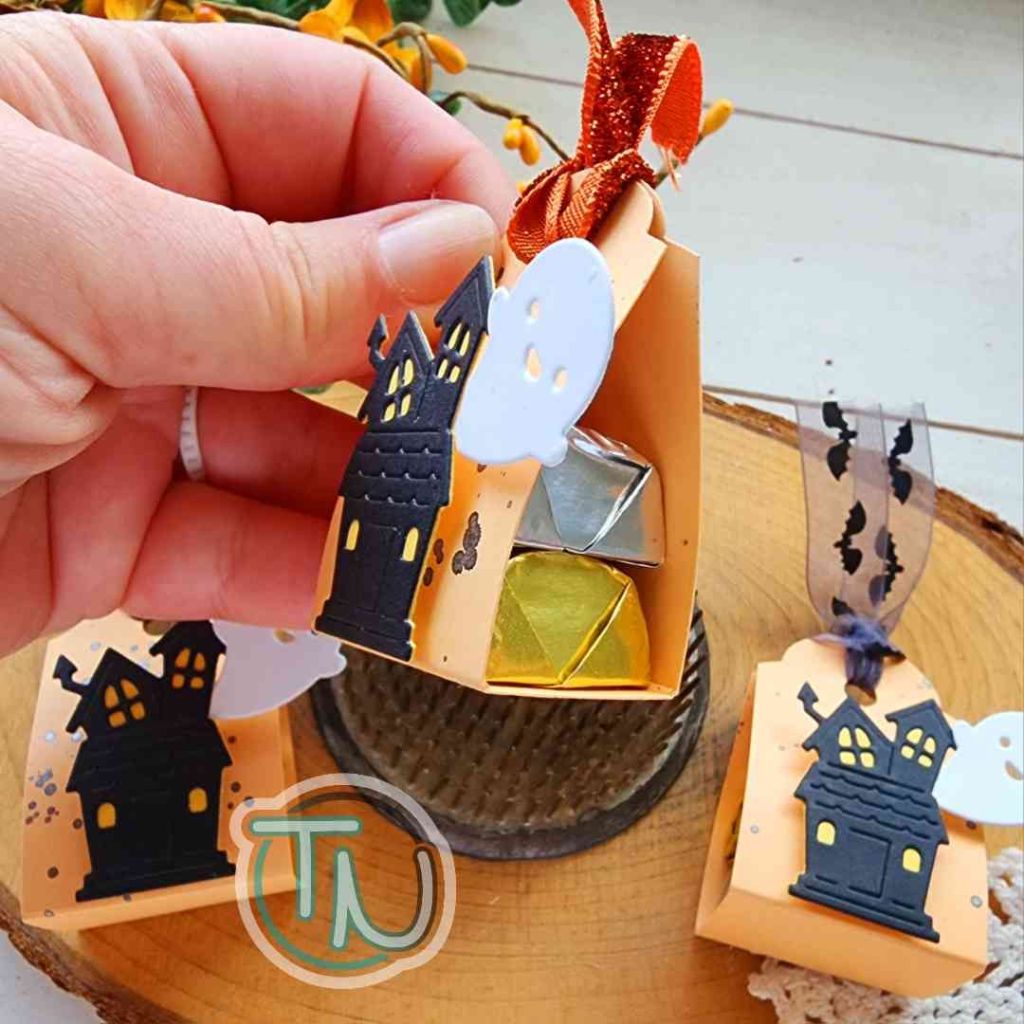
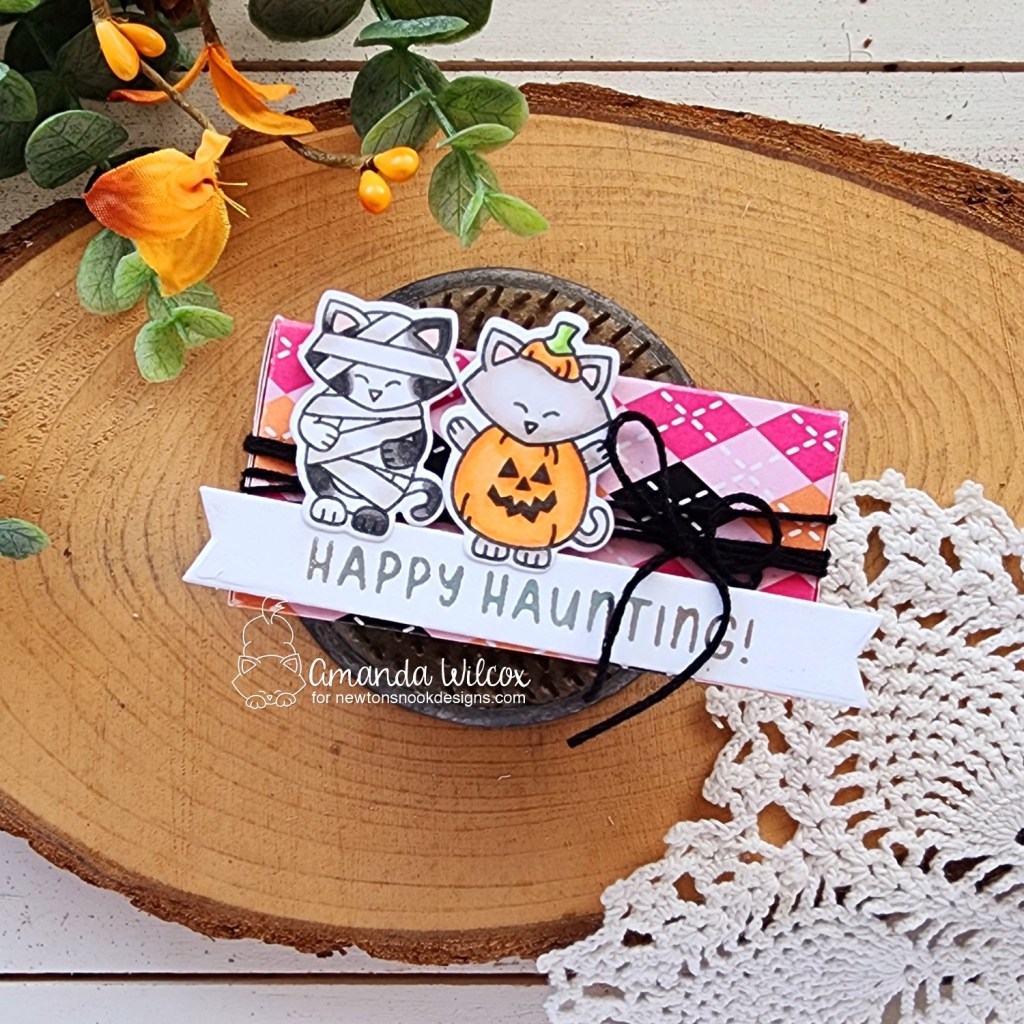
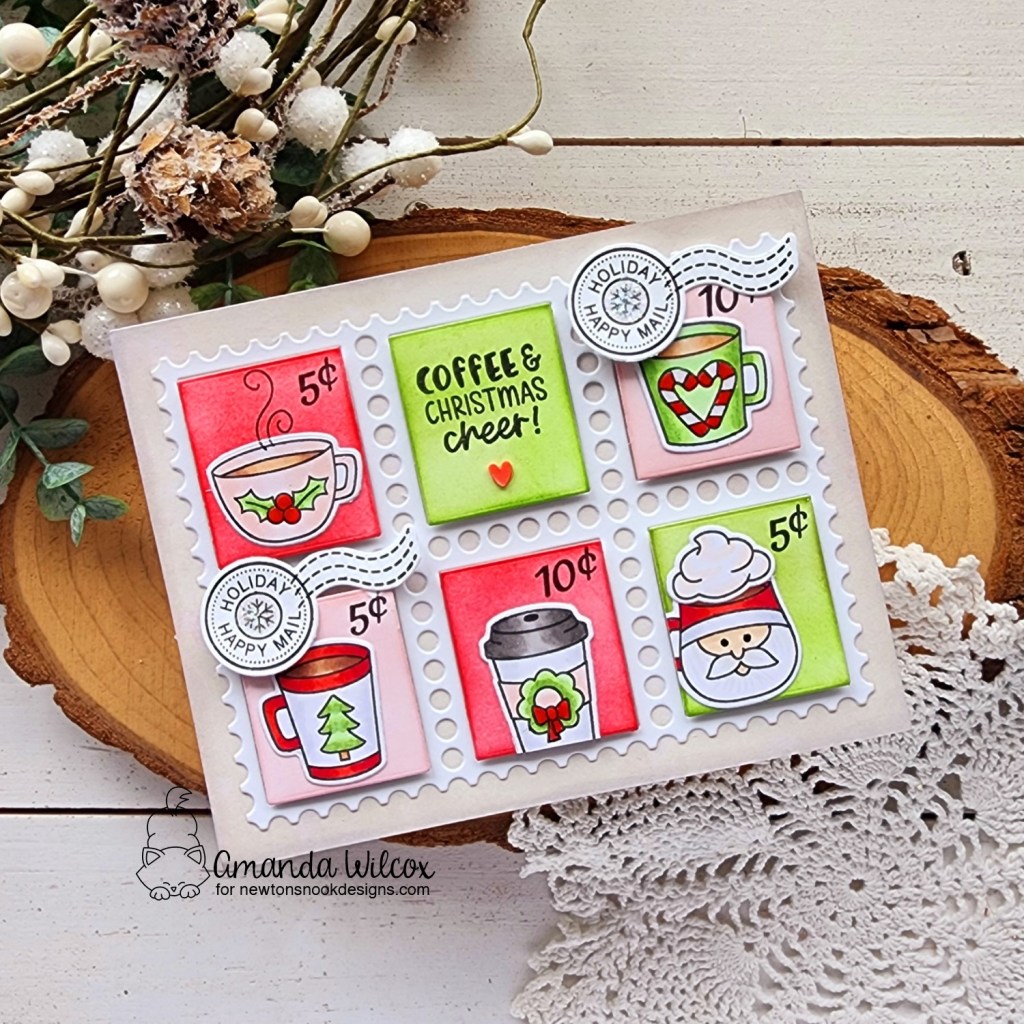
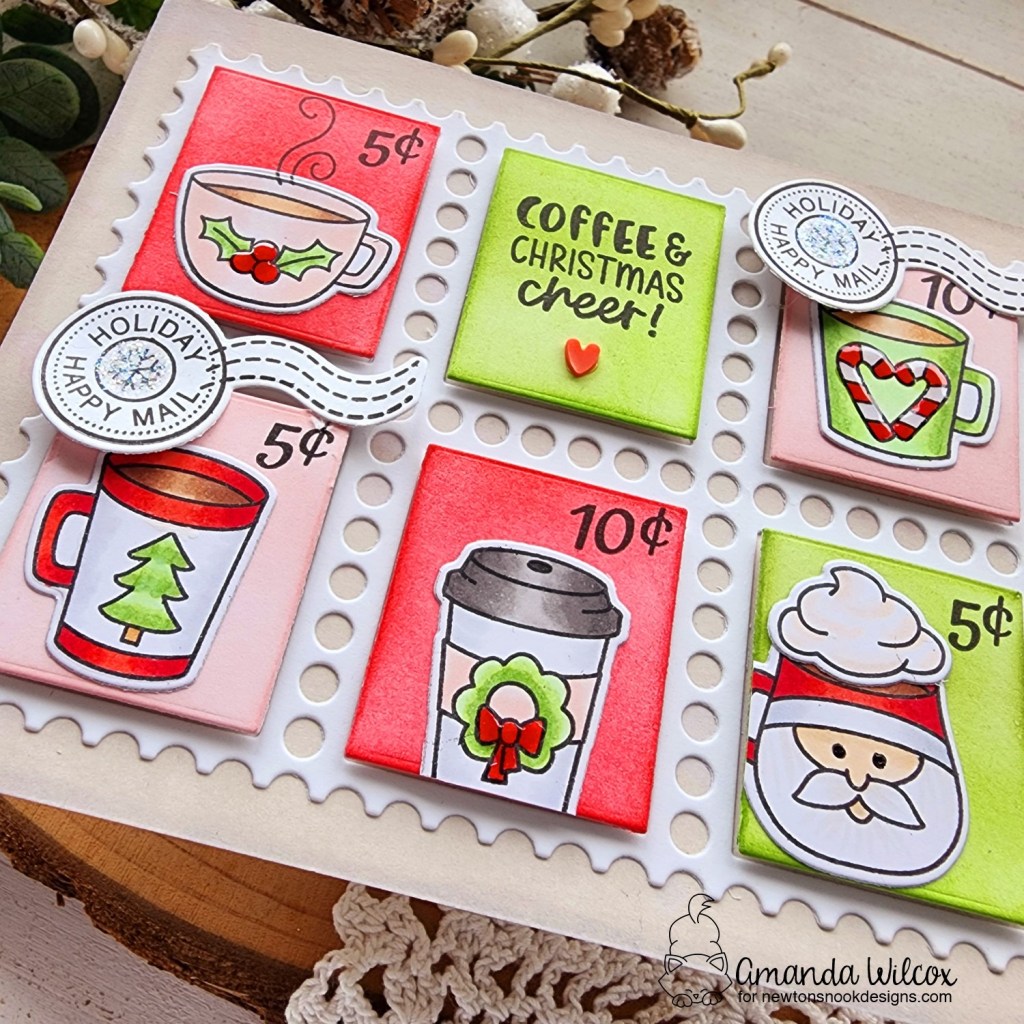
Happy Thursday everyone! Still playing along with the Coffee Lovers Fall | Winter Hop and today I’m here with Miss Ink Stamps inspiration to share! This new set called Caffeinated Critters is a match made in heaven…coffee and cute critters! What could be better?!?

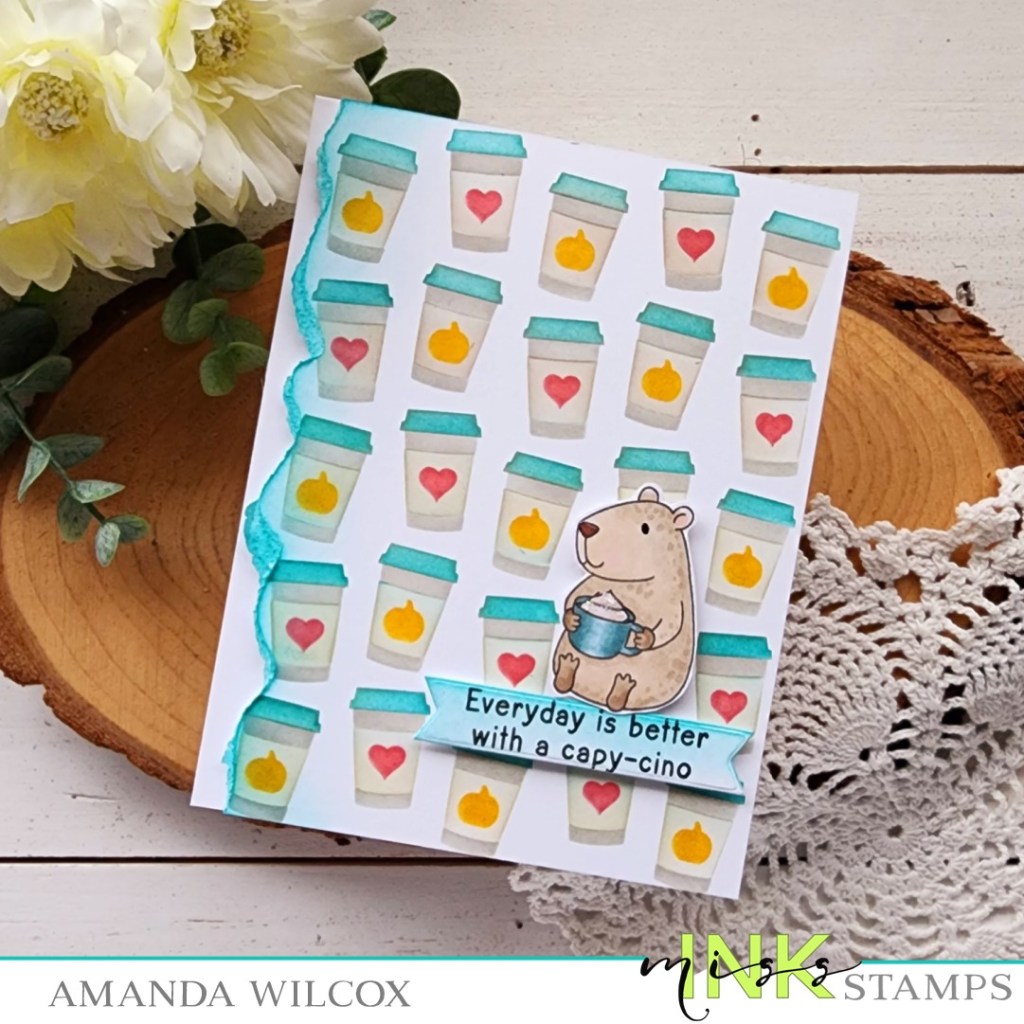
So today I inked up the cute capybara and colored him with my copics. I cut him out and set him aside while I created my sentiment banner and prepped to get inky!

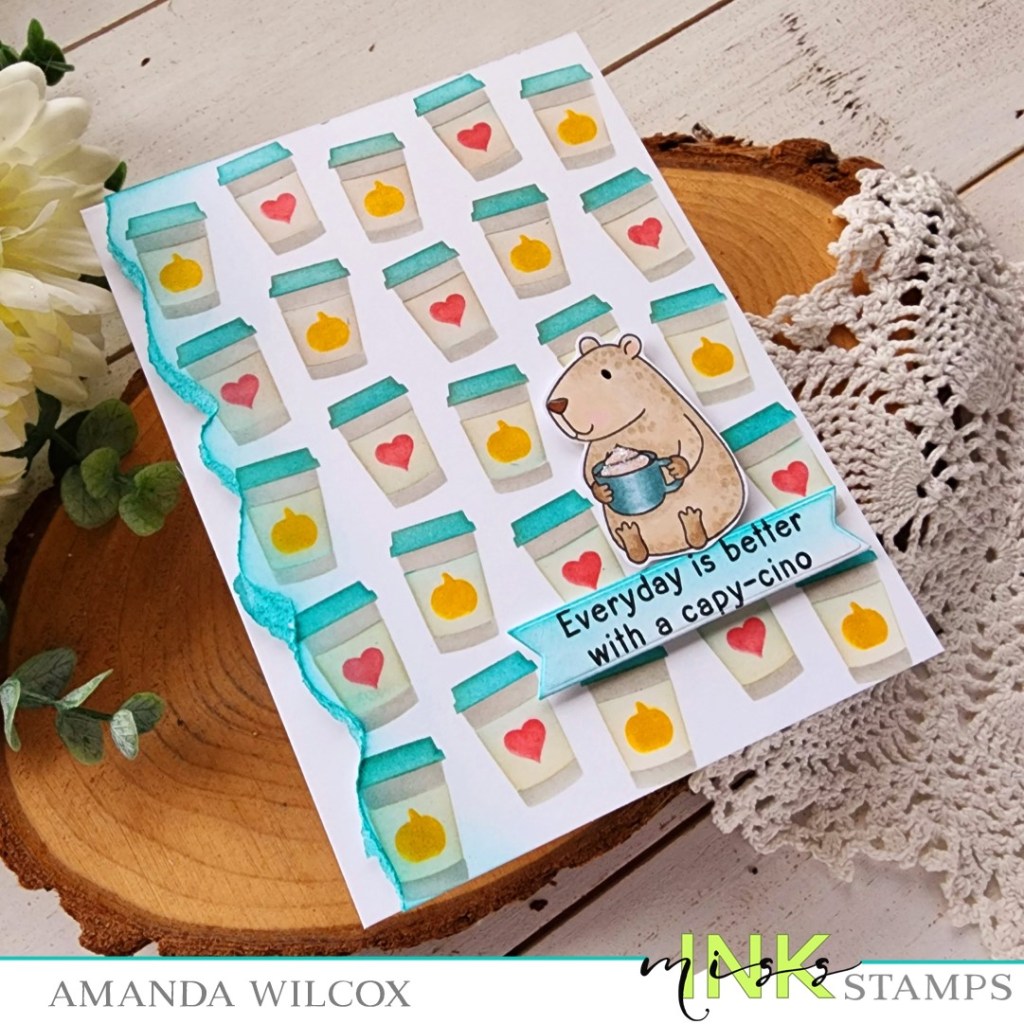
I pulled out the Cuppa Joe To Go stencil set and used the “pumpkin spice” layer to adorn my coffee cups. I love that this set has two versions. After inking up the stencil layers I went messy and tore one edge off my panel. Then I went back and inked the edge with the same teal theme I have going on.

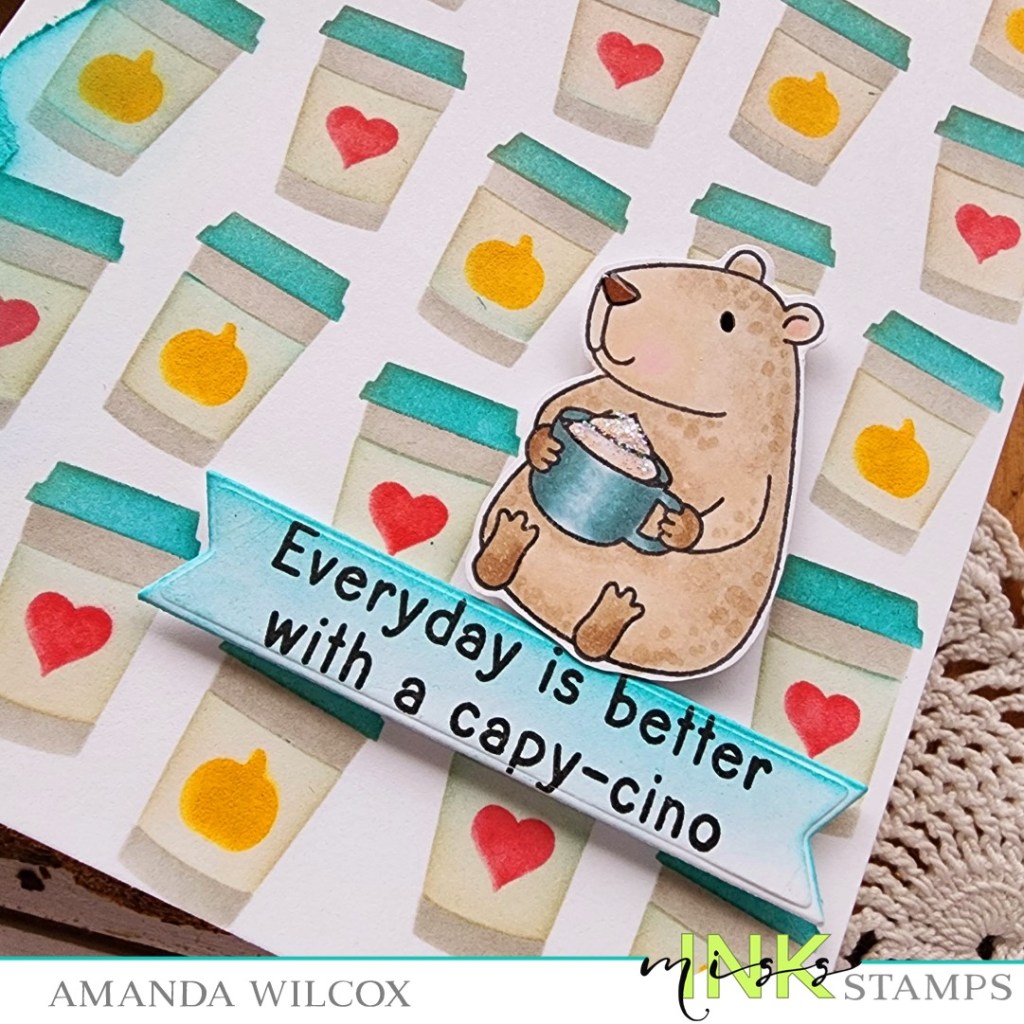
I popped the panel up on a white card base and then popped the senitment strip and capybara up with foam squares too. For finishing touches I added glossy accents to his nose, glaze pen to his eye and a little stardust Stickles to the whipped cream in the cup.

Are you playing along with the Coffee Lovers Hop? It’s really so fun and gives you a little boost to create. Give it a try if you haven’t. You might win a prize too!

Products used:
Caffeinated Critters stamps
Cuppa Joe To Go stencils

Blending brushes
Lawn Fawn dye inks
Foam tape and squares
Glossy accents
Stickles – stardust
Sakura Glaze Pen – black

I appreciate you sharing your time with me. Have a fabulous day!

Doodlebugs – Mixing Your Mushrooms and Your Techniques

Happy Monday! I’m on the Doodlebugs blog for another Mix it up Monday. Today I’m sharing a fun mushroom filled gnome card. I had fun with all of my favorite techniques on this card – ink blending, messy with texture paste, coloring and die cutting. It’s all there!

After getting the new Mushroom stencil from Pretty Pink Posh, I immediately went to my stash to gather other mushroomy things to play with! Eventually I landed on the Lawn Fawn Mushroom border and Oh Gnome stamps and dies.

I ink blended the background stencils, finishing the detail layer off with texture paste. I cleaned up my space and got to die cutting my fun mushroom border. I love that this border has a grass layer so you can have fun dimension with little effort. I used liquid glue to add my mushroom caps and then adhere the layers together. With the texture paste dry at this point, I trimmed everything down to A2 size and popped the ground layer up with foam tape on the stenciled panel.

Next, I stamped images from Lawn Fawn Oh Gnome and colored them with copic markers. After cutting them out with the coordinating dies, I added them to the scene with liquid glue and foam squares. I also went it with some white gel pen highlights and glossy accents on the mushroom dots.

The Oh Gnome stamp set has great sentiments and a speech bubble with mini sentiments to use but in the end I landed on a fabulous Mama Elephant Banner Greetings die cut. It was more generic which is what I was looking for and fits so perfect up there.

Products used:
Lawn Fawn Oh Gnome stamps and dies
Lawn Fawn Mushroom Border dies
Mama Elephant Banner Greetings dies
Pretty Pink Posh Mushroom stencils
Blending brushes
Lawn Fawn ink – doe, lobster
Texture paste
Glossy accents
Sakura gelly roll white pen
Foam tape and squares
Liquid glue
Reverse tweezers

I appreciate you sharing your time with me. Have a fabulous day!

Also, if you made it this far in my blog post, it’s my birthday! I’m going to give away some happy mail to a few commenters on this post. Comments must be submitted by Friday, Nov. 8, which is my daughter’s 18th birthday!

Coffee Loving Cardmakers – Fall | Winter Blog Hop

Hi friends! We’re super excited for the Coffee Lovers Fall | Winter Hop to be here! I’ve got a sweet card to fill your inspiration cup and a little intro to my shop for all the newcomers too!

I pulled out some fabulous oldies but goodies from Newton’s Nook to create my card. The Mugs stencil is a staple in my craft room. I love it in those rich coffee tones and I love it all full of color too! I used my Twiddler’s Nook blending brushes to ink up the stenciled panel. I love how they sit on my desk color coded and ready to grab. Check out our Platform listing to see what I mean!

Then I stamped and colored some cuties from Newton Plans and used the coordinating dies to cut them out. I used the same copic from the book on a piece of white cardstock to cut my “COFFEE” sentiment out and make sure it matched. I also stamped and heat embossing a sentiment from Time for Coffee on a banner in the A7 Frames die set.

Once all the layers were assembled I used my trusty Paw Tray to spread out some Caffeinated Crafting Embellishment Mix and pull the brown hearts to add a little something to my card. Then I easily poured it all back in the bag using the bottom corner of the tray.

For finishing touches I added glossy accents to Newton’s glasses, cup sleeve and noses.

Thanks so much for hopping along! I hope you have a blast creating for the Coffee Lovers Hop! Happy caffeinated crafting!

Miss Ink Stamps – Halloween Hill on a Tag

Hello again my spooky friends! I’m popping in with a fun little tag I created especially for today! The new Halloween Hill stencil set has a number of fun things to adorn the top of the hill and today I just had to add those famous trick-or-treaters!

I created this tag by die cutting the tag shape first and then finessing where I wanted my stenciling to go. But you could always stencil a panel and die cut it out after if that’s better for you!

Like always I cut a second layer tag where I can write a message to the recipient of the gift too. I keeps my fun tag nice and clean but gives lots of space to write because, 1 – I can have a lot to say and 2 – I tend to write big.

Another thing to remember with this stencil set in particular is that there are Christmas images to put on that hill as well so don’t you dare put it away just yet! We’re just going to switch gears and color schemes in just a minute.

I hope you all have a wonderful Halloween and be sure to snag this stencil set because we’re going to get Christmassing with it real soon!

Products used:
Miss Ink Stamps Tag dies
Miss Ink Stamps Halloween Hill stencils

Blending brushes
Lawn Fawn dye inks
Liquid glue

I appreciate you sharing your time with me. Have a fabulous day!

Twiddler’s Nook Spooktacular Hop

Happy Halloween everyone!!! I’m super excited for our final Spooktacular Hop of the year! I created a fun shaker card to share with you but remember to head to Instagram and comment on the hop posts for entries to win a gift code to the Twiddler’s Nook shop!

My most amazing crafty friend gifted me these sweet Picket Fence Studio ghosts and I just had to include them in our final hop. So I chose a few to stamp and color, then also stamped a sentiment before die cutting it all.

I used the Spellbinders banner punch to create a trio of banners, glued them together and wrapped the top with twine. Then I added my sentiment and images with foam squares and set that aside to create my shaker panel.

For that I ink blended over the Pretty Pink Posh Halloween Words stencil using Lawn Fawn inks – jalapeno, ballet slippers and carrot. I removed the stencil and lightly went over the panel with the same colors. After trimming it down to 4×5.25 inches I added it to a Waffle Flower shaker pouch.

I used a few different embellishments for my shaker bits today to create the perfect color combo mix – hearts from Spring Fling, Luscious Lime stars and orange Seed Beads. The variety of materials really helps them all move around when you shake it and the seed beads make an extra cool sound too.

After everything was adhered together on a white card base I added glossy accents and stardust Stickles to my ghosts for the finishing touches.

Products used:
Picket Fence Studios Be My Boo stamps and dies
Spellbinders Banner Punch
Pretty Pink Posh Halloween Words stencil
Twiddler’s Nook blending brushes
Twiddler’s Nook Luscious Lime Stars embellishments
Twiddler’s Nook Seed Beads – orange
Twiddler’s Nook Spring Fling clay embellishments (pink hearts)

Lawn Fawn inks – ballet slippers, carrot, jalapeno
Waffle Flower 5.25×4″ shaker pouch
Foam tape and squares
EZ Tear Tape
Liquid glue

I appreciate you sharing your time with me. Have a fabulous day!

Halloween Treat Holders

Welcome everyone! Today I’m stopping by to share a couple different treat holders I created for Halloween. The ideas are basic and since Halloween is tomorrow, you could always make them for Thanksgiving or Christmas by changing out the paper and images. Keep that in mind if you’re into this sort of thing. It’s definitely my favorite!

Let’s start with these fun ghost friends! I created the base with a strip of orange cardstock measuring 1.5″x6″. I scored each strip at 2 1/2″ and 3 1/2″ and then used the Spellbinders tag punch to cut each end. I splattered the strips with black metallic watercolor and set them aside to dry.

While those were drying I cut the cute ghost from the Lawn Fawn Scallop Treat Box Haunted House Add On and the actual haunted house from the Lawn Fawn Shadow Box Halloween Add On. I used liquid glue to adhere everything together and then one foam square on the bottom of the house.

These were sized perfectly for Hershey’s Nuggets so when the watercolor splatter was dry I stacked my chocolate inside and threaded ribbon through the holes to keep it all together. Then I removed the foam square release paper and popped those on the front.

The fit is perfectly snug so I didn’t have to use adhesive on the chocolate but they stayed in place. I made enough of these for my whole office in one evening. They came together really quick and turned out so cute!

This next box I just made one of but it would be fun to make lots of these too. I chose a piece of Newton’s Nook Halloween Party paper and followed this tutorial to create my box. It perfectly fits three Hershey’s Nuggets so I slid those inside and tied it closed with black embroidery floss.

I stamped and colored two of the Trick or Treat Newton images like our kitties at home and used the coordinating dies to cut them out. Then I hot foiled a sentiment using the Newton’s Nook Spooky Sentiments hot foil plates and coordinating Banner Duo die to cut it out. I popped the kitties and sentiment banner up with foam squares.

Here’s a side look at the box. It’s the perfect little something to add to a certain someone’s lunch box before they head to school.

Products used today:
Spellbinders Tag Punch
Lawn Fawn Scallop Treat Box Haunted House Add On dies
Lawn Fawn Shadow Box Halloween Add On dies

Newton’s Nook Trick or Treat Newton stamps and dies
Newton’s Nook Spooky Sentiments hot foil plates
Newton’s Nook Banner Duo dies
Newton’s Nook Halloween Party paper pad

Thermoweb hot foil – silver
Foam squares
Liquid glue
Reverse tweezers

I appreciate you sharing your time with me. Have a fabulous day!

Slimline Wedding Card

Happy Tuesday everyone! I hope your week is off to a splendid start so far. We went to a wedding a couple weekends ago and I realized that I forgot to share the card that I created for them! I pulled colors from their invitation and went to town having so much fun!

I started with the Trinity Stamps Foliage Frame Slimline die set. I just cut the frame twice – once from white cardstock and another from vellum. I layered the vellum behind and adhered the layers together. Then I ink blended another panel with Distress Oxide Ink in aged mahogany fading it as I went in to the center.

I spritzed the panel with water and blotted it dry before adhering the foliage frame to it with liquid glue. Once they were adhered together I splattered the whole thing with gold watercolor. Then I went into my stash for an alphabet set that fit inside and ended up loving the Lawn Fawn Henry’s ABCs font so I cut “CONGRATS” from Spellbinders die cutting sparkle foam in rose gold.

After gluing those to the center I went back and ink blended more aged mahogany on a piece of white cardstock and used a Pretty Pink Posh sentiment banner to cut it out. I stamped and heat embossed a sentiment from the Pretty Pink Posh Sentiment Strips | Occasions stamp set and popped it up below the sparkly letters with a foam strip.

I love how whimsical and pretty this card turned out and was very happy to celebrate the happy couple too!

Products used:
Trinity Stamps Foliage Frame Slimline dies
Lawn Fawn Henry’s ABCs dies
Pretty Pink Posh Sentiment Strips dies
Pretty Pink Posh Sentiment Strips | Occasions stamps

Liquid glue
Foam strips
Distress Oxide Ink – aged mahogany
Embossing powder – frosting
Anti-static brush
Embossing & Watermark ink

LH Colors gold watercolor

I appreciate you sharing your time with me. Have a fabulous day!

Doodlebugs – One Design, Two Ways

Hello everyone! Today for Mix it up Monday on the Doodlebugs blog, I’m sharing a card design two different ways. Two different color ways for ink blending, two different ideas for a sentiment and two different orientations too! So many twos it should be Tuesday! (Bad dad joke of the week.)

Here’s a look at both cards side by side. We’re using the Waffle Flower Sunflower Cluster die and stencil combo with the Lawn Fawn Hello Fall sentiment die today.

For starters let’s talk about the sunflowers. This card is light and bright. I did my ink blending on a white die cut with Lawn Fawn dye inks. They’re happy and beautiful. Definitely giving that sunny vibe.

Believe it or not, this card is using Lawn Fawn dye inks but the die cut was made with kraft cardstock. I went heavier handed on the yellow inks to get the depth and added a darker shade of green for fun, it wasn’t necessary.

Next, I cut my sentiment twice from white cardstock and twice from gold die cut foam from Spellbinders. This set is adhered with the white on top and a peek of the gold glitter. I also turned this card landscape instead of portrait.

Then for this card, I chose a portrait orientation and my sentiment has the flashy gold glitter on top. Different vibes for sure but both are gorgeous!

I did splatter the card front with gold watercolor before adhering the sentiments down because, well, sparkle.

Which style do you like better? Can you think of other products we could try this with?

Products used:
Waffle Flower Sunflower Custer die and stencil combo
Lawn Fawn Hello Fall die
Blending brushes
Lawn Fawn ink – no 2 pencil, sunflower, artichoke, noble fir, walnut
Gold watercolor
Liquid glue
Spellbinders die cut glitter foam – gold

I appreciate you sharing your time with me. Have a fabulous day!

Newton’s Nook – Christmas Coffees Turned Postage Stamps

Hey friends! I’m happy to be on the Newton’s Nook blog today sharing another twist on last week’s release goodies! I love this release more than words can really express and was excited for an excuse to play with it once more right away.

I loved that the new Christmas Coffees images were perfect to fit in the new Postage Stamp Layout die cut! So I grabbed a few images, stamped and started coloring. I didn’t have a plan per se but my brain sure had a color scheme in mind.

Seeing that clearly, I inked up the postage stamps and then glued my images down, trimming off the excess hanging off the edge of some. Then I grabbed the Holiday Postage Sampler for the special images to add to my stamps. I inked up a background panel with pumice stone Distress Oxide Ink and glued my postage frame to it with liquid glue. Then I popped all the inserts up in the frame with foam squares.

I felt like something was missing so I stamped and die cut a few of the Holiday Happy Mail images and added those to my design with foam squares and liquid glue. For some finishing touches I added glossy accents to the holly berries, wreath bow and candy canes. Then stardust Stickles to the center of the postmark images too.

What kind of postage stamps are you going to create? I have a few themes in mind!

Products used:
Postage Stamp Layout die
Holiday Postage Sampler stamps and dies
Christmas Coffees stamps and dies

Twiddler’s Nook sweetheart clay embellishments
Twiddler’s Nook blending brushes

Lawn Fawn – ballet slippers, lobster and jalapeno inks
Distress Oxide Ink – pumice stone
Liquid glue
Foam squares
Glossy accents

Stickles – stardust

I appreciate you sharing your time with me. Have a fabulous day!

Spellbinders – Beads of Friendship Card Trio

Hello everyone! I’m here today with a trio of cards using the new Beads of Friendship collection from Spellbinders. I couldn’t believe how fun these were to create and how much more of a Better Press believer I became. So much good stuff!

Essentially I used the Bestie Alphabet and Beads stamp set first to stamp and die cut a ton of alphabet beads. Then I cut more beads and bracelet bases from the Bestie Beaded Bracelets die set and then just started playing around.

After putting together a few of the open-ended bracelets, I paused and created this card. I used the Flowers & Foliage 3D embossing folder for my backgrounds and a little distress oxide ink blending for the panel with my bracelets.

I couldn’t resist making a few closed bracelets as well and just love the Bestie Heart in Hand dies to go with them. I pulled this together with more distress oxide ink blending in the background and a frame created with the Make a Wish Arch Labels dies.

Then, unrelated to my massive bead and bracelet creation, I really wanted to play with these sweet hands that shape a heart! This is the Heart Hands dies, with mini bracelets as part of the set. So cute! Plus the Bestie Sentiments press plate and coordinating die. This one presses and cuts 12 sentiments at once! It’s pure perfection!

I used more ink blending and the Notched Corner Frames dies to pull it all together. This ink blending also has some white paint splatter for added texture.

These cards were so fun to create! Once they were done I just kept thinking of new bracelet themes to create so another bead session will be coming soon for sure!

Products used:
Beads of Friendship Collection
Notched Corner Frames dies
Make a Wish Arch Labels dies
Flowers and Foliage 3D embossing folder
Better Press system
Platinum 6 die cutter
Foam tape
Distress Oxide Inks
Blending brushes
Liquid glue
Reverse tweezers

I appreciate you sharing your time with me. Have a fabulous day!