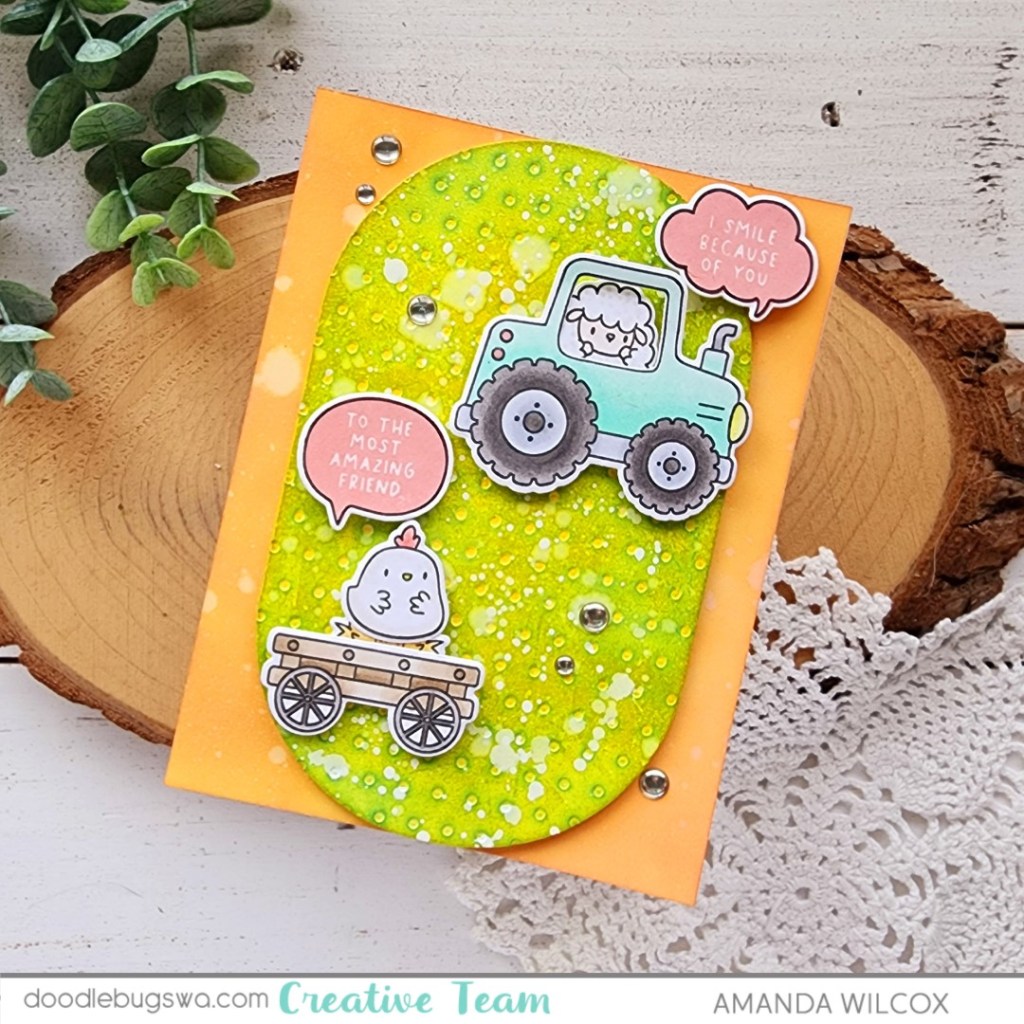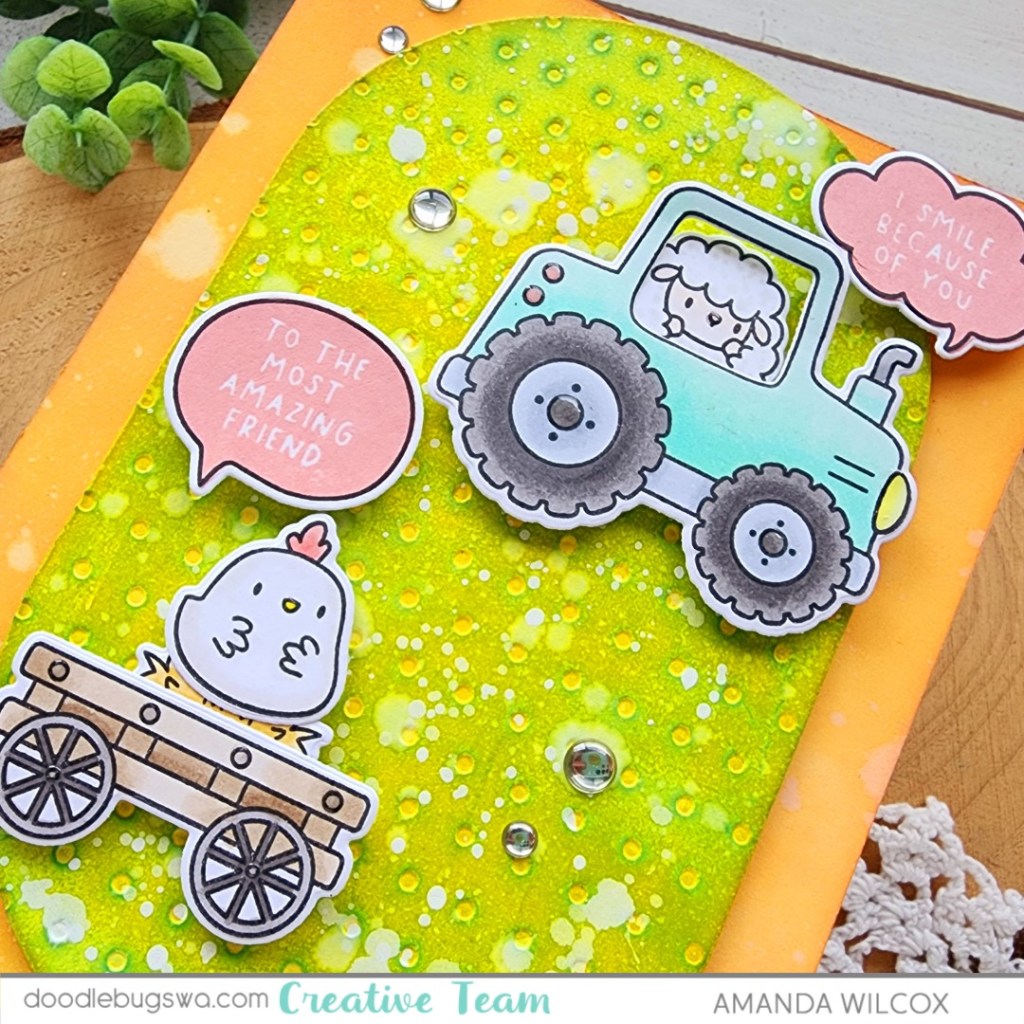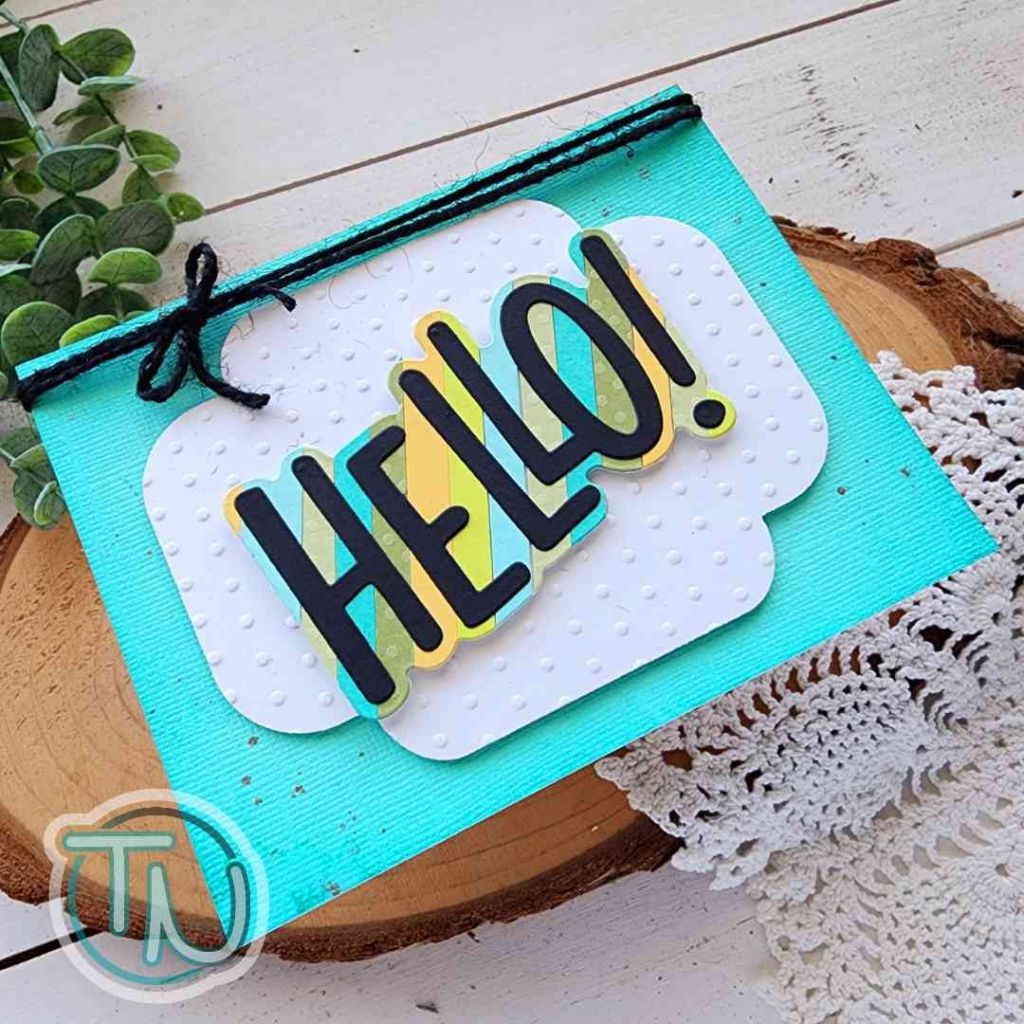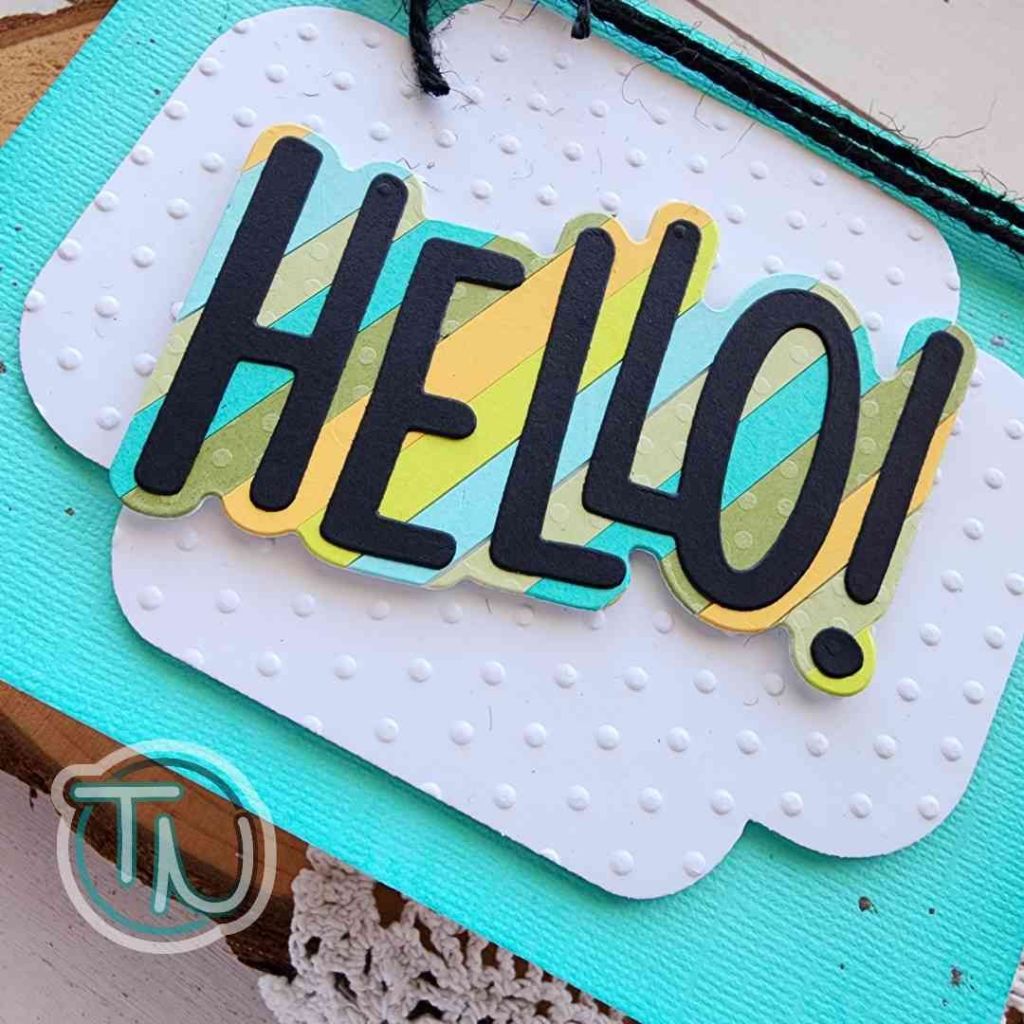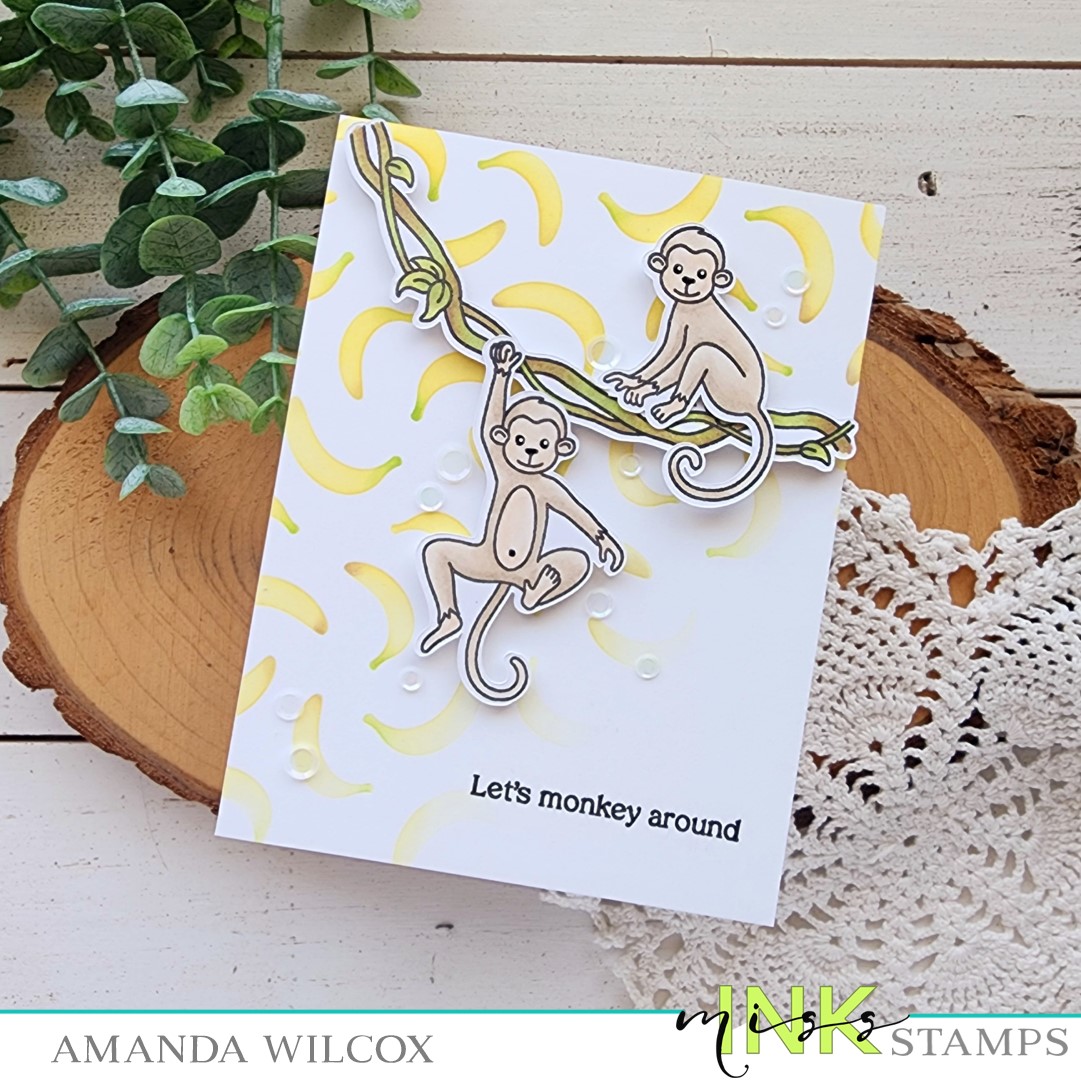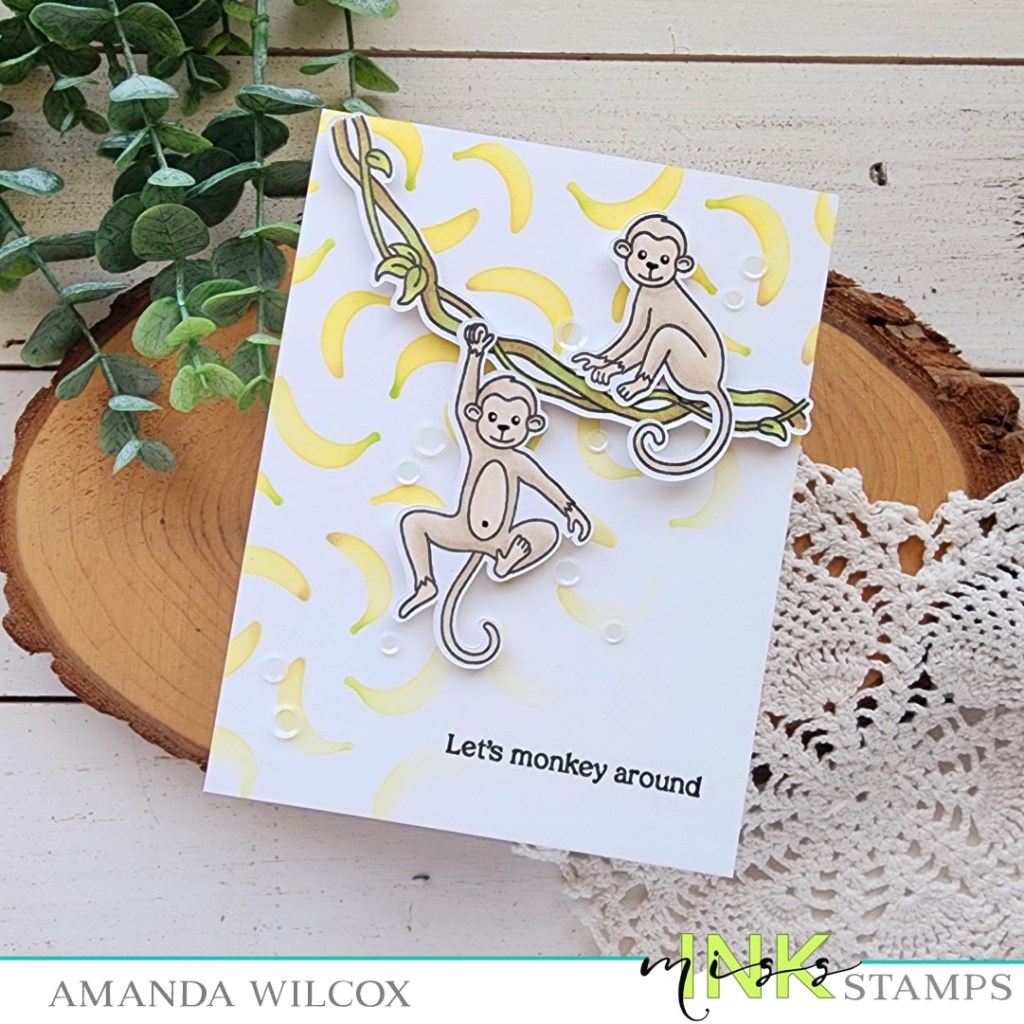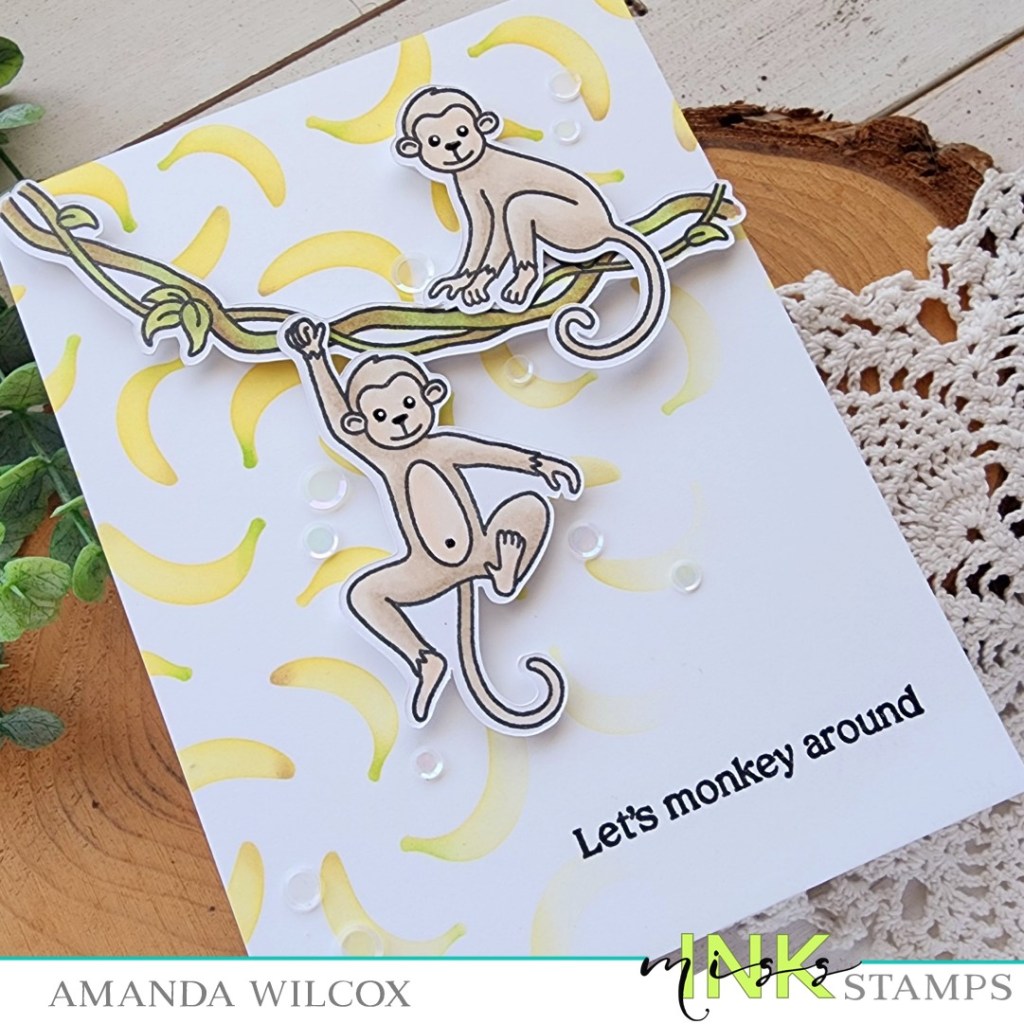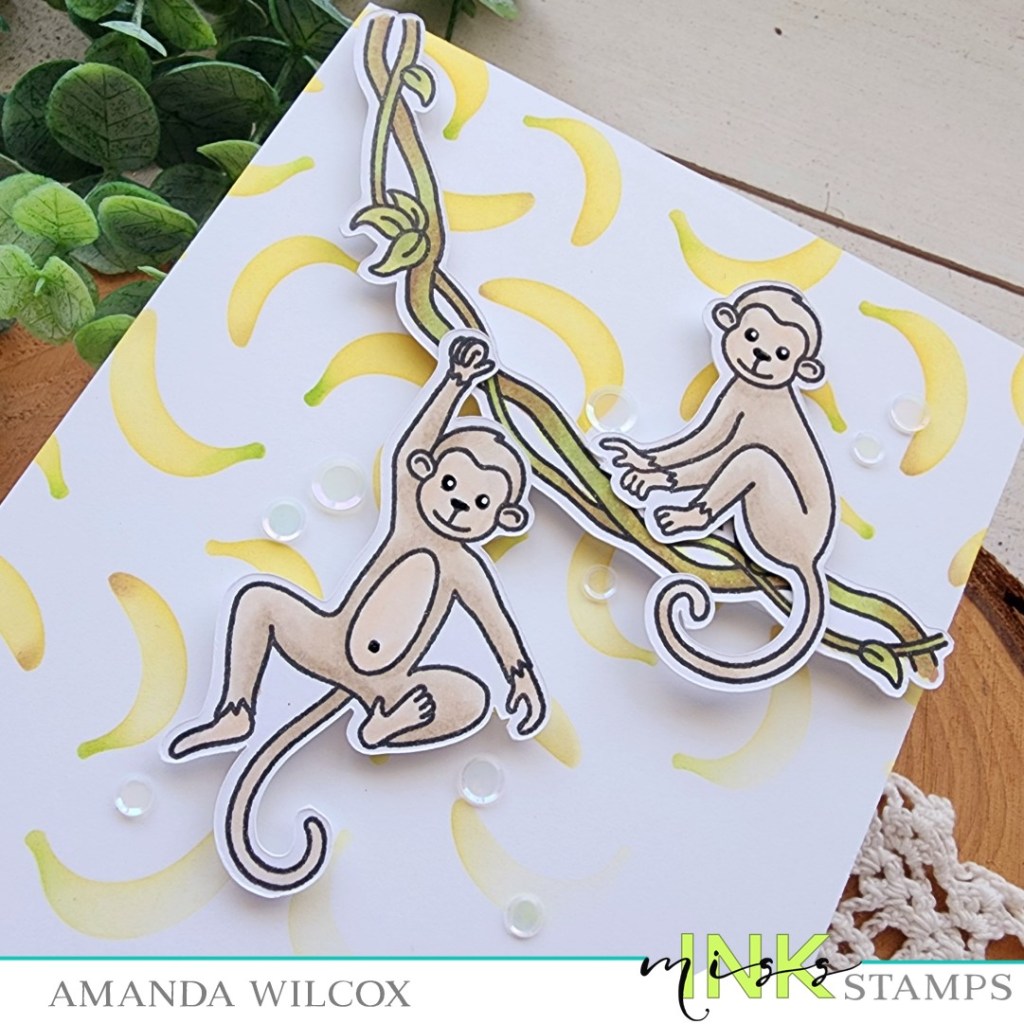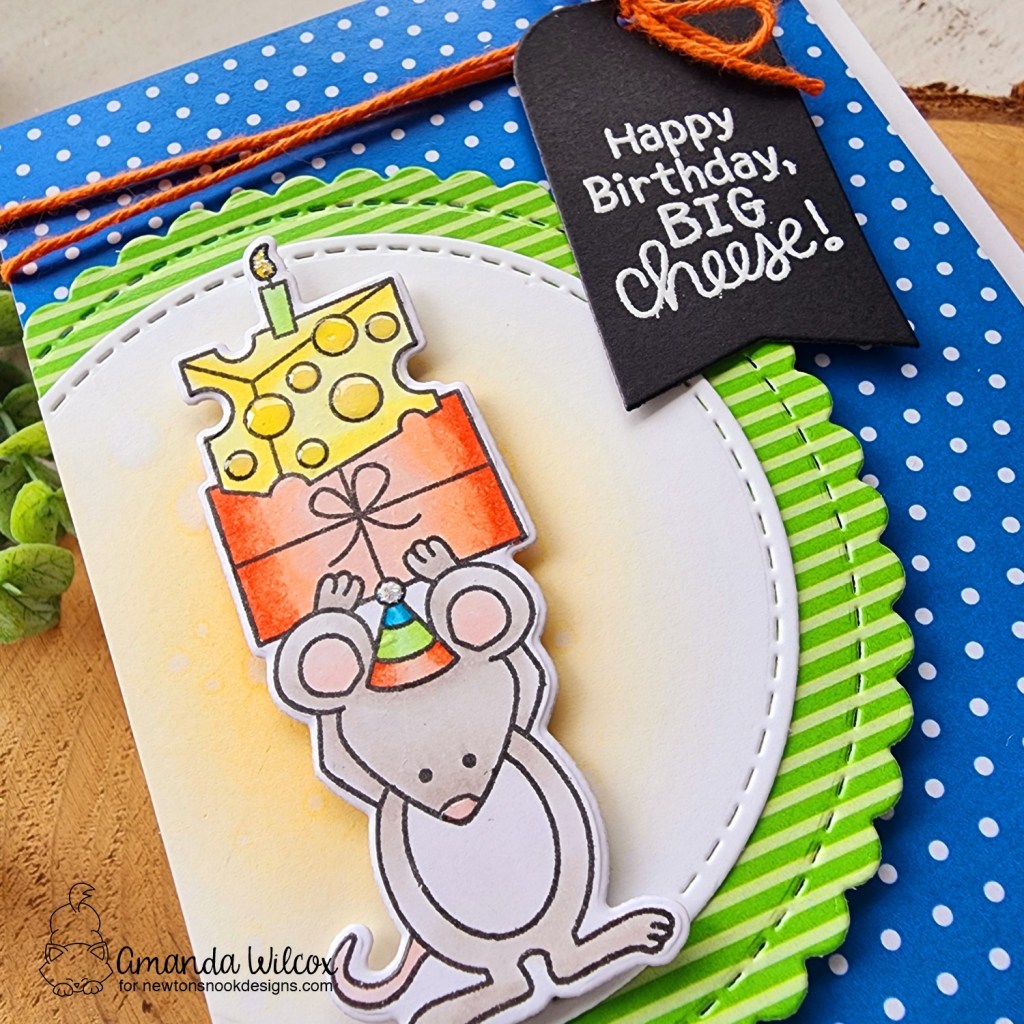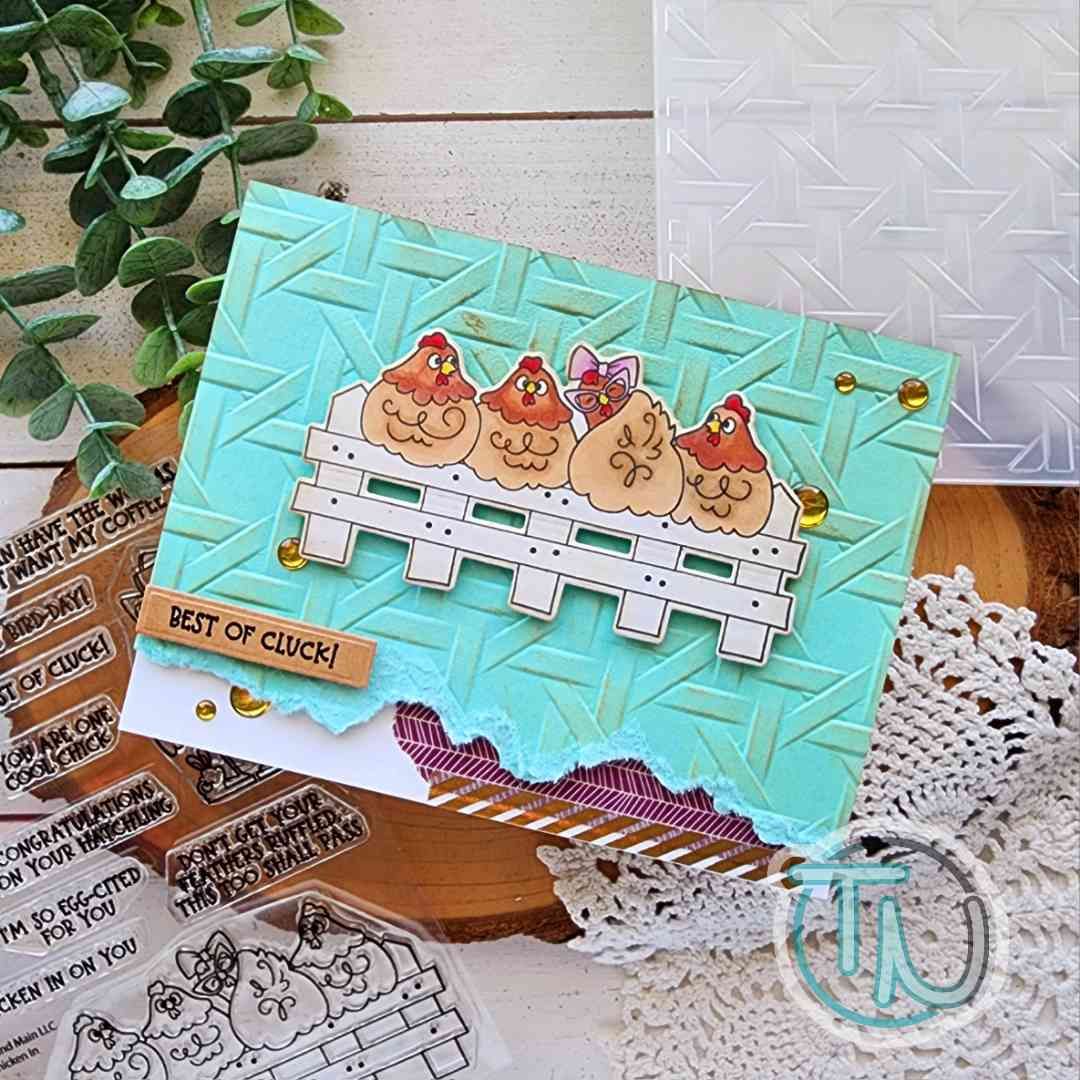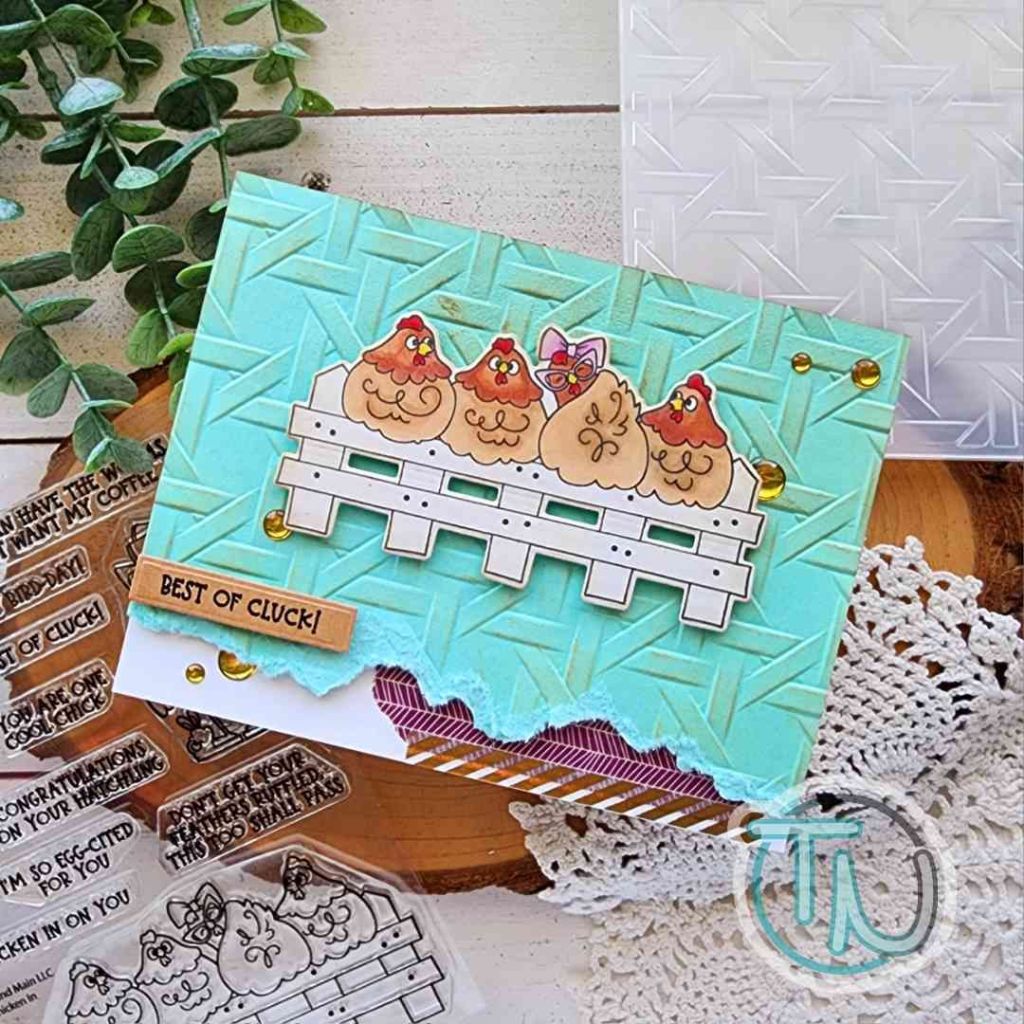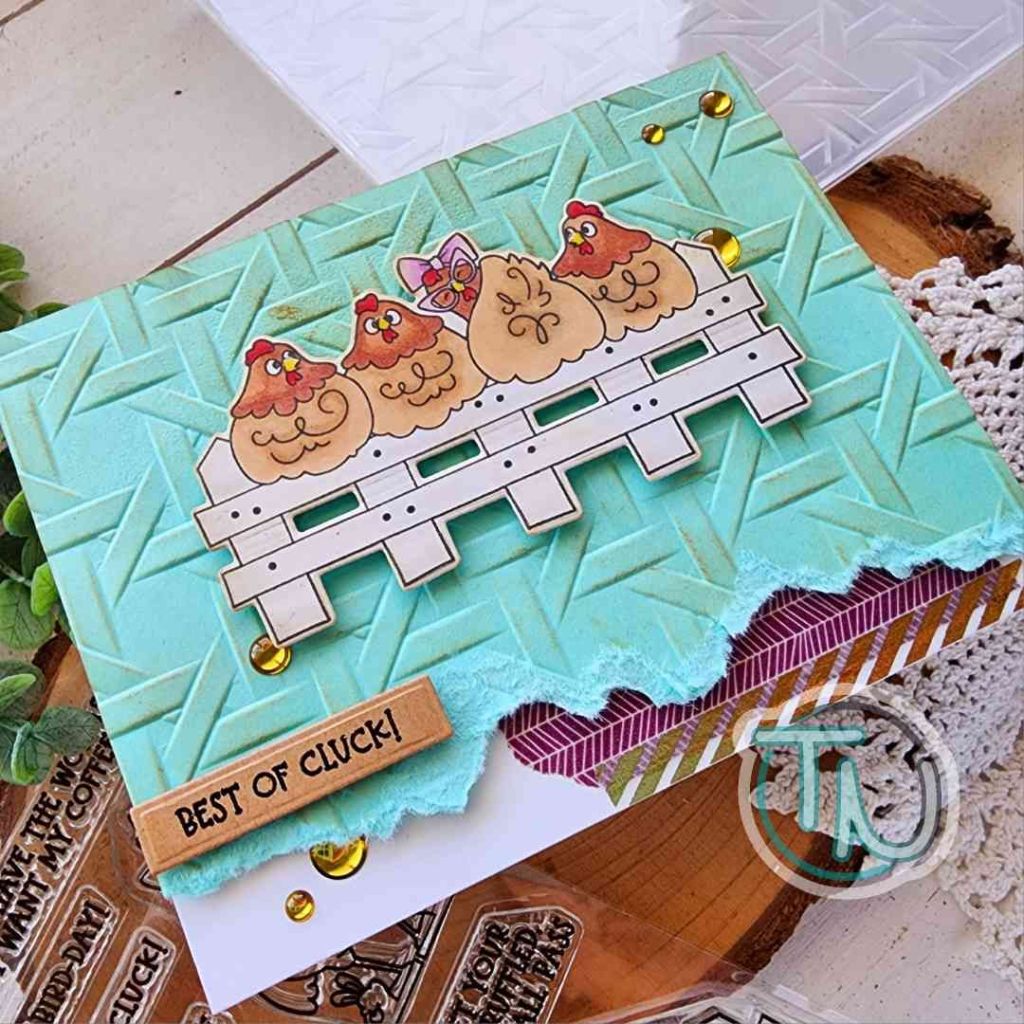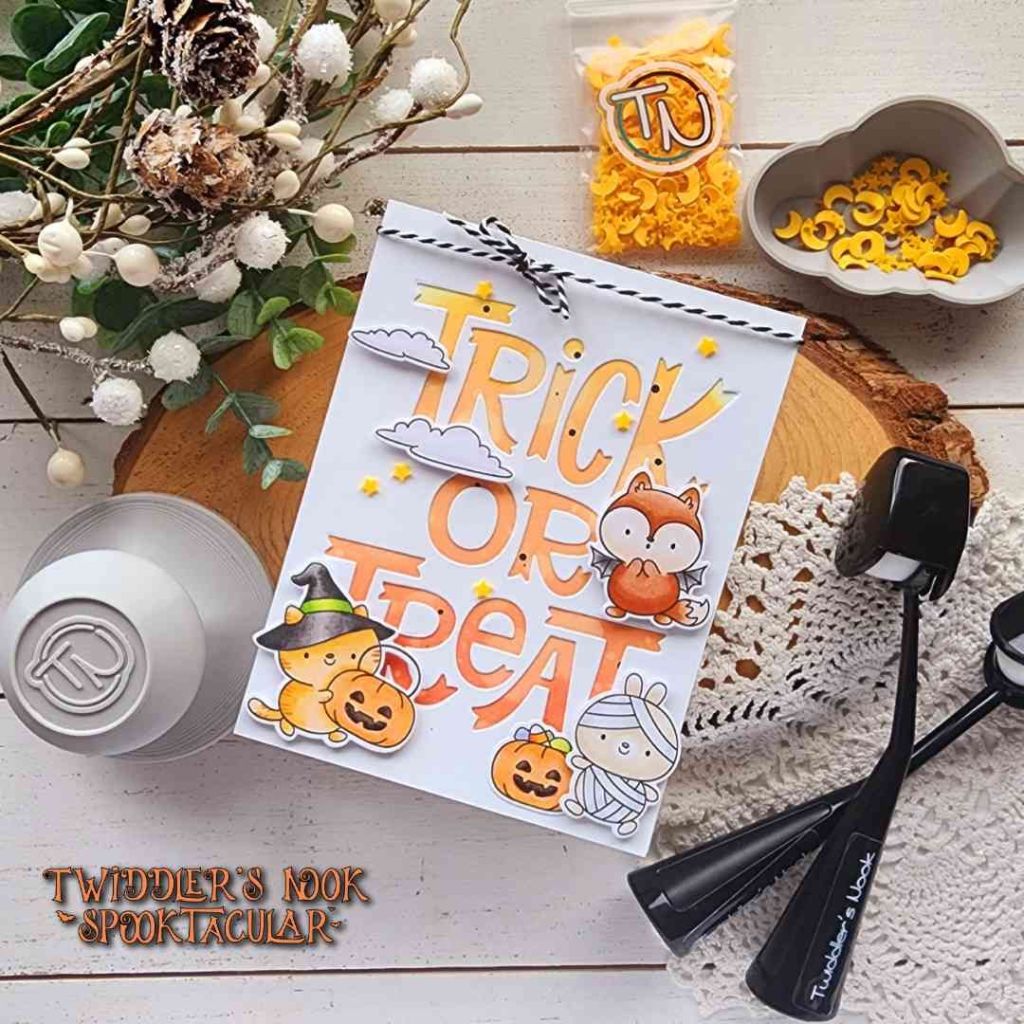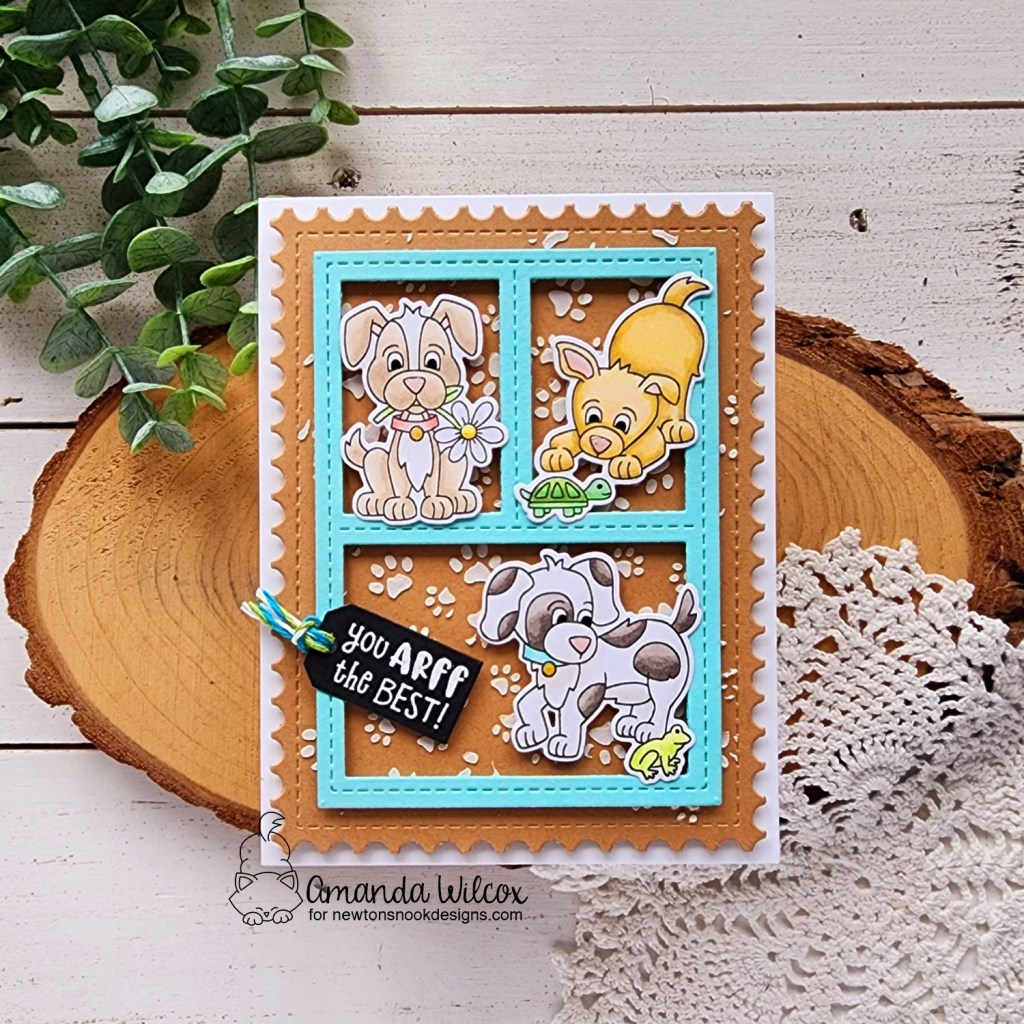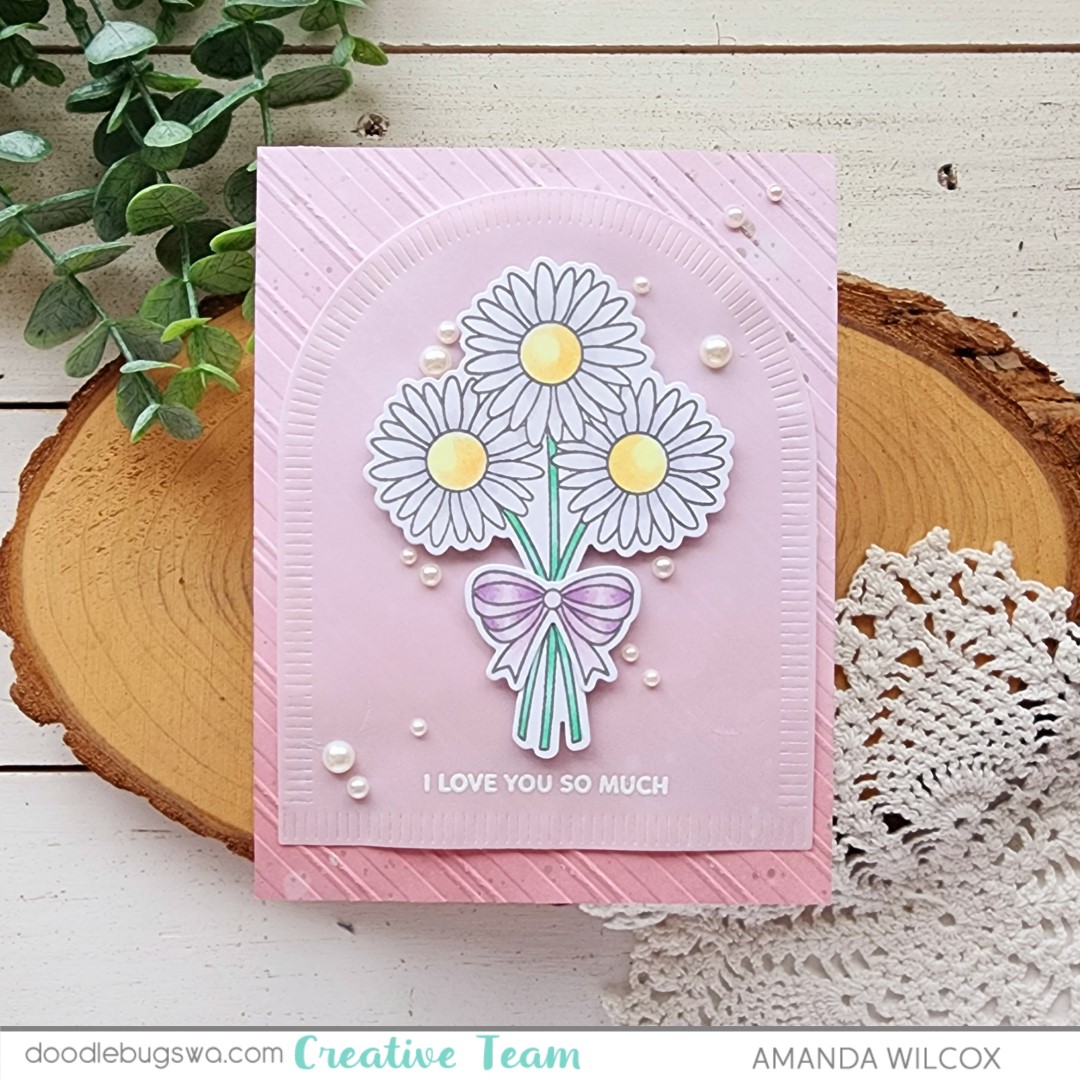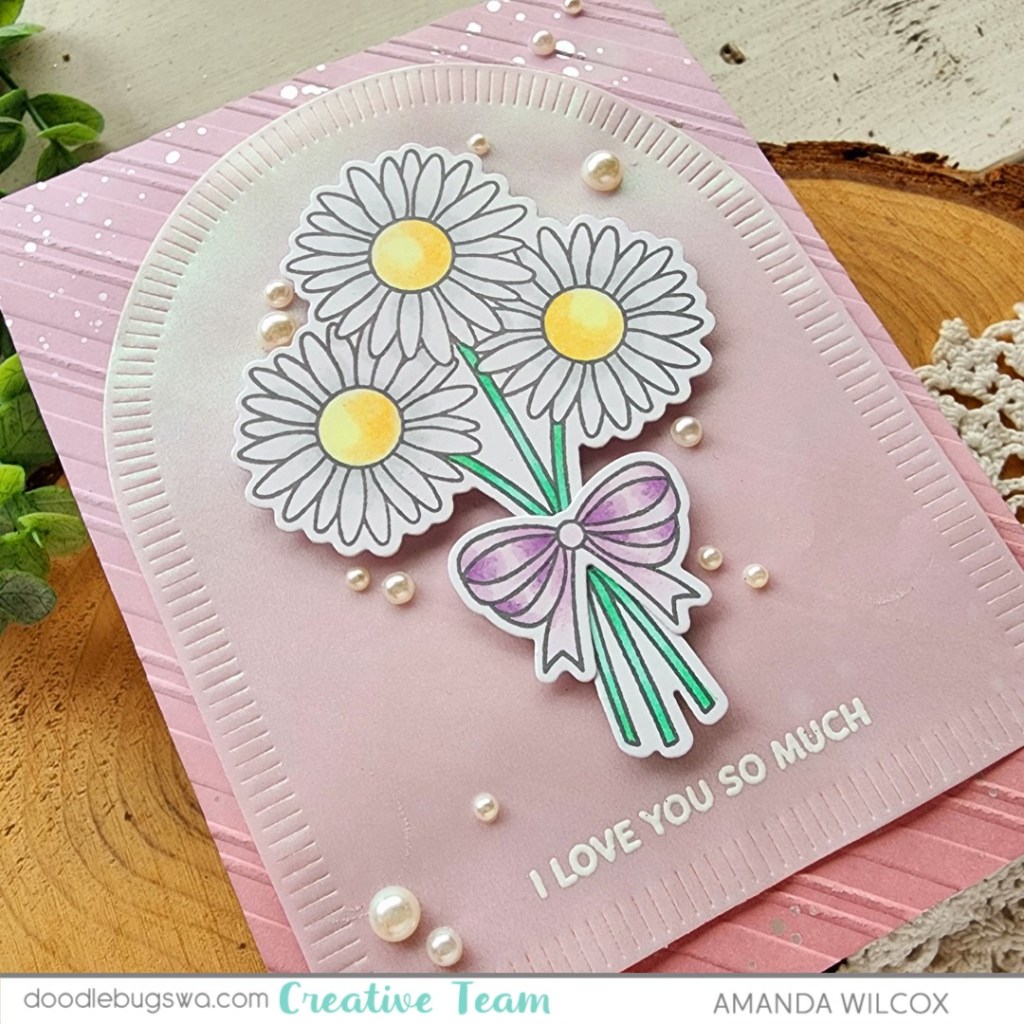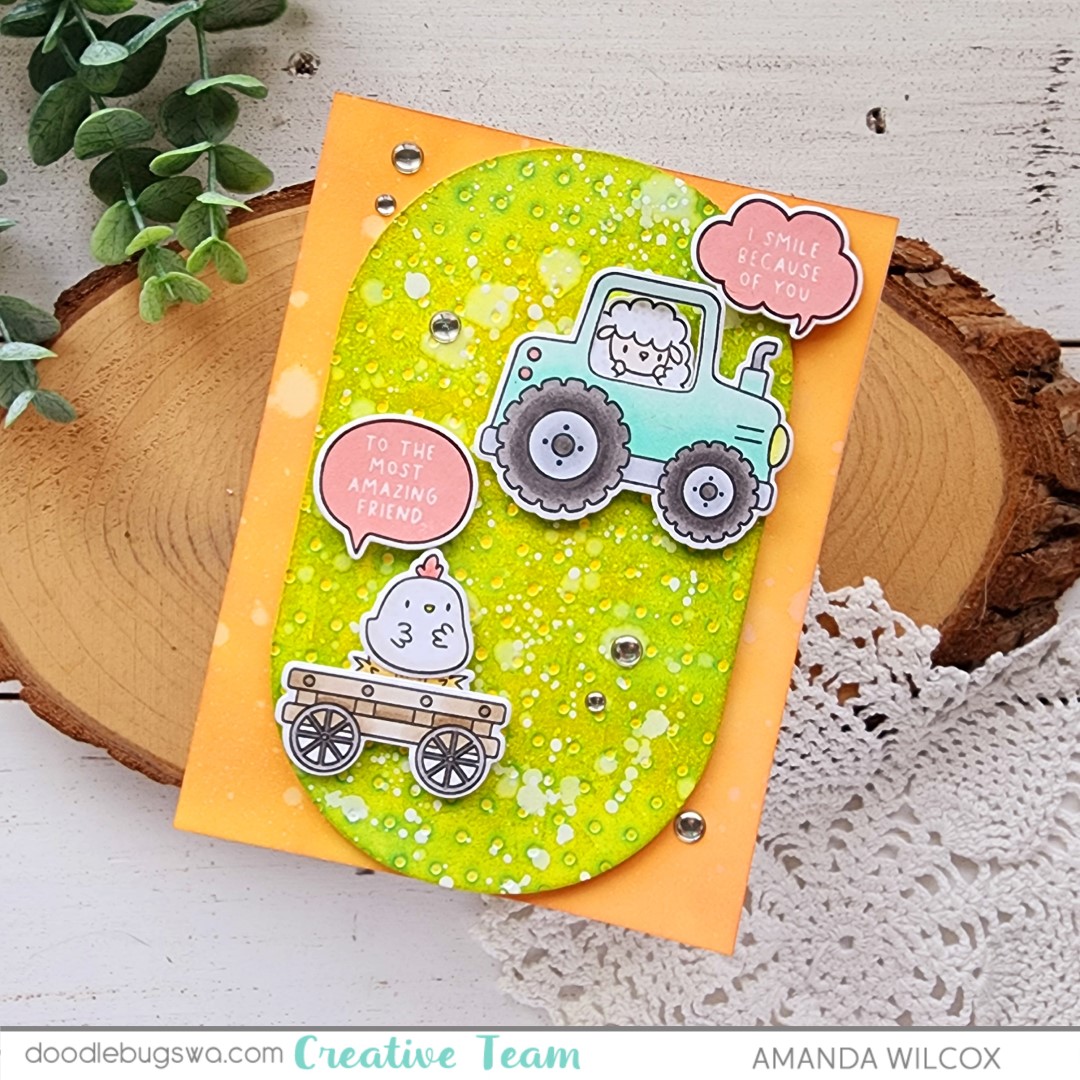
Hey friends! I’m super excited that my friend Shanna invited me to be her coffee date on the Coffee Loving Cardmakers blog today. We decided to play along with the Newton’s Nook Inky Paws Challenge, plus Twiddler’s Nook tools and embellishments. Oh boy did I have fun!
Here’s a peek at the card I created but all the details are on the Coffee Lovers blog HERE if you’d like to read more.
I appreciate you sharing your time with me. Have a fabulous day!
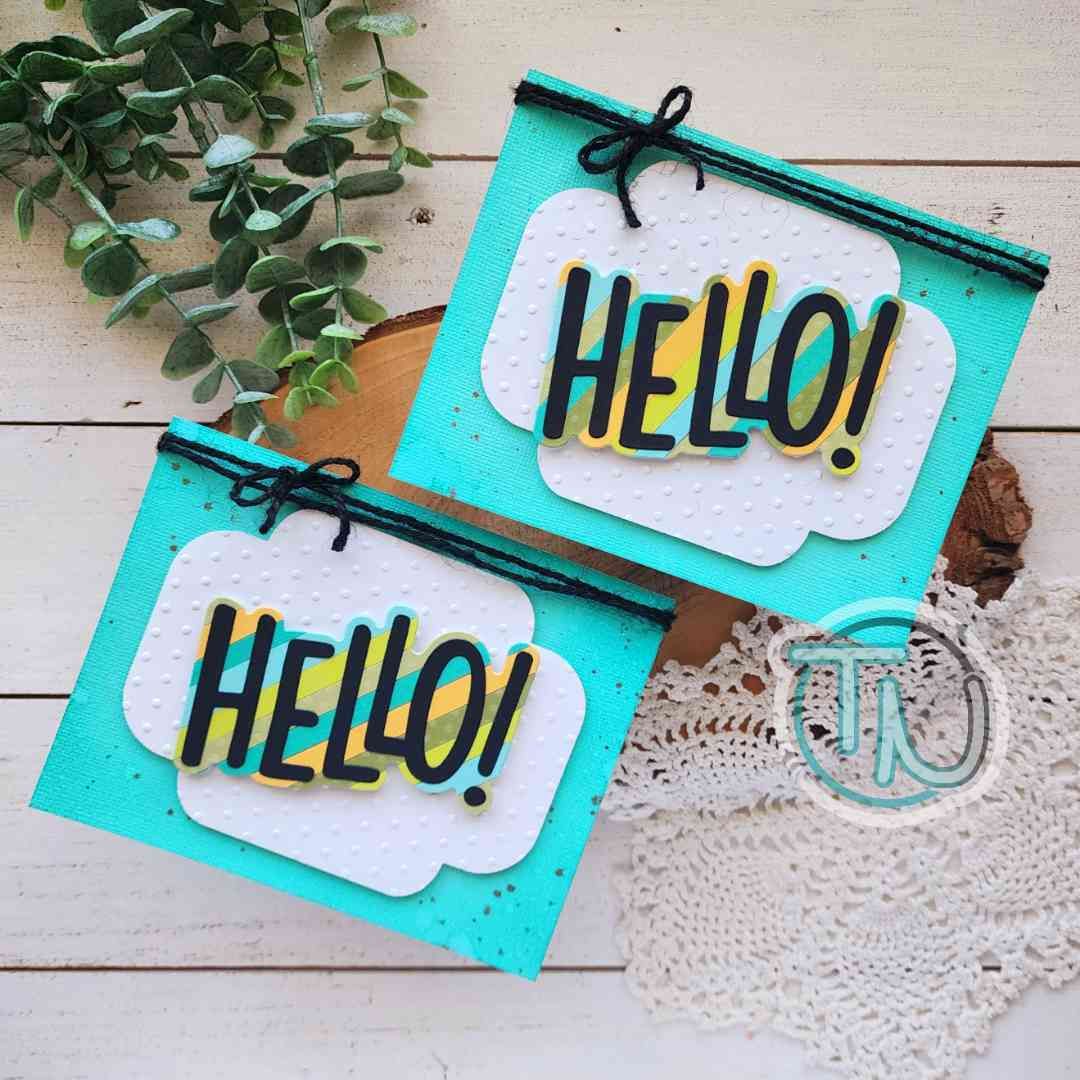
Hey friends! I’m over the moon with excitement to share that I’m hosting a one-day, in-person retreat in Salem, OR.
The day will consist of creating four awesome projects, a Twiddler’s Nook pop-up shop, lunch provided with registration, the best swag bags and SO MUCH FUN!!!
And we’ve already got amazing sponsors too!
If you’re in the area, I hope you’ll consider joining us!
Welcome to a monstrous mix-it-up Monday everyone!!! I’m super excited to share my creations today. They were so fun to make! Words don’t really express how much I think everyone should try making one of these dancing creations from Spellbinders. They are really easy and so fun, almost as much fun to give as to get!
I started these projects by die cutting pieces from the Spellbinders Dancin’ Birthday Monster set. I mixed and matched them, creating two monsters for the heck of it. That’s when I decided it would be great to make a card and gift card holder set! I cut card layers with the Spellbinders Make a Wish Arch Labels dies – two of the largest and one of the next-to-smallest.
I ink blended the Pretty Pink Posh Trellis stencil with Lawn Fawn jalapeno ink, then popped up the orange arch and also the monster. I die cut the word “celebrate” from the Pretty Pink Posh Gift Card Bag die set three times from black cardstock and glued it underneath the arch.
For the card, I finished things off with a scattering of Pretty Pink Posh pistachio pearls and a little glossy accents on the top of the birthday hat.
Next, I created my gift card holder using the Pretty Pink Posh Gift Card Bag die set.
After cutting the front and back of the bag from white cardstock, I inked both sides with the Trellis stencil just like the card front. Then I popped up the monster with foam squares and glued my sentiment underneath him. The sentiment is also part of the Gift Card Bag dies.
Dancin’ Character Tip: You’ll see with the Spellbinders dancing characters, the legs have a tab at the top with a hole in it. To attach them to anything, add a foam circle to your base (card front or gift card bag), slide the hole over the foam circle, remove the foam release paper and adhere your character body on top. Be sure that the foam squares on your character don’t impede the movement of the legs though. I just added them to the top half to make sure I was safe.
Please leave me a comment or send an email if this isn’t clear and you’d like a step-by-step photo tutorial.
Happy Valentine’s Day friends!!! I love making and giving valentines every year! This year I made some cards for people and some treat boxes for others. This card was for a very special someone that I’m very excited to give!
I started by choosing this sweet image from Pink & Main Prickly Hugs to stamp and color. I die cut it and set it aside to work on my background.
I’m a little extra into this pink and green combo right now so I knew my background would be pink while I was coloring the green cacti. First I die cut the Heart Spotlight cover die from white cardstock. Then I inked up the heart that comes from that with distress oxide ink in picked raspberry and kitsch flamingo.
Then I took a panel and inked it up with worn lipstick and spun sugar distress oxide and like that combo better so I went over the heart with those colors toning down the brightness. I spritzed the panel and heart with water and flicked them with black acrylic paint.
While those were drying I stamped and heat embossed my sentiment on a Large Sentiment Strip die cut. Next, I used a combination of liquid glue and foam squares to adhere everything to a card base.
For finishing touches I just added stardust Stickles to the cheek on both cacti.
Hey friends! Let’s mix things up with a fun birthday shaker card on the Doodlebugs blog today! I pulled out some fabulous hot foil plates from Spellbinders and combined them with Pretty Pink Posh stencils for my background and the combo couldn’t be more perfect!
I started by hot foiling the Spellbinders Giant Party Balloon and the sentiment in the set. The balloon pieces are silver and the sentiment is moondust hot foil. To accentuate the moondust foil I went around the edge with a blending brush and Lawn Fawn mermaid ink after die cutting it out.
I wanted to make a shaker and this Giant Party Balloon set comes with the inner circle die to make that a reality. How fun is that! So I cut another large circle from white cardstock and inked the center with mermaid ink like the sentiment. Plus I cut an acetate circle and threw all my elements together with liquid glue and foam strips, inserting Spellbinders silver smooth discs as my shaker bits.
Next, I pulled out the Pretty Pink Posh Layered Candles stencil set. I inked the bottom of each candle row with mermaid and the top with peach fuzz. I replaced the candle layer with the detail layer and did the same thing again. Then for the flames, I spread Brutus Monroe yellow Chroma Glaze. It gives a shiny finish which is fun for the background of our blingy shaker balloon.
Finally, I took the mermaid ink pad and drug it across all four sides of my card base. I popped the stenciled panel up with foam tape and glued the balloon directly to that with liquid glue. Then I glued the sentiment to the front of my balloon as well.
To finish my card off, I tied some orange bakers twine around the top into a bow.
Happy Sunday friends! I’m popping in to remind you of the Newton’s Nook release that went live on Friday and share another fun card for inspiration! I have been hoping and wishing for more St. Patrick’s Day goodies from Newton for a while and I’m so happy that it’s finally here!
I started with hot foiling the new Shamrocks plate twice across a piece of white cardstock. Then I masked off sections and ink blended a rainbow with blending brushes and dye inks covering the whole panel. Next, I splattered the panel with gold watercolor and set it aside to dry.
I die cut the ticket shape from the Framework die set twice, one black and one white. Then I heat embossed the sentiment from Newton’s Lucky Clover in gold on the black one. I used liquid glue to adhere the tickets together and popped them up on the foiled panel with foam squares.
I glued the panel to a card base and finished the design off with a few red clay hearts.
I don’t have a lick of Irish in me but my heart has got to be part green as much as I love St. Patrick’s Day and all things related!
Hey friends! We’ve got a super adorable mini-release from Newton’s Nook today! Let’s take a look at all the products and then a few inspiration projects too!
Newton’s Lucky Clover stamps and dies
Lucky Dog stamps and dies
Shamrocks hot foil plate
Aren’t these new goodies so much fun!?! I have a few projects to share with you so let’s dive right in! We’re starting with Newton’s Lucky Clover with a side of the Shamrocks hot foil plate.
When I received these release products, I heated up my glimmer machine and started playing with the Shamrocks hot foil plate first. I foiled some scraps and some full size card front pieces as well.
For this card, I took a scrap and perfectly die cut it with the Fancy Edges Tag die. After inking up my foiled tag with green dye ink and a blending brush, I cut a second tag from white and a hole reinforcer from gold glitter, then used liquid glue to adhere them all together.
I cut rainbow strips of cardstock and glued them to a white panel before die cutting it with the largest Framework die. I stamped my sentiment across the bottom of that and set it aside to stamp and color my Newton’s Lucky Clover images. I colored those with copic markers and used the coordinating dies to cut them out.
I added foam tape and squares to the back of everything. But before assembling it all, I took a green ink pad and drug it across the front of my card base. It gives a cool texture while quickly adding color to my background.
After assembling all the layers, I added glossy accents to Newton’s nose, toe beans and the buckle on his hat. Then I couldn’t resist a little stardust Stickles on the horseshoe and floating heart too.
Now, let’s get a little Lucky Dog action going on!!!
For this card, I took a panel I had hot foiled with the new Shamrocks plate and ink blended distress oxide inks across part of it. I faded from mowed lawn to twisted citron and then splattered it with water. I die cut the panel with the rounded rectangle in the Frames & Flags die set. To break up the line where I masked the panel, I added a strip of gold glitter cardstock next.
After stamping and coloring my puppy with copic markers, I used the coordinating die to cut him out. Then stamped and heat embossed my sentiment on a speech bubble. Now we can assemble this card too.
I cut a piece of light gray cardstock and glued it to a card base, then popped the foiled panel up with foam tape. Next, I added the puppy and speech bubble to that with foam squares.
To finish things off I tied twine around the top of the card and added glossy accents to the puppy’s nose. Last, I added black glaze pen to the puppy’s eyes, let it dry and added a white highlight back in.
Remember, these new products are all available in the Newton’s Nook shop right now! Treat yourself to a bit of luck and get them while they’re hot!
I appreciate you sharing your time with me. Have a fabulous day!
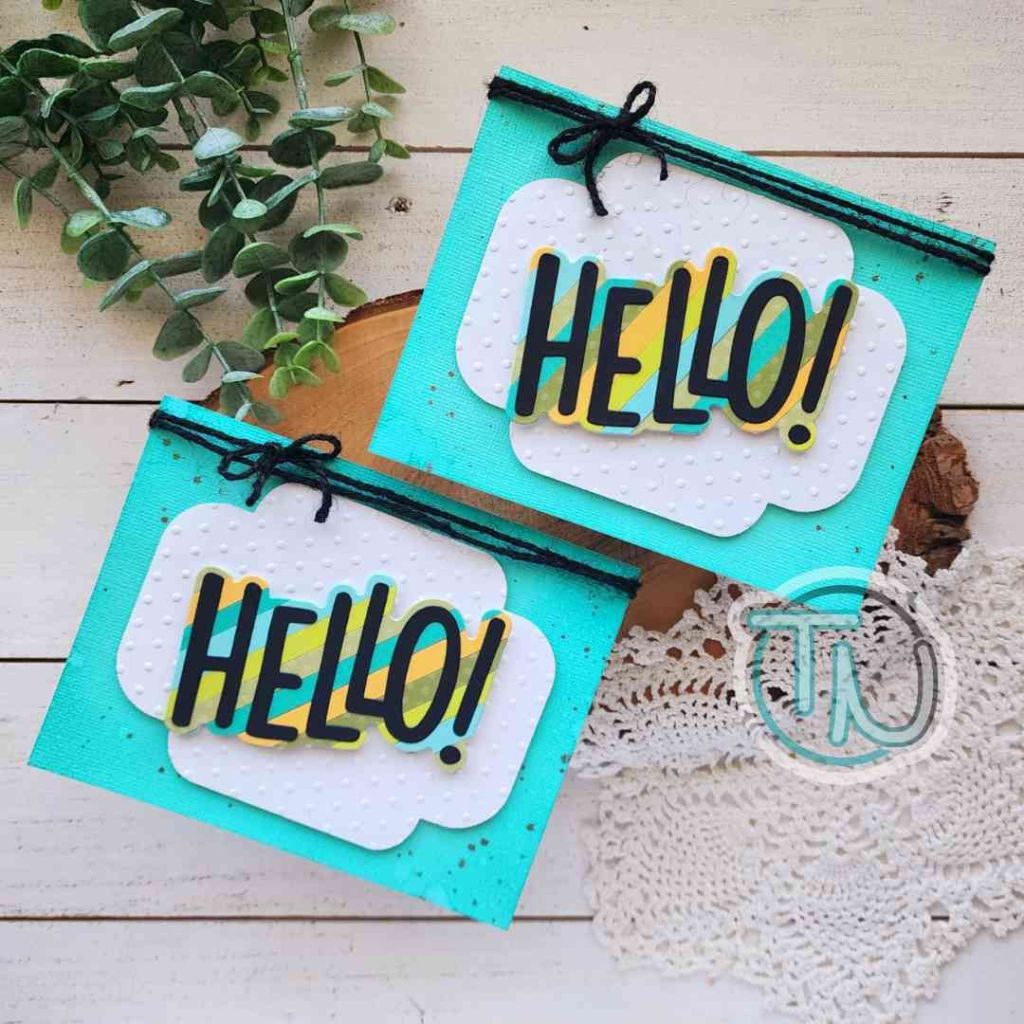
Hahaha! I’m still rolling over the sentiments in this new Stuck On You stamp set. It’s got my favorite little hedgie, plus a few fabulous cacti that work great with her but also on their own or setting a scene for something else.
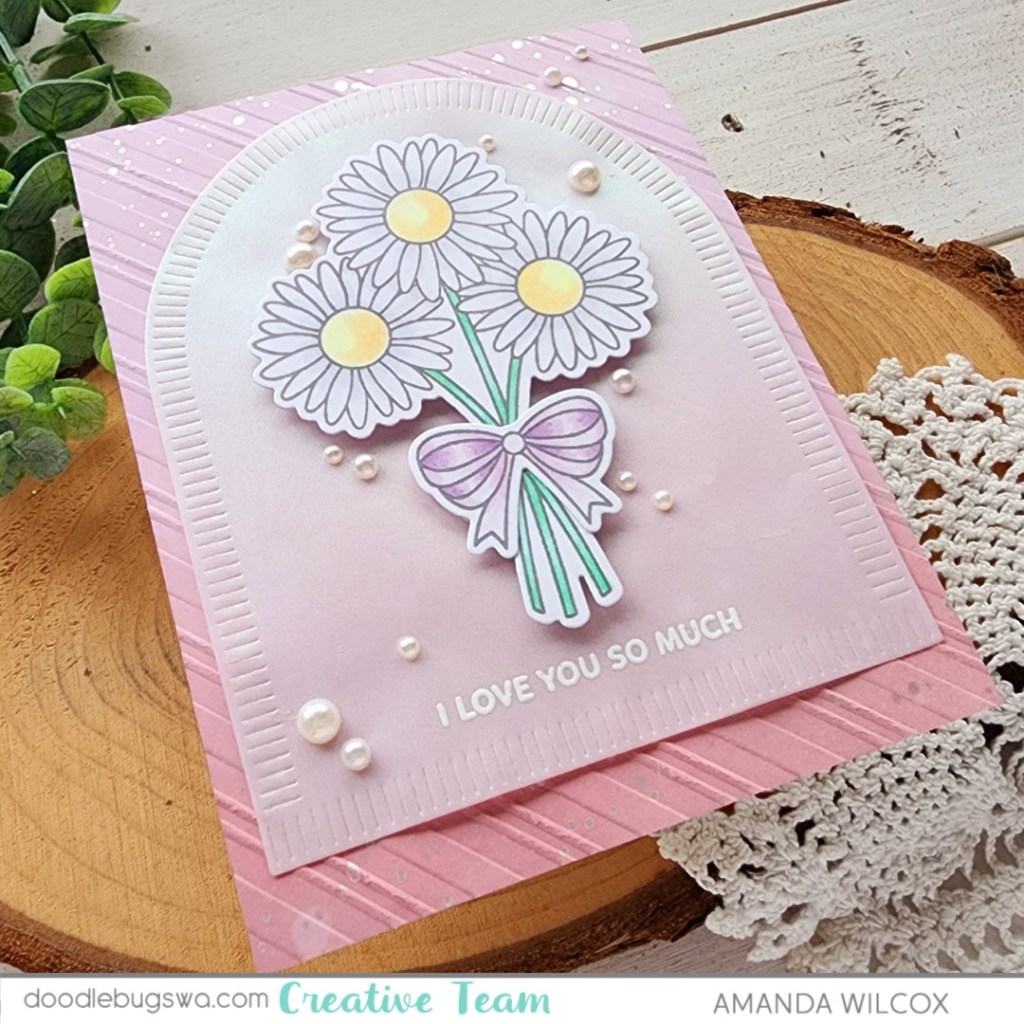
After stamping and coloring the images, I used the scan-n-cut to cut them all out. I die cut two tags, stamping my sentiment on the white one and adhered the images with a combination of liquid glue and foam squares. I glued the tags together, offset and then went ahead and added a hole reinforcer before threading jute twine through the hole.
I had a really hard time choosing a stencil for my background but eventually landed on the Fancy Shells stencil with a combination of distress oxide inks from milled lavender to picked raspberry, down to seedless preserves. I removed the stencil and lightly went over the whole panel with the same colors again. Next, I added a strip of washi tape to the edge of my card base and then popped the stenciled panel up with foam tape.
Then I added the tags to that with foam tape as well. For finishing touches I went over the hedgie’s eyes with black glaze pen and glossy accents to the flowers of the cacti.
Seriously, this sentiment cracks me up every single time I read it. It will never get old and I will probably make a billion cards with it.
Oh my word! I absolutely fell in love with these sweet pups from MFT Stamps the moment I saw them! It’s not often that I jump on the moment a release is live and snag something for fear of not getting it. These were one of those things. I love them so much!
So this weekend I carved out a little time to ink them up and play just a little bit. Isn’t he so serene just floating through the air!?! Adorable!
So, I stamped and colored everything with copic markers, then used coordinating dies to cut them out. I think technically my pup is flying the opposite way he should for the heart clouds but I still like it.
I cut a piece of 3.75×5 inch cardstock and stamped it with a retired MFT Stamps background stamp using a light teal ink. I also stamped my sentiment in the center bottom of the panel and then added my images with foam squares.
I took my Distress Oxide Lost Shadow ink pad direct to paper to create a gray card front before popping my decorated panel up with foam tape. Then I finished things off with glossy accents on the puppy’s nose and stardust Stickles on all the clouds.
I can’t wait to color all of the images in this set! I think they should be attached to paperclips to use at my desk. Don’t you? How happy would that be?!
Happy Monday friends! We’re mixing things up on the Doodlebugs blog for another bit of valentine inspiration before the big day arrives. I had fun with dies and embossing today.
I adore this new Pretty Pink Posh XOXO border so that’s where things started for this card. I just cut the main piece from light gray cardstock and one heart from light pink. I still wasn’t sold on what to do so I went digging in my stash and came across the adorable Spellbinders Sweet Birdie.
I used some pink, melon and peach cardstocks from my stash to create my bird and cut a heart for the border from each color too. I glued all the hearts directly to the border except the darkest one which is popped up with a foam square. I ran a white panel through the die cutter with the Spellbinders Tiny Dots embossing folder for my background and glued the border to the bottom. Then I popped the birdie up with foam squares to match the popped up heart.
I stumbled on this ribbon in my stash to tie around the top of my panel and added a tag from the Spellbinders Envelope of Wonder collection. The sentiment comes from the stamp set in that collection too. After tying the bow I added foam squares to the tags to keep them in place.
For finishing touches I just added glossy accents to the birdie’s eye and beak. Isn’t this such a sweet valentine?