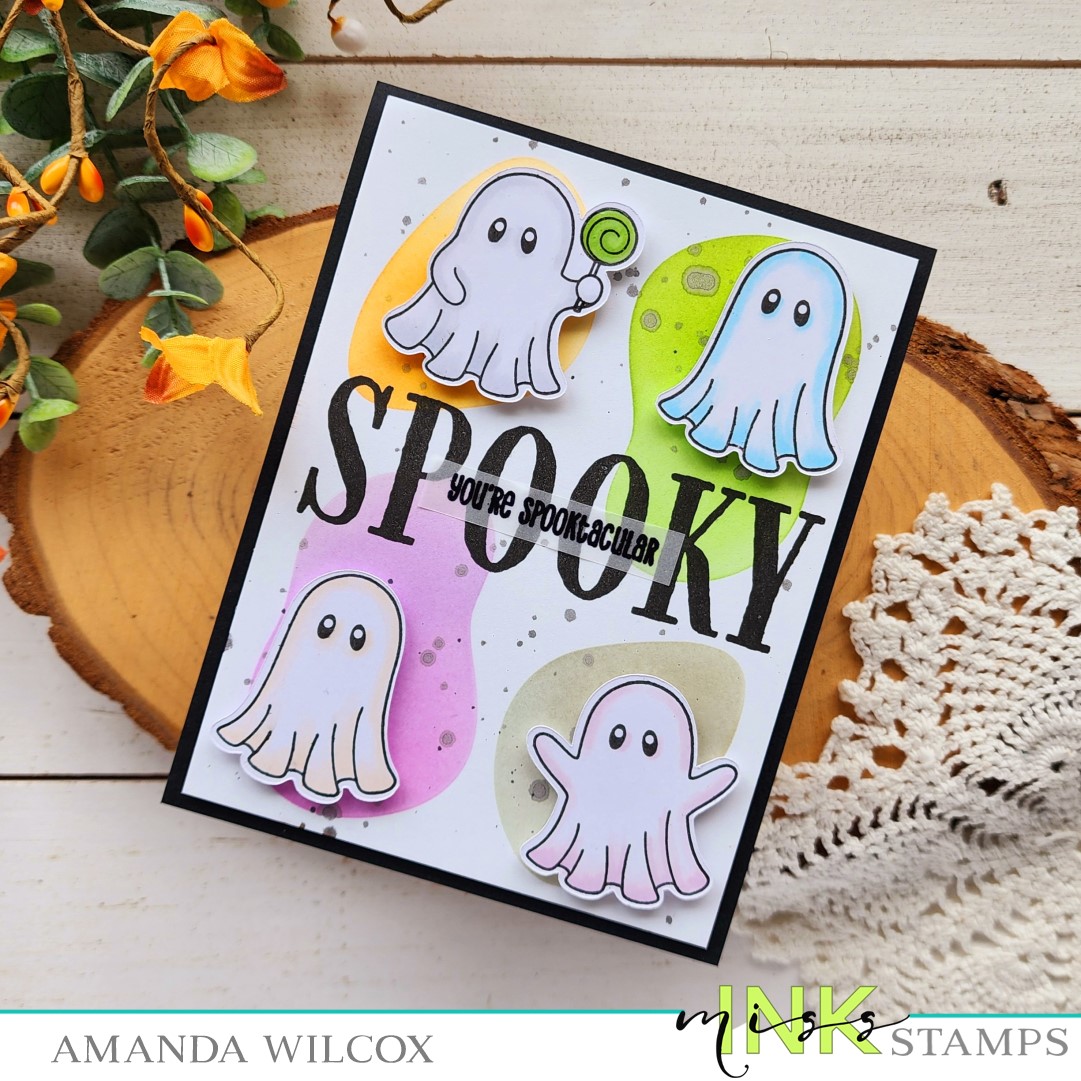
Happy Thursday everyone! I’m popping in with a couple cards featuring a new set from Miss Ink Stamps called Death Before Decaf. It’s absolutely fantastic and so much fun to create with! The images are amazing and the sentiments will have you laughing so hard. I had a really hard time choosing for my first cards because they’re all so good.

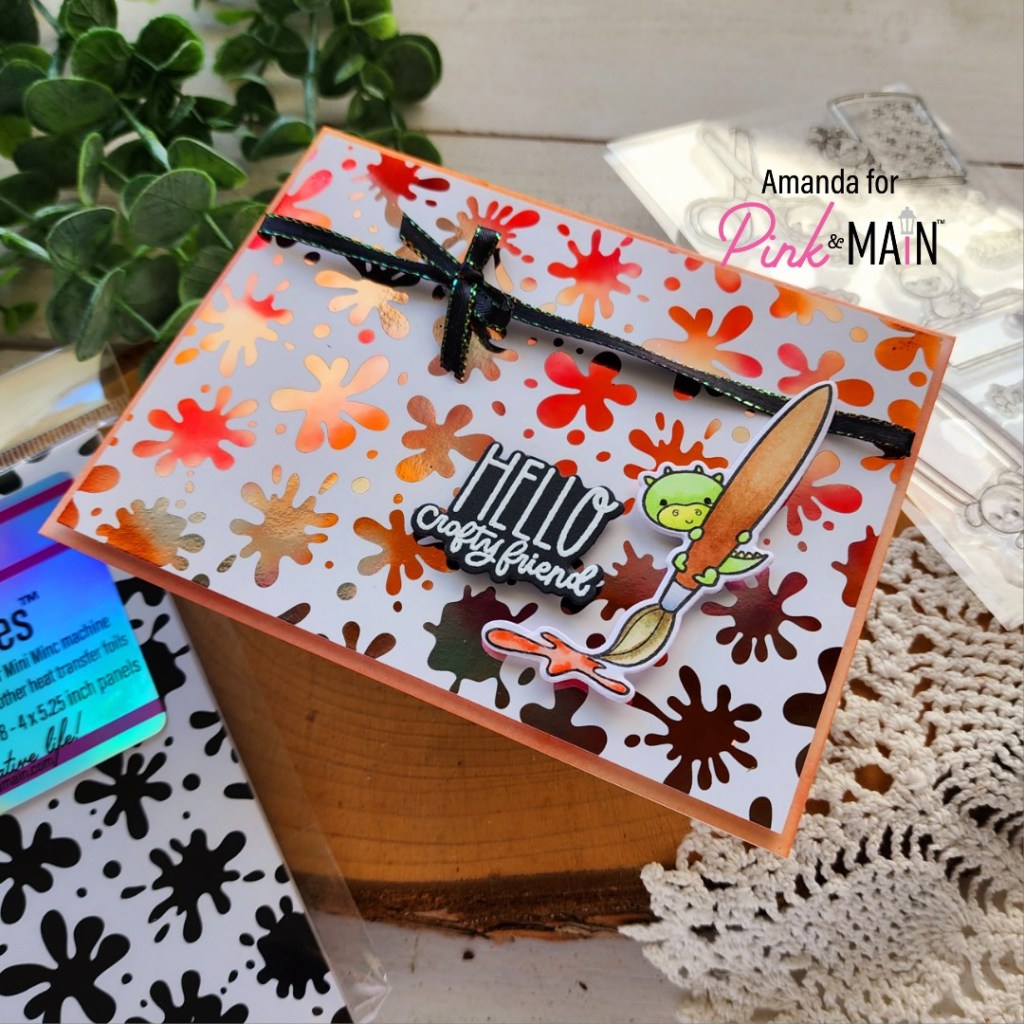
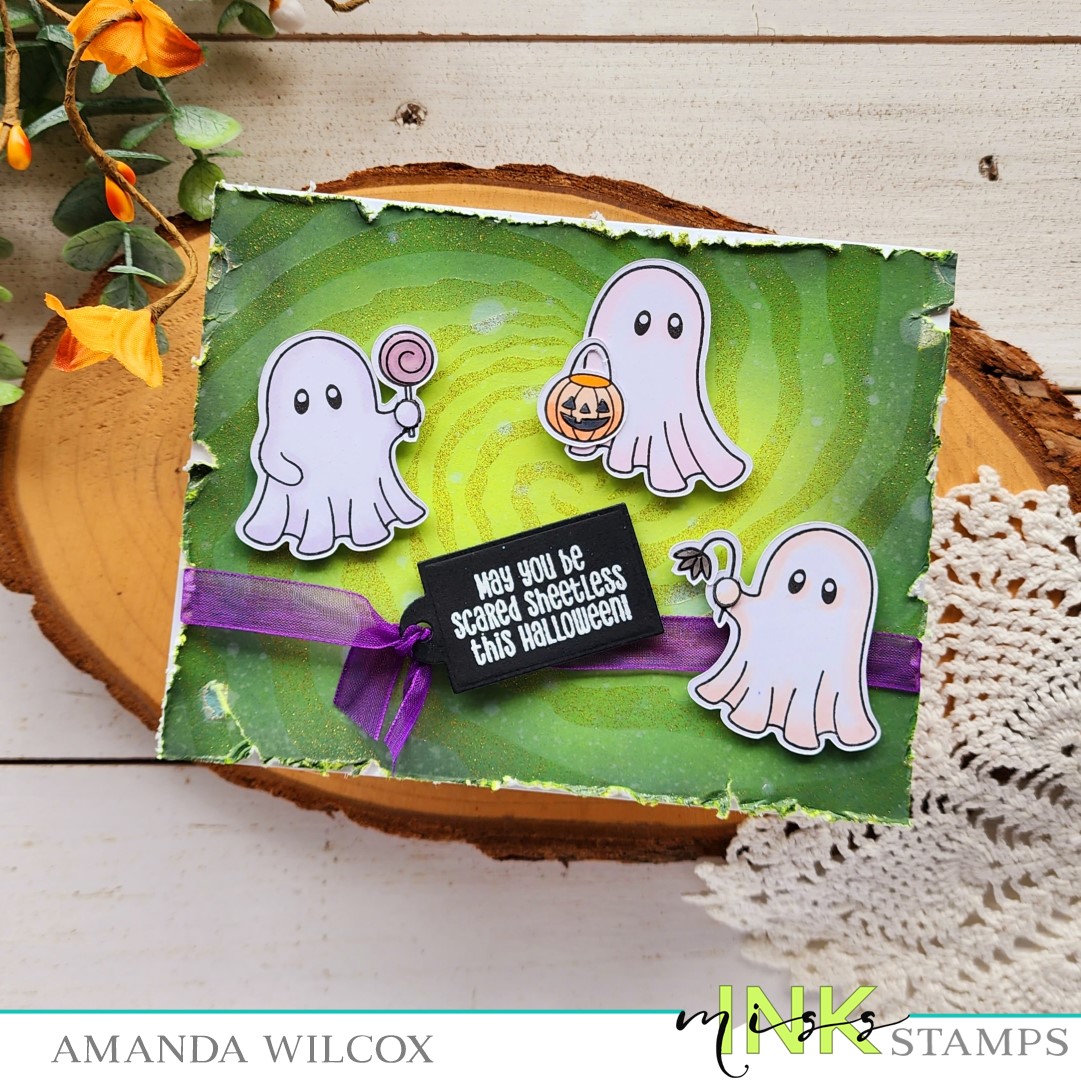
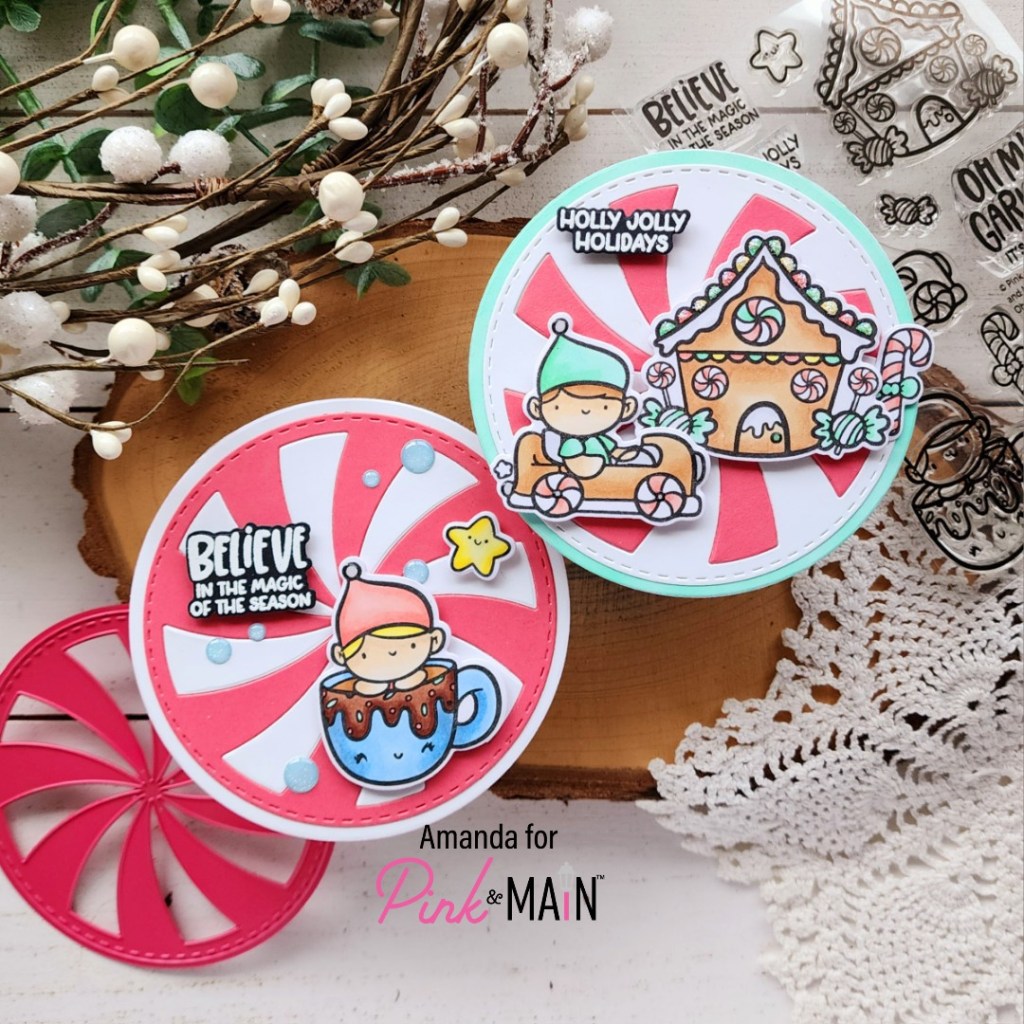
I started by coloring both images in the set and used my scan-n-cut to cut them both out. Then I switched gears to figuring out backgrounds. Thumbing through my stencils, I remembered the Cuppa Joe To Go layering stencil set and just had to use it with that matching image.

I started with the stencil layer that has the actual “cup” portion and spread Thermoweb Transfer Gel Blanco through it. Once it was dry I ran it through my mini Minc with Thermoweb Snow Day transfer foil. It gives an awesome slick white shine. Then I went with the second layer and small blending brushes to add the cup sleeves and lids on.

I glued the panel to a card base and popped the frame up with foam tape from the Modern Typeset dies. Then I added my image with foam squares, sliding the edge of the arm under the frame. I cut my sentiment out with smallest die in the Tags die set and popped it up with foam squares after threading some jute twine through the hole.
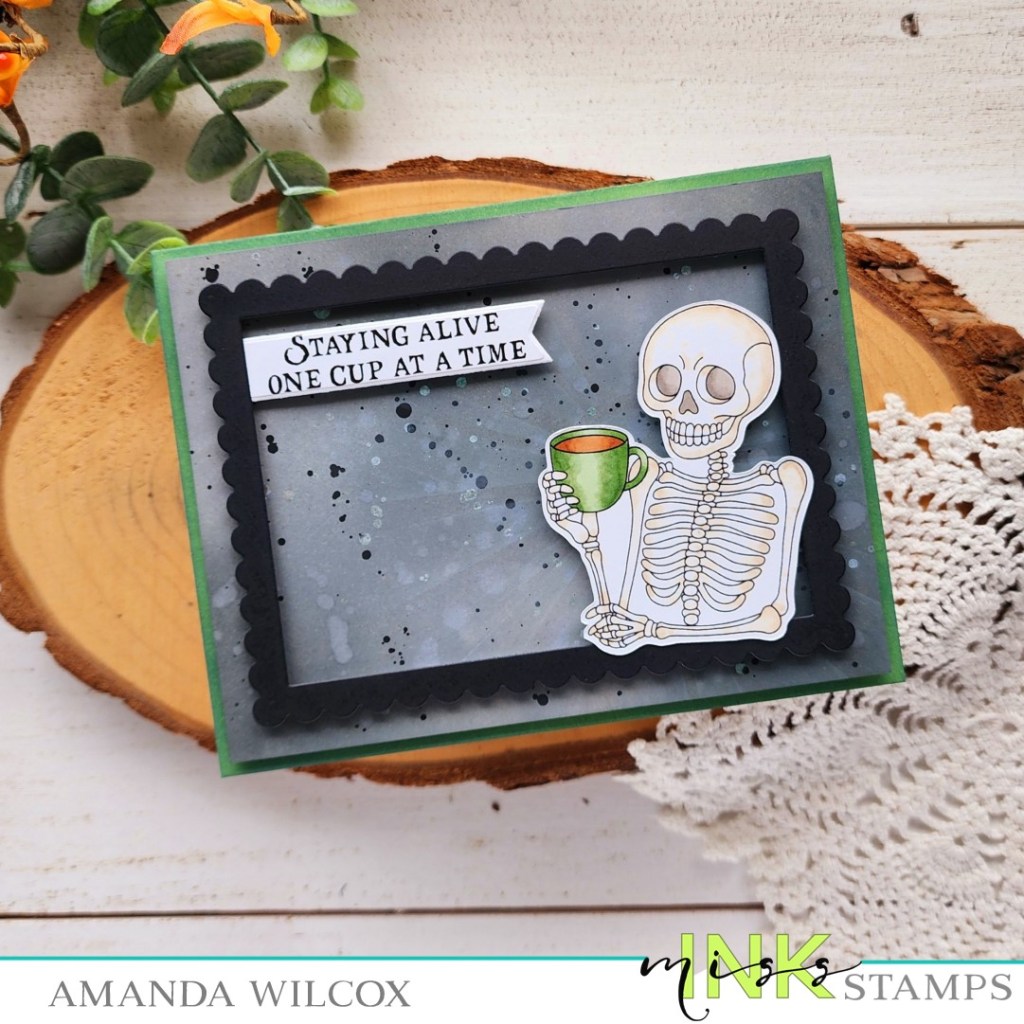
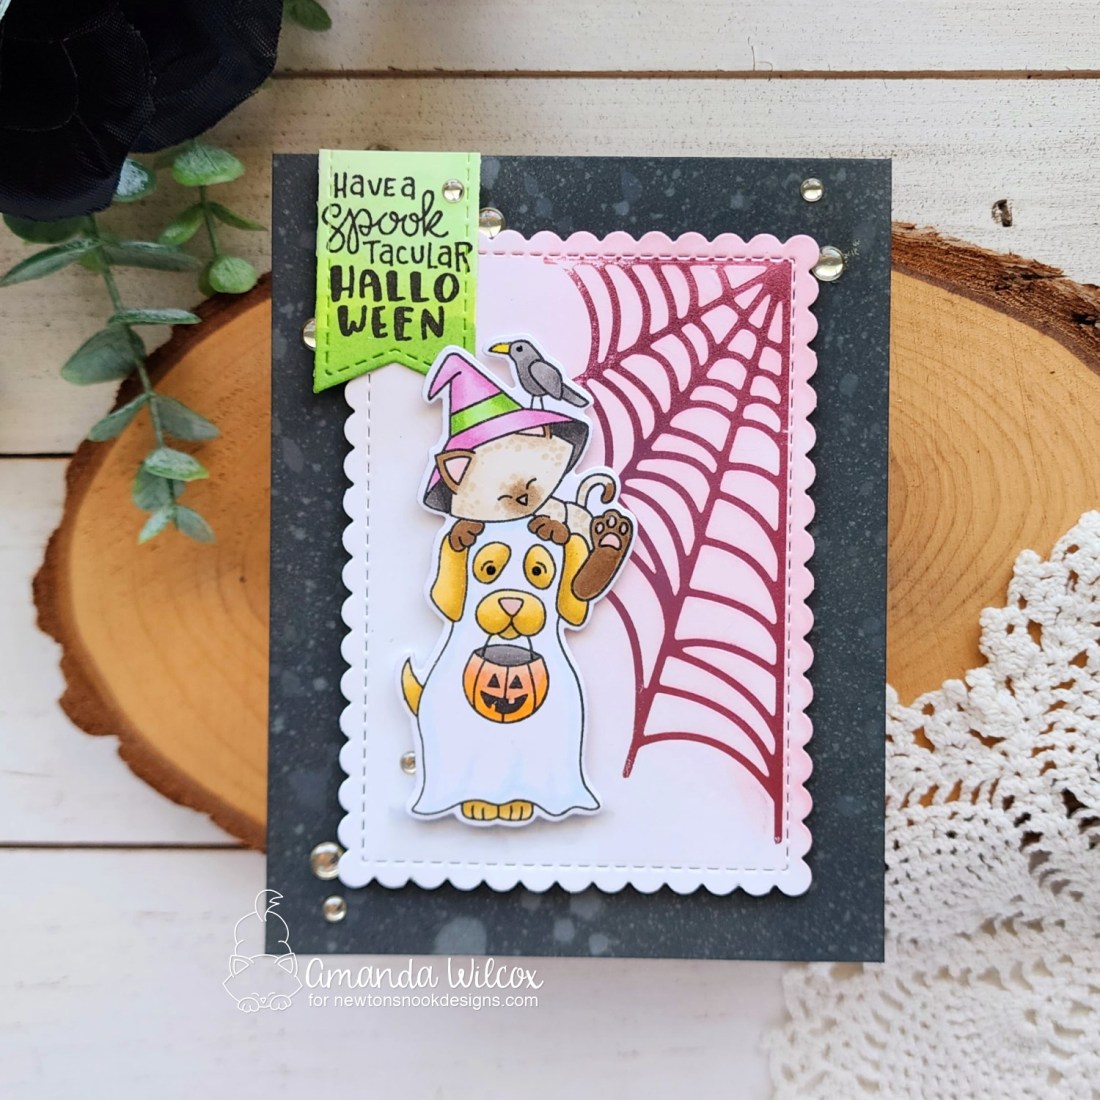
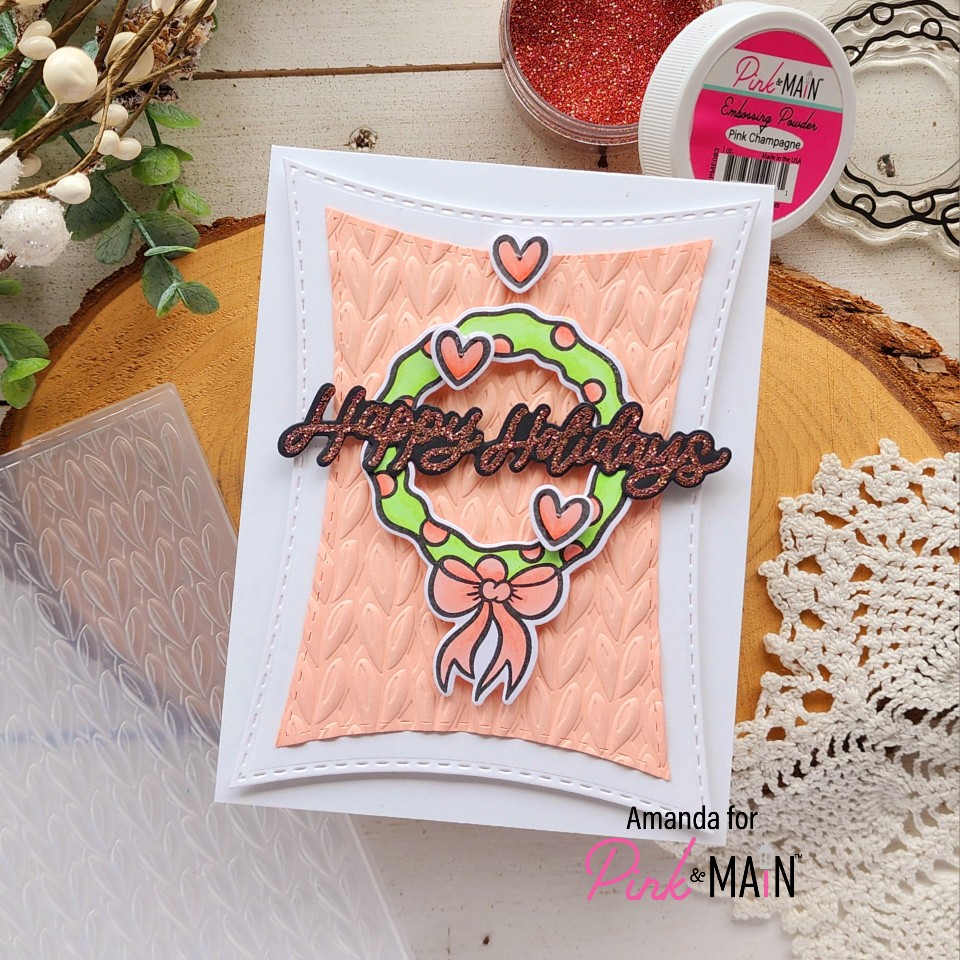
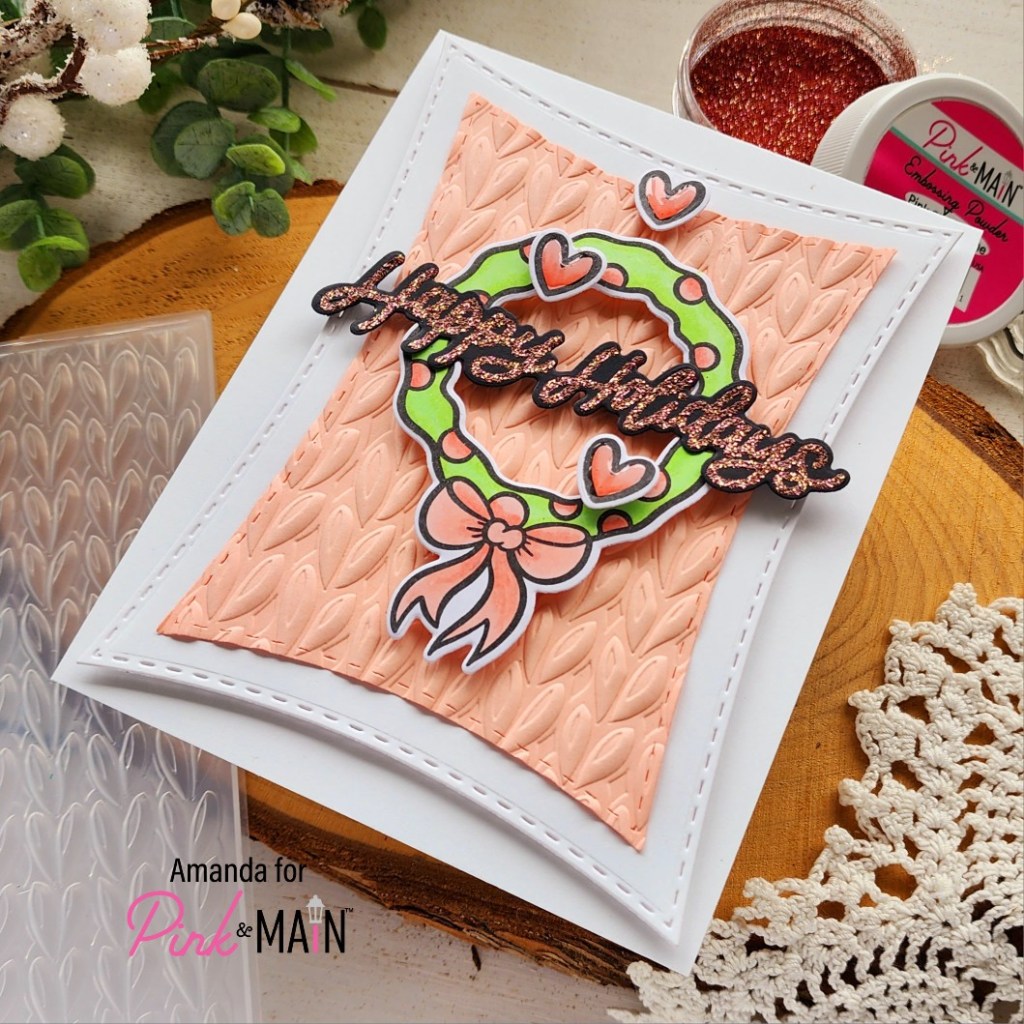
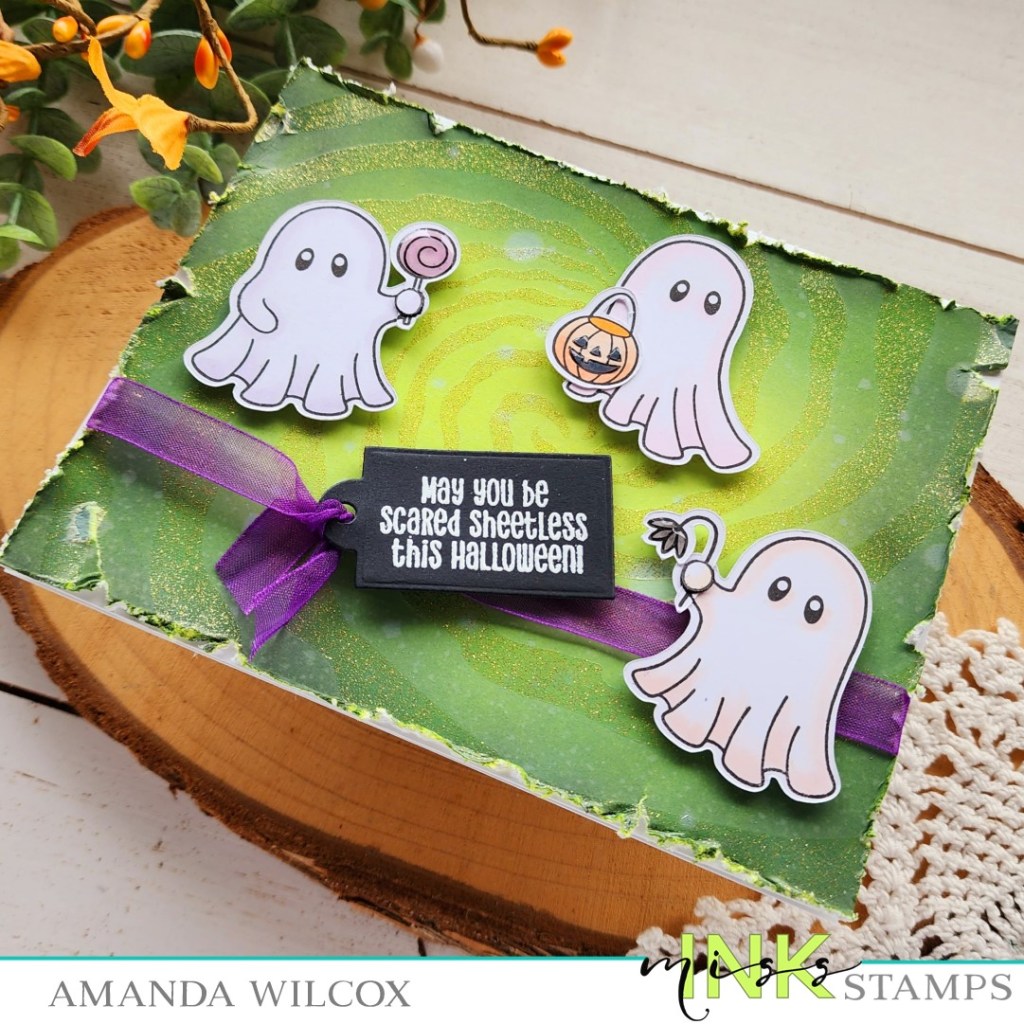
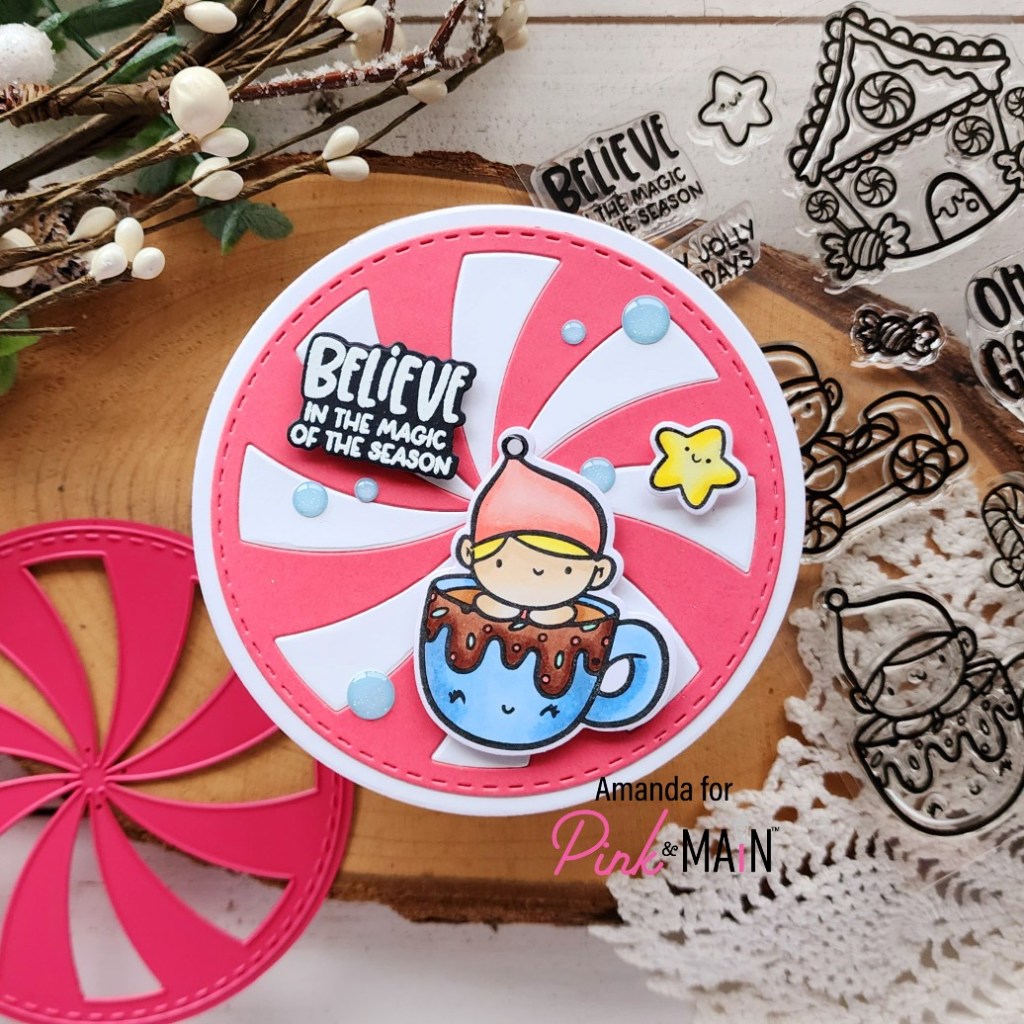
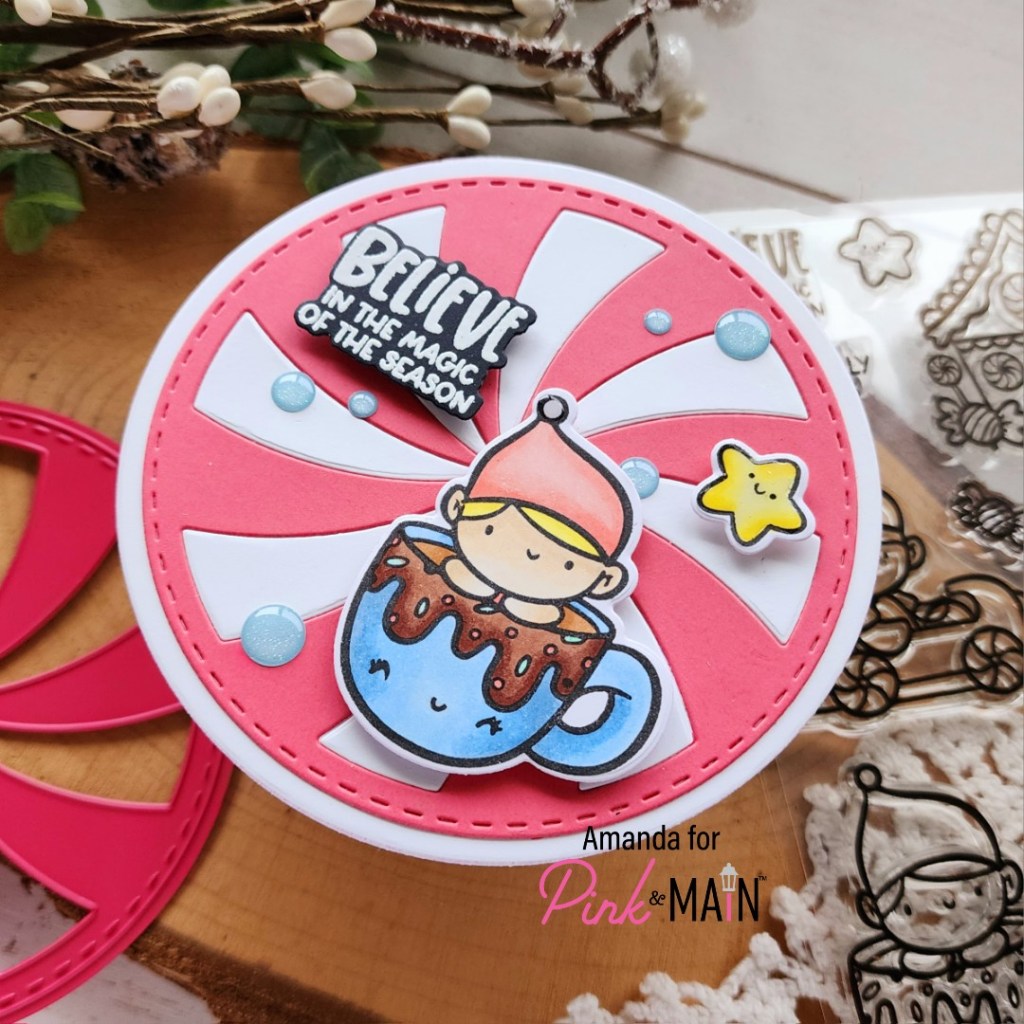
I continued my messy crafting for the second background by inking a white panel with distress oxide ink in black soot and pumice stone. I spritzed it with water and blotted it dry. Then I flicked black paint and pearl watercolor all over it too.
I pulled the green from the coffee mug and inked the edge of my card base before popping the other panel up with foam tape. I believe that was rustic wilderness distress oxide ink. (I forgot to write it down.)

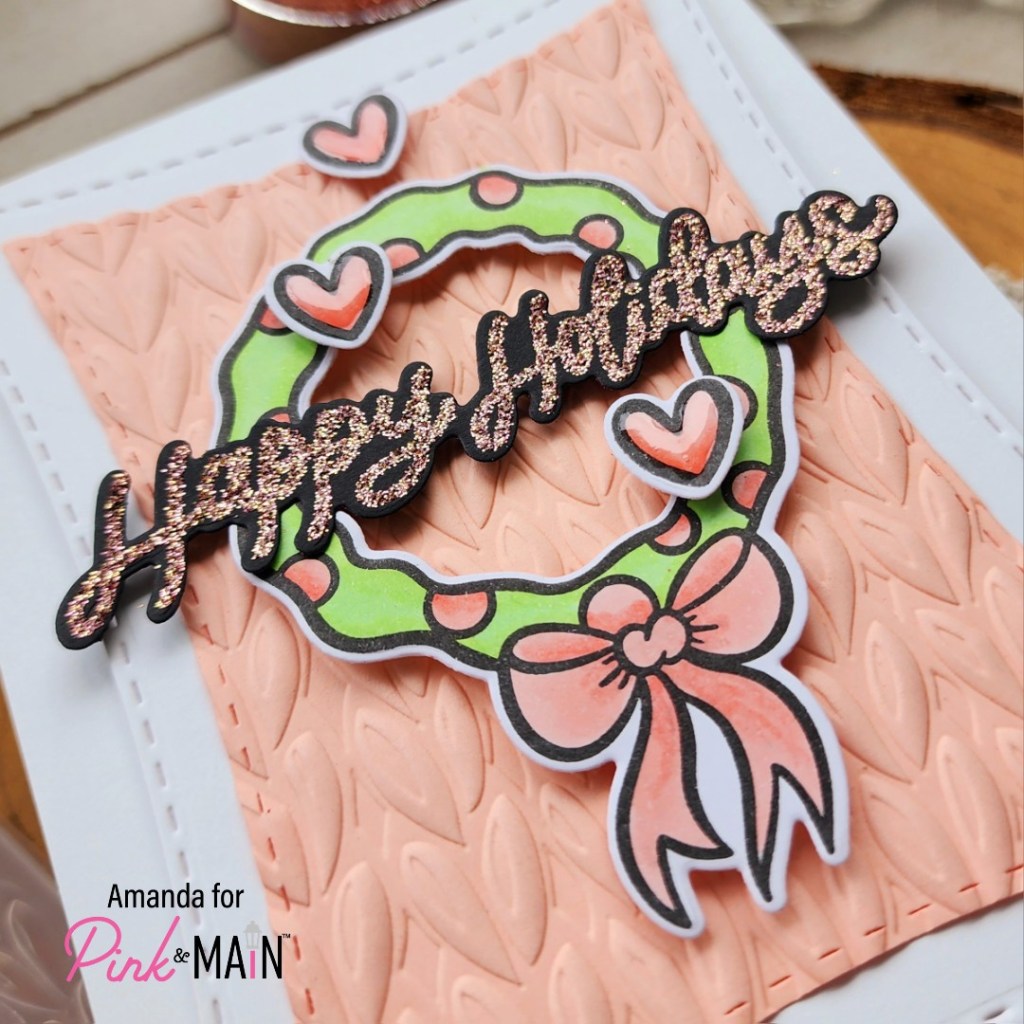
I cut a black frame from the Oh Happy Day die set and popped it up with foam strips and then added my image and sentiment banner the same way. It’s like the skeleton is leaning on the coffee counter window chatting with his buds and it totally cracks me up!
Products used today:
Death Before Decaf stamps
Oh Happy Day dies
Modern Typeset dies
Tags dies
Distress Oxide Ink – black soot, pumice stone, rustic wilderness
Mini Minc Machine
Thermoweb transfer gel blanco
Thermoweb Deco Foil transfer sheets – snow day
Stencil pal
Foam tape, strips and squares
LH Colors watercolor – pearl
Blending brushes
Lawn Fawn Extra Sentiment Banner dies
I appreciate you sharing your time with me. Have a fabulous day!