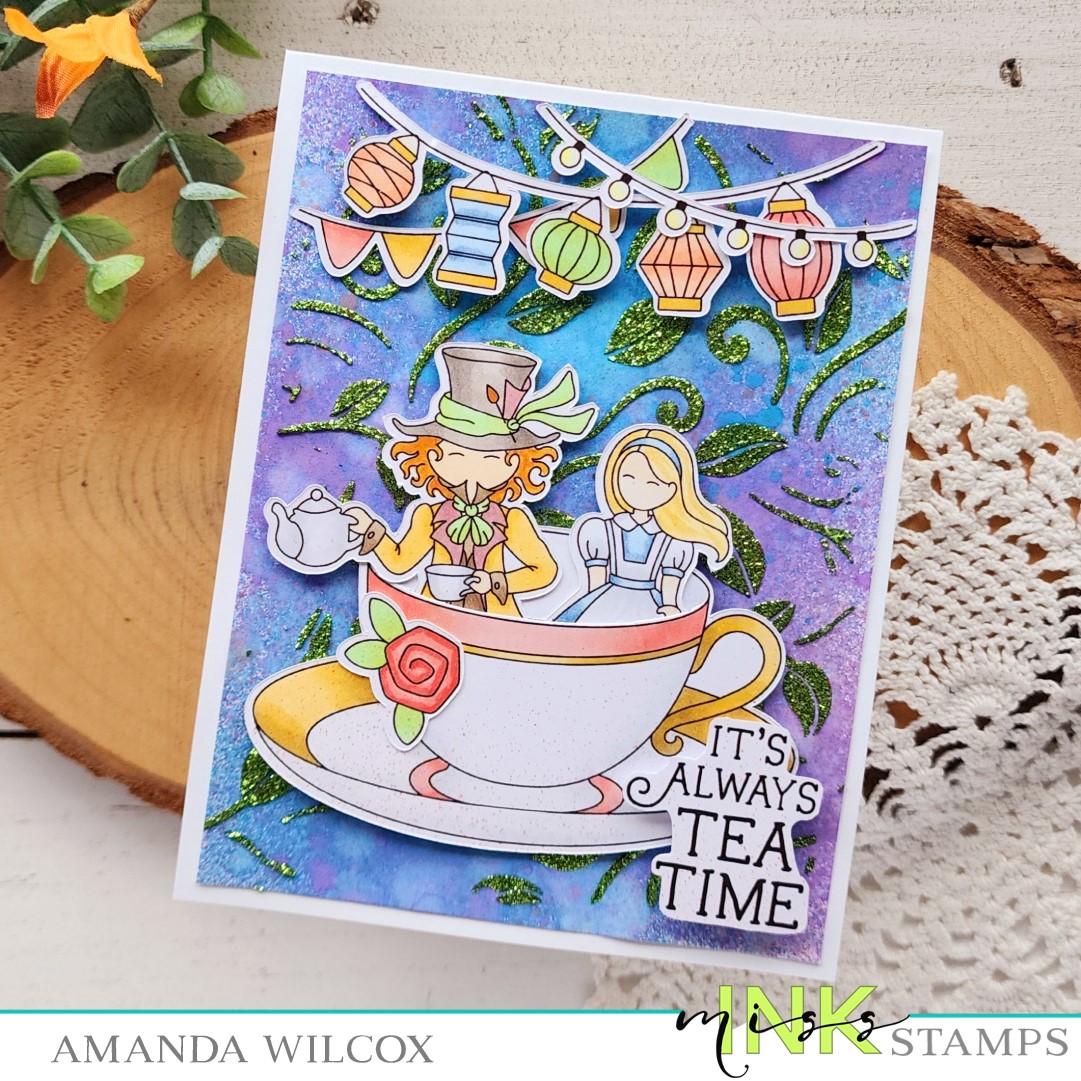
Pink & Main – Happy Fall Y’all

Welcome, welcome! So glad you’re here!!! I’m on the Pink & Main blog today and I’m fully embracing all things fall. The new Pick of the Patch stamps are absolutely adorable. At first I was choosing one image to create with but when I saw that little turtle handing his acorn to the pumpkin, my heart melted and I switched gears.

So, I stamped my images from Pick of the Patch and colored them with copic markers before cutting them out with the coordinating dies. Next, I chose a frame from the Square Frames die set. This set has four frames, all the same size but with different borders to choose from. Today I’m going with zig zag. I kept the inside that cuts out and inked the top part with rustic wilderness distress oxide ink.

I lined the back of each frame with foam tape, using this to hold the frame and insert together. Then I added all of my images with foam squares. *Note, I did stamp my sentiment on one before adding any foam so it would stamp nice and clean.*

For my background, I blended distress oxide ink in ripe persimmon, rusty hinge and mustard seed at an angle across the panel. I spritzed it with water and blotted it dry before gluing that to a white card base. Next, I just removed release paper and added all of my pumpkin filled frames.

For finishing touches I added black glaze pen to all the pumpkin eyes and Touch of Gloss to the cheeks, noses, acorn and turtle shell. Then I felt like the sentiment frame was lacking shine so I added more Touch of Gloss to the swirls between the leaves too.

I’m so happy about the season change and the crisp mornings that are starting to arrive. How about you?

Products used:
Pick of the Patch stamps and dies
Square Frames dies
Foam Tape
Touch of Gloss
Distress Oxide – rustic wilderness, mustard seed, rusty hinge, ripe persimmon

I appreciate you sharing your time with me. Have a fabulous day!
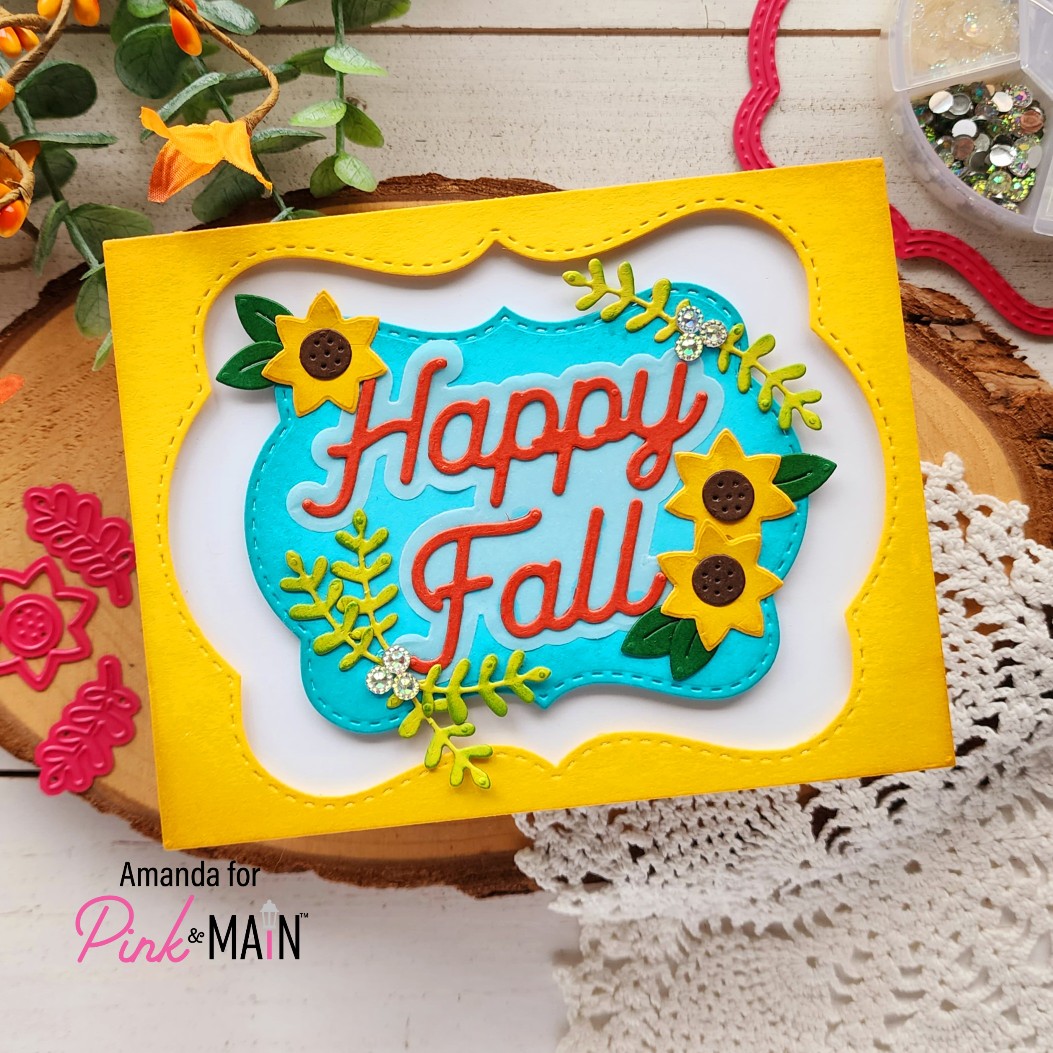
Doodlebugs – Christmas Mix and Match Fun

Hi there! Have you gotten any early start on holiday crafting this year? I feel like it really became a thing with companies doing Christmas in July releases which helped my motivation. I also noticed that Christmas crafting now compared to later on, my color choices are brighter and different which is sort of cool and fun!

I recently picked up some new goodies from Doodlebugs with the intent of mixing them together for some holiday cards. This was the first result from that. I started by playing with the Spellbinders Christmas Bird Poinsettia die cutting pieces and arranging them different ways. I used liquid glue to adhere everything except I added the poinsettia with foam squares for some dimension.

Then I inked up a panel with the Pretty Pink Posh Argyle stencil set using mermaid and jalapeno Lawn Fawn inks. After stenciling, I glued the panel to a top folding card base and then glued my foliage down on that.

Next, I heat embossed and die cut a sentiment from Mama Elephant’s Everything Nice sentiment set. I love these bold sentiments and have all of the collections. They come in handy and are a fabulous font! I added the sentiment with foam squares and liquid glue.

Since my foliage has some pretty gold shiny pieces, I didn’t add any finishing touches. They were kind of built in when I added that shiny-ness everywhere as I went along.

Products used:
Spellbinders Christmas Bird Poinsettia dies
Pretty Pink Posh Argyle stencils
Mama Elephant Everything Nice stamps and dies
Lawn Fawn ink – jalapeno and mermaid
Blending brushes
Liquid glue
Foam squares
Embossing powder
Anti-static powder bag
VersaMark ink

I appreciate you sharing your time with me. Have a fabulous day!
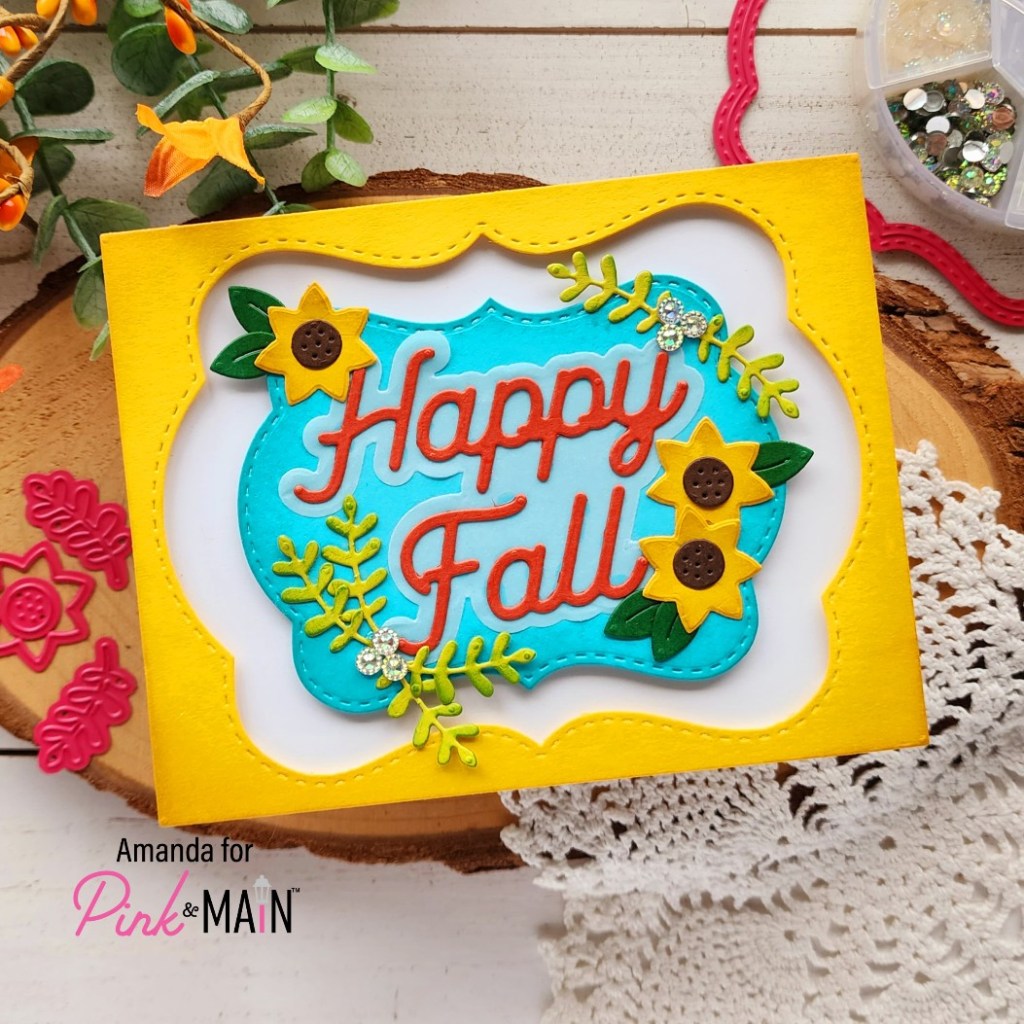
The Sassy Club – Groovy Friends Box Card

Hi there! I have recently discovered a fun brand of stamps called The Sassy Club. She does a bunch of different fandom type sets plus some of her own and I just adore her artwork. I picked up a few sets that stood out to me and immediately ordered a second time once I played with the first order. Today I have a box card to share using a couple of sets I snagged.

I chose a combo of images from Groovy Friends and Groovy Van for my mini slimline box card. I colored everything with copic markers and used my scan-n-cut to cut them all out. I cut the parts of my box card from orange and green cardstocks and used distress oxide inks to give some shading.

I used liquid glue to assemble my box card and then also used it to add the images with some reverse tweezers to hold things in place for a minute or two.

I felt like things were sparse with just the images so I followed the groovy feel and glued some clay flowers to the hills with the characters to fill things in. I think it’s really fun and adds lots of interest to a pretty simple card.

Even with the little bit of embellishment bulk, the card folds flat and since I plan to hand deliver this card it won’t have to brave the USPS sorting machine so everything should work out just fine.

Products used:
Groovy Friends stamps
Groovy Van stamps

MFT Stamps Mini Slimline Outside the Box Card dies
Trinity Stamps Clay Flowers – Springtime Sugar Posies are closest to my old set
Distress Oxide Ink – mowed lawn and carved pumpkin
Bearly Art liquid glue
Scrappy Tape 1/4″

I appreciate you sharing your time with me. Have a fabulous day!
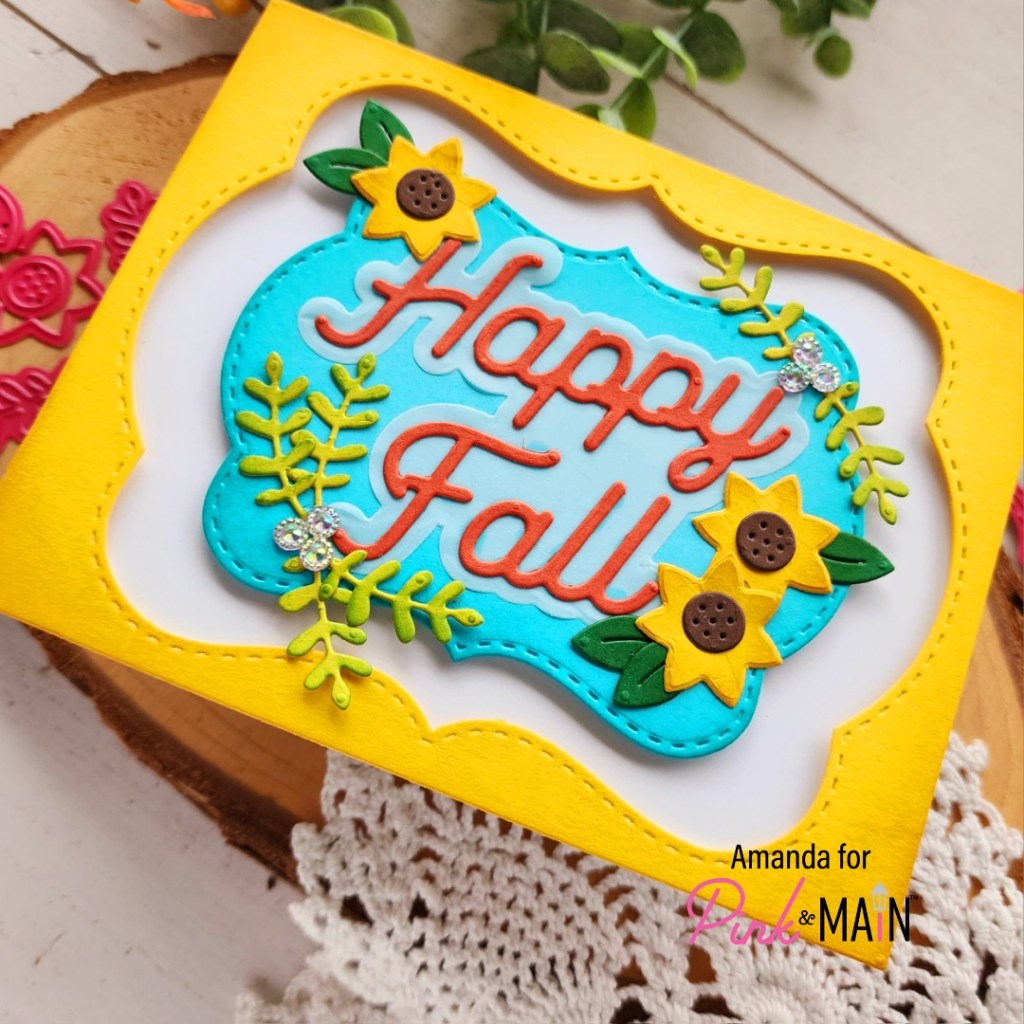
Spellbinders – Pop Up Snowflake Surprise Card

Welcome everyone. Thanks for stopping by. Today I have a card featuring some of the Spellbinders Bibi’s Snowflakes Collection. There’s a really cool layering stencil set and lots of beautiful snowflake dies.

I used the stencil on the front of my card with a poppin’ surprise on the inside!

I inked up the stencil with dye inks, except for the white snowflakes are pigment ink so it would show. Isn’t the ornament so pretty!?! Then I stamped a sentiment from Holiday Hugs Gnome Sentiments on a label and glued it on the front too.

Then, when you open the card you have this stunning snowflake pop out at you with a message even! It’s so pretty and was simple to put together. I used liquid glue so I took time to let the glue dry on each step but it wasn’t bad and reverse tweezers are definitely your friend.

Products used:
Bibi’s Snowflakes Collection
Holiday Hugs Gnome Sentiments stamps
Liquid glue
Reverse tweezers

I appreciate you sharing your time with me. Have a fabulous day!
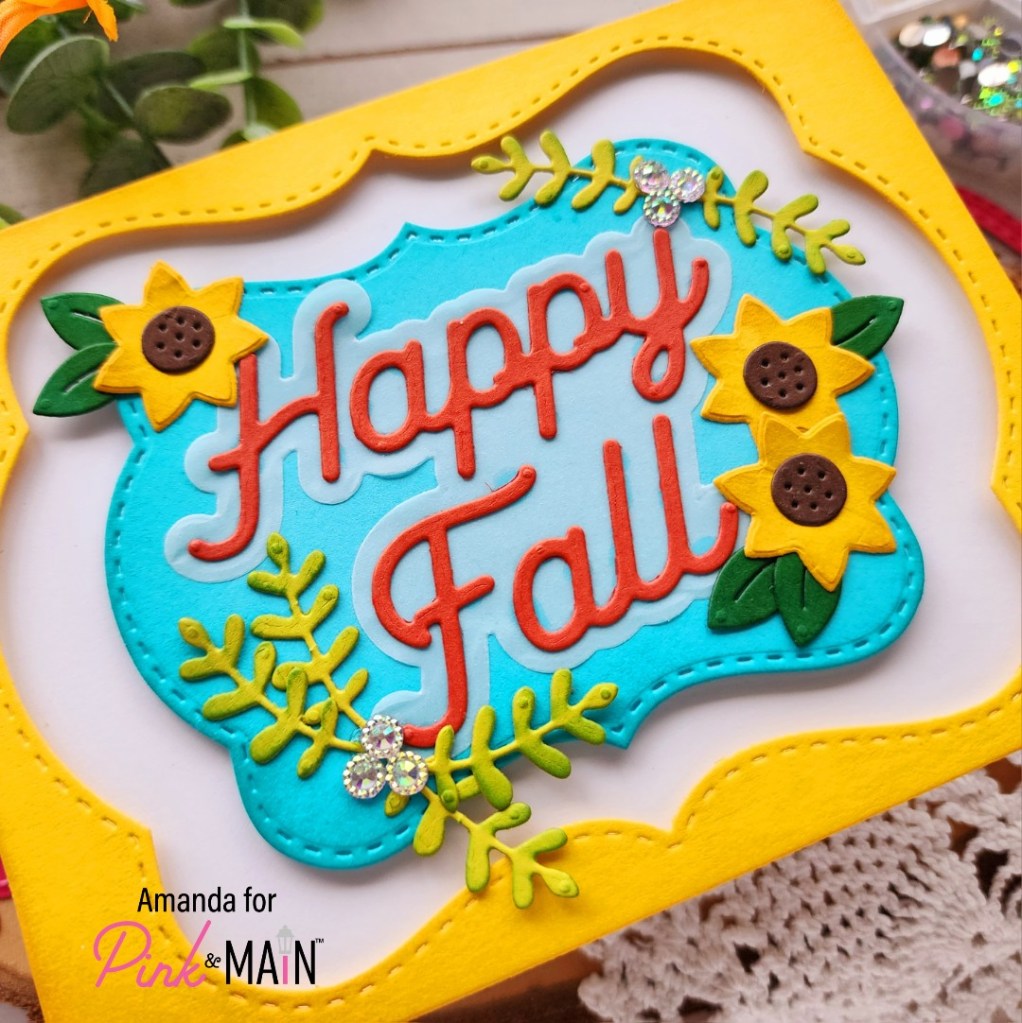
Pink & Main – Hello Sunshine Circle Shaped Card

Hi crafty friends! I hope your week is going fabulously! I’m popping in today with a card I’m sharing on the Pink & Main blog. I absolutely love these sweet hedgehogs and their sunflowers and thought the sentiment went great with a previously release sentiment die so I tried them out together.

After stamping and coloring my images from Sunny Side of Life I used the coordinating dies to cut them out. Then I went back and stamped a sentiment inside one of the sunflowers. I love that these fit in there!

Next I cut the elements from Hello Sunshine and used liquid glue to adhere them all together. At this point I decided it would be so fun to create a circle shaped card so I arranged my sentiment and images to decide the right size circles to cut. I cut 2 zigzag circles and one regular one, all from white cardstock.

I ink blended with distress oxide inks on one zigzag and the regular circle to add color. I chose shabby shutters, tumbled glass and gathered twigs. Then I glued the flower stems to the hello and added everything to the smooth circle with foam squares and liquid glue. Then I popped that up on the ink blended zigzag circle.

With the second zigzag circle, I scored a line about an inch from the top and adhered them together only at this point. that way the fold doesn’t interfere with my card front at all but there’s lots of space to write a message still.

Products used today:
Sunny Side of Life stamps and dies
Hello Sunshine dies
Layered Circles dies
Zigzag Circles dies
Foam tape
Distress Oxide Ink – shabby shutters, tumbled glass, gathered twigs
Liquid glue

I appreciate you sharing your time with me. Have a fabulous day!
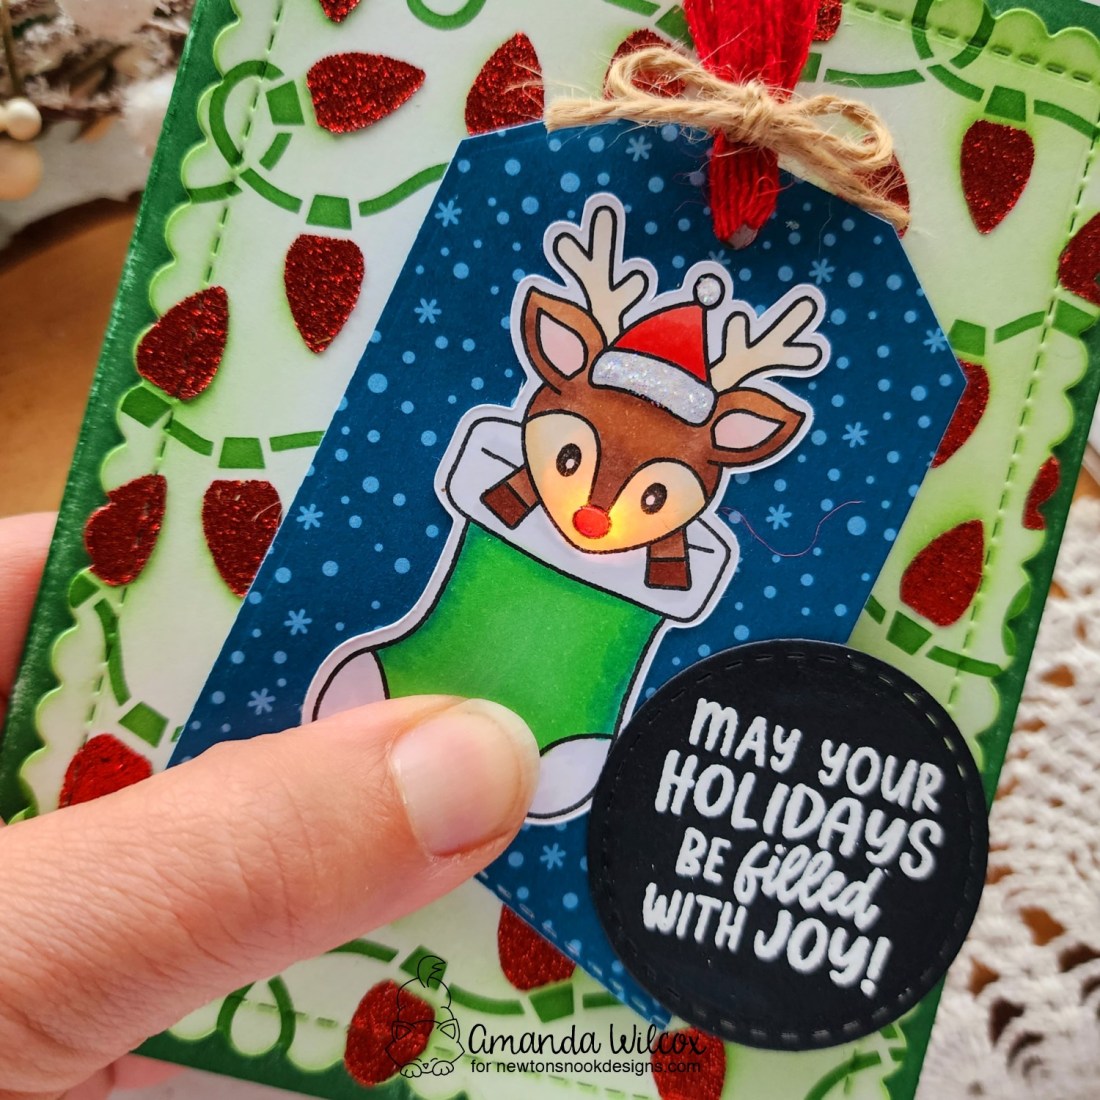
Newton’s Nook – Birthday Barks Hot Foil Personalized Gift Tag

Hello everyone! I’m happy to be on the Newton’s Nook blog sharing this fun personalized gift tag that I made for my sister-in-law’s birthday gift bag. It was so fun to create and really easy to personalize too.

I started by stamping one of the Birthday Barks images and colored it with my copic markers. Then I used the coordinating die and cut it out. I chose a sentiment that I wanted to use and stamped it on a die cut label from the A7 Frames die set in two teal inks. This label die is solid so remember to cut and then stamp to save yourself a lot of headache.

I cut two tags using the Bookmark die set – one green and one white. Then I used an edge die from the Fancy Edges Tag die set to cut the white one shorter. I hope foiled the Paw Prints hot foil plate with shattered silver hot foil at an angle across the green panel before die cutting it for some fun shine and detail.

Then I glued my sentiment label in place and popped the pups up with foam squares. I added some enamel dots for extra sparkle and finished the image off with black glaze pen eyes and white gel pen highlights. Then a little touch of gloss on the noses, cherry, balloons, collar tags and party hat.

I used the Essential Alphabet dies to cut my sister-in-law’s name and glued it to the white tag before threading ribbon through the hole and tying it to her gift bag. This let me add her name but also gave room to write a message to her too!

Products used:
Birthday Barks stamps and dies
Bookmark dies
Paw Prints hot foil plate
Fancy Edges Tag dies
A7 Frames dies
Essential Alphabet dies
Spellbinders Glimmer Hot Foil Metallic & Holographic Variety Pack
Pink & Main All Occasion enamel dots
Lawn Fawn ink – mermaid and peacock
Foam tape
Liquid glue

I appreciate you sharing your time with me. Have a fabulous day!
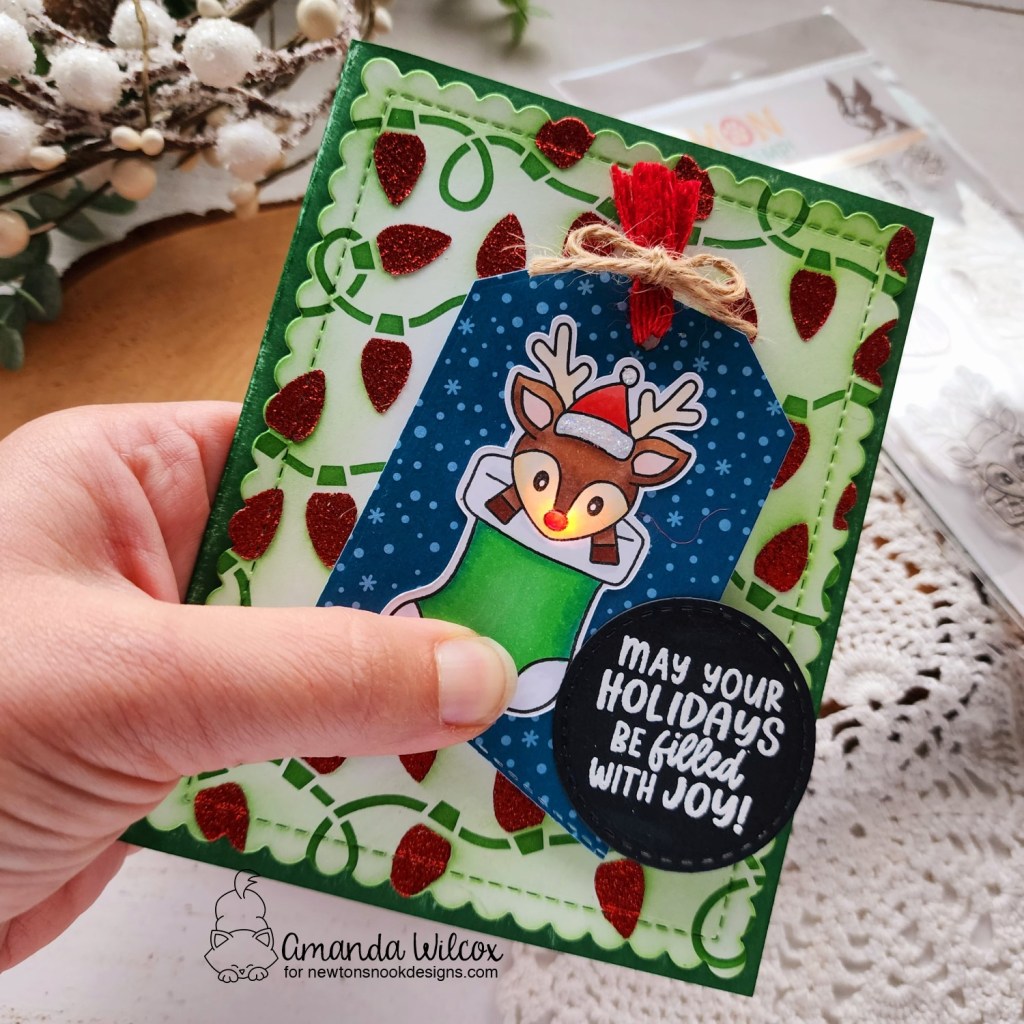
Spellbinders – Holiday Hugs

Hi there! I’m popping in really quick today with a fun and adorable card featuring some of the new Stampendous Holiday Hugs collection from Spellbinders. I love the gnome hugger and the coordinating stamp set that has sentiments and nordic feeling images. They’re so pretty.

I took an evening of play and die cut all the elements for my gnomes and used liquid glue to assemble them. Then I played around with what to do with them for a while. They’re almost like paper dolls.

The next night I thought to repeat stamp one of the images in the stamp set like wallpaper creating a scene for my gnomes. After stamping, I cut a piece of brown cardstock and used copic markers to make “woodgrain” designs on it. I popped it up on the stamped panel with foam tape. Then I added my gnomes with foam squares too.

Last, I die cut a heart from vellum and heat embossed a sentiment on it. Then I used liquid glue to adhere it to the background panel. These punny sentiments are so fun and cute! I love them.

Products used:
Gnome Hugs dies
Gnome Hugs Sentiments stamps

Foam tape and squares
Liquid glue

I appreciate you sharing your time with me. Have a fabulous day!
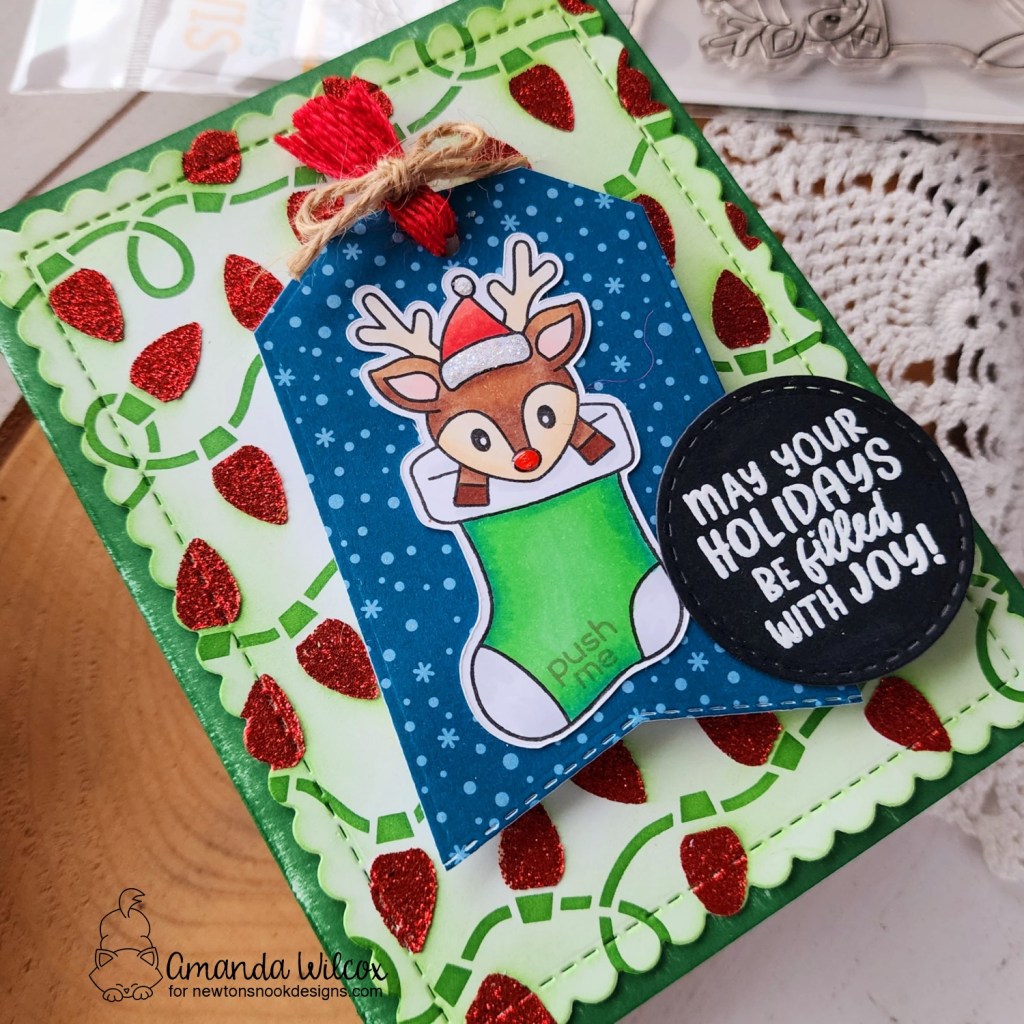
Doodlebugs – Just Wanted to Say…

Happy Monday everyone! I’m on the Doodlebugs blog today sharing a fun combo with Spellbinders and Pretty Pink Posh, throwing in one of my favorite Mama Elephant sentiment sets too!

Sometimes it’s crazy making and sometimes it’s fun when you have an idea and the creation of said idea does not turn out how it was going in your head. That’s exactly what happened here but I still love it and really had fun creating this card!

Let’s start by die cutting a bunch of the Spellbinders Modern Ovals – I chose the fourth one in from the smallest. I taped three of them to my work surface and ink blended the Pretty Pink Posh Trellis stencil using Lawn Fawn guava ink and a blending brush.

I arranged them on my card front, originally planning to pop them all up, along with die cutting my sentiment. But as I started to play, I liked the idea of the sentiment on one of the ovals – it fits perfectly – and only popping that one up for a little added interest to that specific spot. So I glued everything down and popped that one up. Then I trimmed off the excess with my scissors.

Next, I stamped and colored images from Pretty Pink Posh Crafty Critters with my copic markers. I used the coordinating dies to cut them out and added them above the sentiment with foam squares.

Last, I decided to stamp the mini sentiment intro to the blank oval on the top for fun. I was quite smitten with myself when I thought of that. It’s so fun! And finally, for finishing touches I just added black glaze pen to the mouse’s eyes and glossy accents to his nose and parts of the crafty supplies.

Products used:
Pretty Pink Posh Crafty Critters stamps and dies
Pretty Pink Posh Trellis stencil
Spellbinders Modern Ovals dies
Mama Elephant So Appreciate stamps
Embossing Ink
Embossing Powder – white
Foam squares
Lawn Fawn Ink – guava
Blending brush
Glossy accents
Sakura Glaze Pen – black

I appreciate you sharing your time with me. Have a fabulous day!
Pixi Dust Designs – Adventure Awaits Fishing Card

Welcome everyone! I’m giddy to be sharing my card with you today. I loved this sweet fishing squirrel from the Outdoor Fun set and wanted to create a tag with him on it. But when I went through my Pixi Dust tag dies…the circle tag jumped out at my looking just like one of those old school red and white fishing bobbers! The rest is history!

To start off, I stamped and colored some images from Outdoor Fun and die cut them out, thinking I was making a tag.

But when I came across Tag B dies, I had to go with the giant fishing bobber idea. So I cut all the pieces to make two and used liquid glue to adhere them. Then I stamped my sentiment on one.

Next, I did a little ink blending and watercolor splatter to create a background for my scene. I used distress oxide inks in mowed lawn and tumbled glass with blending brushes and pearl watercolor from LH Colors for a little shimmer.

Now we assemble all of the pieces to a card base. Start by popping up the ink blended panel with foam tape on a card base. Then, glue down the bobbers with liquid glue and add the images with foam squares.

The top of the card was missing something so I decided to add a little cloud cover so no one gets sunburned today. Isn’t this just adorable and so fun!?!

This set is going to make it really easy to make masculine cards for tons of occasions which I love too!

Products used:
Outdoor Fun stamps and dies
Tag B dies
Clouds and Grass Slimline dies

Foam squares and tape
Liquid glue
Blending brushes
Distress Oxide Ink – tumbled glass, mowed lawn
LH Colors – pearl

I appreciate you sharing your time with me. Have a fabulous day!
Newton’s Nook – Apple-solutely Wonderful Day

Hello everyone! I’m happy to be here sharing a simple and fun project using the Newton’s Nook Autumn Apples stamps and dies. I love these images and the variety of sentiments to pair with them. It makes a this a great year round set, not just for fall!
I started by repeat stamping and heat embossing the main apple image on red, yellow and green cardstocks…I wanted a variety of apples for my card! Then I used the coordinating die to cut them all out.

Next, I cut a piece of black cardstock with the largest Framework die and a piece of white cardstock with the next-to-smallest one in the same set. I stamped my sentiment on the small one and ink blended some chalky white pigment ink on the black one…you see where I’m going here. Chalkboards and apples for back-to-school!

Next, I arranged the apples all over the black panel and glued them down with liquid glue. I added foam tape to the back of the panel and popped it up on a white card base and then added the sentiment to the center with foam squares too.

We don’t start school here until after Labor Day so I’m excited this set came out in time for back-to-school projects for us!

Products used:
Autumn Apples stamps and dies
Framework dies
Foam tape and squares
Liquid glue
Embossing and Watermark Ink
Magic Anti-static brush
Embossing powder – icicle

I appreciate you sharing your time with me. Have a fabulous day!