Spellbinders – The Snow Garden Release Day

Hey friends! I’m popping in this afternoon to remind you that it’s release day for Spellbinders. I was fortunate enough to get to play with one of the new Susan Tierney Snow Garden dies – Crocus with Ladybugs. It was probably the easiest to create with so far and turned out so pretty.

I chose to die cut all of the crocus elements from white cardstock and used copic markers to add my color. Then I used liquid glue and reverse tweezers to assemble the flowers.

For my background, I embossed a piece of white cardstock with the Loops embossing folder and then trimmed it down to 3.25×5 inches. I ink blended red dye ink from one corner fading to nothing, then splattered it with white paint. I popped the panel up on a white card base with foam tape and used liquid glue to adhere all my flowers across the panel.

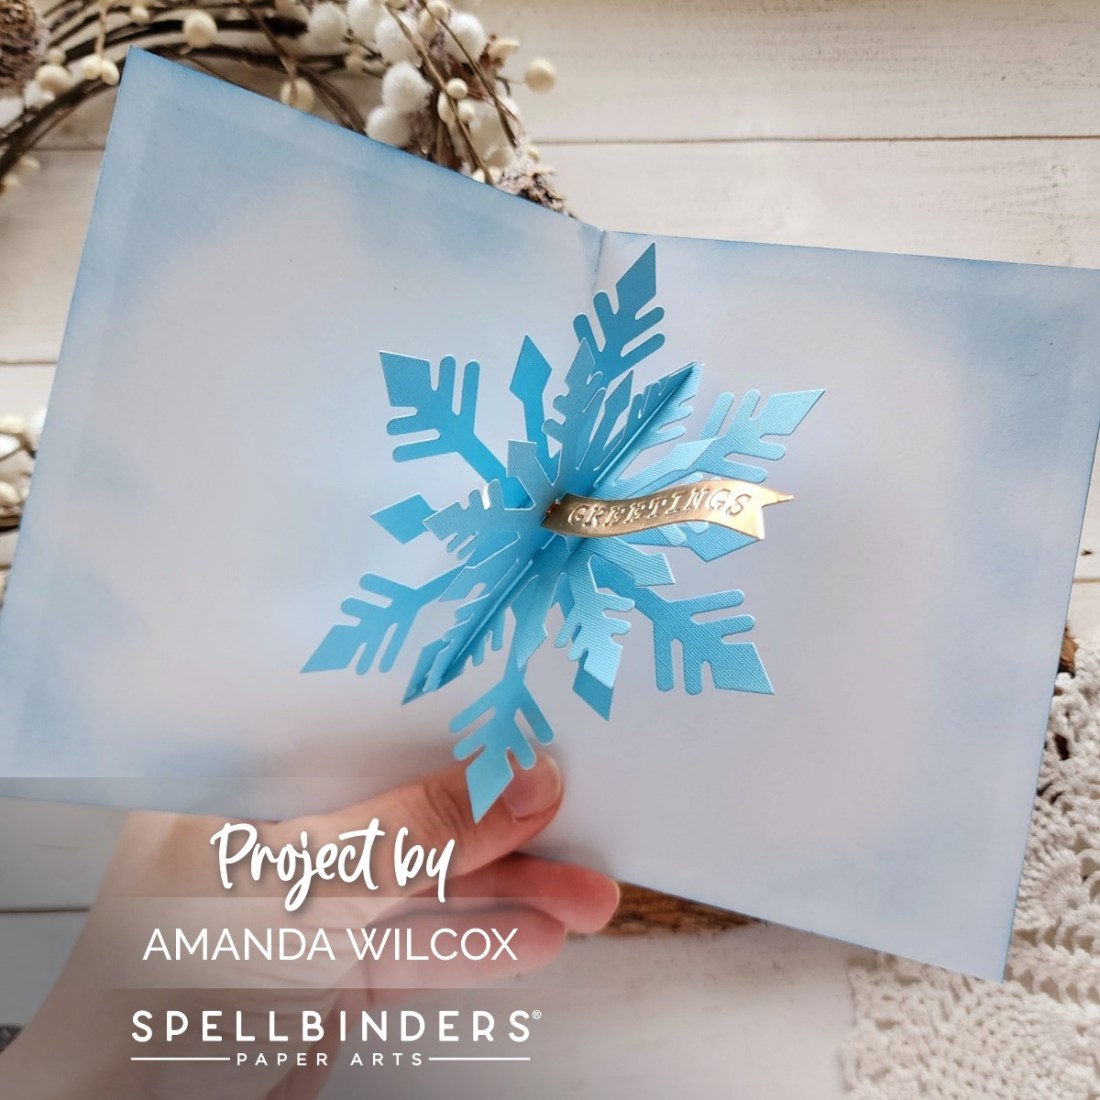
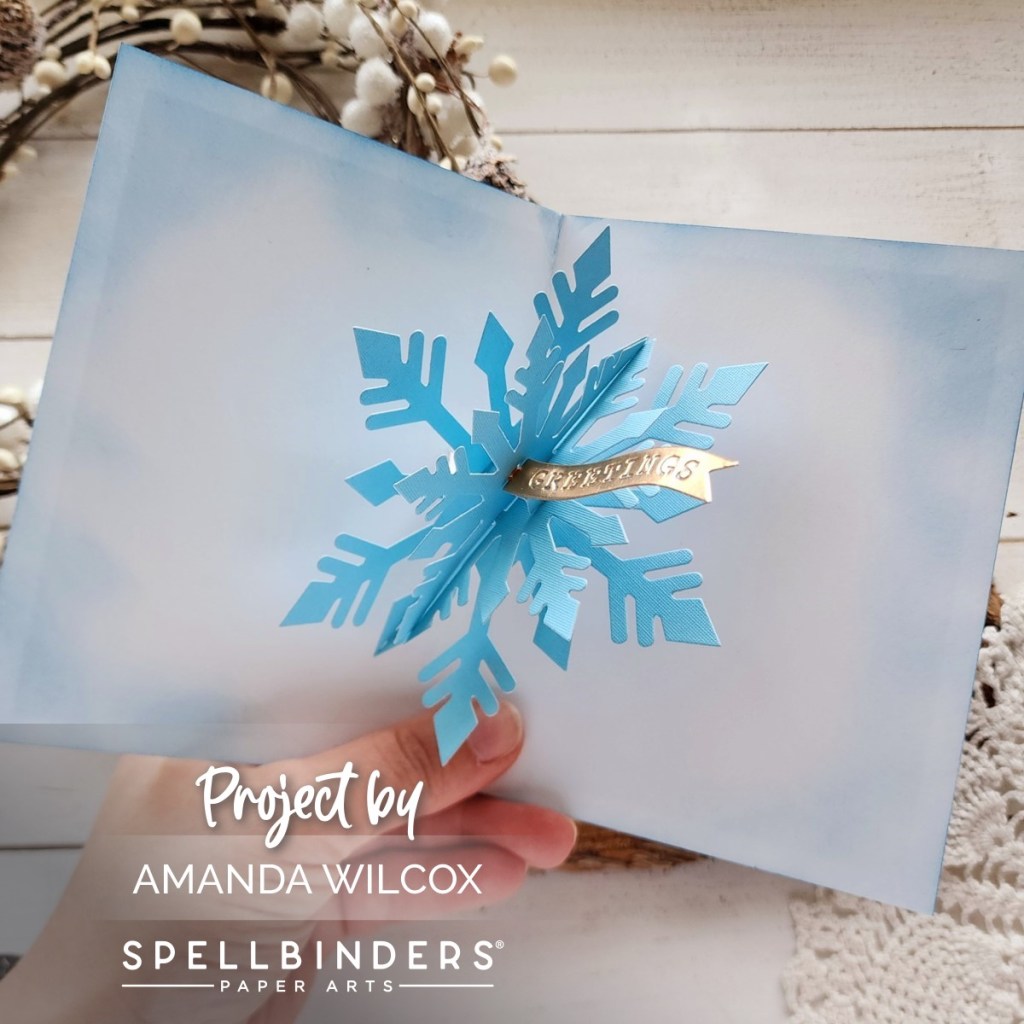
I snagged the banner die from the new Pop-up Snowflake die set and tucked it under the edge of the bottom flower.

There are a number of gorgeous blooms available in the new Snow Garden collection so be sure to check them all out.

Products used today:
Crocus and Ladybugs dies
Pop-up Snowflake dies
Loops embossing folder
Foam tape
Blending brush
Lawn Fawn Ink – chili pepper
Liquid glue

I appreciate you sharing your time with me. Have a fabulous day!

Pink & Main – Hello Beautiful with Foiling and Ink Blending Background

Happy Wednesday everyone! Considering I thought Monday was Tuesday, I’m grateful the week is finally moving along. Today I’m on the Pink & Main blog sharing this gorgeous tropical vibe card using Foilables with some ink blending for a stunning background.

To start things off, I heated up my Minc machine and foiled one of the Cloudy Day Foilables with Waterfall CheerFoil. I am over the moon for the effect this foil gives! It’s incredible! After foiling I pulled out distress oxide inks – lemonade, carved pumpkin and abandoned coral – and blended a sunset sky. I spritzed it with water and blotted that off with a paper towel. Then, I used a clean microfiber cloth to buff the ink off the foiling. This really does make a huge difference in the vibrancy of your foiling when ink blending.

Next, I stamped an image from Aloha Flowers and colored it with copic markers. Then I used the coordinating die to cut it out. I also chose a sentiment from that set to heat emboss and die cut. I added foam to the back of each and popped them up on my foiled background.

I ran out of black cardstock so I blended the edges of my card base with black soot distress oxide ink and then popped the whole panel up with foam tape on that.

For finishing touches I just added Touch of Gloss to all of the flower centers. I like that little bit of shine to go with the beautiful foiling.

Products used:
Aloha Flowers stamps and dies
Cloudy Day Foilables
Waterfall CheerFoil
Mini Minc Machine
Distress Oxide Ink – lemonade, carved pumpkin, abandoned coral, black soot
Foam tape
Touch of Gloss

Magic Anti Static Brush
Watermark & Embossing Ink
Embossing Powder – icicle

I appreciate you sharing your time with me. Have a fabulous day!

Doodlebugs – Mini Note Card Two Ways, Blingy or Simple

Welcome back everyone! I’m so glad you stopped by today. I’m on the Doodlebugs blog with a pair of mini note cards in two variations. Both are super cute but maybe one is more comfortable or to your bling level liking. Enjoy!

First up, I went all things extra and hot foiled my sentiment, plus glitz gelled my stencil! Shiny and glittery and fabulous! This Pretty Pink Posh mini note die set is super fun and I’m going to be making a ton of these over time. They’re fun for purses, lunch boxes and RAKs at the store too!

I used the adorable Spellbinders Sweet Birdie die to adorn my card front and I love it! I used fun colored cardstock from my stash and liquid glue to assemble him. Then, after hot foiling my Pretty Pink Posh Smile sentiment, I die cut it, gluing and additional two layers to the back so it had a little dimension. The bird is popped up with a foam square so it stands out too.

After creating that first card, I thought about people who don’t hot foil or like to get messy like I do and wanted to create and equally adorable, but simpler version of the same card. So here we are! I used a blending brush and darker teal ink for my stenciling this time.

Plus I used the regular die and shadow for my sentiment instead of the hot foil plate and shadow die. I did add two extra layers to the shadow on this sentiment just like the first one and popped my birdie up with a foam square again too.

A little side-by-side action for you to see the differences at the same time. The impact is definitely more in person, with the light hitting the glitz gel and foiling but I really love both cards!

What’s your vote?

Products used today:
Spellbinders Sweet Birdie dies
Spellbinders Hot Foil – moondust
Pretty Pink Posh Mini Scallop Card dies
Pretty Pink Posh Large Smile hot foil plate and dies
Pretty Pink Posh Starburst stencil
Liquid glue
Foam squares
Blending brush
Lawn Fawn ink – mermaid
Thermoweb Glitz Gel – iridescent

I appreciate you sharing your time with me. Have a fabulous day!

Miss Ink Stamps – Up to No Good

Happy Thursday friends! We’re one day closer to the weekend and I’m really looking forward to it! Today I have a fun magical card to share featuring a couple of stamp and die sets from Miss Ink Stamps. I’ve been itching to use these products and finally made it a priority to get them inked up!

I started by stamping some different images from Mischief Makers, plus the banner from Up to No good, and colored them with copic markers. After coloring the banner I went back and stamped the sentiment. Then, I used the coordinating dies to cut everything out.

To create my background I inked up a white piece of cardstock with distress oxide ink in tea dye and gathered twigs. I flicked water on the panel and blotted it dry. Then I splattered ground espresso distress oxide ink on it for darker contrast. Then I stamped images from Up to No Good on various parts of the panel, trying my hardest to be “random.” Then I die cut the panel for the fun jagged map look.

I inked the edge of my card base with aged mahogany distress oxide ink and popped the background panel up with foam tape. Then I added the images and sentiment banner with foam squares.

I really liked the muted look of this card so I only went over the eyes with black glaze pen for a finishing touch. No sparkly or shiny today.

Products used:
Mischief Makers stamps and dies
Up to No Good stamps and dies
Foam tape
Distress Oxide Ink – aged mahogany, tea dye, gathered twigs, ground espresso
Mama Elephant Mod Heart dies

I appreciate you sharing your time with me. Have a fabulous day!

Pink & Main – Ours is My Favorite Story Box Card
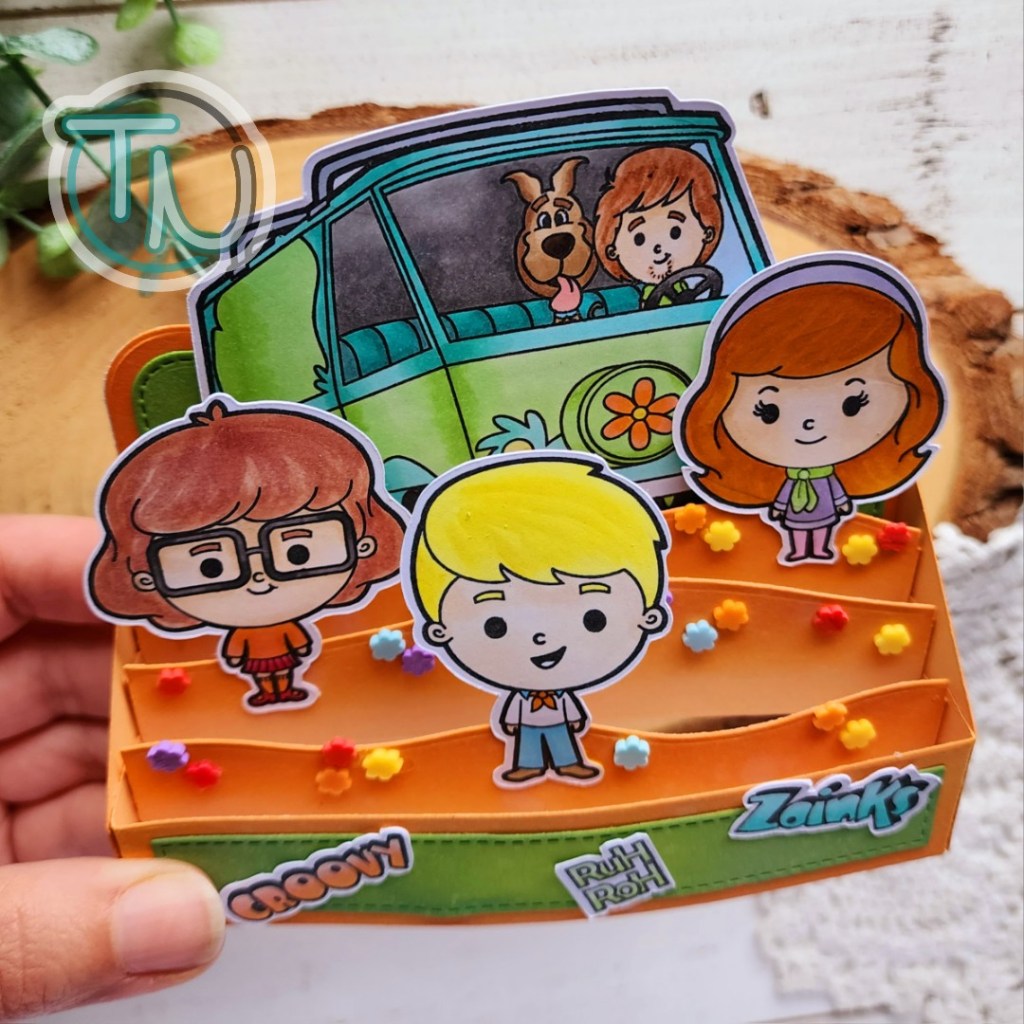
Hello again everyone! I’m over on the Pink & Main blog with a sweet envelope box card to share with you. I love the fun shape of this die set and have been wanting to try different images with it for a while now.
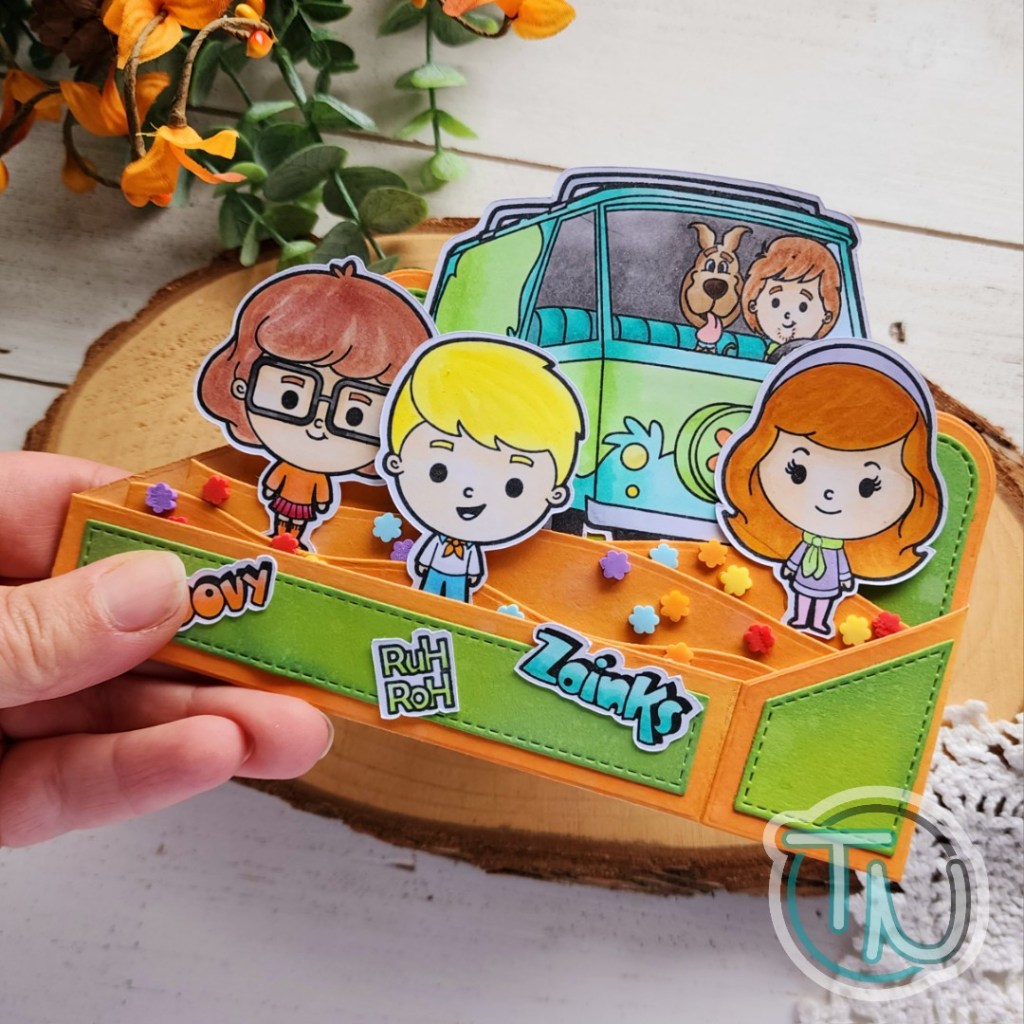
Today I cut the elements for my envelope box card from light green and kraft cardstock, with a white tag so it didn’t blend in. I used EZ tear tape to adhere all of the pieces – 1/4″ and 1/8″ depending on the size of the tab and liquid glue to add the kraft details.

I stamped and colored images from Hey Hot Stuff with copic markers, then used the coordinating dies to cut them all out. To get my sentiment to fit on the tag, I used tape to mask off portions and make sure to clean the stamp really good between each line so there wasn’t anything left on the section prior.

I added the front drag and tag with foam squares, the second dragon inside with liquid glue, along with the sky pieces in the back.

It all folds perfectly flat and mails in a regular envelope. There’s just enough depth for it to stand for display and give fun dimension to whatever you have spilling out of your envelope too.

Products used:
Hey Hot Stuff stamps and dies
Envelope Pop Up Card dies
EZ Tear Tape – 1/4″ and 1/8″
EZ Squeeze liquid glue
Foam squares

I appreciate you sharing your time with me. Have a fabulous day!

Pretty Pink Posh | Spellbinders – Love You Berry Much

Hi there! I’m popping in late today to share a fun card I created this weekend with Spellbinders dies and embossing folder plus Pretty Pink Posh stamps and stencil! I really had a blast creating this card and I think it’s good to share what really happened behind the scenes…

First, here’s my completed project. Completely different than my original vision. First, I stamped and colored my images from Pretty Pink Posh Fresh Berries. Then I used the coordinating dies to cut them out. Next, I pulled out an envelope die because my berries were going to spill out of it. This 100% did not work! I was super frustrated and tried really hard to force it.

After walking away, I came back and started playing with the images in different arrangements. With a fresh mind and a blank slate, erasing all preexisting hopes for my envelope idea, I came up with the final arrangement you see.

I used the Spellbinders Tiny Dots embossing folder on a 4×5.25 inch white panel and popped it up with foam tape. Then I cut two Spellbinders Four Petal Labels from two different blue cardstocks. I used the Pretty Pink Posh Starburst stencil on the light blue with Lawn Fawn Blue Jay ink. After gluing the labels together I splattered them with water and then white paint for texture.

Using the images as a guide I stamped the first half of my sentiment in Blue Jay ink and then popped the berries and second part of the sentiment up with foam squares. I came in with a little Touch of Gloss on the flower centers and left it at that.

This card was a bit of a journey but I’m so happy with it and thing it’s so adorable!

So, reminder…don’t give up. Sometimes you have to walk away and try again later. Whether it’s a different idea or a new take on the same one, something wonderful will work out!

Products used:
Pretty Pink Posh Fresh Berries stamps and dies
Pretty Pink Posh Starburst stencil

Spellbinders Four Petal Label dies
Spellbinders Tiny Dots embossing folder
Foam tape
Touch of Gloss
Liquid glue
Lawn Fawn blue jay ink
Blending brush

I appreciate you sharing your time with me. Have a fabulous day!

Doodlebugs – Fun Shaped Camping Scene Card with Extras Inside

Hello there! I’m happy to be on the Doodlebugs blog today sharing a sweet camping scene card on a fun shaped card. Plus, I’m horrible at this usually, but I extended my sentiment and, sort of, my scene to the inside too. I think it turned out really fun and am excited to hear what you think.

This card is extra fun with its different shape and that’s easy to do with any large shape dies you may have.

I cut the largest Essential Modern Oval from Spellbinders from white and yellow cardstocks. I placed the white one in my scoring board and scored it about 1/4″ away from the top edge. Then I added tear tape to that flap. This will be the back part of our card and hides the hinge on the back so it doesn’t interrupt your scene on the front.

Then I cut the next smallest oval from blue cardstock and inked the top edge with chipped sapphire distress oxide ink and the bottom part with ground espresso. Then I spritzed it with my distress sprayer and blotted it dry. I also flicked gold watercolor on the top portion for some stars in the sky.

I chose a few sweet images to stamp, color and die cut from Mama Elephant’s Around the Campfire. I love how these images mix and match for different camping scenes. Once these were ready to go, I arranged them on my oval to find the best spot to stamp and heat emboss the first part of my sentiment, which comes from Mama Elephant So Appreciated.

Now we can assemble everything. I popped the scene panel up on the yellow panel with foam tape, then also popped up the moon and bunnies while the campfire is attached with liquid glue. Then, I removed the release paper and attached the back part of my card base. After it was attached I used a bone folder to really burnish the adhesive strip and also reinforce the fold so the card opens nicely.

Next, I placed my open card in my MISTI and stamped the second part of my sentiment on the left side in black ink. After that I chose a couple of images from the front to stamp in light yellow ink. It gives a little something cute but if your writing goes over it, it’s still visible.

There was so much visual texture on the background panel that I just used an iridescent glitter pen on the flames and moon, along with black glaze pen on the bunny’s eye and the other bunny’s open mouth.

Do you stamp on the inside of your cards? Have you ever tried making a shaped card from your large dies? Share in the comments below!

Products used:
Spellbinders Essential Modern Oval dies
Mama Elephant Around the Campfire stamps and dies
Mama Elephant So Appreciated stamps
Distress Oxide Ink – ground espresso, chipped sapphire
Foam tape
Wink of Stella Glitter Brush Pen – clear
Sakura Glaze Pen – black
Bearly Arts liquid glue
Anti-static Pouch
VersaMark ink
Embossing Powder – white
Lawn Fawn ink – jet black, sunflower
MISTI
Scoring board

I appreciate you sharing your time with me. Have a fabulous day!

Waffle Flower – Grip Mats Revisited Christmas Edition

Hey everyone! I couldn’t resist but come back with another card featuring the amazing new Grip Mats from Waffle Flower. They’re so cool and my first crafting session left me with lots of goodies to create fun cards with! So today I’m back using some of their new Christmas in July release along with the grip mats.

***Remember you can still comment on my INSTAGRAM post from Tuesday for a chance to win! Or just use the links at the bottom of this post to snag your own now!***

OMG! How freaking cute is this pupper!?! I’m in love with him and had a blast creating this card specifically to use him on! Let’s check out the process again, shall we?

Add your grip mat to your work surface. Any surface will do that I can tell so far. I have a self healing mat but I’ve tried it on a glass mat and a regular desk too. All stuck great!

This time we’re going to ink blend the super cool Multiple Presents Die-n-Stencil combo. Both times I did this (you can see my first attempt at the top of my panel…quality control to see if my brain was processing this properly) I started at the top and worked my way down one line at a time. Leave your cardstock in place and move the stencil, inking each layer.

It’s really just that easy. I didn’t even clean the stencil until I was completely finished with the last layer.

Keep going, we’re almost there. Remember, especially things like these presents, are great for all celebrations…not just Christmas. Mix and match your colors for birthdays, just for fun, celebrate everything!

Okay, my gifts are inked, looking super adorable and my panel peeled off the grip mat flawlessly. It doesn’t curl or anything. I lined up the die and cut these out. Now I have 8 separate gift images inked and ready for crafting!

Another fantastic use of the grip mat is to hold images in place. For this card, I used it to play with arrangement of my presents. I mixed and matched things deciding how I wanted them layered. Then I used a strip of post-it tape to pull them off and set them aside until I was ready to add them to my card.

I forgot to photograph it but I also used the mat to hold the pieces of my pup while I ink blended them too. They didn’t budge a millimeter even with the blending brush pushing on them.

So I assembled my pup and his sweet Santa hat, gluing everything together with liquid glue. But when I was arranging everything on my card, I thought the background was lacking. So I grabbed my grip mat and Paw Print stencil duo and inked it up two two different green inks for some texture.

For assembly, I popped the green panel up on a white card base with foam tape. Then liquid glue for my pup and finally foam tape for the gifts. I even saved one to add to the puppy’s paws too. It’s so cute!

Last, I added a preprinted sentiment strip with liquid glue and some Touch of Gloss to the pup’s eyes and nose.

Products used today:
Be a Dog dies
Be Christmas Accessories dies
Multiple Presents Die-n-Stencil
Paw Prints stencil duo
Grip Mat – 6×6
Subsentiments Gift die cuts

Liquid glue
Foam tape

I appreciate you sharing your time with me. Have a fabulous day!

Pixi Dust Designs – Snowman Mug Card with Ink Blending Fun

Hi crafty friends! Thanks for stopping by. Today I have a card using the Pixi Dust Designs Snowman Mug dies, instead of the box I shared on release day. I am all about treat boxes and 3D projects with our cardmaking supplies, but it’s so great when things can work both ways!

When creating my snowman mug, I went with a more traditional color palette this time. I used liquid glue to adhere all the pieces. That extra wiggle time is great when creating projects like these.

Pro tip, the mug die cuts a slit for the candy cane and spoon that gets hidden by the whipped cream. I slid my pieces in the slot and held them together with washi tape to keep them from moving around while the glue dried and I was adding my other elements.

Next, I started on my background. This time I used distress oxide inks in kitsch flamingo and spun sugar for a soft pink tone. After blending at a diagonal on the panel, fading to nothing, I spritzed it with water and blotted it dry. For extra texture I splattered both colors on the panel too.

To create a focal point for my mug, I cut the largest Doily die from vellum and used foam squares to attach my snowman to that. Then I used liquid glue to adhere that to the inked panel. This hides the glue and makes it easy to attach. next, I used the Mug Add On dies to cut a sentiment from black cardstock and glued that with liquid glue at the bottom.

For finishing touches today I just added white gel pen highlights around the whole mug. Isn’t he just the sweetest!?! Totally adorable and other Christmas card for my stash, ready to go in December!

Products used:
Snowman Mug dies
Mug Add On dies
Doily dies

Foam squares
Liquid glue
Distress Oxide Ink – kitsch flamingo and spun sugar

I appreciate you sharing your time with me. Have a fabulous day!

Newton’s Nook – Missing You Seashell Card with Glitz Gel Background

Hi there! I’m so happy to be over on the Newton’s Nook blog again today. This time I’ve gone ocean themed with a different sentiment and an inky, messy fun background! You know this is my favorite!

I was flipping through my stamps, trying to decide what jumped out to play with and this sweet mini set called Newton’s Seashell did just that. It’s such an adorable image and so fun to color. So that’s what I did, then I used the coordinating die to cut it out.

Switching gears to my background panel, I ink blended white cardstock with distress oxide inks in abandoned coral and tattered rose, fading out to nothing. Then I placed the Seashells stencil over the top and spread gold Glitz Glitter Gel through it. After letting the panel dry, I trimmed it to 4×5.5 inches and popped it up on a white card base with foam tape.

I cut two banners for my sentiments – one from Banner Trio dies and the other from A7 Frames dies. I heat embossed the black one and stamped the other. Then I popped those with the Newton image up on foam squares.

For finishing touches I added Touch of Gloss to the inside of the seashell and Newton’s nose. Last, I added a couple strips of skinny washi tape to the edge of my card for added gold shine and interest.

Products used:
Newton’s Seashell stamps and dies
Seashells stencil
A7 Frames dies
Banner Trio dies
Foam tape and squares
Glitz Glitter Gel – gold
Stencil Pal
Touch of Gloss
Distress Oxide Ink – tattered rose, abandoned coral

I appreciate you sharing your time with me. Have a fabulous day!