Let’s keep things going with a fabulous day 2 of reveals for the Newton’s Nook March release! Today we have two stamp and die sets that are adorable together or on their own.
Newton’s Umbrella stamps and dies

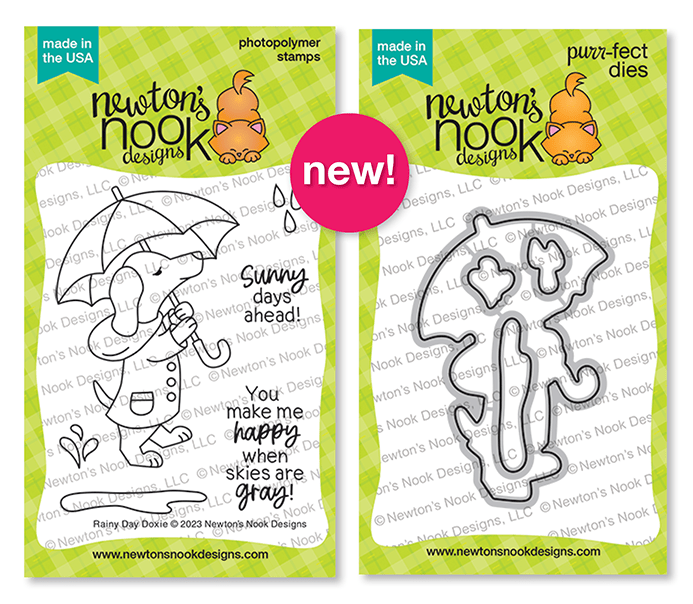
Rainy Day Doxie stamps and dies
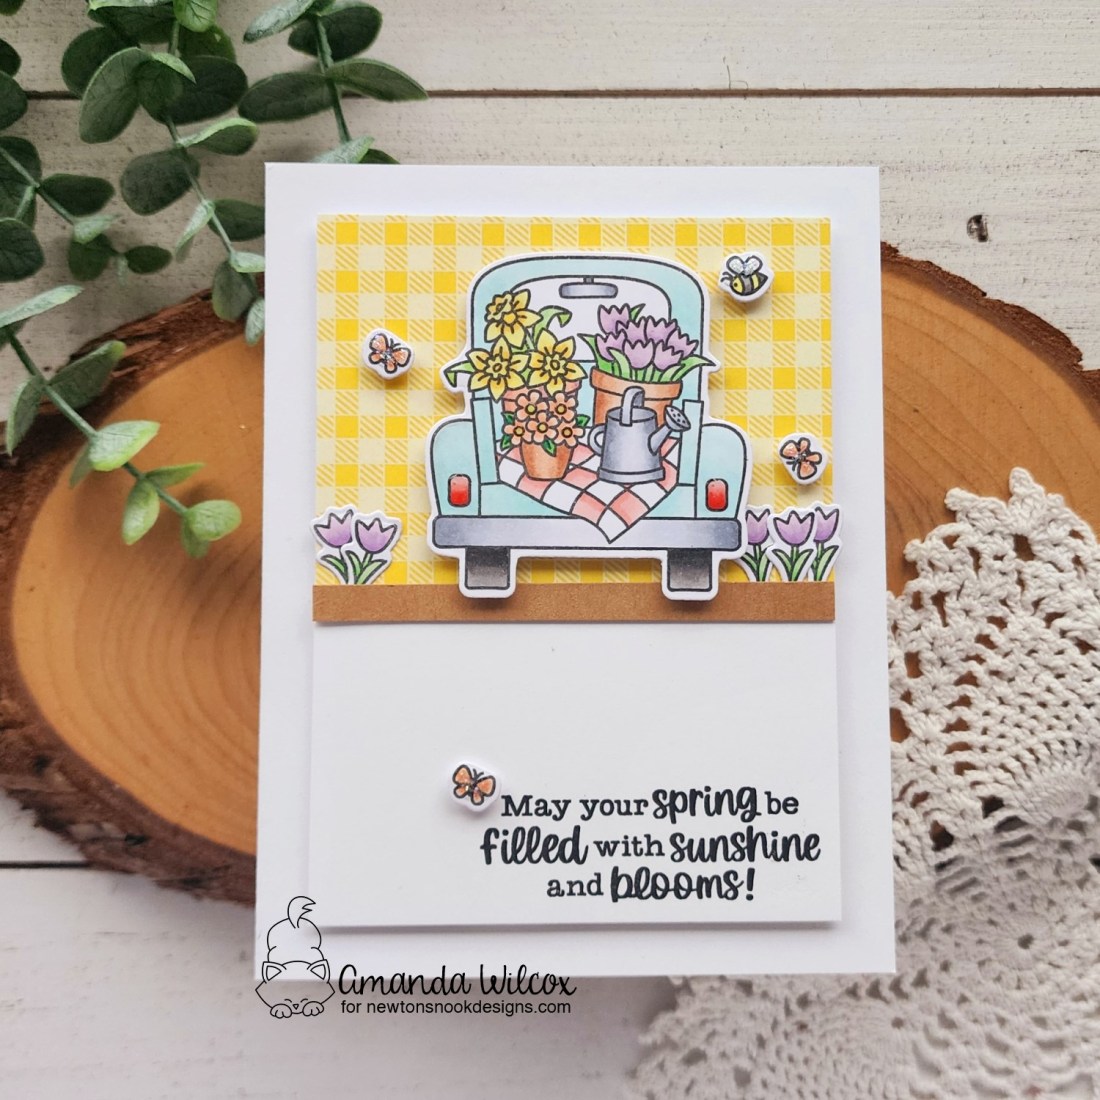
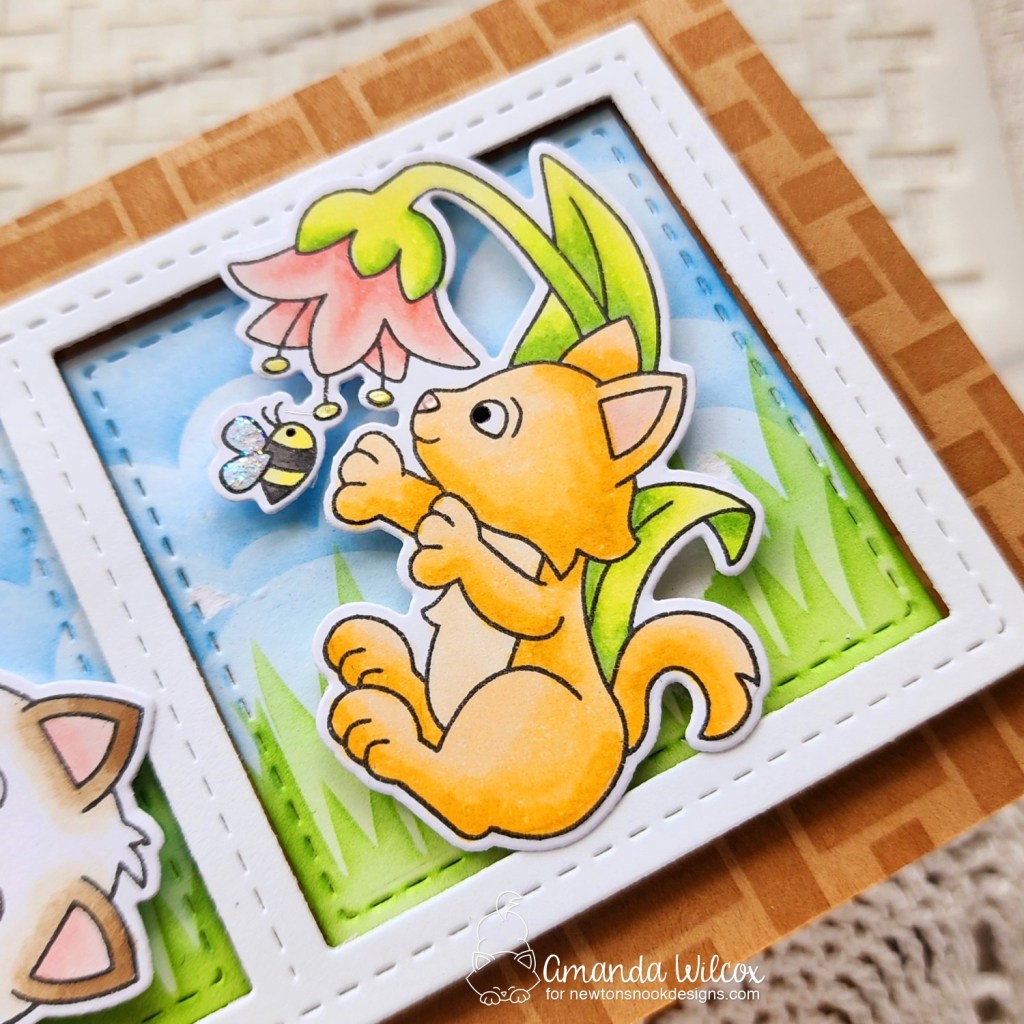
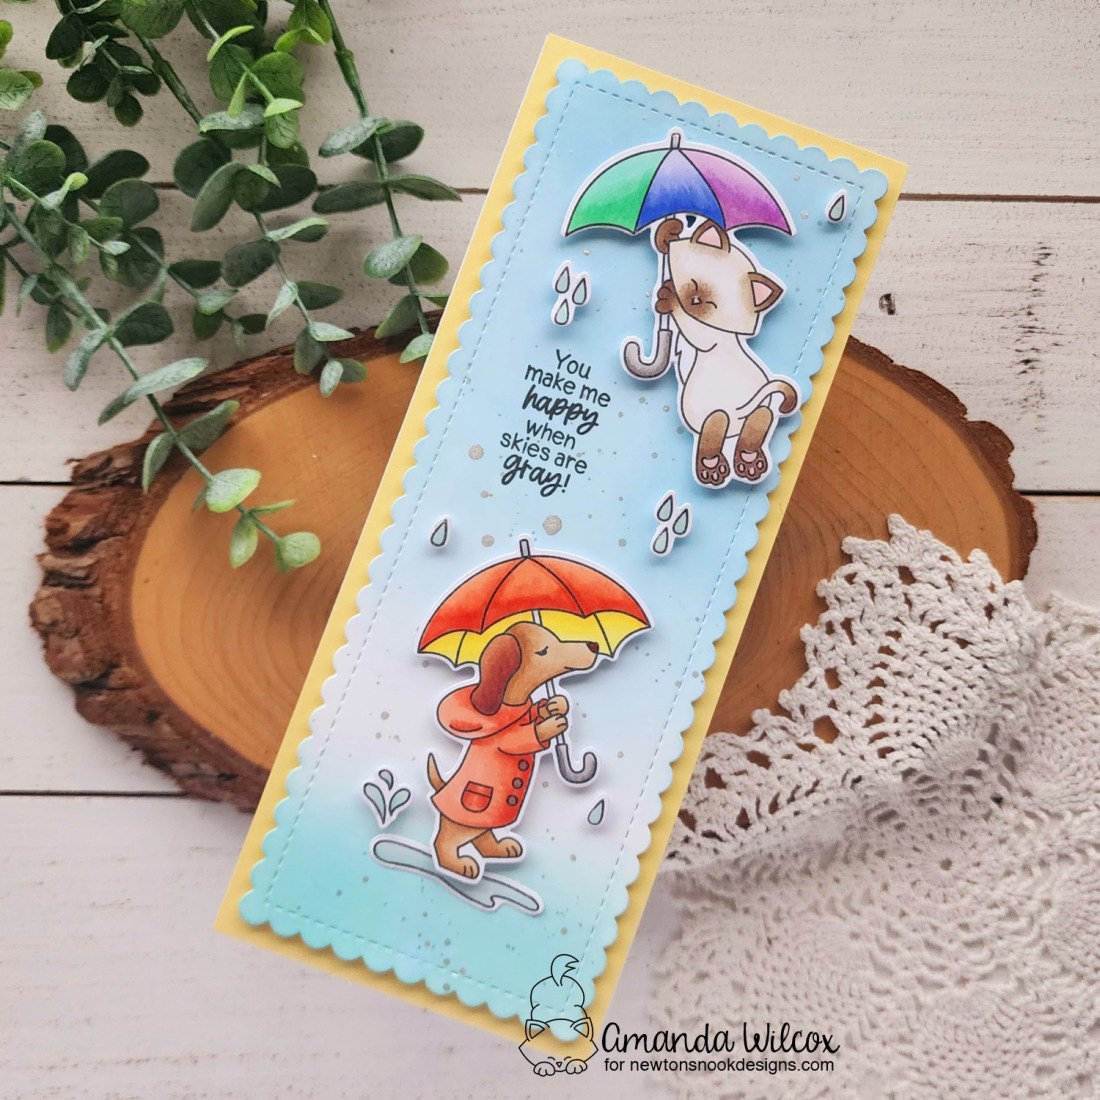
Like I said above, I think these images are really adorable and my first thought was that they would be too cute on a card together. So that’s what I did!

I stamped and colored both main images, plus the puddle and raindrops, and colored it all with my copic markers. I used the coordinating dies to cut it all out.

Next, I cut a slimline panel to ink up for my background. Today I chose tumbled glass and salvaged patina distress oxide inks. I spritzed the background with water and blotted it dry before flicking pearl watercolor all over the panel.

While that was drying, I cut a 3.5×8.5 strip of yellow cardstock to adhere to my slimline card base. Then, I stamped my sentiment on the background panel and popped it up on the card base with foam tape.
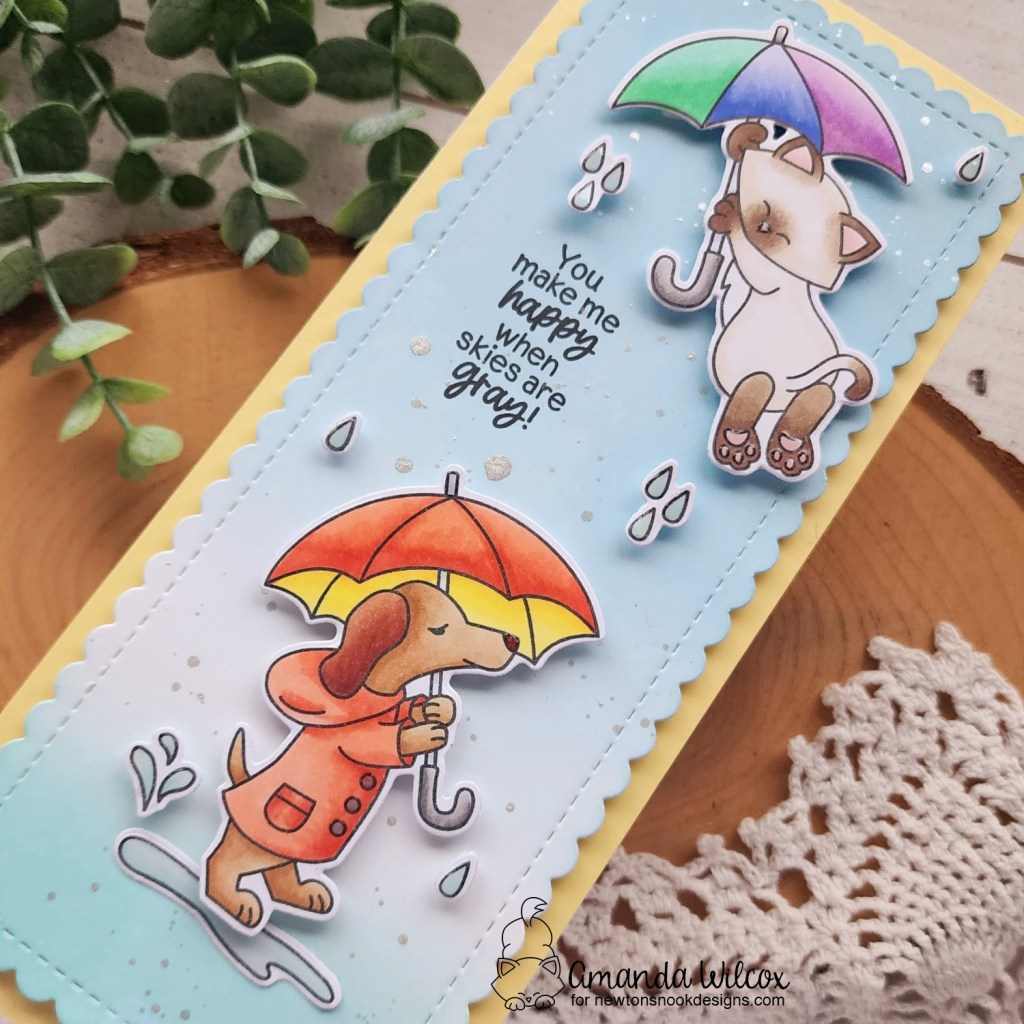
I added the puddle with liquid glue and popped all the other images up with foam squares. For finishing touches I added glossy accents to all things water, plus critter noses and toe beans, and parts of the umbrellas.
Would you like to win the “Newton’s Umbrella” Stamp Set or the “Rainy Day Doxie” Stamp Set? We will choose ONE lucky winner for each stamp set!
Here’s how to win: Comment on the NND blog and Design Team blogs (see list below)! Thewinner will be chosen at random from the collective reveal posts. Make sure to check out each of their blogs and comment for your chance to win. You will not know which blog has been chosen so the more you comment on the better your chances are of winning! You have until Thursday March 23rd at 9pm ET to comment — winners will be announced on the blog post on Friday, March 24th.
Check out all the awesome Design Team Blogs below to enter:
Newton’s Nook Designs
Donna Idlet
Ellen Haxelmans
Tina Herbeck
Larissa Heskett
Samantha Mann
Zsofia Molnar
Maria Russell
Farhana Sarker
Tatiana Trafimovich
Amanda Wilcox