Pink & Main – Autumn Blessings

Hello crafty friends! So glad you’re here today. I’m sharing this fun fall card over on the Pink & Main blog today. I love that they have the empty snow globe stamps and dies but so many add-ons to create snow globe scenes all year long too!

I started by stamping the empty snow globe image and the cute fox with his wheelbarrow from Fall Snow Globe Scenes and colored them with my copics. After coloring, I stamped a sentiment on the bottom of the snow globe. This helps with potential smearing when blending that section of coloring. I used the coordinating dies to cut everything out and added the fox to the snow globe with foam squares.

I wanted a texture filled background so I started with an A2 panel of white cardstock and layered the Leafy stencil over top. I inked it up with red, yellow and brown dye inks using my blending brushes. I removed the stencil and layered a Reverse Scallop Rectangle along with two Wreath Base 2 die cuts – one from kraft and another from vellum.

I layered the snow globe on top of it all with foam tape and wrapped twine around the left side of the panel before adhering it all to a white card base.

Summer is hanging on where I live but I’m very ready for fall so creating cards like this and decorating early have been extra fun!

Products used today:
Fall Snow Globe Scenes stamps and dies
Empty Snow Globe stamps and dies
Reverse Scallop Rectangle dies
Wreath Base 2 dies
Leafy stencil
Ergonomic blending brushes
Foam squares and tape
EZ Squeeze liquid glue

I appreciate you sharing your time with me. Have a fabulous day!
Pretty Pink Posh – Happy Haunting

Welcome! I’m so glad you’re here. Today I’m sharing a little more Halloween inspiration using newly release products from Pretty Pink Posh. I seriously can’t get enough of this release and had so much fun creating this card which has a non-traditional color palette and is totally out of my comfort zone.

I stamped and colored one of the main images from Halloween Envelopes with my copic markers. I used the coordinating die to cut it out and also cut a black banner using the die included. I stamped and heat embossed a sentiment on it and popped it up with a foam strip on the envelope.

For the background, I took an A2 panel and one of the Halloween Borders stamps and repeat stamped it in purple, green and orange until it covered the whole section. I placed some post-it tape along the edge and blended distress oxide ink on the top half. I chose salvaged patina, cracked pistachio and a little twisted citron on the top edge. I removed the tape and added the envelope with foam tape.

The top portion looked a little sparse so I went back to the Halloween Envelopes stamps and chose some extra images to stamp, color and die cut. I added all of them with foam squares around the design and I love what they add to it!

For finishing touches I added a line from the envelope to the spider with a fine line black pen, glossy accents to the stars and stardust Stickles to the ghosts.

Isn’t this design so interesting and fun!?! I think so.

Products used today:
Halloween Envelopes stamps and dies
Halloween Borders stamps
Foam squares and tape
Glossy accents
Stickles – stardust
Distress Oxide Ink – salvaged patina, cracked pistachio, twisted citron

I appreciate you sharing your time with me. Have a fabulous day!
Pink & Main – Stamptember with Simon Says Stamp

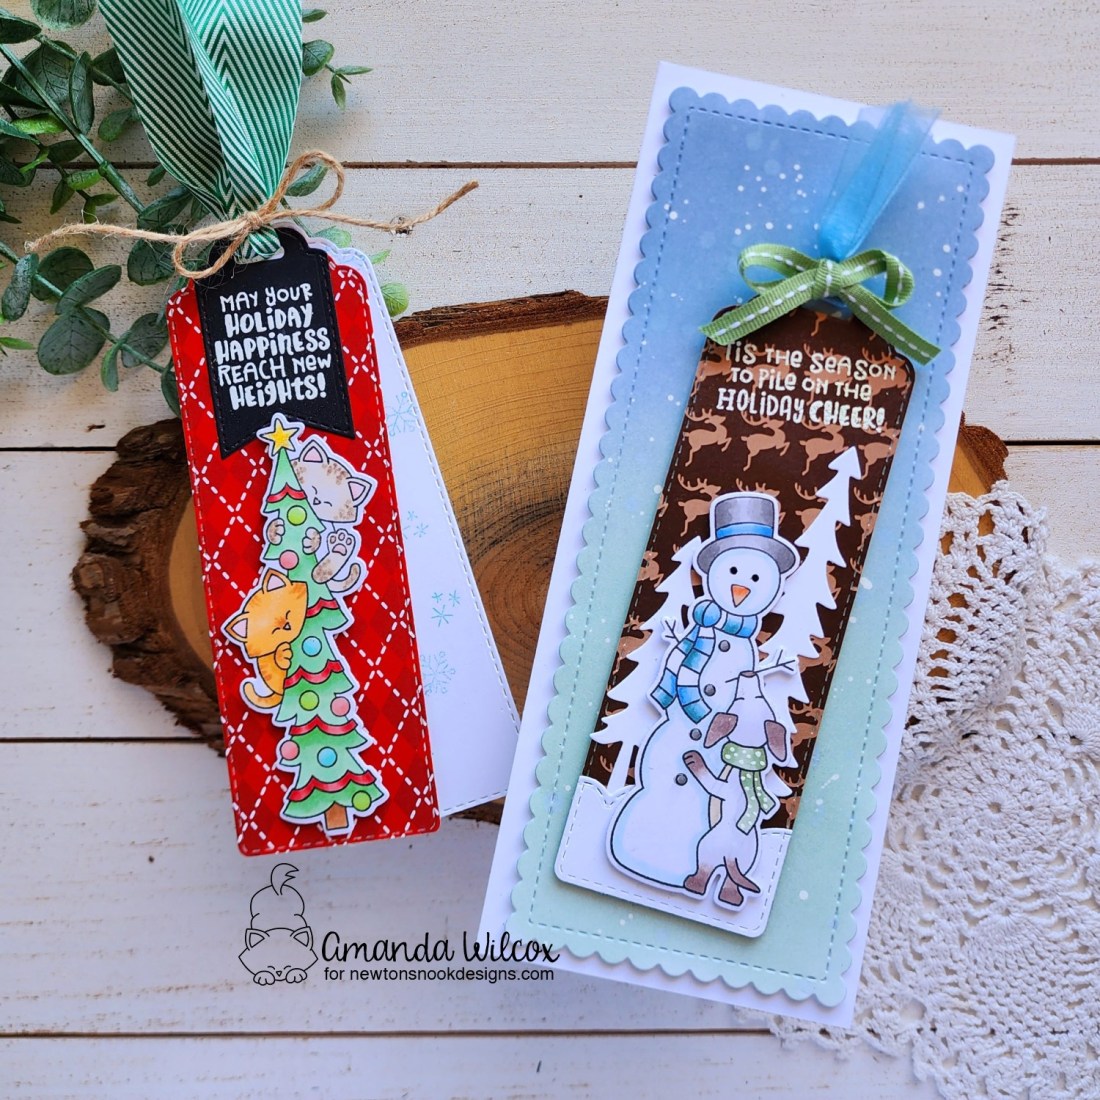
Oh my gooooooodness!!!! Friends! It’s time for the release of the Pink & Main contribution to Simon Says Stamp Stamptember! This set is absolutely adorable and so much fun to create with! Today I made a set of tags that I will be attaching to Snowman Soup closer to Christmas. If you don’t know what that is I’ll explain it later on. But now, let’s check these cute marshmallow snowmen out!

I immediately thought tags when I saw this set. It’s got so many adorable images with lots of fun sentiments to choose from too! So I stamped everything and colored them with copic markers. I used my scan-n-cut to cut them all out and switched to tag making.

This is one of my all-time favorite tag die sets. I cut the scalloped base from red cardstock 4 times. Then I cut 4 stitched inserts. I inked the white panels up with light blue ink and the Snowflake stencil. I used EZ Squeeze liquid glue to adhere the layers together.

Next, I added foam squares to all of the images and started pairing sentiments with images. I wanted something generic but different for each tag. Once the sentiments were stamped, I removed the release paper and added the images to each tag.

I found some great Gina K Designs black and white plaid ribbon in my drawer. I cut 4 lengths of 10 inches and threaded them through each hole. Then I cut 4 lengths of jute twine at 8 inches long and tied bows on each one, trimming the ends as I went.

For finishing touches I added glossy accents to all the noses, cheeks and buttons on the snowmen. Then I came in with white gel pen highlights on the hats, scarves and other accessories.

I just love how cute these turned out! Be sure to pick this set up while you can. Stamptember sets never last long so don’t wait!

Products used:
SSS Stamptember *** stamps
Pink & Main Fancy Tag dies
Pink & Main Blizzard stencil
Ergonomic Blending Brush
EZ Squeeze liquid glue
GIna K Designs gingham ribbon
Glossy accents
Foam squares

I appreciate you sharing your time with me. Have a fabulous day!
Pretty Pink Posh – Hello Fall Shaker Card

Happy Friday everyone! I have another card to share with you featuring Pretty Pink Posh cuteness today but I’ve turned a Halloween stencil fall and busted out some cute critters from last year’s fall release. Let’s play!

I started this card by inking up the first two layers of the Layered Pumpkin stencil set with distress oxide inks on kraft cardstock. I like the effect of the ink sitting on top of the paper so it shows up chalky looking. It’s really cool. I trimmed the panel down to scant A2 size and wrapped packaging around the edges creating a full card front shaker. I left the top open to pour in some confetti sequins and then sealed it up. I adhered it to a card front and switched to stamping and coloring.

I chose some images from Cozy Fall Critters and Fall Corners, and colored them with my copic markers. I used the coordinating dies to cut them out and started arranging them on the card front. They kind of got lost so I pulled out the Scalloped Circle dies and cut one from white cardstock. I cut another circle from vellum and heat embossed my sentiment on it. I adhered the layers together and then to the card front before adding my mouse and his pumpkins to the bottom of it. One pumpkin is glued directly down and the other with the mouse are popped up on foam squares.

Here’s another look at the card with all the shaker bits at the bottom. Isn’t this just super cute and totally fall-ready! I love it!

Products used today:
Cozy Fall Critters stamps and dies
Fall Corners stamps and dies
Layered Pumpkins stencils
Scalloped Circles dies
Foam squares
Scrappy tape – 1/4″

I appreciate you sharing your time with me. Have a fabulous day!
Miss Ink Stamps – Hello Autumn

Happy Thursday everyone! It’s time for another round of Miss Ink Stamps inspiration. Today I have a sweet fall card using some of my favorite squirrels and another mandala stencil for my background.

I stamped some images from Oh, Nuts! and colored them with my copics before using the scan-n-cut to cut everything out. I used liquid glue to adhere the small images to the squirrels and foam squares behind them.

Next, I took the Fall Mandala stencil and sprayed it with Pixie Spray because it’s such a finely detailed stencil. I stuck it to an A2 piece of white cardstock and ink blended red, yellow and green dye inks randomly over the whole panel. After removing the stencil, I positioned “Hello Autumn” in the center and stamped it with black ink.

Finally, I removed the release paper from the foam squares and placed my squirrels on opposite corners of the panel and adhered the whole thing to a white card base.

For finishing touches I added black glaze pen to the eyes, letting it dry before adding a white gel pen highlight back in. Then I added glossy accents to the caps of all the acorns for a little shine.

I like how bright the background is but the colors still feel like things changing to fall. It’s just perfect!

Products used today:
Oh, Nuts! stamps
Autumn Thanks stamps
Fall Mandala stencil
Thermoweb Pixie Spray
Foam squares
Glossy accents

I appreciate you sharing your time with me. Have a fabulous day!
Pink & Main – If the Broom Fits Mini Slimline

Happy Wednesday once again friends! Today I’m on the Pink & Main blog with a mini slimline card featuring these adorable witchy spiders in Halloween Brew. I couldn’t choose just one to use to I created a fun scene with both of them. I hope you enjoy it!

I stamped and colored my images from Halloween Brew, plus a few tiny scene setting images from Cute Ghosts, with my copic markers. I used the coordinating dies from both sets to cut them all out. Then I stamped and heat embossed my sentiments with the new Sherbet embossing powder. It’s bright and glittery and wonderful! I love it! These sets come with coordinating dies for the sentiments, (HUGE WIN!) so I cut those out too.

Since this is a mini slimline, I cut a piece of white cardstock to 3×6 inches and ink blended it for my scene with distress oxide colors. The grass is mowed lawn and forest moss. The sky is chipped sapphire with blueprint sketch and a touch of black soot at the top. I spritzed the panel with water and blotted it dry, then used my LH Colors silver watercolor to add starry splatters to my scene.

I adhered the panel to a mini slimline card base and started adding all of my images with foam squares and strips. It’s all so stinking cute!

For finishing touches, I added glossy accents and stardust Stickles to various parts of the images like the frog and witchy hats, clouds and moon.

I hope you enjoyed today’s project. I really love these sweet images and hope to create some fun gift tags with them soon for treat bags to give at Halloween. How would you use them?

Products used:
Halloween Brew stamps and dies
Cute Ghosts stamps and dies

Sherbet embossing powder
Magic Anti Static Brush
Embossing & Watermark Ink
Distress Oxide Ink – mowed lawn, forest moss, black soot, chipped sapphire, blueprint sketch
LH Colors watercolor – silver
Foam squares and strips
Glossy accents
Stickles – stardust

I appreciate you sharing your time with me. Have a fabulous day!
Pretty Pink Posh – Spooky Wishes

Welcome! Welcome! I’m popping in with a spooky fun card today featuring Pretty Pink Posh Halloween goodies. I partnered this year’s adorable ghosts with a stencil I fell in love with last year.

I started by stamping some cute ghosts and accessories for all of them too! I colored everything with copic markers and used the coordinating dies to cut them out. To give my ghosts a little shadow, I also cut a second one out of dark gray paper and glued them together offset just a bit.

I used the Spooky Sky stencil set to create my background using a light blue for the clouds, purple bats and classic yellow stars. Then I trimmed the panel down to 4×5.25 inches and popped it up on a piece of black cardstock. I added foam squares to my ghosts and popped them in place next.

Last, I stamped and heat embossed a sentiment from Ghost Friends and used the coordinating die to cut it out also. I popped it up with foam squares and mounted the whole panel to a white card base.

For finishing touches I added a little stardust Stickles to the bows on all my ghosts and glossy accents to the lollipops.

Too cute to spooky comes to my mind when I see this card. I just love it! I hope you do too.

Products used today:
Ghost Friends stamps and dies
Spooky Sky stencils
Foam tape and squares
Glossy accents
Stickles – stardust
Bearly Arts liquid glue

I appreciate you sharing your time with me. Have a fabulous day!
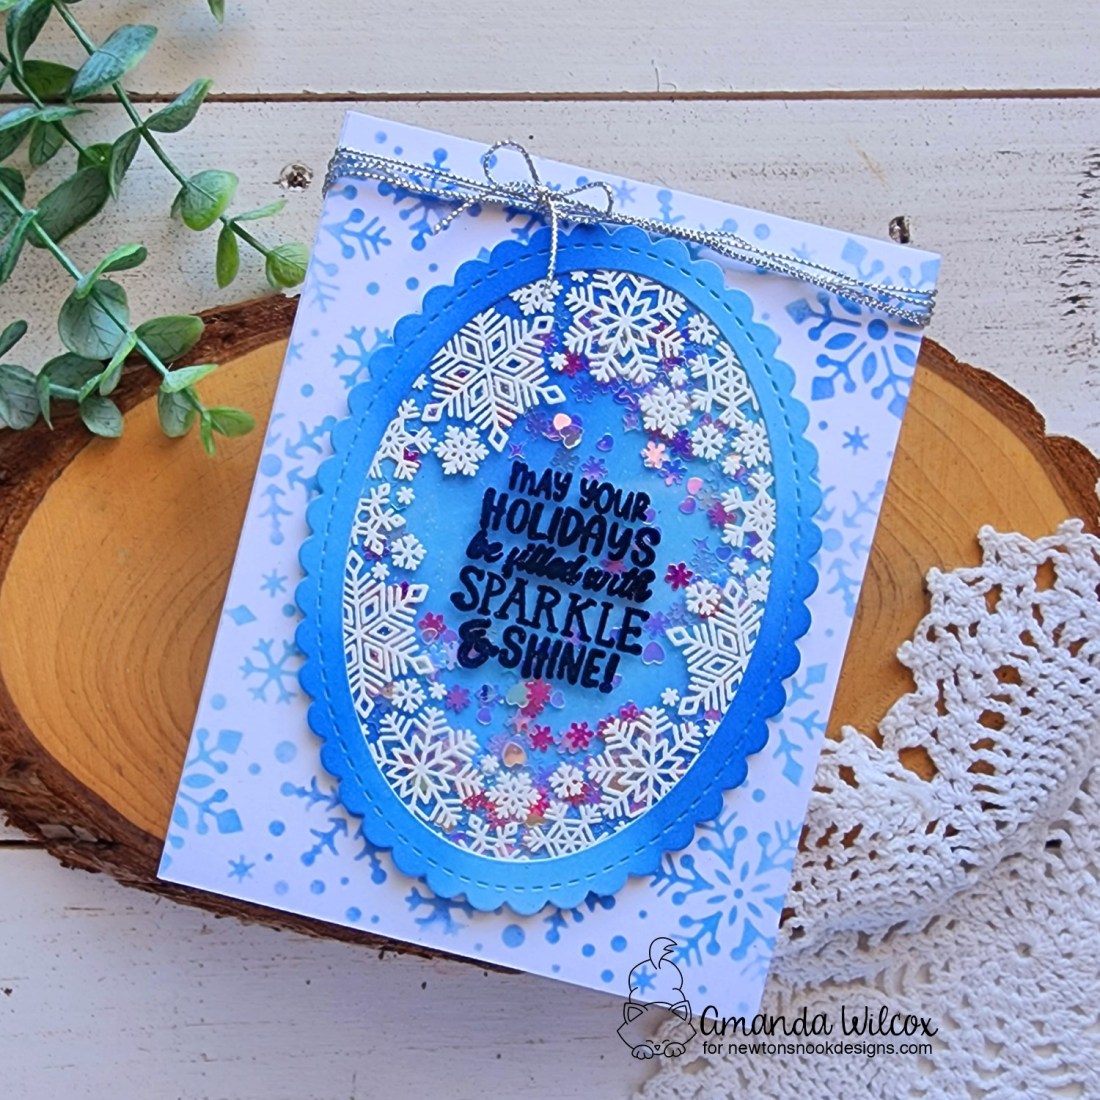
Lawn Fawn – Not a Creature Was Stirring…

Hey friends! Today I bring you a minor reprieve from my obsession with all things Halloween to bring you something also completely out of season that makes my heart so happy…a Christmas card! Lol! I hope you enjoy it.

I took a moment to play with these sweet baking mice from the Lawn Fawn A Creature stamp set. I colored them with my copics and used patterned papers from an older Lawn Fawn paper pad – Snow Day Remix.

The scrap of red cardstock I had was already 4.25×4 inches so I just cut it in apart a 1.25 inches on the 4.25 inch side and popped them up on a white card base with foam tape. I also had a scrap of the green background paper that I slid in place with liquid glue and then popped up all my images with foam squares.

I stamped and heat embossed the sentiments on black cardstock and used my paper trimmer to cut them into strips before adding them with foam strips too.

For finishing touches I added glossy accents to the mouse noses, holly berries and candy cane. Then I added stardust Stickles to the gumdrops on the gingerbread house for some sparkle.

Products used today:
A Creature Was Stirring stamps and dies
Snow Day Remix paper pad
Foam tape, strips and squares
Glossy accents
Stickles – stardust

I appreciate you sharing your time with me. Have a fabulous day!
Pretty Pink Posh – You Are Spooktacular

Happy Friday friends! Today I’m back with another adorable and super fun to create card using the August release from Pretty Pink Posh! Another great layering stencil set and too-cute-to-spook critters make for fun in the craft room for sure!

For this card, I stepped up the stenciling a bit by using Thermoweb transfer gel blanco on the leaf layer and adding deco foil flock for some fuzzy leaves. Followed by black glitz glitter gel for the fun faces too!

I chose that adorable mummy bear from Halloween Critters to stamp and color with my copics, then cut out with the coordinating dies. I stamped and heat embossed my sentiment from the same set and used the coordinating die to cut it out too.

A trick I found was that the ruler die from Crafty Critters cuts out the “you are” sentiment in this set perfectly! After all that was done, I added foam squares and strips to the back of everything and started to assembly my card.

I trimmed the stenciled panel to 4×5.25 inches and popped it up on a black A2 panel with foam tape. Then I added the sentiment and mummy bear next. For finishing touches I added black glaze pen to the bear’s eyes and glossy accents to his nose. I also decided to add stardust Stickles to the face of the jack o’ lantern the bear is holding so it looks like the background stenciling too.

Products used today:
Halloween Critters stamps and dies
Crafty Critters dies
Layered Pumpkins stencils
Thermoweb Glitz Glitter Gel – black
Thermoweb Transfer Gel Blanco
Thermoweb Deco Foil Flock – green envy
Foam tape
Glossy accents
Stickles – stardust

I appreciate you sharing your time with me. Have a fabulous day!

Miss Ink Stamps – No Tricks, Just Treats

Happy Thursday everyone! I’m popping in this afternoon with a fun shaker tag featuring more amazing Halloween goodness from Miss Ink Stamps. Today, no coloring though! So fun and super quick to create in case you want to make more than one.

For this tag, I took a scrap of white cardstock and ink blended randomly with distress oxide in spiced marmalade and speckled egg. Then I took the Slimline Scene Builder Clouds stencil and ground espresso distress oxide ink to add the cloud texture. Isn’t this color combo so fun!?! I love how different it is. Then I used the Heffy Doodle frame tag die to cut the panel, keeping both inside and frame pieces. Next, I die cut the frame 6 more times from black cardstock, along with 2 solid tags – one from white cardstock for a backer and another from acetate for my window.

I glued one black frame to the white solid tag and then glued the inked center inside that. Next, I kept adding all of the other black frames with liquid glue. I sprinkled in some champagne stardust glitter, adhered the acetate window over top and finally added the stenciled frame on that. I placed acrylic blocks on top and switched to my ghosts and sentiment.

I stamped and heat embossed both ghosts on iridescent vellum and fussy cut them out. These are super easy to cut and didn’t take any time at all. Next, I stamped and heat embossed a sentiment from the Halloween Sentiments stamps that I thought was perfect for a Halloween treat bag! I used the banner die in the tag die set to cut it out.

For assembly today, I used a foam strip to add the sentiment but I hid mini glue dots behind the ghost eyes to adhere them to my tag. It lets the bottom curl up a little and give that spooky feel. It’s so fun and makes “hiding” the adhesive super easy!
I’m excited to add this to a bag of treats for a special someone at Halloween! It’s going to be great!
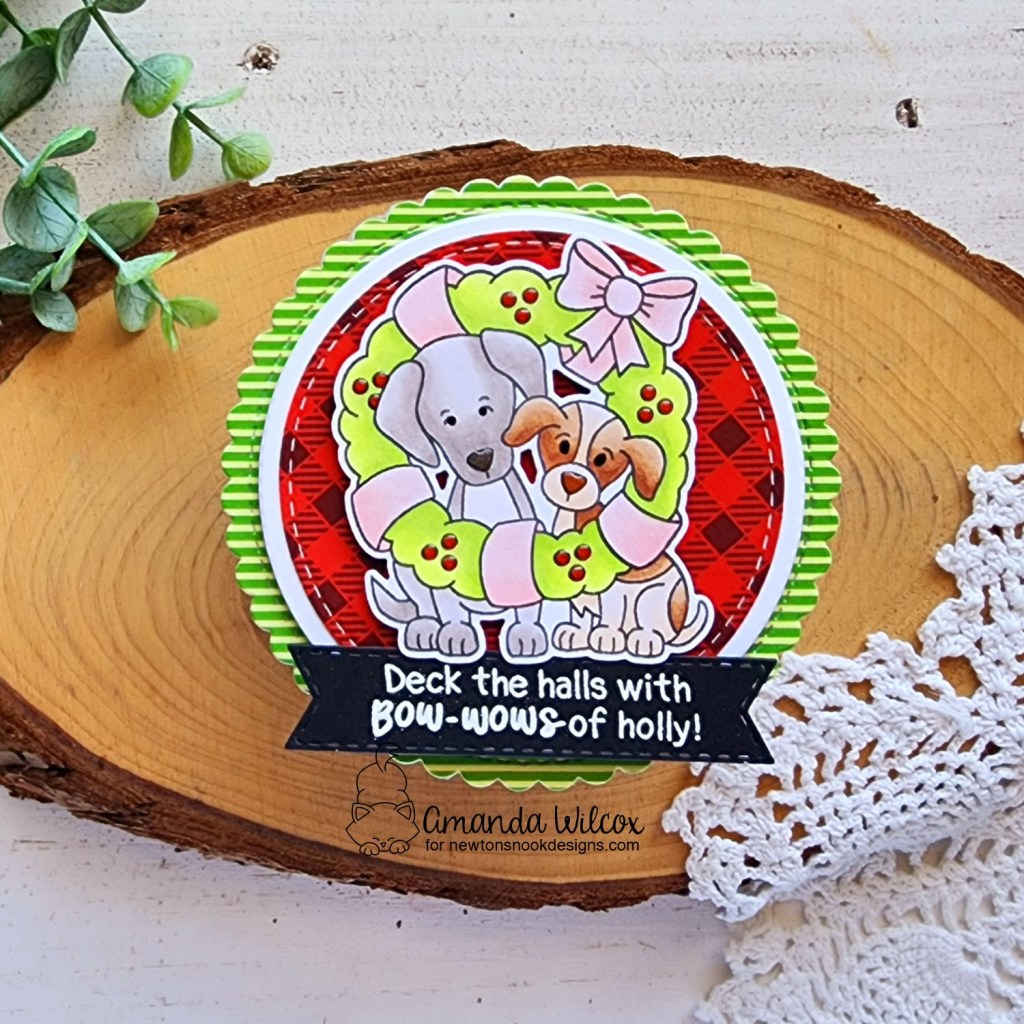
Products used today:
Boo Sheet stamps
Halloween Sentiments stamps
Scene Builder: Clouds stencil
Champagne Stardust glitter
Heffy Doodle Tag Along dies
Distress Oxide – ground espresso, spiced marmalade, speckled egg
Bearly Art liquid glue
Glue dots – mini
Foam strips

I appreciate you sharing your time with me. Have a fabulous day!