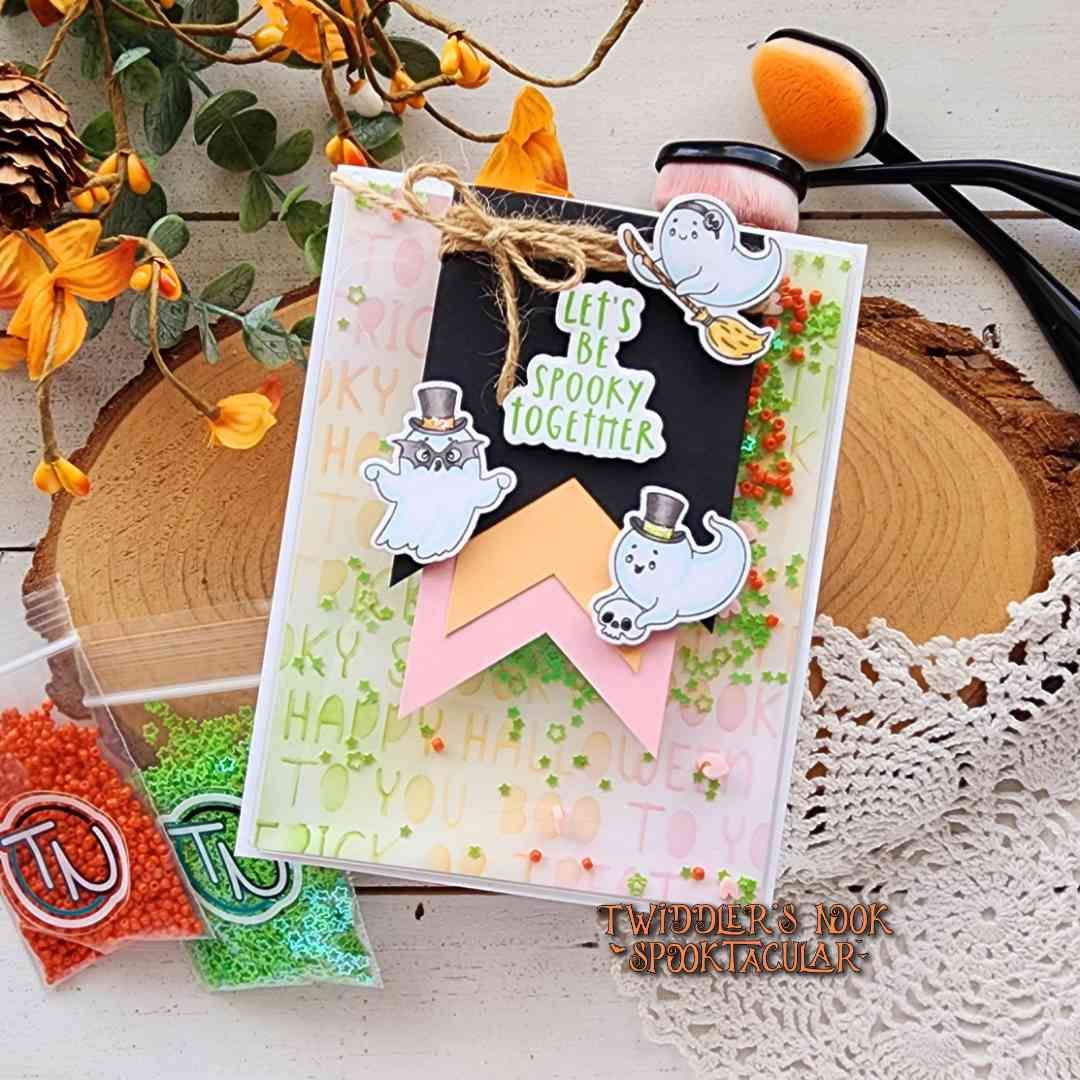
Twiddler’s Nook Spooktacular Hop

Happy Halloween everyone!!! I’m super excited for our final Spooktacular Hop of the year! I created a fun shaker card to share with you but remember to head to Instagram and comment on the hop posts for entries to win a gift code to the Twiddler’s Nook shop!
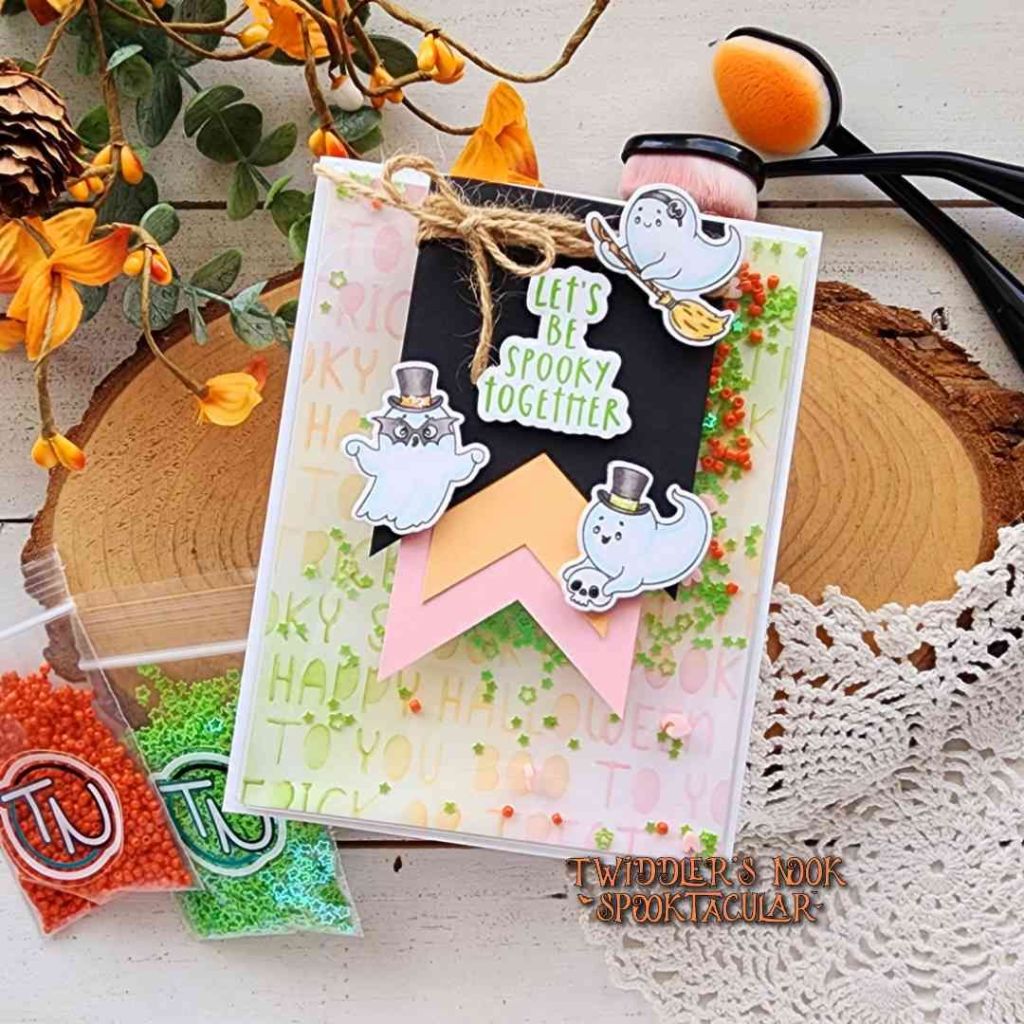
My most amazing crafty friend gifted me these sweet Picket Fence Studio ghosts and I just had to include them in our final hop. So I chose a few to stamp and color, then also stamped a sentiment before die cutting it all.
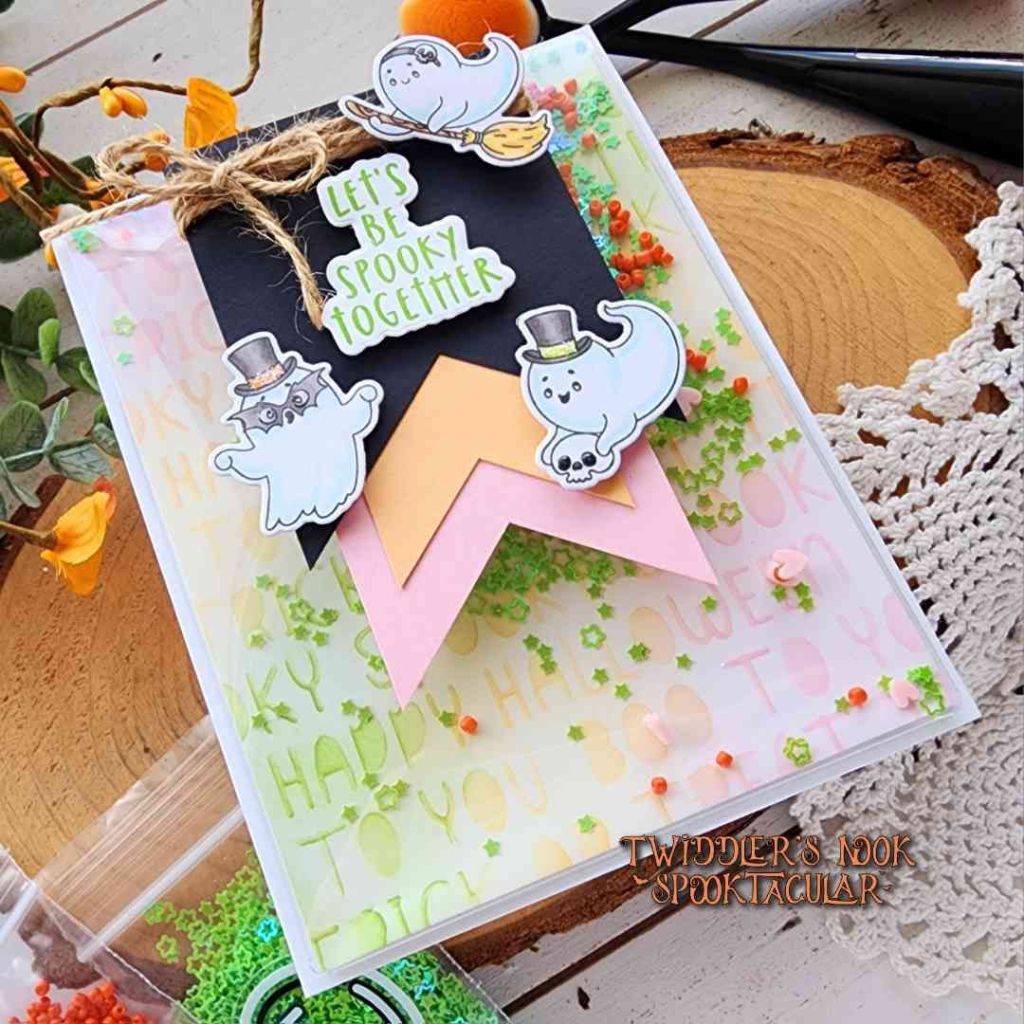
I used the Spellbinders banner punch to create a trio of banners, glued them together and wrapped the top with twine. Then I added my sentiment and images with foam squares and set that aside to create my shaker panel.

For that I ink blended over the Pretty Pink Posh Halloween Words stencil using Lawn Fawn inks – jalapeno, ballet slippers and carrot. I removed the stencil and lightly went over the panel with the same colors. After trimming it down to 4×5.25 inches I added it to a Waffle Flower shaker pouch.
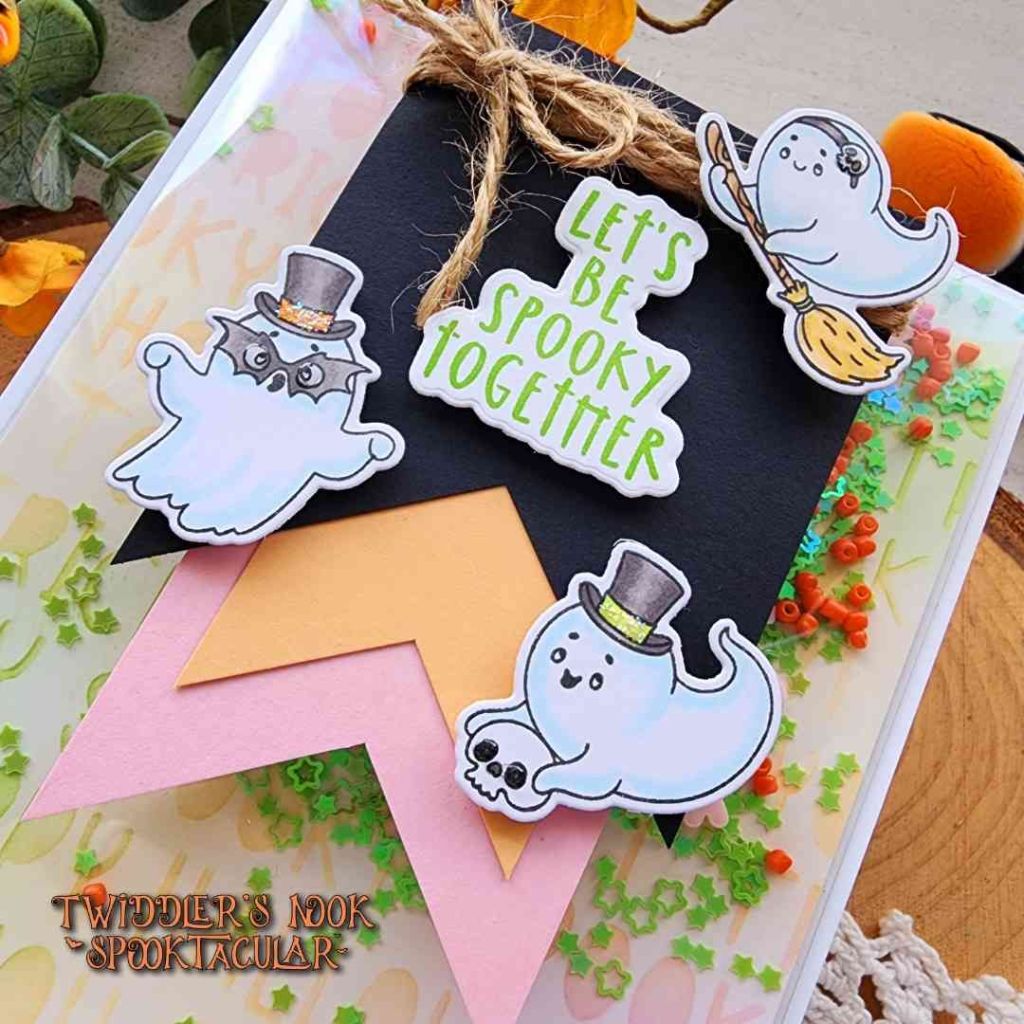
I used a few different embellishments for my shaker bits today to create the perfect color combo mix – hearts from Spring Fling, Luscious Lime stars and orange Seed Beads. The variety of materials really helps them all move around when you shake it and the seed beads make an extra cool sound too.

After everything was adhered together on a white card base I added glossy accents and stardust Stickles to my ghosts for the finishing touches.

Products used:
Picket Fence Studios Be My Boo stamps and dies
Spellbinders Banner Punch
Pretty Pink Posh Halloween Words stencil
Twiddler’s Nook blending brushes
Twiddler’s Nook Luscious Lime Stars embellishments
Twiddler’s Nook Seed Beads – orange
Twiddler’s Nook Spring Fling clay embellishments (pink hearts)

Lawn Fawn inks – ballet slippers, carrot, jalapeno
Waffle Flower 5.25×4″ shaker pouch
Foam tape and squares
EZ Tear Tape
Liquid glue

I appreciate you sharing your time with me. Have a fabulous day!
Build Your Stash Holiday Cardmakers Hop – Sponsor and Card Inspiration

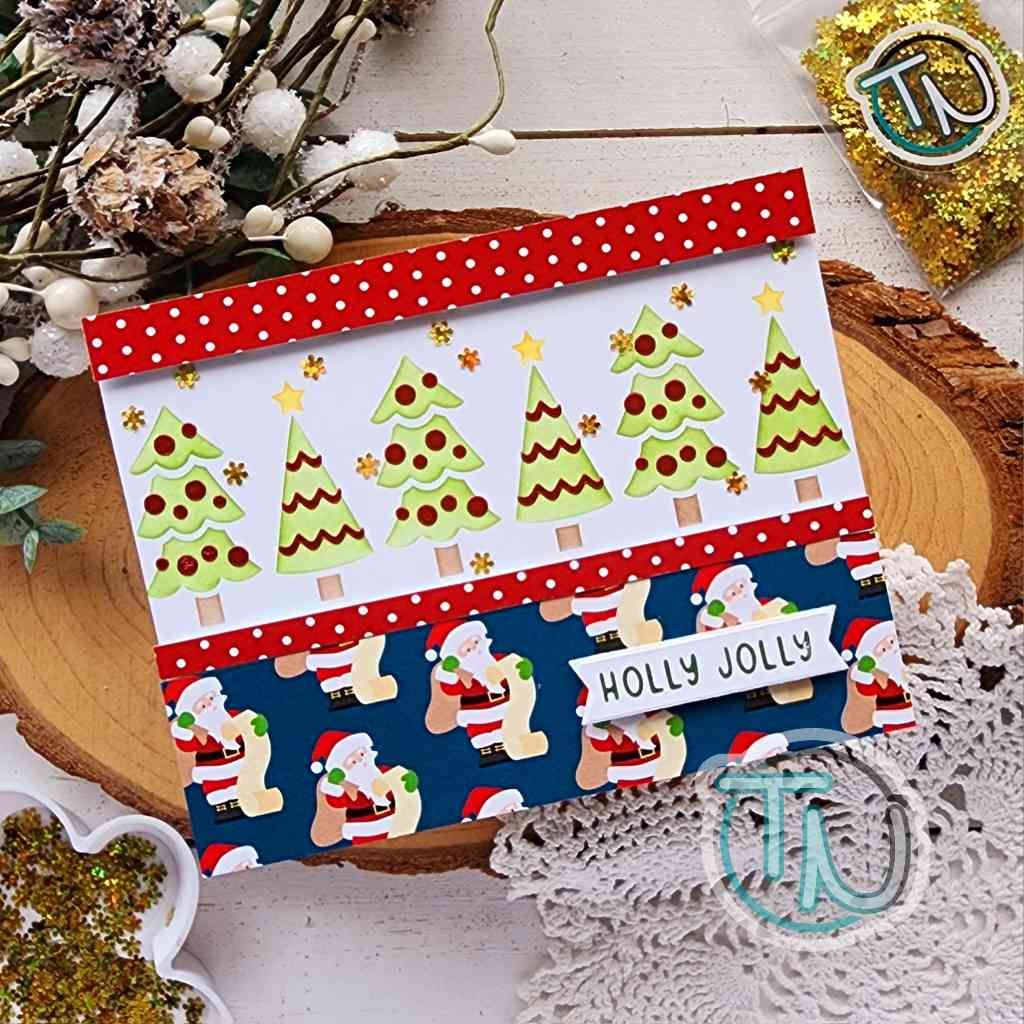
Happy Friday everyone! As always, I’m happy to sponsor the Build Your Stash Holiday Cardmakers hops. They’re so fun and a great excuse to use your holiday stash all year long! Today I have a fun card to share with you featuring Twiddler’s Nook products, perfectly paired with Newton’s Nook!

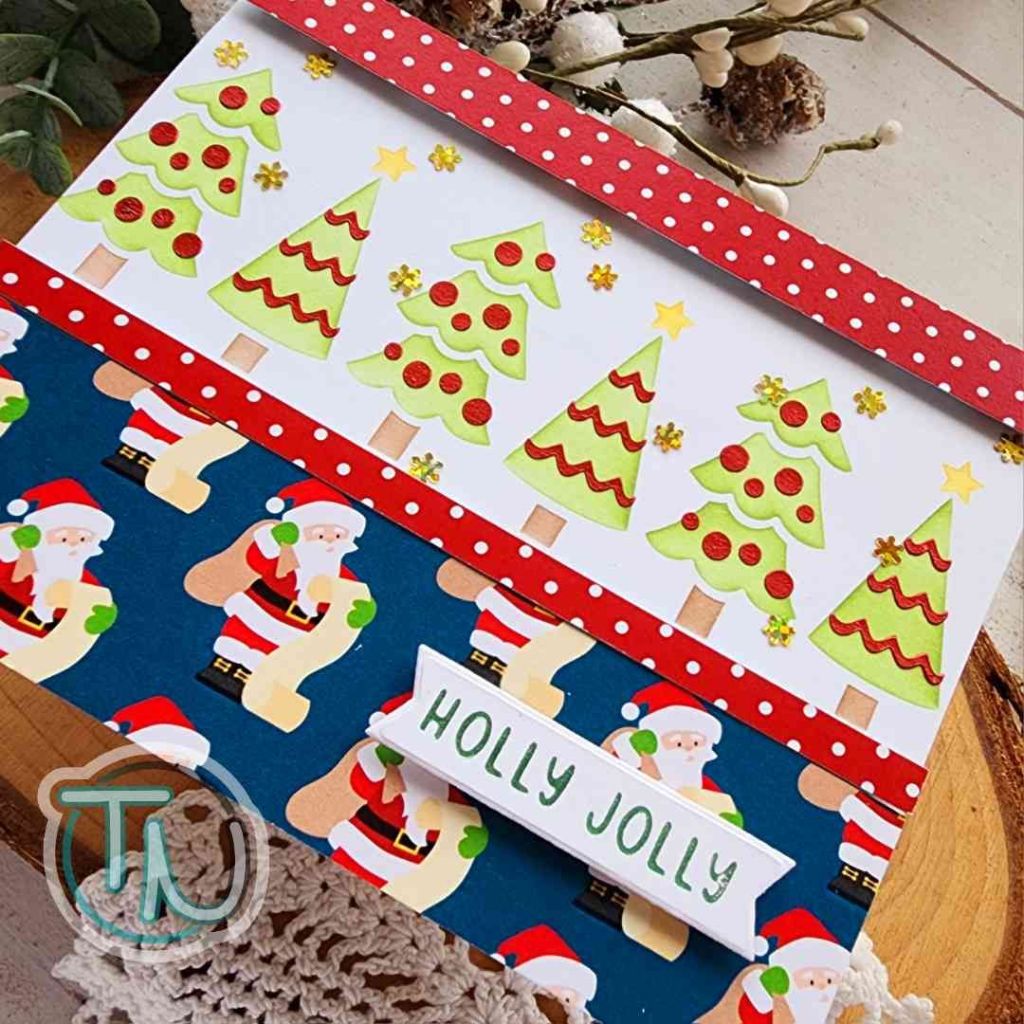
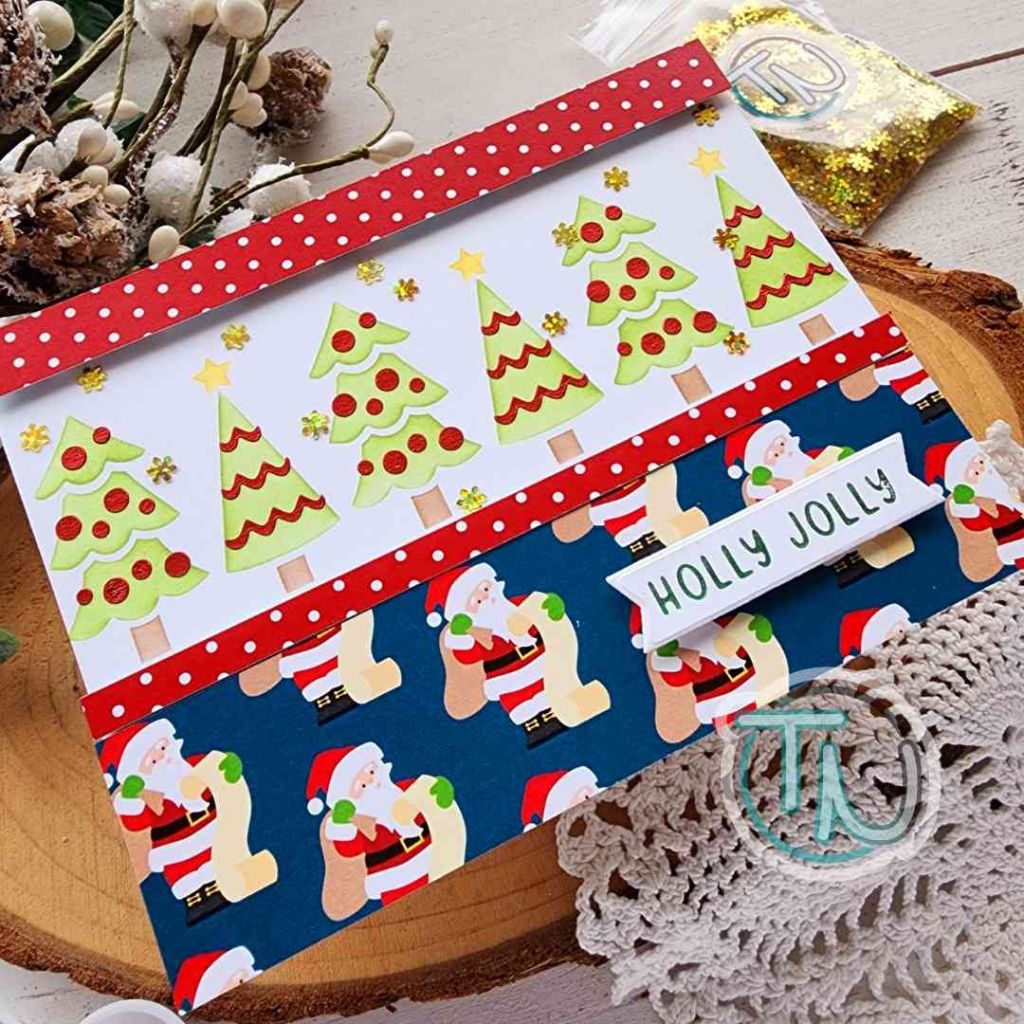
I had a little fun with the Christmas Tree Line stencil – inking the layers up with Twiddler’s Nook blending brushes, plus a layer of Lunar Paste for some shine. Then I glued a scattering of Twiddler’s Nook gold snowflake confetti embellishments for sparkle among the trees as well.

I pulled out the Newton’s Nook Christmastime paper pad and cut a few strips to pop up with foam tape above and below my stenciling. The top is 1/2″ and the bottom is 1 1/2″ with a 1/4″ extra strip to match the top.

Last, I used a Holiday Greetings hot foil plate and one of the Banner Duo dies to cut my sentiment out. I popped that up with foam squares and my card is all finished.

Surprise, we’re running a little sale for the opening weekend of the hop too! Stock up now and get holiday crafting!

Here’s a start on some awesome products for your craft room:

This little trio works like magic – the brushes magnet to the platform with the caps on the bottom so they don’t fall over but are easy to grab and craft with!

Twiddler’s Nook blending brushes
Twiddler’s Nook color caps (to color code those brushes)
Twiddler’s Nook double wide platform base (so your brushes have a place to live)

Love embellishments? Give this a try. Easy sorting and easy pouring back in the bags.

Twiddler’s Nook embellishment tray

Lose your dies all the time? Definitely look at this!

Twiddler’s Nook magnetic die stand

I appreciate you sharing your time with me. Have a fabulous day!
Coffee Loving Cardmakers – National Coffee Day WINNER

Hey friends! Popping in real quick to share the winner from the National Coffee Day hop with the Coffee Loving Cardmakers.

Thank you to all who took the time to check out the shop, new and returning, and commenting with your favorites! The time you take out of your day to participate is appreciated and the comments really do help me know what people might like as far as themes and products in general.

Now…drum roll for our winner please…

Congratulations Debbie! Please email me to claim your prize.

Coffee Loving Cardmakers – National Coffee Day Hop

Hey friends! Happy National Coffee Day!!! Grab a cuppa if you haven’t already and hop along with us for inspiration and comment while you’re going for chances to win prizes at each stop!

You’ve reached Twiddler’s Nook which is a small Etsy shop who makes and sells craft tools to make your crafting easier, along with a variety of embellishments to add to all your different creations!

Today, I’m giving away a $20 gift code to the Twiddler’s Nook shop so you can curate your own prize!

Take a moment to check out our shop and comment here with your favorite product or something you’d like to see us create.

We’re the last stop but if you’re just getting started, head back to the Coffee Lovers blog to start at the beginning.

Caffeinated Christmas Card Challenge – Shaker Card

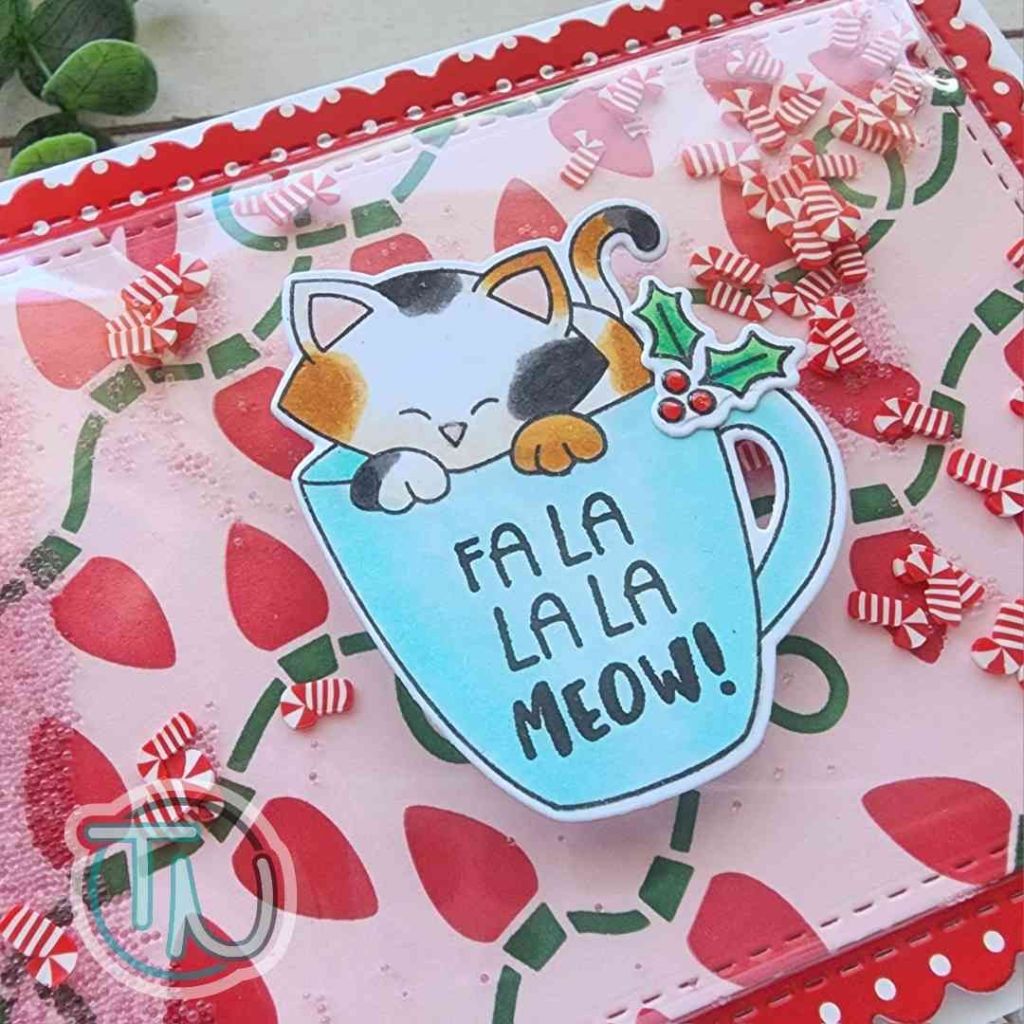
Hey friends! I’m happy to announce that Twiddler’s Nook is the monthly sponsor for the Caffeinated Christmas Card Challenge. The theme is coffee, Christmas and this month – cute critters! This was so fun to to mull over and create for! Ultimately, I landed on m favorite Newton’s Nook goodies, turned into a shaker card featuring a couple of Twiddler’s Nook embellishments as the shaker bits!

I’ve been heavy on pink lately so forgive me now but Christmas and Halloween are going to be a bit non-traditional this year. Hence, I started with a pink panel for my background stenciling and I love it!!! I cut that out with the Newton’s Nook Basic Frames rectangle and created a shaker pouch with some leftover packaging. I filled that with Candy Cane clay embellishments and Rosetta Pixie Dust Micro Beads.

For my images, I combined Newton’s Mug with sentiments and holly from Newton’s Gift. Don’t they go so perfectly? I love how it turned out! I also love combining my sentiment inside these large images. It’s so genius!

To pull it all together I cut the largest Frames & Flags die from the red polka dot paper in the Bright Basics paper pad and popped it up on a white card base. Then I glued the shaker panel to that with EZ Tear adhesive tape. Last, I popped my image up on that with foam squares.

For finishing touches I just added a bit of glossy accents to Newton’s nose and the berries on the holly. Just a little something extra.

Products used:
Twiddler’s Nook Candy Cane clay embellishments
Twiddler’s Nook Pixie Dust Micro Beads – Rosetta
Twiddler’s Nook Blending Brushes
Twiddler’s Nook Double Wide Platform Base
Twiddler’s Nook Blend Brush Caps
Twiddler’s Nook Pressure Pal

Newton’s Mug stamps and dies
Newton’s Gift stamps and dies
Newton’s Nook Bright Basics paper pad
Newton’s Nook Flags & Frames dies

Foam tape
Liquid glue
EZ Tear adhesive tape
Glossy accents

Remember to hop over to the Caffeinated Christmas Card Challenge blog and link up your entries for a chance to win a $35 gift card to the Twiddler’s Nook shop this month! (Spoiler…if you spend the whole gift card at once you, you get free shipping!)

I appreciate you sharing your time with me. Have a fabulous day!
Twiddler’s Nook Spooktacular IG Hop

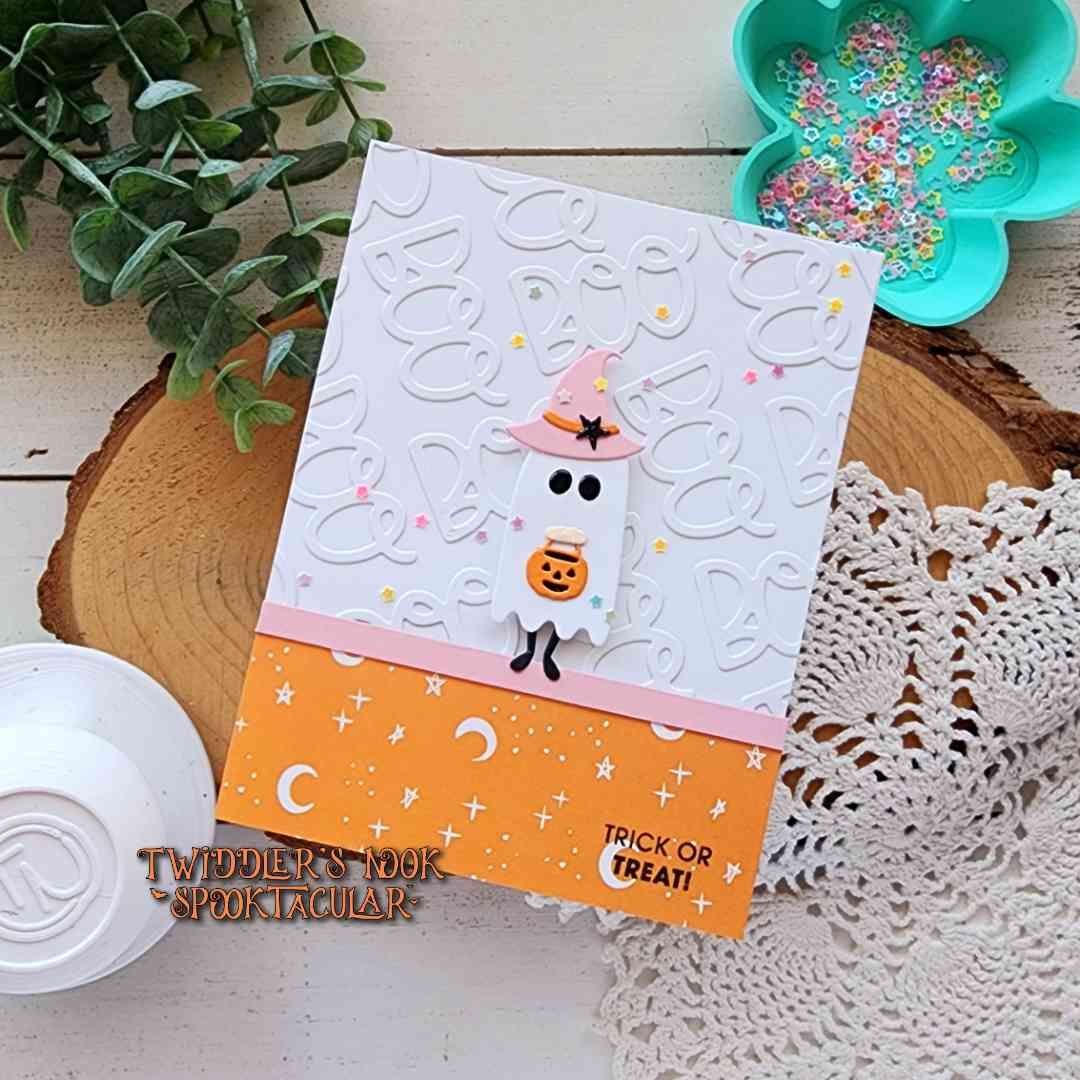
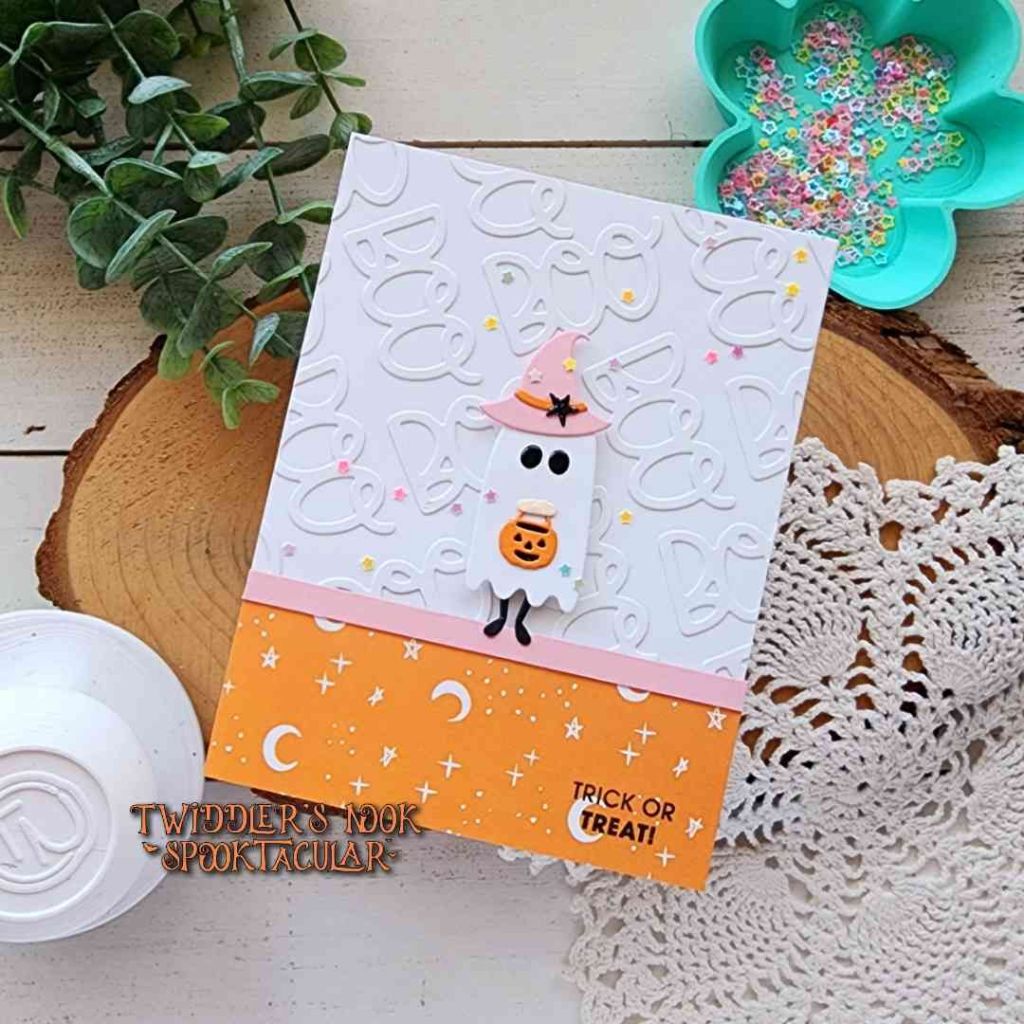
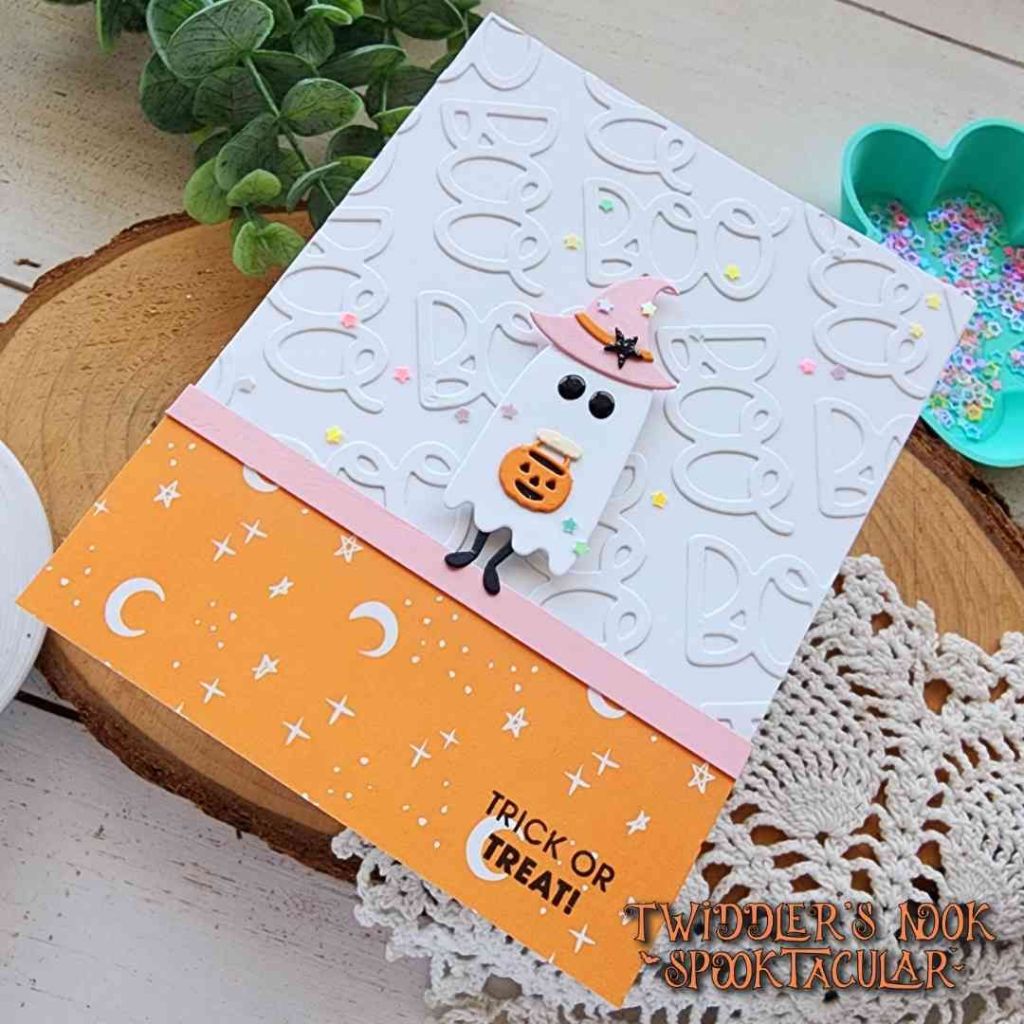
Hey friends! It’s time for the next Twiddler’s Nook Spooktacular Instagram Hop! Today I have a fun card featuring a few great Twiddler’s Nook products but also a recent haul I purchased of Halloween goodies from Scrapbook.com.

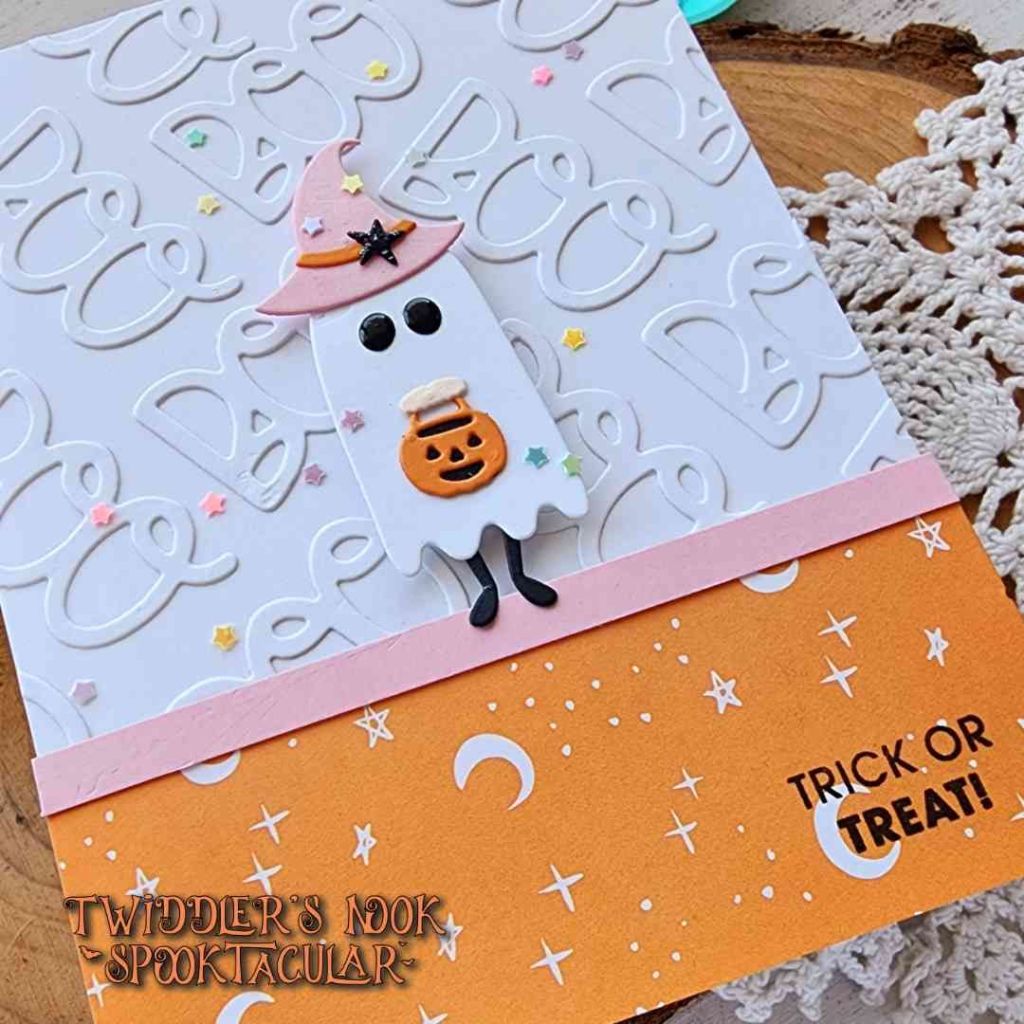
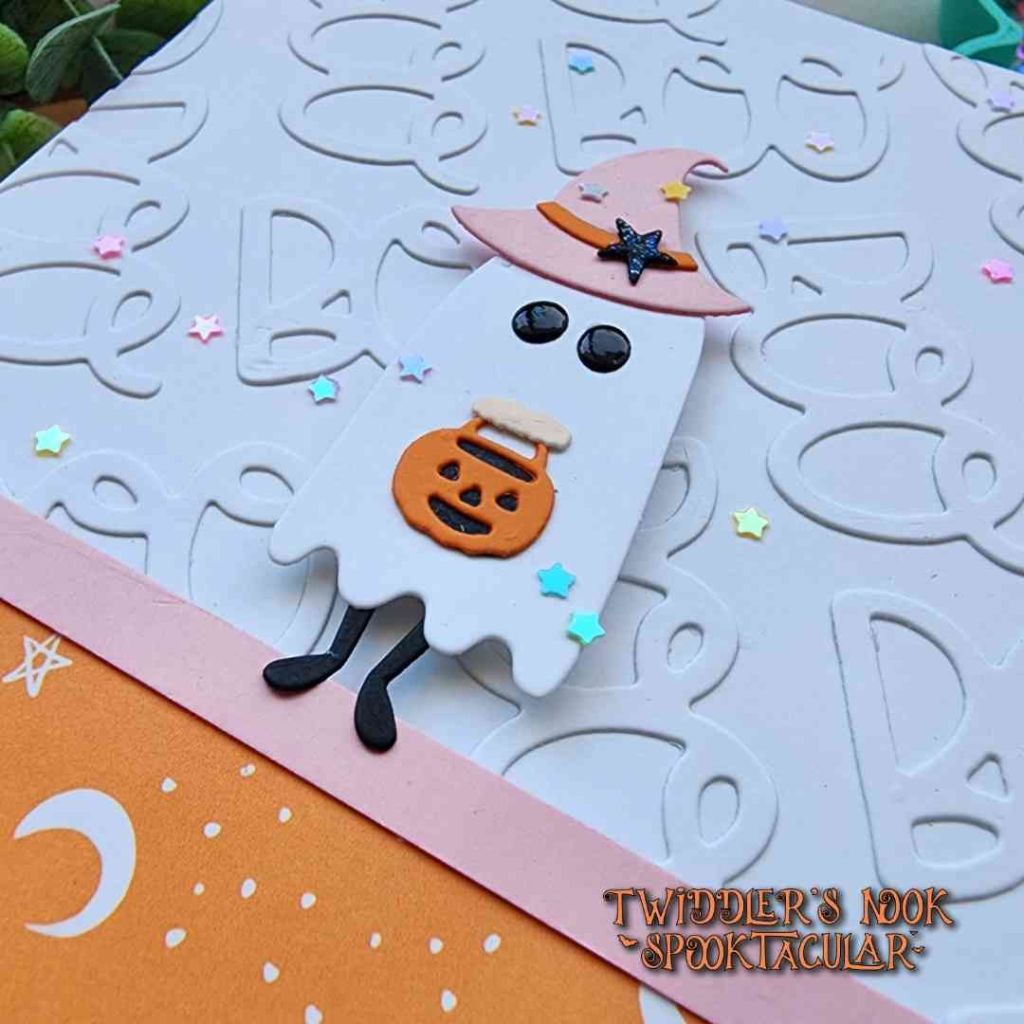
I started by immediately cutting and building this ADORABLE little ghostie from the Spooky Bundle! This bundle comes with a stamp set, this ghost and sentiment dies, plus a paper pad packed full of cuteness! All of which I used today!

Next, I die cut a bunch of the “boo” sentiment and started playing with arrangements. I landed on this sort of flip-flop look and LOVE IT! After gluing everything down with liquid glue, I trimmed the excess off the edges.

Going through the paper pad, I chose this fabulous orange sky paper for my bottom border, trimmed a piece about 1 3/4″ wide and stamped my sentiment on the bottom right corner. Don’t forget to use your Twiddler’s Nook Pressure Pal to get great stamp images, especially for sentiments. No squishy fat spots here and there when you use it!

I lined the top of the orange panel with a strip of pink cardstock coordinating with the witch hat and popped my ghost up with foam squares.

For finsihing touches, I added glossy accents to the ghost’s eyes and stardust Stickles to the star on the hat. Then I scattered a sprinkling of Twiddler’s Nook Wishing on Rainbow Stars embellishments. I picked and chose the lighter colors in the mix by pouring some in a Twiddler’s Nook embellishment tray, which also made it super easy to pour them back in the bag when I was done.

Be sure to head to Instagram and hop along with us, commenting as you go for a chance to win a gift card to the Twiddler’s Nook Etsy shop.

Products used today:
Scrapbook.com Spooky Bundle
Liquid glue
Reverse tweezers

Twiddler’s Nook Pressure Pal
Twiddler’s Nook Wishing on Rainbow Stars embellishments

Glossy accents
Stickles – stardust

I appreciate you sharing your time with me. Have a fabulous day!
Twiddler’s Nook Spooktacular – Happy Haunting Shaker Card

Hey friends! It’s that time again…the 31st of the month equals the Twiddler’s Nook Spooktacular Instagram Hop! Today I’m sharing a fun shaker card mixing some of our embellishments together for a custom shaker look.

For my card today, I stamped some images from the fun Lawn Fawn Booyah stamp set and colored them with copic markers. After cutting them out with the coordinating dies, I used liquid glue to assemble my dressed up ghosts. Then I went digging in my stash for a fun die set to create a shaker window frame with. I landed on the Pretty Pink Posh Stitched Torn Rectangle dies. I used the two largest to cut a frame from kraft cardstock. I kept the inside to use as my background as well.

I was thinking spellbook when I pulled the MFT Stamps typewriter background stamp out to stamp on the kraft panels. After stamping, I used gathered twigs distress oxide ink to ink the edges of the frame and center of the panel.

For an added little bit of spooky, I cut the Lawn Fawn Cute Cobweb from white cardstock and colored the spider. Then I used liquid glue to adhere it to the under side of the shaker frame. After that I added acetate to the frame and foam tape in preparation for the shaker bits.

I inked up a piece of dotted purple cardstock with wilted violet and then black soot so it was dark but not totally black. I glued that to a card base, then added the center kraft piece to that. I sprinkled all the shaker bits in the center and sealed it up with the frame.

Finally, I popped the images up with foam squares, along with a heat embossed sentiment that came from the Booyah stamp set. I added a little glossy accents to the witch’s hat and vampire’s treat bag for finishing touches.

Products used:
Twiddler’s Nook Pressure Pal
Twiddler’s Nook Pixie Dust micro beads embellishments
Twiddler’s Nook Glow in the Dark Stars and Moons embellishments
Twiddler’s Nook Happy Jacks embellishments

Lawn Fawn Booyah stamps and dies
Lawn Fawn Extra Sentiment Strips dies
Lawn Fawn Cute Cobweb dies

Pretty Pink Posh Stitched Torn Rectangles dies
MFT Stamps Typewriter background stamp
Distress Oxide Ink – gathered twigs, black soot, wilted violet
Foam tape and squares
Touch of gloss

Remember to head to Instagram and hop along for a chance to win $20 to the Twiddler’s Nook shop!

I appreciate you sharing your time with me. Have a fabulous day!

Coffee Loving Cardmakers – Spring |Summer Hop

Hi friends! I’m happy to be a super sponsor for the Coffee Loving Cardmakers once again. Thanks for hopping along. I’d love it if you took a moment to check out the shop, come back and let me know you’re favorites! Commenting enters you for a chance to win $20 to treat yourself! Click HERE for the Twiddler’s Nook shop.

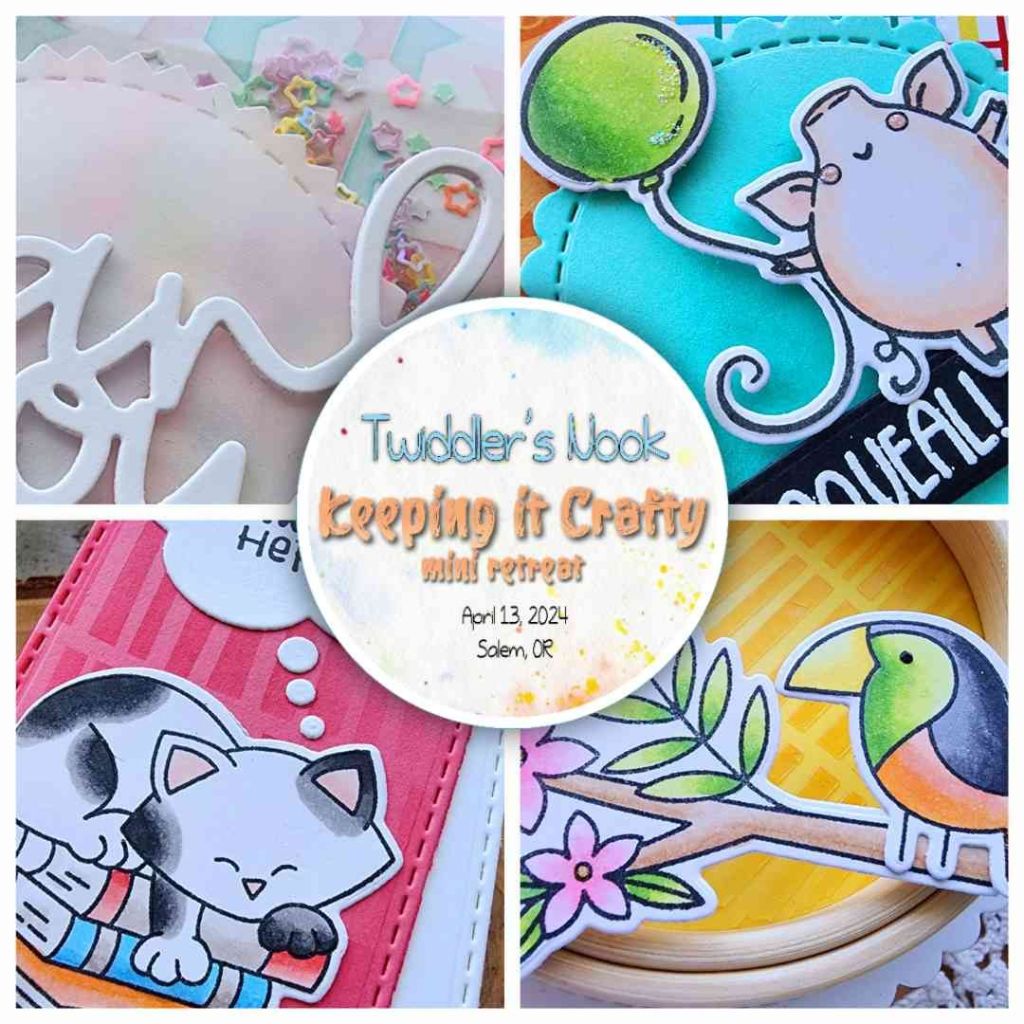
I’d also like to take a moment to let you know that I’m hosting an in-person craft retreat in April. If you’re anywhere near Salem, OR and would like to join us. You can register HERE.

If you have friends who are close and you wouldn’t mind spreading the word, I would really appreciate it. If I can fill the spots this spring, we’ll be having another even in the late summer for all things holiday!

I appreciate you sharing your time with me. Have a fabulous day!

We’re the end of the hop so head back to the Coffee Loving Cardmakers blog post if you’ve gotten off track or are just starting out here.

Commenting closes March 22 at noon PST. Winner will be announced Sunday on the Coffee Loving Cardmakers blog.

The winner from the Coffee Loving Cardmakers blog hop is beccab33324!

Congratulations! Email me at twiddlersnook@gmail.com to claim your prize.