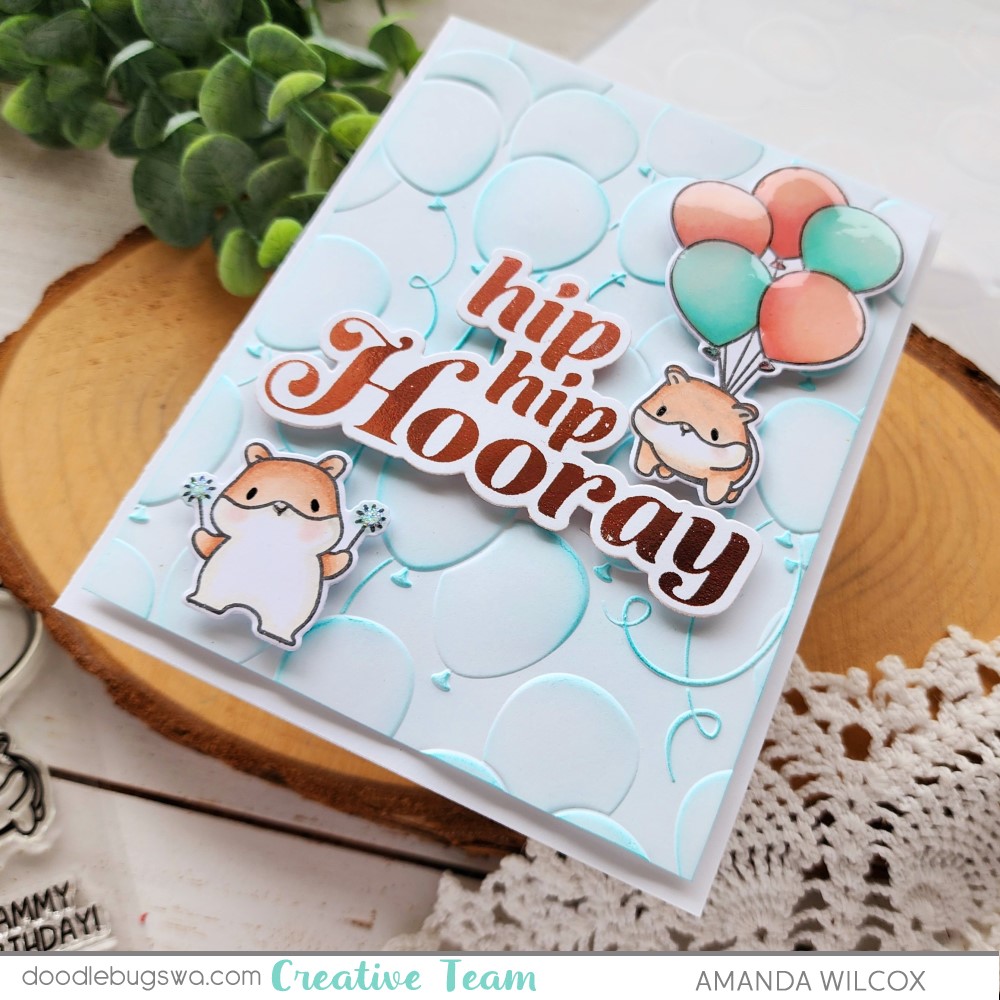
Welcome back everyone! I’m so glad you stopped by today. I’m on the Doodlebugs blog with a pair of mini note cards in two variations. Both are super cute but maybe one is more comfortable or to your bling level liking. Enjoy!
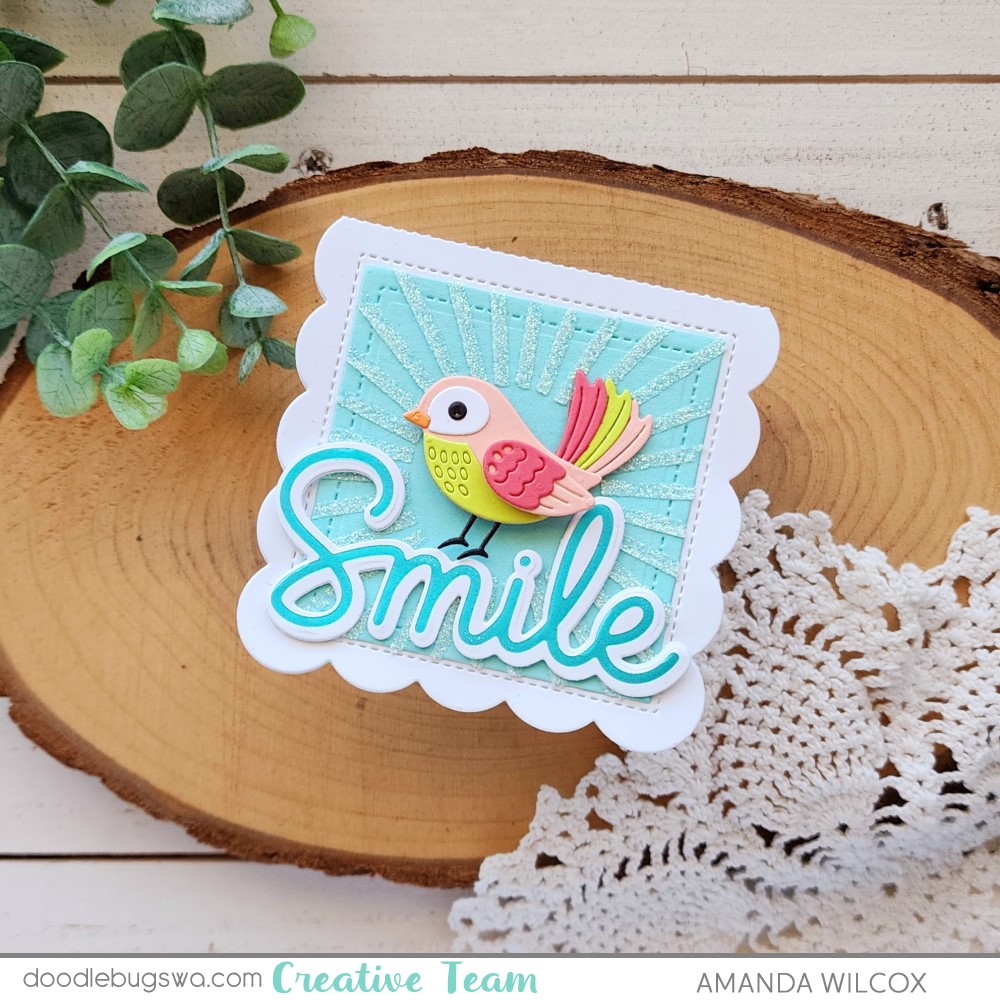
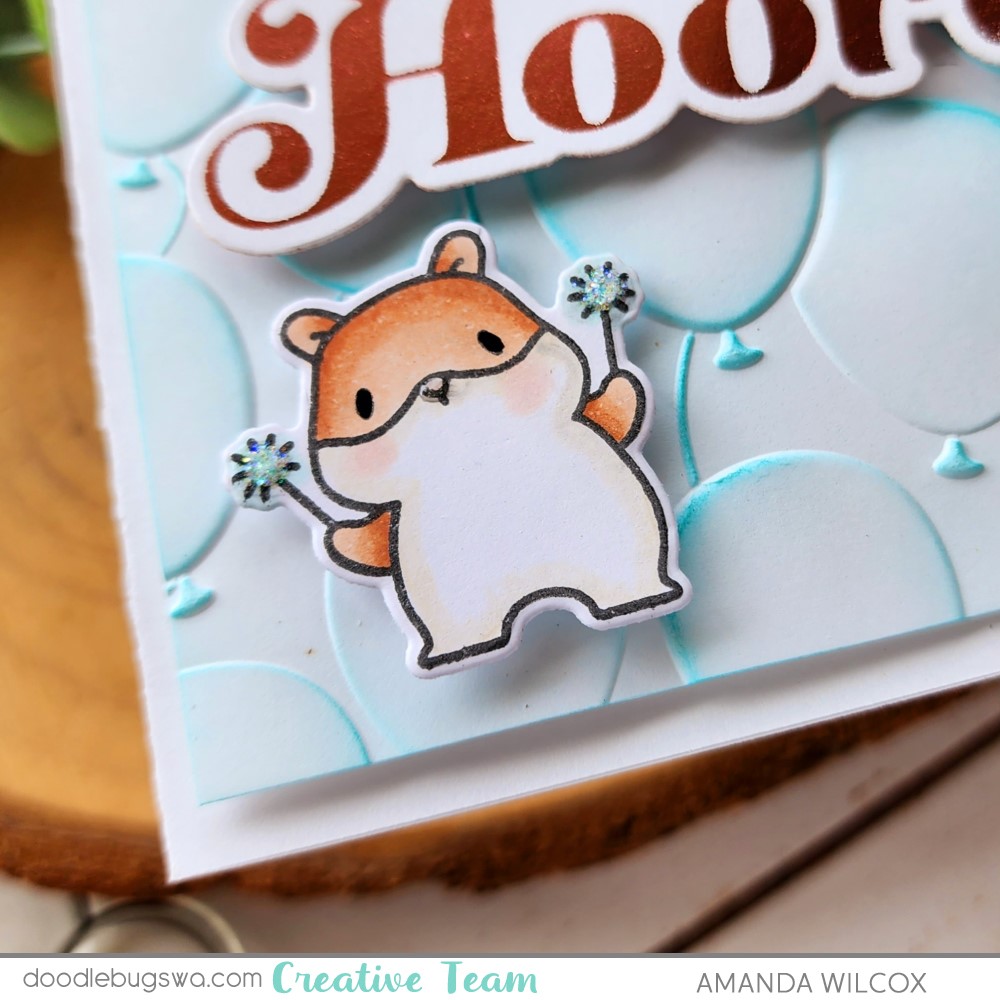
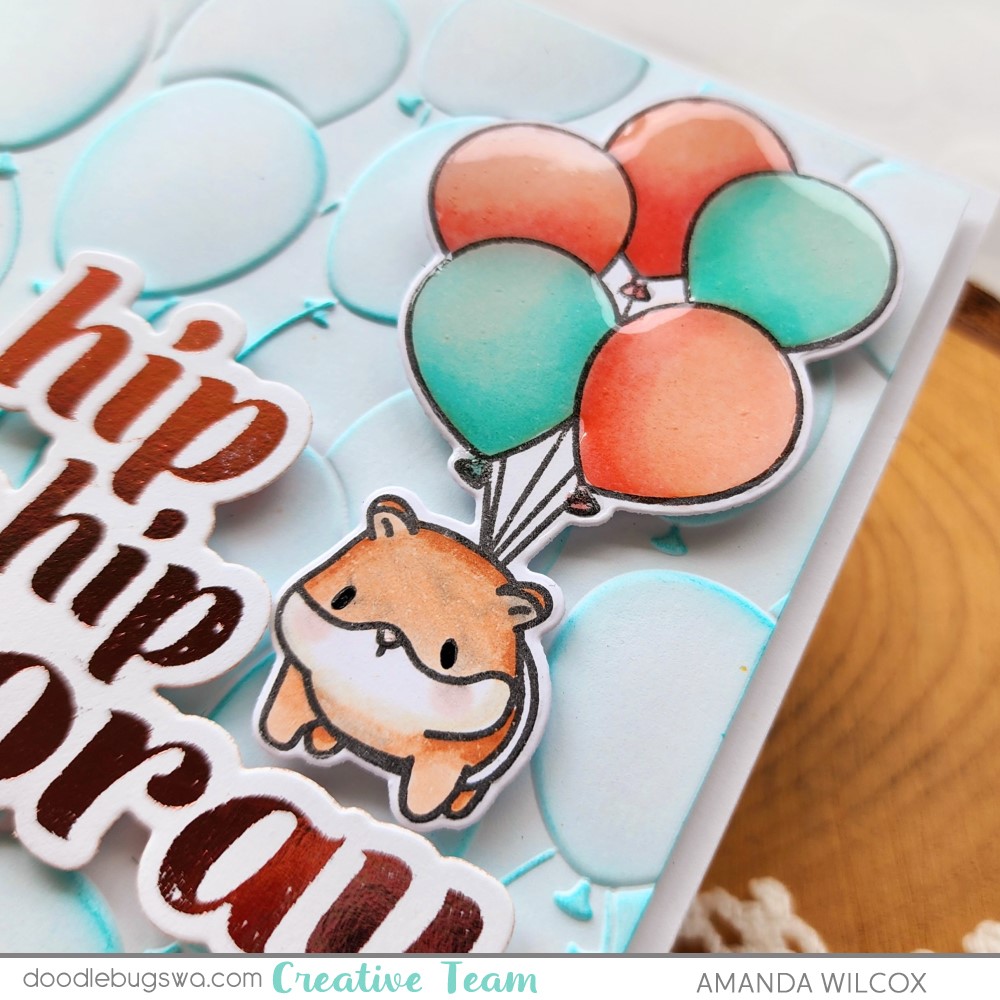
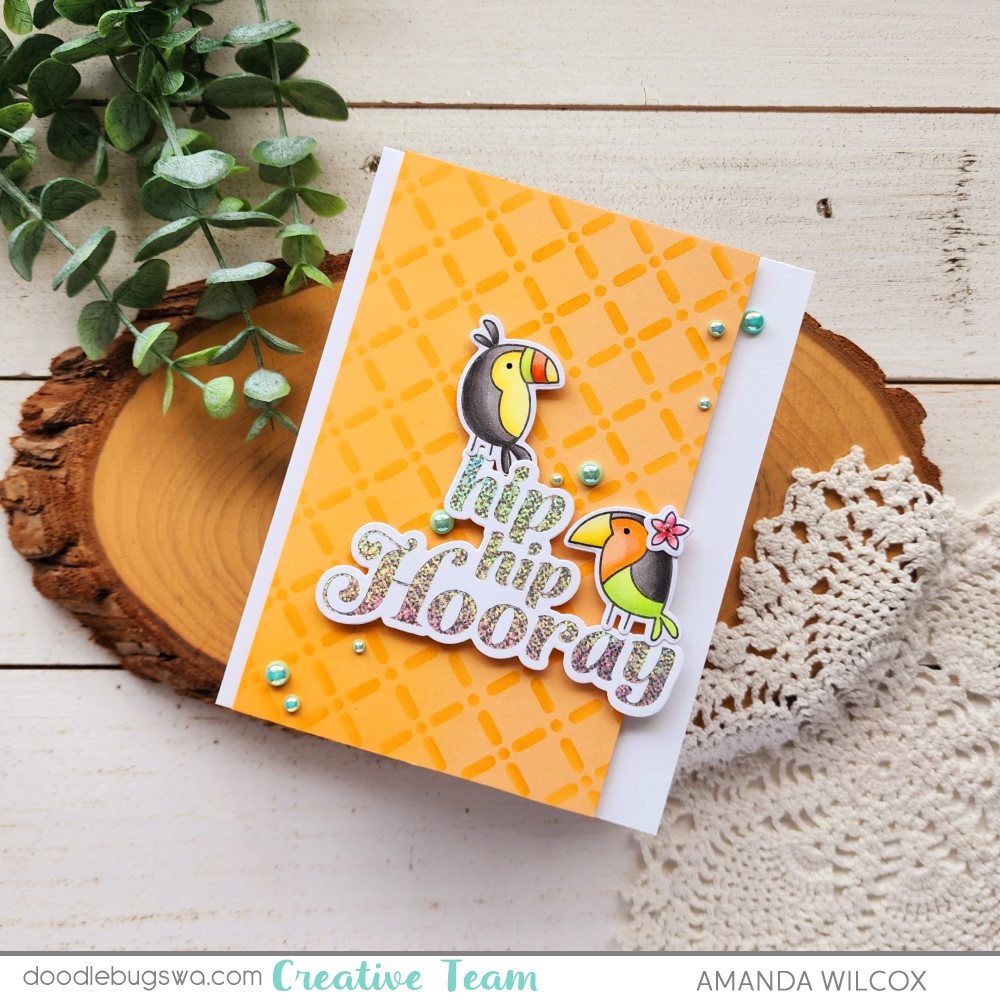
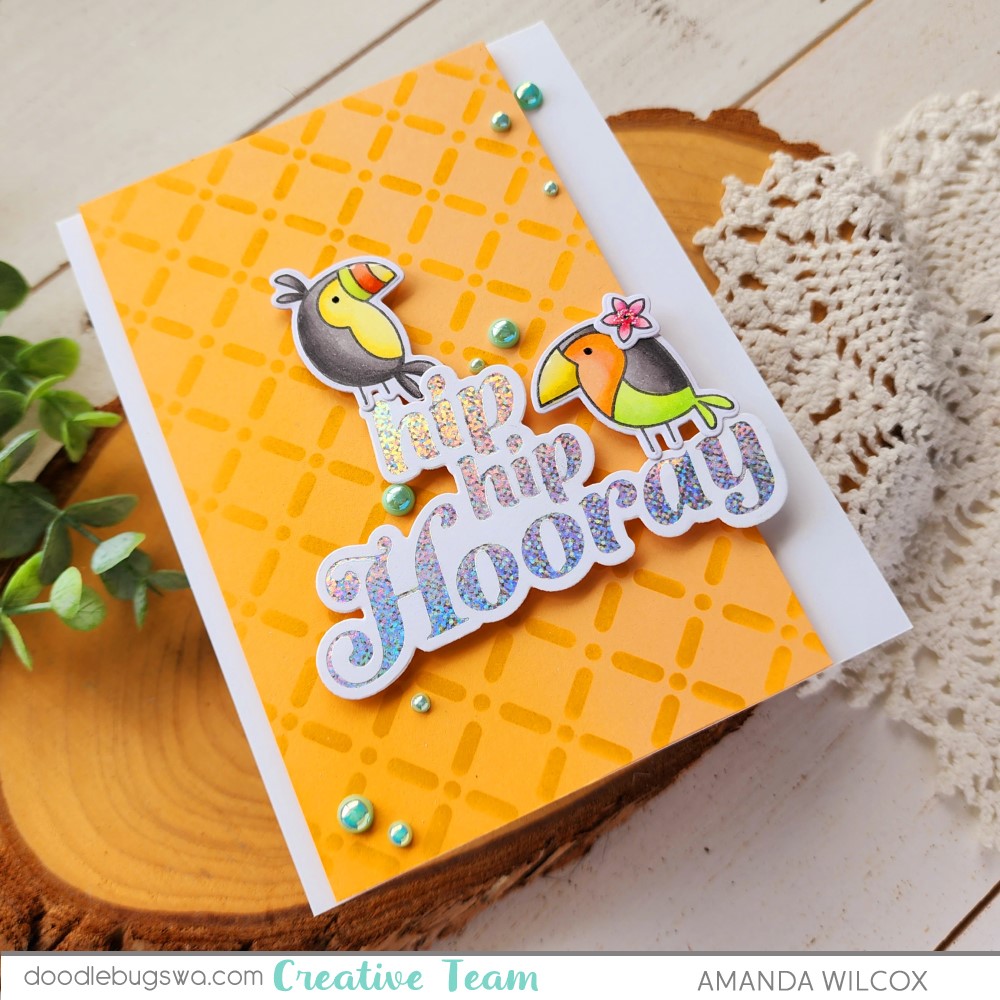
First up, I went all things extra and hot foiled my sentiment, plus glitz gelled my stencil! Shiny and glittery and fabulous! This Pretty Pink Posh mini note die set is super fun and I’m going to be making a ton of these over time. They’re fun for purses, lunch boxes and RAKs at the store too!
I used the adorable Spellbinders Sweet Birdie die to adorn my card front and I love it! I used fun colored cardstock from my stash and liquid glue to assemble him. Then, after hot foiling my Pretty Pink Posh Smile sentiment, I die cut it, gluing and additional two layers to the back so it had a little dimension. The bird is popped up with a foam square so it stands out too.

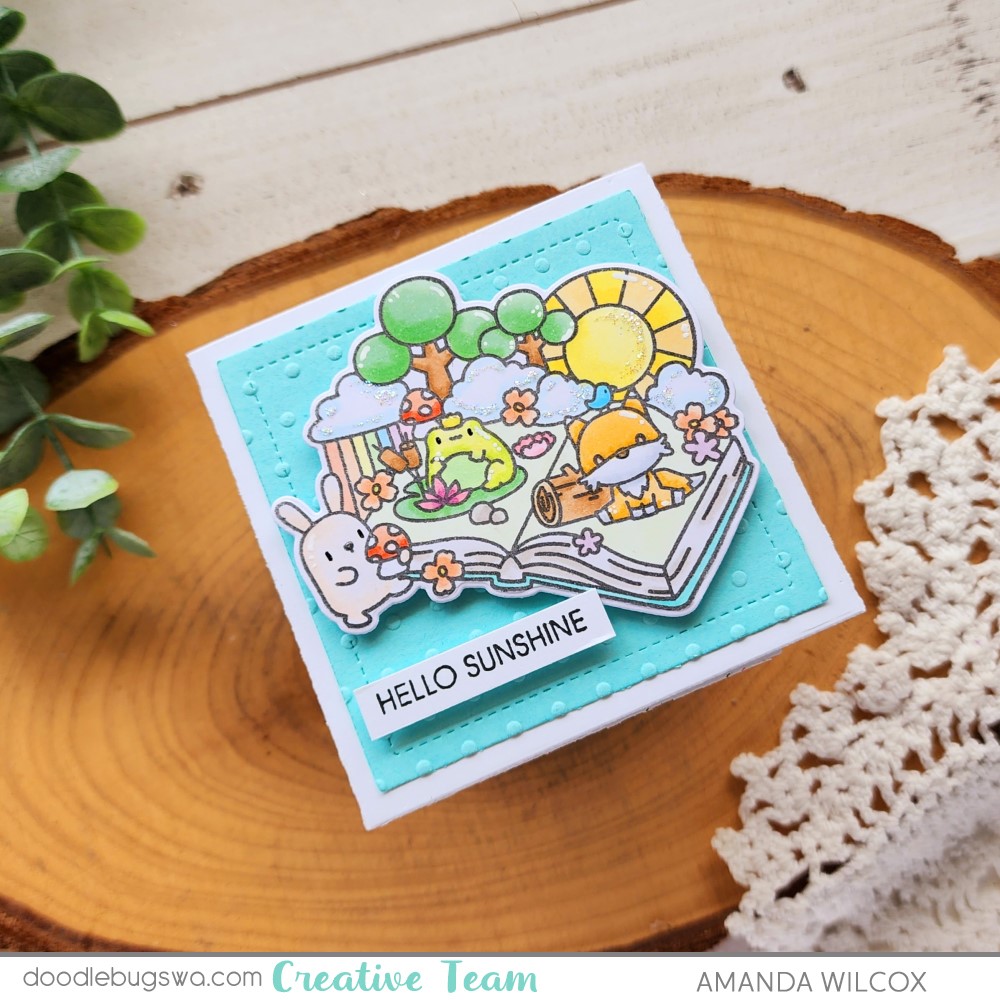
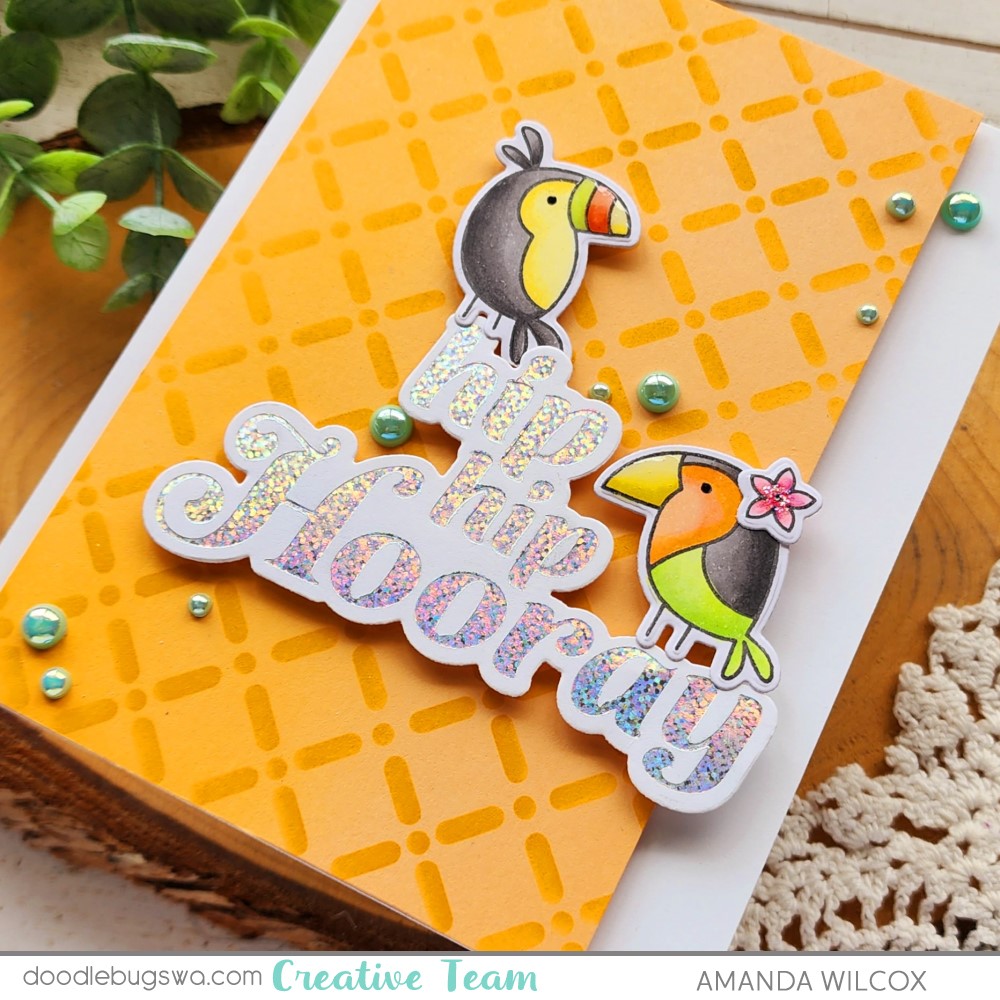
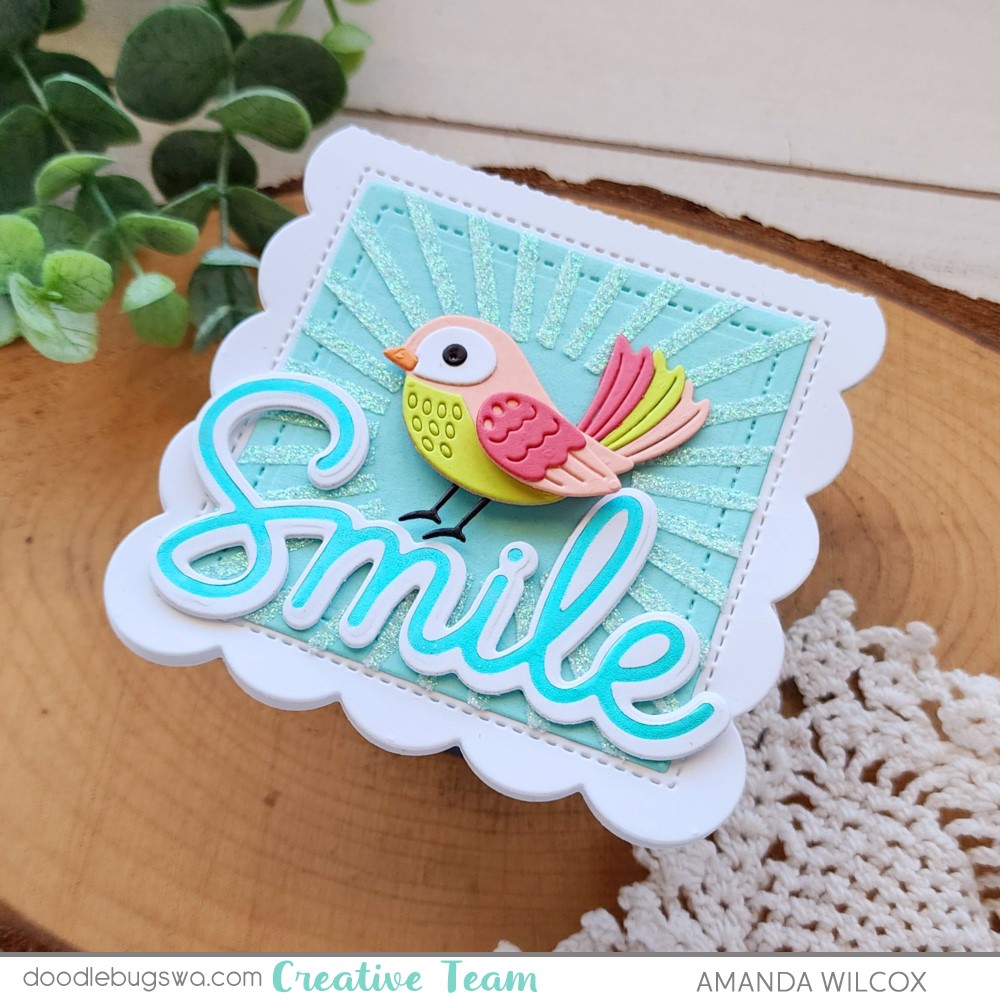
After creating that first card, I thought about people who don’t hot foil or like to get messy like I do and wanted to create and equally adorable, but simpler version of the same card. So here we are! I used a blending brush and darker teal ink for my stenciling this time.
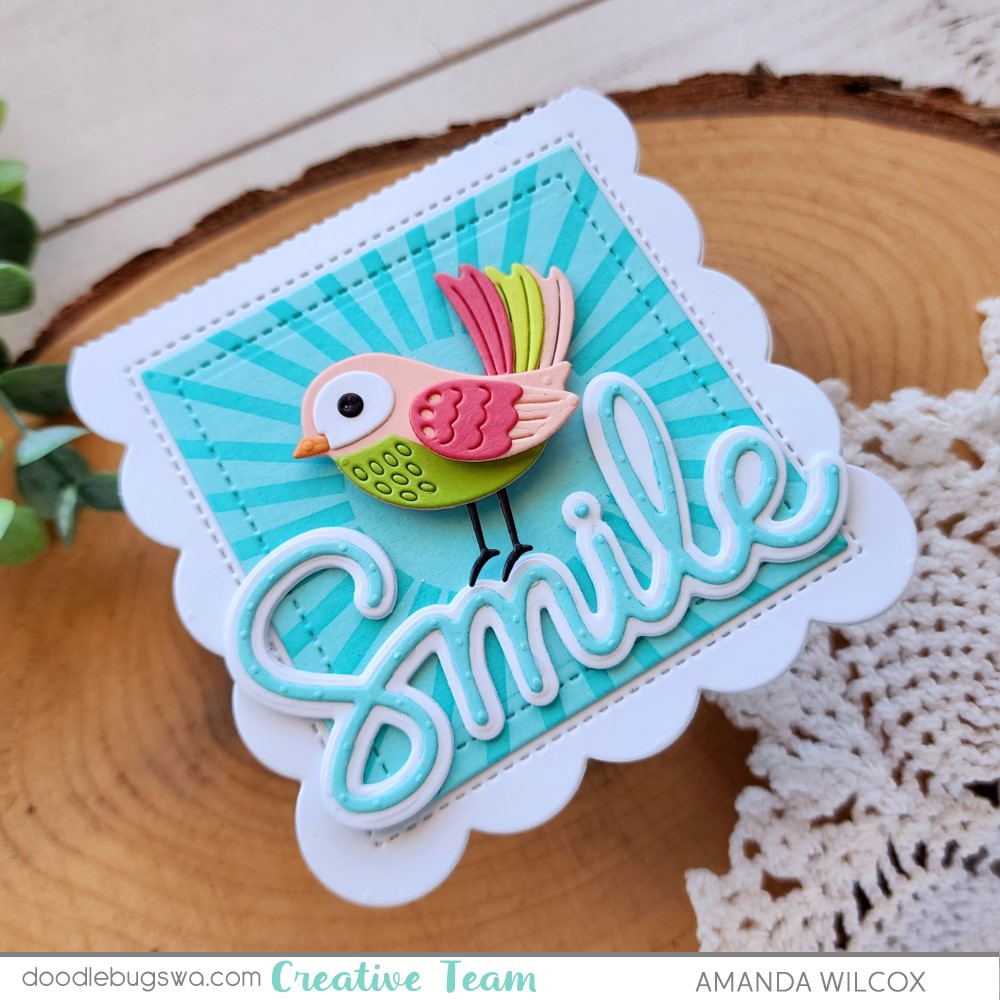
Plus I used the regular die and shadow for my sentiment instead of the hot foil plate and shadow die. I did add two extra layers to the shadow on this sentiment just like the first one and popped my birdie up with a foam square again too.

A little side-by-side action for you to see the differences at the same time. The impact is definitely more in person, with the light hitting the glitz gel and foiling but I really love both cards!
What’s your vote?
I appreciate you sharing your time with me. Have a fabulous day!