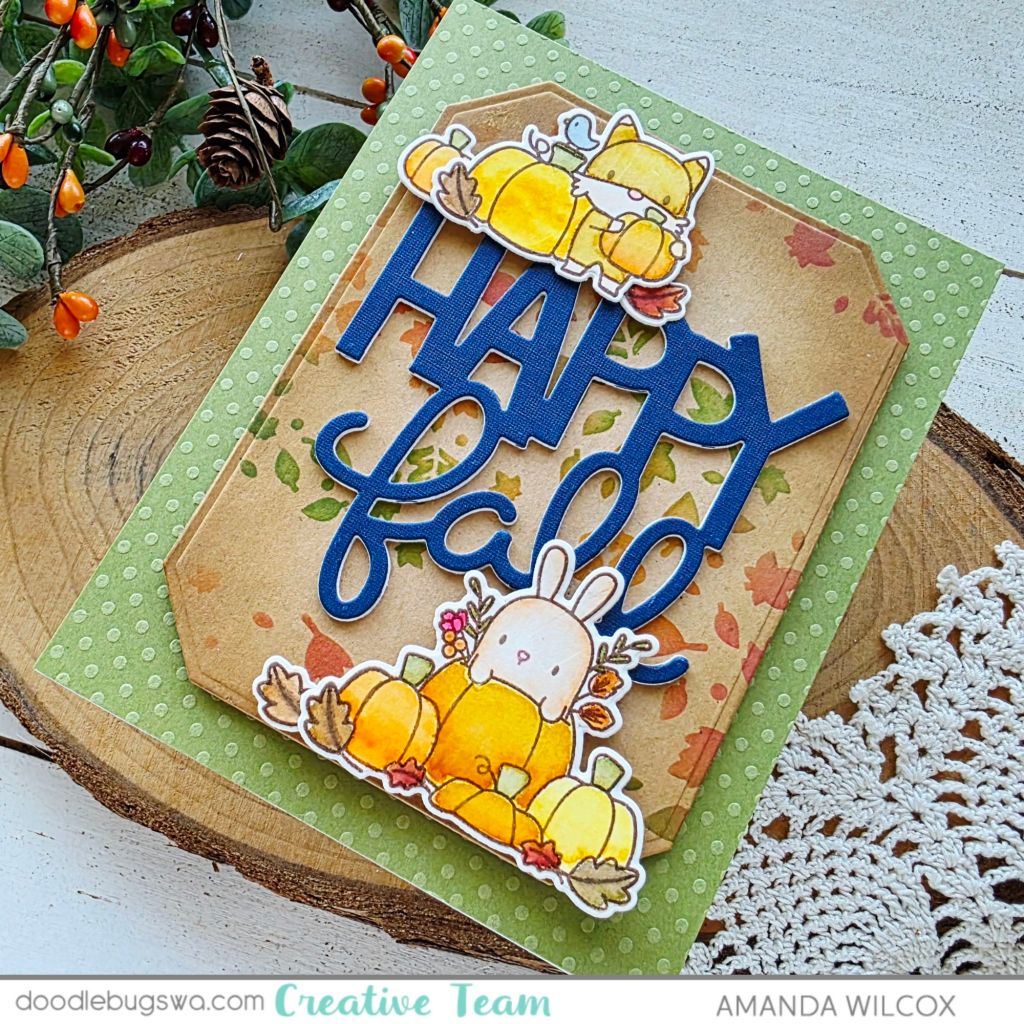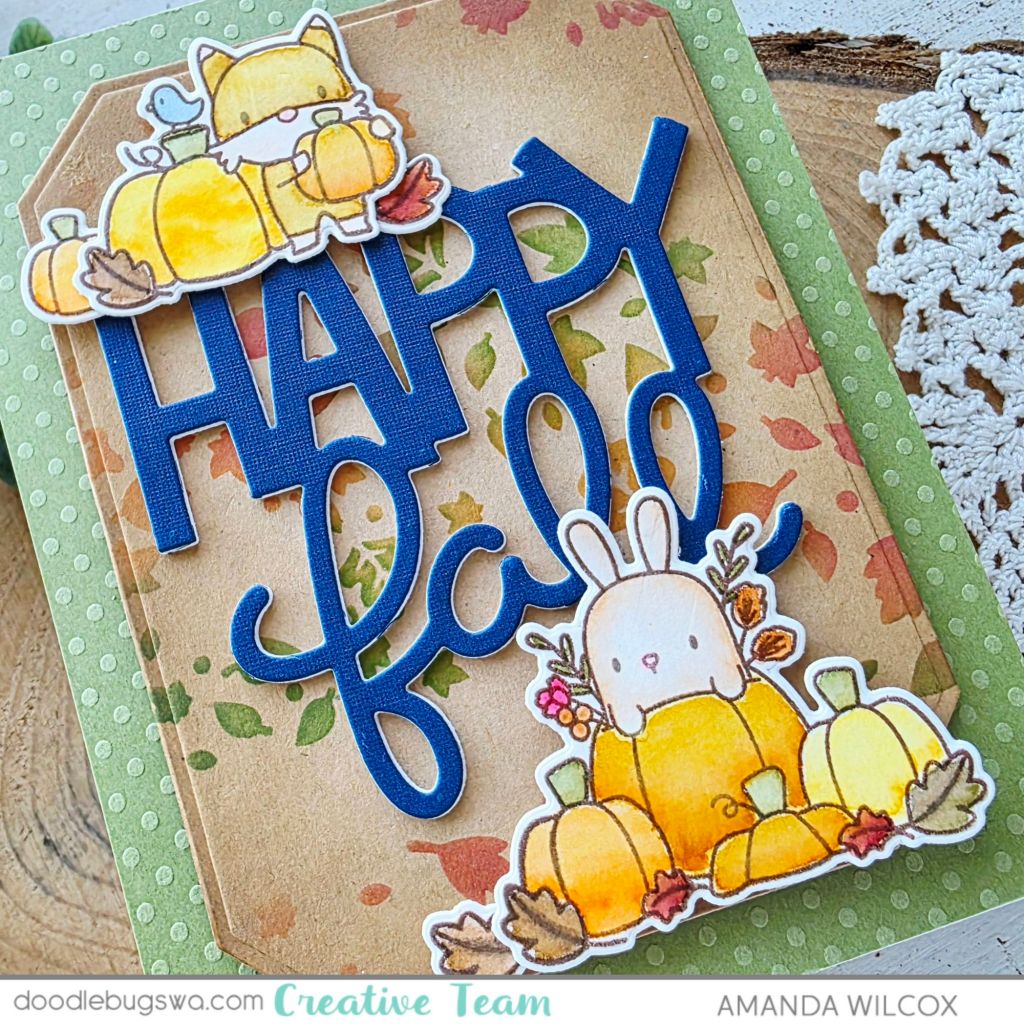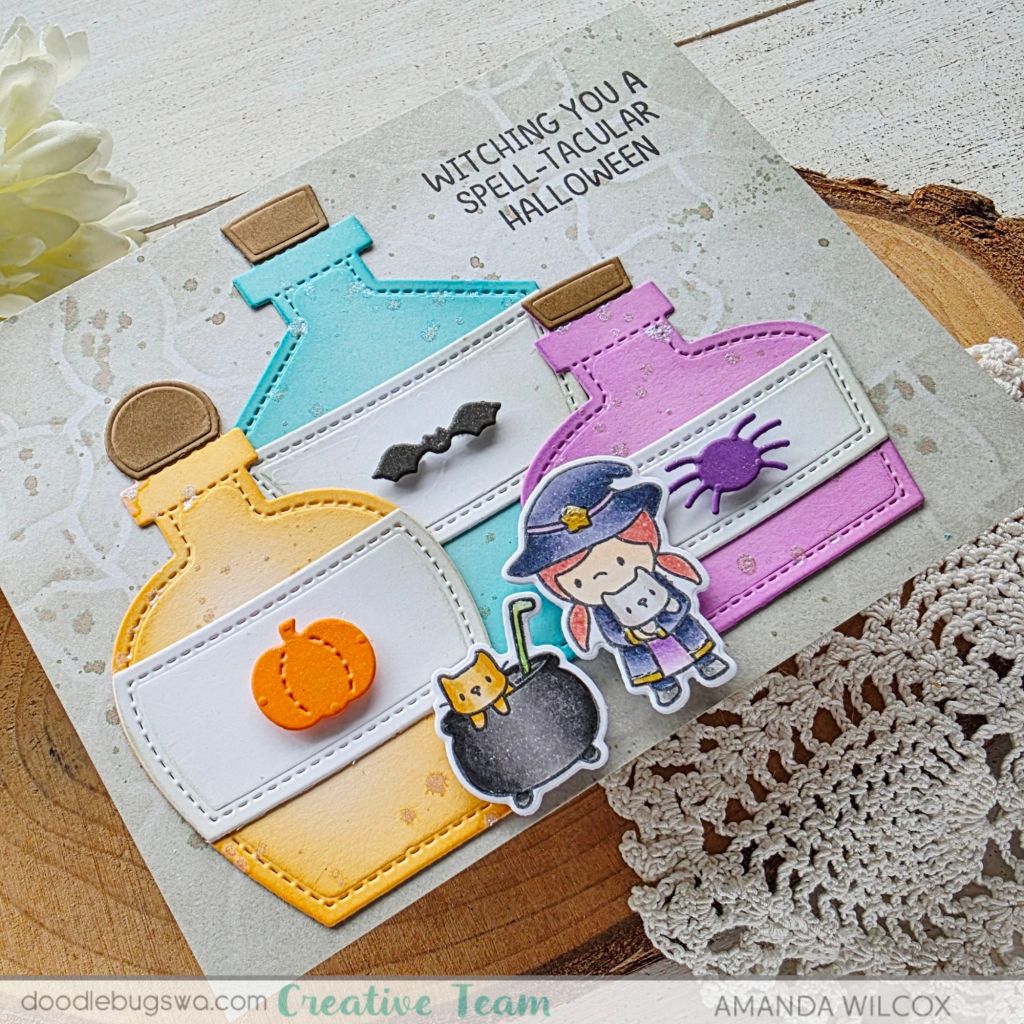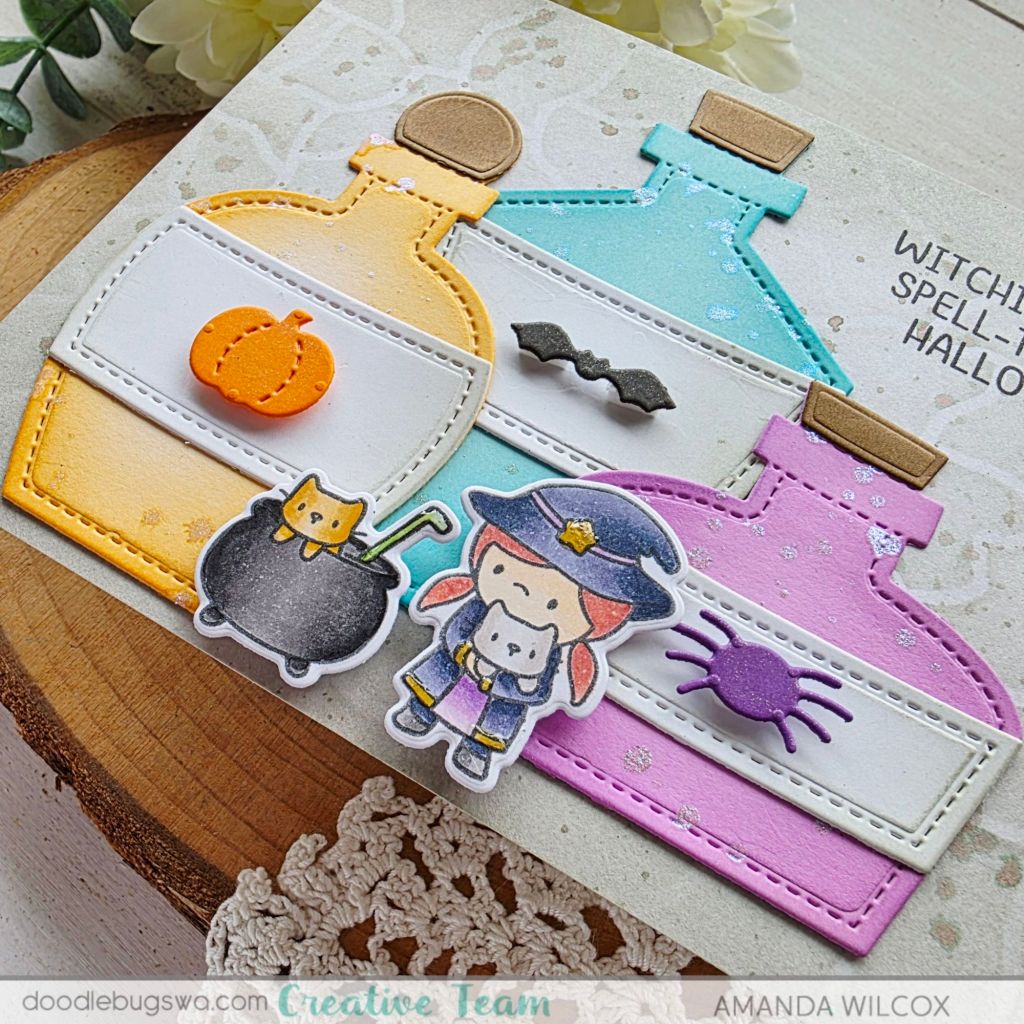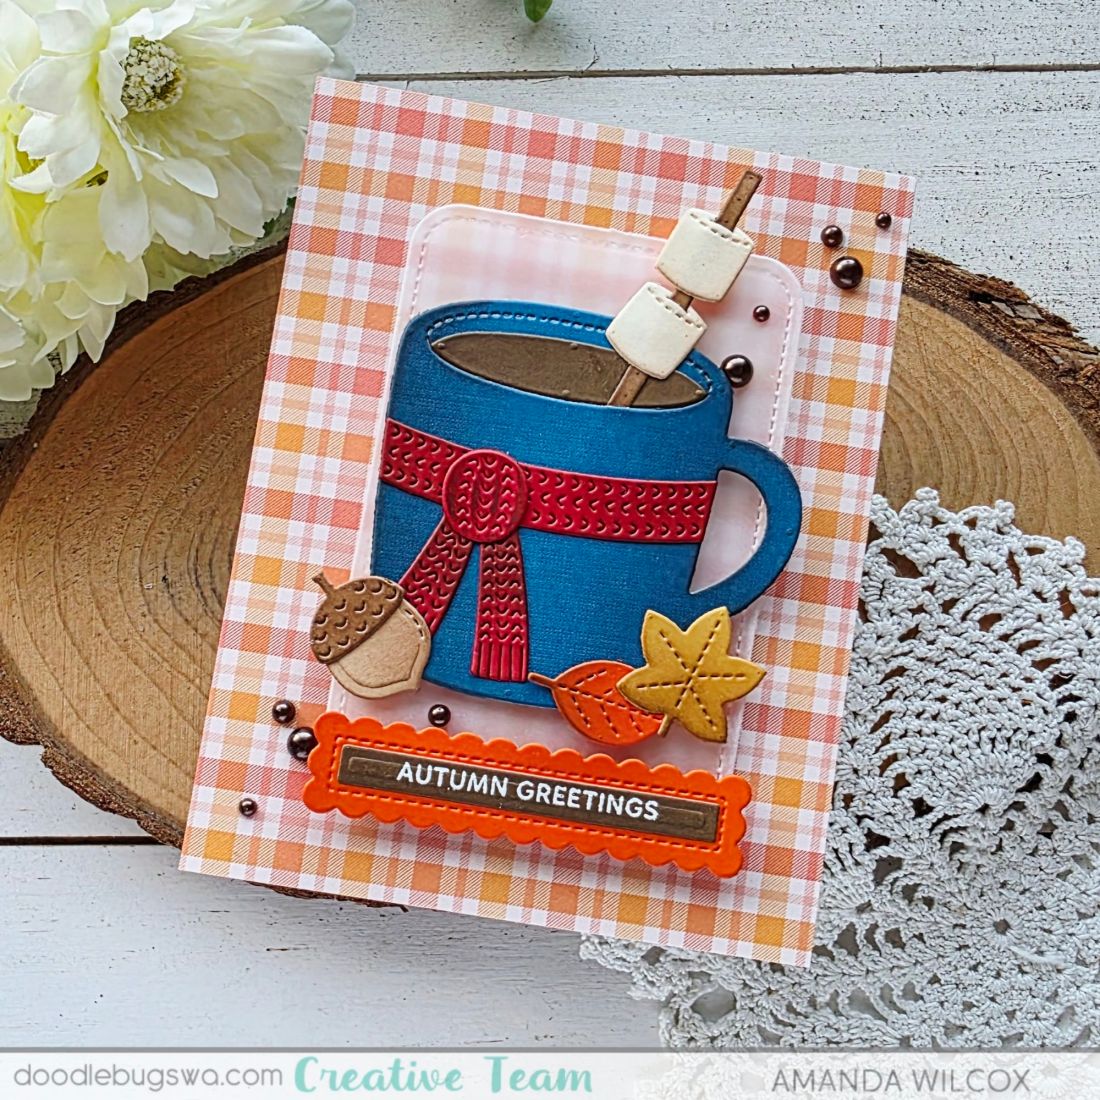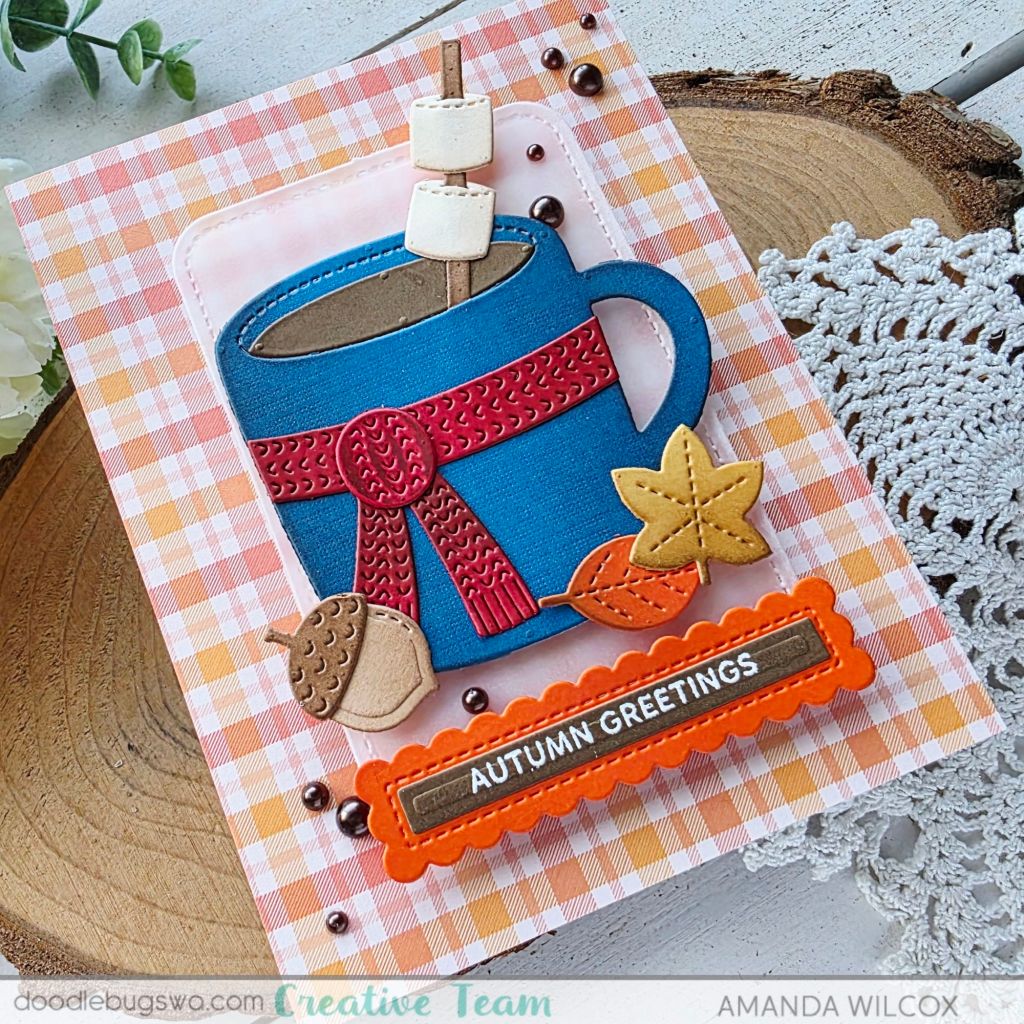
Welcome to another Mix it Up Monday for Doodlebugs! Today we’re playing with lots of dies and creating a fun, shaped card for the holidays.

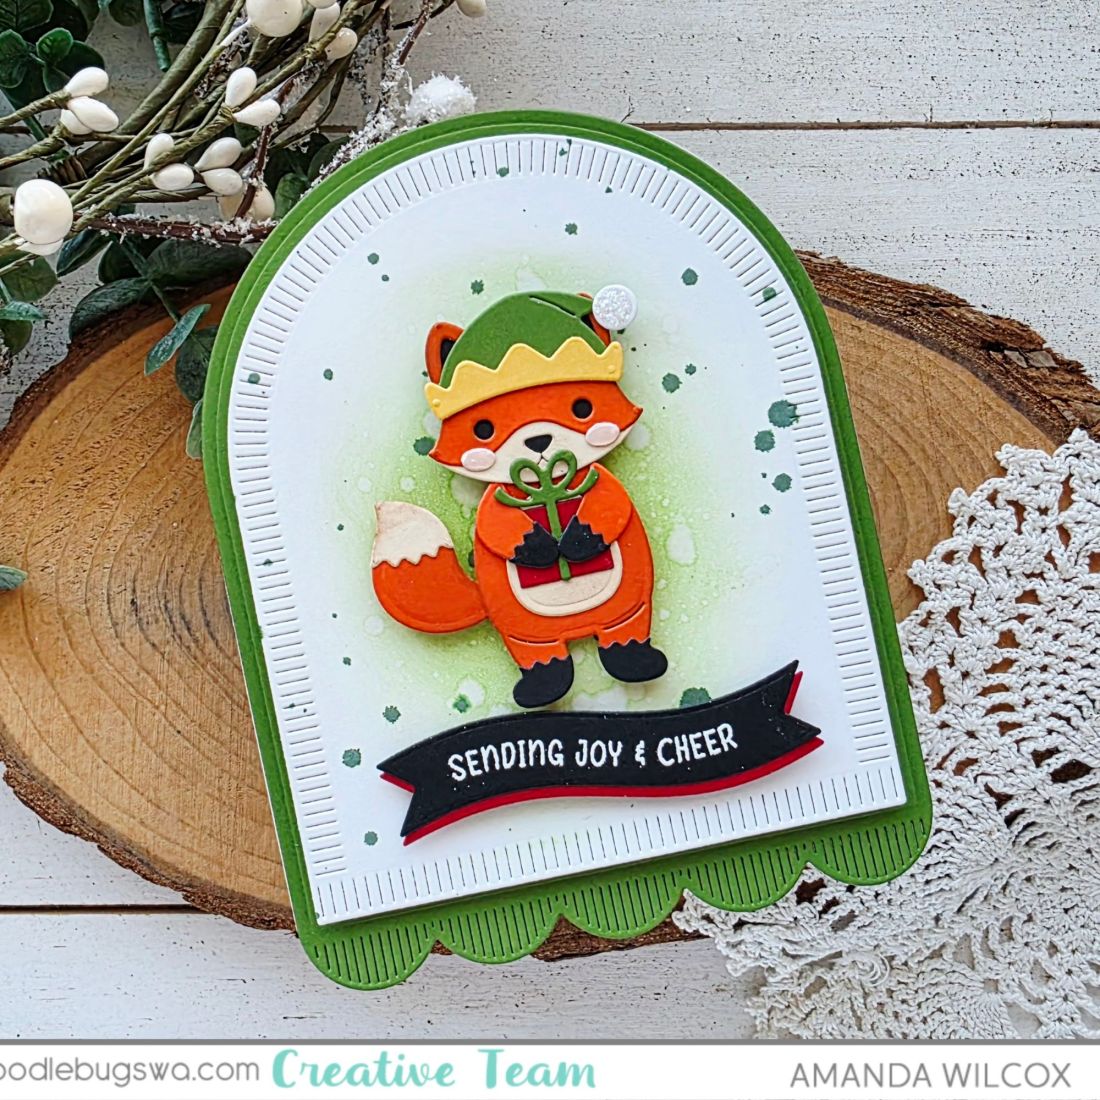
I picked up the new Lawn Fawn Build a Fox and some of the holiday dress add ons a bit ago and was just itching to play. So I set some time aside with no intention other than to build a cute fox for the holidays.
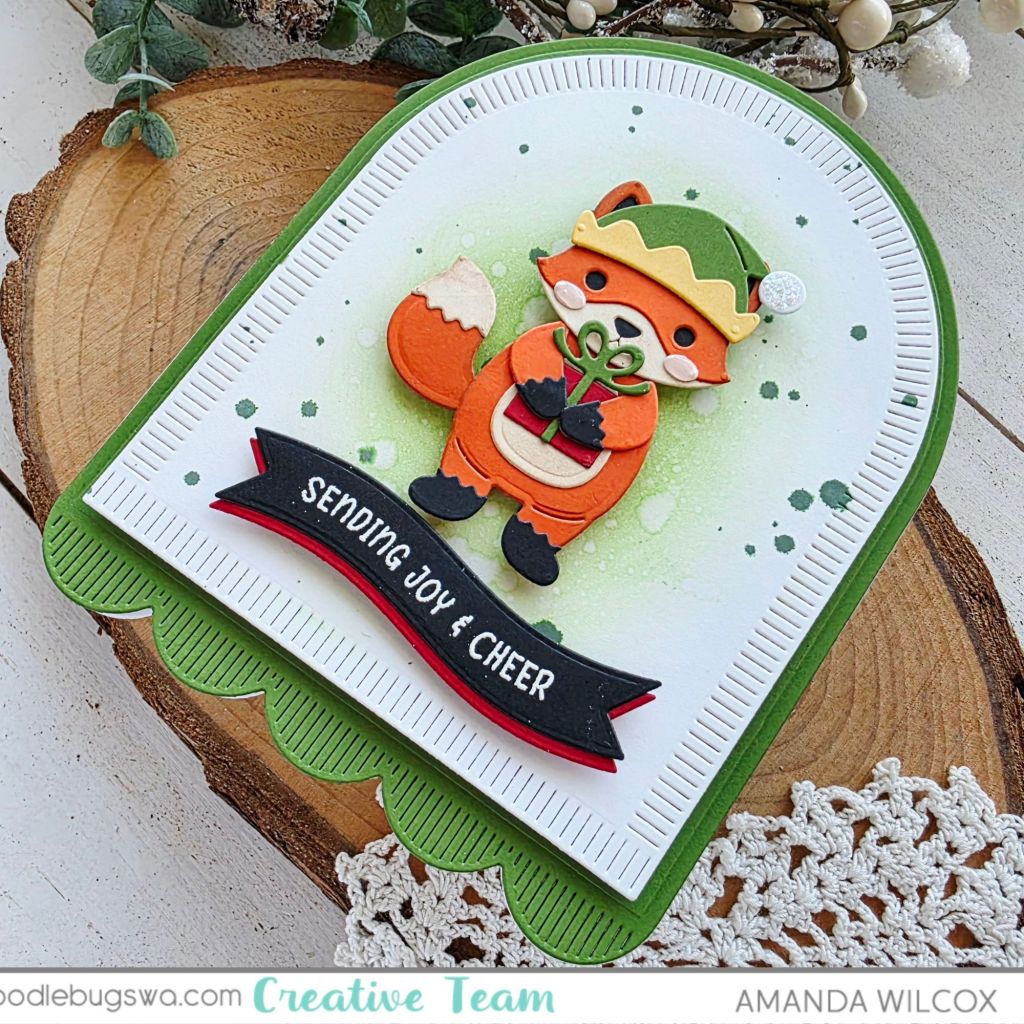
After I built him, I knew he had to be the star of the show. So I dug through my Spellbinders dies to find the perfect scene, landing on the one of my favorites – Make a Wish Arch Labels. I cut the base twice, once from green and once from white cardstock. I scored the white about 1/2″ from the top and glued the two together at the flap so I have a shaped card base now. Then I cut the next size down from white cardstock ink blending the center with green and splattering some water and distress oxide spray on the panel as well.
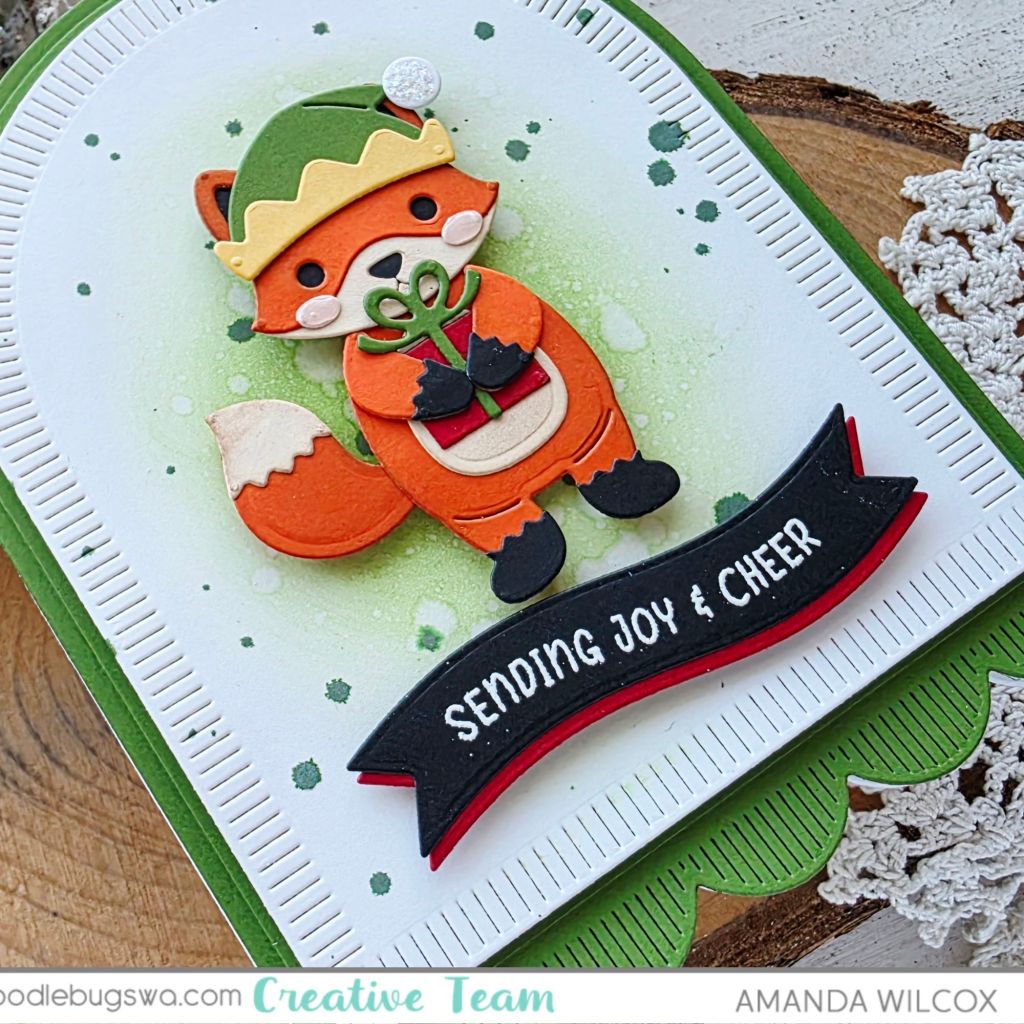
Next I cut two Pretty Pink Posh Banner Greetings shapes from black and red cardstocks. I heat embossed one of the Christmas Banner Greetings sentiments on the black one. I glued the layers together and then added foam strips to the back, along with foam squares to the back of my fox.
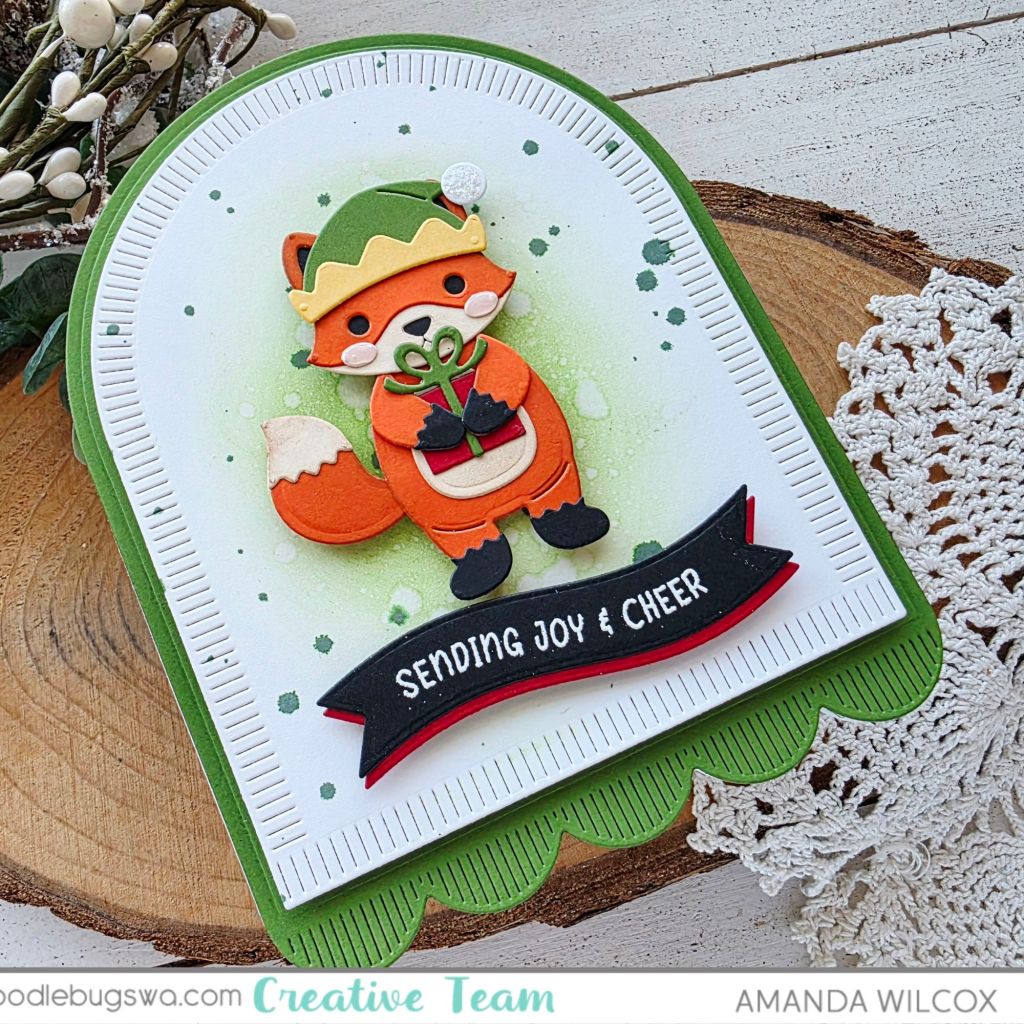
I removed the release paper, adhering both to the white panel before adding more foam tape to the back of that, adding it to the shaped card base. I finished the design off with glossy accents on the fox’s cheeks and stardust Stickles to the pompom on his hat.
I appreciate you sharing your time with me. Have a fabulous day!